What this is
The Cleverpush destination sends audiences out of Zeotap CDP to Cleverpush, and this appendix covers the Cleverpush-side setup you complete before that destination will work. Everything here happens in the Cleverpush console, not in the Zeotap CDP App. You create a push notification channel, then set up the platforms you want that channel to send on. Cleverpush offers a long list of platforms on a channel; Zeotap CDP supports three of them:- Web Push — reach desktop and Android users via browser messages
- App Push — reach iOS and Android users through your native app
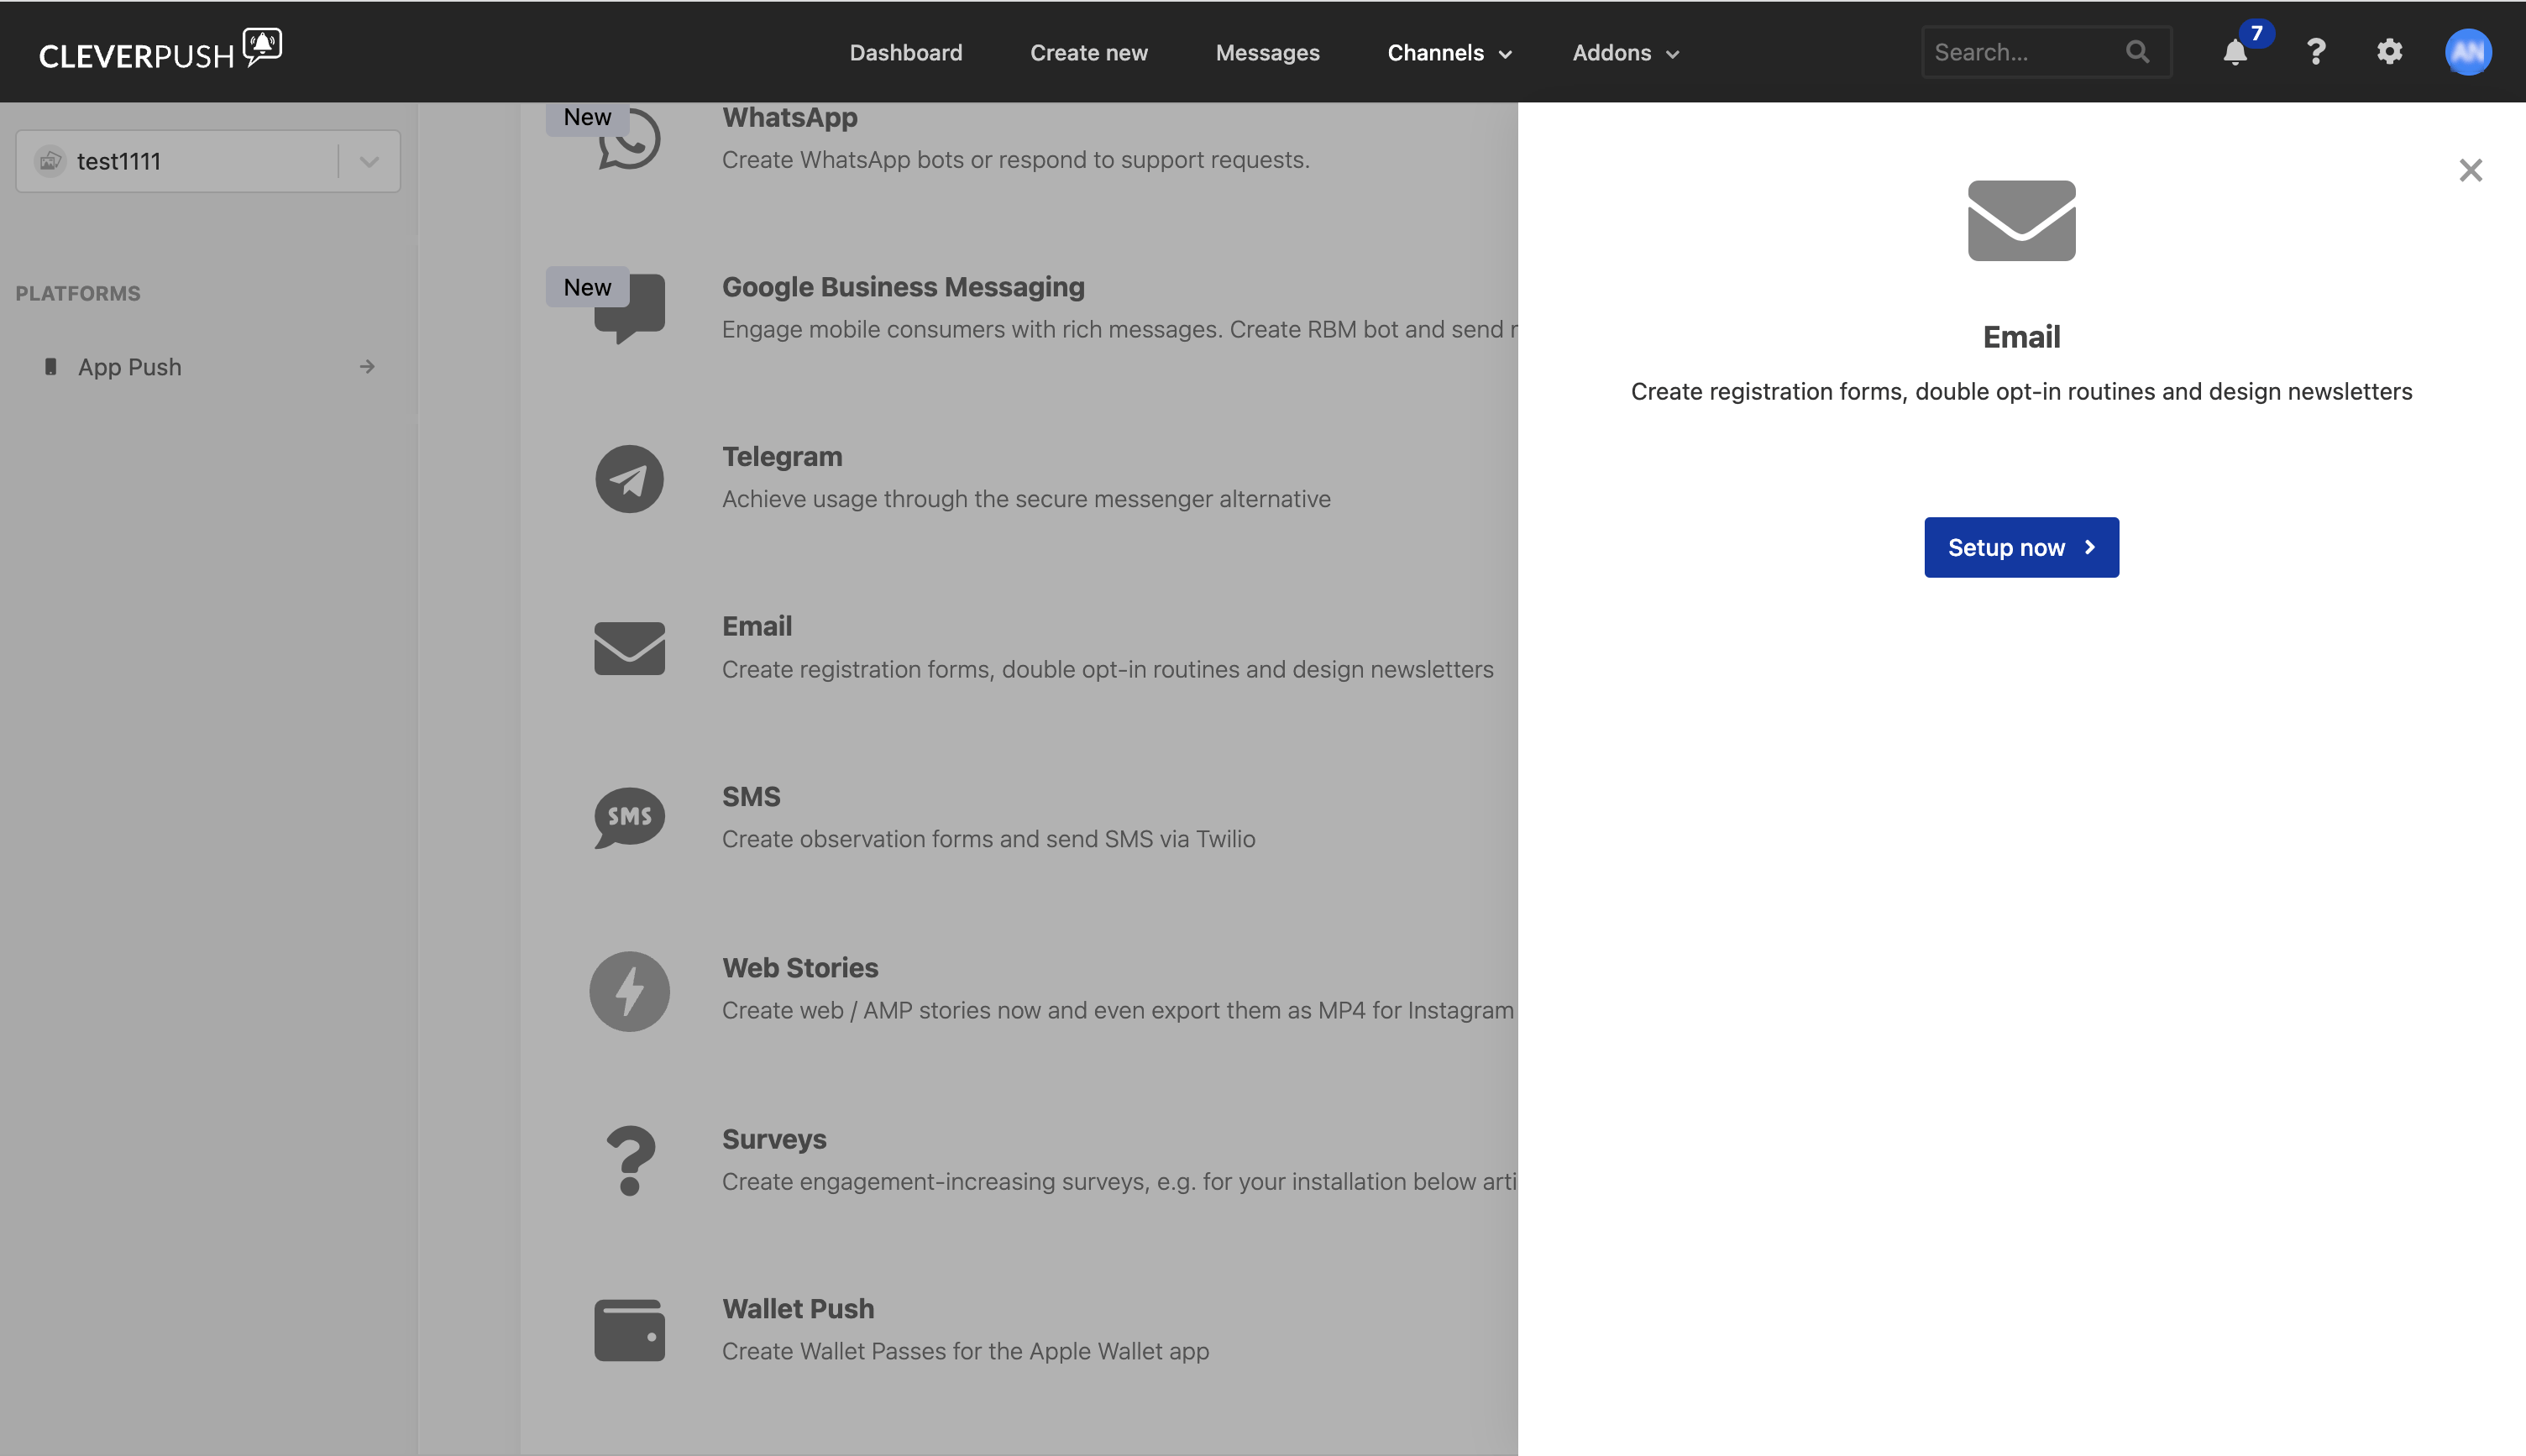
- Email Push — create registration forms, double opt-in routines and design newsletters
Which Cleverpush appendix applies to you
Three near-identical Cleverpush appendices exist in these docs, one per integration. Use the one that matches the integration you are configuring:
Data flows the other way — into Zeotap CDP from Cleverpush — through the Cleverpush (Batch) Source and the Cleverpush Real Time Source, which fetch subscriber information such as the subscription ID, channel ID, country, custom attributes and segments.
Prerequisites
Before you start, confirm the following:- You can log into the Cleverpush console.
- You know which platforms you intend to use — Web Push, App Push, Email Push, or a combination.
- For Web Push: you know the domain your site is served from, and whether you will send from your own domain (HTTPS only) or from a Cleverpush-hosted subdomain.
- For App Push: you know which mobile SDK your app is built on, so you can pick the matching Cleverpush SDK documentation.
Create a new channel in Cleverpush
1
Log into the Cleverpush console and open Channels on the top navigation bar.
2
Under Channels, click Add Channel.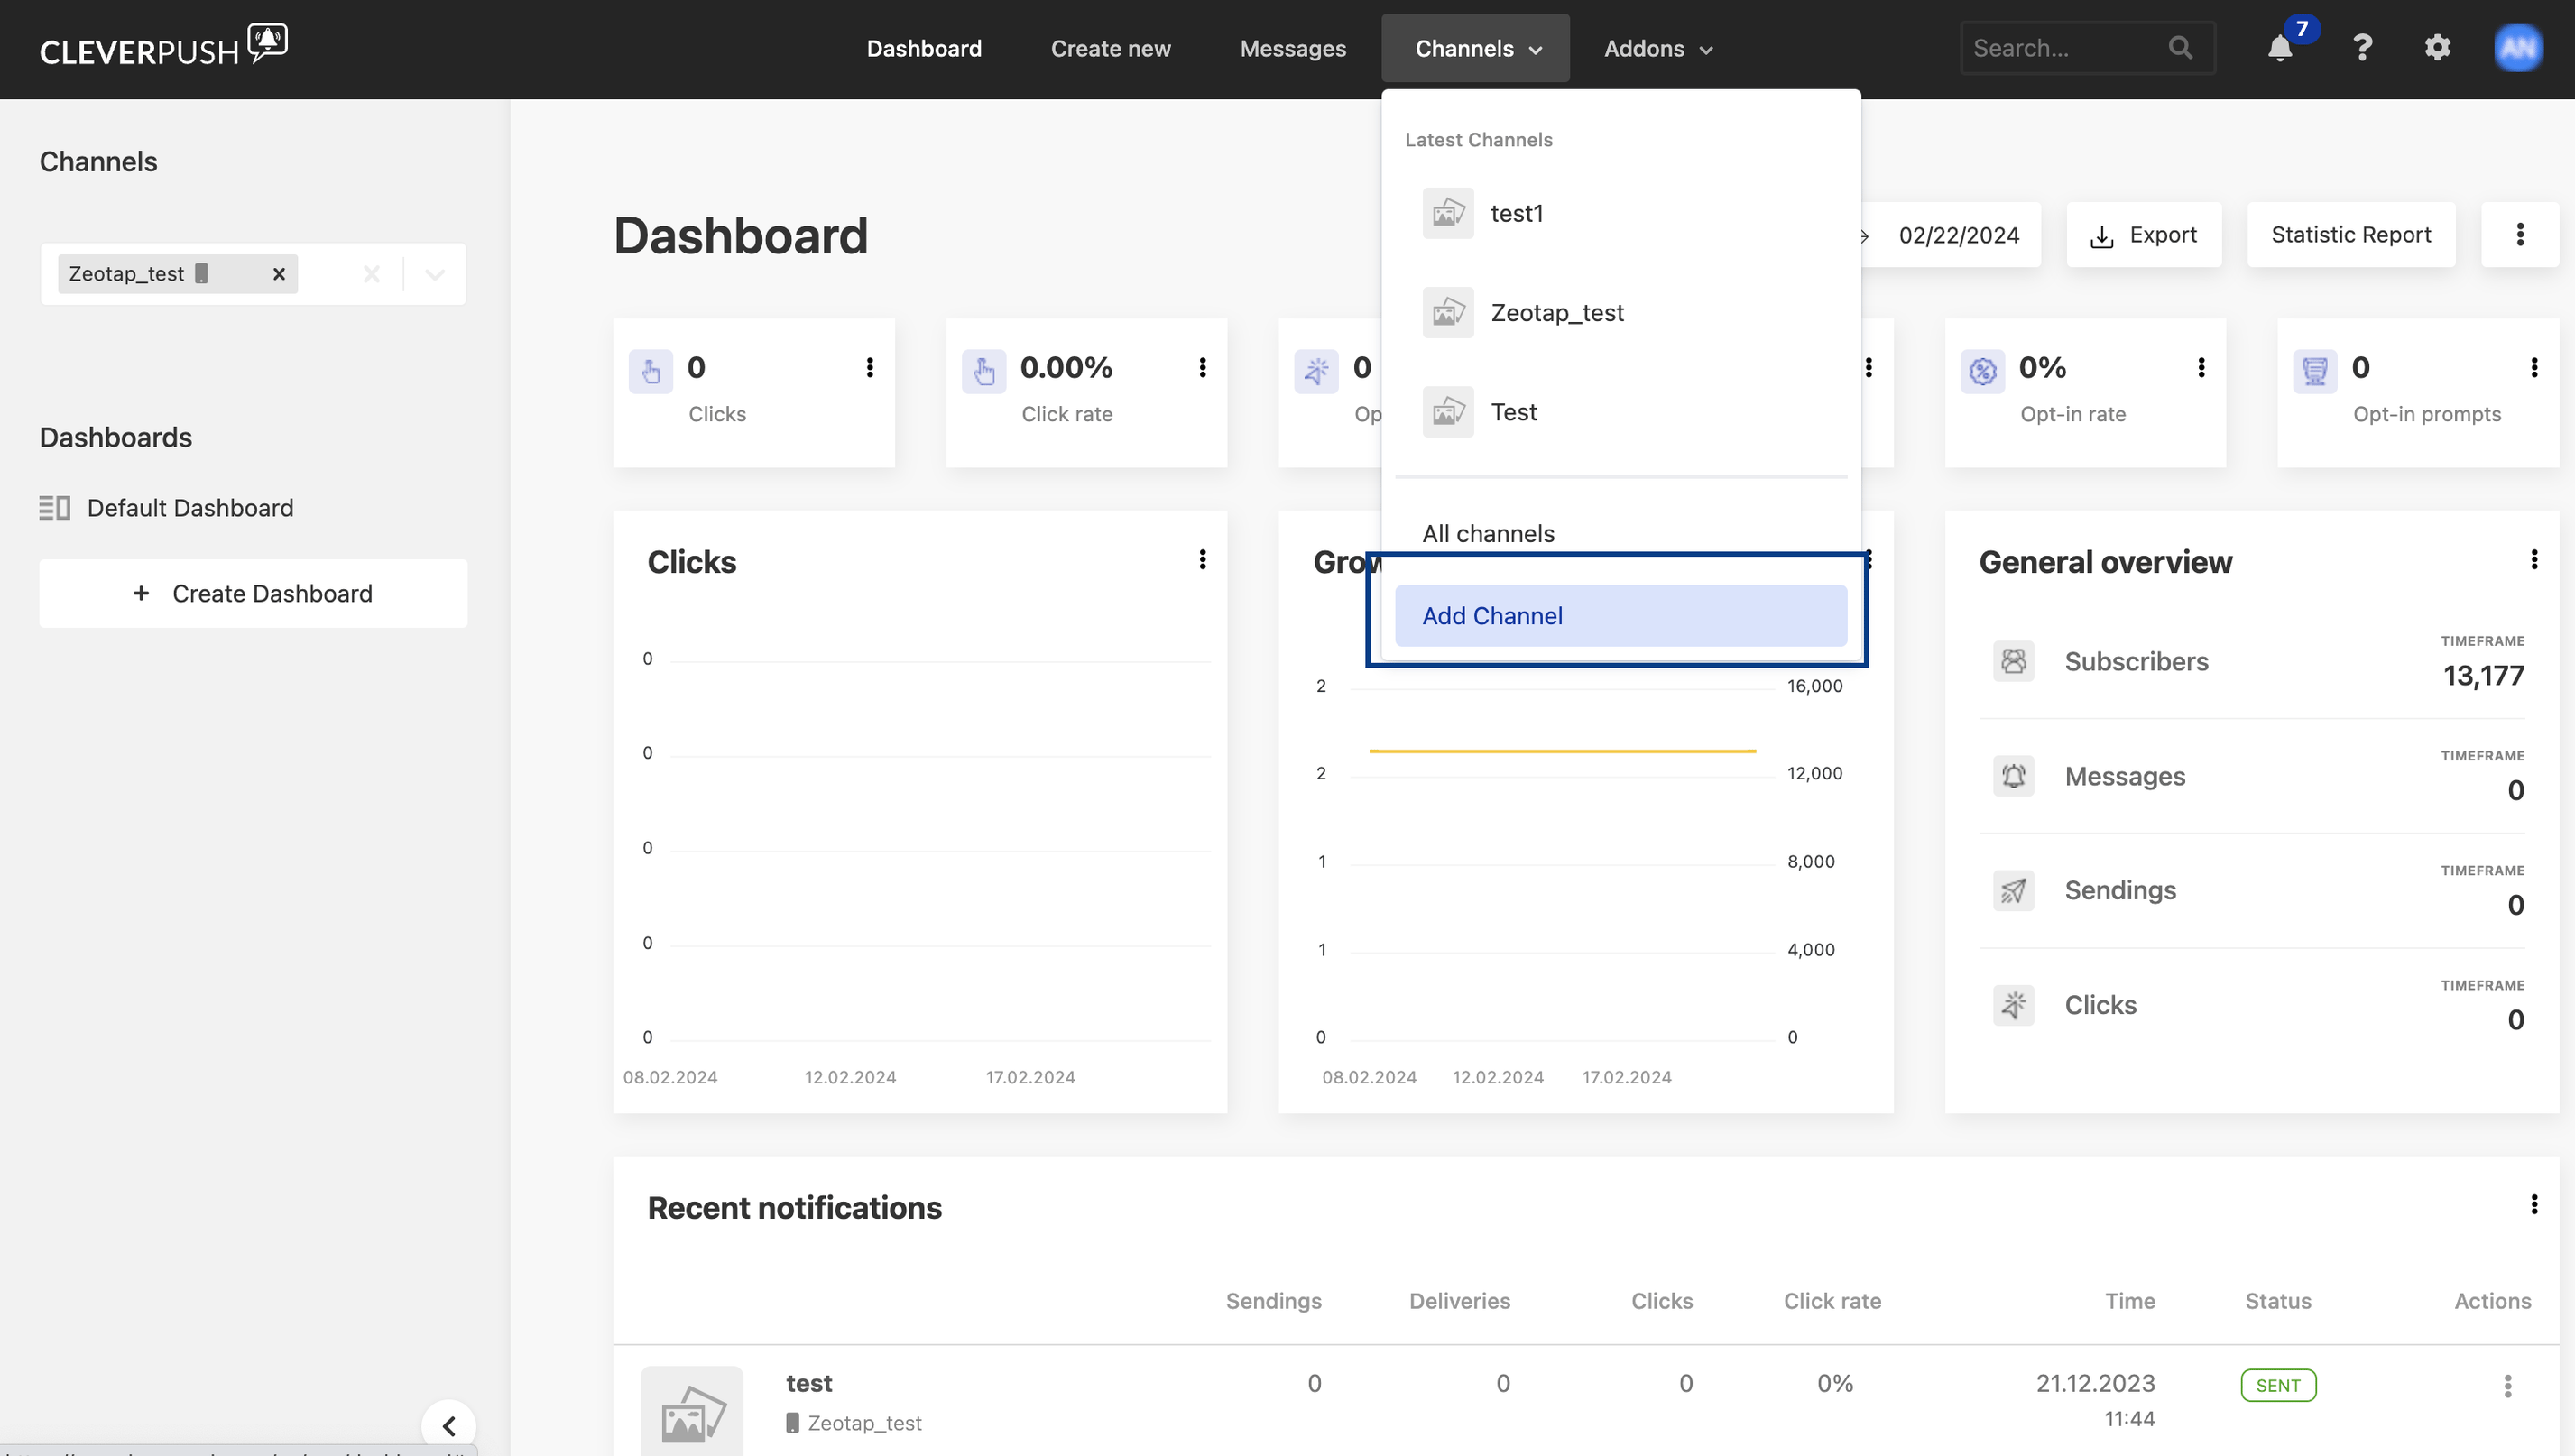
3
Under Basic settings, provide the following details:a. Enter a descriptive name for the channel.b. Click Select file to upload an icon for the channel.c. Choose the desired Industry from the drop-down menu.d. Click Save Channel.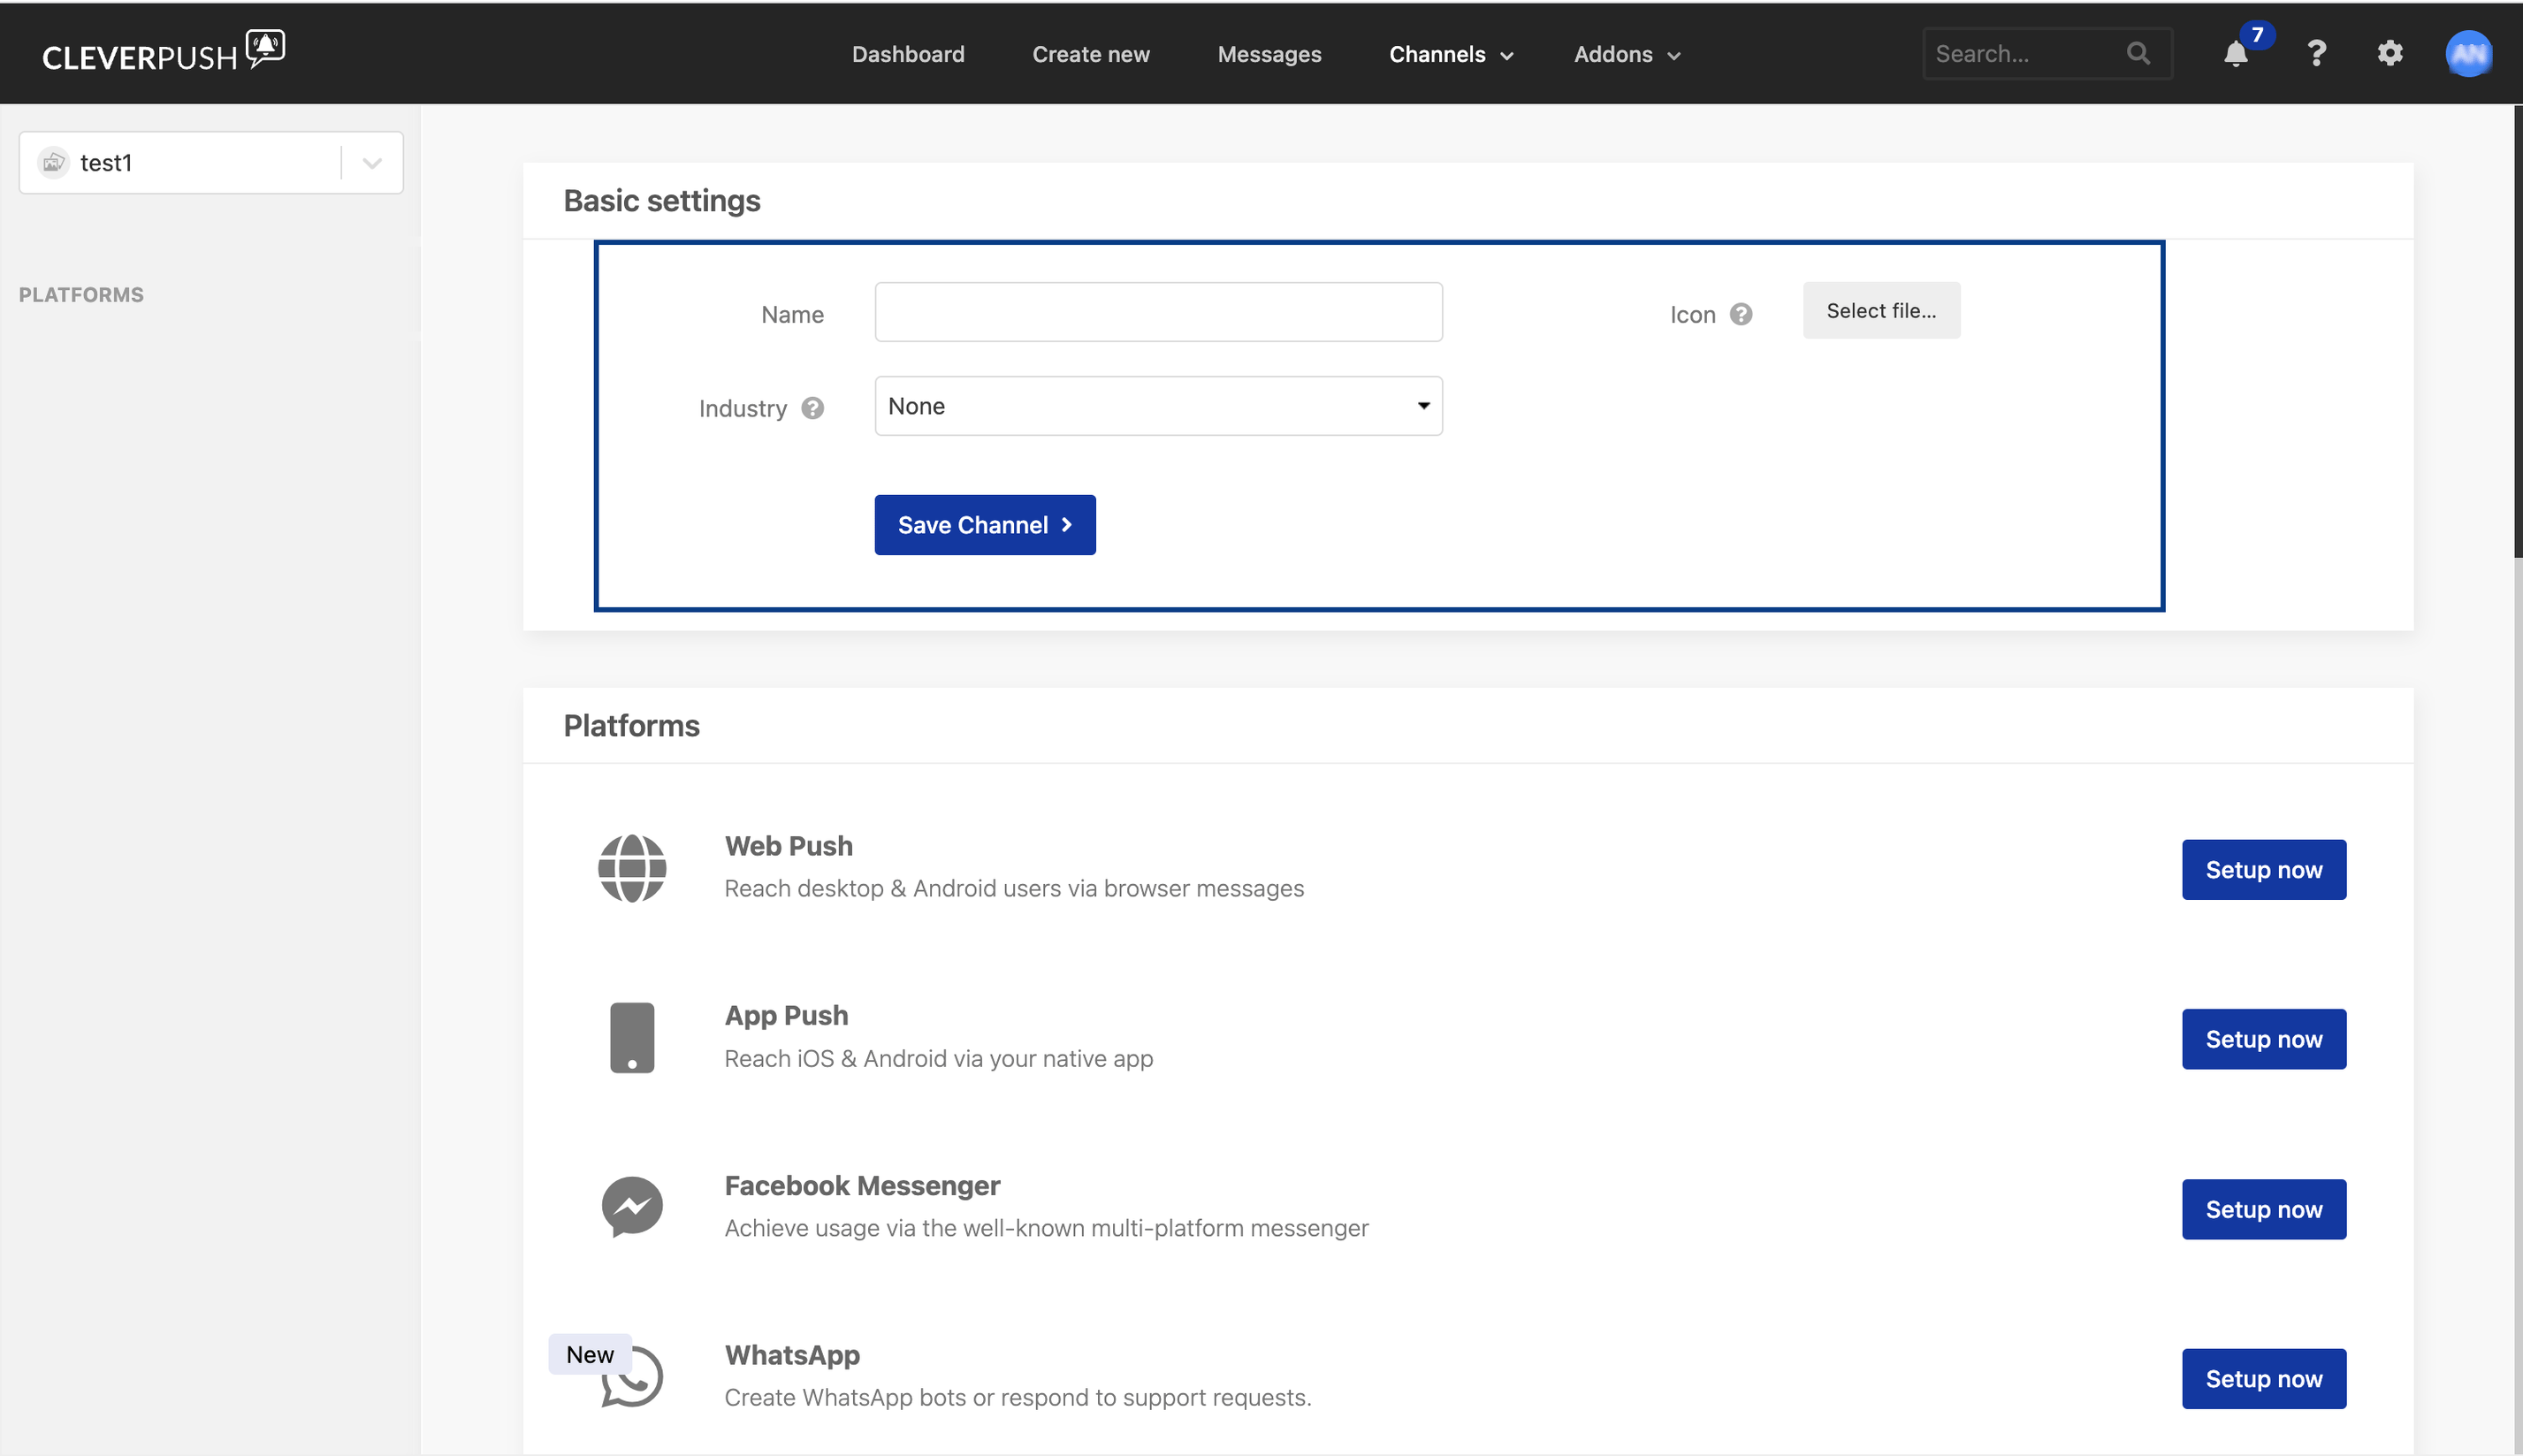
Set up Web Push in Cleverpush
1
In the Cleverpush console, open Channels, select the channel you created, and go to Platforms.
2
Click Setup now next to Web Push.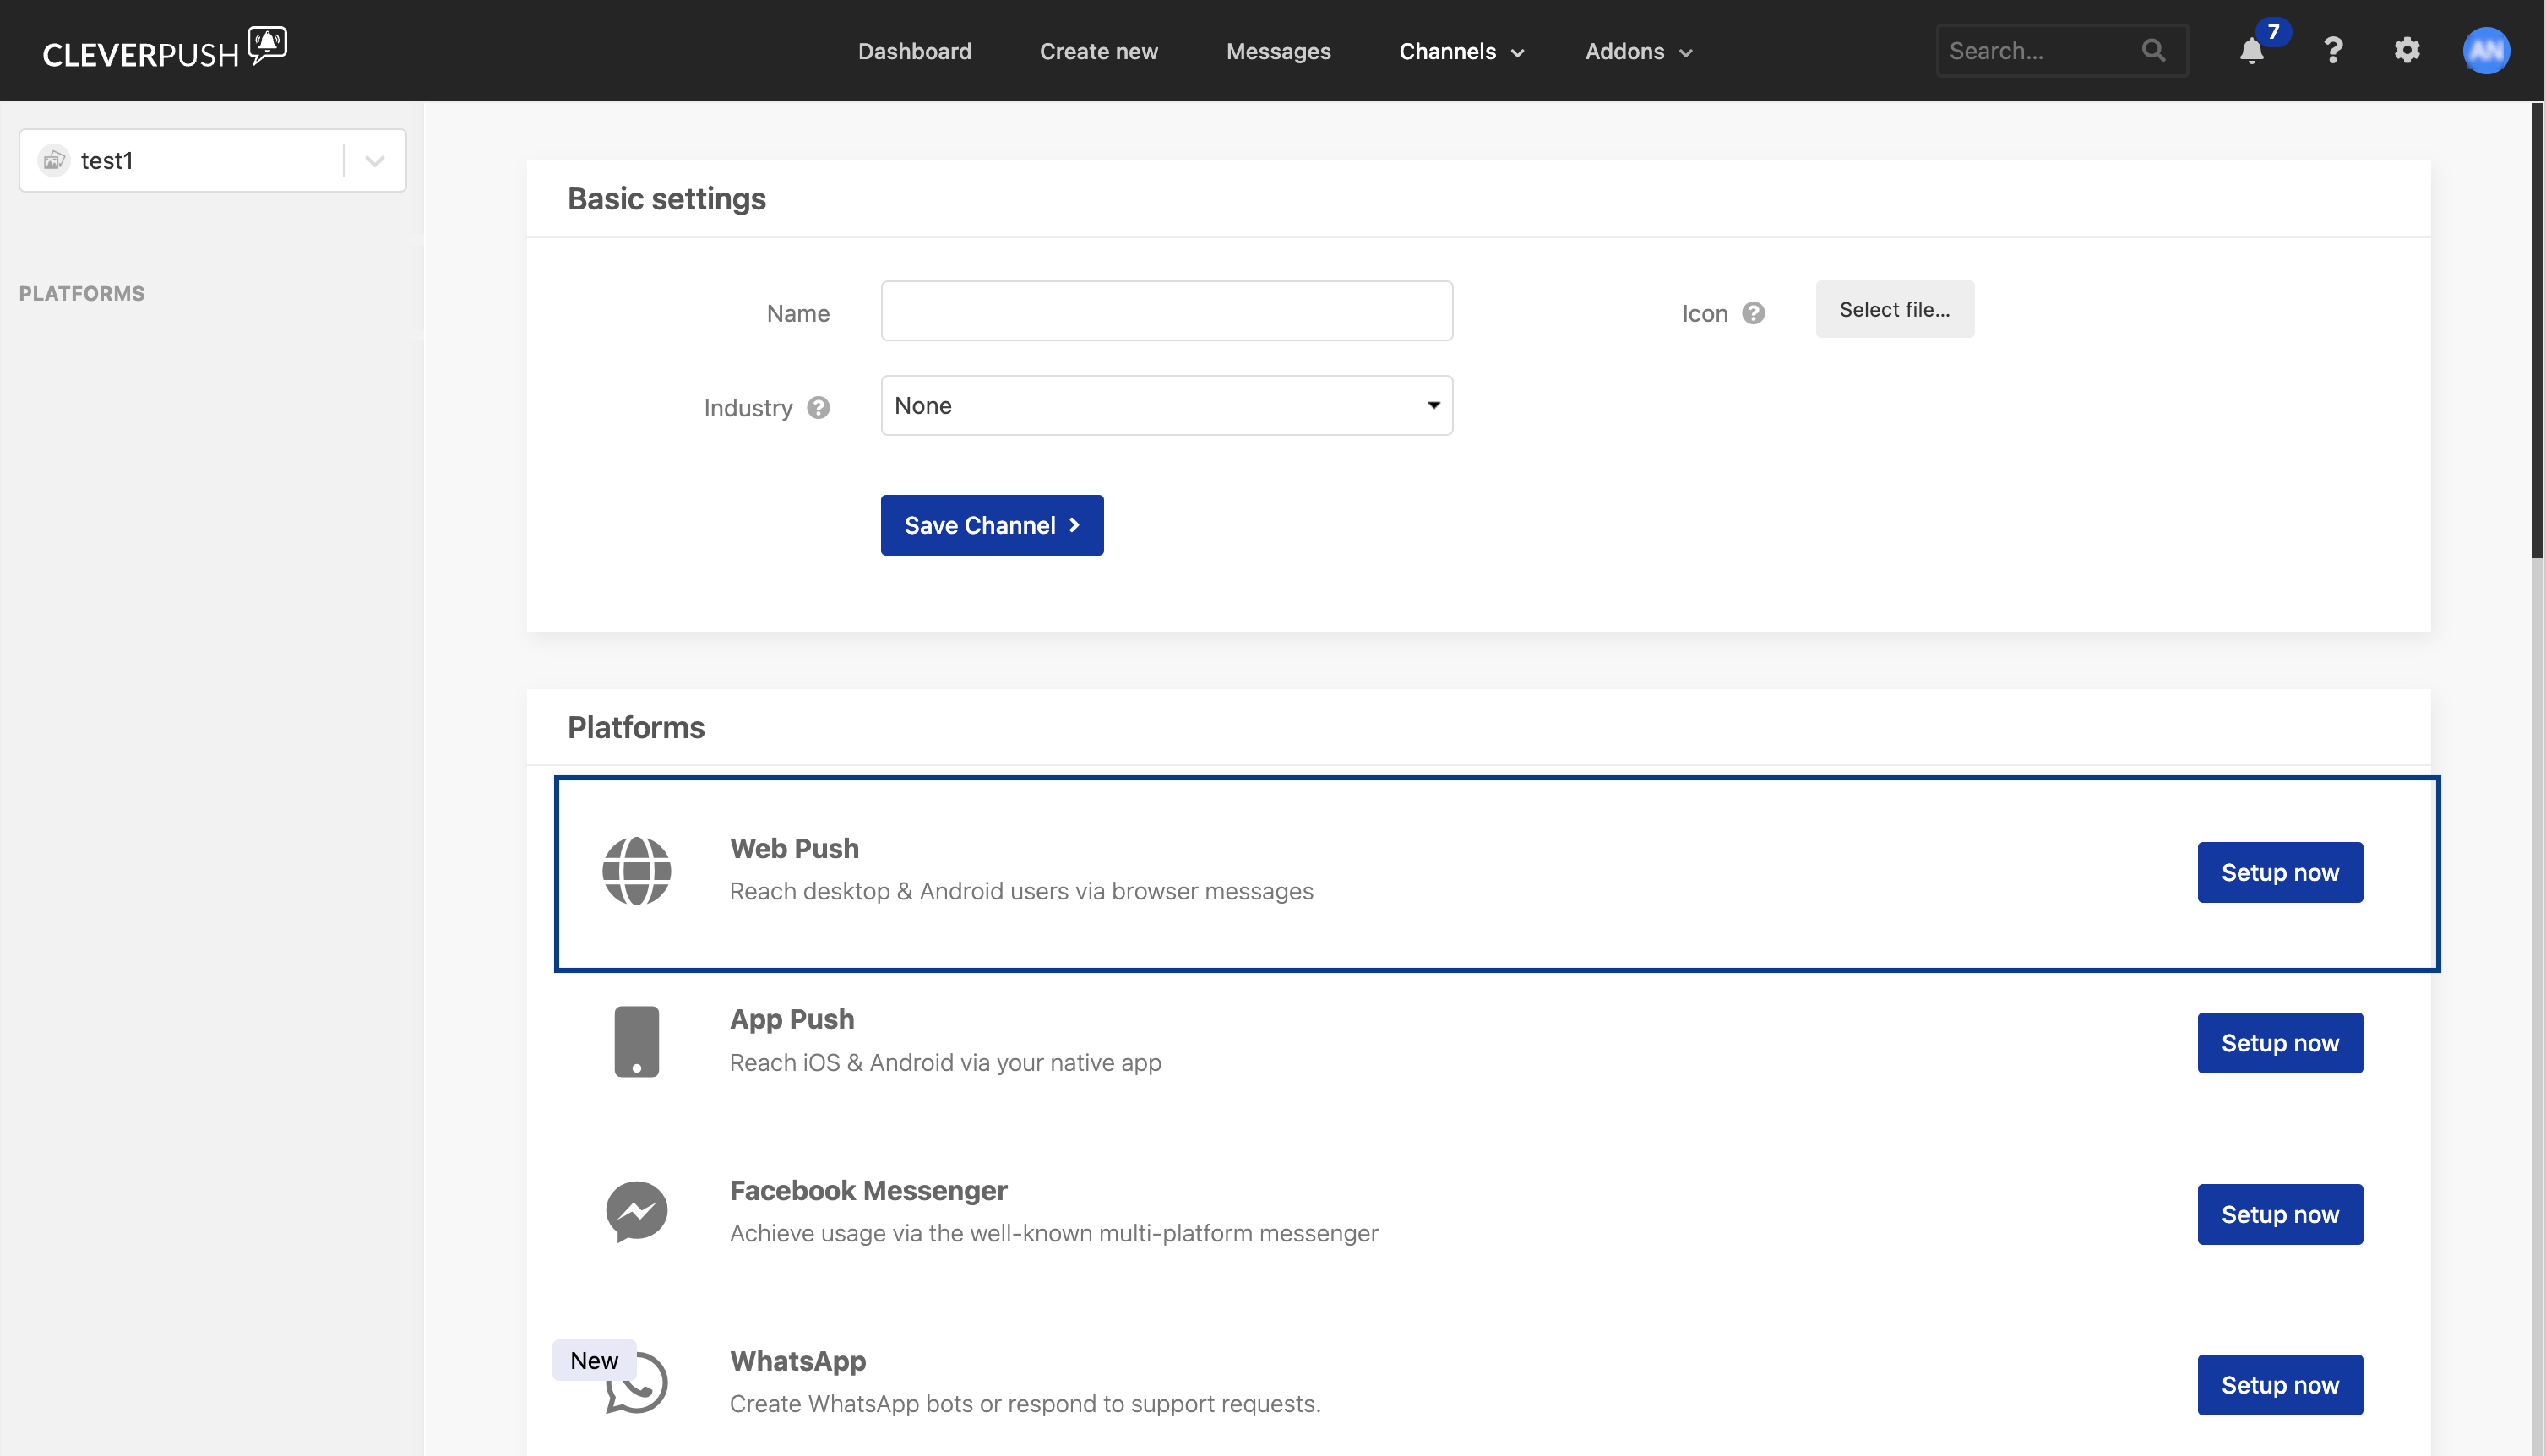
3
On Step 1: Enter domain, select the protocol and enter the domain of your site without a leading 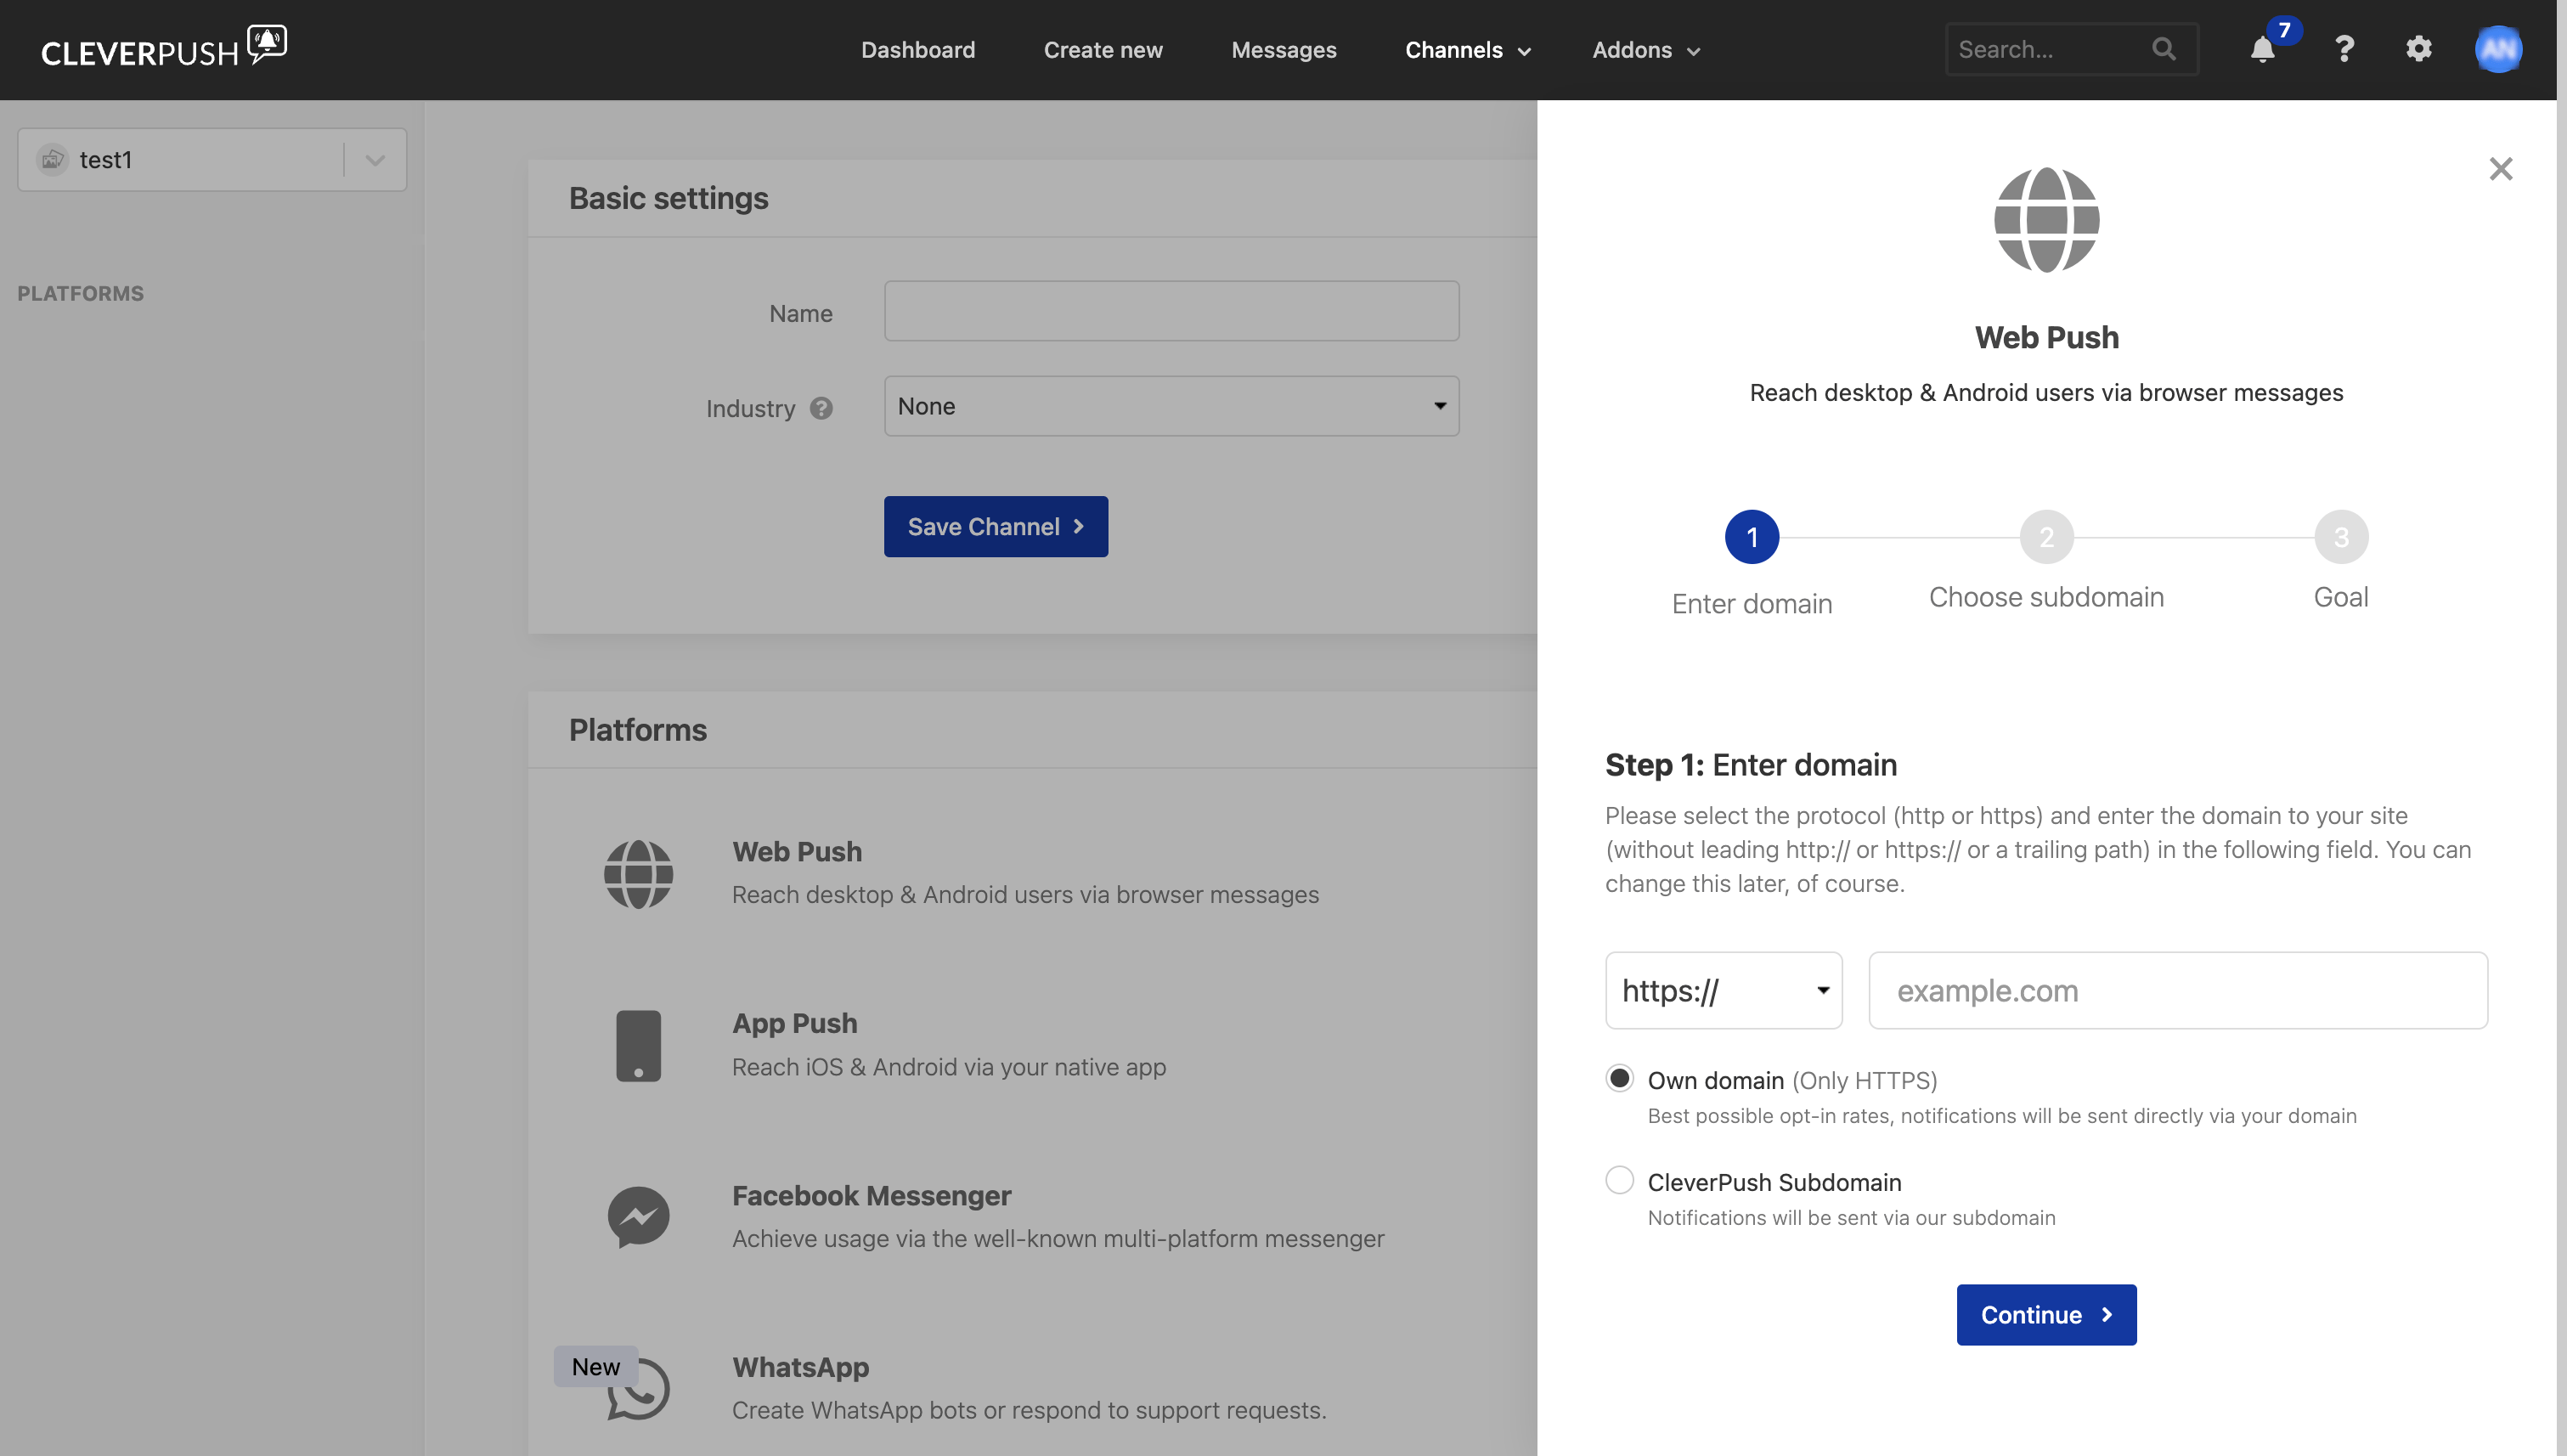
http:// or https:// and without a trailing path. Then choose one of the two delivery options and click Continue:- Own domain — HTTPS only. Notifications are sent directly via your domain.
- CleverPush Subdomain — notifications are sent via a Cleverpush-hosted subdomain.
4
On Step 2: Choose subdomain, enter the subdomain your users will opt in on and click Continue.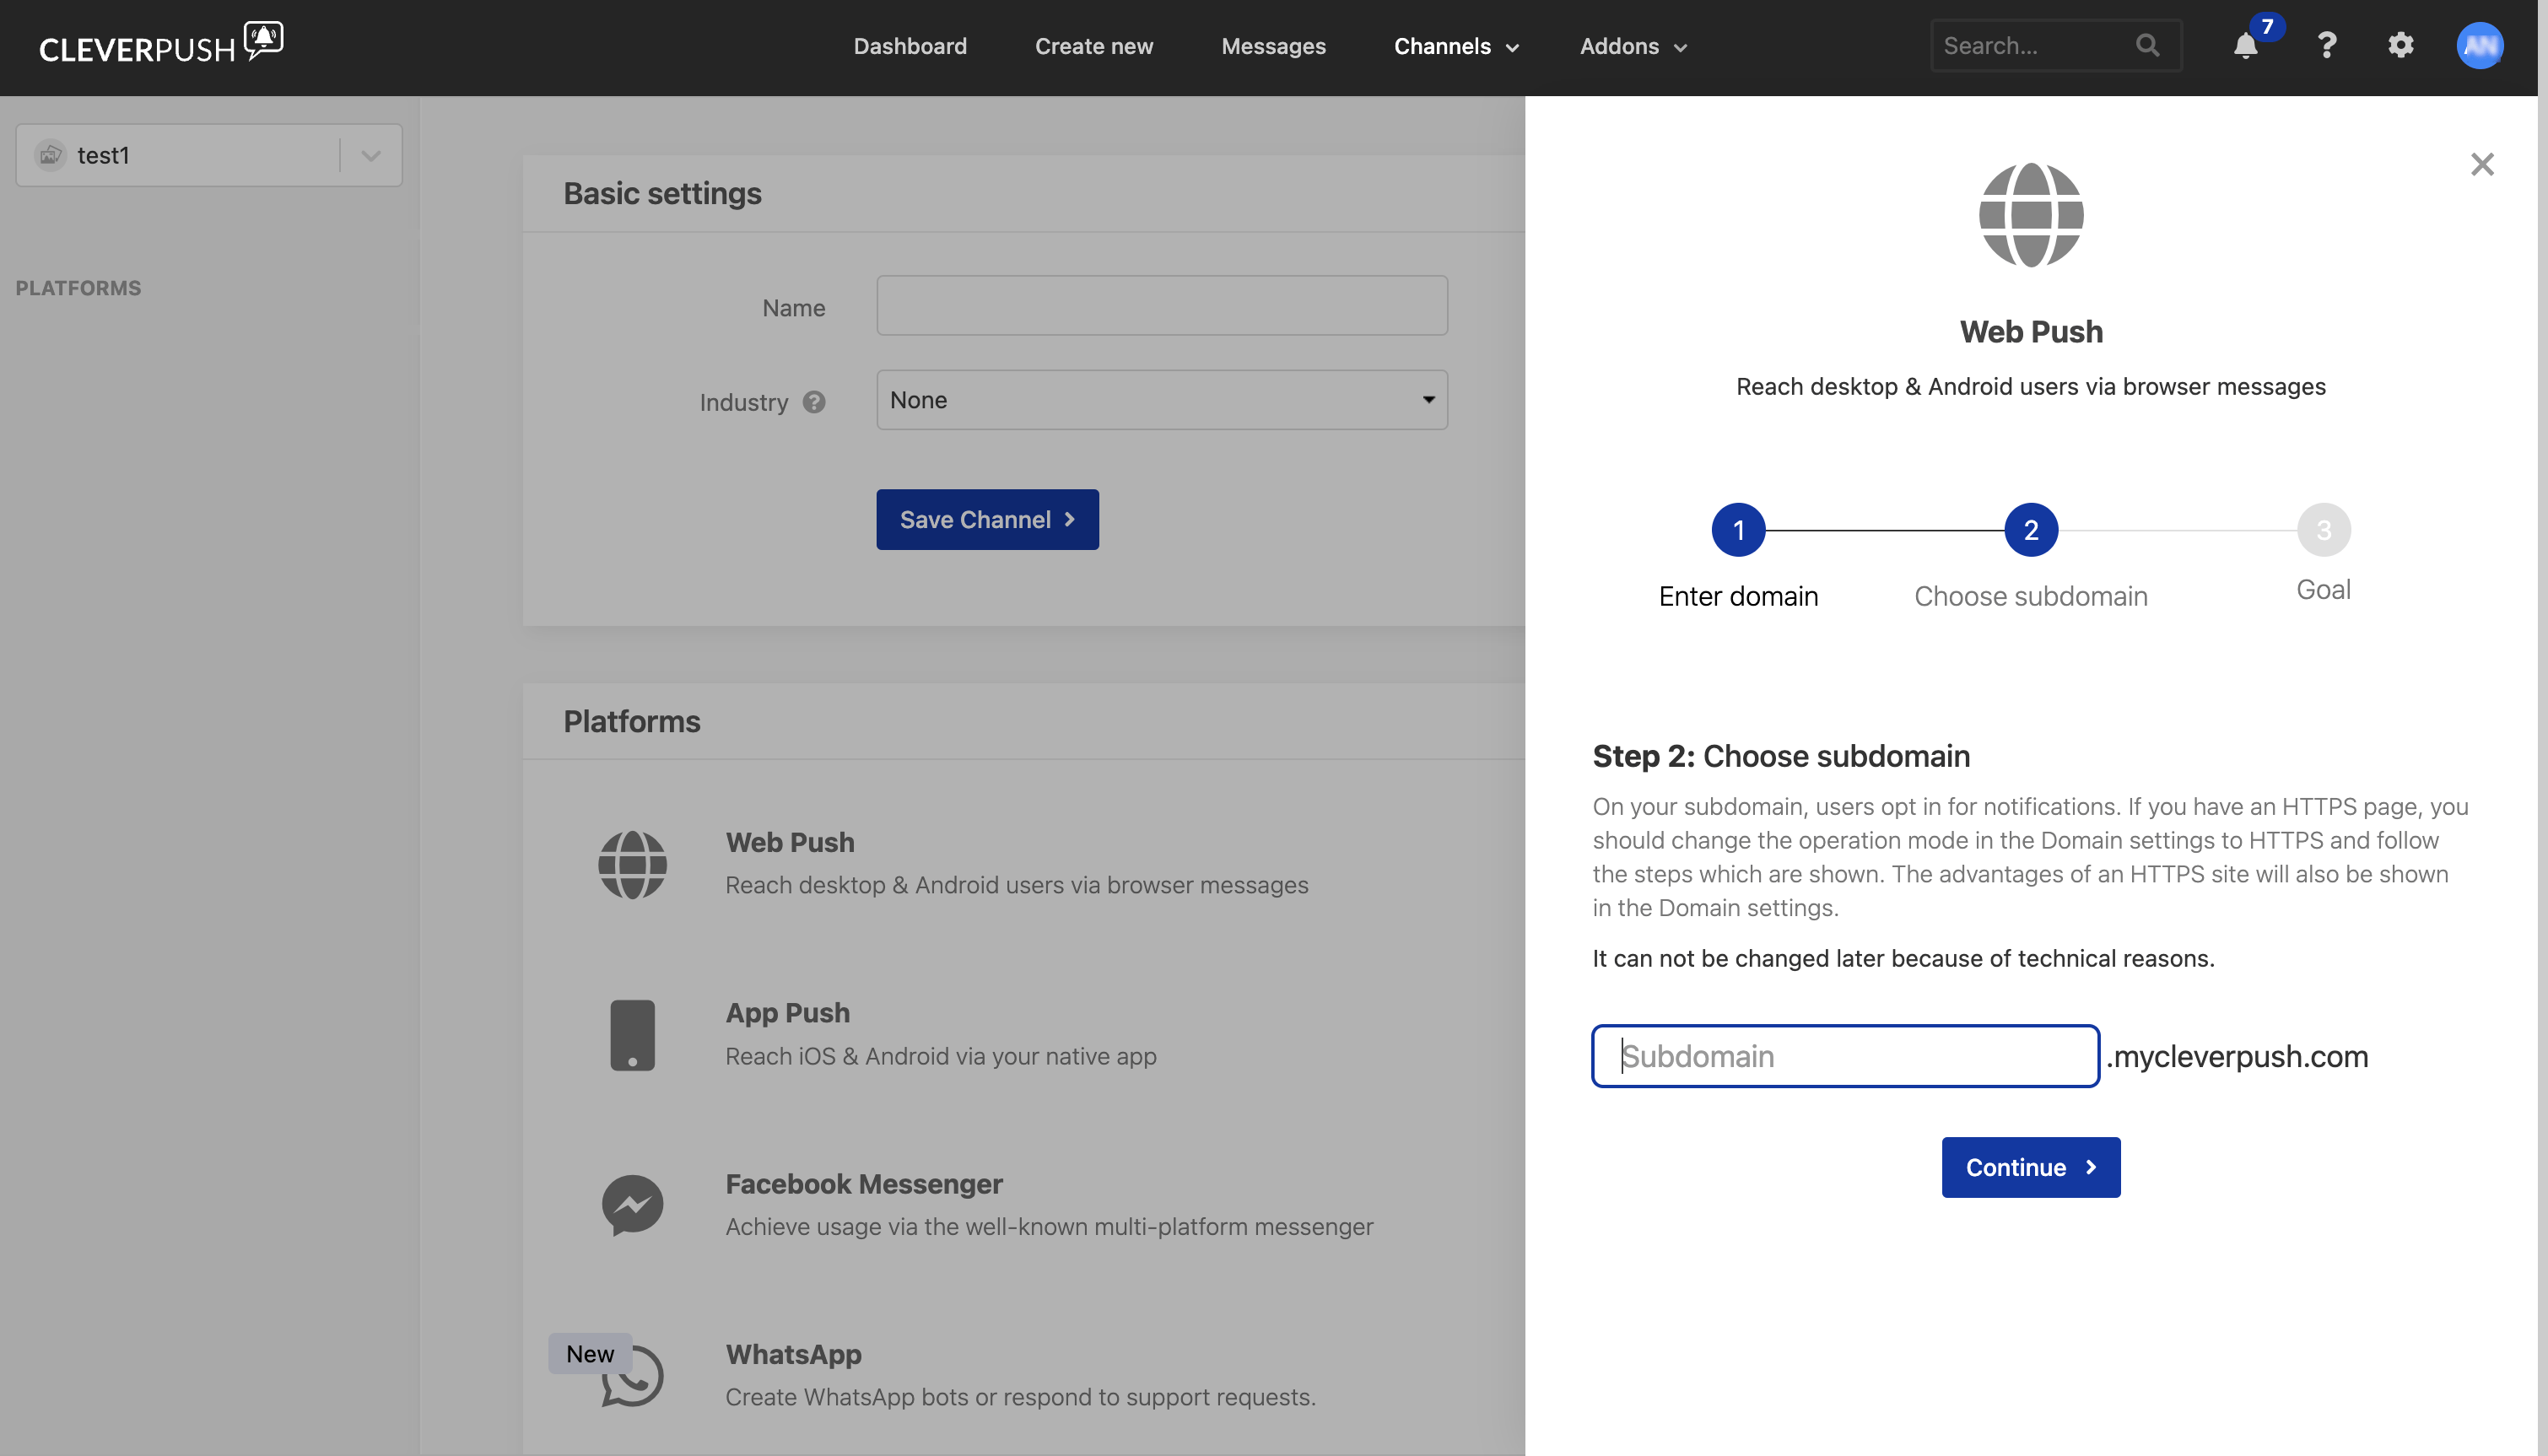
5
On the final step, Goal, click Setup now to finish.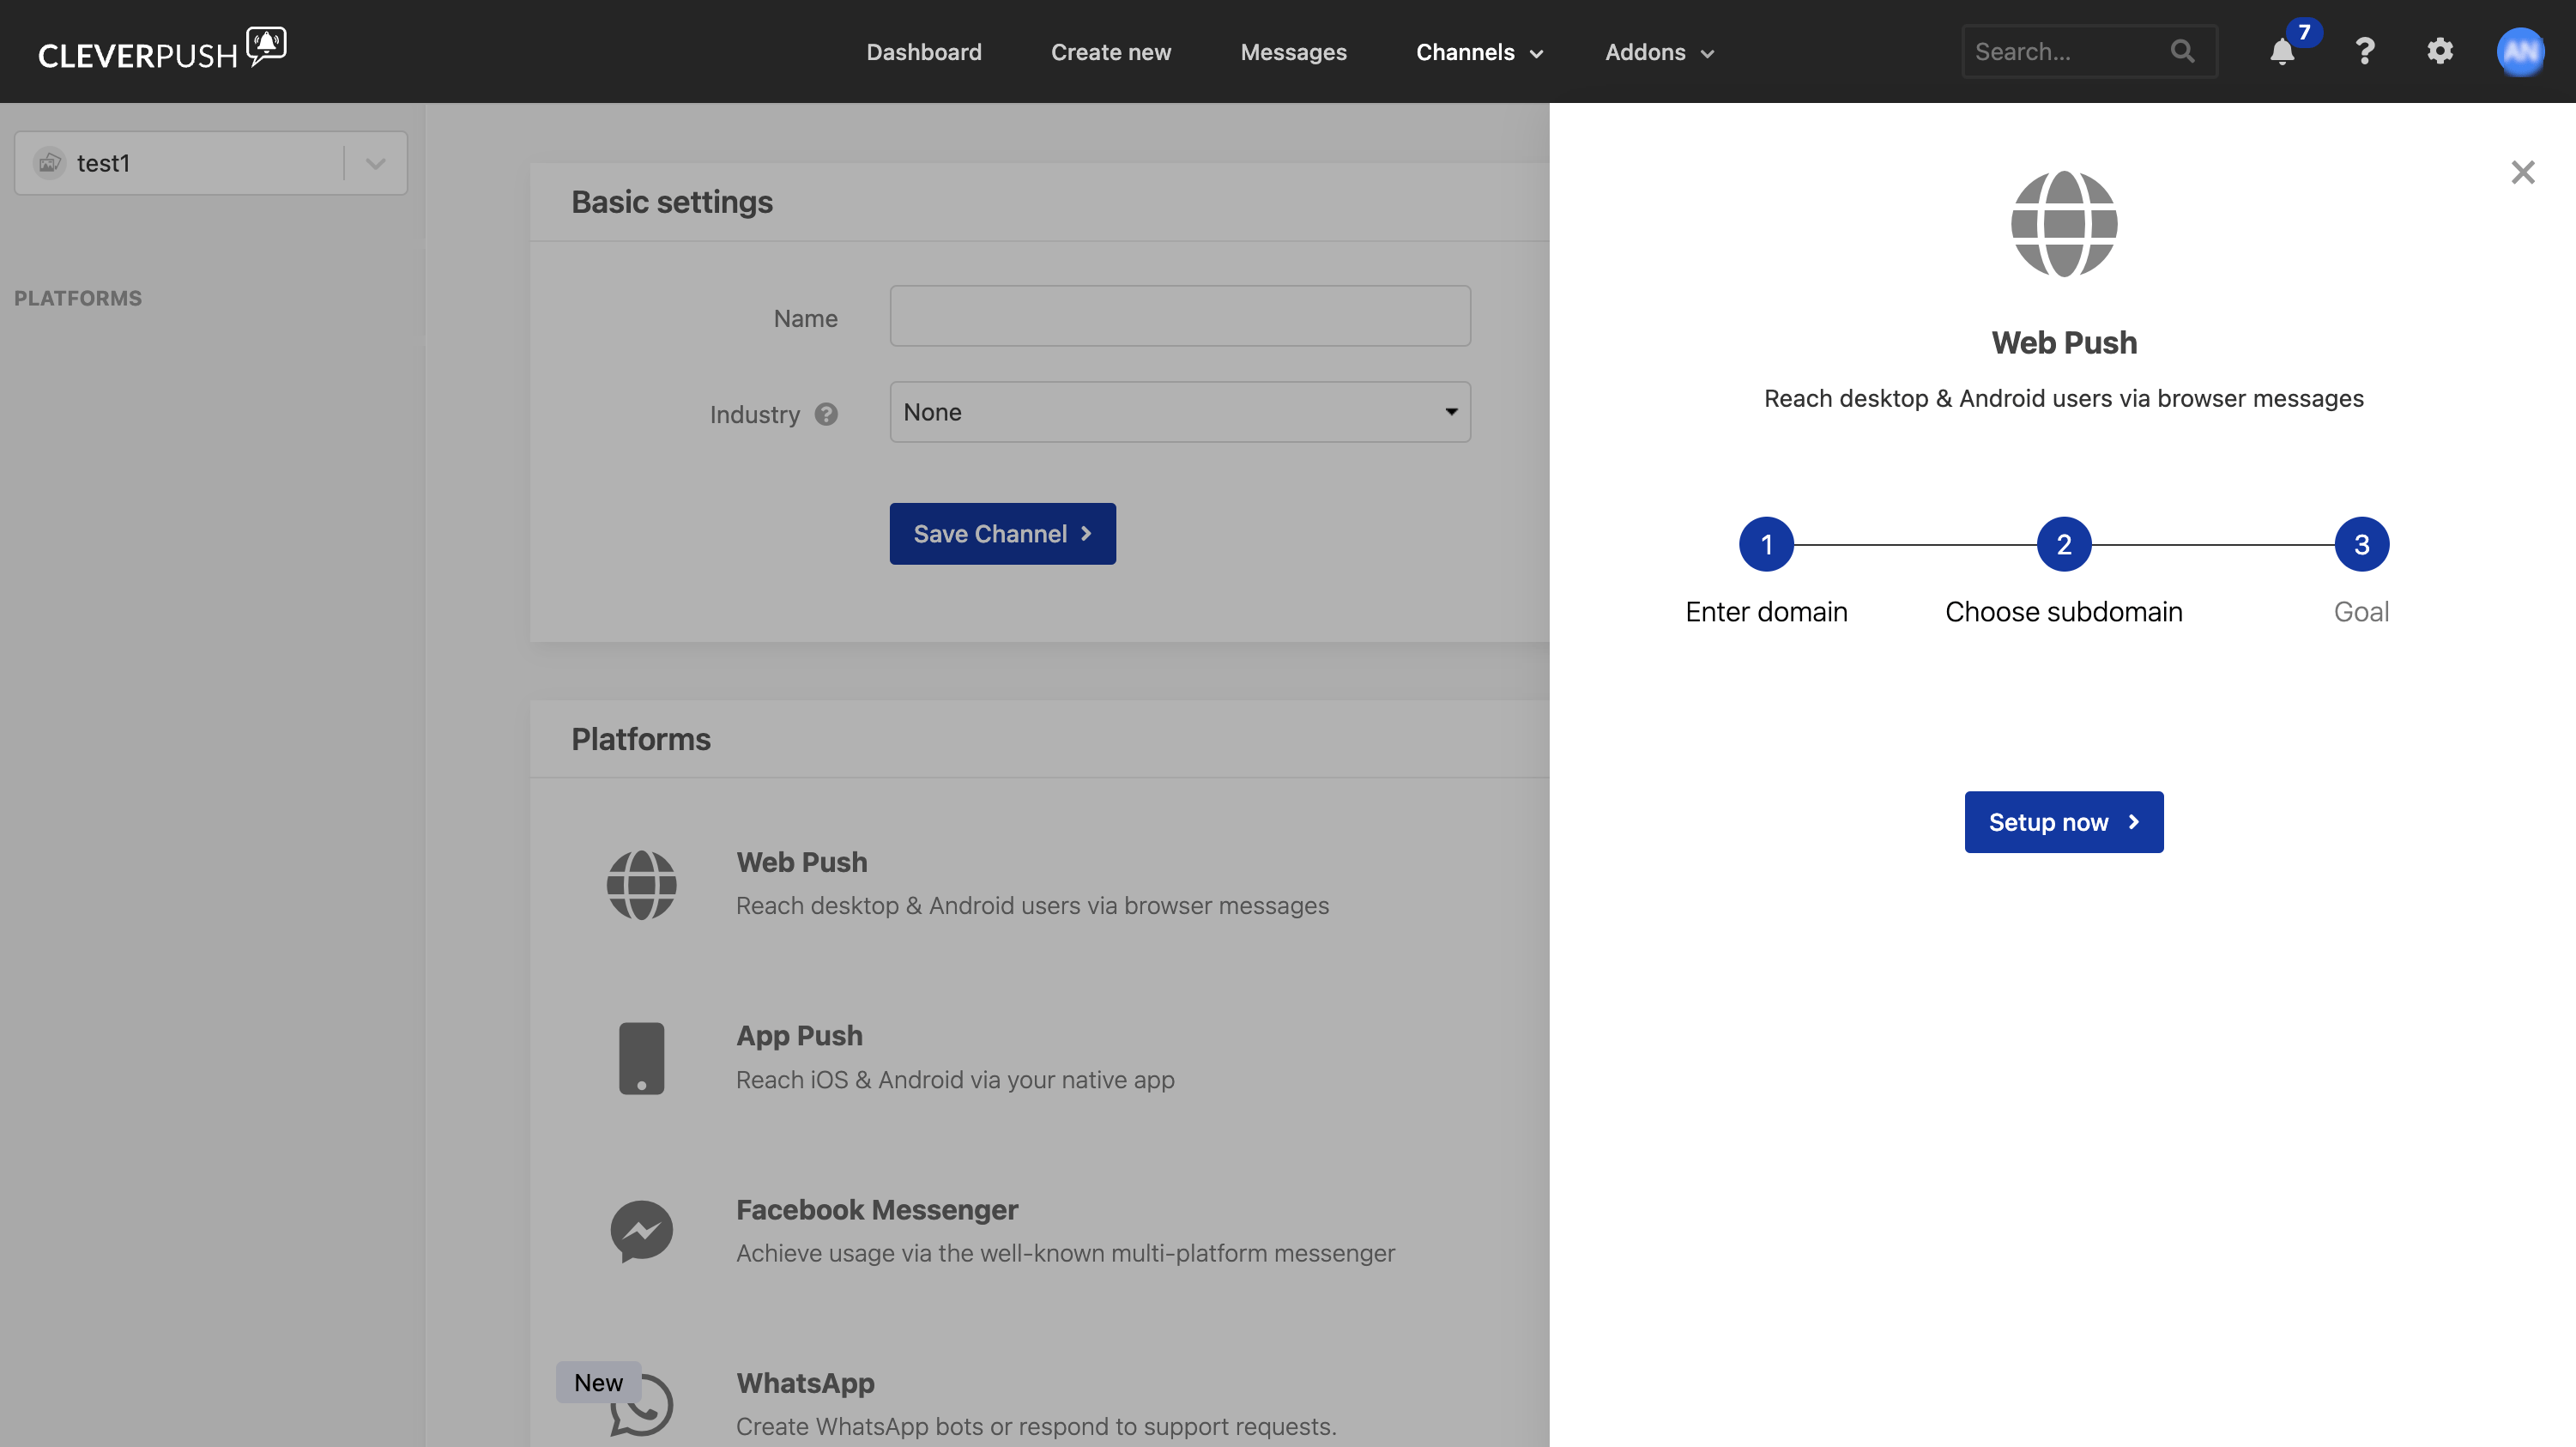
Set up App Push in Cleverpush
1
In the Cleverpush console, open Channels, select the channel you created, and go to Platforms.
2
Click Setup now next to App Push.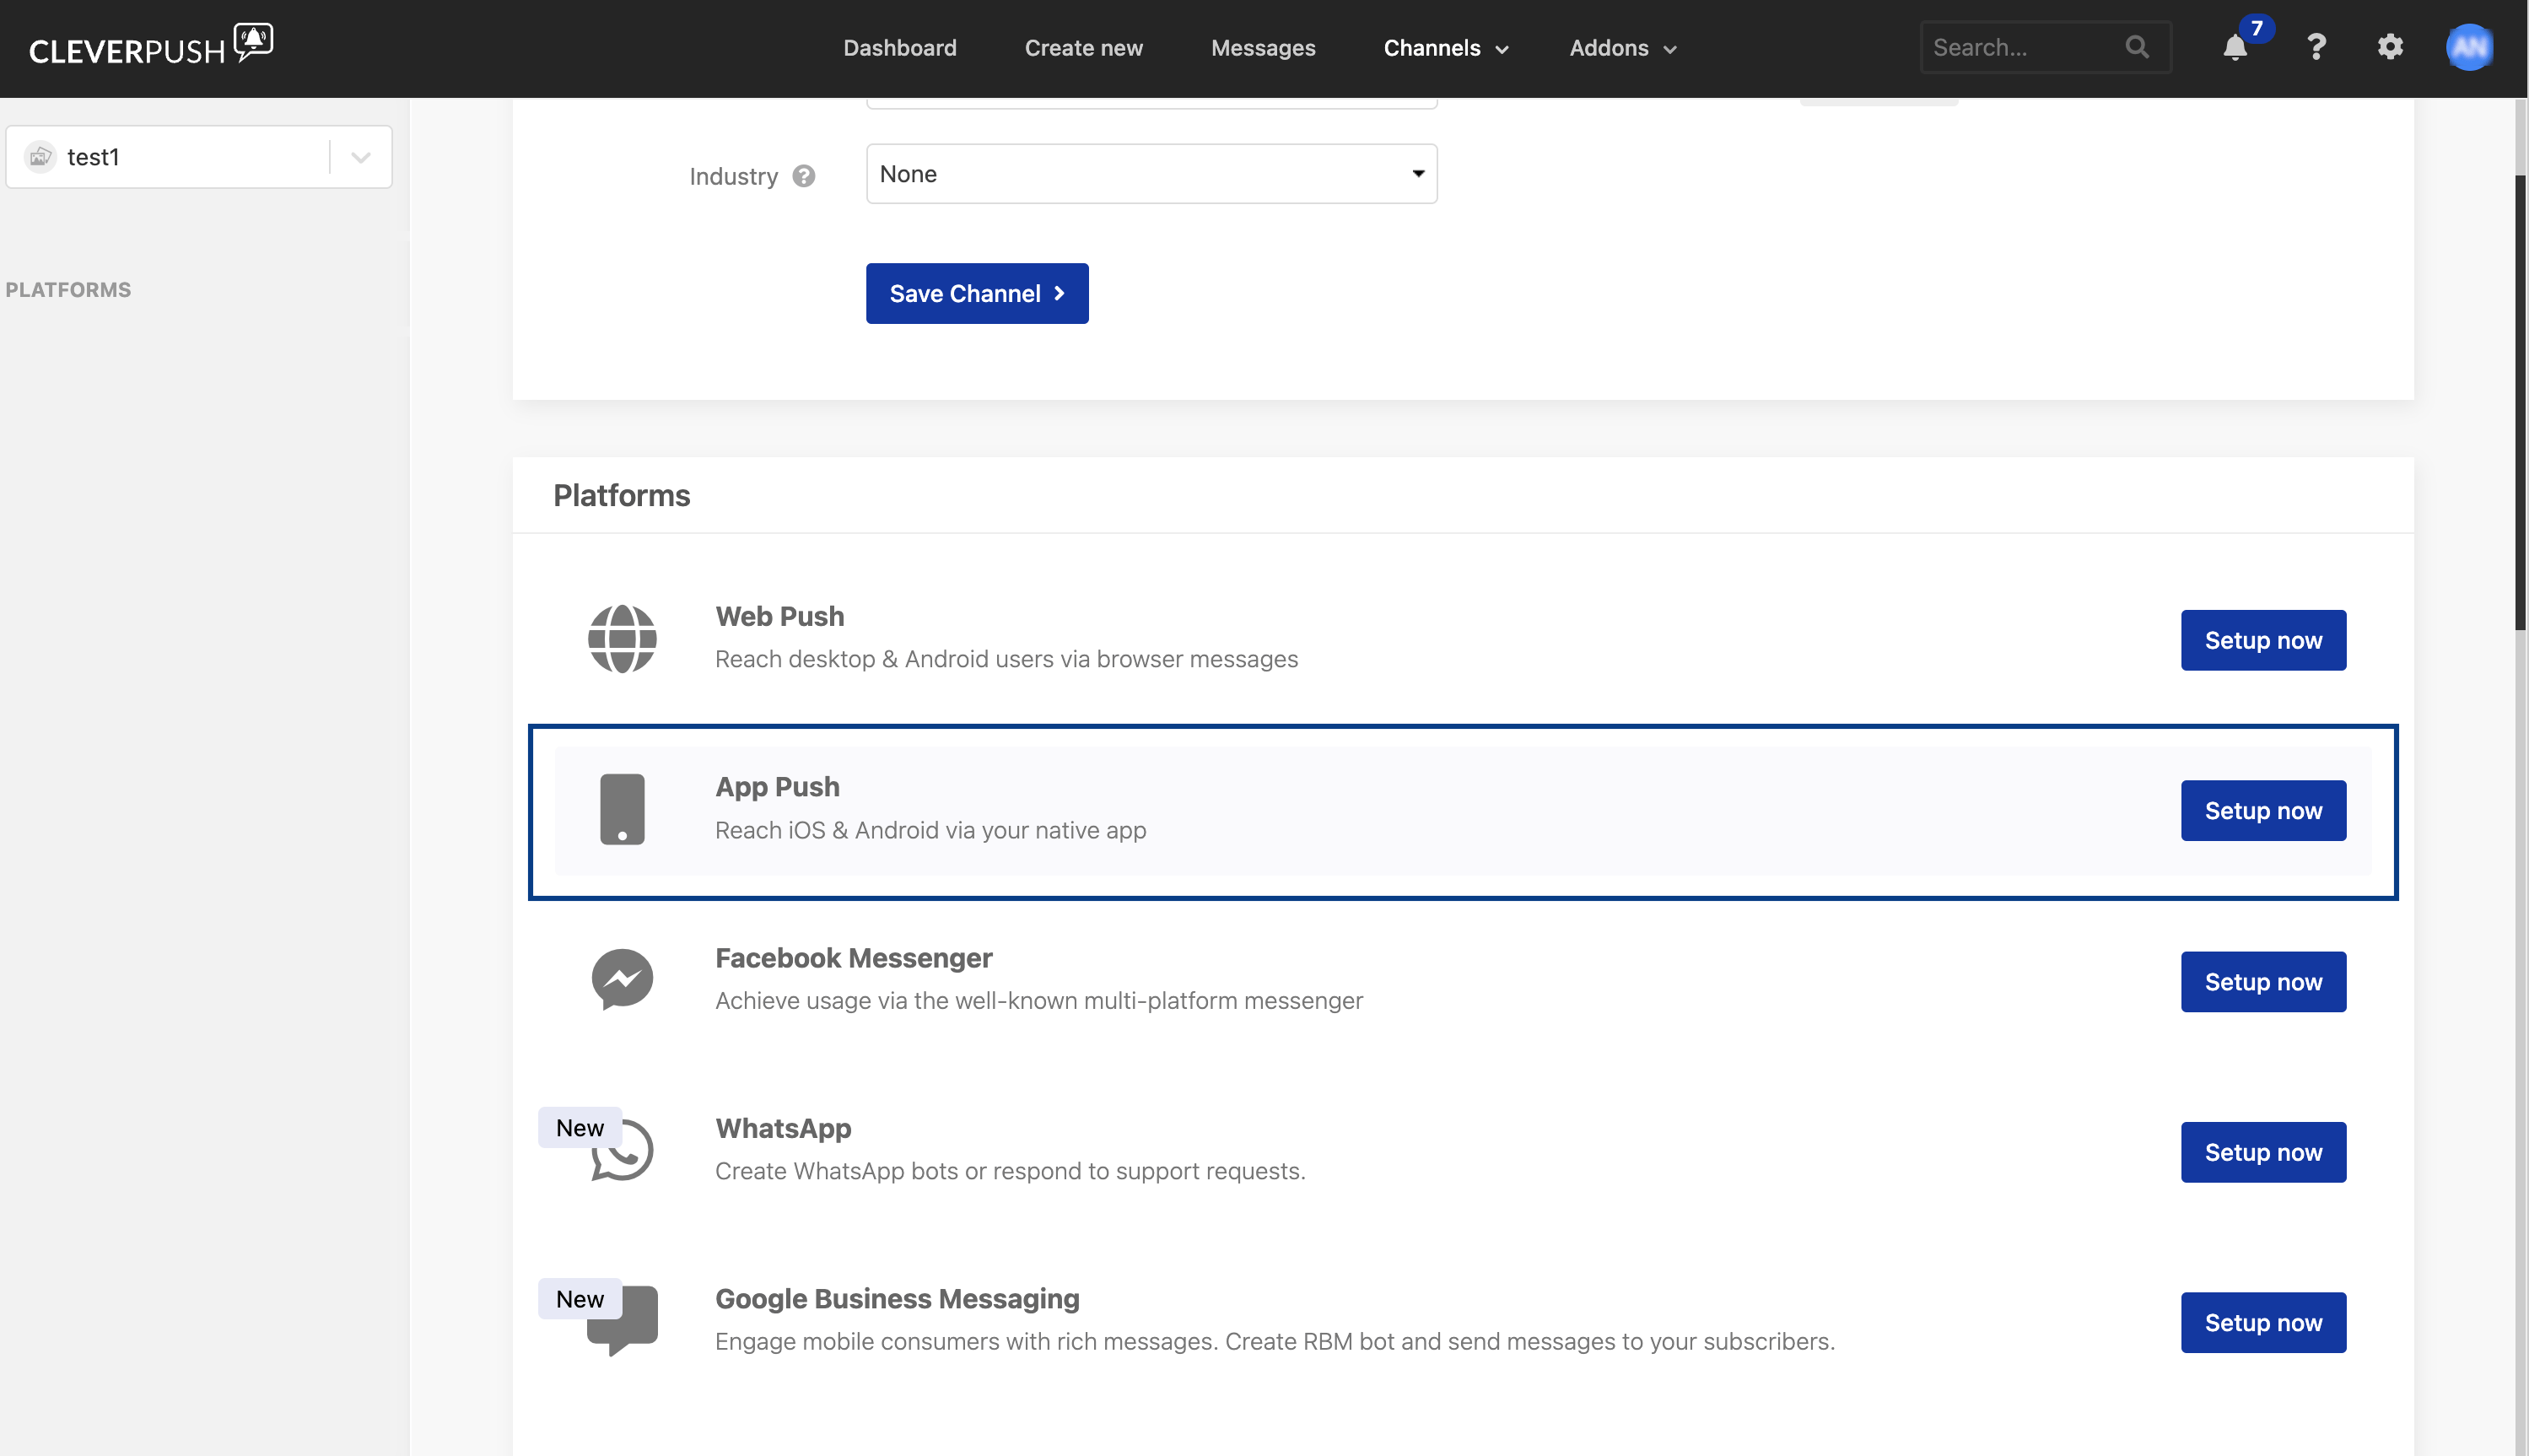
3
Click Setup now in the App Push panel.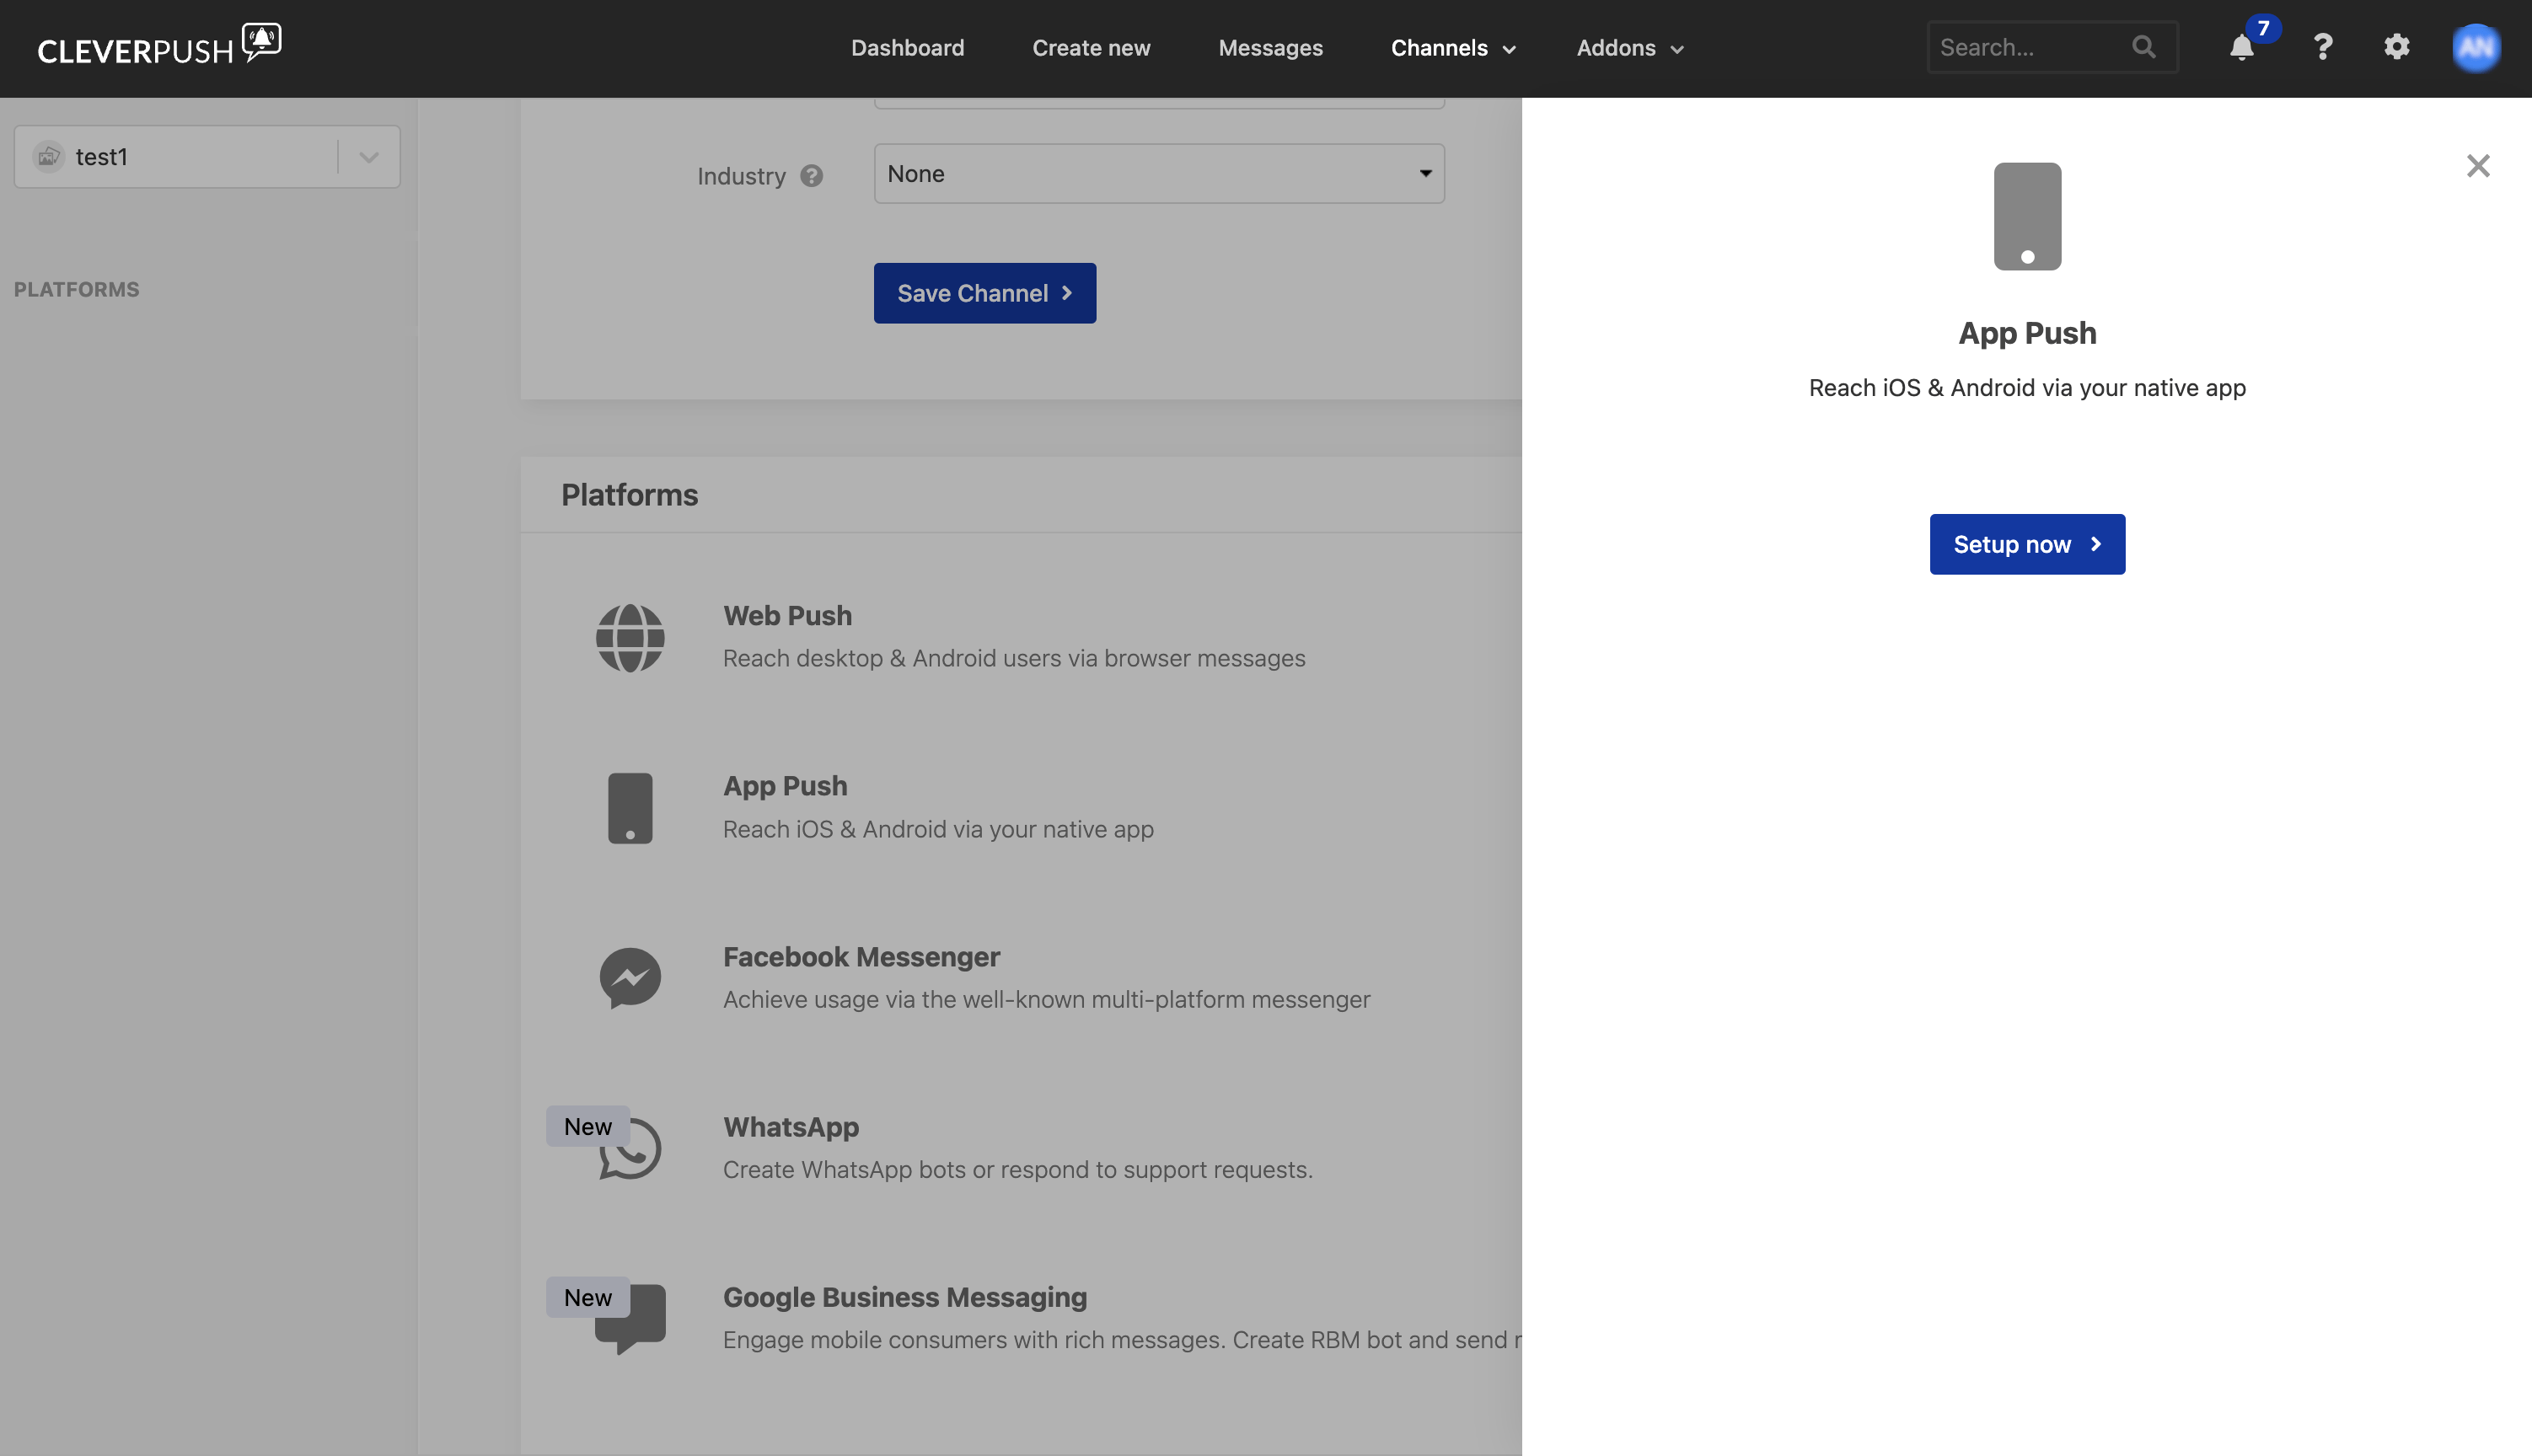
4
Open Implementation for the channel and choose the SDK documentation that matches your app.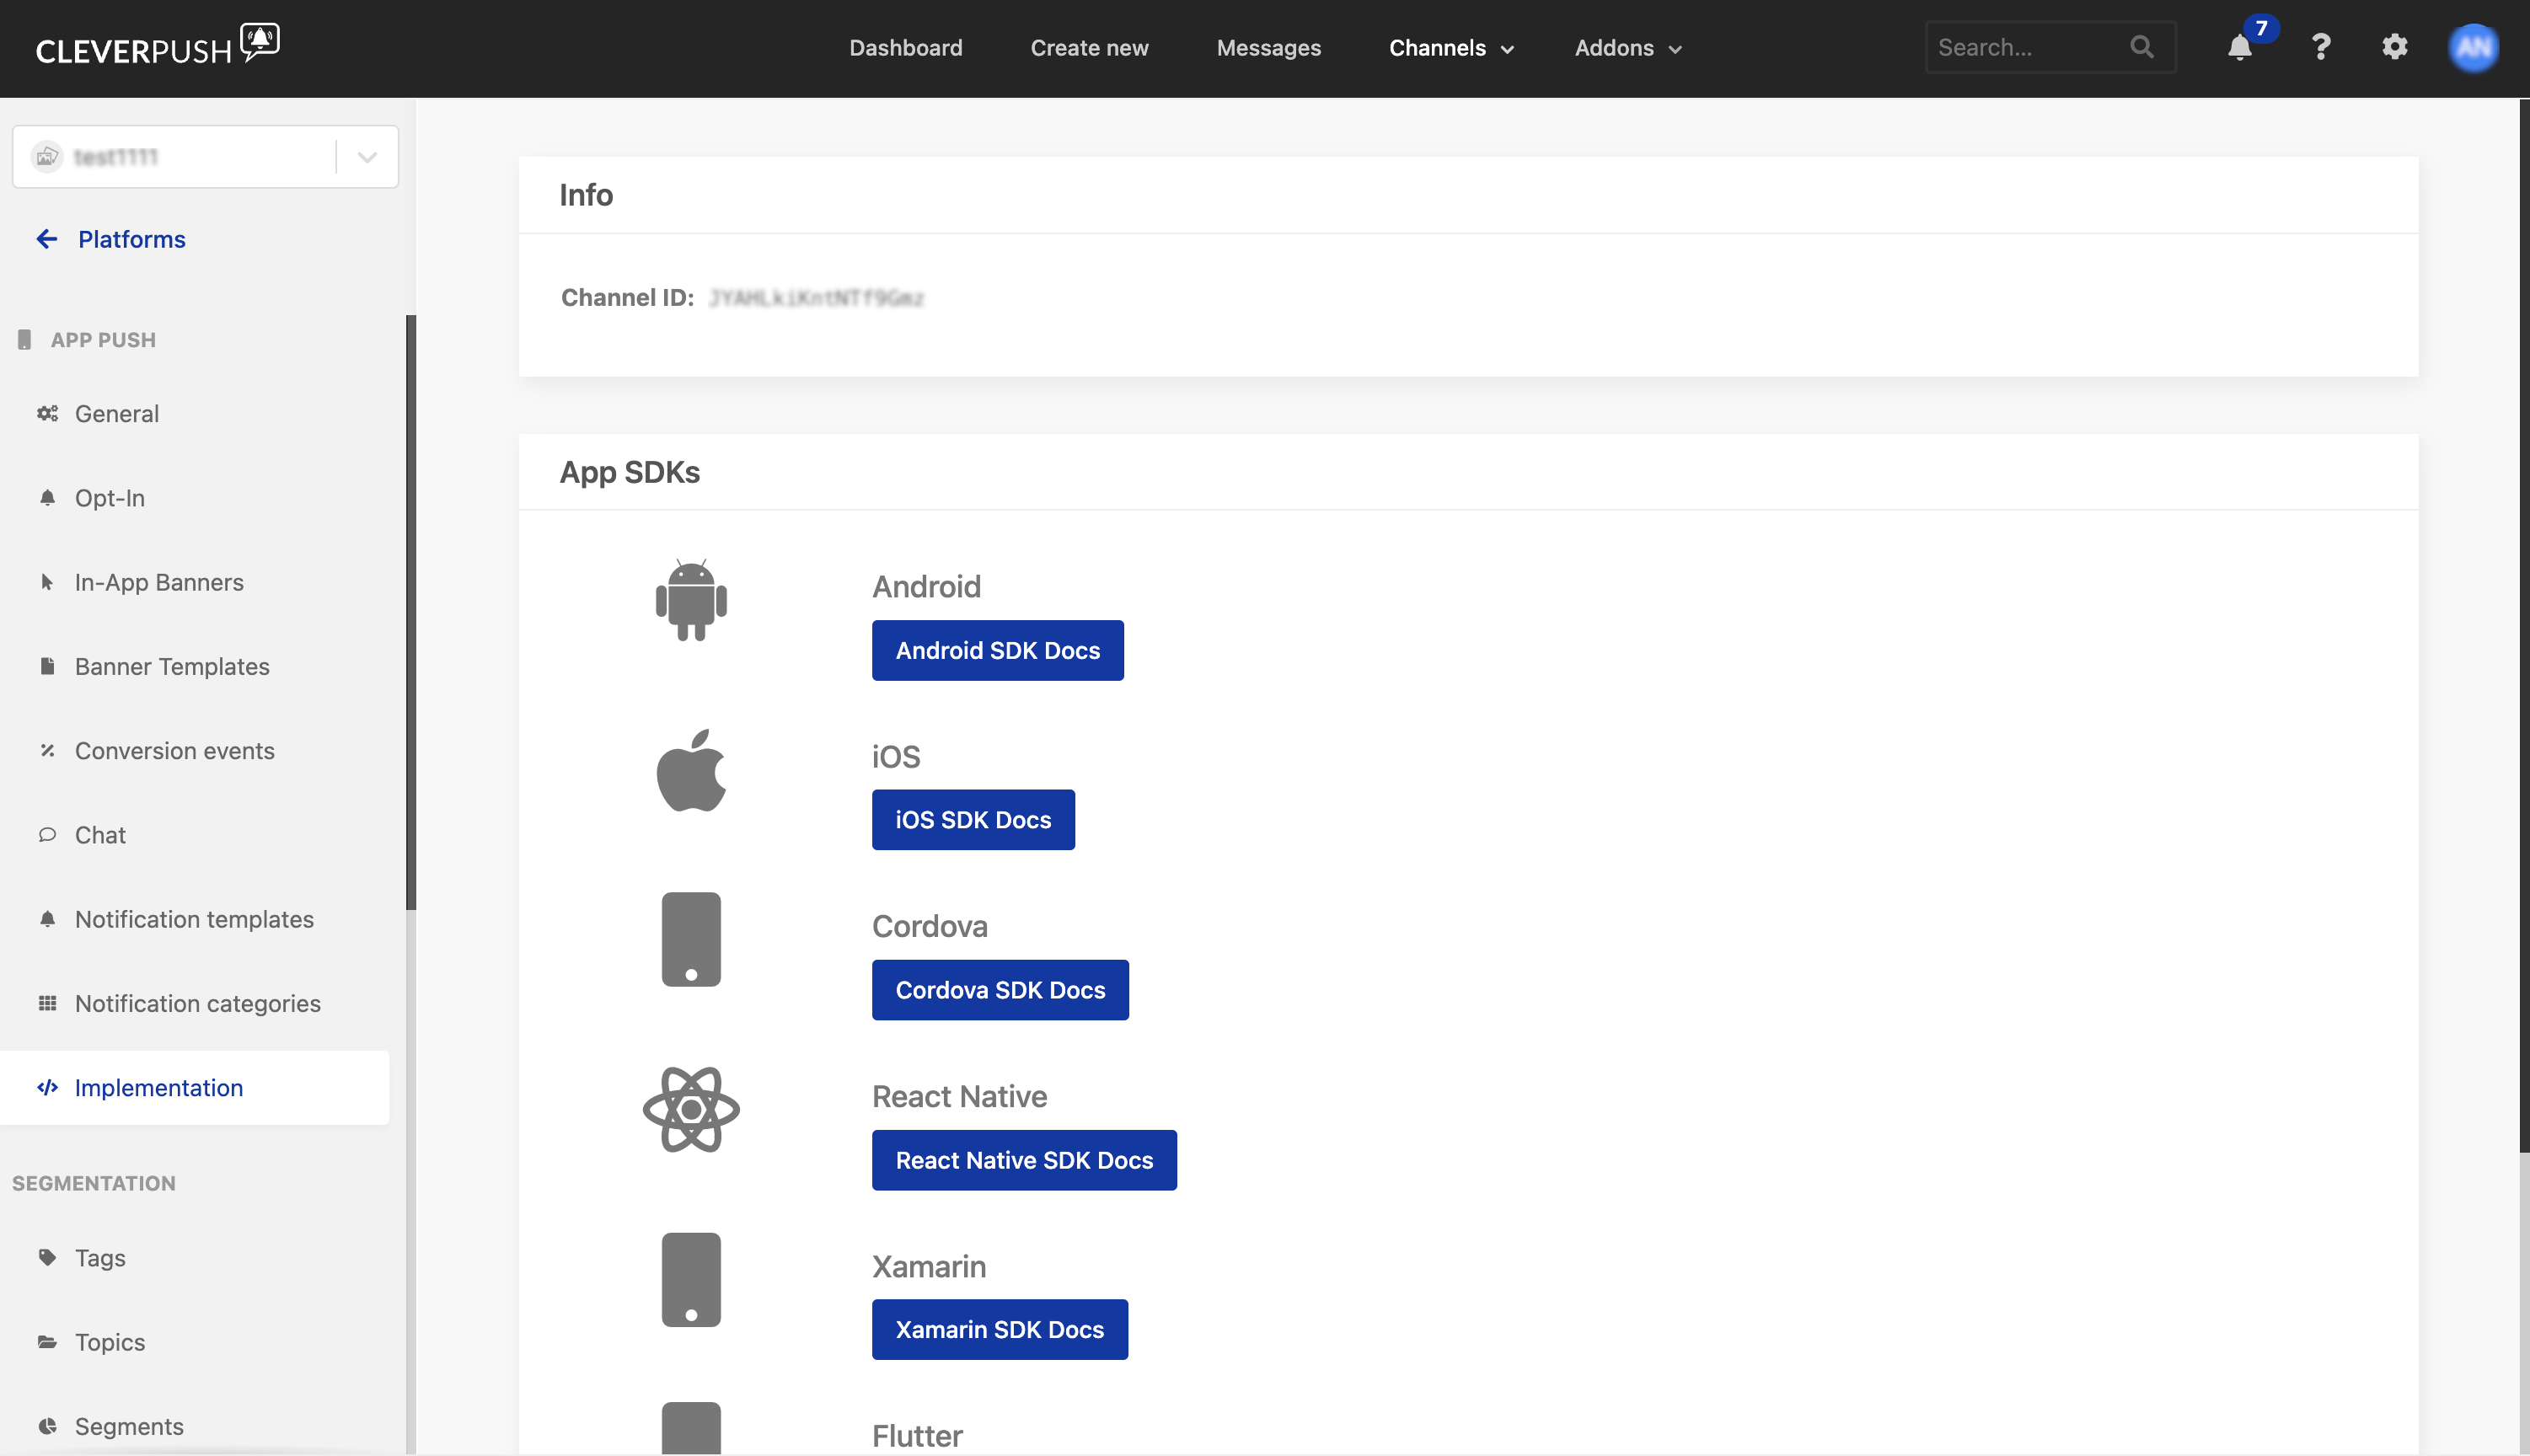
Set up Email Push in Cleverpush
In the Cleverpush Platforms list this platform is labelled Email. Zeotap documentation refers to the same platform as Email Push.
1
In the Cleverpush console, open Channels, select the channel you created, and go to Platforms.
2
Scroll down the Platforms list to Email and click Setup now.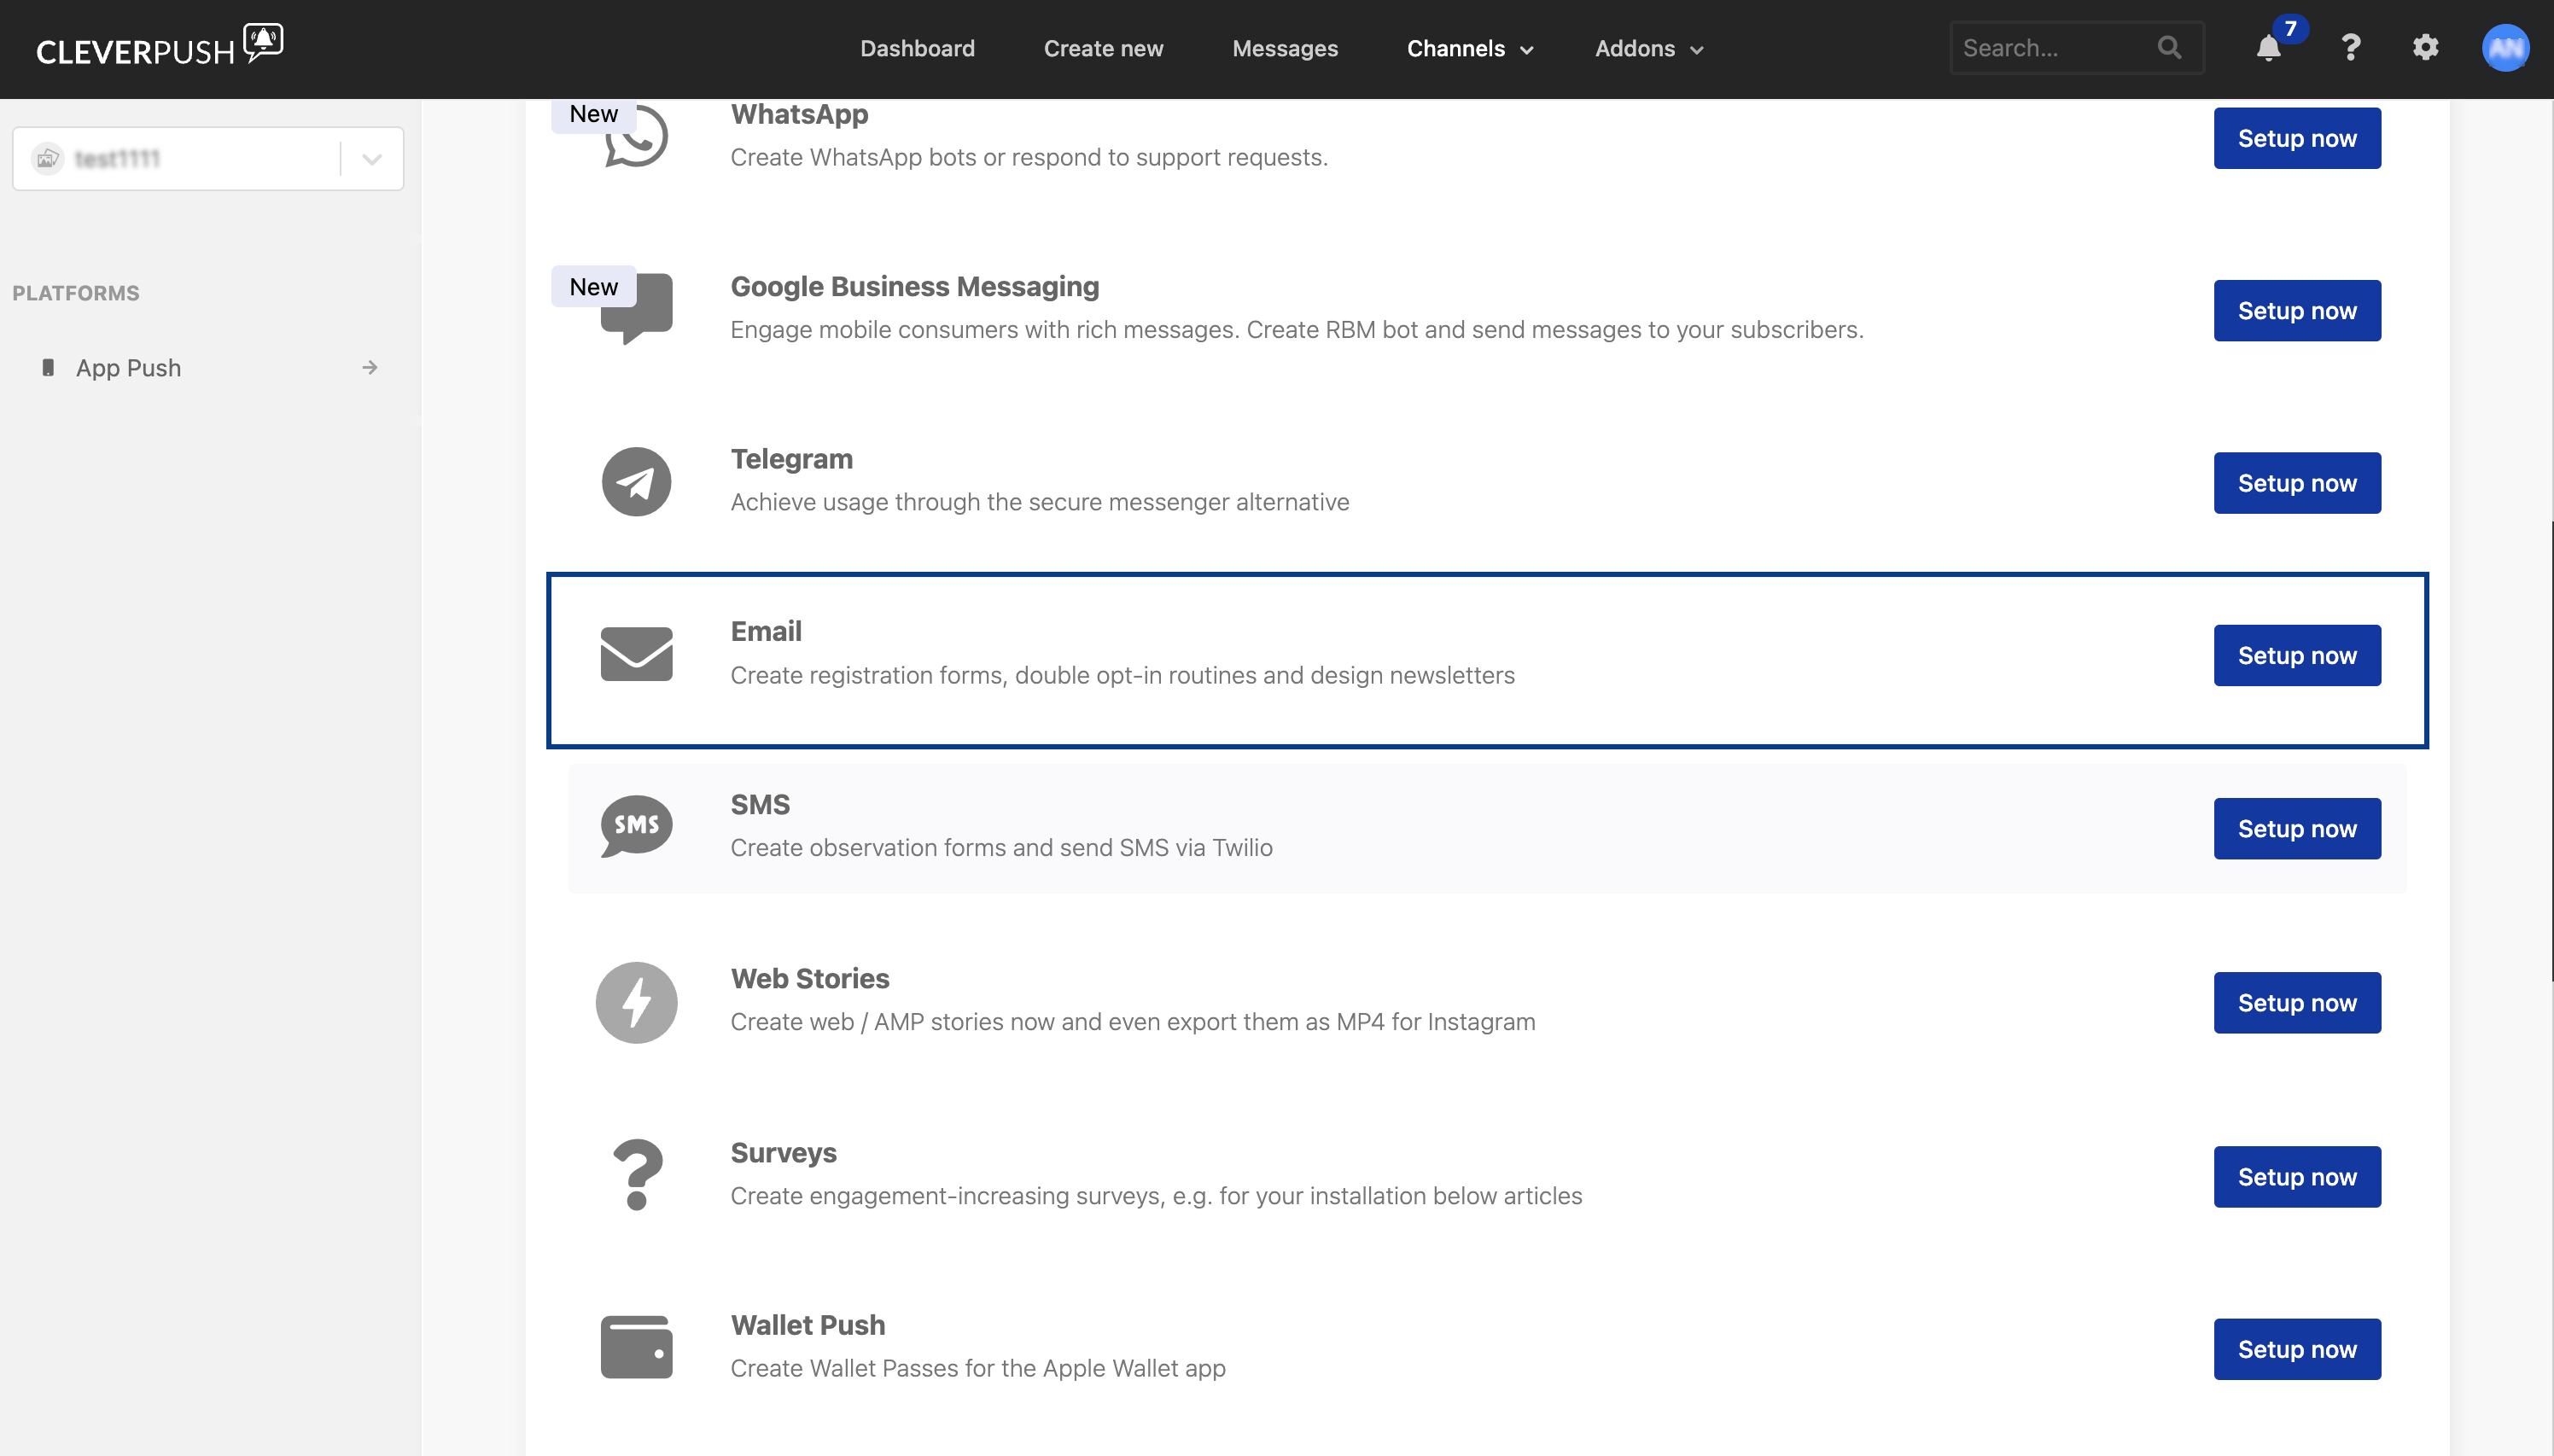
3
Click Setup now in the Email panel.