

What this is
Real-time activation sends qualified users from a Journeys workflow to your marketing destination as they meet the workflow’s filters and conditions. You attach a destination to the Send to Destinations node inside a workflow: the destination holds the connection credentials, and the node holds the workflow-specific action and field mapping. This page walks through creating a new destination from inside a workflow, attaching it to the Send to Destinations node, and publishing the workflow so activation begins. Each real-time integration (SFMC Personalization, Adobe Campaign, Airship, Batch, Cleverpush, Optimizely, Channable) has its own reference page for the exact credentials and actions it accepts; this page covers the flow that is common to all of them.Prerequisites
Before you start:
- A Journeys workflow with the user filters or conditions already applied. See Create a Workflow.
- Destination-side credentials for the platform you are activating to (for example, an SFMC Personalization Account Name, API Instance, and Dataset Name). Each destination integration page lists the exact credentials it requires.
- Permission to create destinations and publish workflows in your Zeotap CDP workspace.
Add a new destination from the workflow
You can attach an existing destination or create a new one from the Send to Destinations node.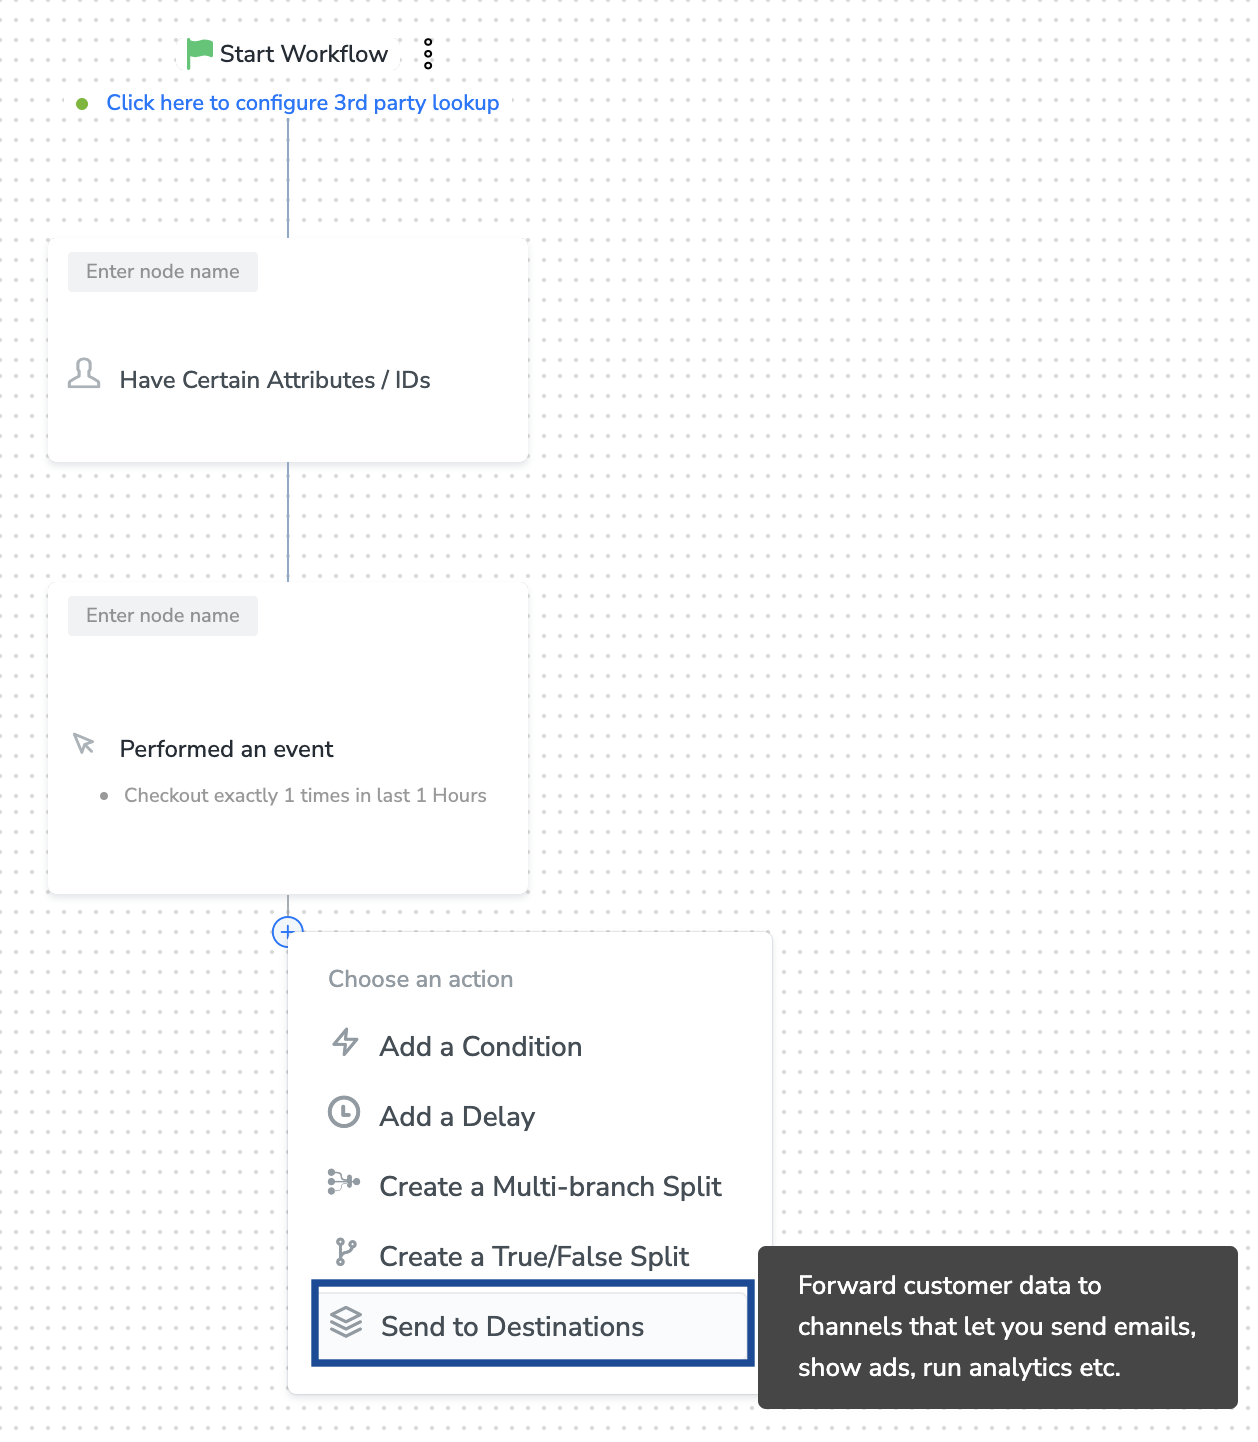
1
Open the workflow and click the Send to Destinations node. A panel opens listing the destinations already available in your workspace.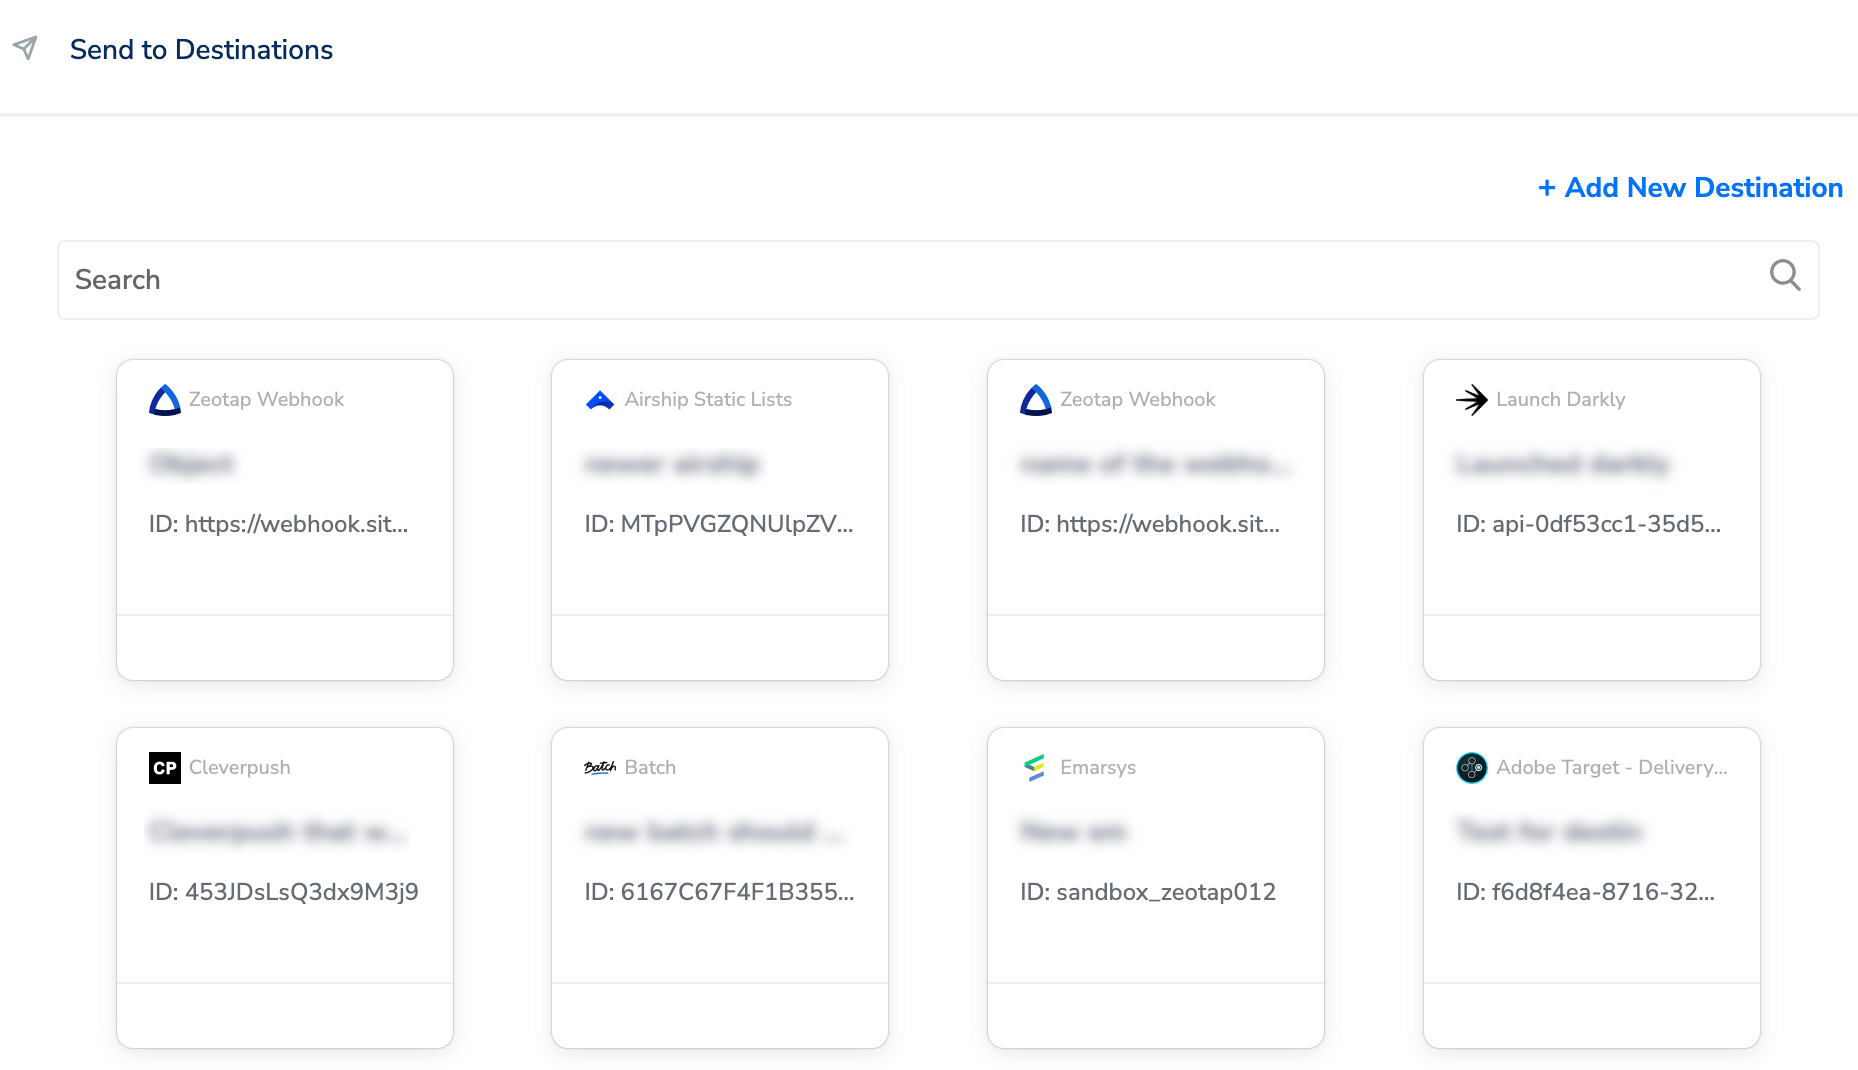
2
Click + Add New Destination to create a new destination, or select an existing destination from the list to reuse it.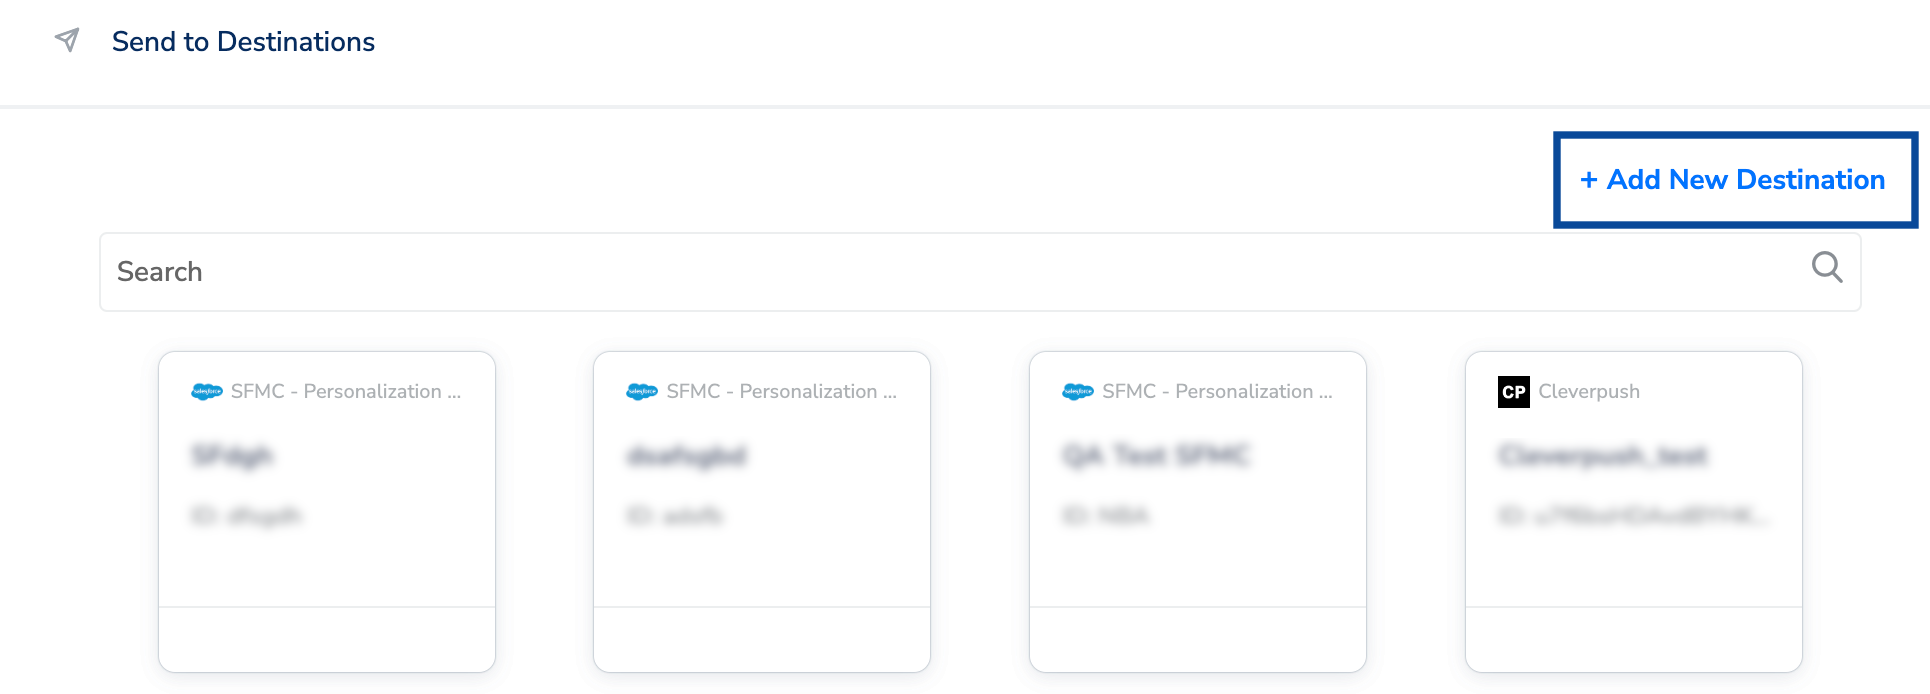
3
Search for your real-time integration in the search box, then click the integration and enter a name for the destination.
4
Enter the components required for that integration. For SFMC Personalization, enter Account Name, API Instance, and Dataset Name obtained from your SFMC instance. Other integrations require different credentials — refer to the integration-specific page under Next steps.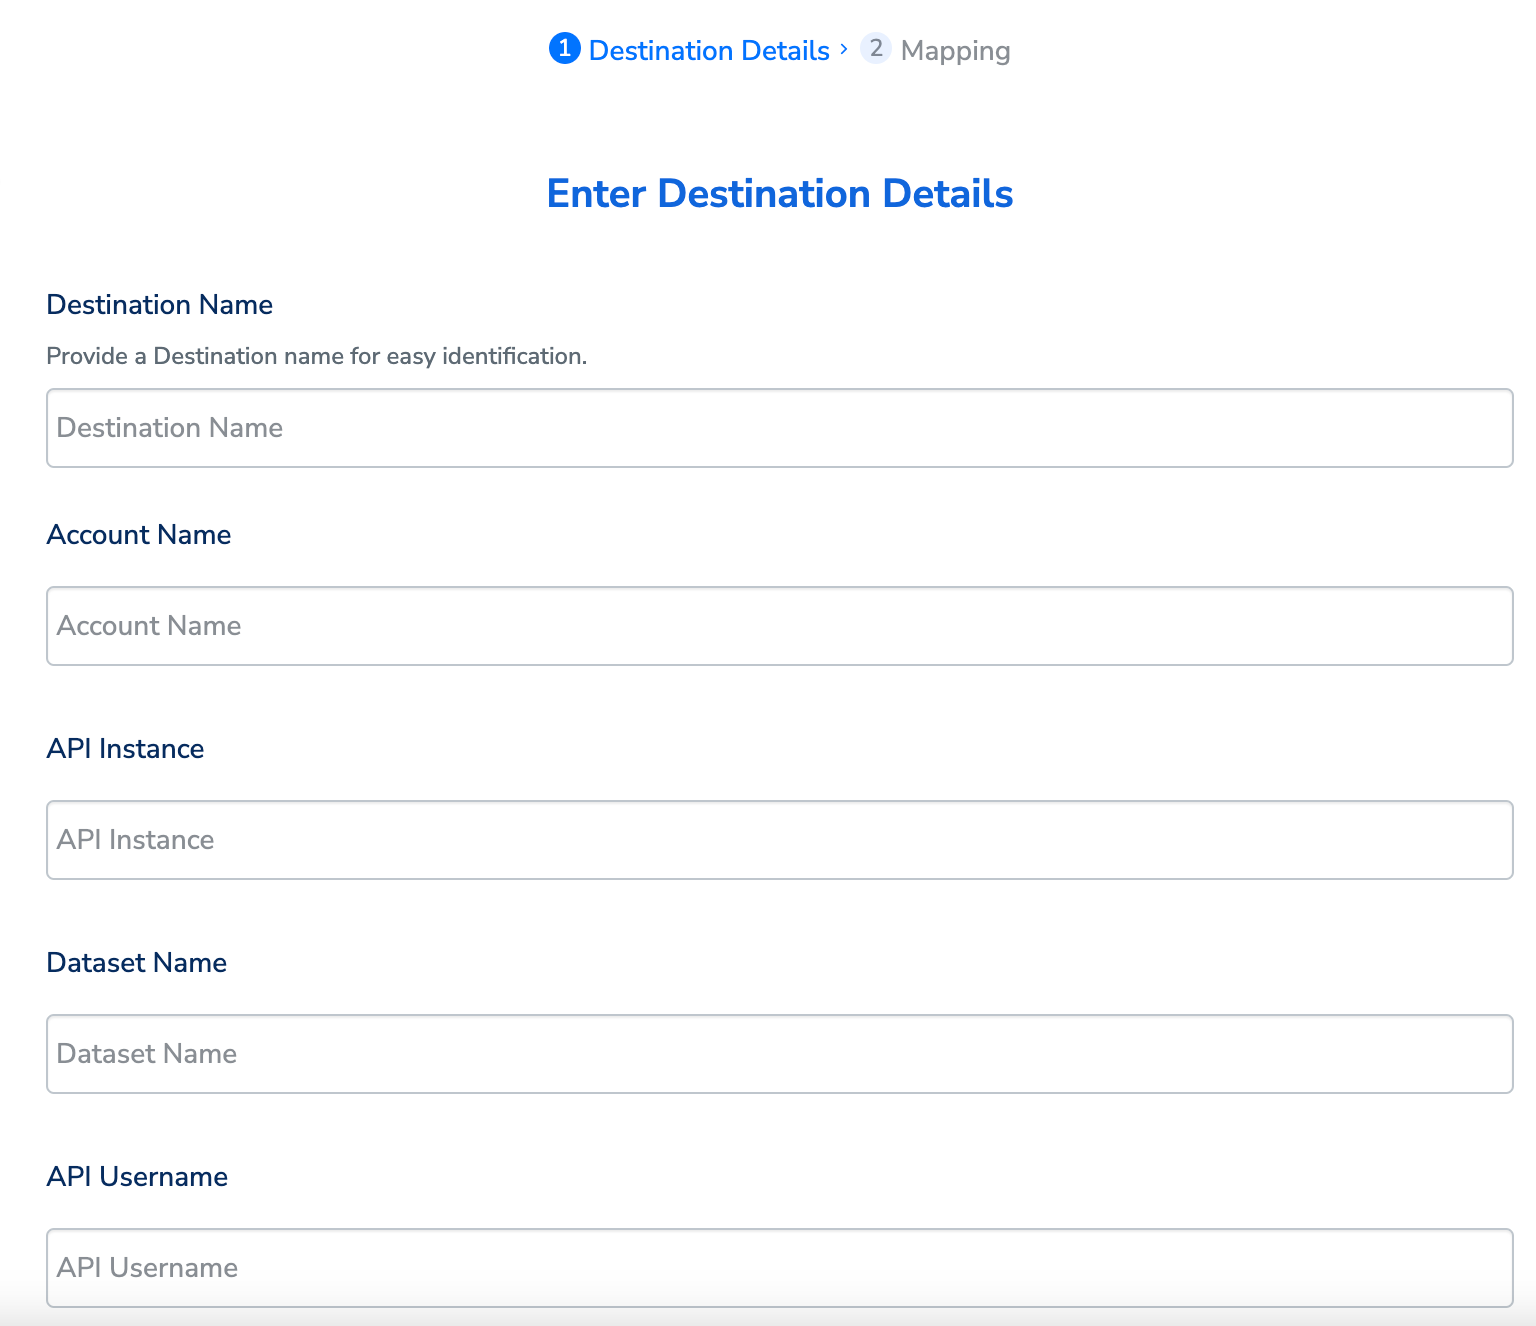
5
Click Next to proceed to field mapping.
6
Under Choose your Action, select the action for real-time activation. For SFMC Personalization the action is Send attributes to SFMC Personalization. Under Map the Fields, map the identifiers and attributes required by the destination. Use + Add Mapping Field to add custom identifier or attribute fields.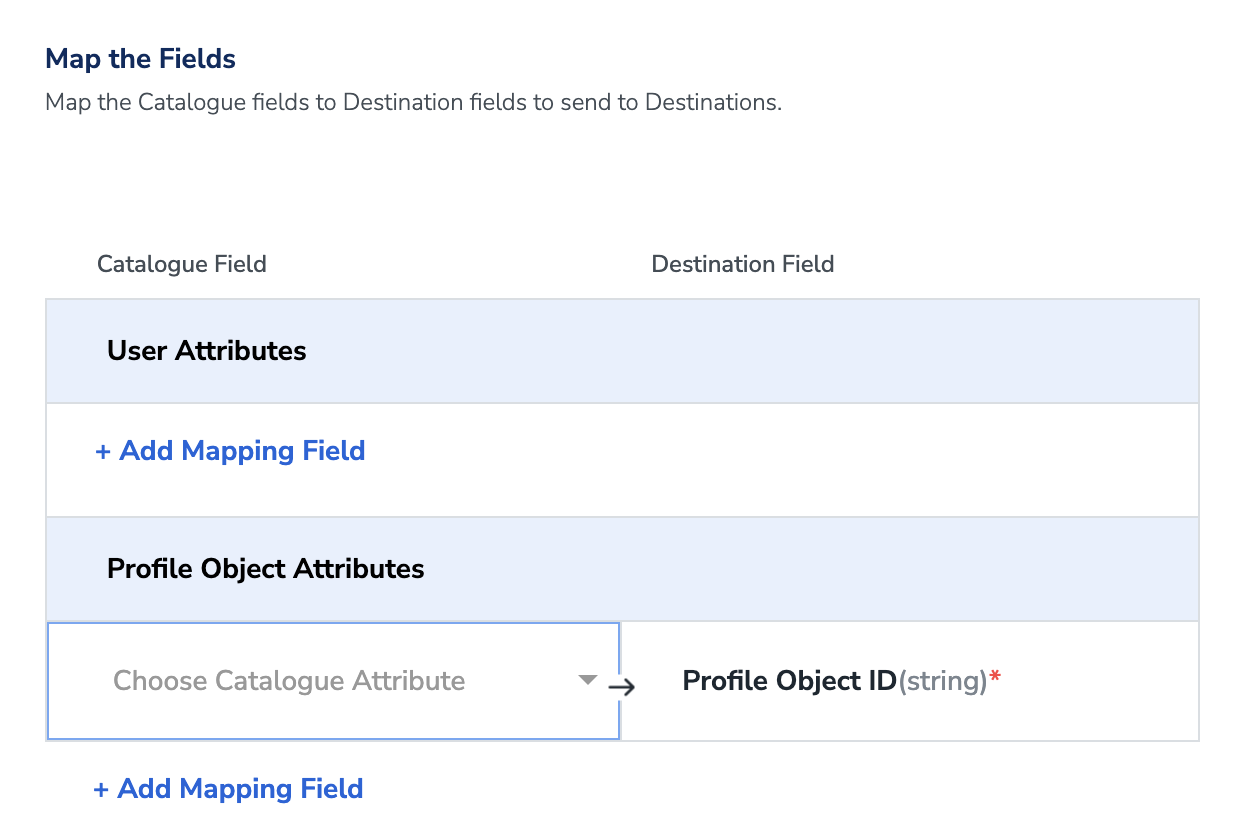
7
Click Create Destination. The destination is created and returns you to the destination list, where it is now selectable for this workflow.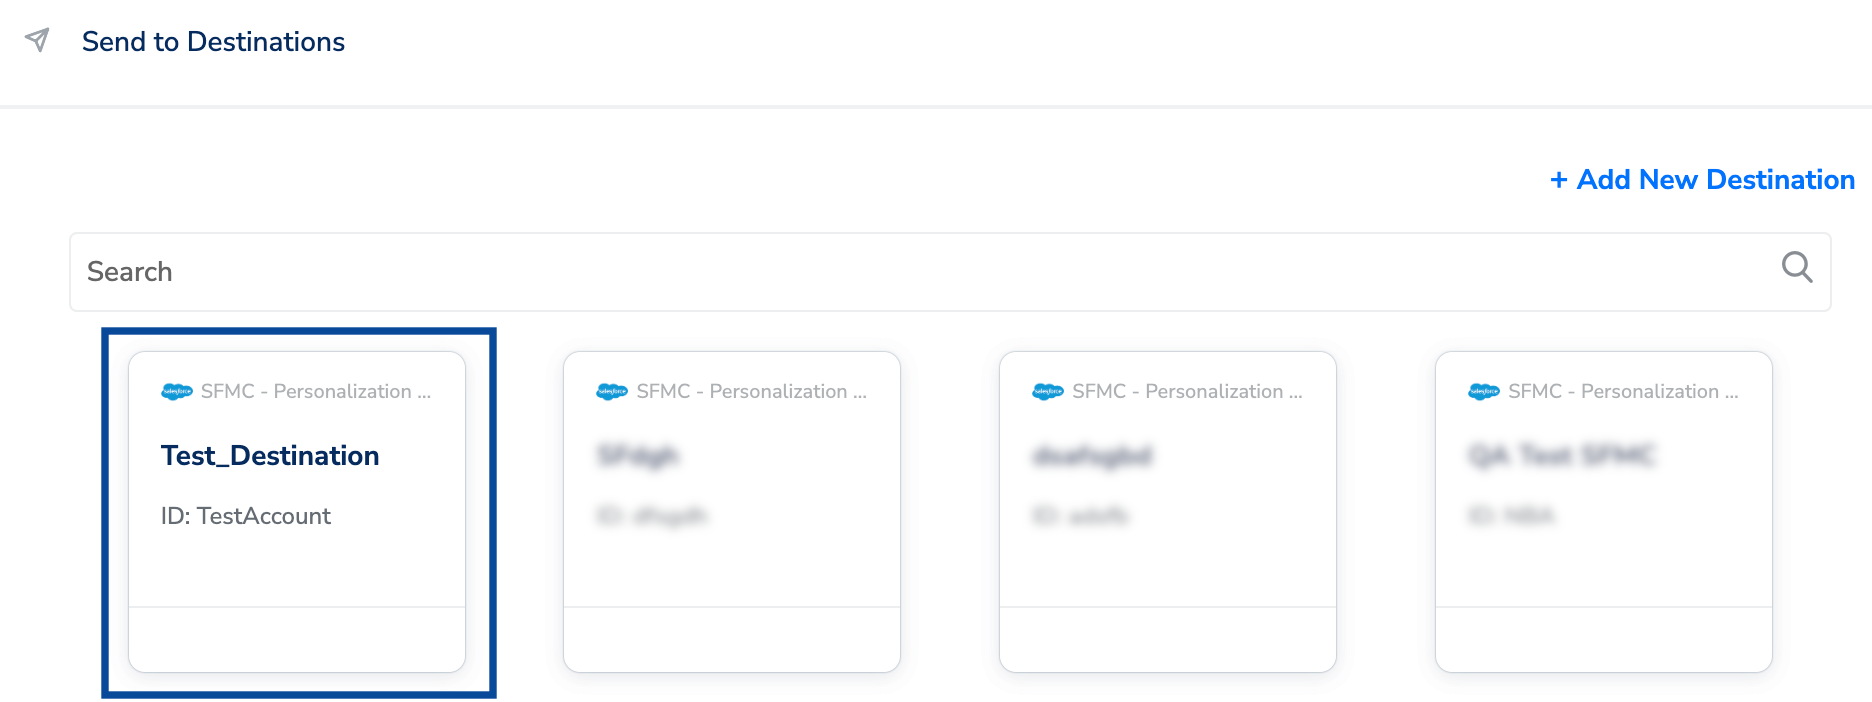
Attach the destination to the Send to Destinations node
Once the destination exists in your workspace, attach it to the node and complete the node-specific inputs.1
Click the destination you just created from the list of available destinations.
2
On the Destination Details tab, credential fields (for example, Account Name, API Instance, Dataset Name, API Username, and API Password for SFMC Personalization) are pre-populated from the destination you created. Enter the node-specific inputs the destination requires — for SFMC Personalization these are Action Name (the name of the action associated with the event) and Profile Object Name (the object name associated with the event).
3
On the Destination Settings tab, choose the action and field mapping for this node.
4
Click Save Destination. The destination is attached to the node.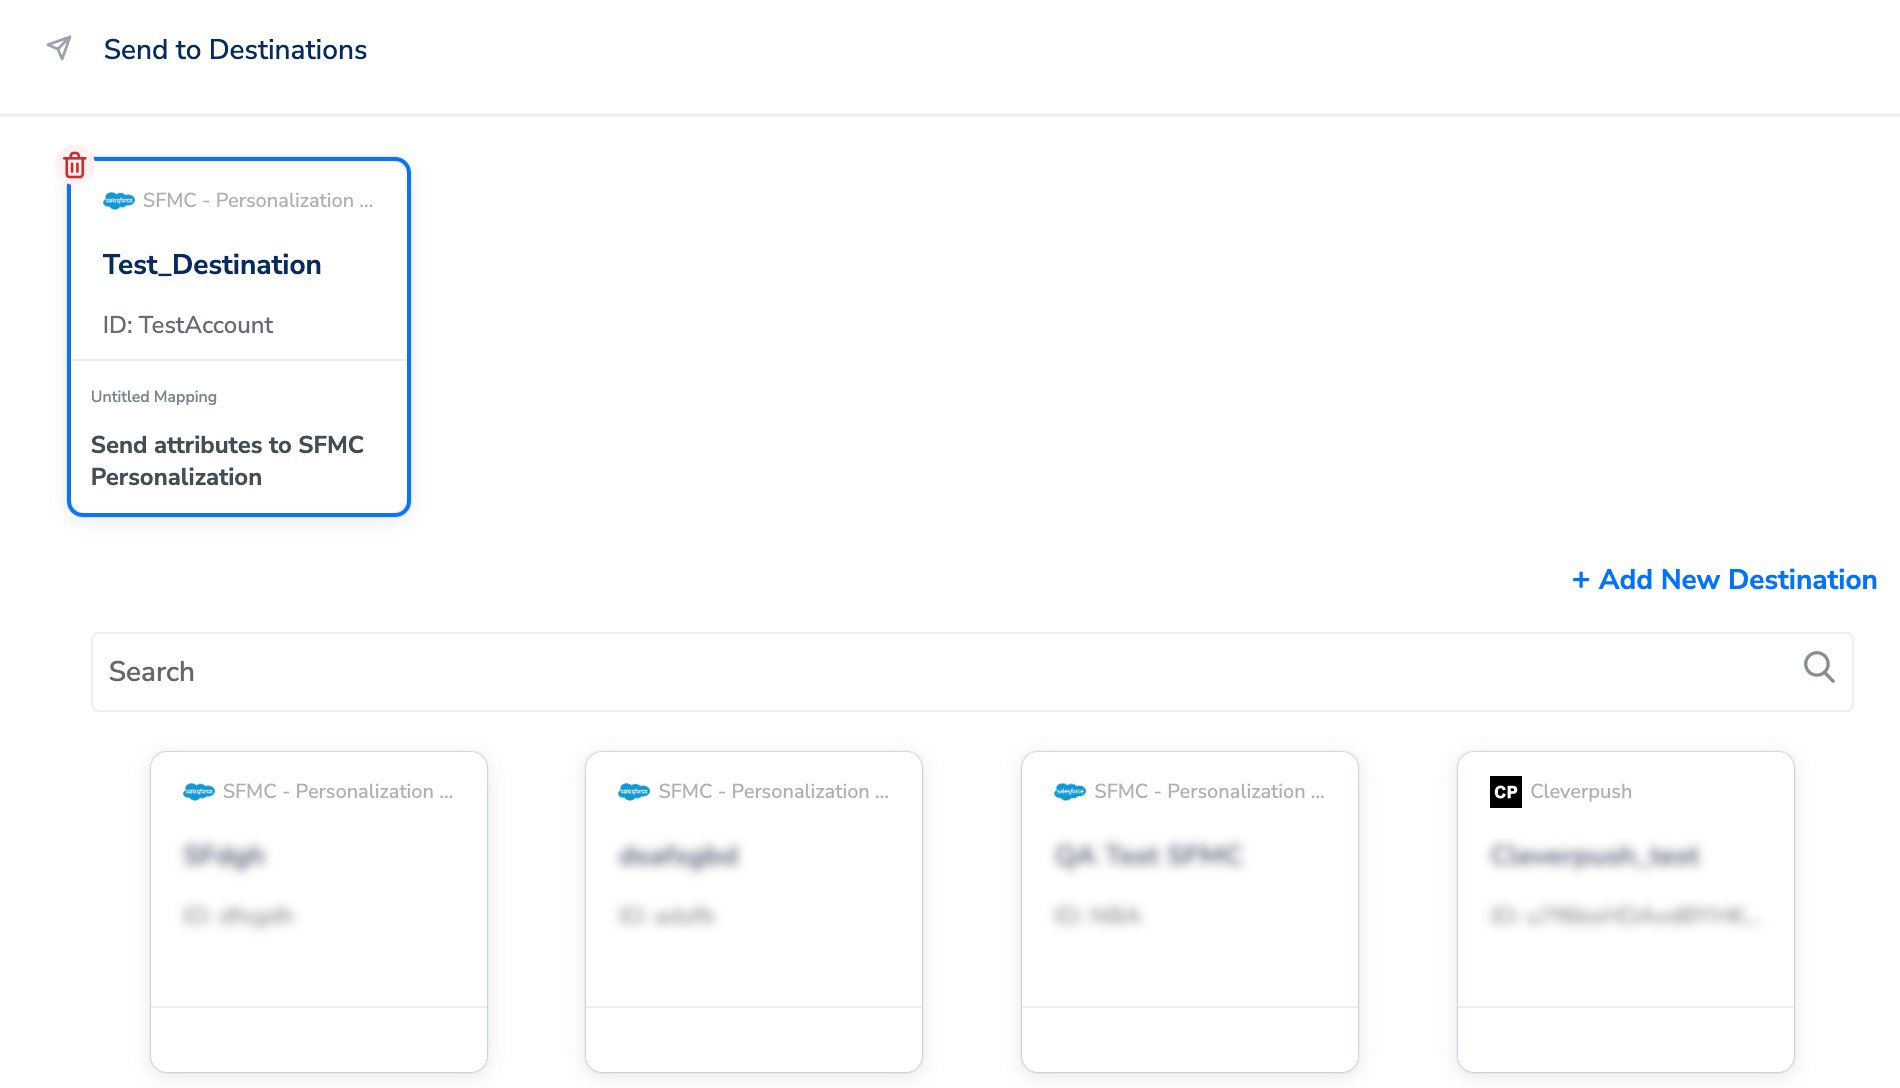
5
Click Add Destinations to confirm attachment. To send the same audience to more than one destination from this node, add each additional destination here.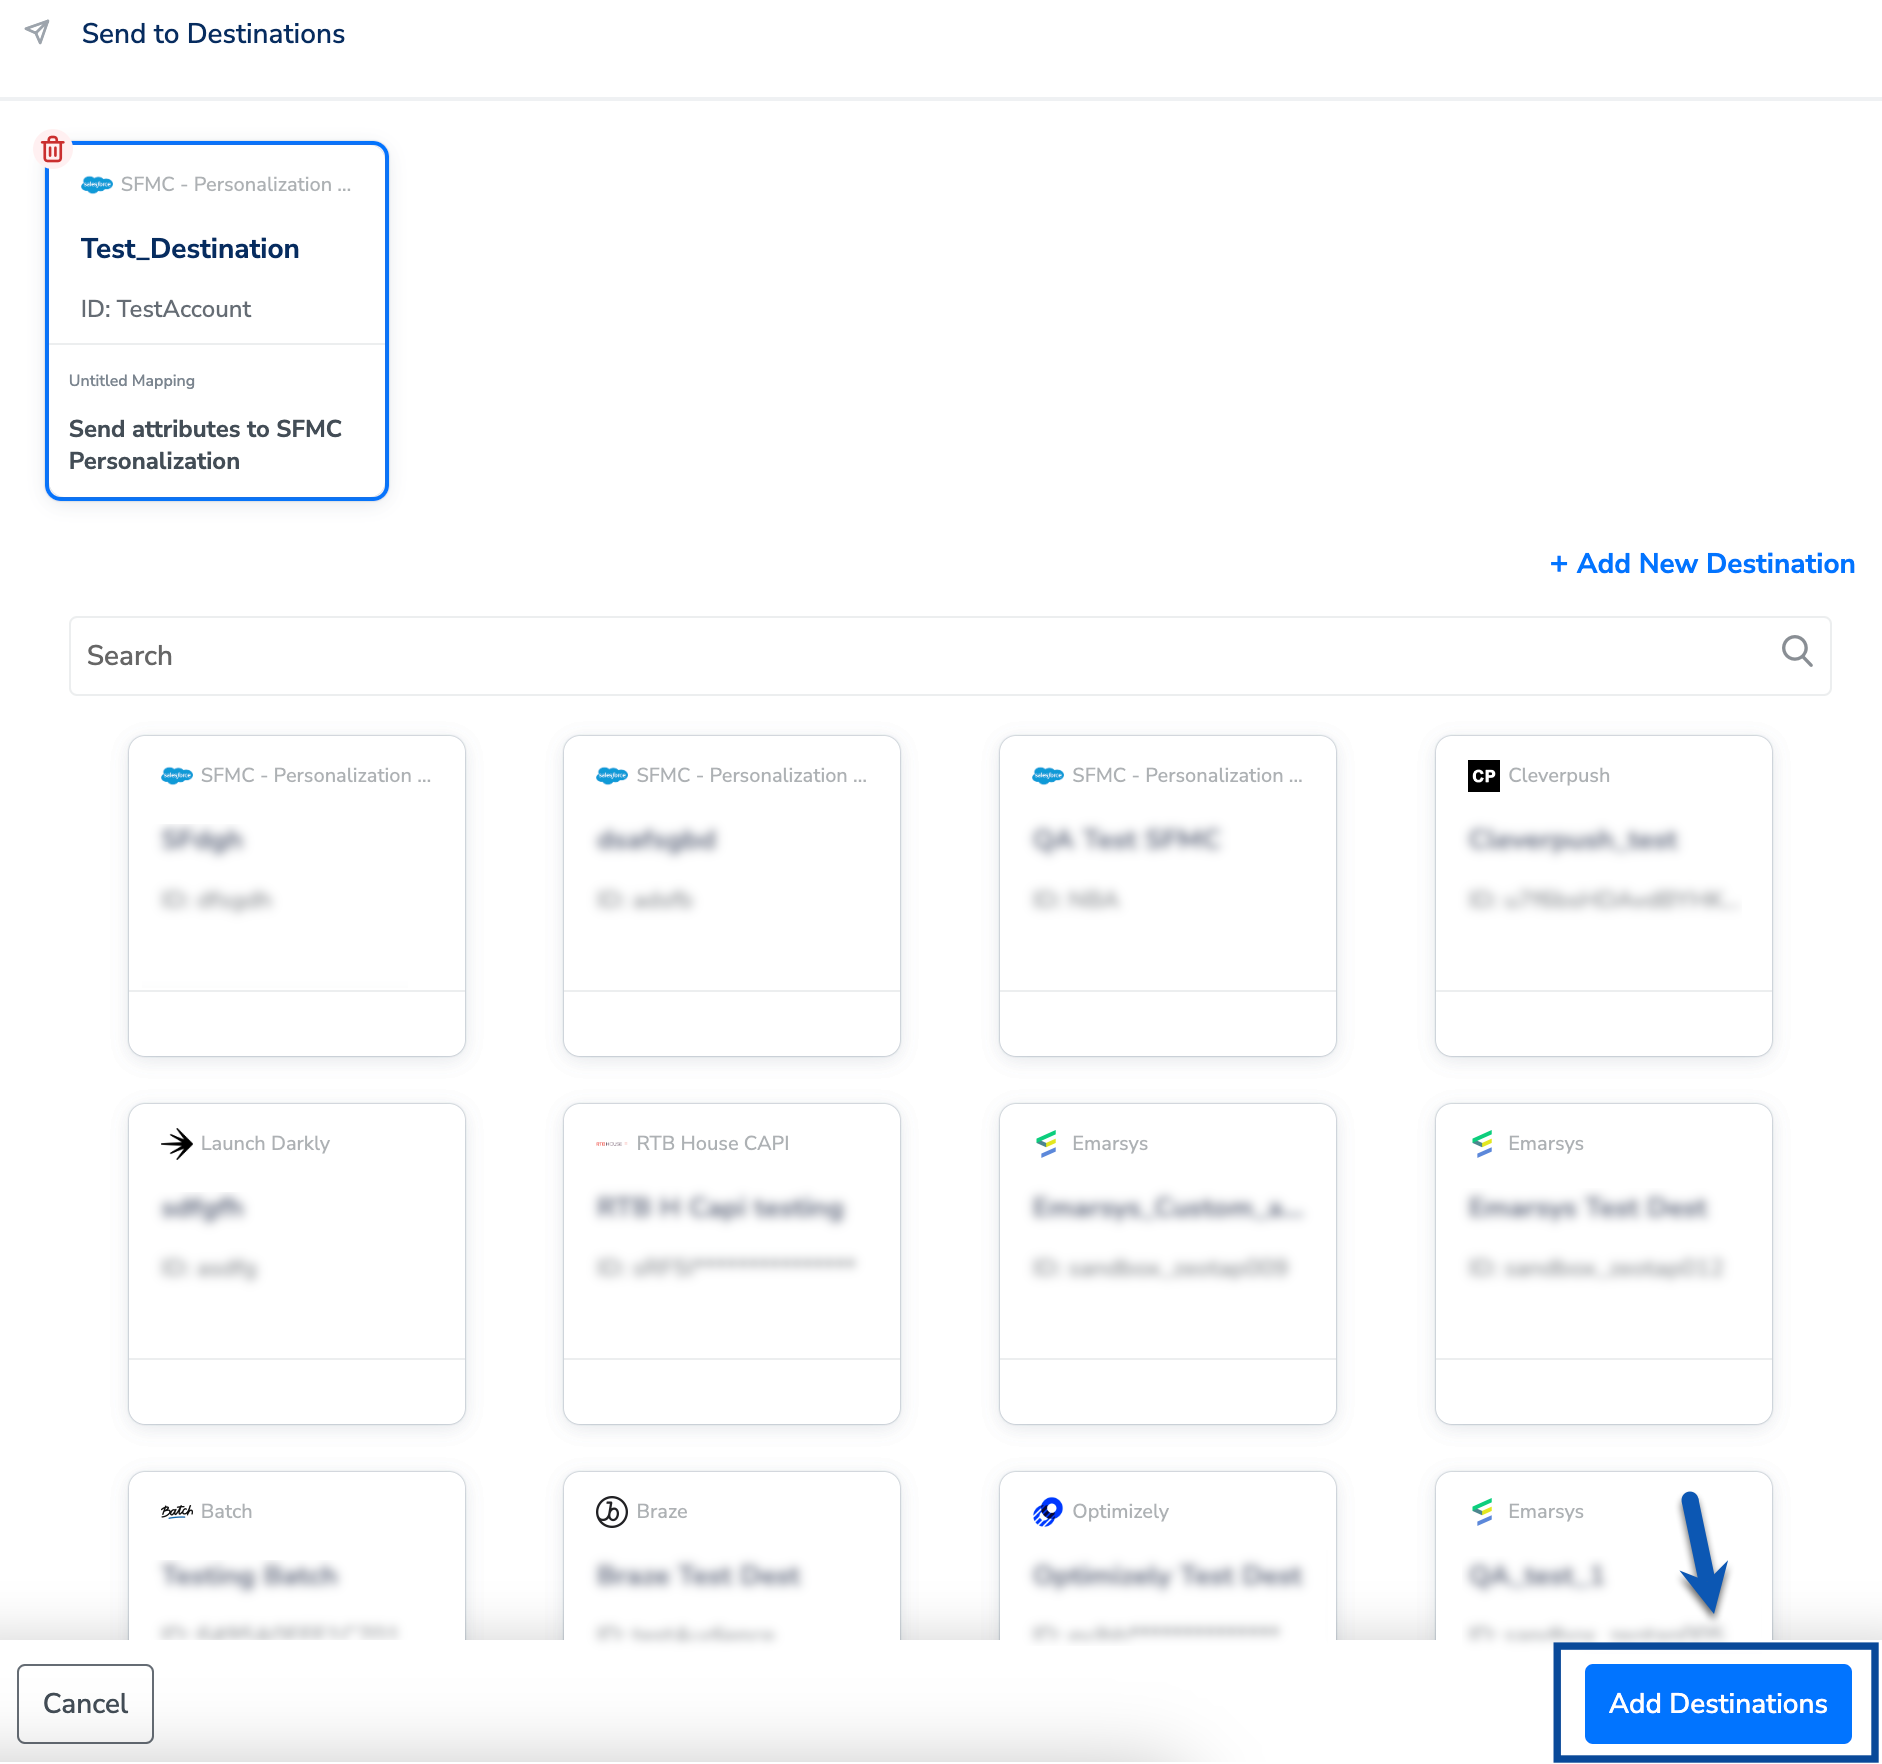
Publish the workflow
1
The linked destinations now appear in the Send to Destinations node. Enter a workflow name in the text box at the top of the workflow canvas — a name is required to save the workflow.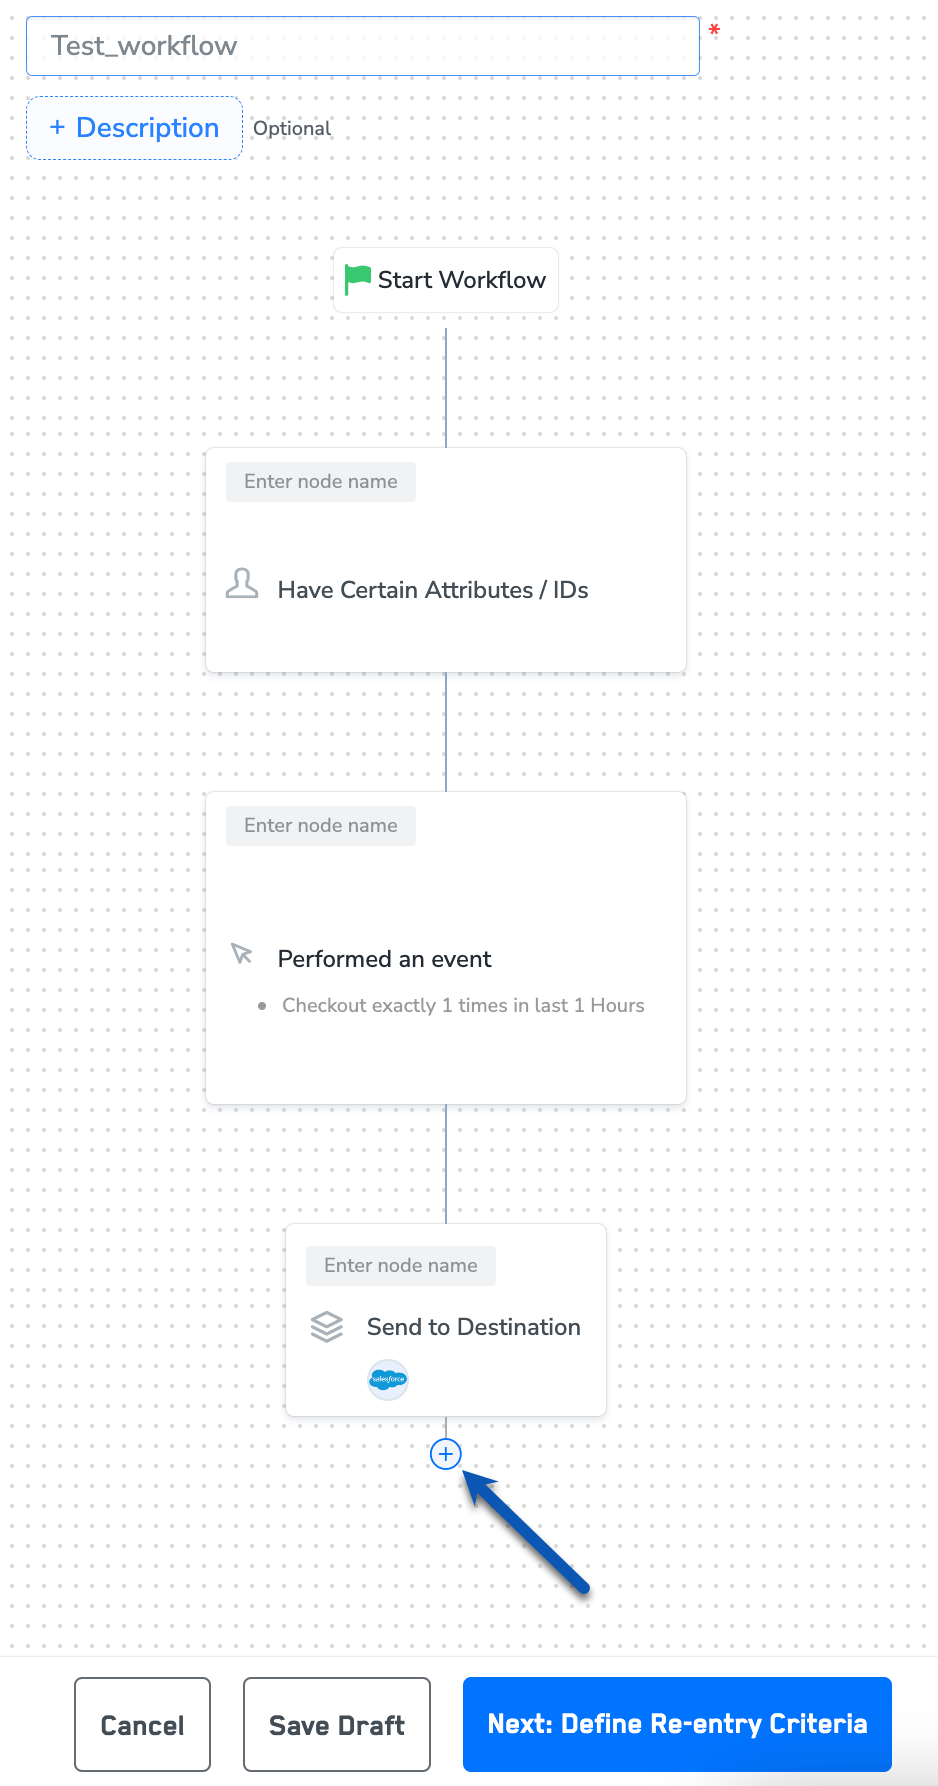
2
Click + to add any further nodes (conditions, filters, additional destinations) your workflow requires.
3
Choose one of the following:
- Save Draft — saves the workflow so you can return and edit it before publishing.
- Next: Re-entry Condition — defines whether a user can re-enter the same workflow after they have exited.
4
After defining the re-entry criteria, click Publish Workflow. The workflow appears in the workflow listing with a Published status.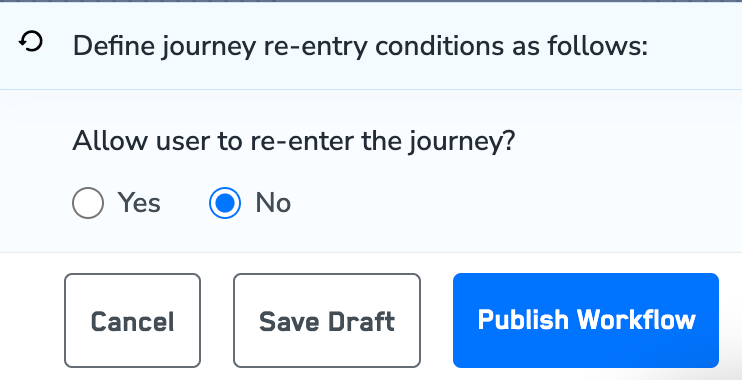
Verify activation is running
To confirm the workflow is publishing to your real-time destination:- In the workflow listing screen, confirm the workflow shows Published status.
- Open the Send to Destinations node and confirm each attached destination shows its credential fields populated and its action selected on the Destination Details and Destination Settings tabs.
- In your destination platform (for example, SFMC Personalization, Airship, Optimizely), confirm that new records or events are arriving with the identifiers and attributes you mapped. Each destination platform surfaces incoming records in its own console — see the integration-specific pages under Next steps for where to look.
Troubleshooting
Common configuration errors surfaced while creating or attaching a destination:
For file-based real-time destinations (Adobe Campaign S3/Azure), the exported file follows this format:
${timestamp} is in epoch format.
FAQ
Can I send the same workflow to more than one destination at the same time?
Can I send the same workflow to more than one destination at the same time?
Yes. In the Send to Destinations node, click Add Destinations and select each additional destination. Every attached destination receives users as they qualify the workflow.
Do I need to recreate the destination for every workflow?
Do I need to recreate the destination for every workflow?
No. A destination is a workspace-level object. Once created, it appears in the destination list on the Send to Destinations node of any workflow in the same workspace. Credential fields are shared across nodes; the action and mapping on the Destination Settings tab are set per node.
Where do I find the exact fields a given destination expects?
Where do I find the exact fields a given destination expects?
Each real-time integration has its own reference page listing the required credentials, supported identifiers and attributes, and the available actions. See the integration pages linked under Next steps.