

This is not the same as the Preview Data tab on a source, which shows the data Zeotap has ingested. Payload Preview shows the payload Zeotap would send out to a destination. For the source-side view, see Knowing the Fields on the Preview Data Tab.
Generate a preview
1
Open the mapping
Go to Integrate → Destinations and open the destination you want to check. On the Mapping tab, open an existing mapping or create a new one.
2
Complete the field mapping
Pick the action under Choose your Action, then map your Catalogue fields to the destination fields under Map the Fields.
3
Click Generate Preview
Generate Preview sits at the bottom of the mapping screen, next to Save Mapping.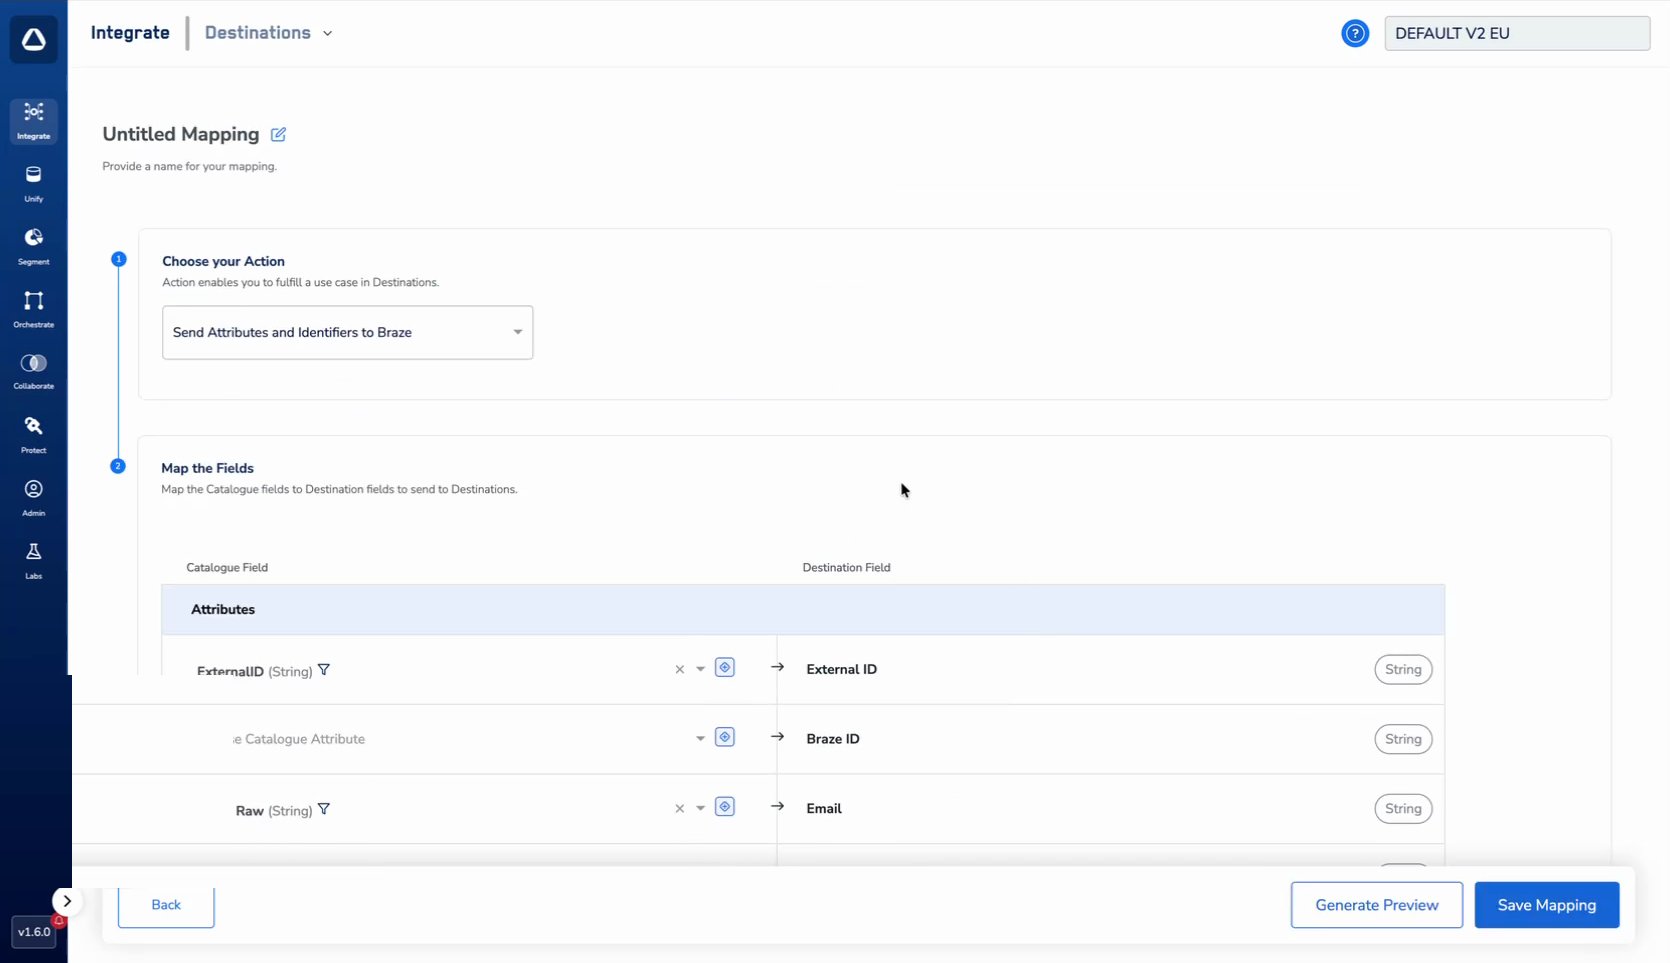
Generate Preview stays disabled until at least one field is mapped.
4
Wait for the payload to build
The Payload Preview panel opens on the right and reports its status while Zeotap pulls a sample record from your Catalogue to populate the fields. Generating the payload takes around a minute.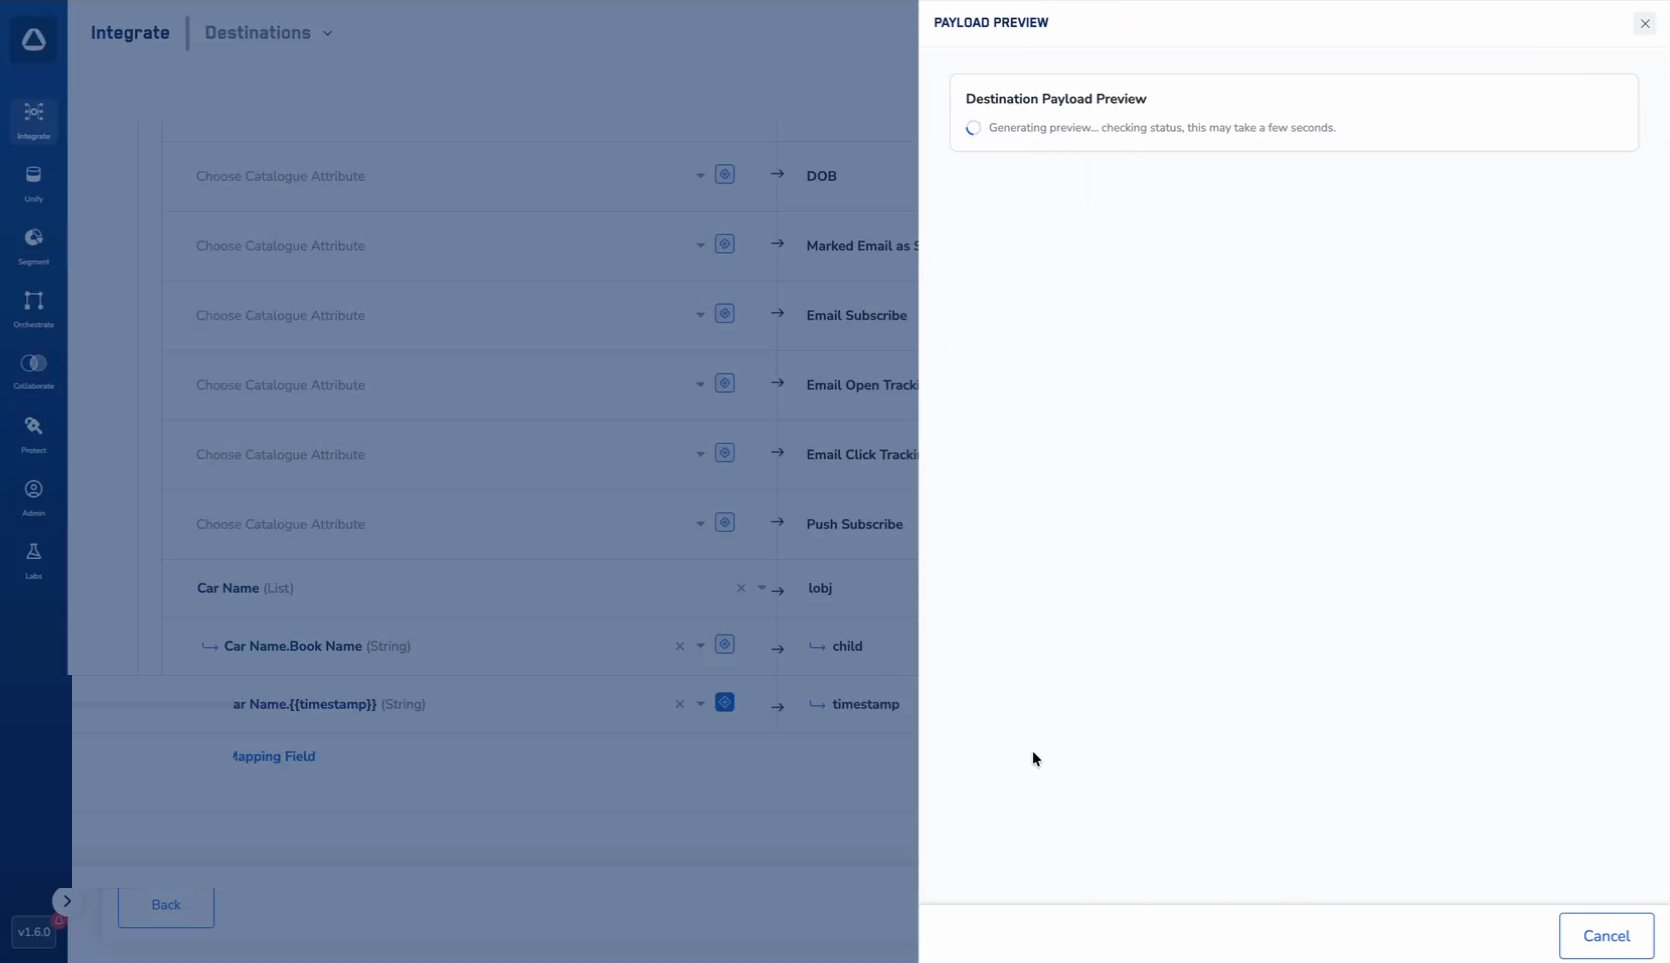
Read the preview
Once generation finishes, the panel shows the sample payload structured exactly as it would be sent to the destination. Click Cancel to close the panel and return to the mapping.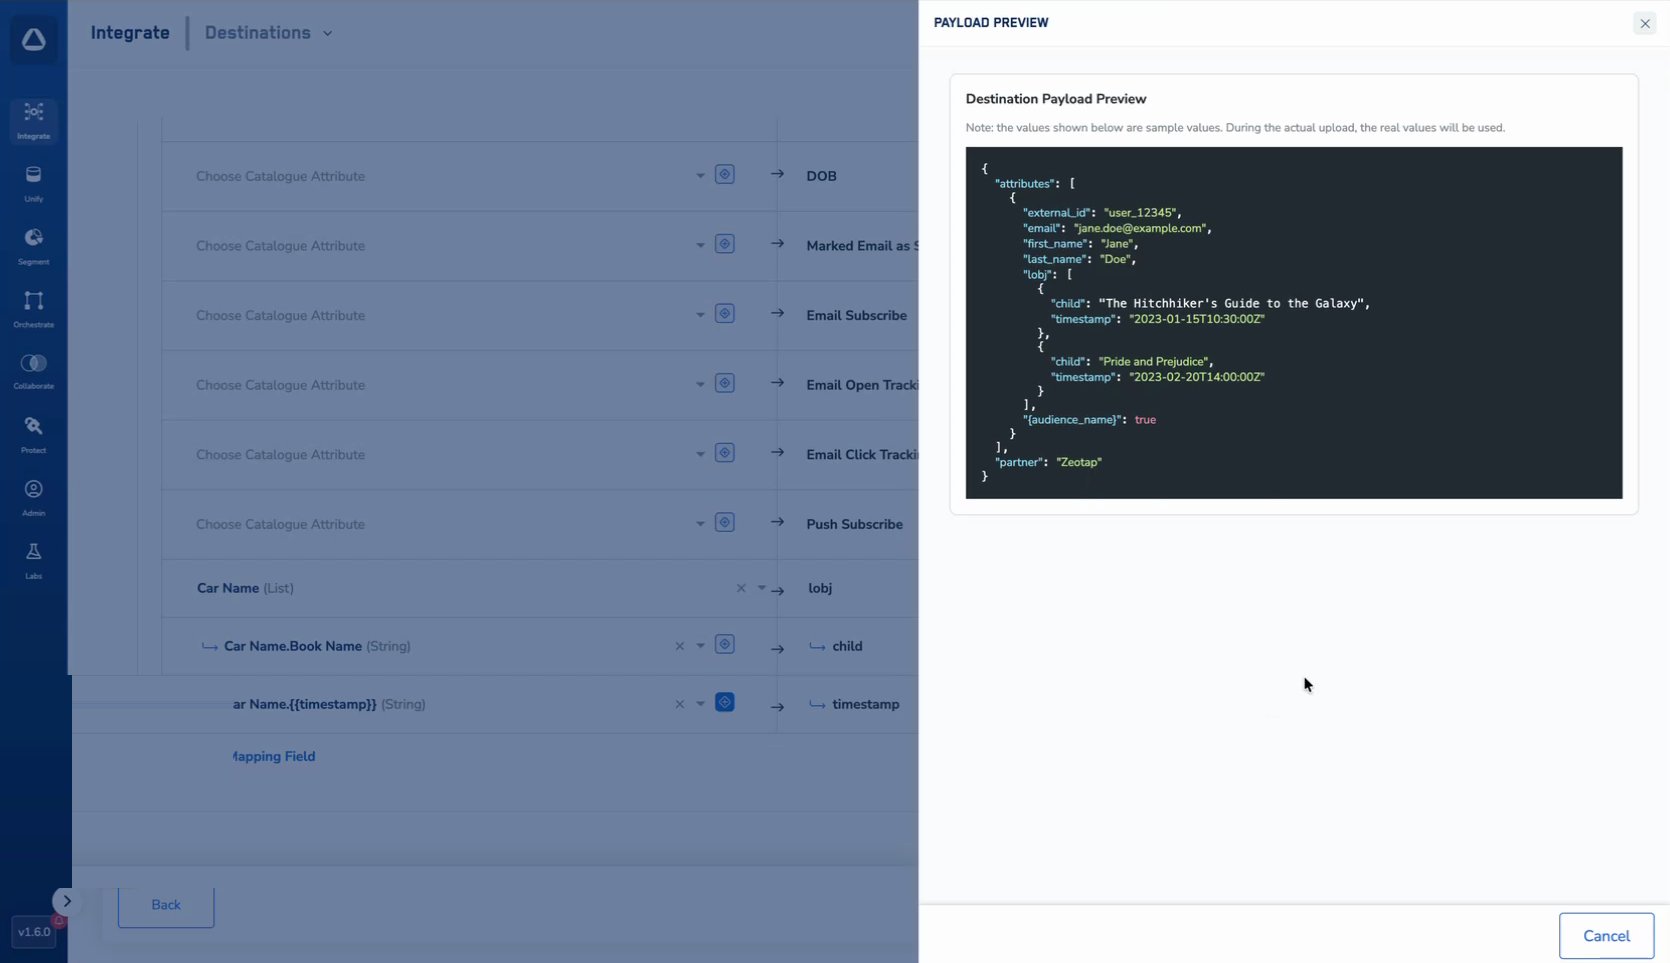
- Mapped identifier fields — such as
external_idandemail. - Profile attributes — such as
first_nameandlast_name. - Mapped lists, objects, and nested custom attributes — a mapped list of objects appears as a nested array in the payload.
- Timestamps added by any enrichers applied to the mapping.
- Destination-specific attributes — for example, for Braze destinations the audience-name key is set to
trueautomatically.
What to check in the preview
Values appear as expected. Confirm that each destination field is populated with the correct Catalogue field value. If a field is empty or shows an unexpected value, go back to Map the Fields and review the mapping for that field. Type mismatches. If a Catalogue field has a different data type than the destination field expects — for example a value mapped as a string where the destination requires an integer — the field may come through empty in the preview. That is a signal to either correct the field type in your Catalogue or adjust the mapping. All required fields are present. Mandatory fields left unmapped do not appear in the payload at all. Review the mapping and make sure every required destination field is covered before you activate.Things to note
The preview uses sample data only. No real customer records are sent to the destination while the preview is generated.
The preview reflects the mapping at the time it was generated. If you change the mapping afterwards, generate a new preview to see the updated payload.