

What this is
This integration sends data out of Zeotap CDP to Channable: a journey pushes stock updates for your products into a Channable project as profiles move through the workflow. Channable is a destination only — nothing flows from Channable back into Zeotap CDP. Channable is an e-commerce automation and feed management platform. It imports your product data from a source such as an online store or ERP system, applies rules to optimise it for each channel, and distributes the resulting listings to marketplaces, ad platforms and comparison shopping engines. For marketplaces it also keeps order and stock data synchronised, which is the part this integration feeds. Channable is also available as a batch destination that writes CSV files to a Google Cloud Storage bucket for Channable to import. Use Channable GCS upload to export audience data as a product feed; use this page to update stock levels from a journey.Supported action and fields
This integration uses the Send Stock Updates to Channable action. On the mapping screen you map your Catalogue fields to the Channable destination fields. The fields the screen lists are:
Required fields are marked with a red asterisk in the mapping screen. By default the screen shows the destination fields that Channable accepts; you can edit, add or remove entries in the mapping.
Prerequisites
Before you create the destination, make sure you have:- An active Channable account on the subscription required for this integration.
- A configured Channable project.
- Matching product identifiers on both sides.
- Your Channable Company ID, Project ID and API key — see below for where to find each one.
Find your Channable details
Company ID
The unique ID for your entire Channable account. Log in to Channable and read the number after/companies/ in your browser’s URL.
Project ID
The ID of the specific project you want to integrate with. You may have several projects — for different stores or regions — so make sure you take the ID of the one you intend to send to. Open that project in Channable and read the number after/projects/ in your browser’s URL.
API key
Generate this in your Channable dashboard, under My Account > Personal tokens. In Zeotap CDP the field is labelled API Key, with the helper text API Key generated in Channable. Treat the value as a secret.Create the Channable destination
1
Log in to the Zeotap CDP app and go to the Destinations application.
2
Click + Create Destination.
3
Under All Destinations, search for Channable and select it. A panel headed Channable : Stock Update opens, describing the destination on the left and listing the fields required for the integration on the right.
4
On the Enter Destination Details step, provide:a. A Destination Name, for easy identification later.b. The API Key generated in Channable.c. Your Company ID.Click Next.
Note:There is no Project ID field on this step. You enter the Project ID on the journey node when you attach the destination — see Activate the destination in a journey.
5
On the Mapping step:a. Under Choose your Action, select Send Stock Updates to Channable.b. Under Map the Fields, map a catalogue attribute to each Channable destination field you want to send. Every field marked with an asterisk must be mapped.
6
Click Create Destination. The destination is now available to attach to a journey.
Activate the destination in a journey
A real-time Channable destination only sends data once it is attached to a Send to Destinations node in a journey.1
On the journey canvas, click + at the point where the stock update should happen and choose Send to Destinations.
2
Find the Channable destination you created in the list of available destinations, using the search box.
3
On the Destination Details tab, the Company ID and API Key are carried over from the destination you created. In the Project ID box, enter the Project ID of the Channable project you want to update.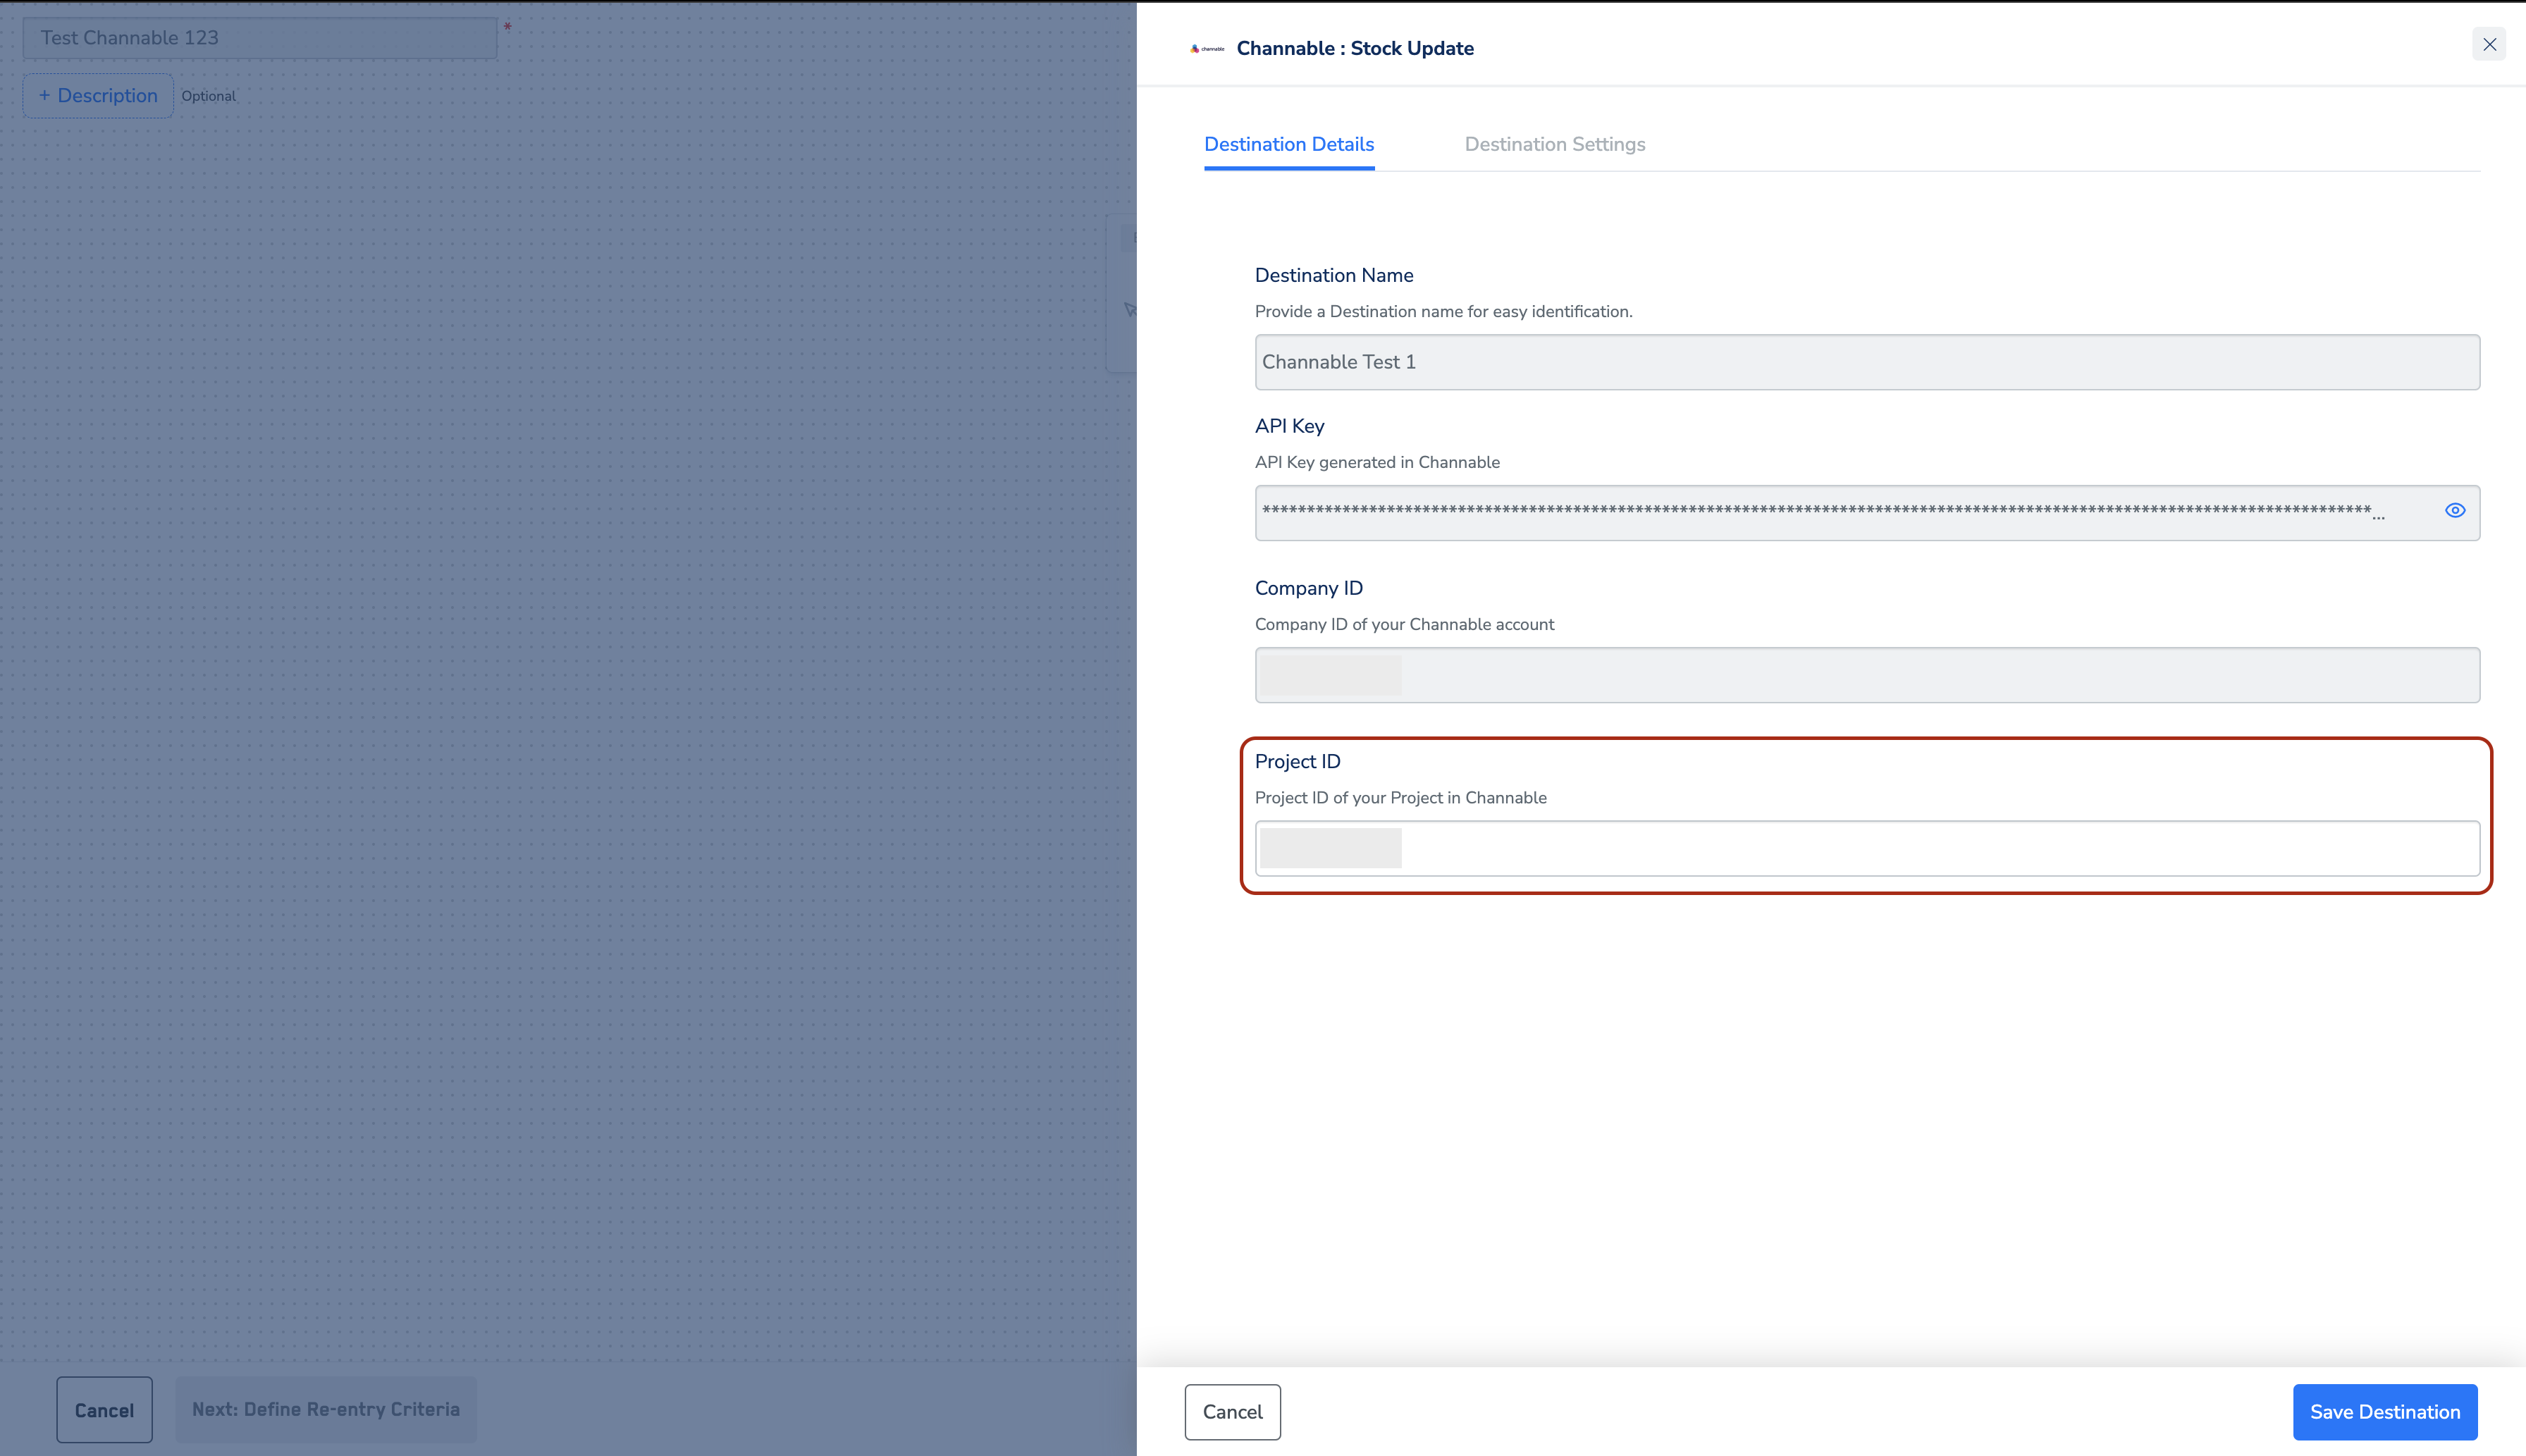
4
On the Destination Settings tab, choose the action and the mapping this node should use.
5
Click Save Destination. The node is attached to the journey and shows the destination name and the action its mapping runs.
Verify the stock updates reach Channable
Check both sides:- In Zeotap CDP — open Journey Traces for the journey and look up a profile that passed through the node. Switch the output-event view to the Channable node and confirm the payload carries the product ID and stock value you mapped.
- In Channable — open the project whose Project ID you entered on the node and confirm the stock for those products reflects what was sent.
Troubleshoot the integration
Failures surface at the node itself. Open the Execution Details sidebar on the failed node in the journey canvas: it gives the failure status code, the timestamp, the destination name, and the Request ID you will need if you raise a support request. See Identify Journey Errors for how to read it. The error codes you are most likely to see on this destination:
For the full list, including which codes retry and which do not, see Journey Error Codes.
FAQ
Should I use this integration or Channable GCS upload?
Should I use this integration or Channable GCS upload?
Use this one to update stock in real time from a journey. Use Channable GCS upload to export audience data as a CSV product feed to a Google Cloud Storage bucket that Channable then imports; that route carries the full feed fields, such as availability, brand, description, image link, link, price, product type, sale price, size and title. The two are separate destinations and can run side by side.
Where do I enter the Project ID?
Where do I enter the Project ID?
On the journey node, not on the destination. The Enter Destination Details step asks only for the destination name, the API Key and the Company ID; the Project ID box appears on the Destination Details tab of the Send to Destinations node, alongside the API Key and Company ID carried over from the destination.