

What this is
Criteo is a commerce media company that shows personalised ads to potential customers across the internet, primarily through retargeting. Offline Sales Reporting connects offline transaction data — in-store purchases, call-centre sales — back to your digital campaigns. Criteo matches those offline conversions to ad interactions using privacy-safe identifiers, so you can measure campaign impact across channels and weigh ad spend towards the audiences and strategies that drive both online and offline results. In Zeotap CDP the integration is configured once as a destination, with your Criteo Client Name and a field mapping. You then attach that destination to a Journeys workflow, and the records that reach the Send to Destinations node are forwarded to Criteo.Supported identifiers and actions
The integration supports email addresses, both raw and hashed, and event IDs. The destination exposes a single action, Send Offline Data to Criteo. On the mapping screen, you pair your catalogue attributes with the Criteo destination fields the action expects. The following fields are mandatory:- Email (Raw / MD5 / SHA256)
- Event Id
- Timestamp
- Item ID
- Item’s Price
- Item’s Quantity
- Store ID
- Site Type
- IP
- User Segment
- Account
Prerequisites
Before you configure the destination, confirm you have:
- An active Criteo account.
- Your Client Name, in the format
organizationname_offlinesales. - A Journeys workflow to attach the destination to, or the ability to create one. See Create a Workflow.
- A Zeotap CDP user with access to the Destinations application.
- Catalogue attributes in your workspace that carry the mandatory fields listed above, so you can complete the mapping.
Create the Criteo - Offline Sales Reporting destination
1
Open the Destinations application
Log in to the Zeotap CDP App and go to Integrate → Destinations.
2
Start a new destination
Click + Create Destination.
3
Find the connector
Under All Destinations, search for Criteo - Offline Sales Reporting and click it.
4
Enter the destination details
A screen appears with details about the destination on the left and the fields required for the integration on the right. Complete both: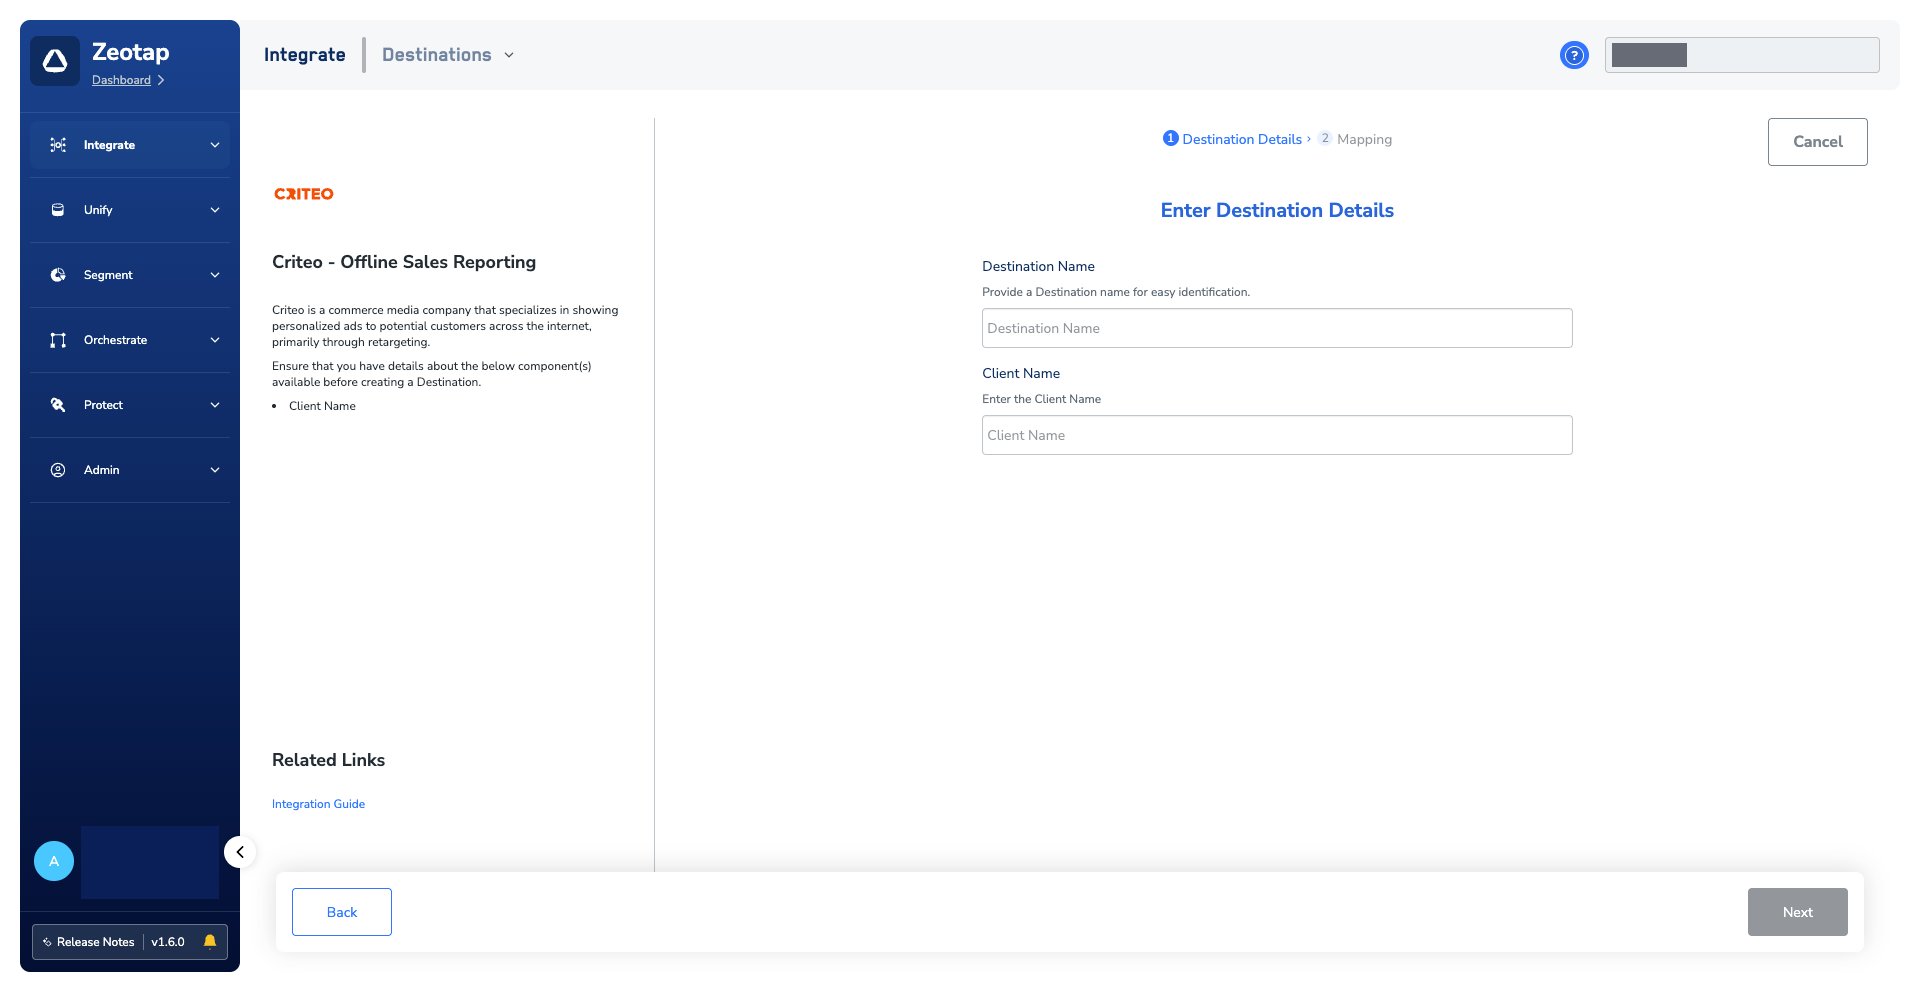
- Destination Name — a name that identifies this destination for you, so it is easy to find when you attach it to a workflow.
- Client Name — the Client Name you gathered in the prerequisites.
5
Choose the action and map the fields
On the Mapping step, give the mapping a name, then: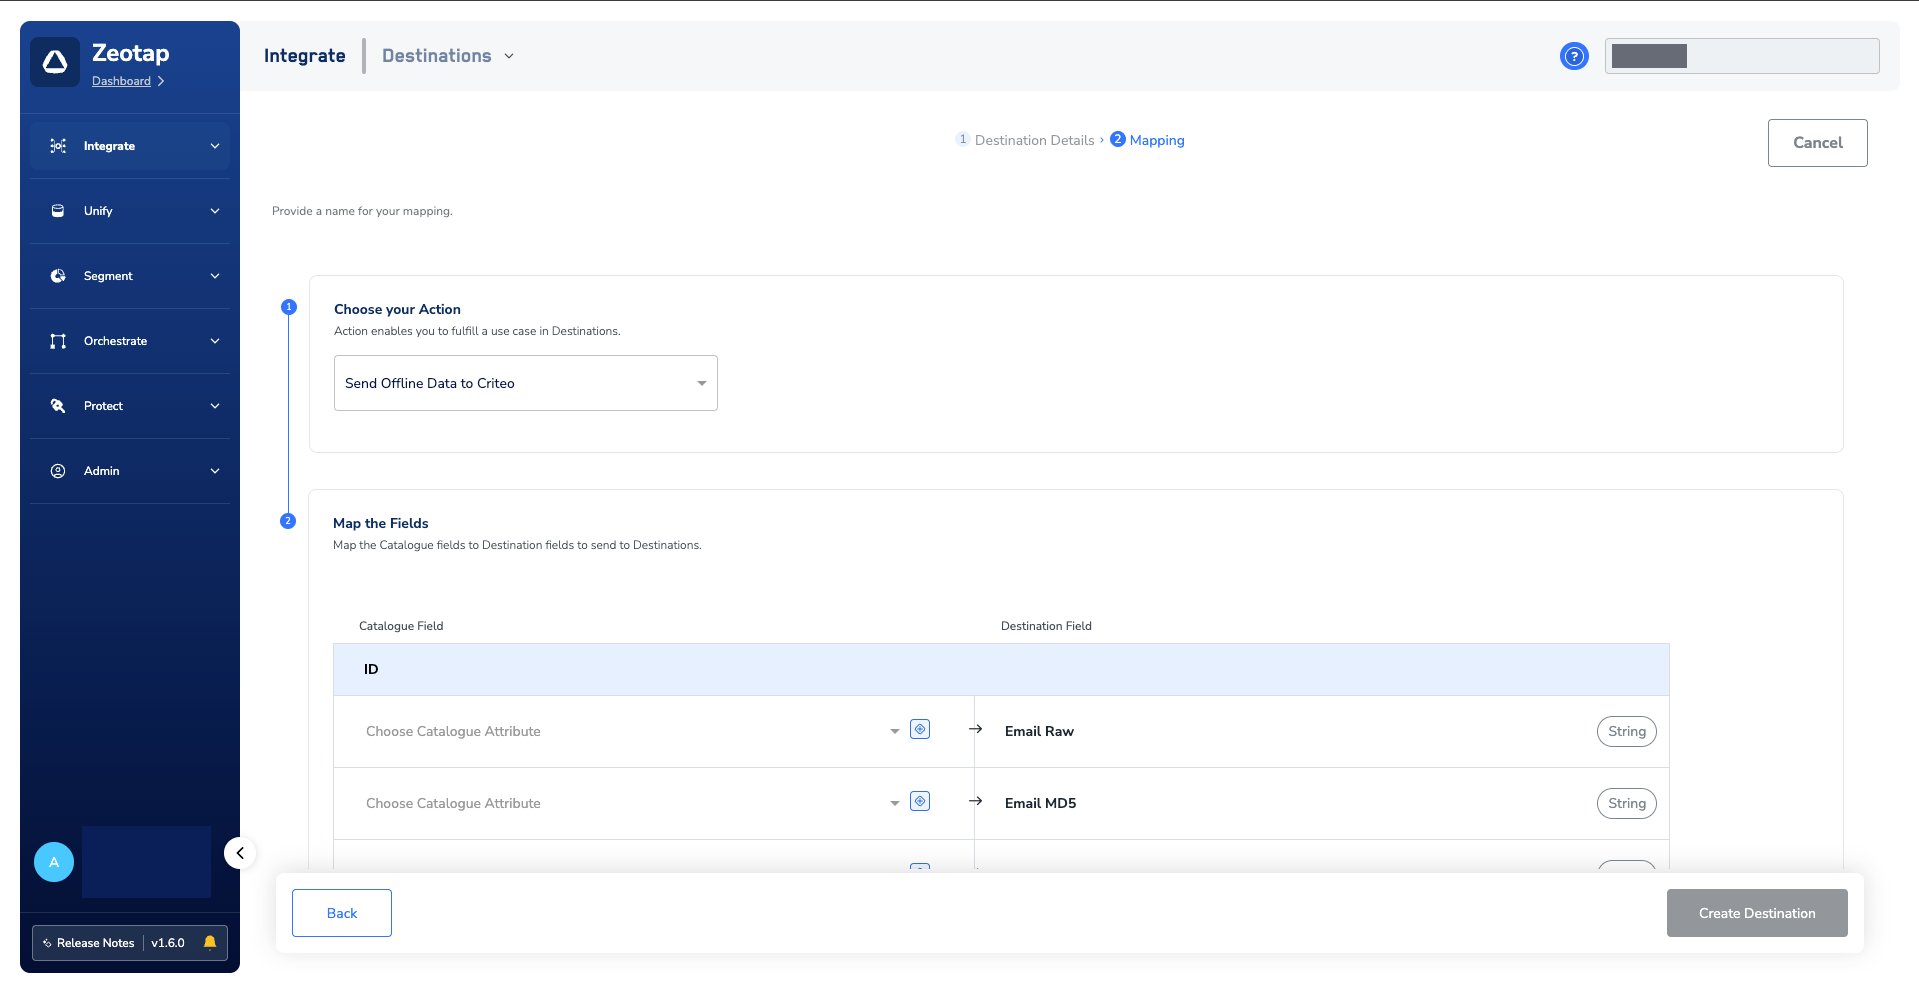
- Under Choose your Action, select Send Offline Data to Criteo.
- Under Map the Fields, pair each catalogue attribute with the Criteo destination field it should populate. Cover every mandatory field listed above.
Add the destination to a journey
A saved destination does nothing on its own. To start sending data, attach it to the Send to Destinations node of a Journeys workflow.1
Add a Send to Destinations node
In the workflow, click + and choose Send to Destinations.
2
Select the destination
Use the search box to find the destination you created, and select it from the list of available destinations.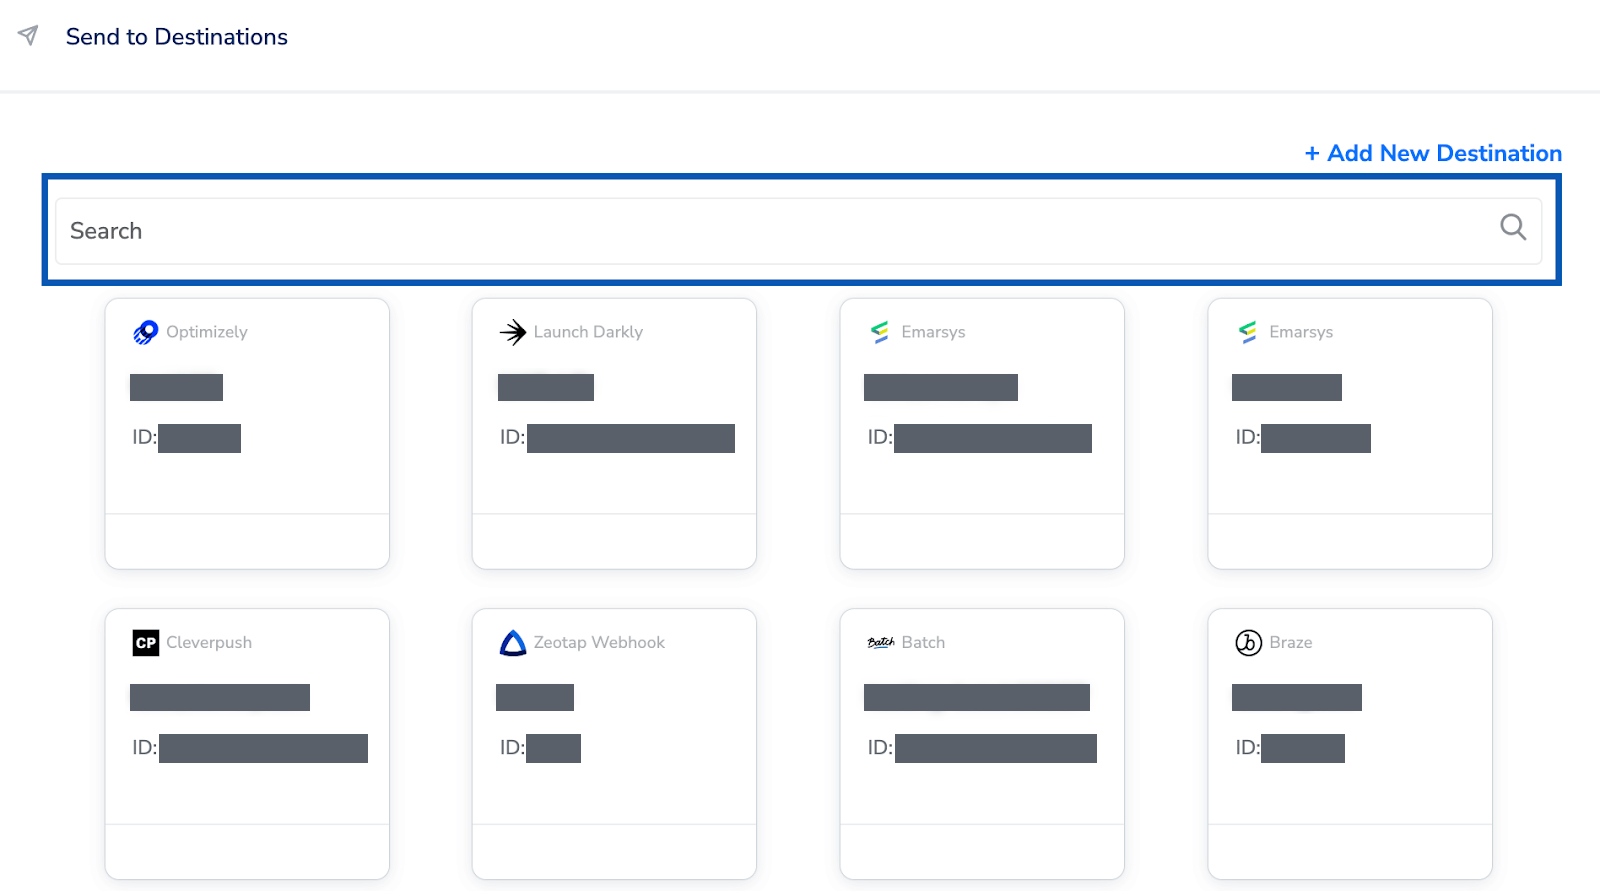
3
Check the Destination Details tab
On the Destination Details tab, the Client Name field is populated automatically from the value you entered when you created the destination.
4
Set the action and mapping for this workflow
On the Destination Settings tab, choose the action and mapping you want this workflow to use.
5
Save
Click Save Destination. The destination is attached to the node.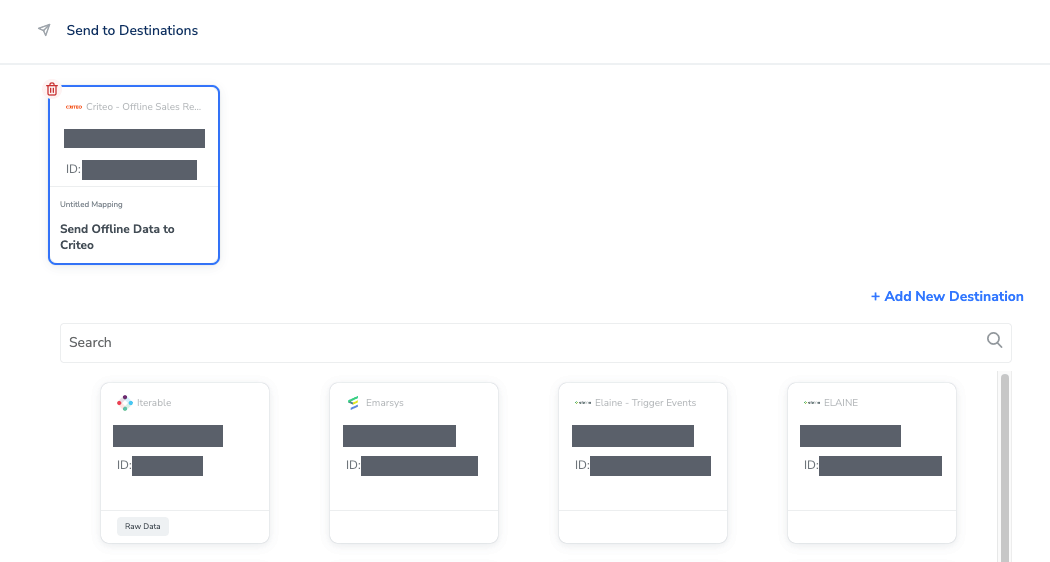
Verify the destination is attached
After you save, confirm the following before you rely on the integration:- The destination appears when you search for it in the Send to Destinations node, which means it saved successfully.
- Inside the node, the attached card shows the Criteo - Offline Sales Reporting connector, your destination name, and Send Offline Data to Criteo as the action.
- On the Destination Details tab, the Client Name carried over from the destination you created and matches the
organizationname_offlinesalesvalue you entered.
Troubleshoot delivery to Criteo
This page documents no failure conditions specific to Criteo Offline Sales Reporting. The checks below are the general ones for a real-time destination.
If the destination is configured as described above and records still do not arrive, contact your Zeotap representative. Include the destination name, the workflow and its published state, the mapping you configured, and what you observed on the Criteo side.
Next steps
- Explore Criteo → to send audience identifiers to your Criteo Ad Account as a contact list.
- Explore Criteo Retail Media → to activate audiences on retailer and marketplace placements.
- Explore Real-Time Integrations → for the other destinations that run from a Journeys workflow.
- Explore Create a Workflow → to build the journey this destination attaches to.
- Explore Destinations → for how destinations are configured and mapped in general.