

What this is
The MoEngage real-time integration sends user profiles and user events out of Zeotap CDP to MoEngage, as users reach a Send to Destinations node in a Journeys workflow. Each delivery either creates a new user profile in MoEngage or updates an existing one, identified by a uniquecustomer_id, and can carry standard and custom attributes. The same destination can also send user events, so you can track a user in MoEngage as well and use that activity in personalised campaigns.
MoEngage appears three times in Zeotap CDP, in both directions. Use this table to confirm you are on the right page:
Supported identifiers and actions
Each user is identified in MoEngage by a uniquecustomer_id. On the mapping screen the destination exposes a mandatory identifier field, Email/Customer ID, plus attributes:
Prerequisites
Have the following ready before you create the destination:- An active MoEngage account.
- Your Workspace ID (formerly DATA API ID) and a Data API Key. See Find your MoEngage credentials.
- Your Data Center number —
01,02,03and so on. See Find your MoEngage credentials. - A workflow in Journeys containing the filters or conditions that select the users you want to send. See Create a Workflow.
- A Catalogue field holding the value you want MoEngage to identify each user by, so you can map it to the mandatory Email/Customer ID destination field.
- A role that grants destination edit rights on the organisation that owns the destination. See Destinations: prerequisites and User Roles and Access.
Find your MoEngage credentials
The Workspace ID and Data API Key are the credentials MoEngage uses to authenticate its Data APIs, and they are the values you enter on the Zeotap CDP destination. Generate them from your MoEngage Dashboard under Settings > Account > APIs > Data API Settings. You also need the data center your MoEngage account runs in. MoEngage’s API endpoint follows the patternhttps://api-0X.moengage.com, where 0X is your data center number — for example 01, 02 or 03. Enter that number on its own in the Data Center field.
Create the MoEngage destination
Perform the following steps to create the destination in Zeotap CDP:1
Log in to the Zeotap CDP App and go to the DESTINATIONS application.
2
Click + Create Destination.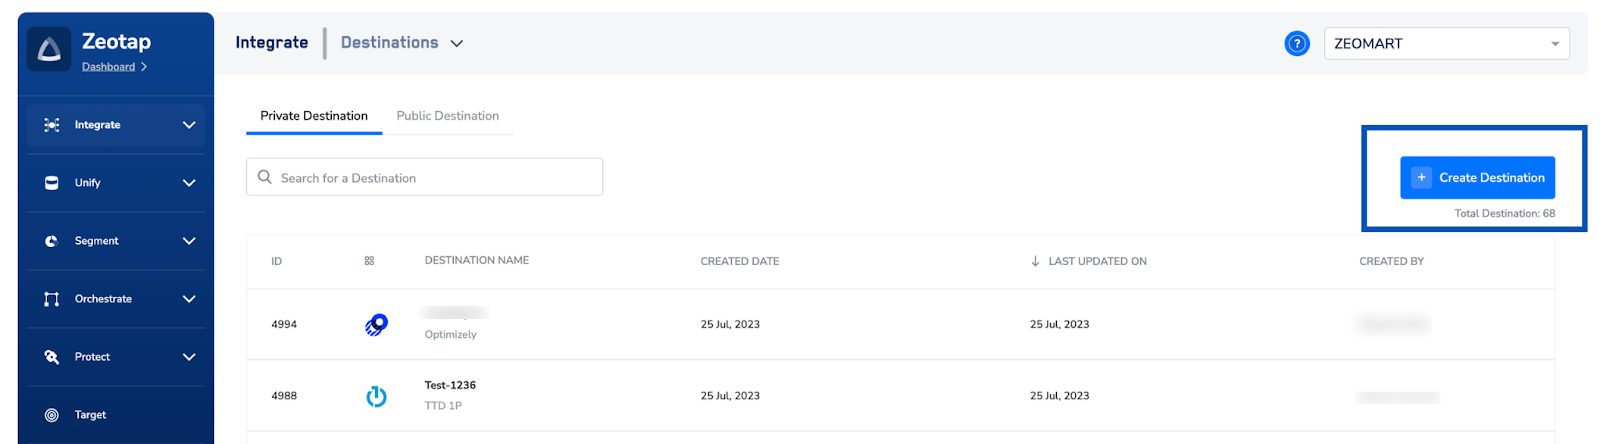
3
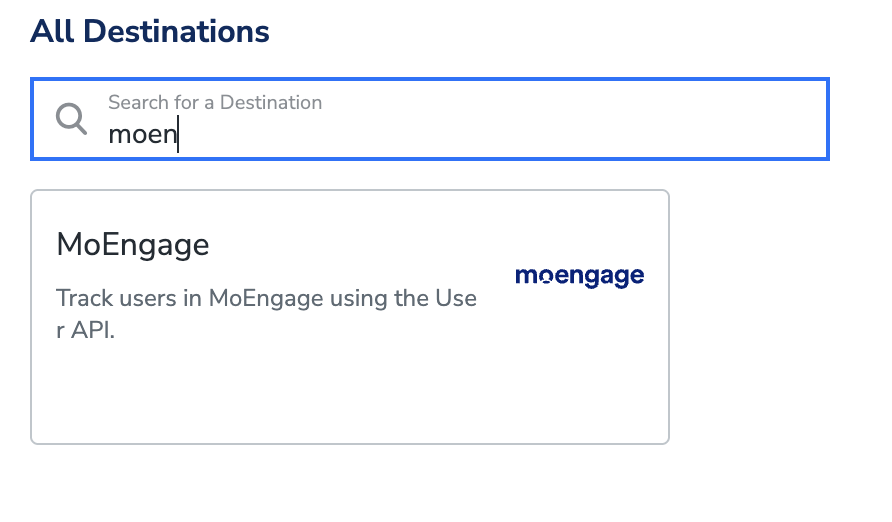
Under the All Destinations section, search for MoEngage.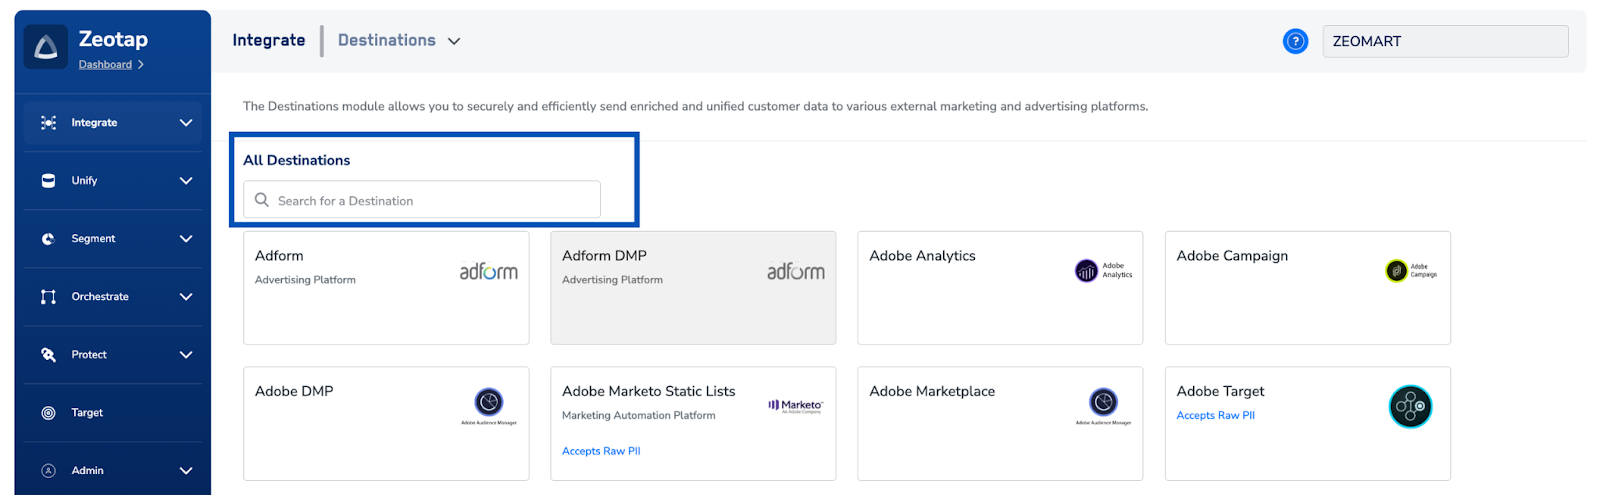
4
Click MoEngage. A screen appears with details about the destination on the left, and on the right the fields required to establish the integration. Enter the required details:a. Enter a name for the destination.b. Enter the API Key, Workspace ID and Data Center number of your MoEngage instance. See Find your MoEngage credentials.c. Review all the values entered above, then click Next to proceed.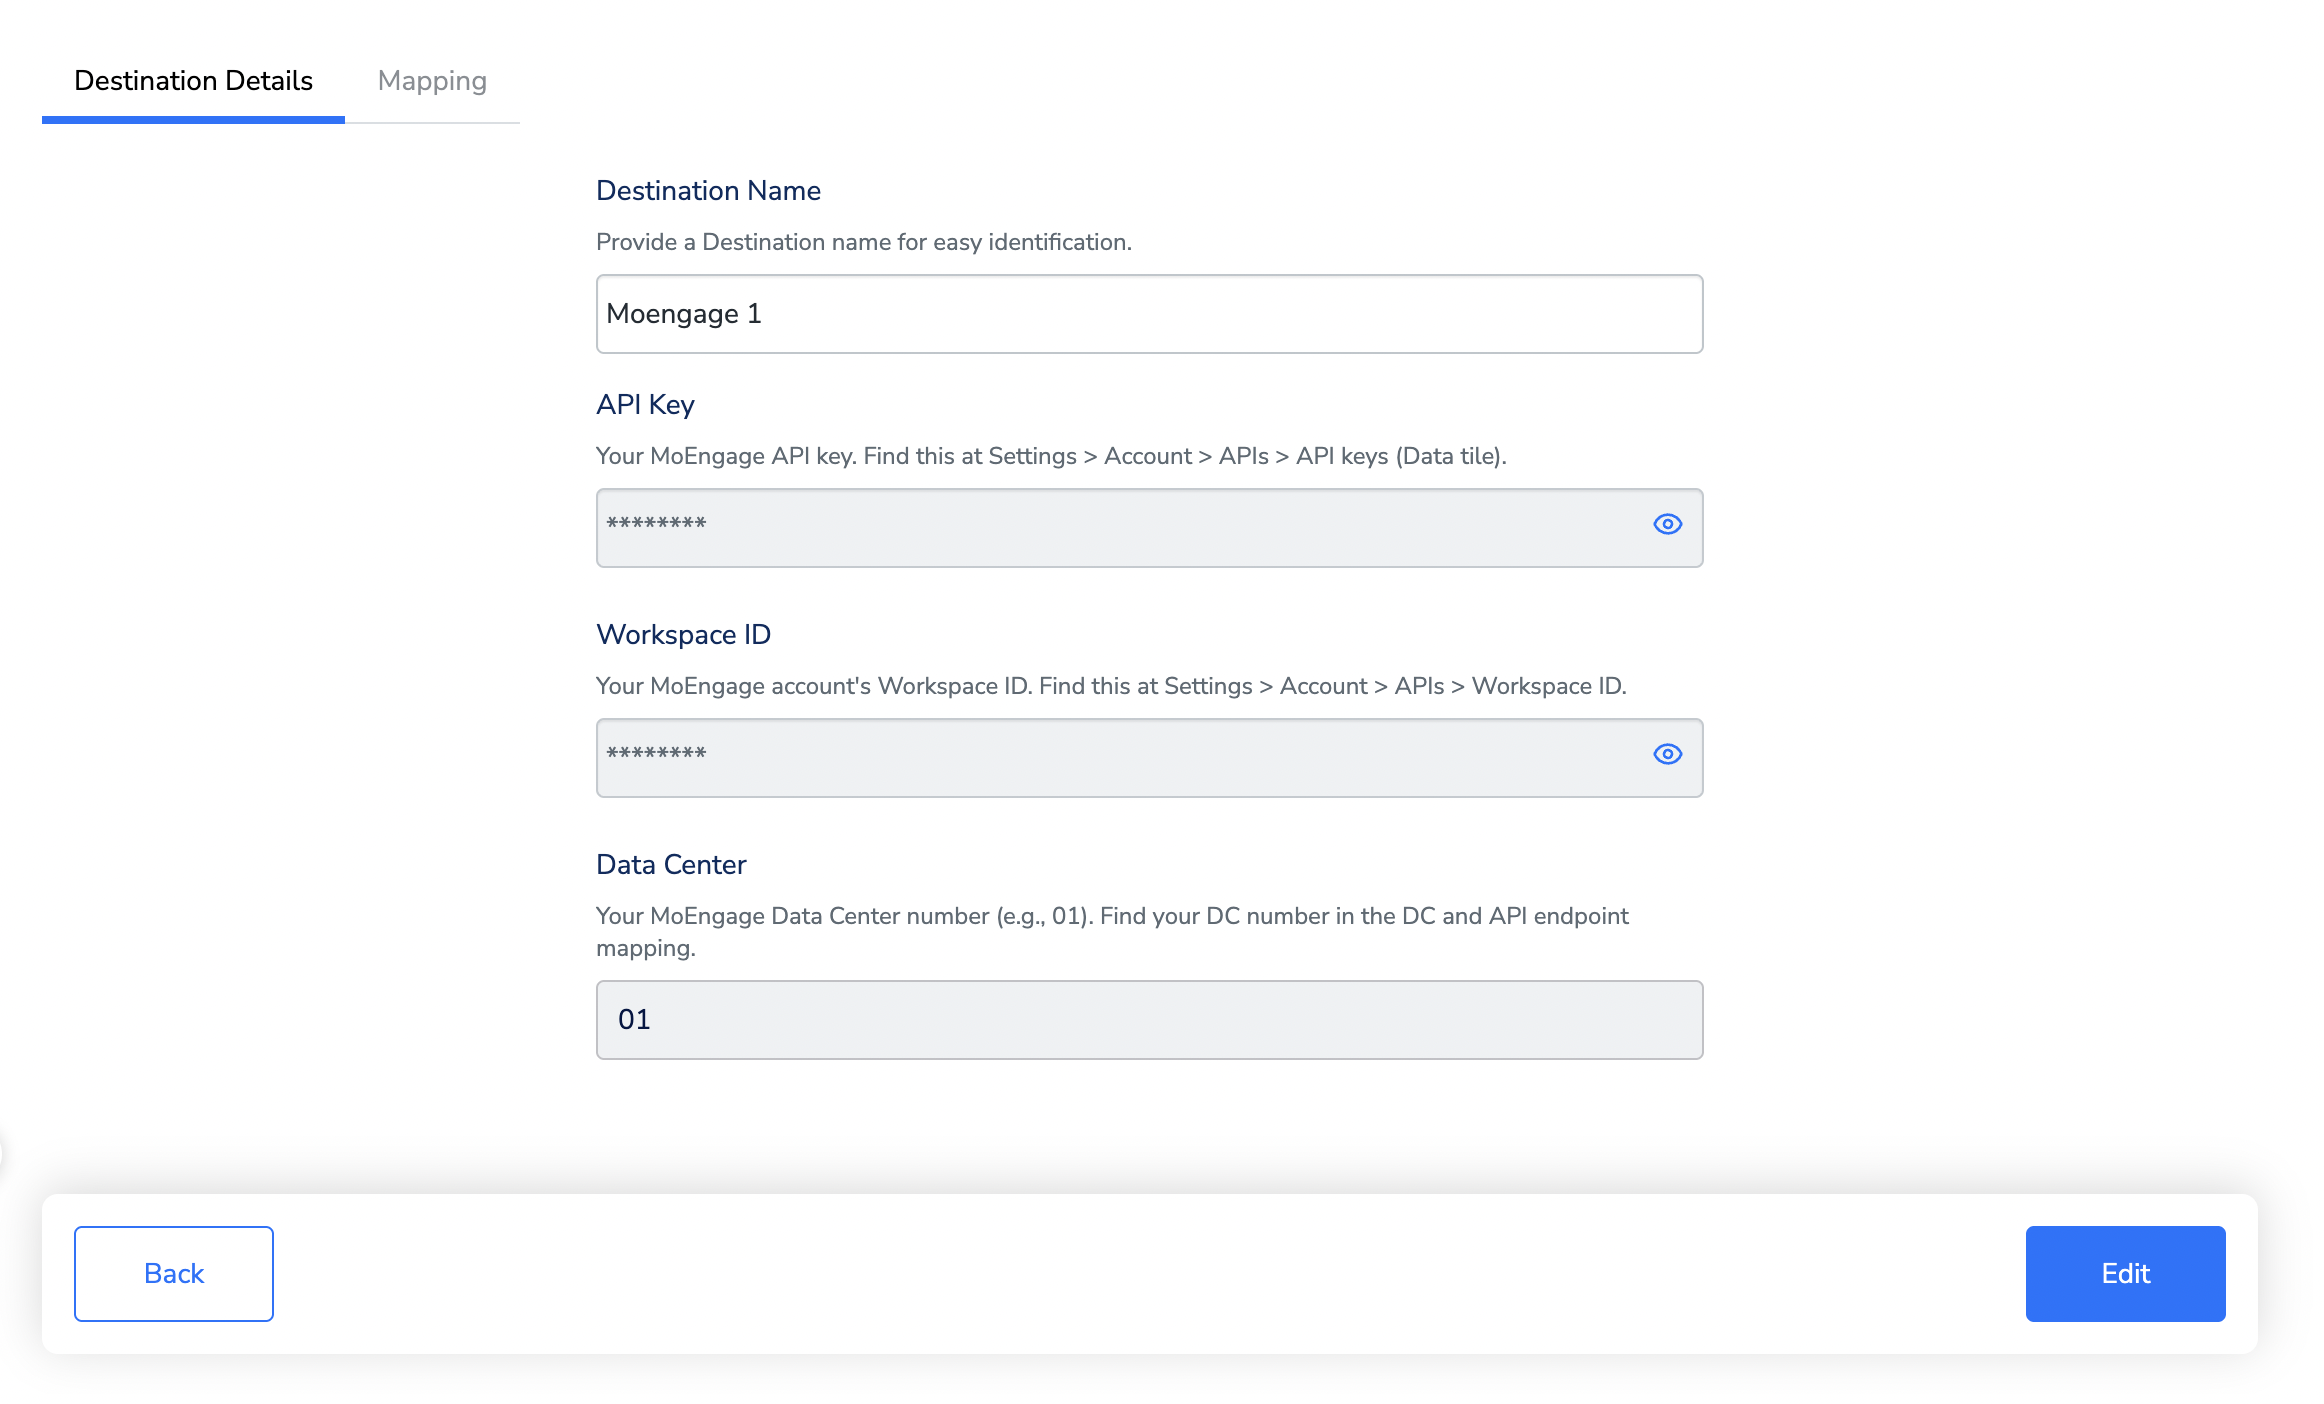
5
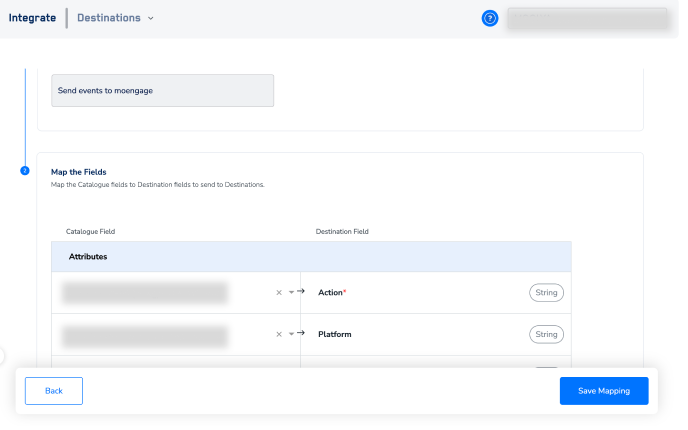
On the mapping screen that appears, choose the action and the mapping. For how actions and mappings work, see Key concepts and Define the mapping.a. Under Choose your Action, choose the action you need — Create User to create or update user profiles, or Send events to moengage to send user events.b. Under Map the Fields, map the Catalogue fields you want to send: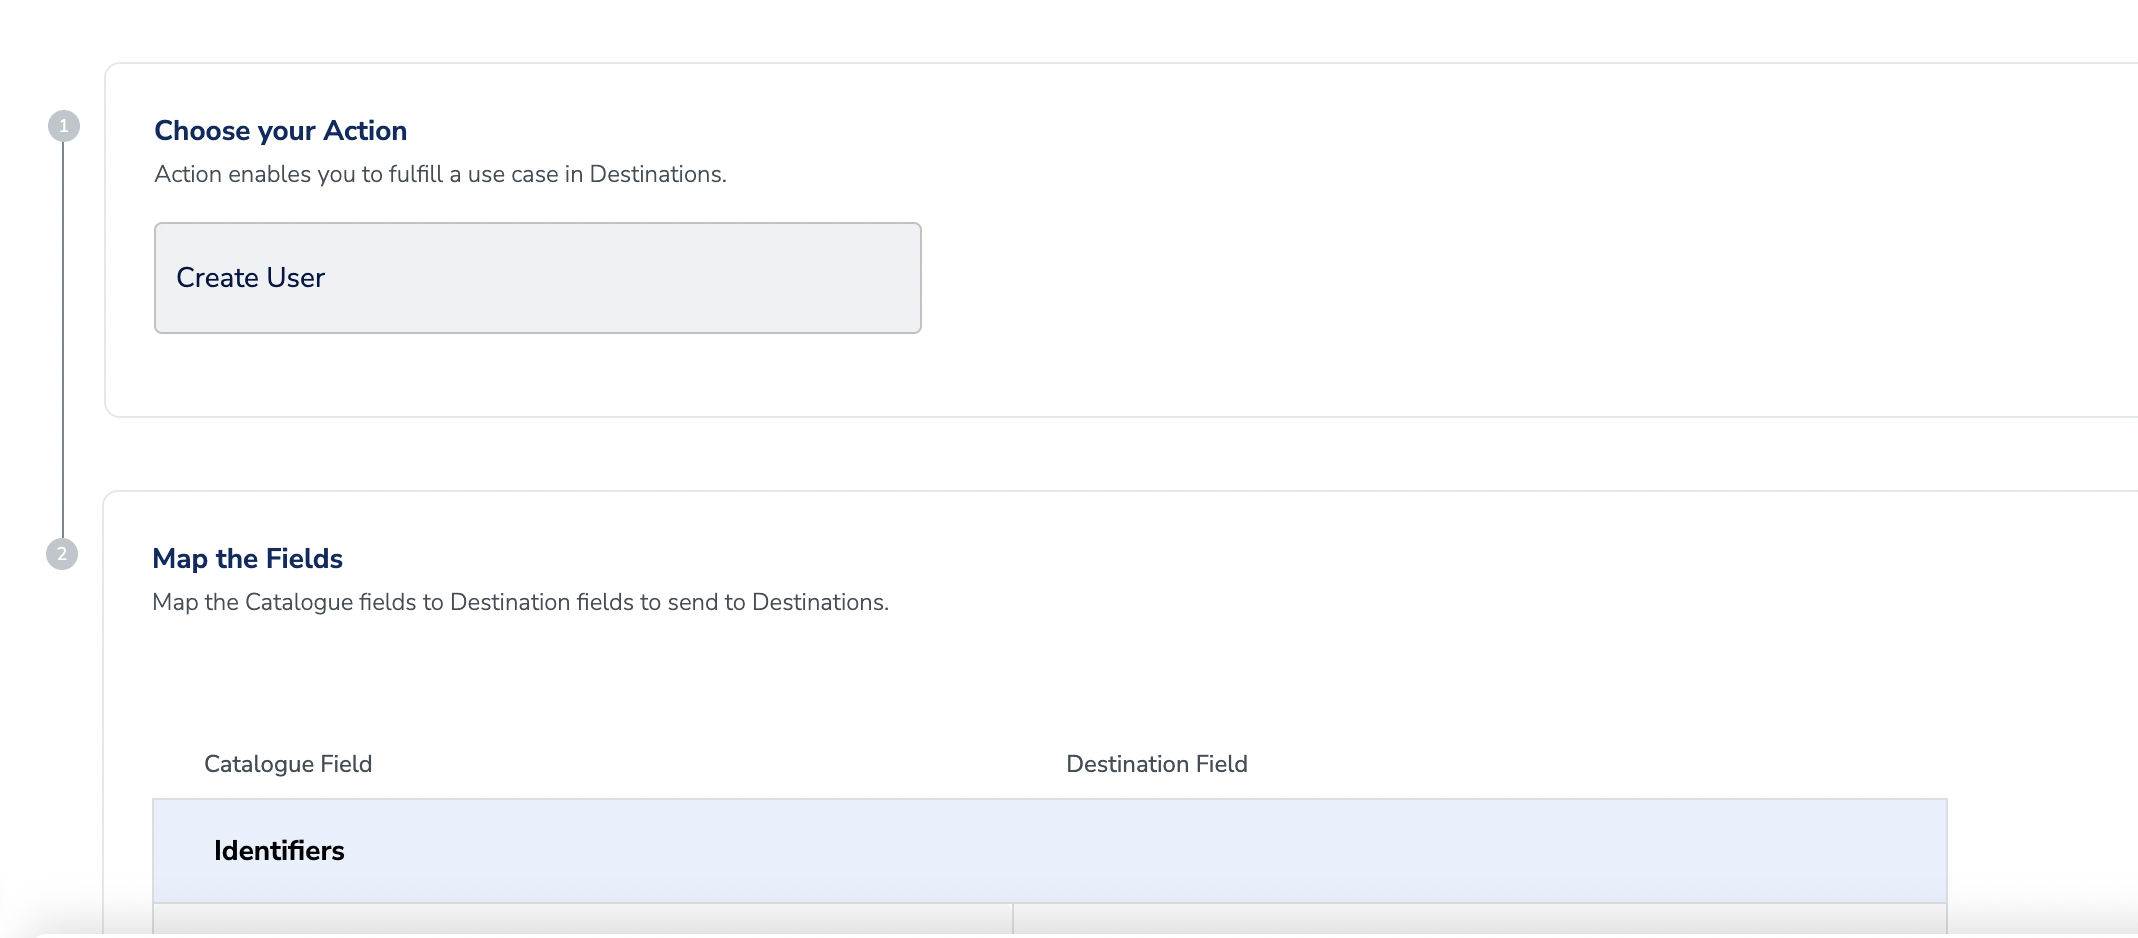
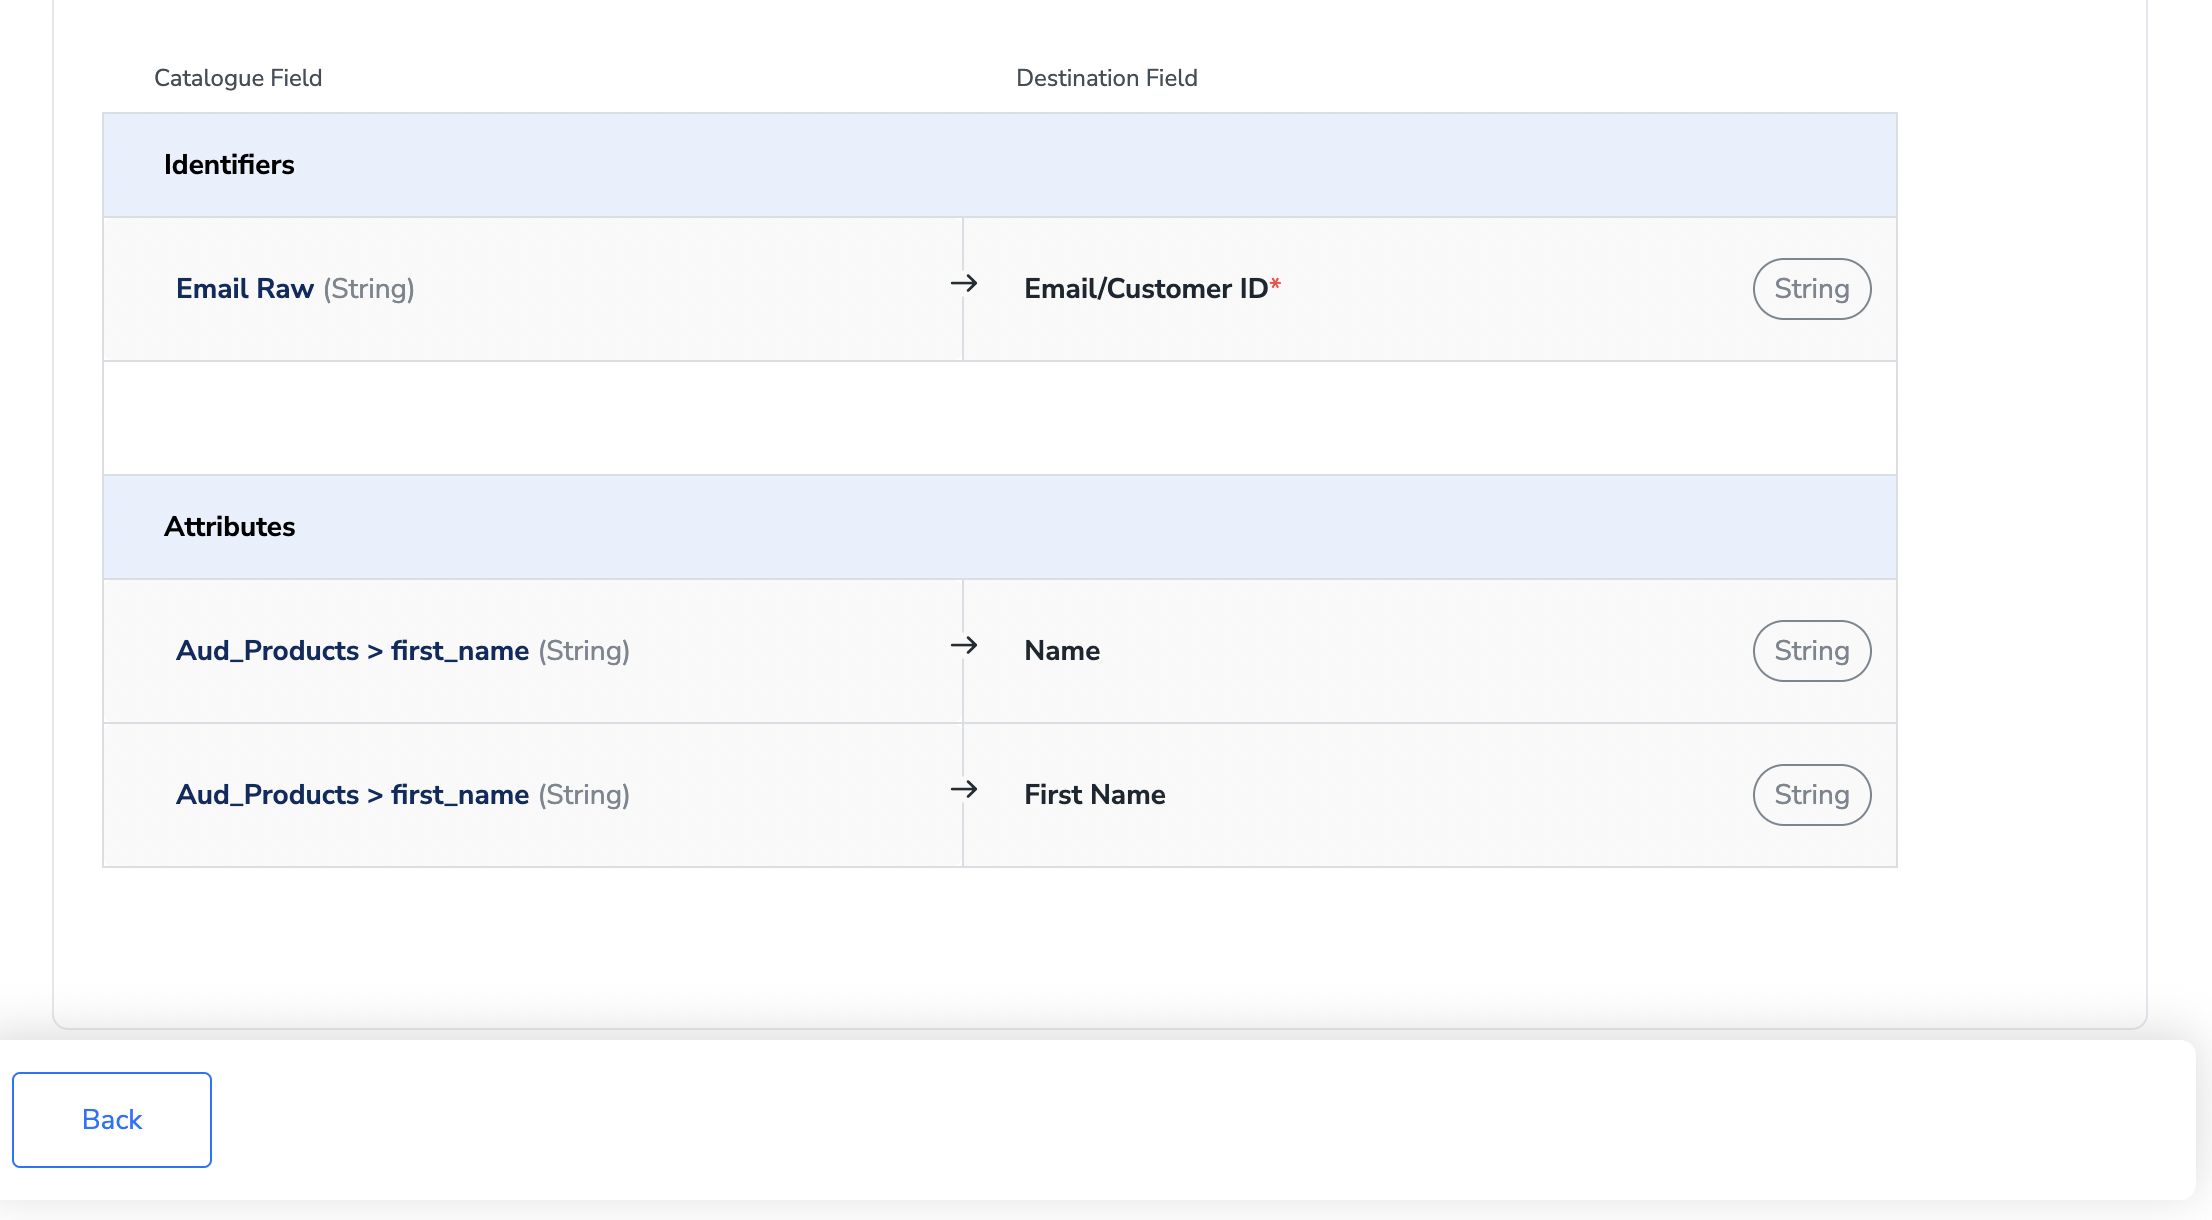
- Email/Customer ID — mandatory.
- Name, First Name, and any other custom field, using + Add Mapping.
- The Action/Event Name and the Action Attributes or Event Attributes that belong to the event. These apply to the events action only.
6
Click Create Destination. The created destination gets listed in the Journeys application, where it can be linked to any journey.
Activate the destination in a Journeys workflow
After the destination exists, link it in the Send to Destination node within the workflow.1
In the workflow, click + and choose Send to Destinations.
2
Choose the destination from the list of available destinations, using the search box if needed.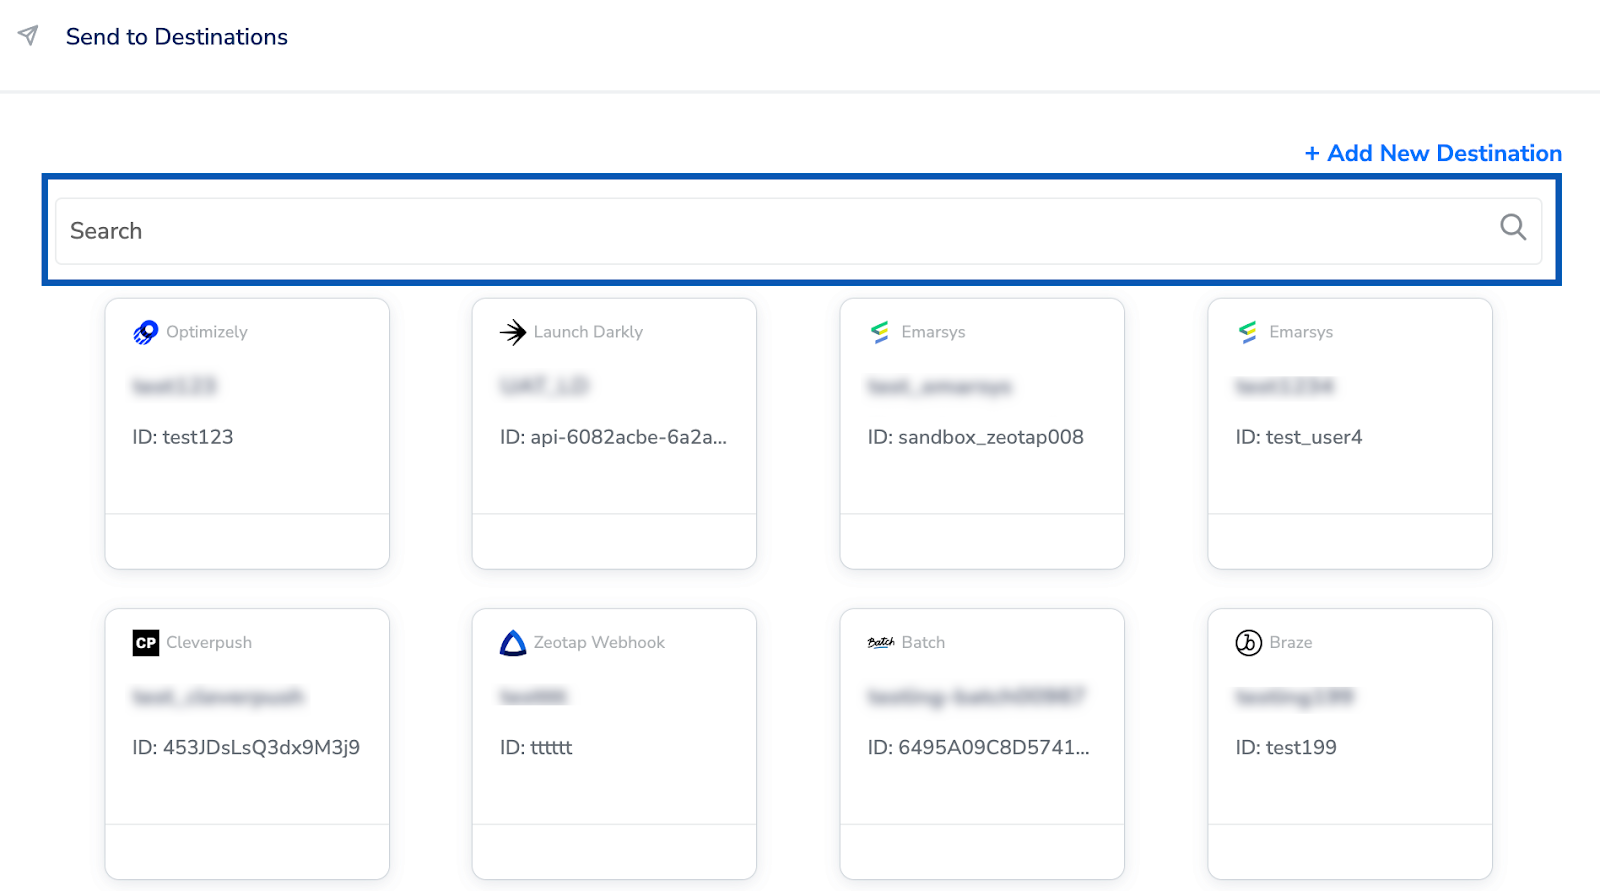
3
On the Destination Details tab, the API key and data center fields are populated automatically from the values you entered when you created the destination.
4
Click Save Destination. The destination is added to the node’s selection, as shown below.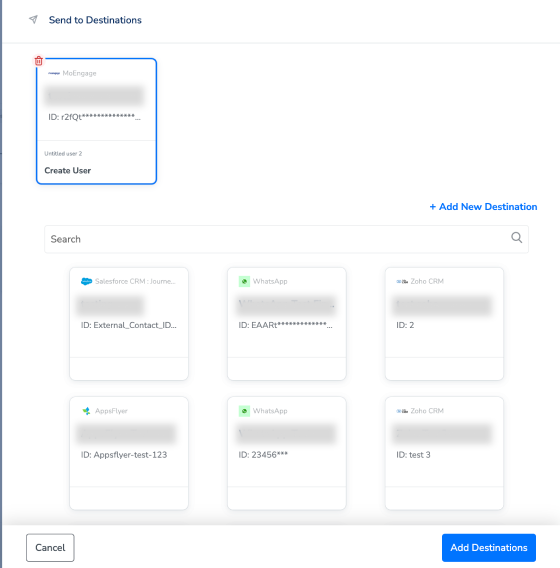
Verify the integration is working
Check the following, in order:- The destination is attached. In the Send to Destinations node, the MoEngage card appears at the top of the panel and shows the destination and the action it will run.
- The credentials came through. Open the Destination Details tab on the node and confirm the credential fields are populated from the destination you created.
- The mapping is the one you intended. Confirm the mandatory Email/Customer ID field is mapped, along with every attribute and event field you expect to send.
- A real user’s payload reached the node. Use Journey Traces to search for a user who qualified for the workflow, then inspect the output event for the MoEngage destination node. This shows exactly which fields were sent for that user.
- No node-level failures. Open the Execution Details panel on the destination node in the Journey Canvas. See Identify Journey Errors.
- The records arrived on the MoEngage side. For a user you found in step 4, open that user’s profile in MoEngage and confirm the attributes the trace shows Zeotap sent are present. For what to compare and why the two counts rarely match exactly, see Verify the activation worked.