

What this is
Braze is a customer engagement platform for real-time messaging across email, mobile push, SMS, in-app, and web. This integration sends user profile attributes, custom events, and purchase events from Zeotap CDP into Braze so you can trigger campaigns, personalise messages, and build Braze segments from Zeotap audiences. Two integration methods are supported — one that pairs Zeotap with the Braze SDK on your app or website (Method 1), and one that uses Zeotap alone (Method 2).Prerequisites
Gather these three values from Braze before starting. You paste all three into the Zeotap destination form.
- Client Name — the name of your Braze account, shown in the Braze Console account header.
- API Key — a Braze REST API key with the
users.trackpermission enabled under User Data. - Instance — the Braze instance your account is provisioned on (US-01 through US-08, or EU-01 / EU-02).
Get the API Key
In the Braze Console, go to Settings → APIs and Identifiers → API Keys. Reuse an existing key if it already has theusers.track permission under User Data. To create a new key: click Create API Key, enter an API key name, enable the users.track checkbox under User Data, and copy the generated key from the Identifier column.
Identify your Instance
Braze runs several instances for the dashboard and REST endpoints. Match your Braze dashboard URL to the correct REST endpoint using the table below, then select that instance from the drop-down when creating the Zeotap destination.Choose your integration method
Pick the method that matches whether you already ship the Braze SDK in your product.Method 1 — Zeotap + Braze SDK
Use this method when you have the Braze SDK on your website or app. The SDK captures device-level engagement (in-app messaging, news feed, content cards, push), and Zeotap enriches the same user profiles with attributes from your CDP. Tasks:- Integrate the Braze SDK on your website or app.
- Integrate Braze with Zeotap through Journeys.
Method 2 — Zeotap only
Use this method when you do not run the Braze SDK.Without the Braze SDK, the following Braze features are not available through this integration: in-app messaging, news feed, content cards, and push notifications. Zeotap recommends mapping the hashed email from the Zeotap Catalogue to the Braze External ID.
Create the Braze destination in Zeotap CDP
Once the three prerequisite values are in hand, create the destination.-
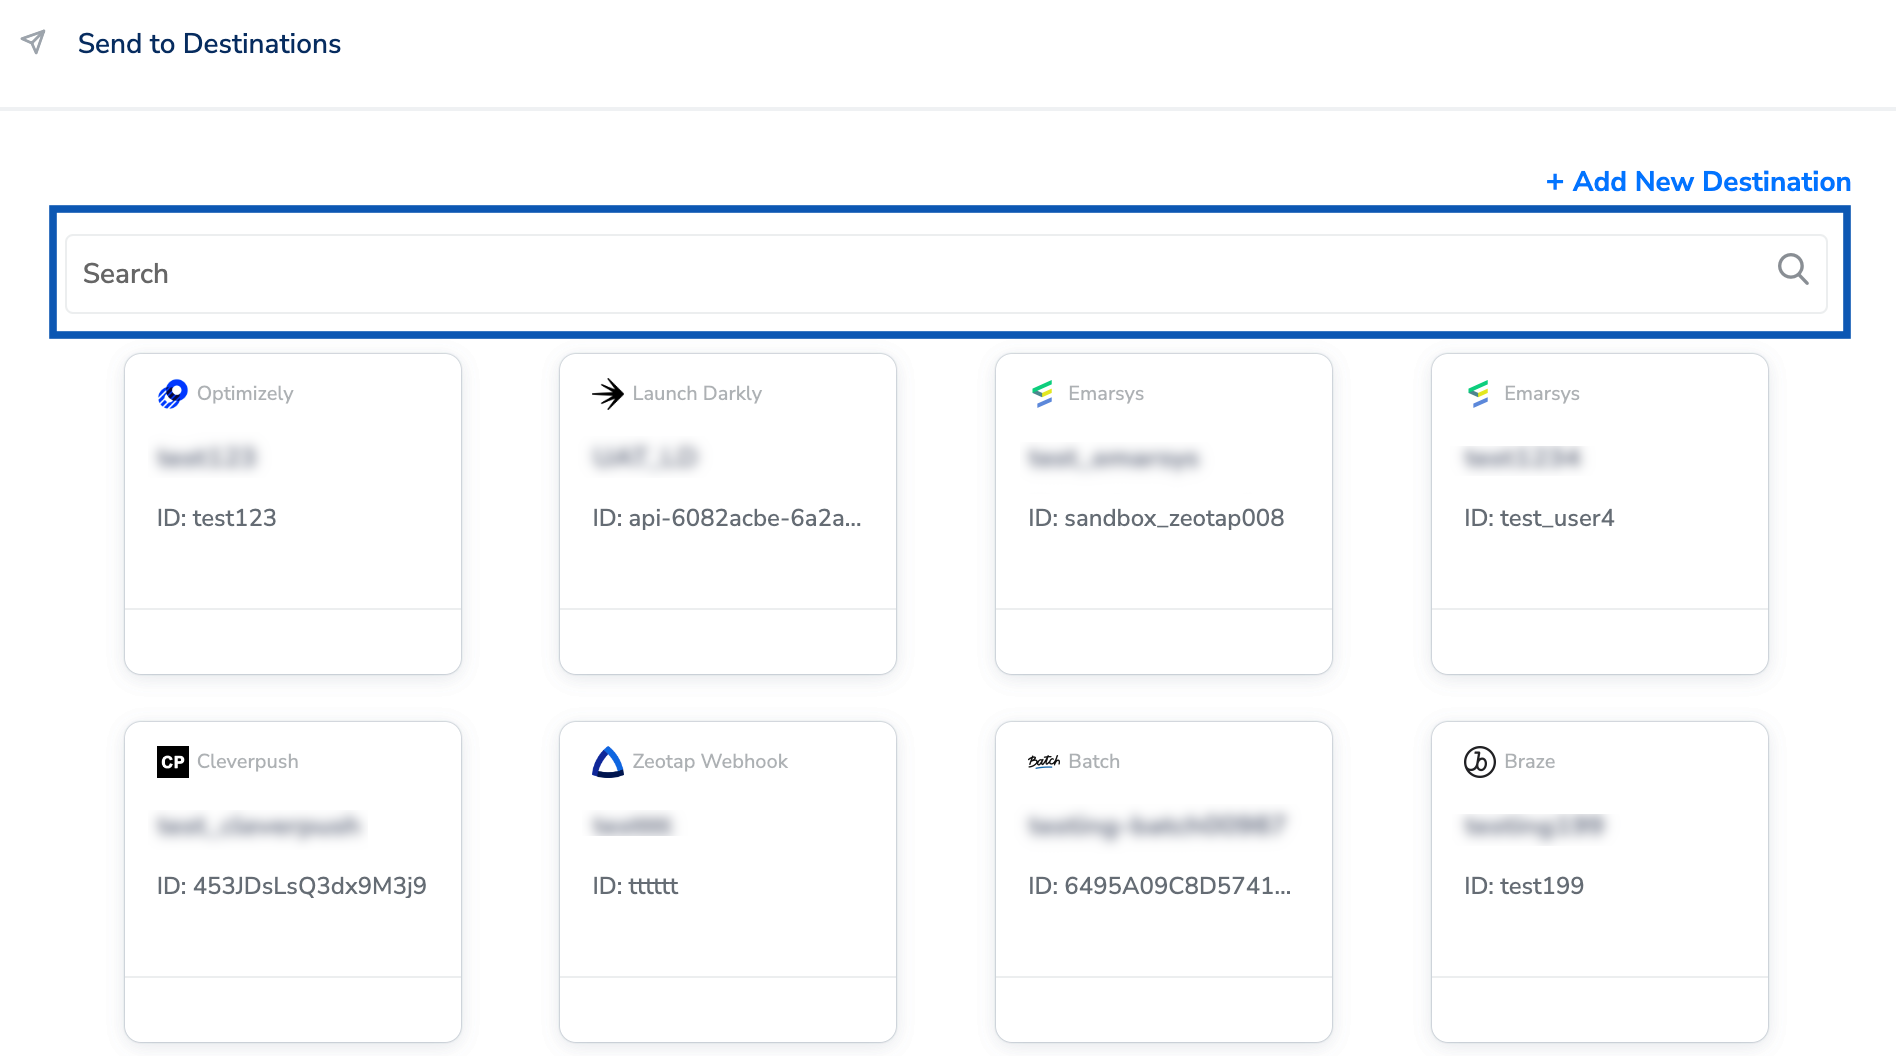
In the Zeotap CDP app, open the Destinations application and click + Create Destination. You can also create one from a Journey’s Send to Destinations panel, where the button is + Add New Destination.
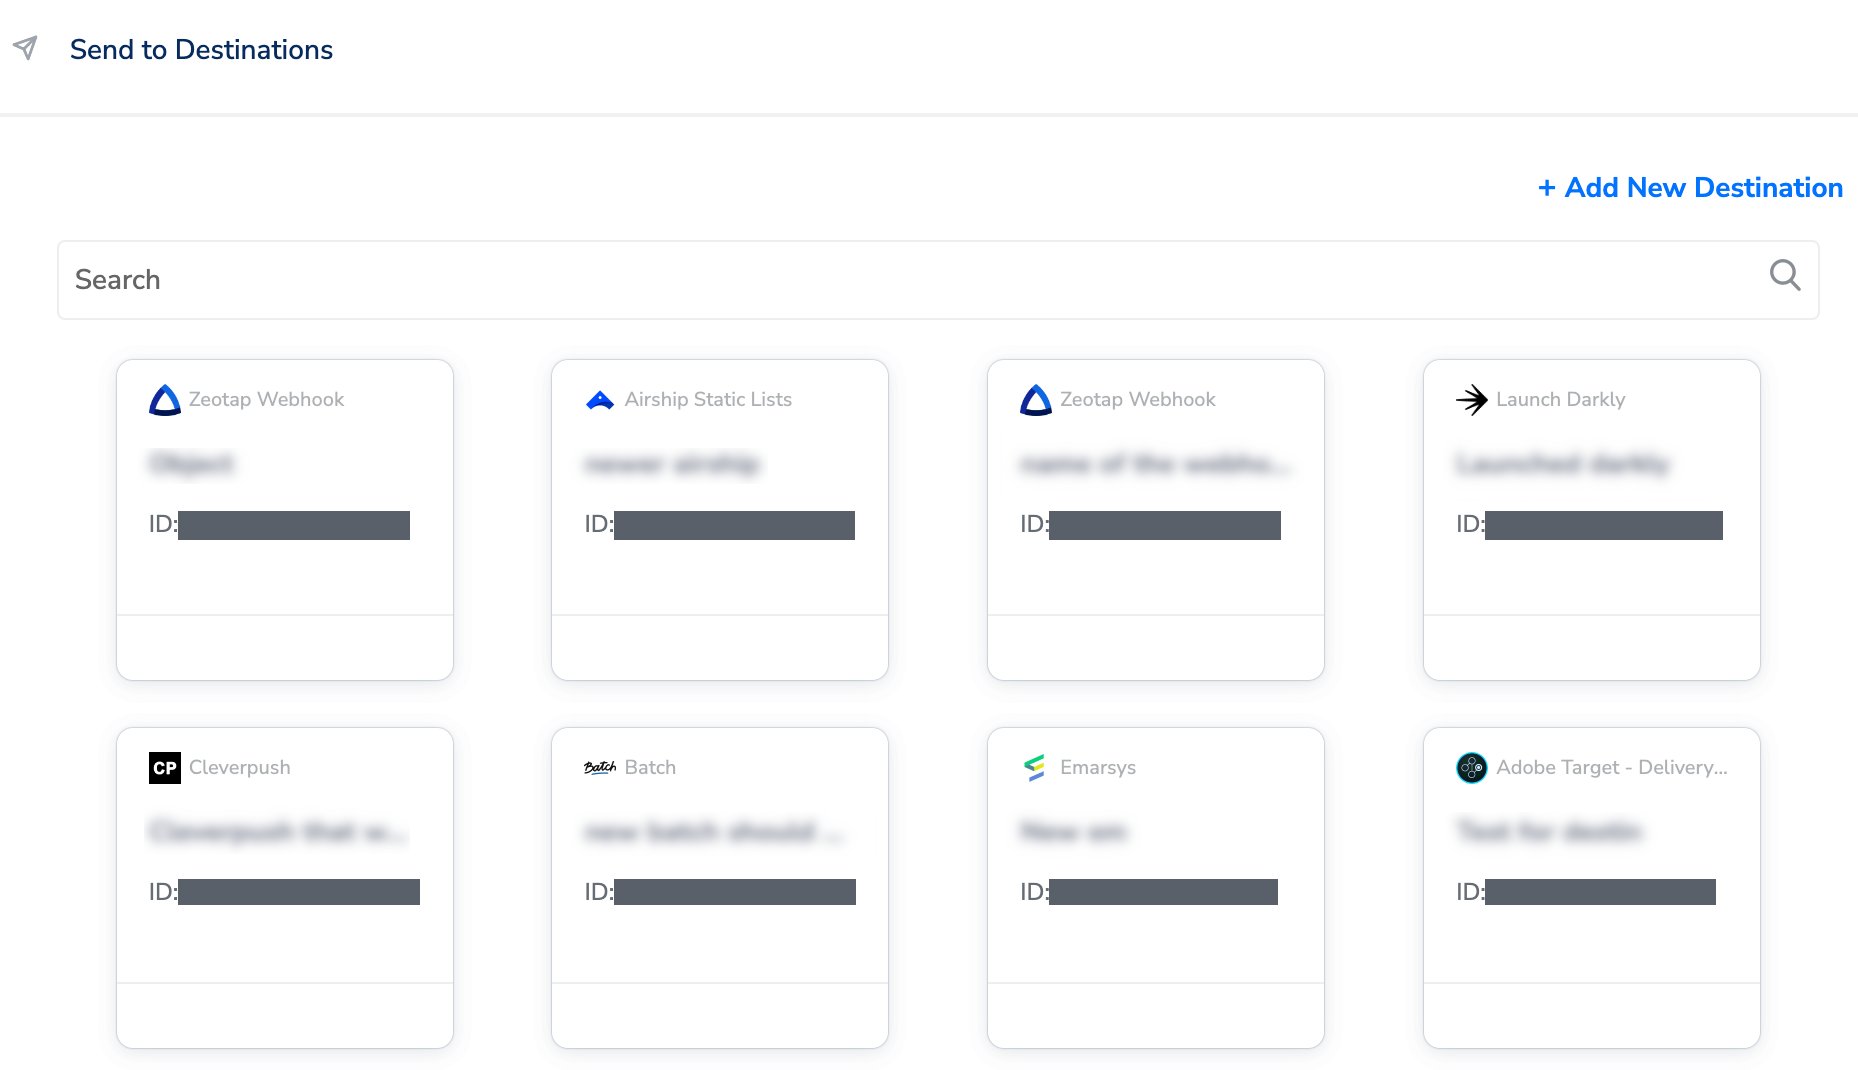
- Search for Braze and select it.
-
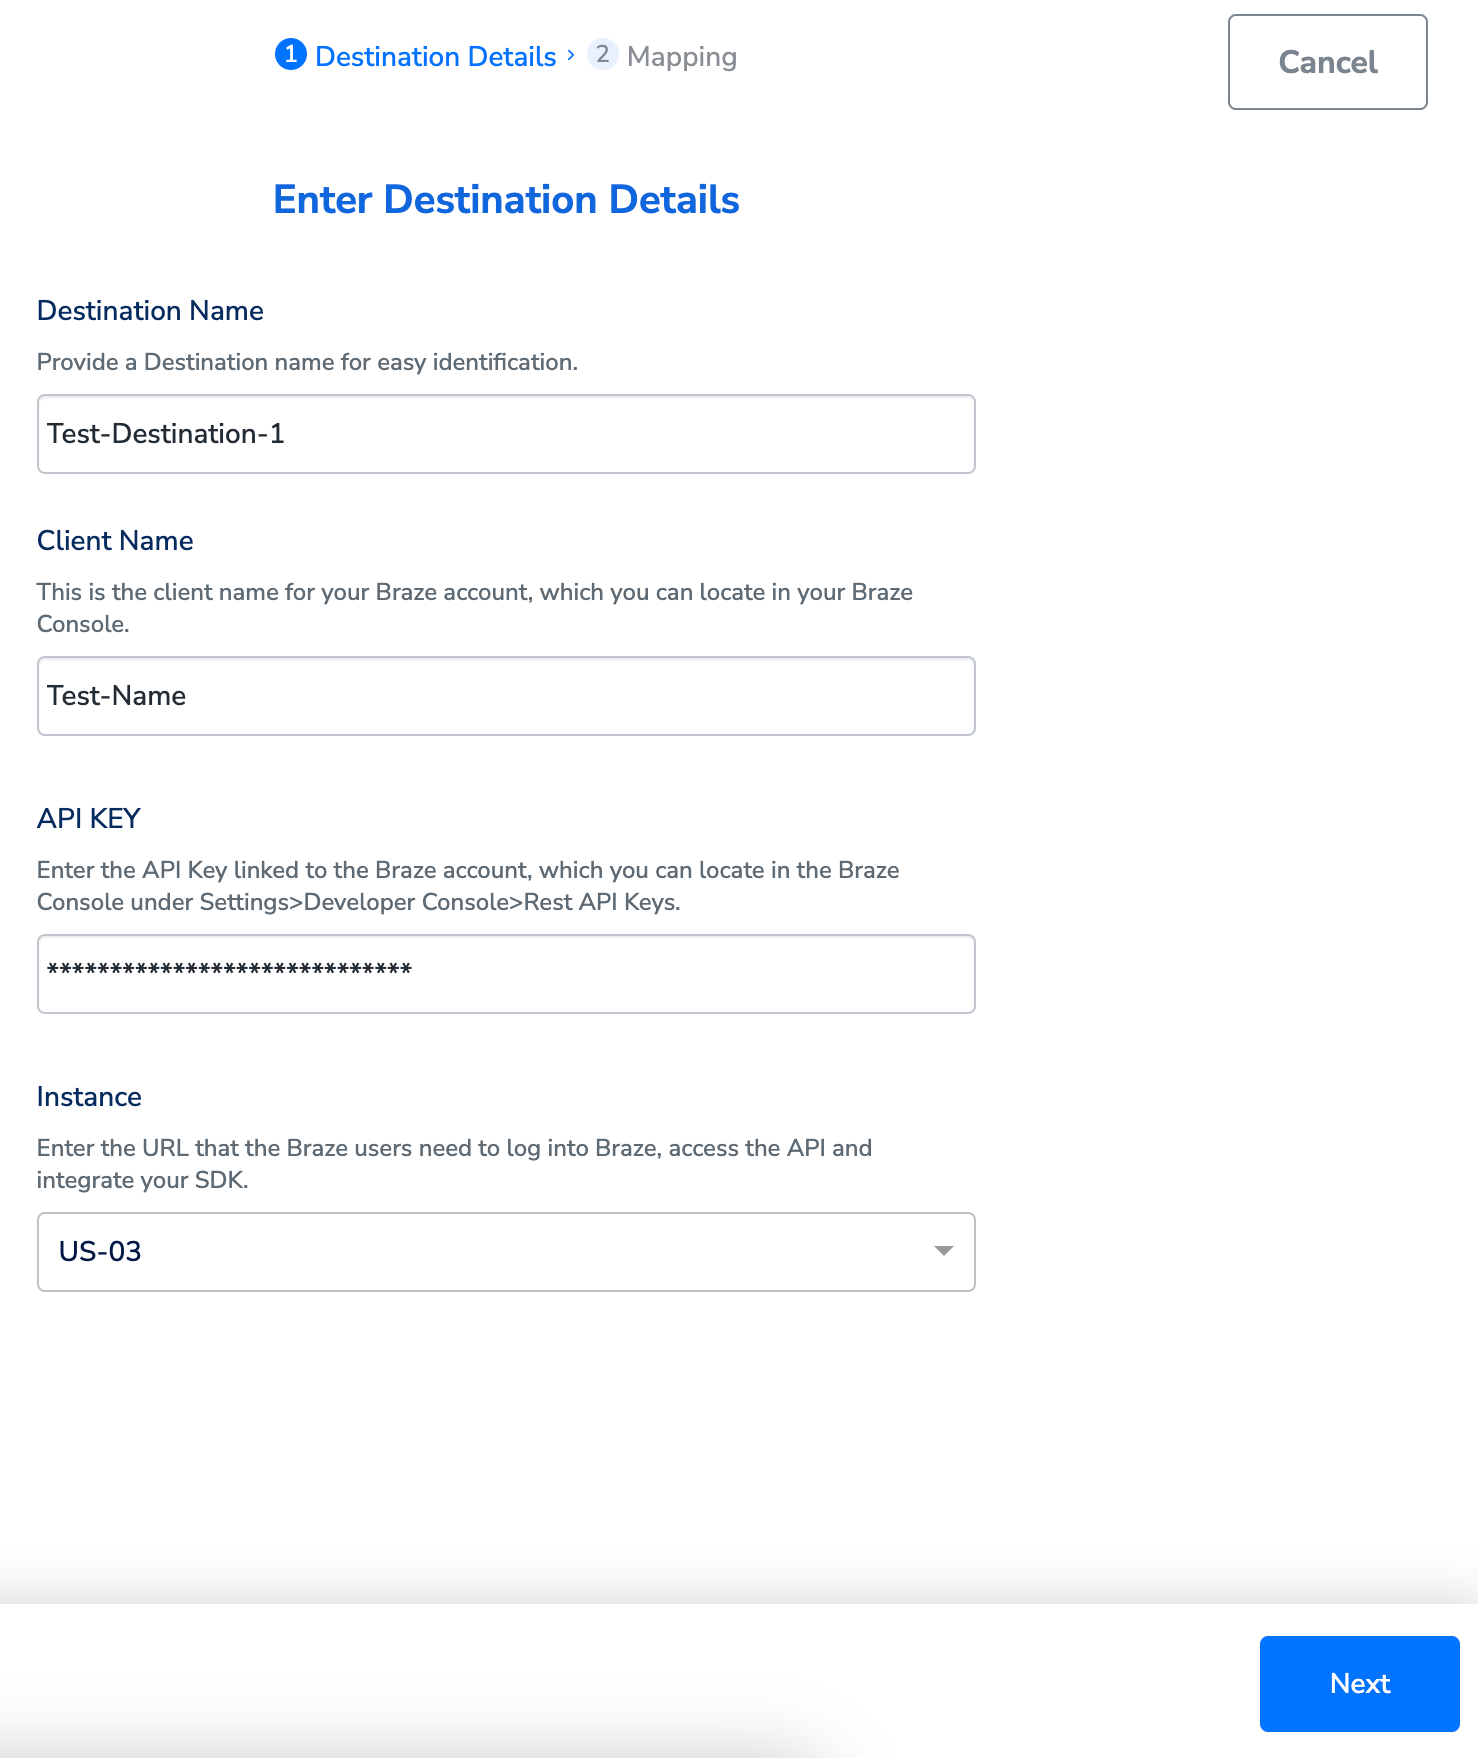
Enter a name for the destination, then paste the Client Name, API Key, and Instance from Prerequisites. Click Next.
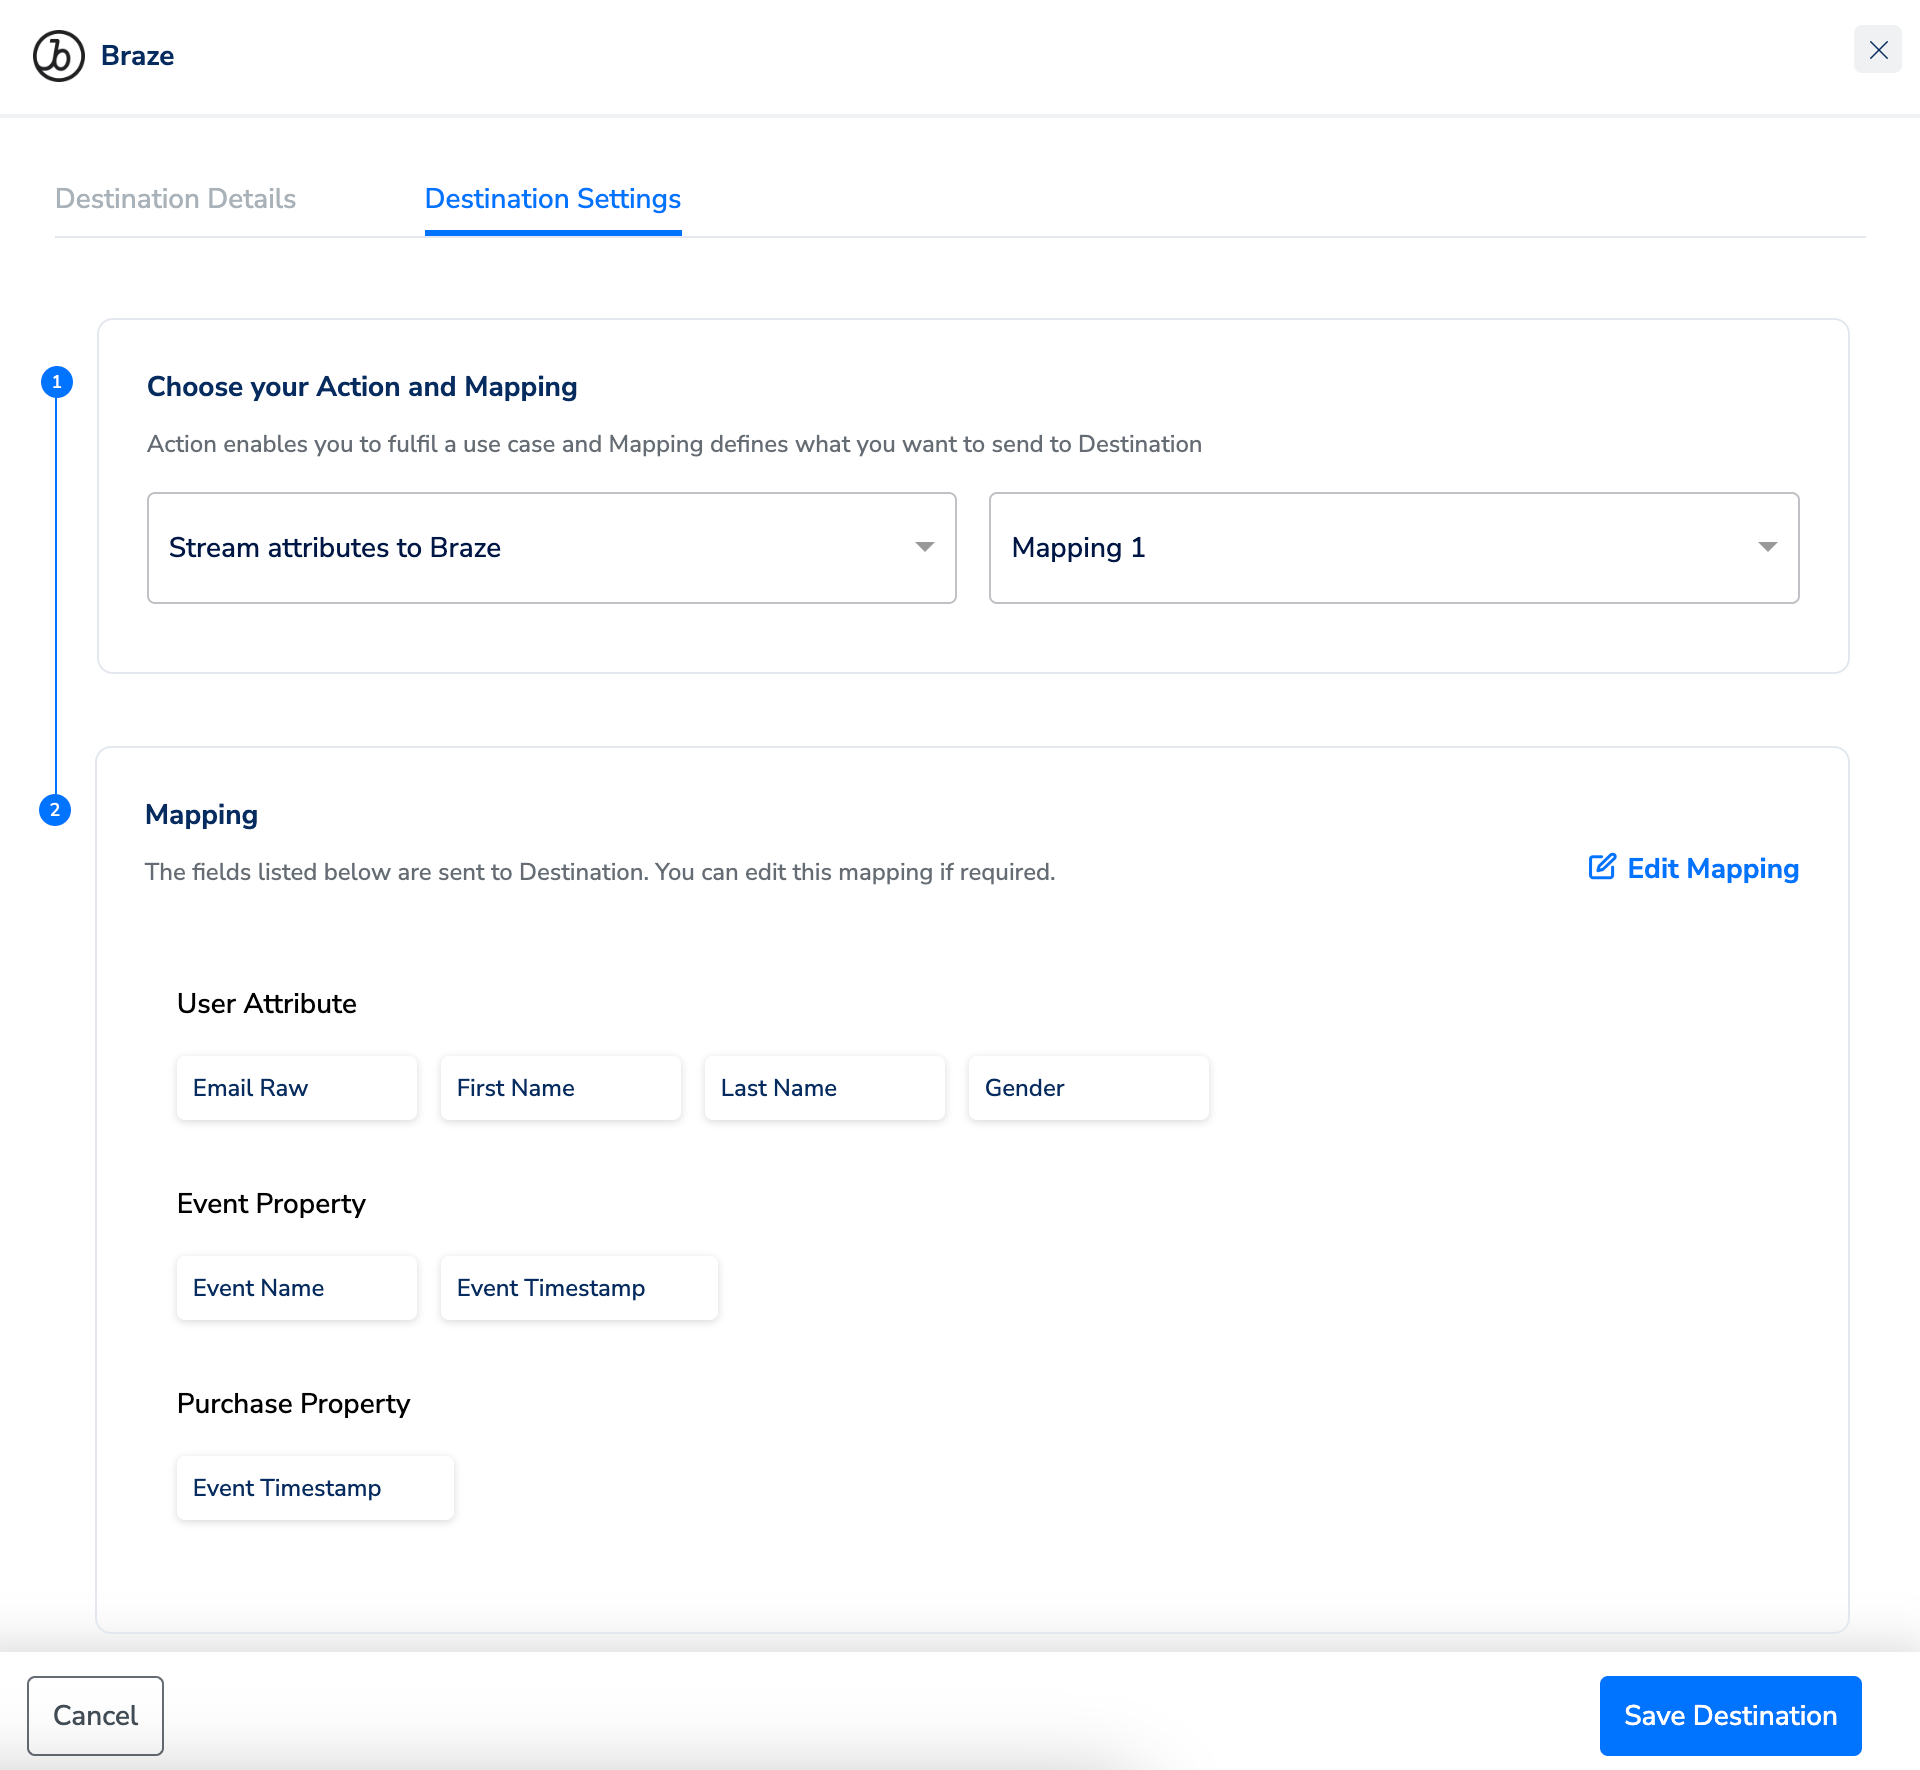
- On the mapping screen, under Choose your Action, select Send Attributes and Identifiers to Braze. Under Map the Fields, select the corresponding attribute for each listed Destination Field (Email, Phone, First Name, Last Name, and similar) using Choose Catalogue Attribute.
-
Add any custom data under Attributes by clicking + Add Mapping Field and entering a Key Name, a Catalogue Attribute and a Type. Only simple key/value pairs are supported — for a purchase event, a set of properties such as
color: red,checkout duration: 180,size: 10 UK,brand: Nikeis valid.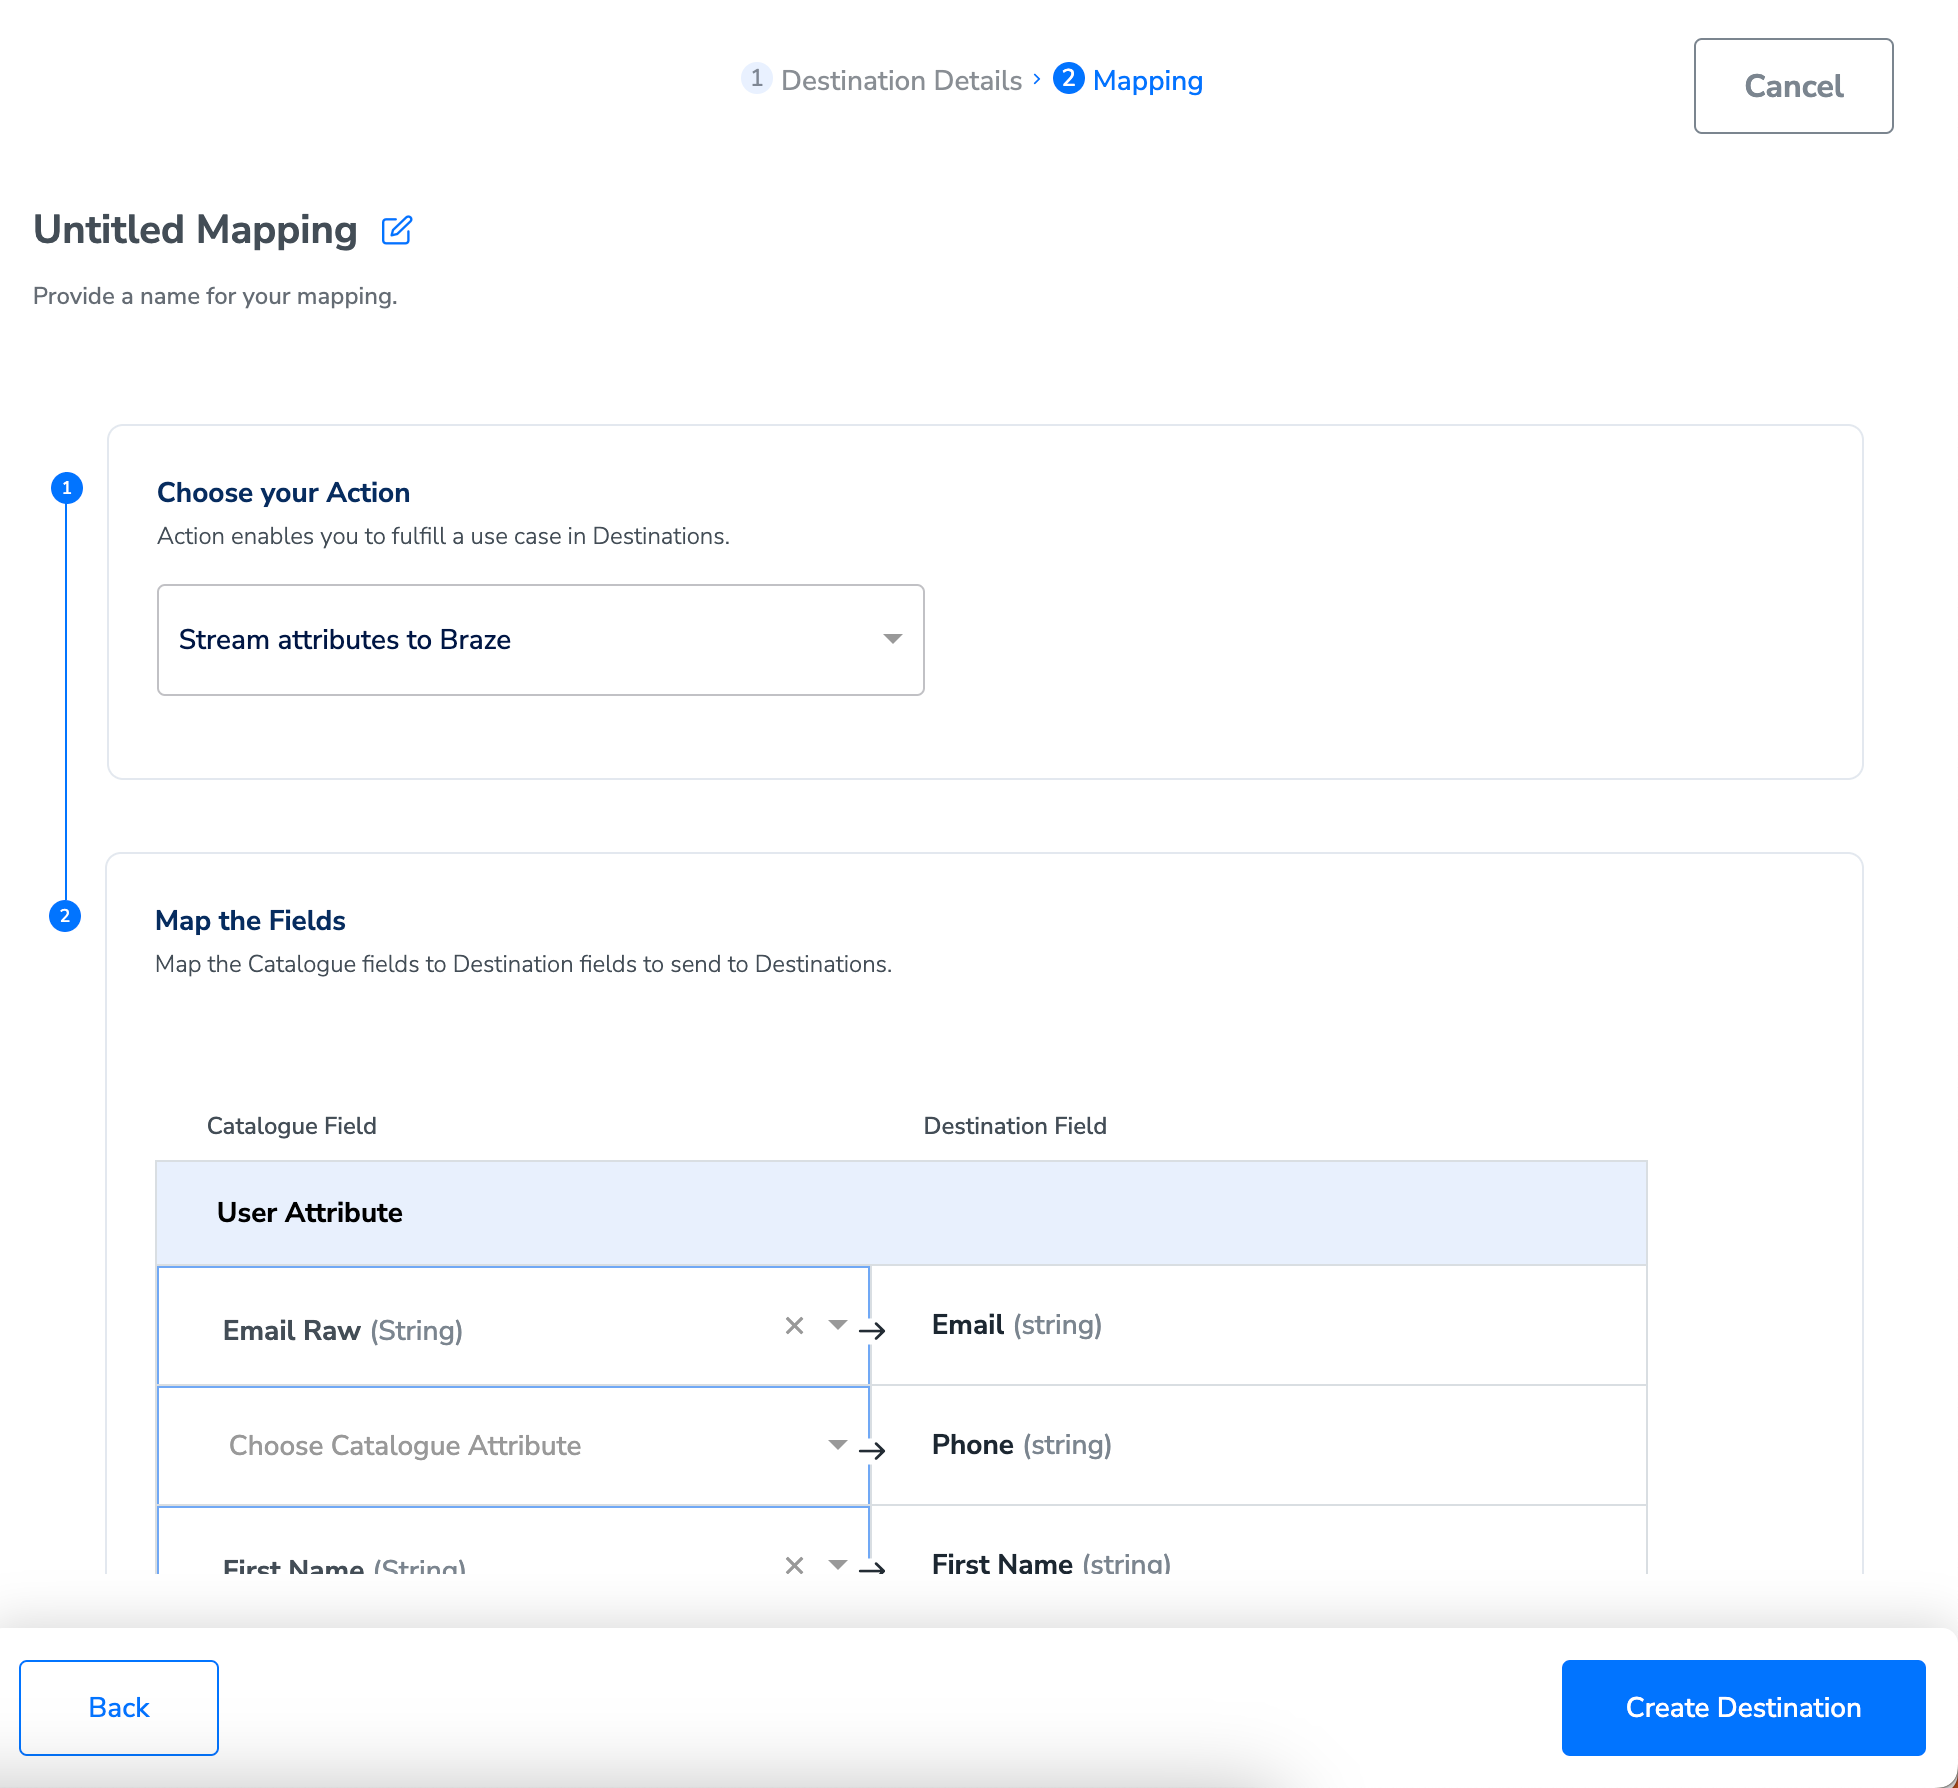
- Click Create Destination. The destination becomes available to Journeys.
Activate the destination in a Journey
After the destination is created, link it inside a Journey workflow.-
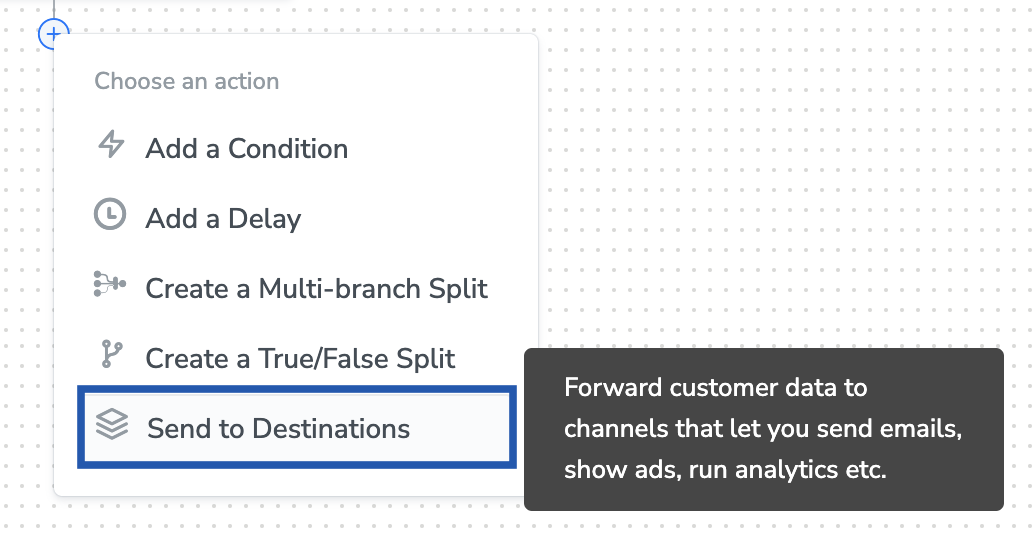
In your Journey workflow, click + at the point where the action should fire and choose Send to Destinations.
-
Search for and select the Braze destination.
- Under the Destination Details tab, the Client Name, API Key, and Instance are pre-populated from the destination you created. Enter a value in the Audiences field to categorise the users this node will send.
-
Under the Destination Settings tab, choose the Action and mapping.
-
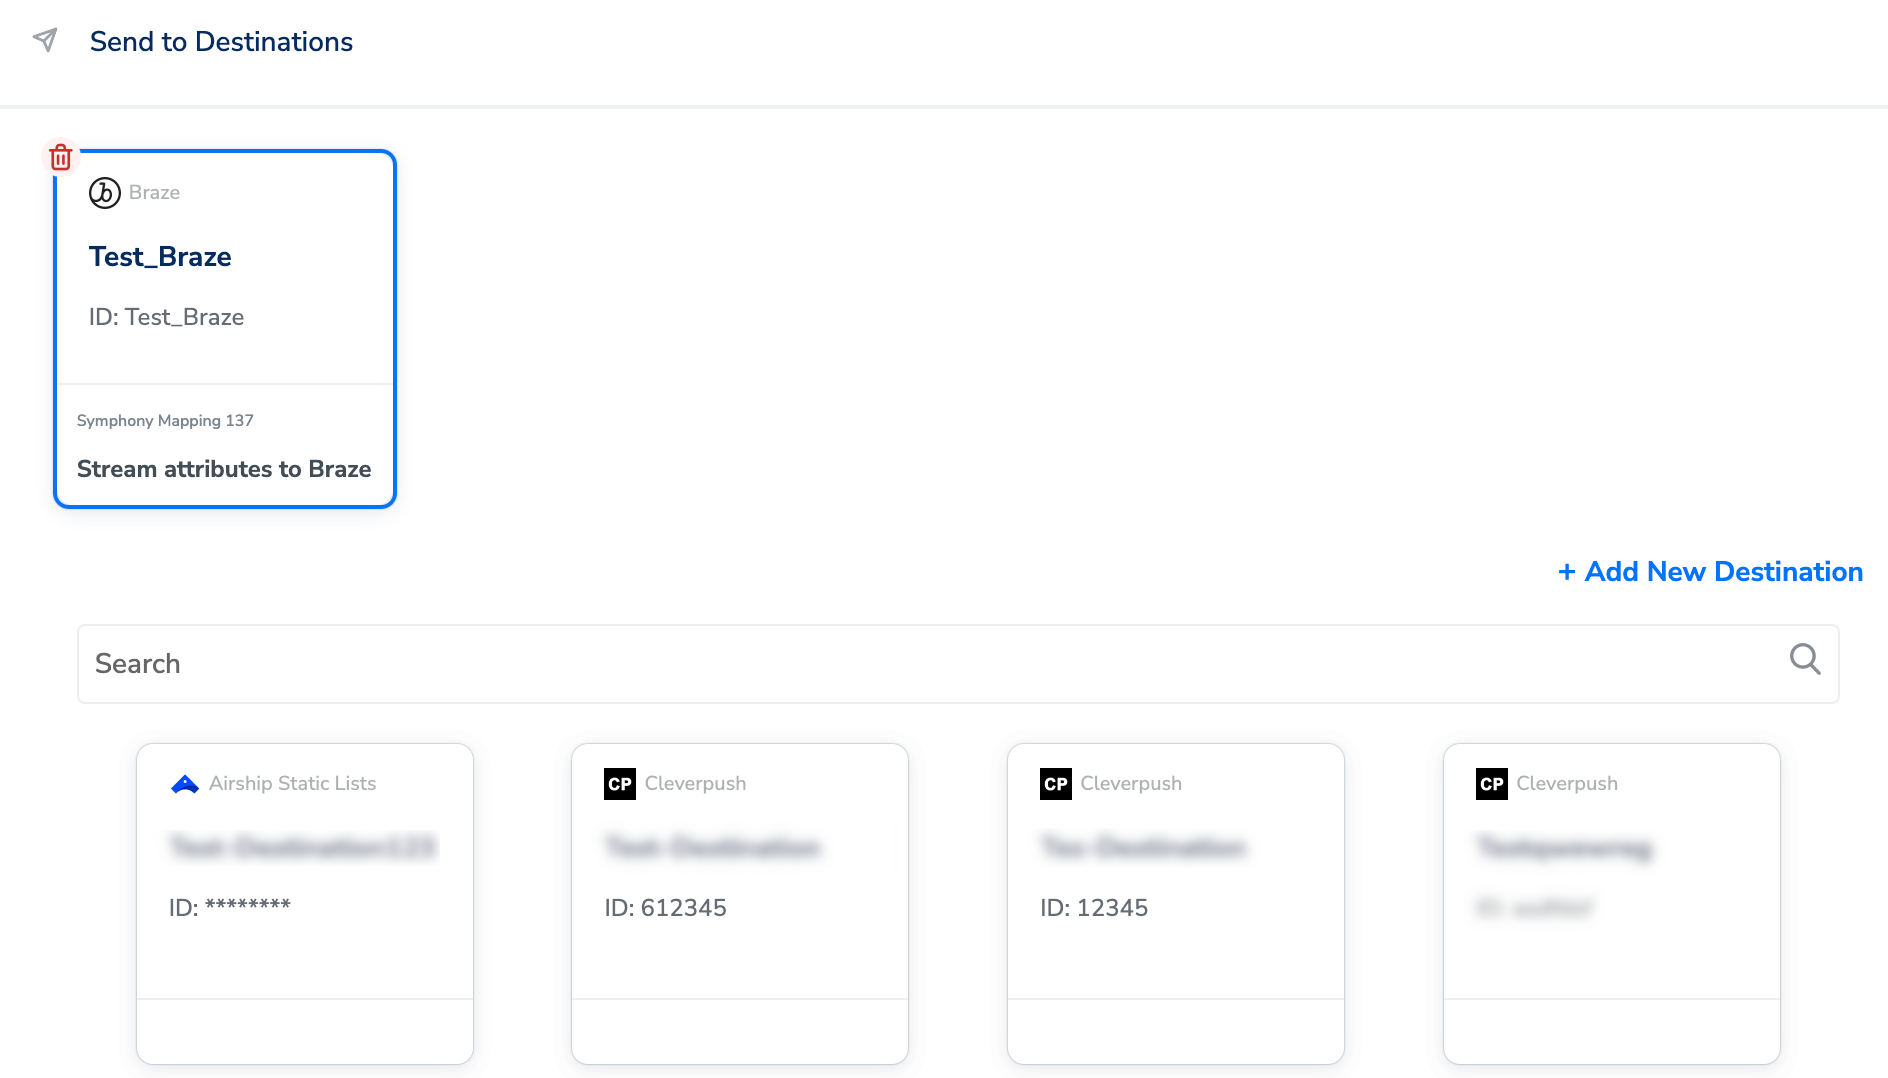
Click Save Destination. The Braze node is now attached to your Journey.
Supported attributes
The following Zeotap Catalogue fields map to Braze fields. Static Mapping fields are pre-mapped by Zeotap; Dropdown selection fields are chosen from the Catalogue on the mapping screen.Example payload structure
Zeotap posts to the Brazeusers/track endpoint. One request can carry attributes, events, and purchases for a user. A minimal payload shape:
events requires both name (from Custom Event Name) and time (from Custom Event Timestamp). Each object in purchases requires product_id, currency, and price.
Verification
You have wired the integration correctly when all of the following are true:- In the Zeotap CDP app, the Braze destination is listed under Destinations and its Journey node shows Save Destination completed.
-
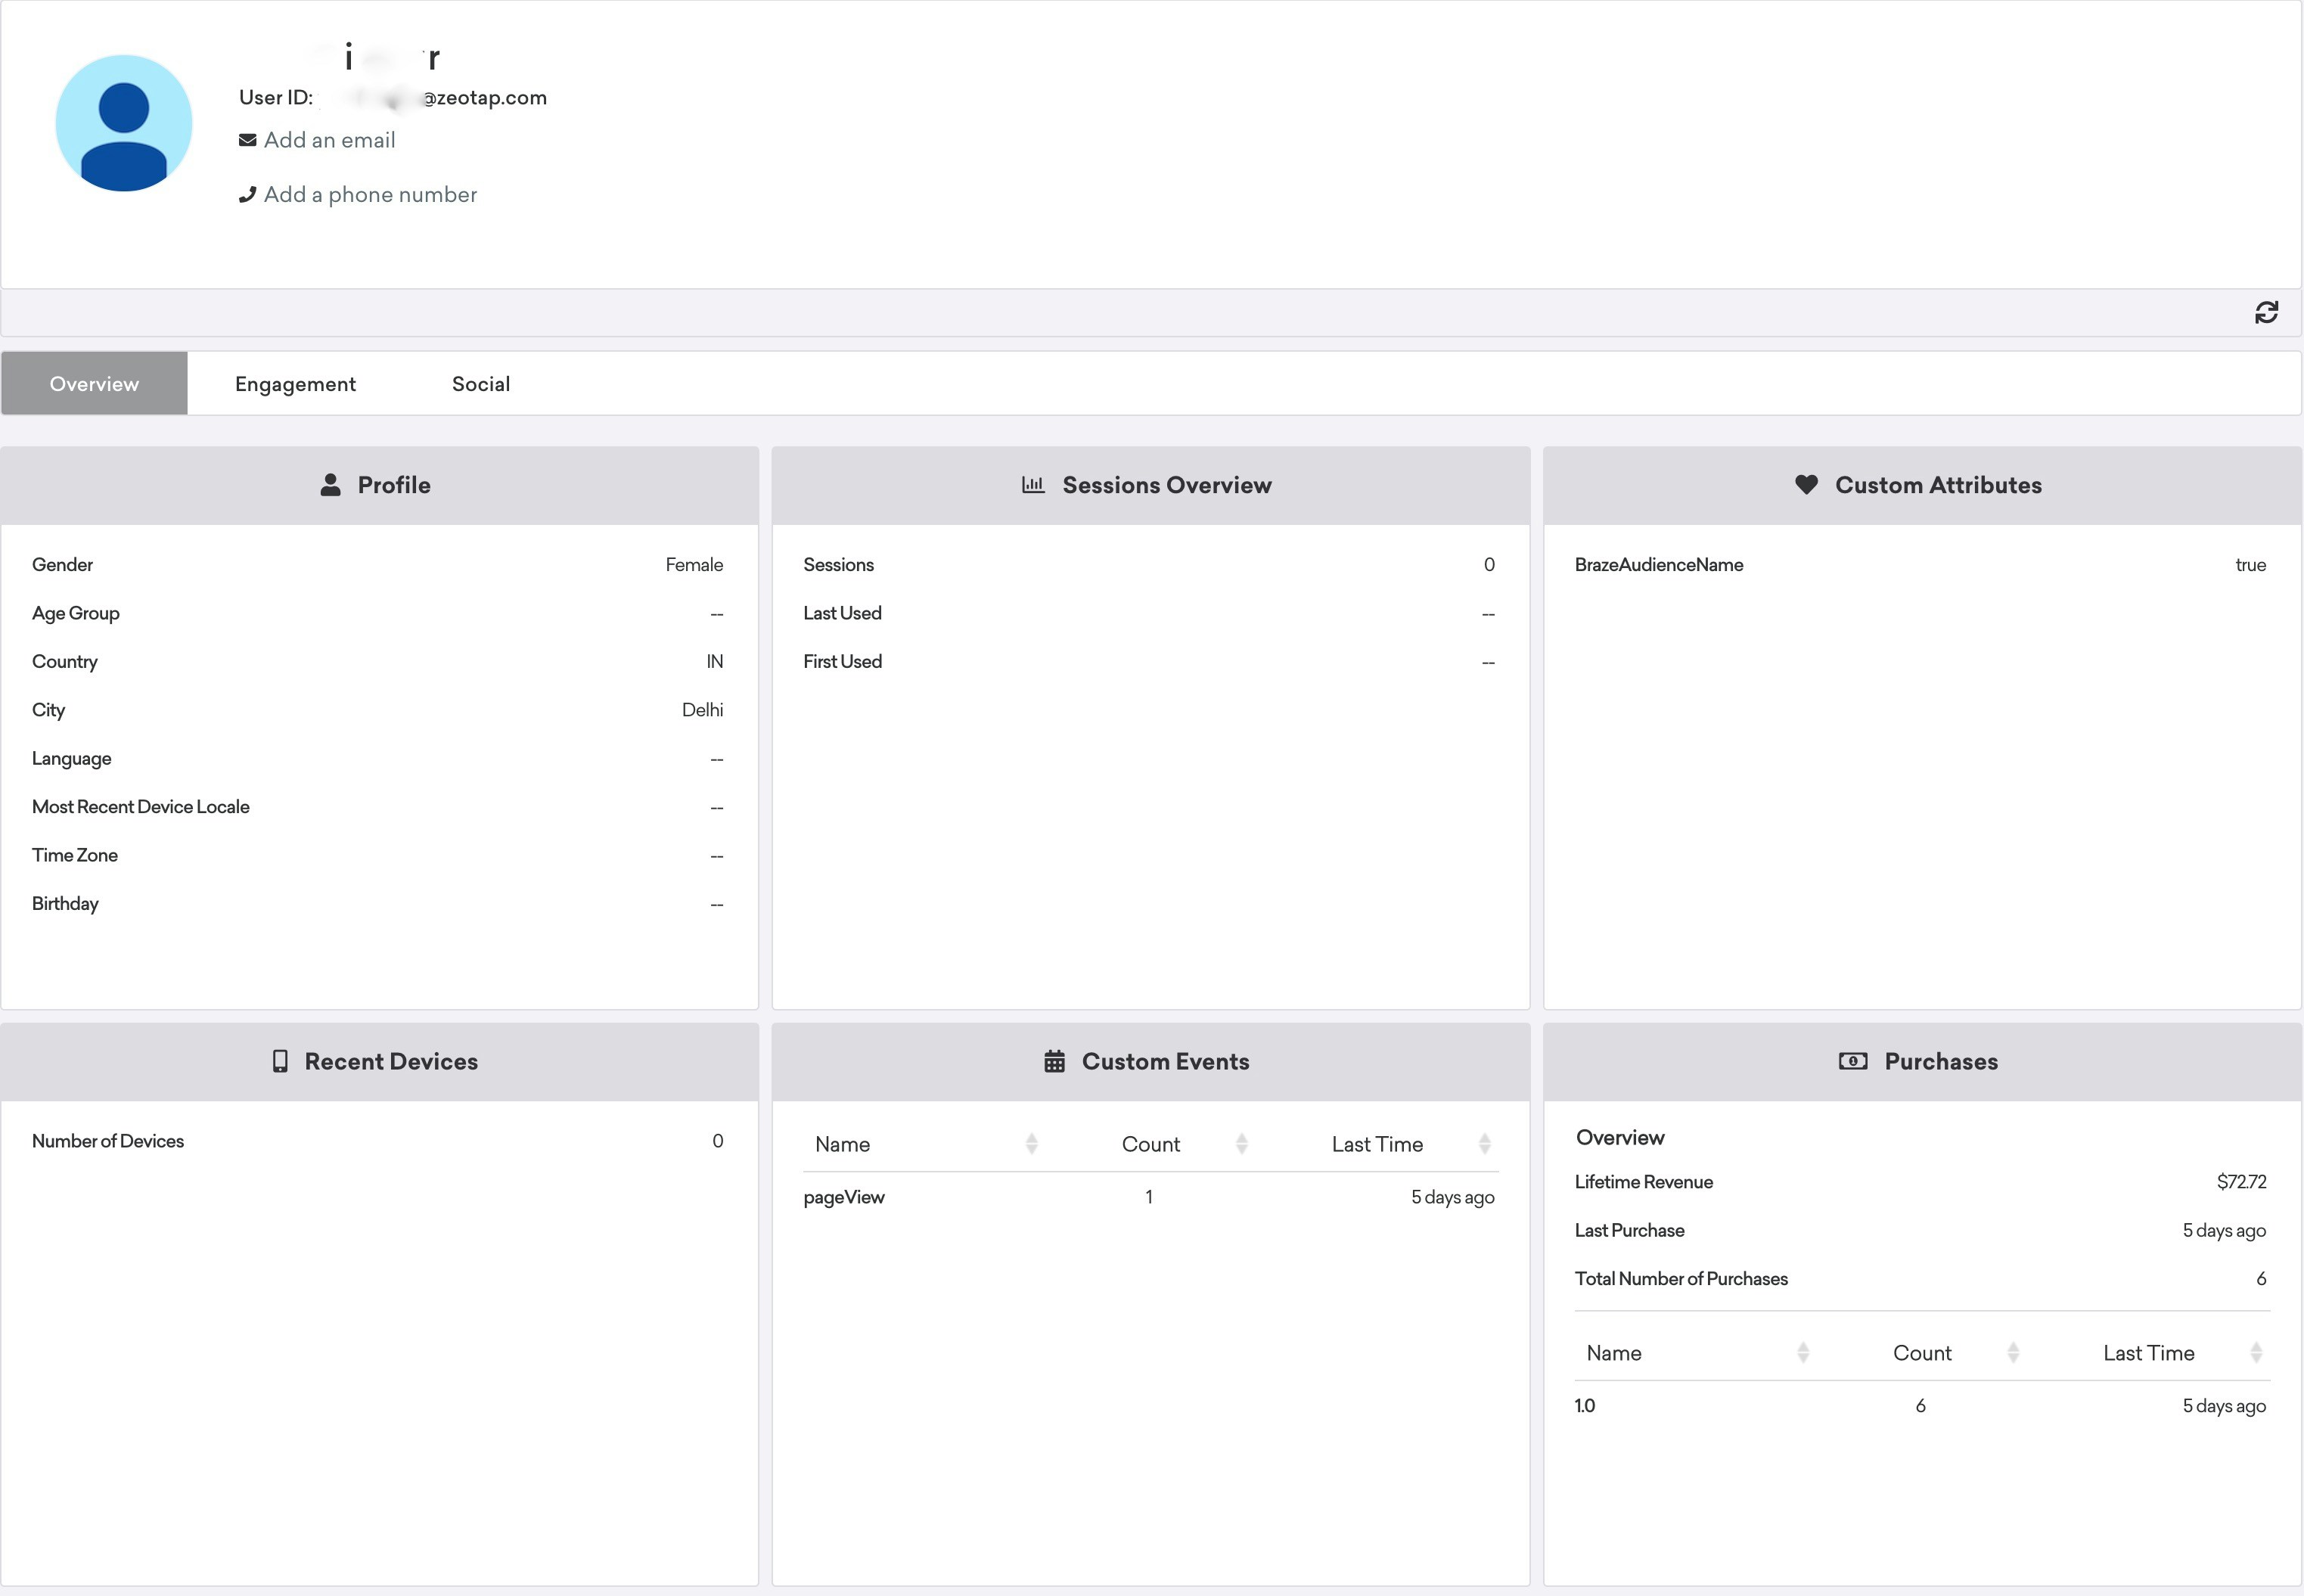
After a user qualifies for the Journey, that user is visible in the Braze console — search by Email ID or External ID on the Braze user dashboard.
-
Attributes appear in the expected tab in the Braze user dashboard:
- Profile tab — user attributes (Email, First Name, Last Name, Gender, and similar).
- Custom Attributes tab — the custom attributes you mapped.
- Custom Events tab — custom events (requires both Custom Event Name and Custom Event Timestamp mapped).
- Purchases tab — purchases (requires Product ID, Currency, and Price all mapped).
Troubleshooting
If data does not reach Braze, or a specific record type is missing on the user profile, cross-check against the table below.FAQ
Which method should I use if the Braze SDK is already live in my app?
Which method should I use if the Braze SDK is already live in my app?
Use Method 1. Keep the SDK responsible for Event and Purchase capture, and use Zeotap for User traits only. If Zeotap also sends Events or Purchases, Braze records duplicates.
Do I need to hash email addresses before sending them to Braze?
Do I need to hash email addresses before sending them to Braze?
For the Email field, no — Braze accepts raw email and Zeotap maps Email Raw from the Catalogue. For the External ID field, Zeotap recommends the hashed email from the Zeotap Catalogue when you do not have a persistent User ID.
Why do my custom events not show up under the Custom Events tab in Braze?
Why do my custom events not show up under the Custom Events tab in Braze?
Braze requires both a Custom Event Name and a Custom Event Timestamp on every event. If either is missing from the Zeotap mapping, the event is not processed by Braze. Verify both fields are mapped on the Braze destination’s mapping screen.
Can I stream Braze data back into Zeotap?
Can I stream Braze data back into Zeotap?
Yes — use Braze Currents as a source. See the related pages below.