Overview
RTB House Conversions API (CAPI) is a marketing technology company that provides campaigns, products and services to improve advertiser experiences. By integrating with Zeotap CDP, you can send real-time events from Zeotap’s Journeys module to the RTB House Conversions API, enhancing your targeting capabilities.Supported Identifiers and Attributes
This section provides information about the identifiers and attributes supported in RTB House CAPI:Prerequisites
Ensure that you have addressed the following prerequisites before starting the integration:- Obtain the Pkey and Tagging Hash by contacting your RTB House representative. In the RTB House Conversions API, a PKey, also known as an advertiser’s public key, is a unique string necessary for authentication and authorisation. In RTB House Conversions API, ‘Tagging hash’ is a static client tagging hash identifier.
- Notify RTB House of your intent to send server-to-server (S2S) requests so that they can enable the configuration on their end.
- Share the event name (key) for custom events with RTB House in advance so that they can configure it.
- Enable cookie syncing between Zeotap CDP and RTB House to use this integration.
Endpoints
To send information regarding specific user behaviour on your website, run the following HTTPS POST requests in the Linux command line as shown below. Example using curl in Linux command line:curl -v -X POST 'https://omni.creativecdn.com/partner/omni/postbacks? pkey=sRF5IDzkkpcO66MlPKEY &uid={{UID}} &time={{MSEC}} &tag=pr_sRF5IDzkkpcO66MlNsxS_{{EVENT}}'
Parameters
Event Types allowed to Send
Components of RTB House Conversion API
Ensure that you have the details about the below components of RTB House Conversions API account before starting this integration.PKey
In the RTB House Conversions API, a PKey, also known as an advertiser’s public key, is a unique string necessary for authentication and authorisation. Reach out to the RTB House CAPI representative to obtain this information.Tagging Hash
In the RTB House Conversions API, a Tagging hash is a static client tagging hash identifier. Reach out to the RTB House CAPI representative to obtain this information.Destination Setup
After you have applied filters or added conditions for your users in Journeys, you can activate them in RTB House CAPI under Send to Destinations. A new window appears, where you can set up your destination. You can use an already existing destination from the list of available Destinations **** or create a new one by clicking + Add New Destination.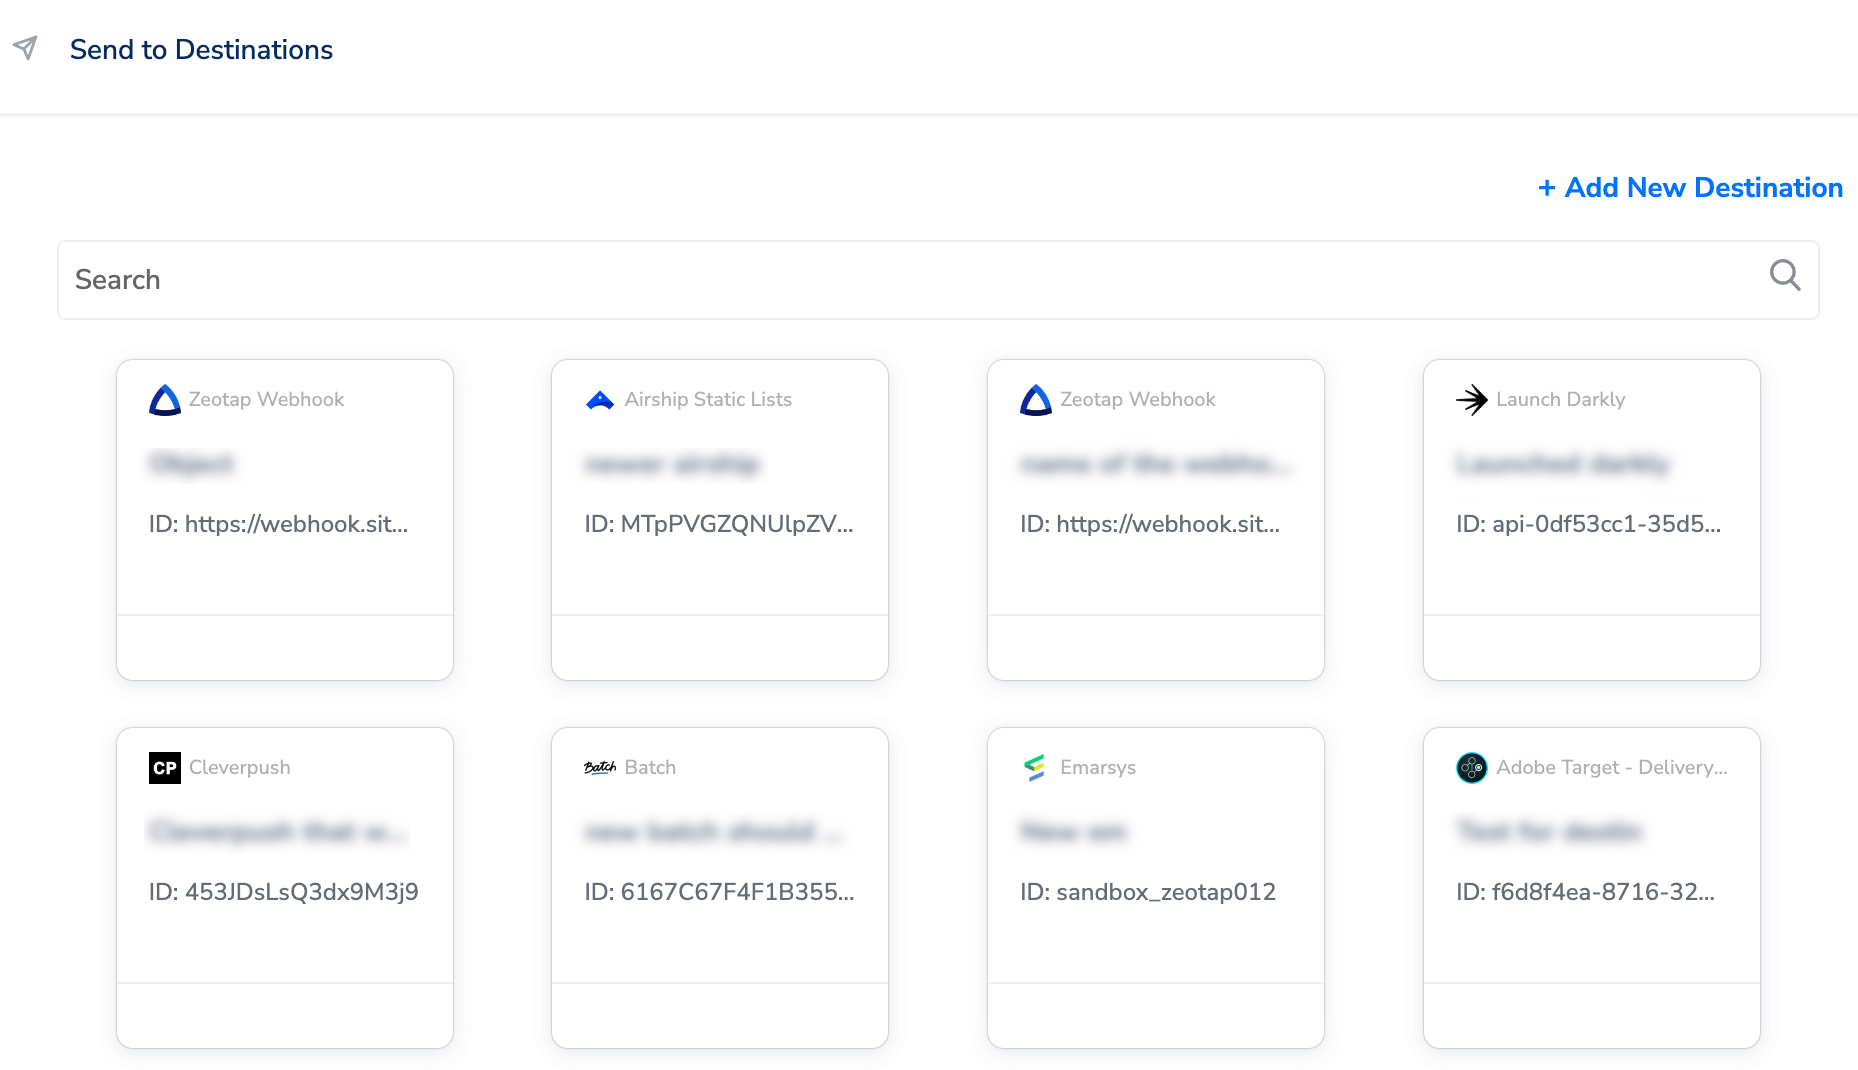
Add New Destination
Perform the following steps to add a new destination:1
Click Add New Destination.
2
Search for RTB House.
3
Click RTB House and enter a name for the Destination.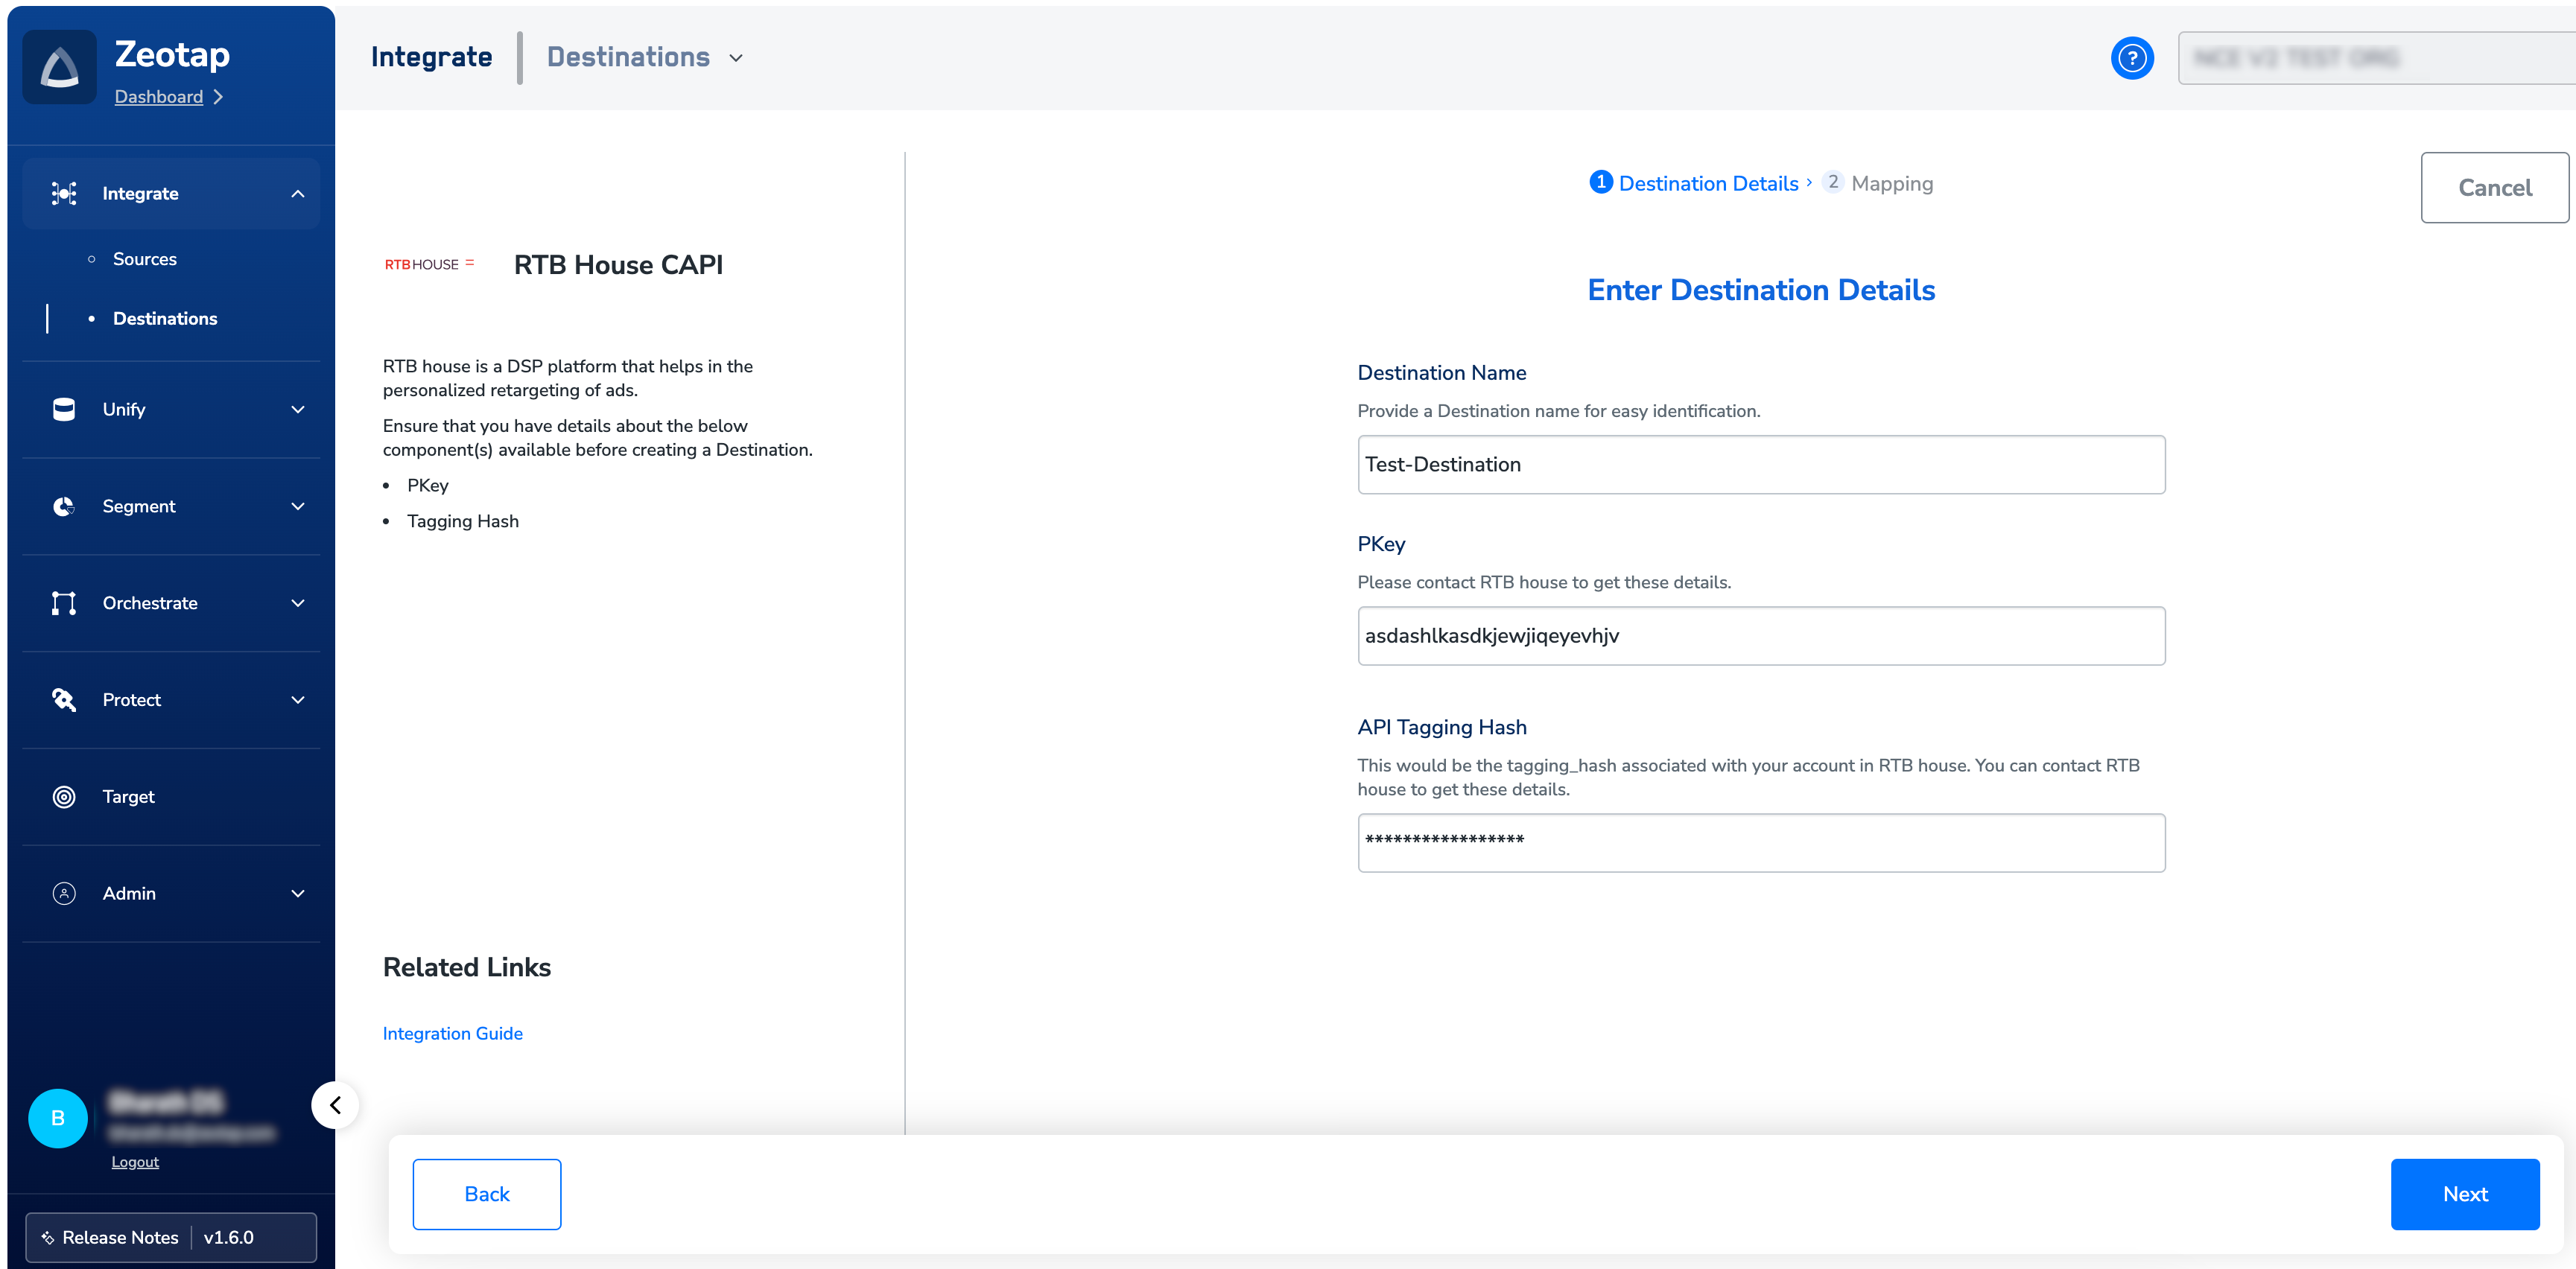
4
Enter the PKey and Tagging Hash obtained from the RTB house representative. These two fields serve as credentials for authorising you on the RTB House platform.
5
In the mapping screen that appears, under Choose your Action, select Send events to RTB House as the action for sending data from the workflow created in Journeys. Under Map the Fields, a list of identifiers and attributes are populated. Ensure that you map only the relevant attributes corresponding to the event selected while creating the destination. Use the Catalogue Field and Destination Field columns to map the required attributes. Learn more
6
Once the mapping is complete, click Create Destination. The destination is created and made available for activation on Journeys.
Activate the Destination on Journeys
After creating a destination, next, you need to link it in the Send to Destination node within the workflow, as explained below.1
In the workflow, click + and choose Send to Destinations.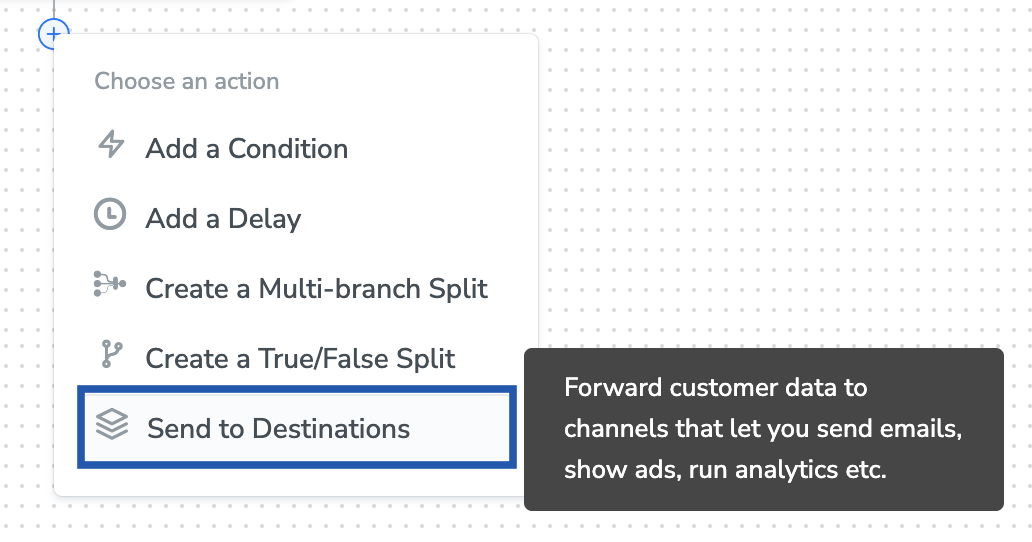
2
Choose the destination from the list of available destinations by using the search feature.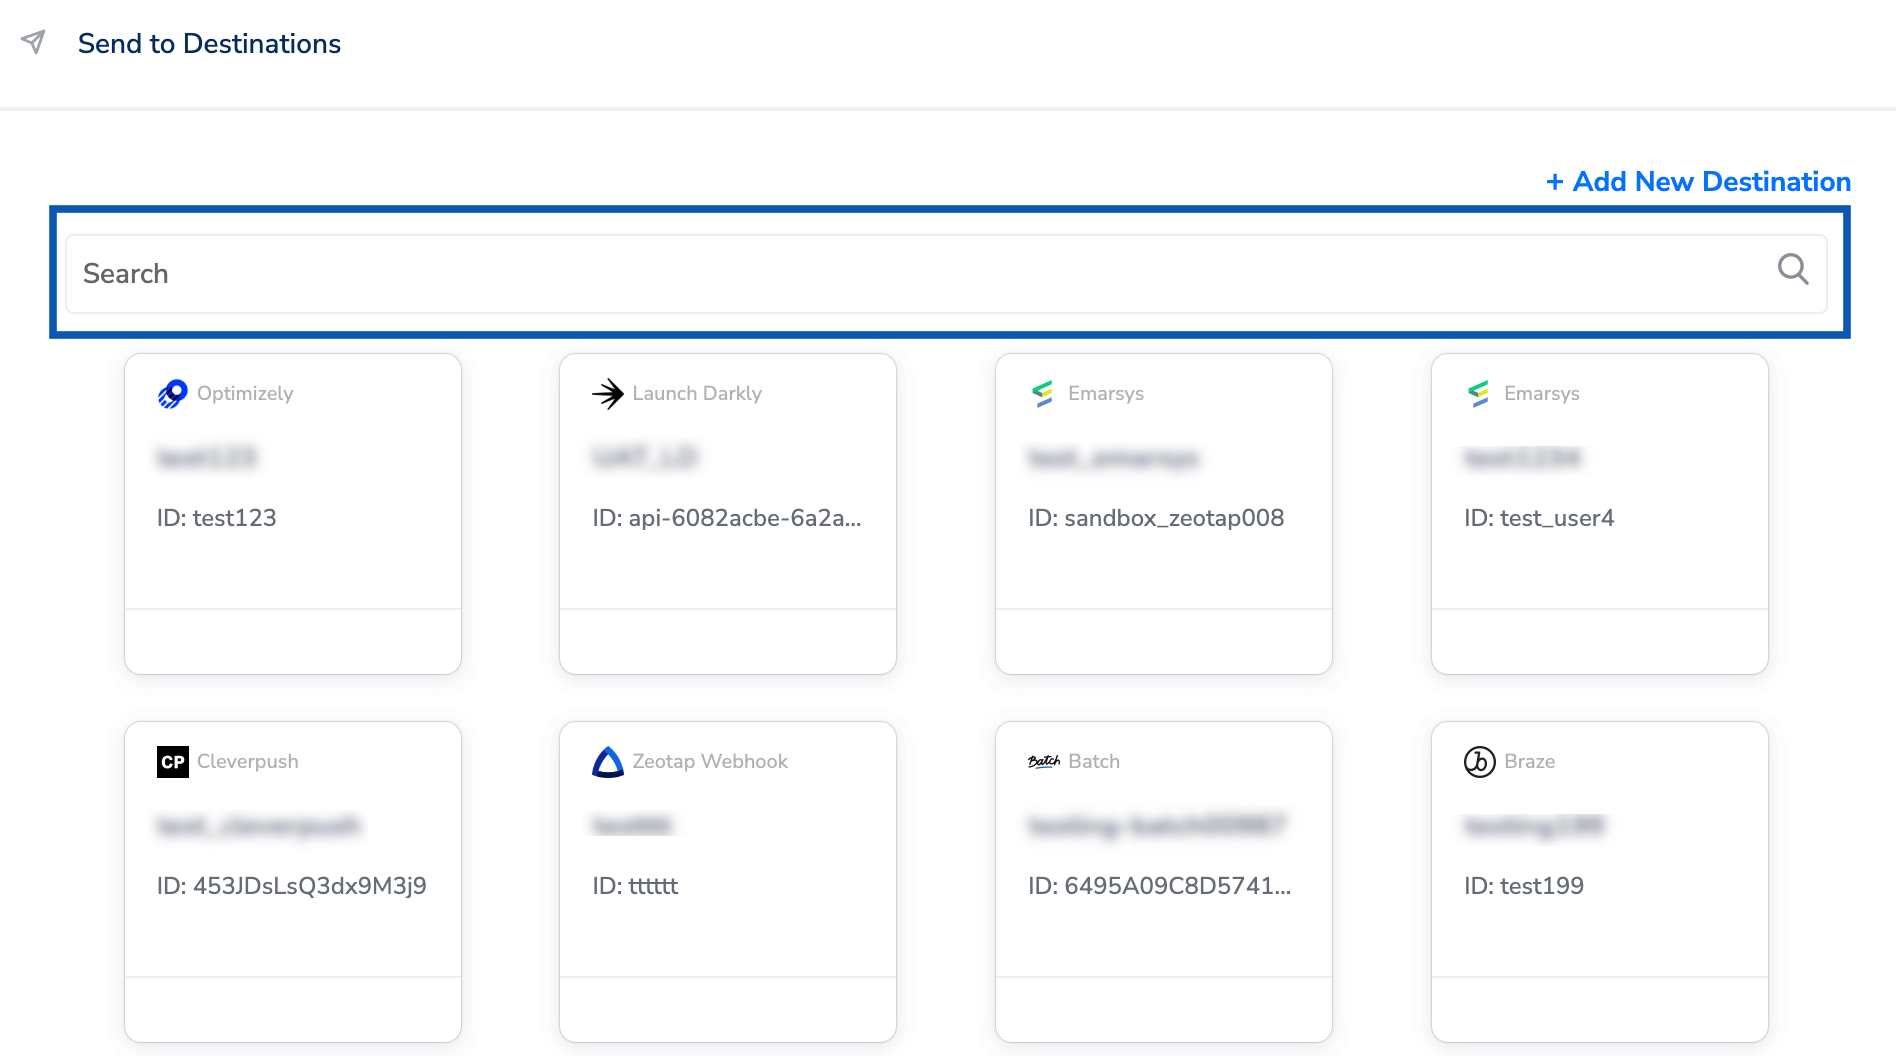
3
Under the Destination Details tab, the Pkey and Tagging Hash fields are automatically populated based on the value that you had entered while creating the destination. However, you need to choose the Event Type from the drop-down based on your requirement.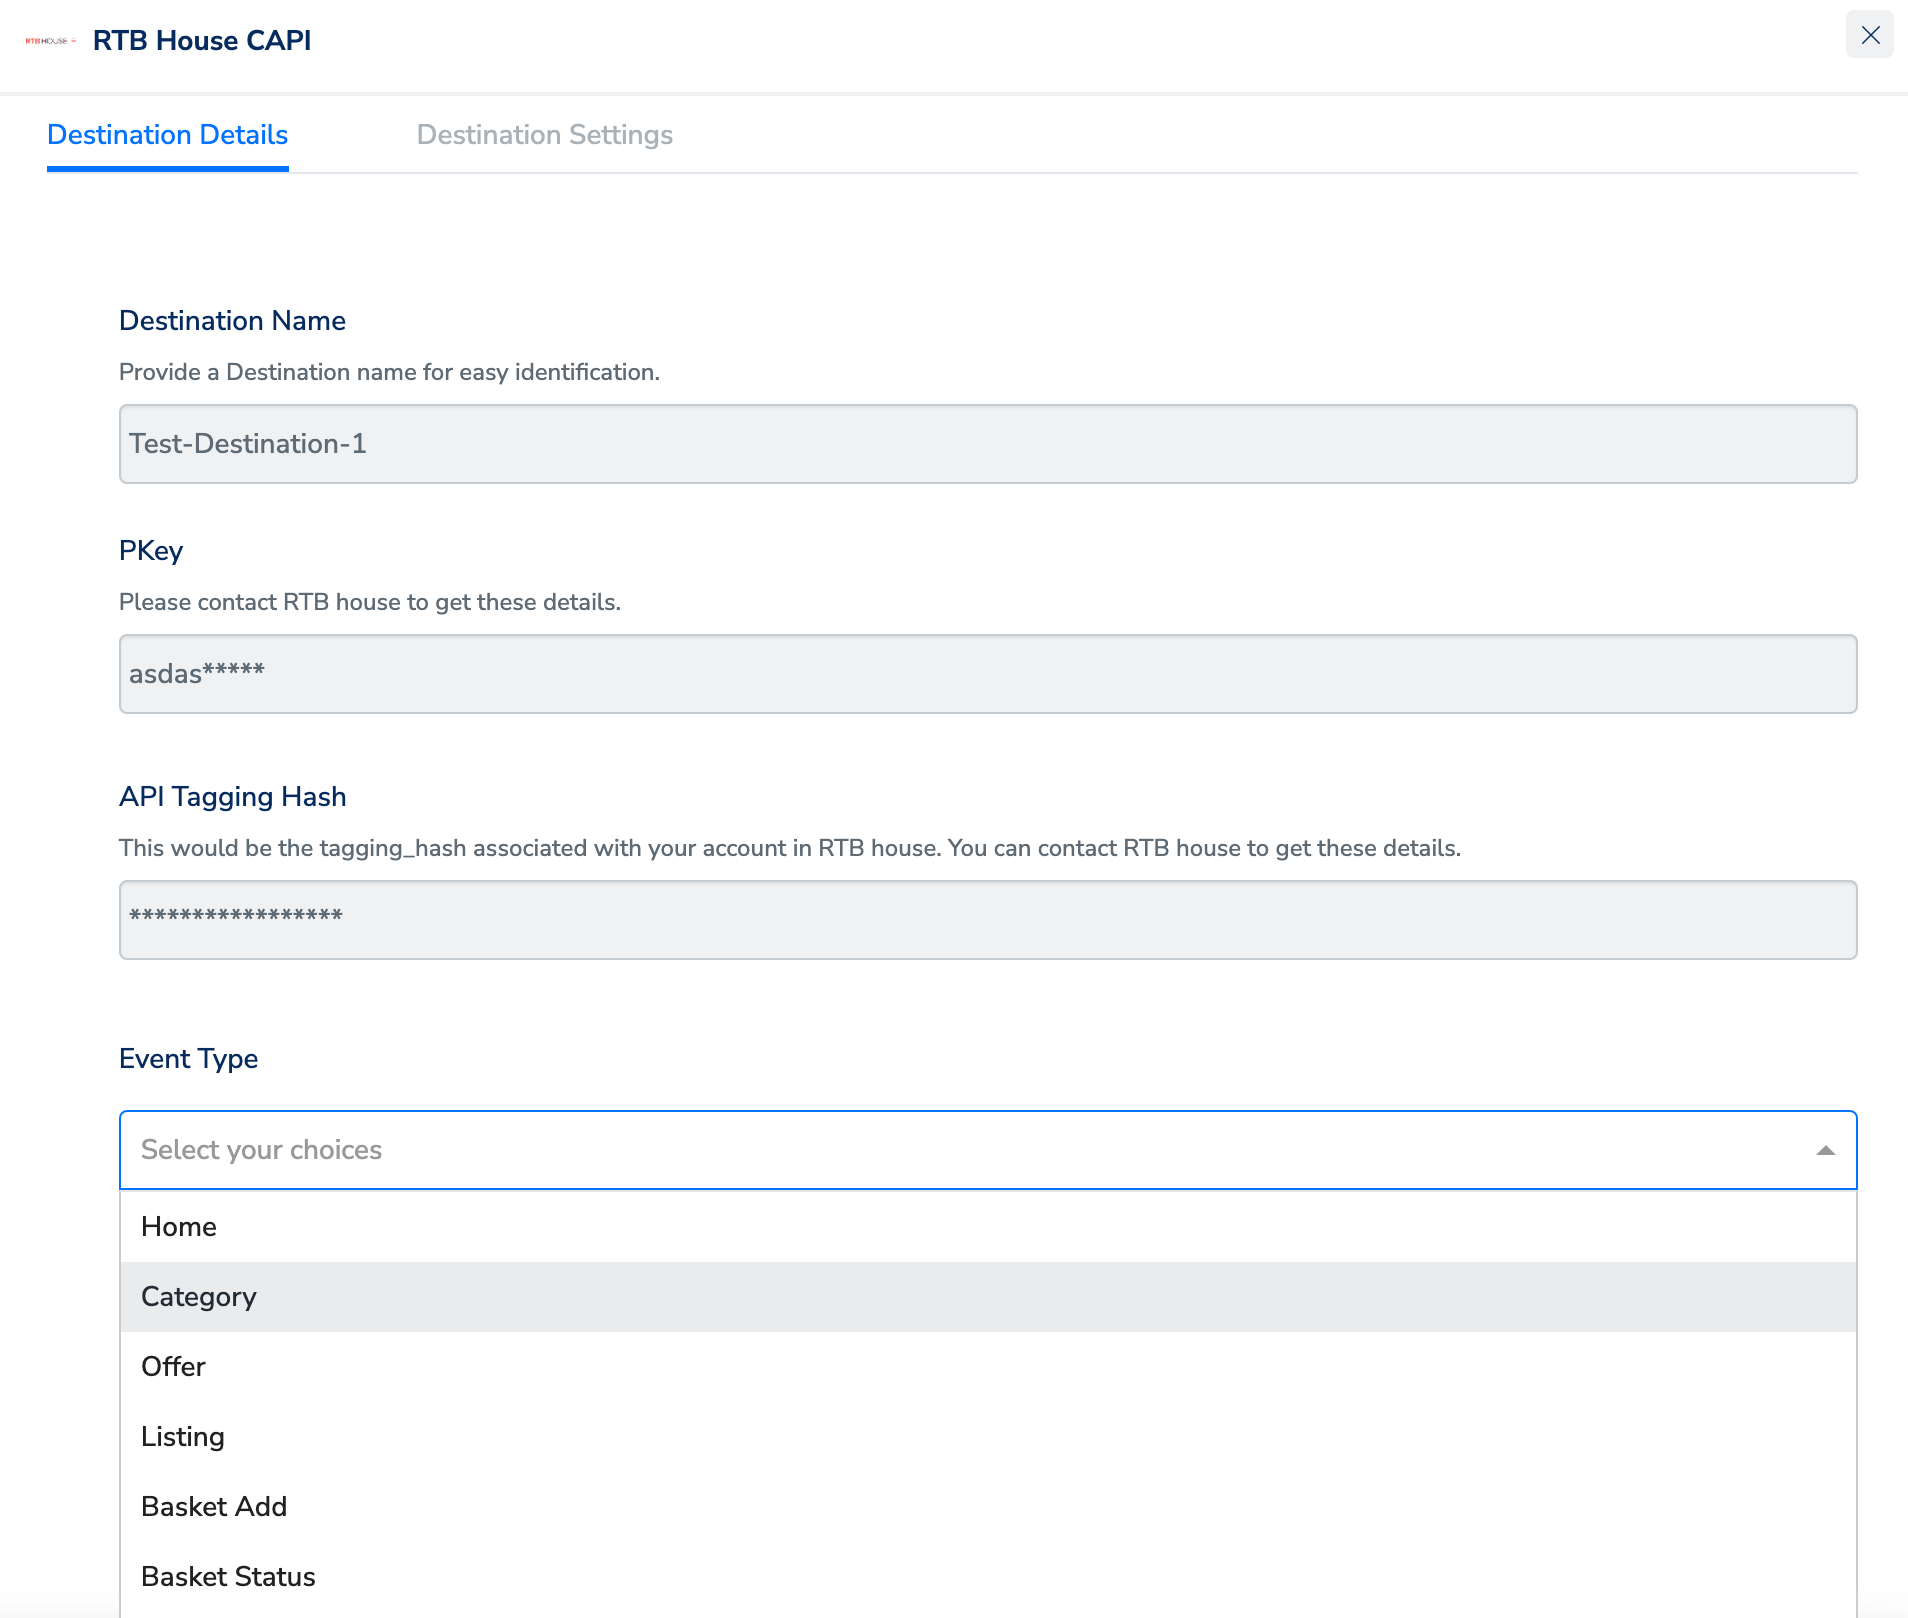
4
Under the Destination Settings tab, choose the Action and mapping as per your requirement.
5
Upon clicking Save Destination. The destination is attached as shown in the image below.