What this is
The Cleverpush real-time integration sends identifiers and attributes out of Zeotap CDP to Cleverpush as users move through a Journeys workflow, and this page covers the Cleverpush-side groundwork that has to exist before that destination can be created: a channel, and the platforms that channel sends notifications through. Cleverpush is a web-based platform that lets website owners and developers send push notifications to users who have subscribed to receive them. A channel is the container those notifications are sent from, and it is the channel that carries the Channel ID the destination asks for. Zeotap CDP supports three Cleverpush platforms — Web Push, App Push and Email Push — and you set up the ones you intend to send through. Every step on this page happens in the Cleverpush console. The Zeotap CDP side of the integration — creating the destination, entering the Private API Key and Channel ID, choosing the action and mapping the fields — is covered on Cleverpush Real Time Integration. Data also flows the other way. To bring Cleverpush subscriber data into Zeotap CDP, see Cleverpush Real Time Source or Cleverpush (Batch) Source.These channel and platform steps are the same for every Cleverpush integration, and each integration keeps its own copy of them. This page is the copy for the Cleverpush real-time destination. If you are setting up a different Cleverpush integration, use its own appendix:
- Appendix for Cleverpush — for the Cleverpush destination.
- Appendix — for the Cleverpush (Batch) and Cleverpush Real-Time sources.
Prerequisites
Before you start, confirm the following.
- Access to your Cleverpush console. Every step on this page is performed there.
- For Web Push — the domain of the site you want to send browser notifications from. The setup wizard asks for the protocol and the domain, without a leading
http://orhttps://and without a trailing path. - For App Push — your own iOS or Android app, and the ability to add the Cleverpush SDK to it. The setup screen links Cleverpush’s SDK documentation for Android, iOS, Cordova, React Native, Xamarin and Flutter.
Create a channel in Cleverpush
1
Open the Channels menu
Log into the Cleverpush console and click Channels in the top navigation bar.
2
Add a channel
In the Channels menu, click Add Channel.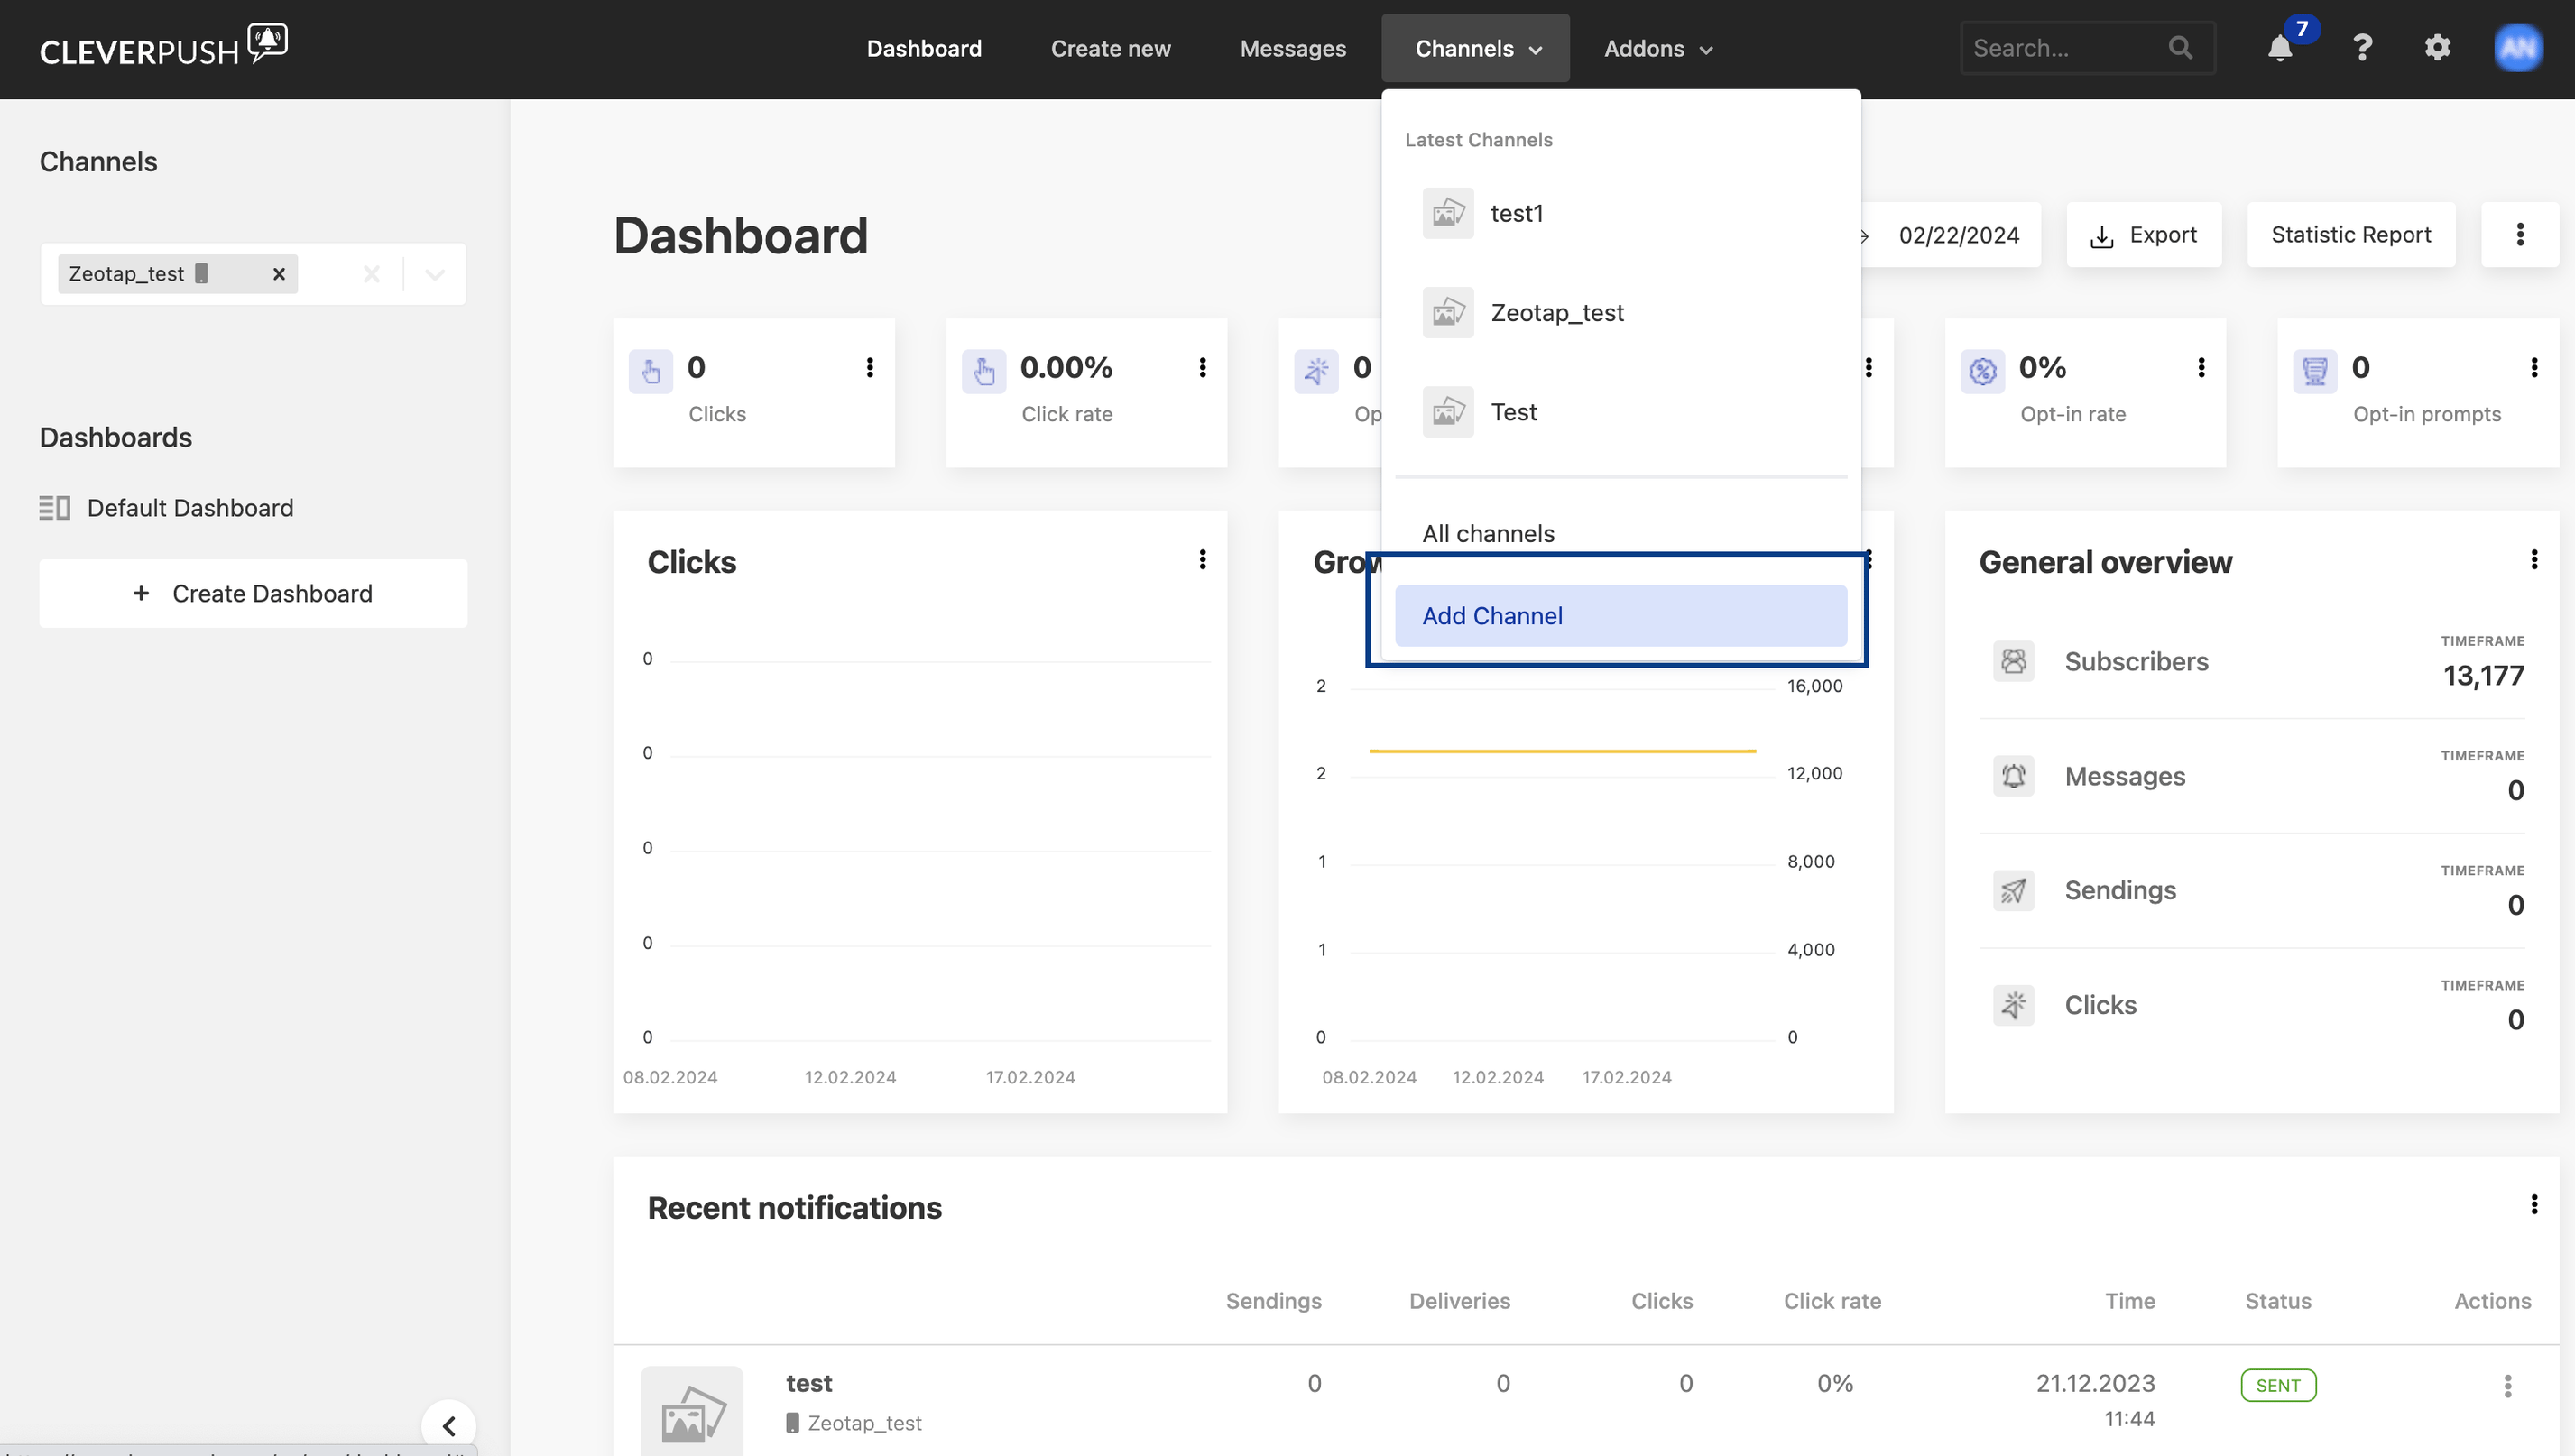
3
Fill in the basic settings and save
Under Basic settings: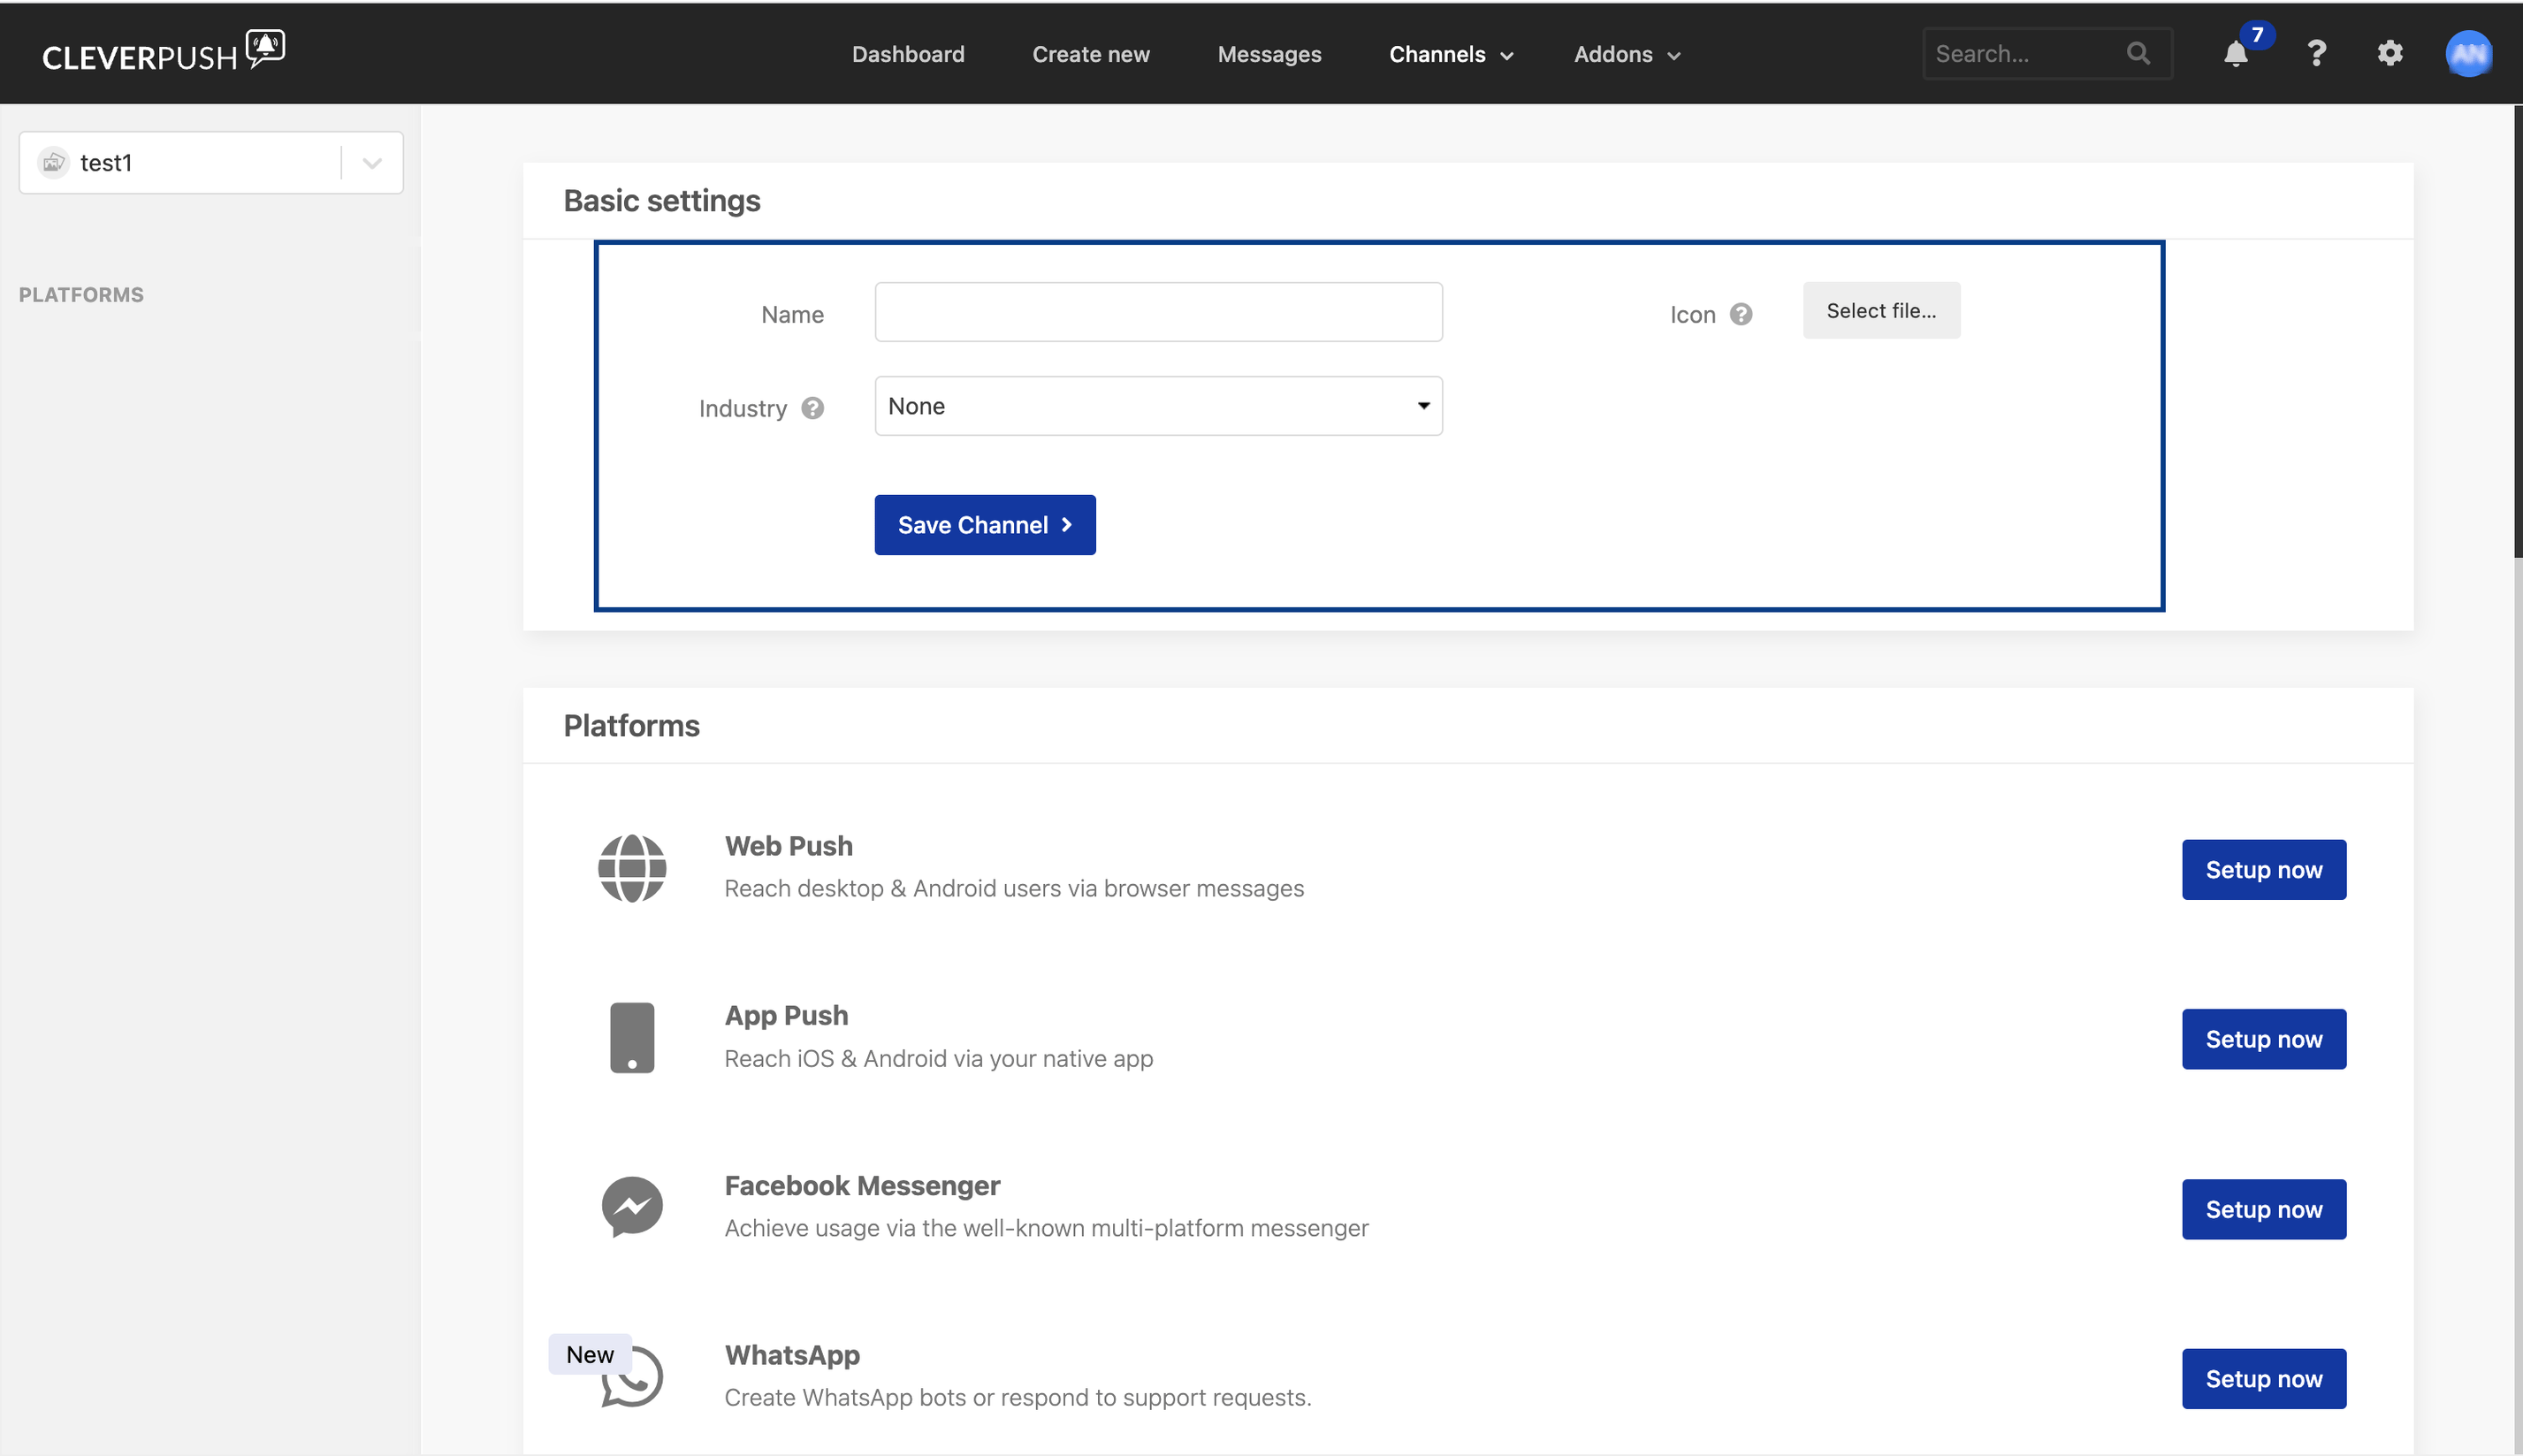
- In Name, enter a descriptive name for the channel.
- Beside Icon, click Select file… to upload an icon for the channel.
- Choose the relevant Industry from the drop-down menu.
- Click Save Channel.
Set up Web Push in Cleverpush
Web Push reaches desktop and Android users through browser messages.1
Open the channel's platform list
Log into the Cleverpush console, click Channels in the top navigation bar, select the channel you created and go to Platforms.
2
Start the Web Push setup
Click Setup now next to Web Push.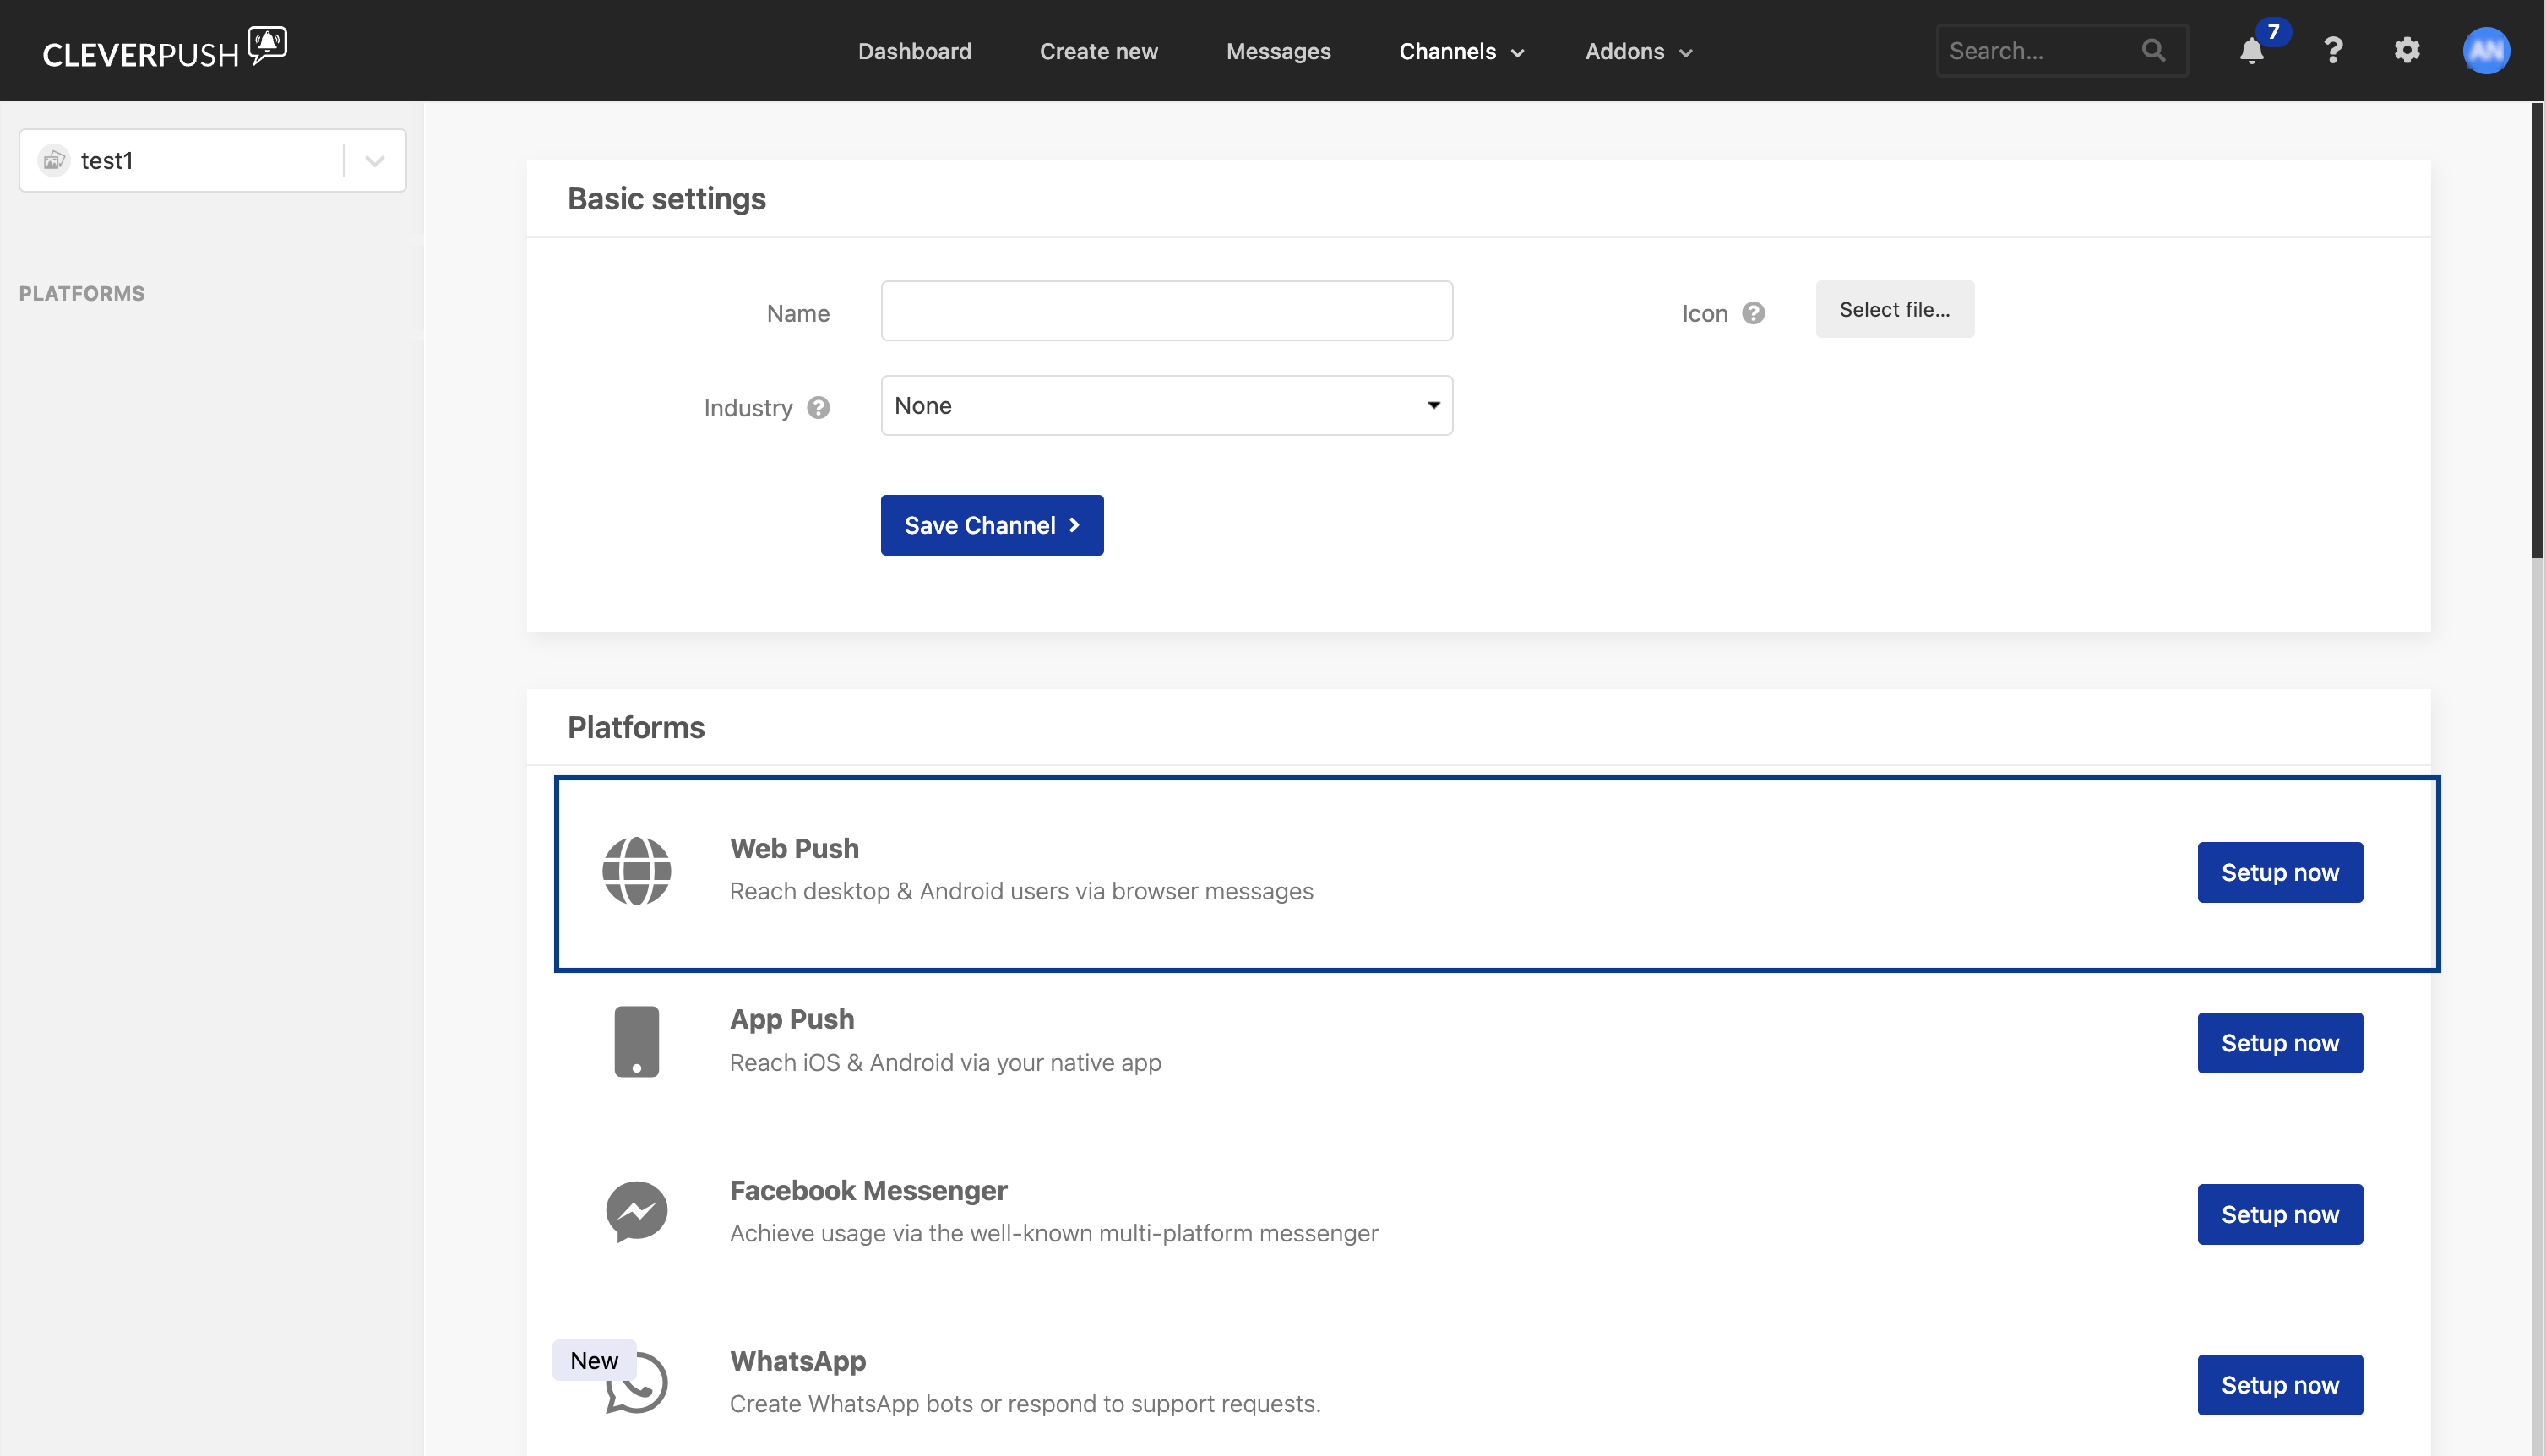
3
Enter the domain
On Step 1: Enter domain, select the protocol and enter the domain of your site, then choose how notifications are sent and click Continue: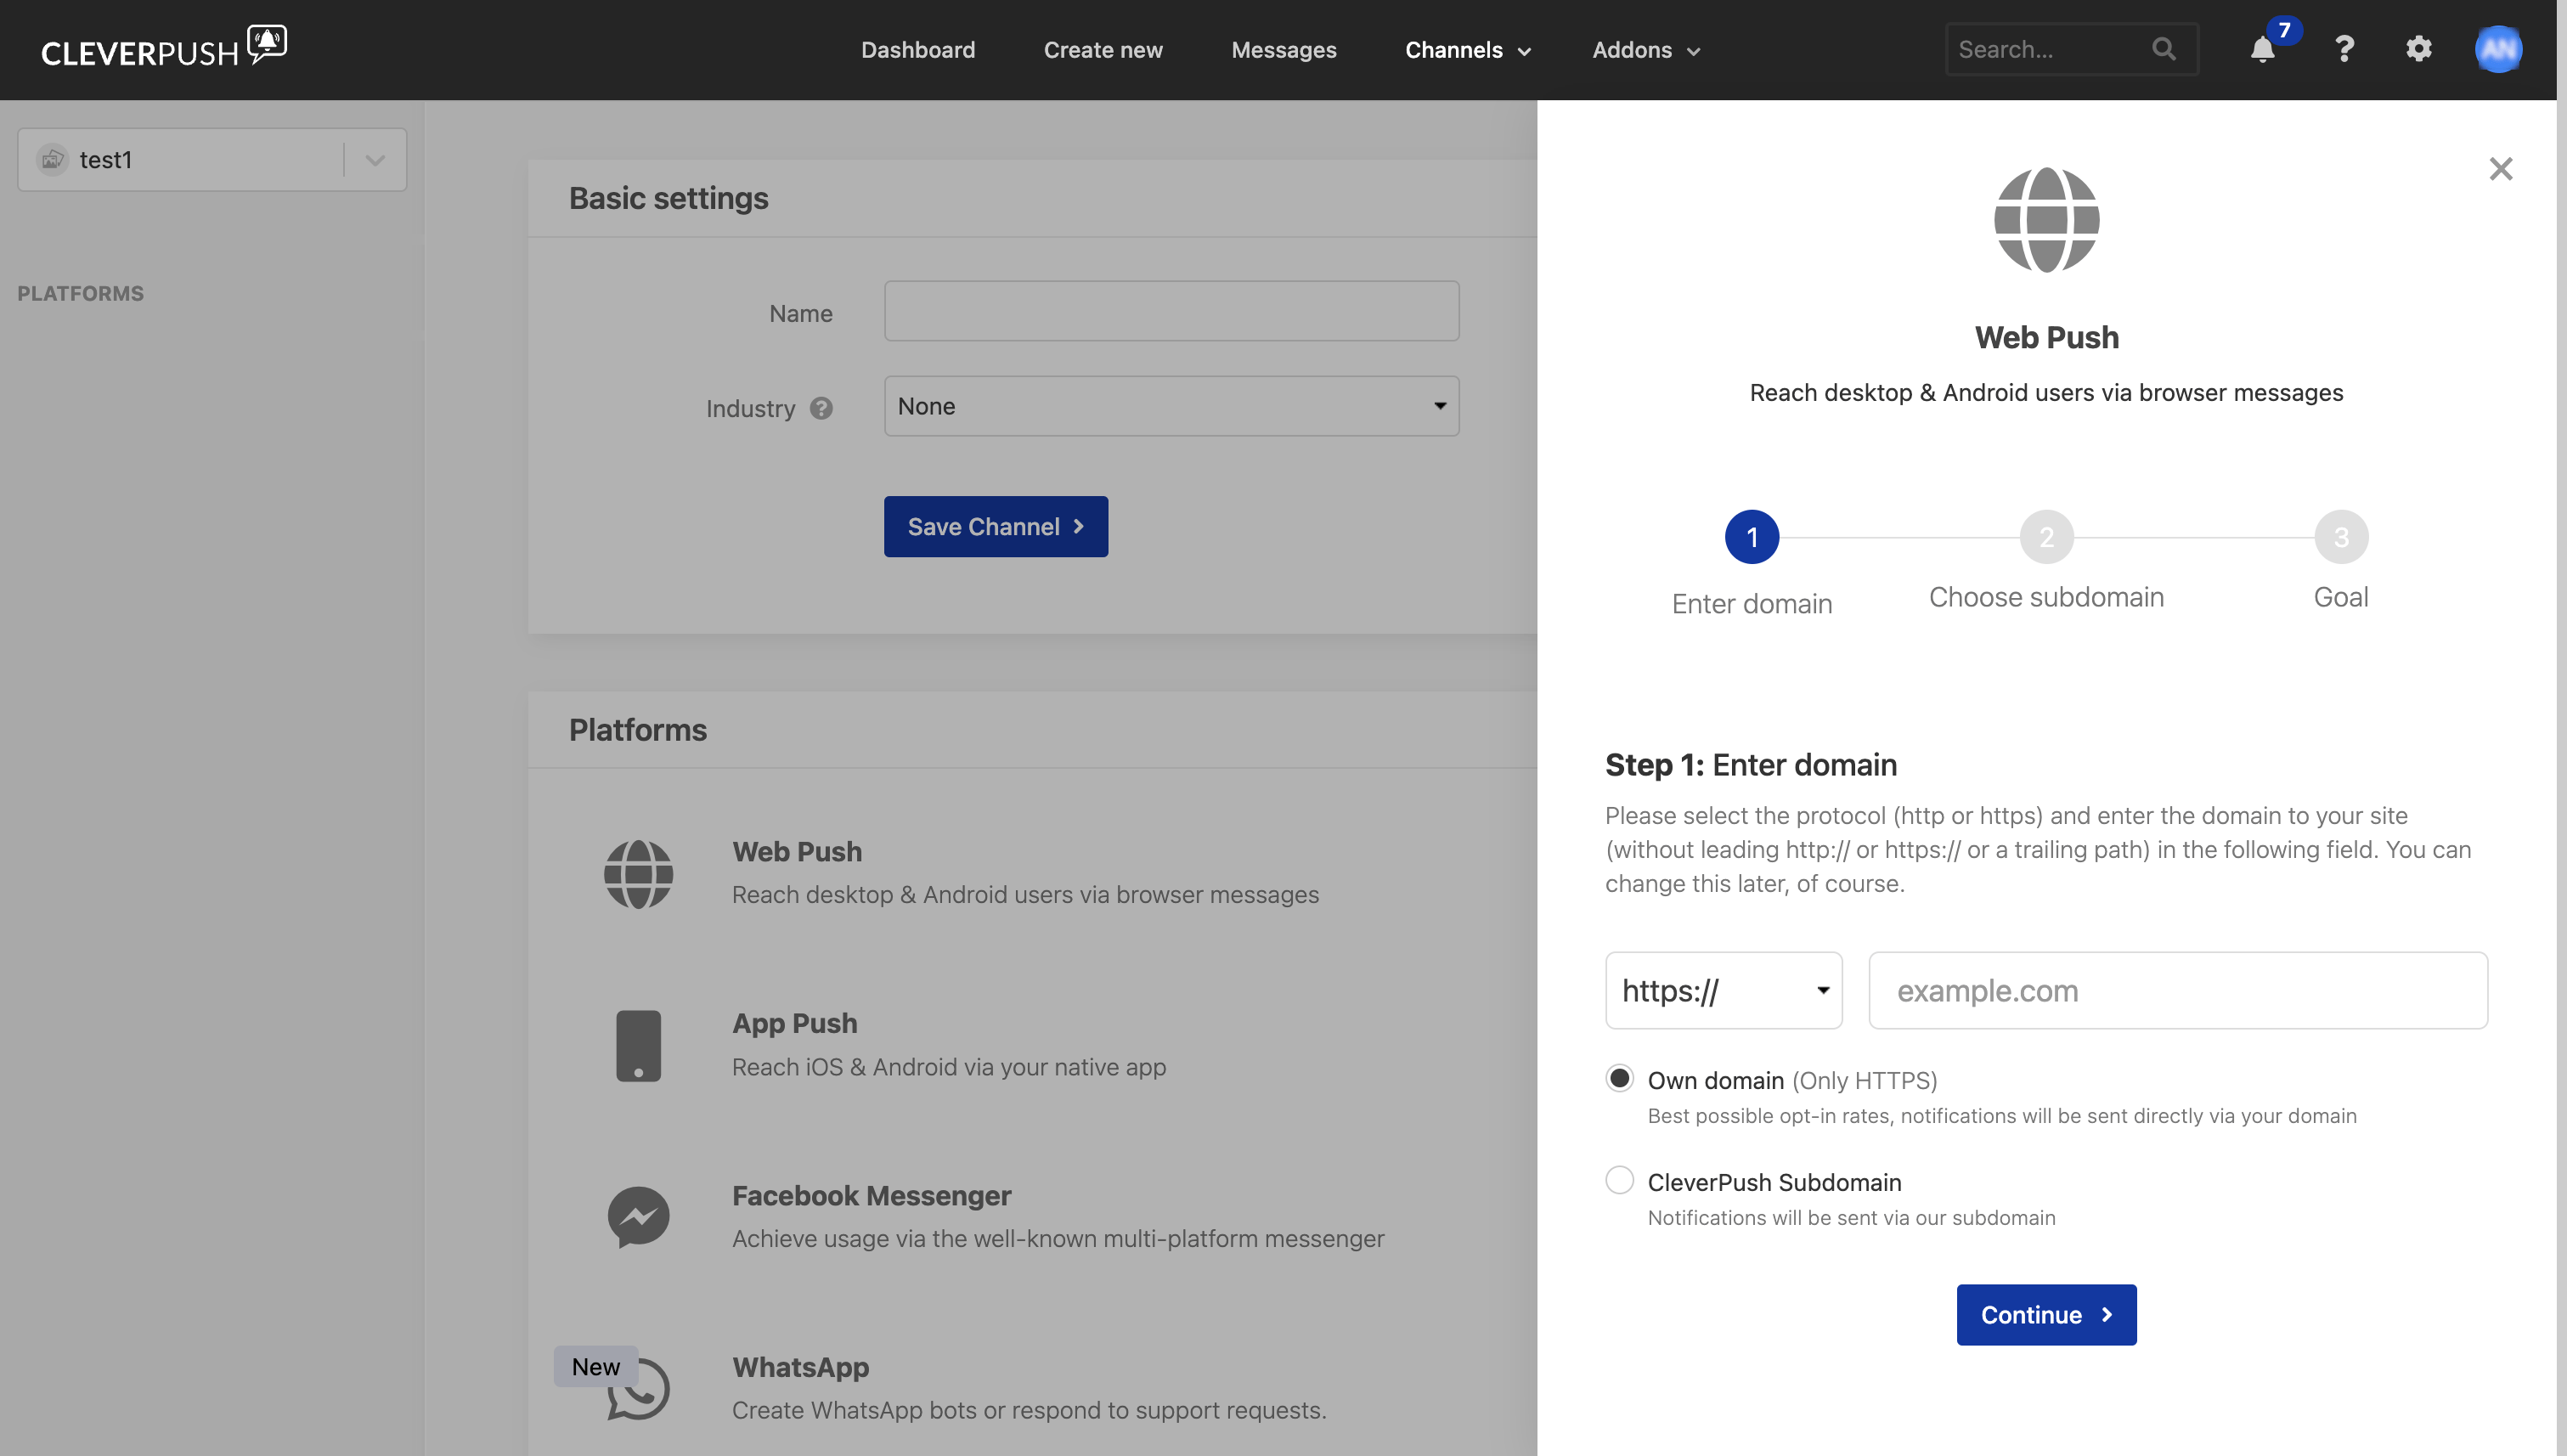
- Own domain (Only HTTPS) — notifications are sent directly via your own domain.
- CleverPush Subdomain — notifications are sent via a Cleverpush subdomain.
4
Choose the subdomain
On Step 2: Choose subdomain, enter a Subdomain name and click Continue. Cleverpush appends its own domain to the name you enter, and this is the subdomain your users opt in for notifications on.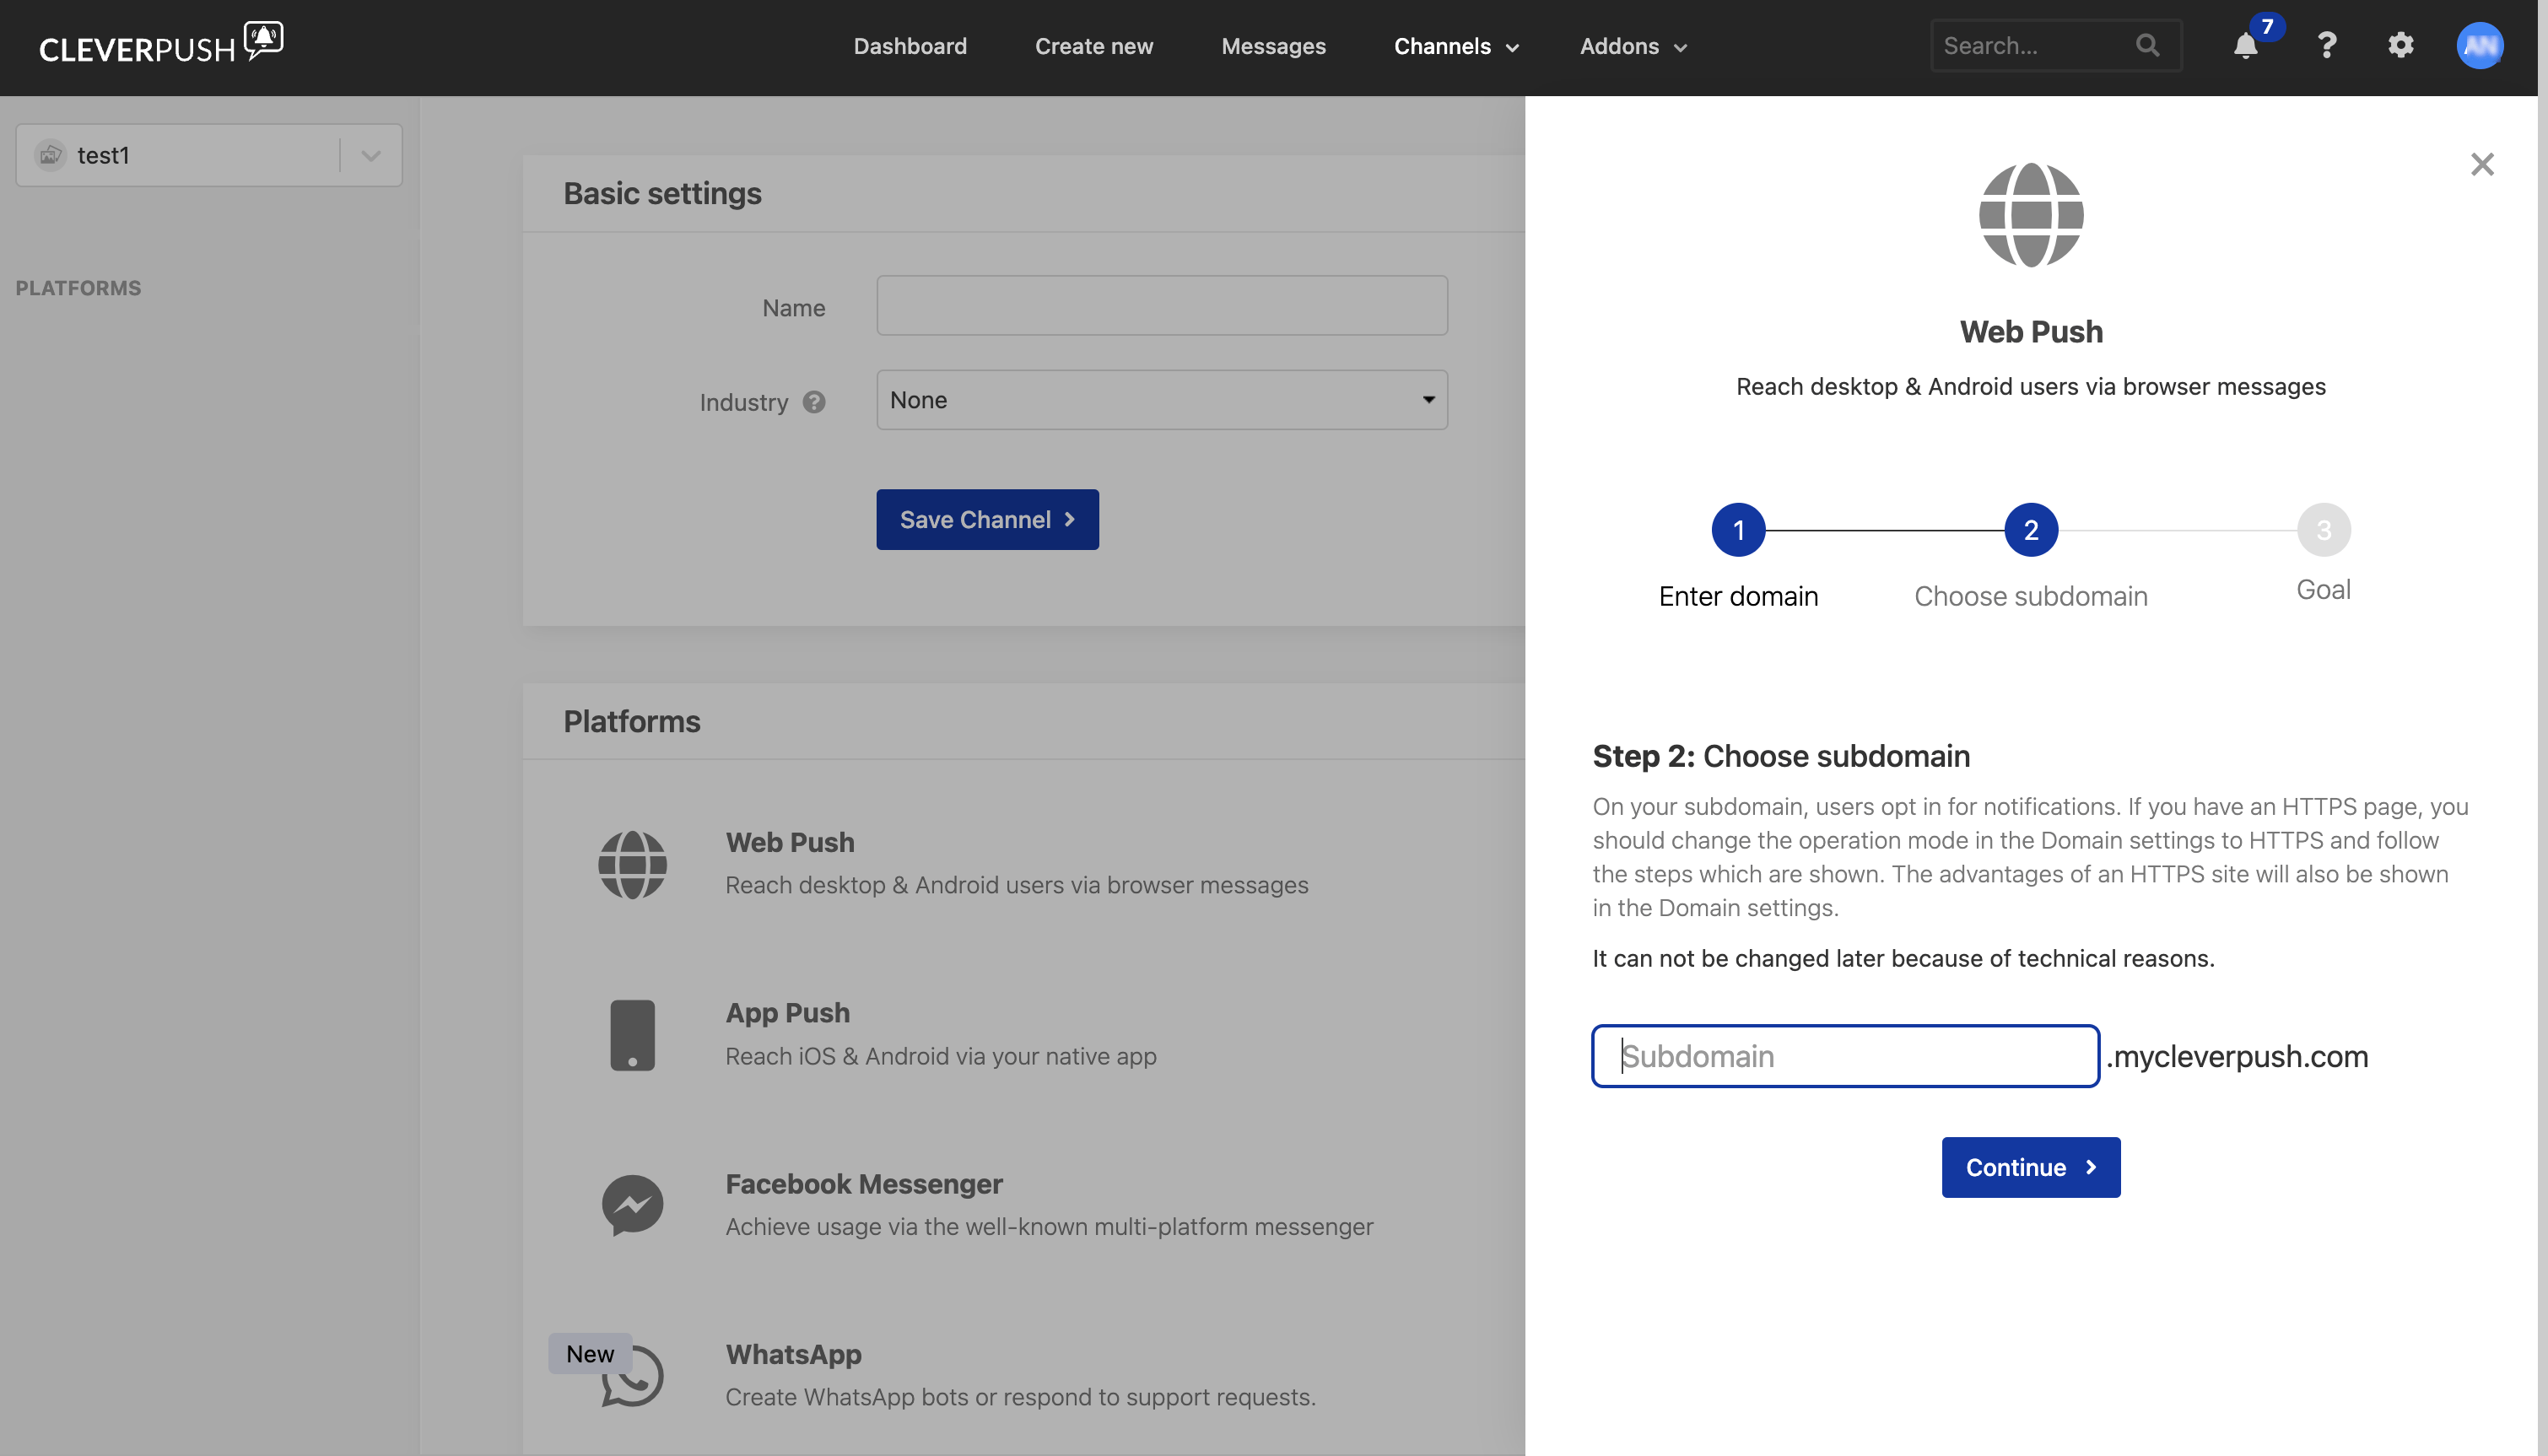
5
Finish the setup
On the final step, Goal, click Setup now to complete the Web Push setup.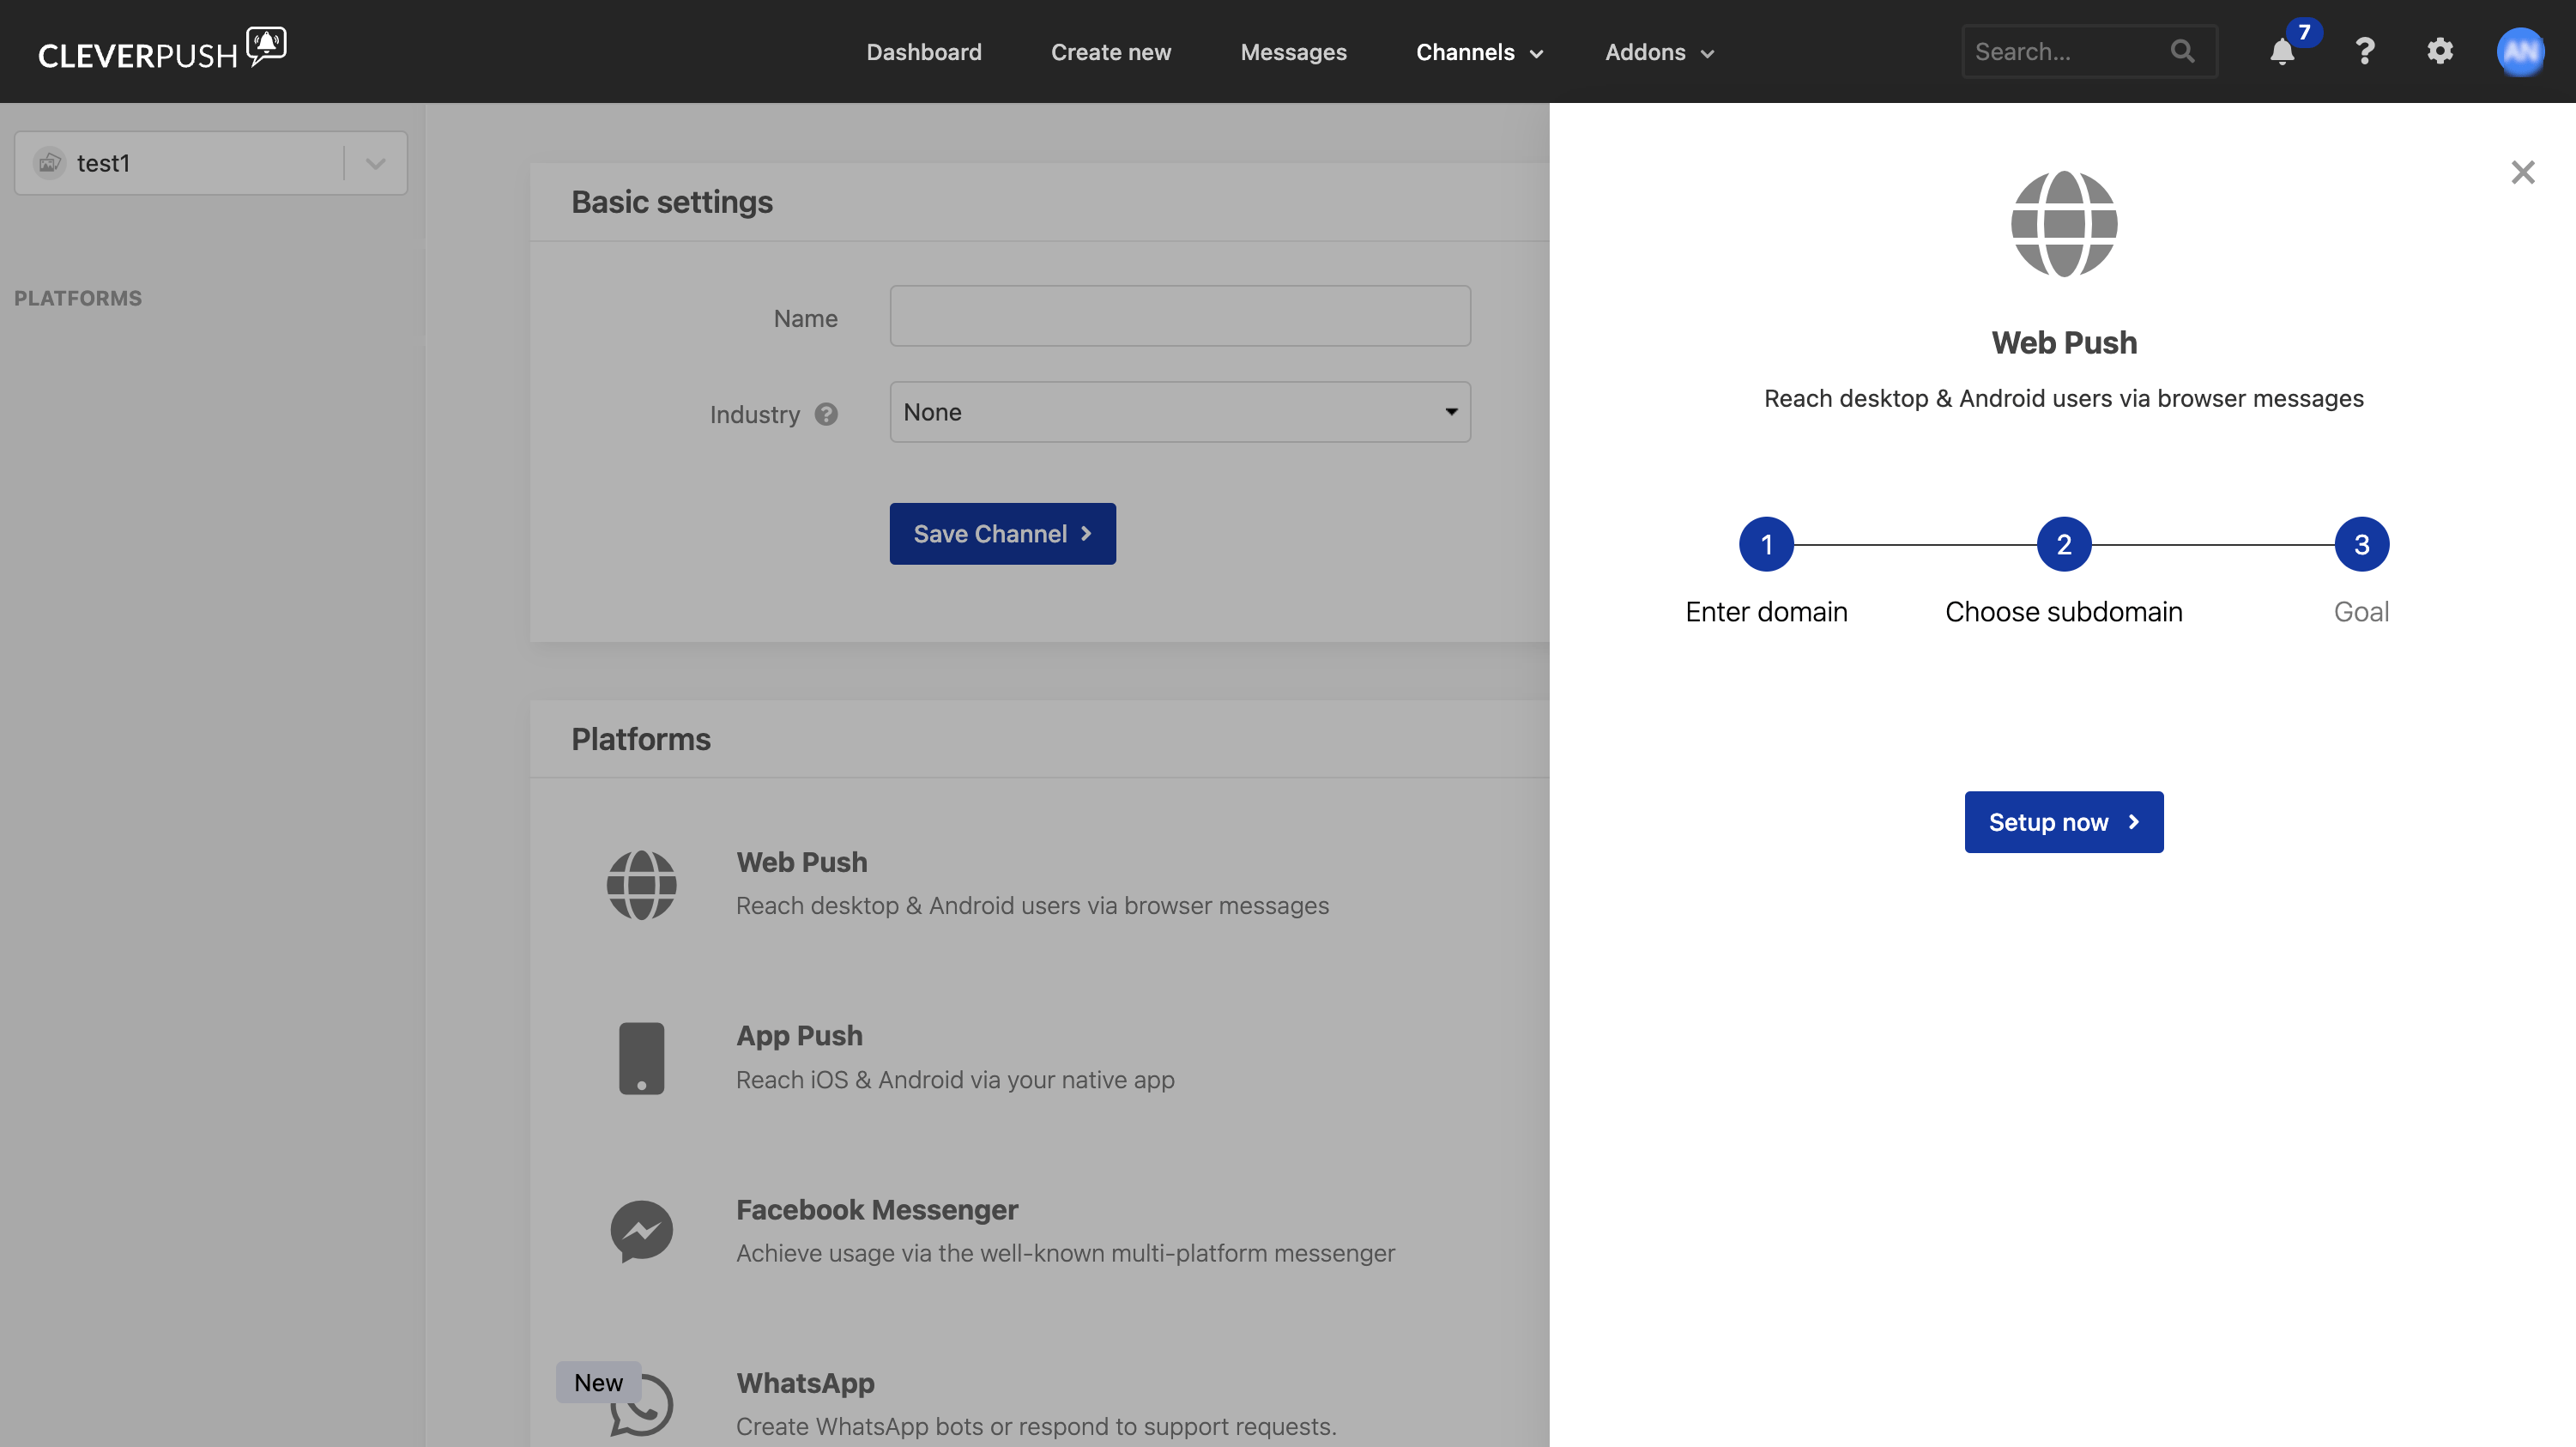
Set up App Push in Cleverpush
App Push reaches iOS and Android users through your own native app.1
Open the channel's platform list
Log into the Cleverpush console, click Channels in the top navigation bar, select the channel you created and go to Platforms.
2
Start the App Push setup
Click Setup now next to App Push.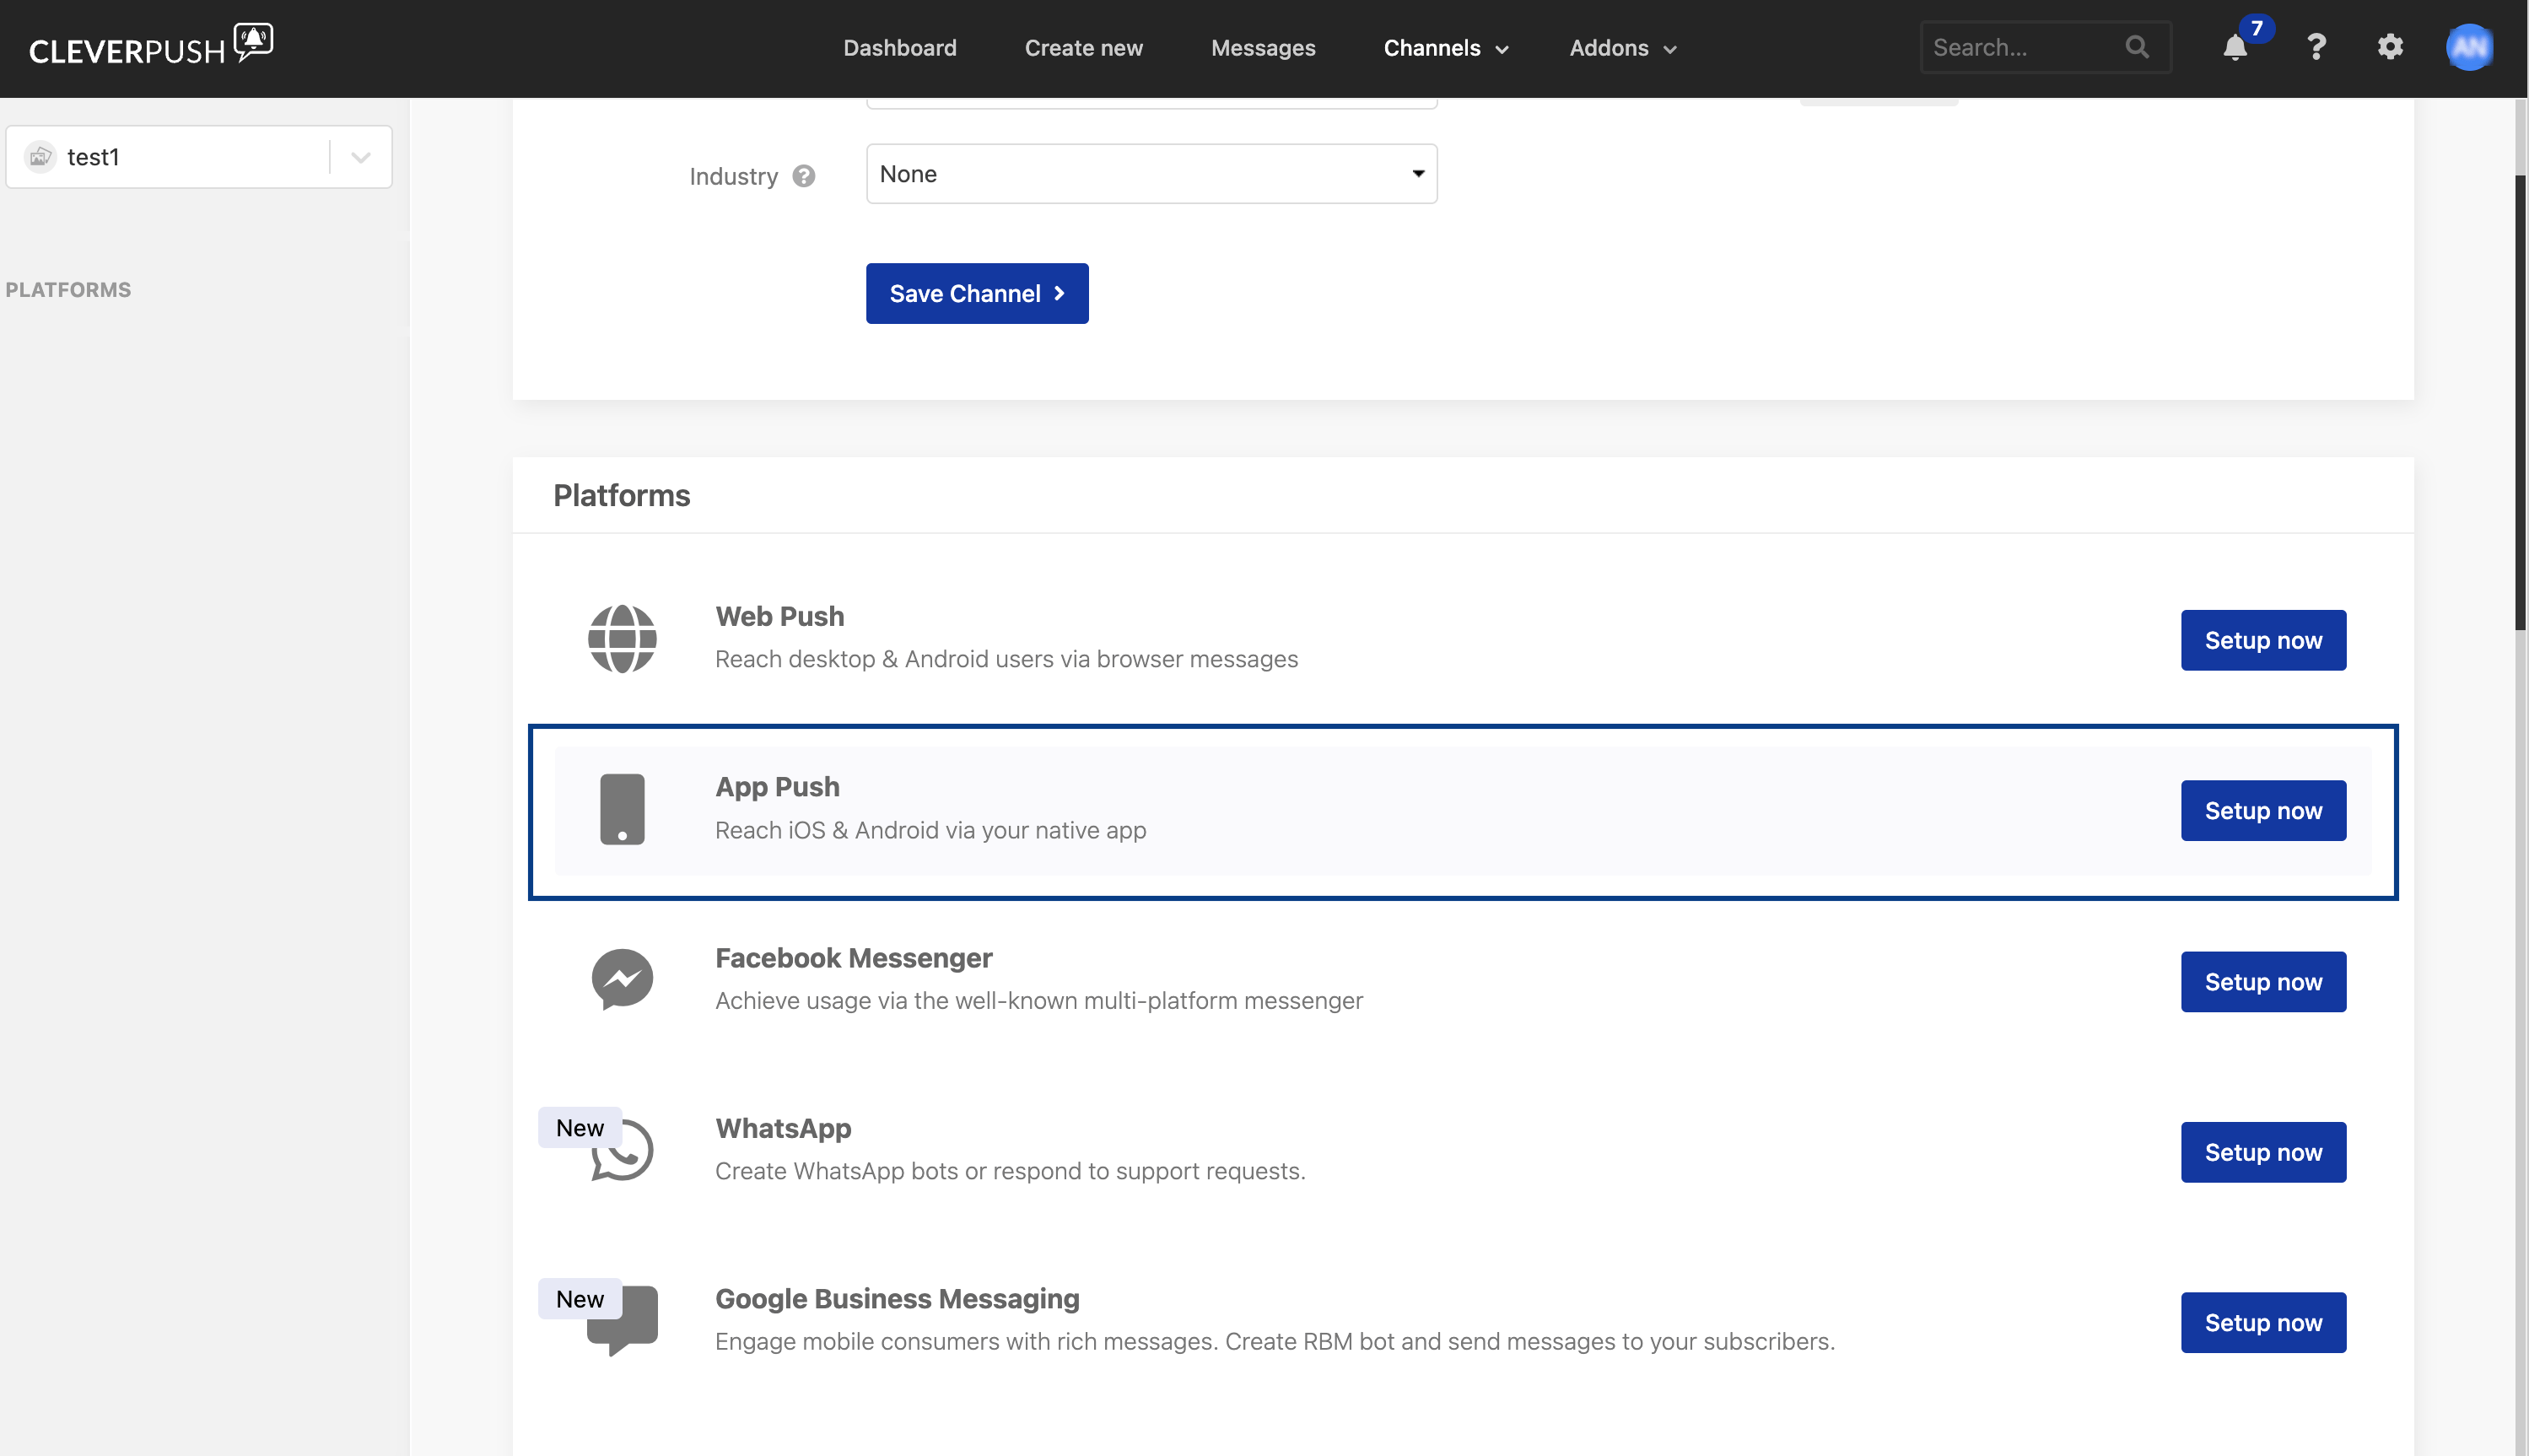
3
Confirm the platform
In the App Push panel that opens, click Setup now.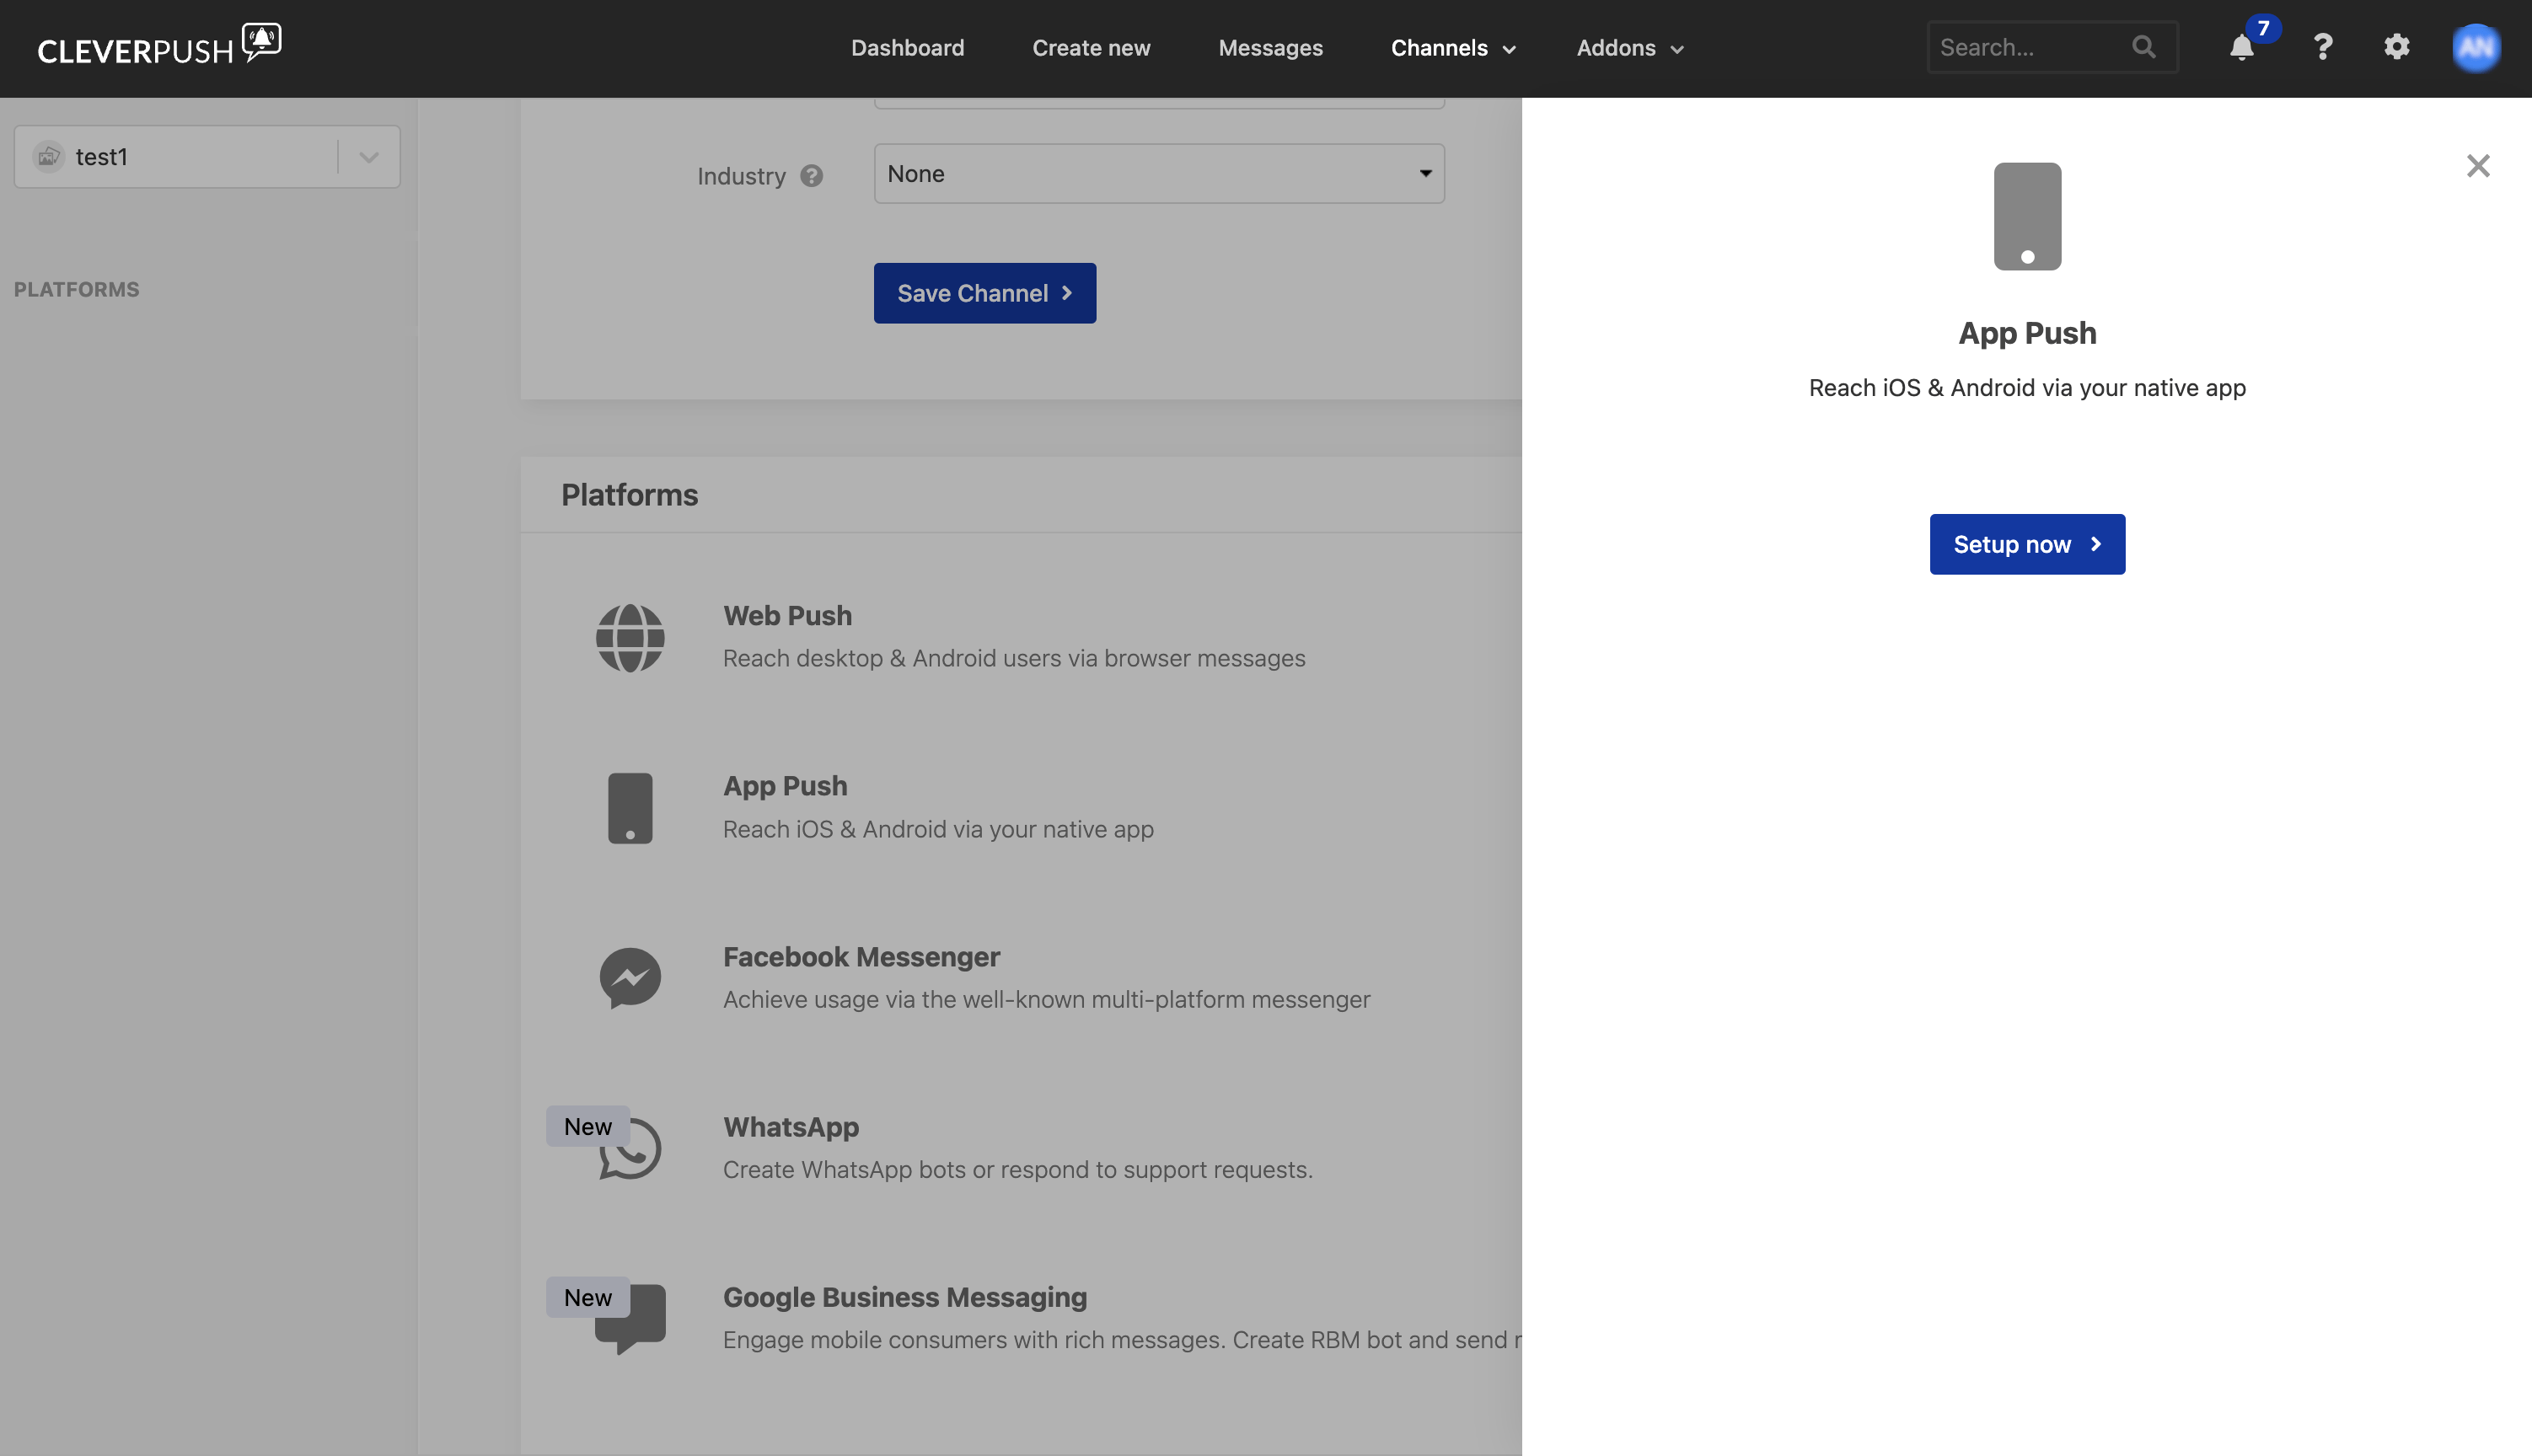
4
Add the SDK to your app
Choose the SDK that matches your app and follow Cleverpush’s SDK documentation to implement it. The App SDKs section links documentation for Android, iOS, Cordova, React Native, Xamarin and Flutter.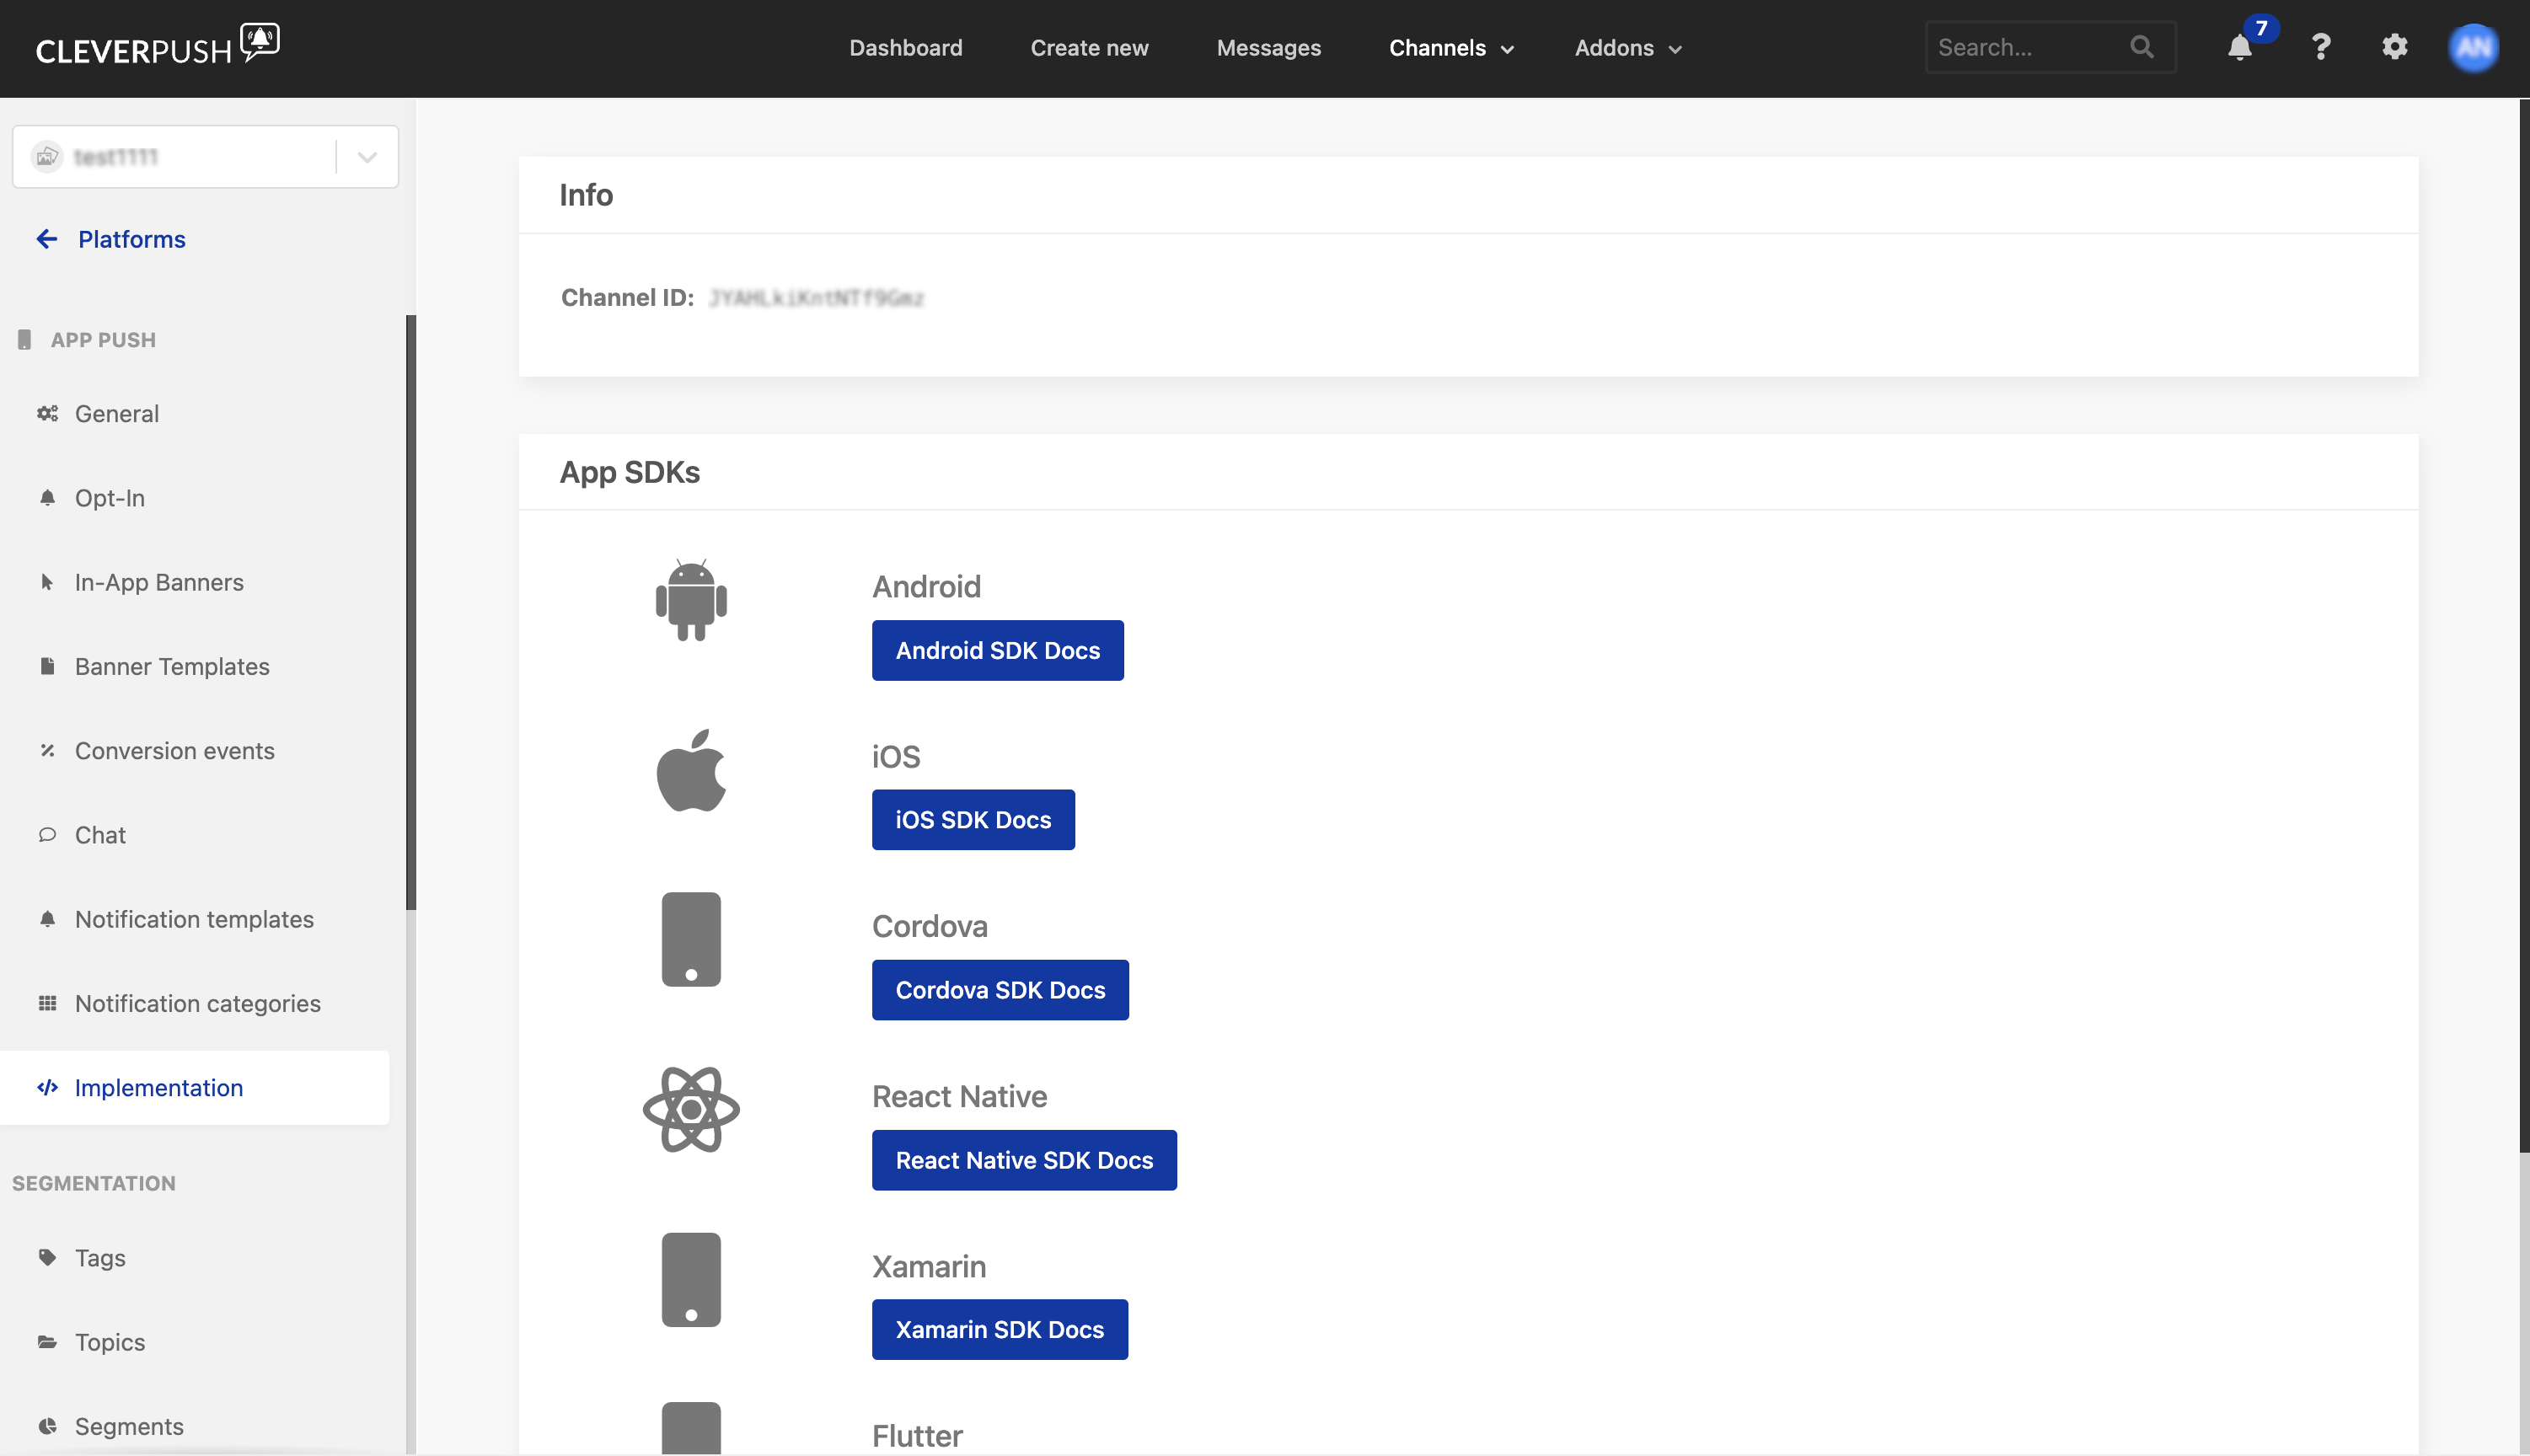
Set up Email Push in Cleverpush
1
Open the channel's platform list
Log into the Cleverpush console, click Channels in the top navigation bar, select the channel you created and go to Platforms.
2
Start the Email Push setup
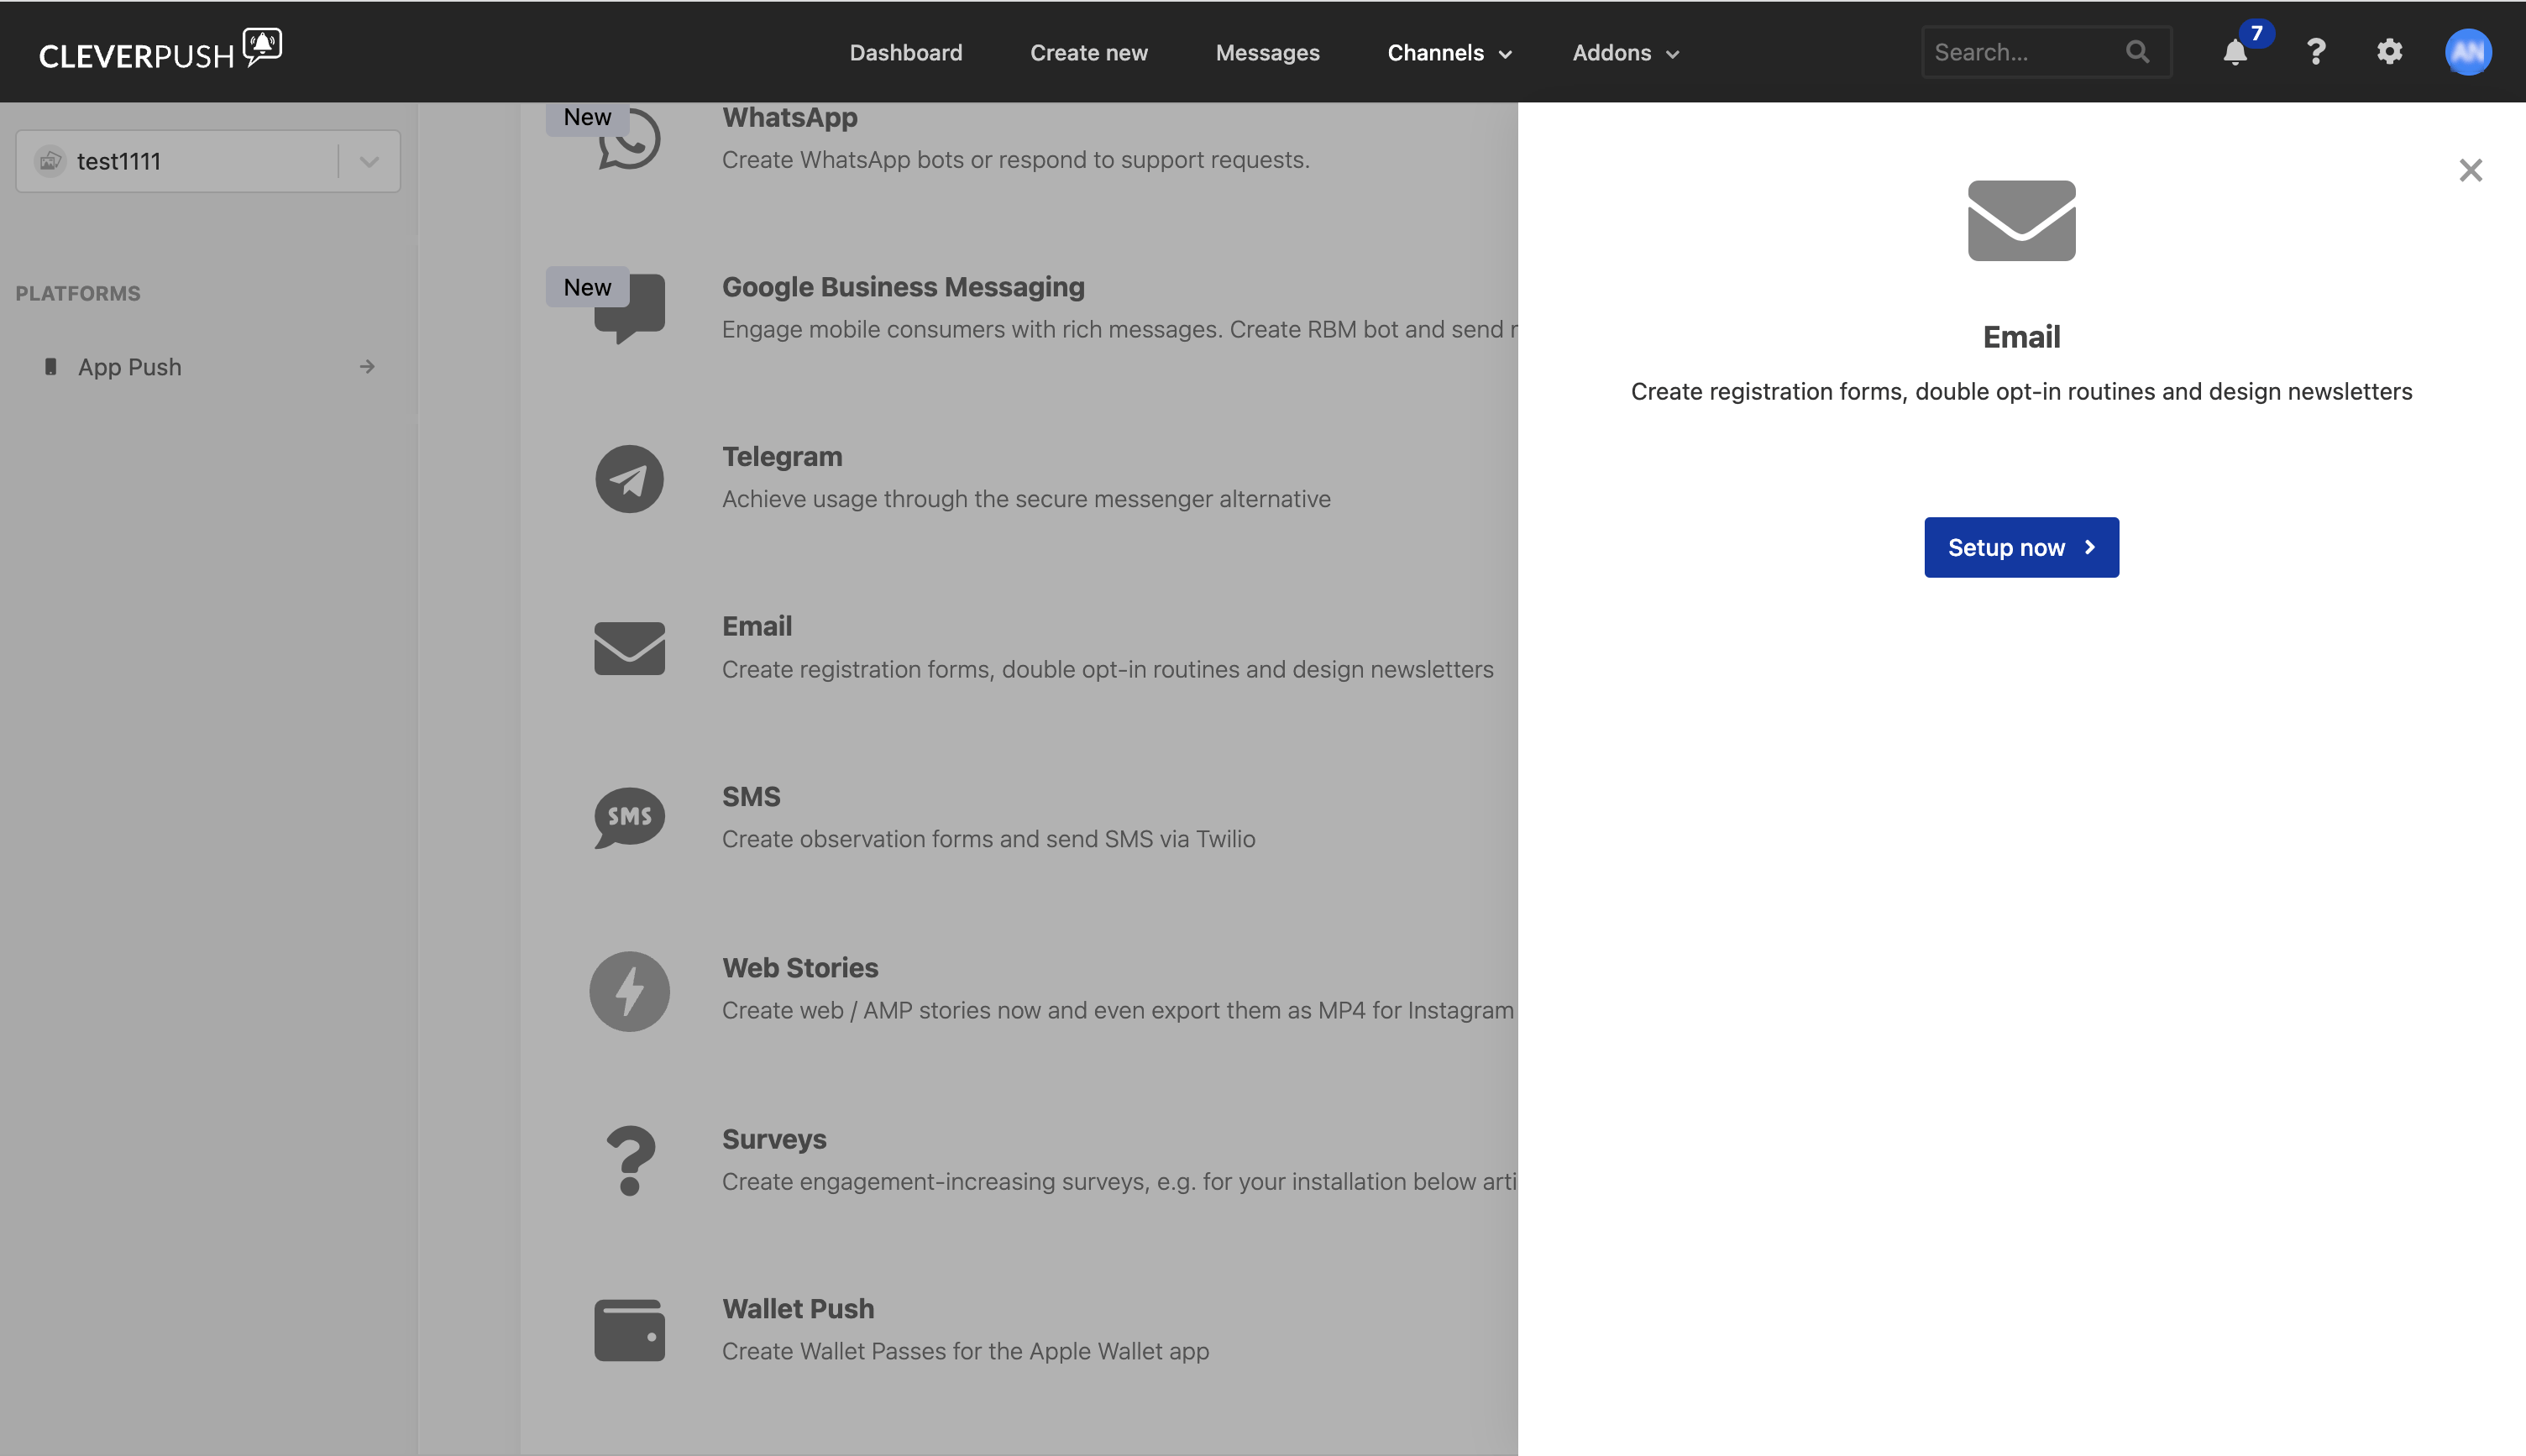
Scroll down the platform list and click Setup now next to Email Push. In the platform list the row is labelled Email, below Telegram and above SMS.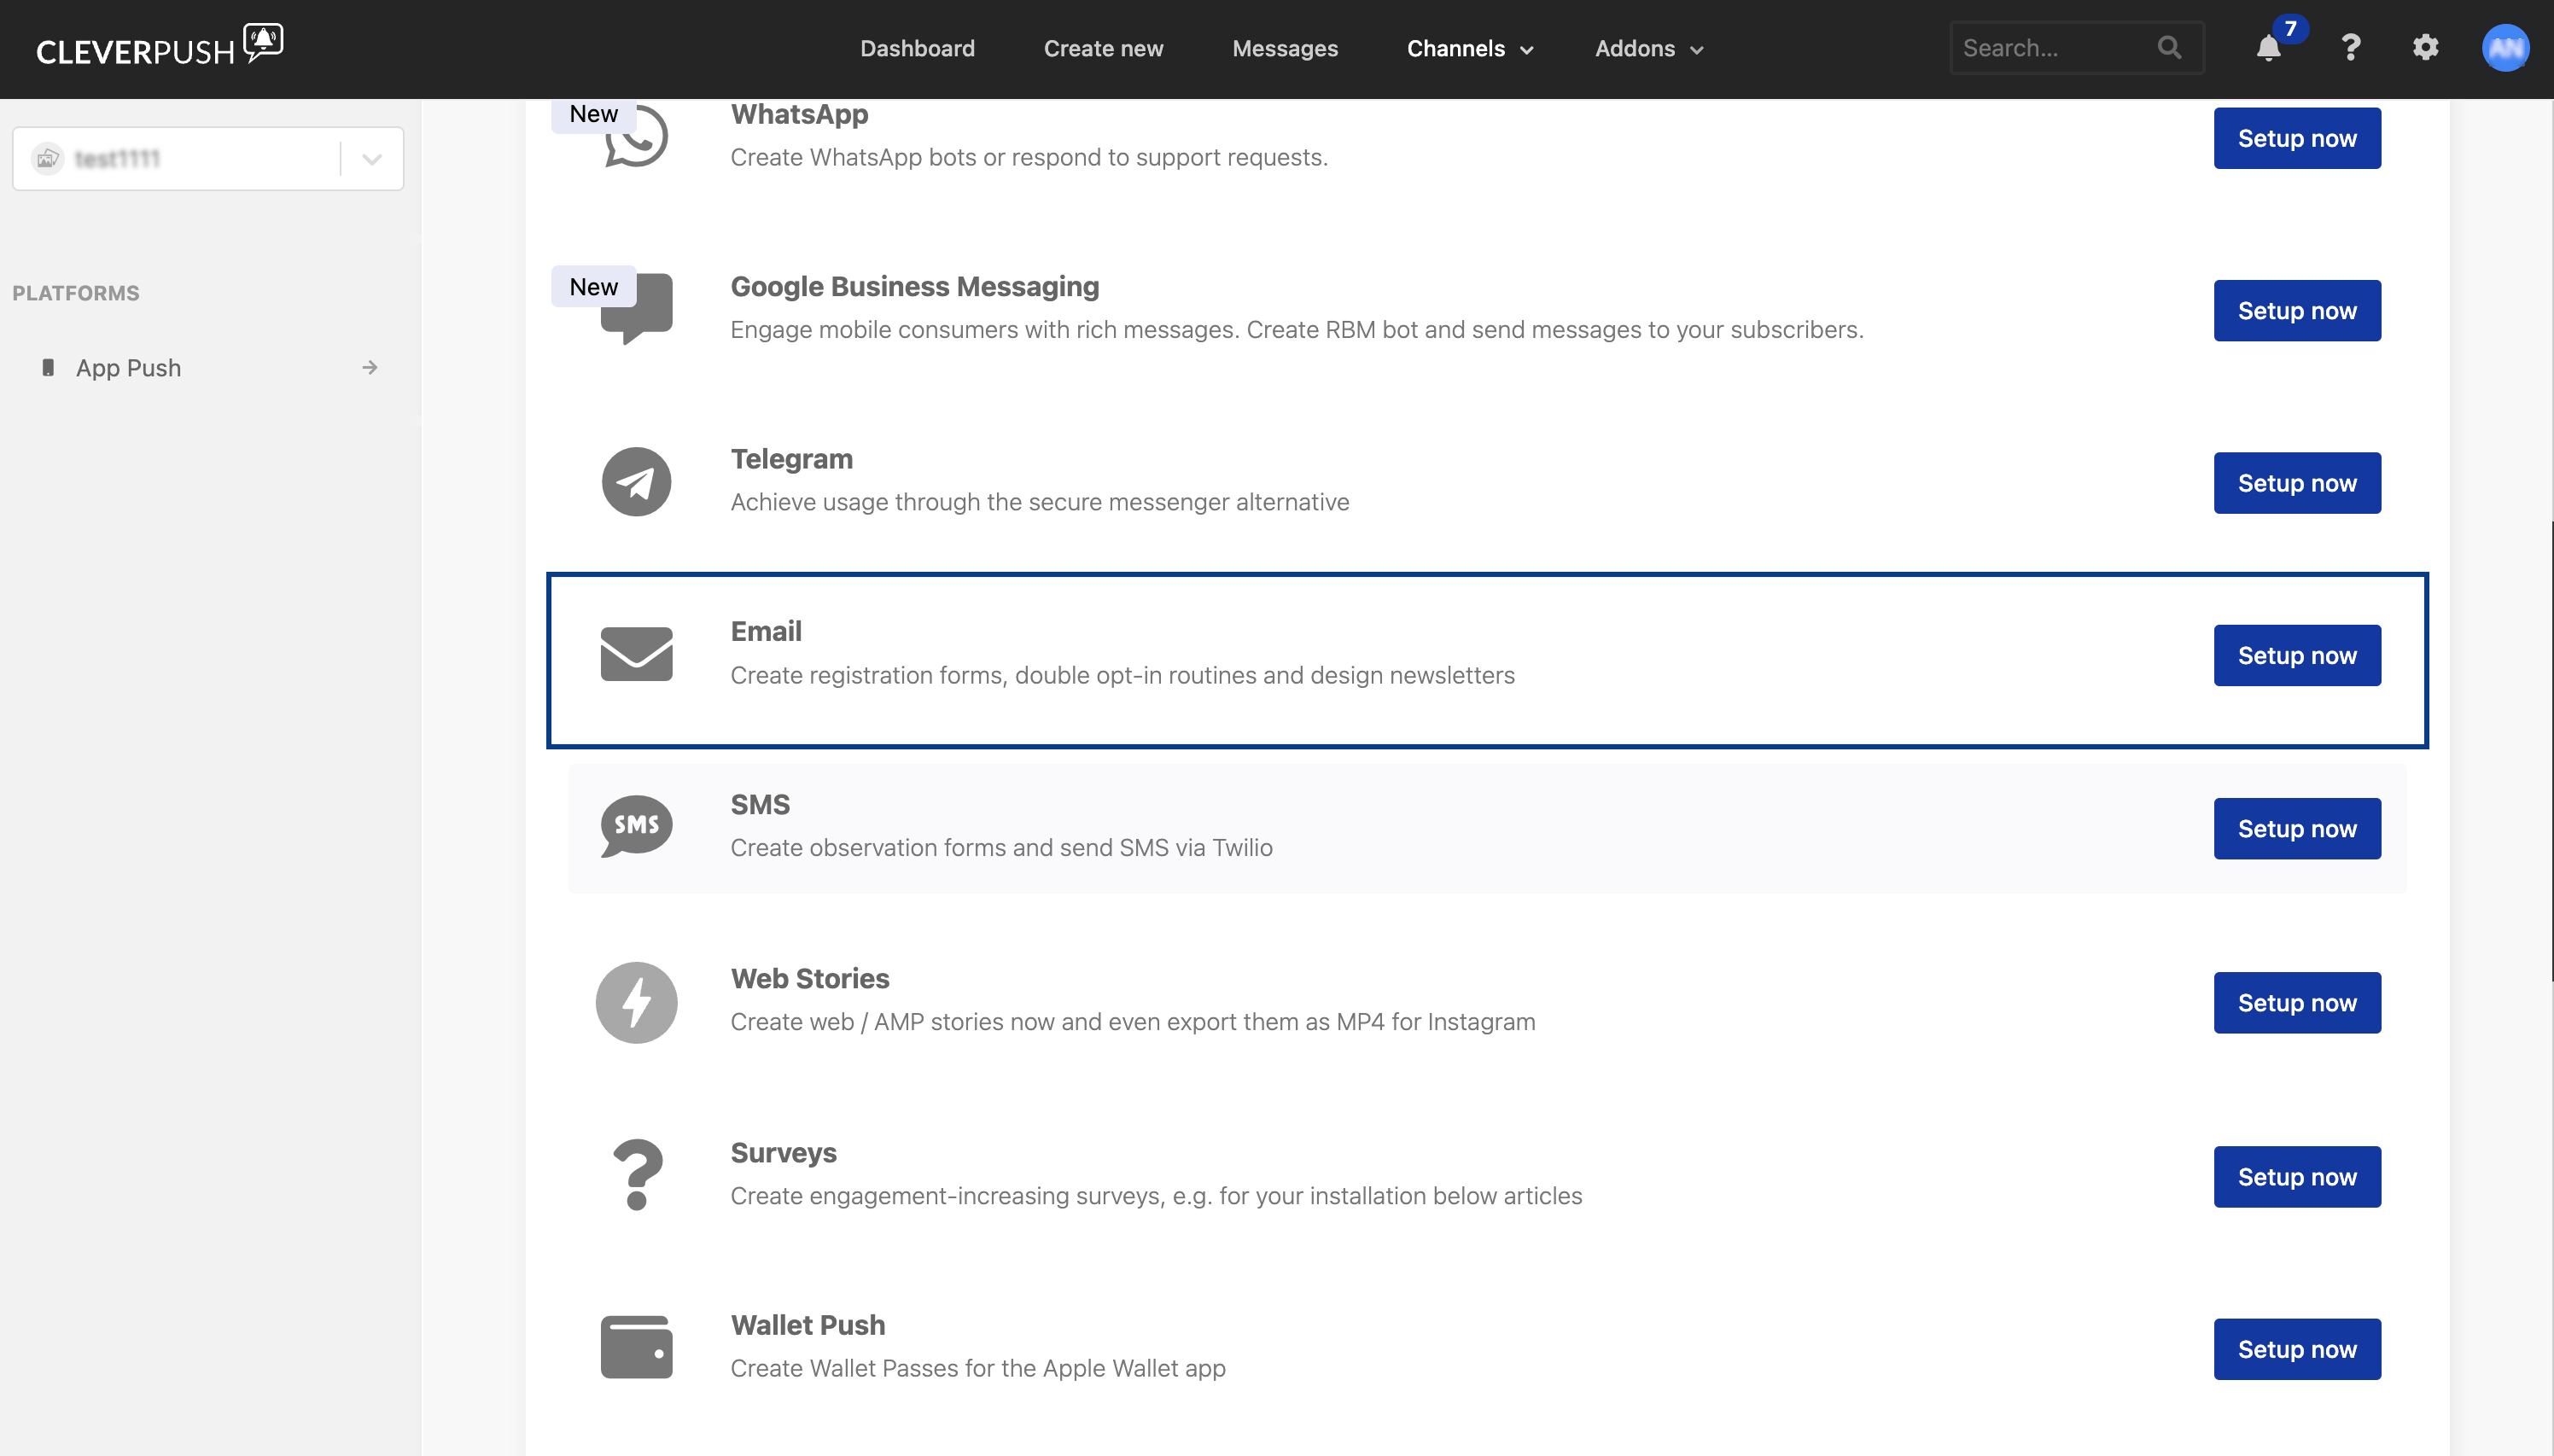
3
Confirm the platform
In the Email panel that opens, click Setup now.