

What this is
The Iterable: Campaign Trigger destination sends customer data out of Zeotap CDP to Iterable in real time, as each customer reaches the Send to Destinations node of a Journeys workflow. Data does not flow back from Iterable into Zeotap CDP. In this model Zeotap CDP owns the segmentation and the workflow logic — it decides when a campaign should fire and which one. Iterable owns the creation, management and execution of the campaign itself, and acts when Zeotap CDP calls it. Zeotap CDP makes that call to Iterable as soon as a customer meets the condition you built into the journey, so the campaign is activated for that user immediately. Zeotap CDP has one Iterable: Campaign Trigger destination in the catalogue, documented once for each of the two ways it is driven. Both send data outbound:- Real-time integration (Journeys) — this page. The destination is linked from the Send to Destinations node of a workflow.
- Batch integration (Audiences) — the same destination, linked to an audience.
Supported identifiers and actions
Your Iterable project’s primary user identifier must be email, and the email address is what this integration matches customers on. Alongside it you can map any other catalogue attribute your campaign needs.
The message categories come from the Gateway supported destinations table, which is also where you cap how often these sends reach a customer.
Prerequisites
In Iterable- Administrative or equivalent permission in your Iterable project to create and manage API keys.
- Everything Iterable itself requires before a campaign can send.
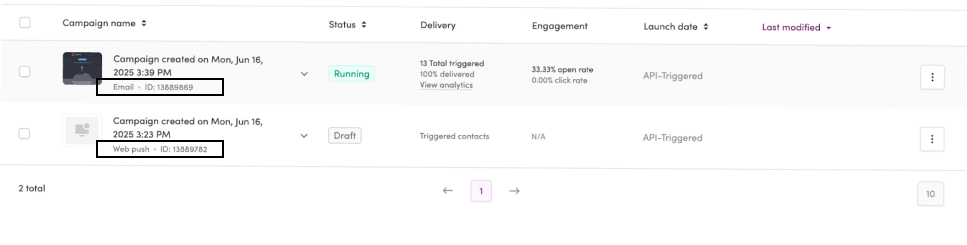
- The campaigns you want to fire already created and configured as API-Triggered Campaigns. Each one has a unique campaign ID, which the integration needs.
- Those API-triggered campaigns activated and set to Running.
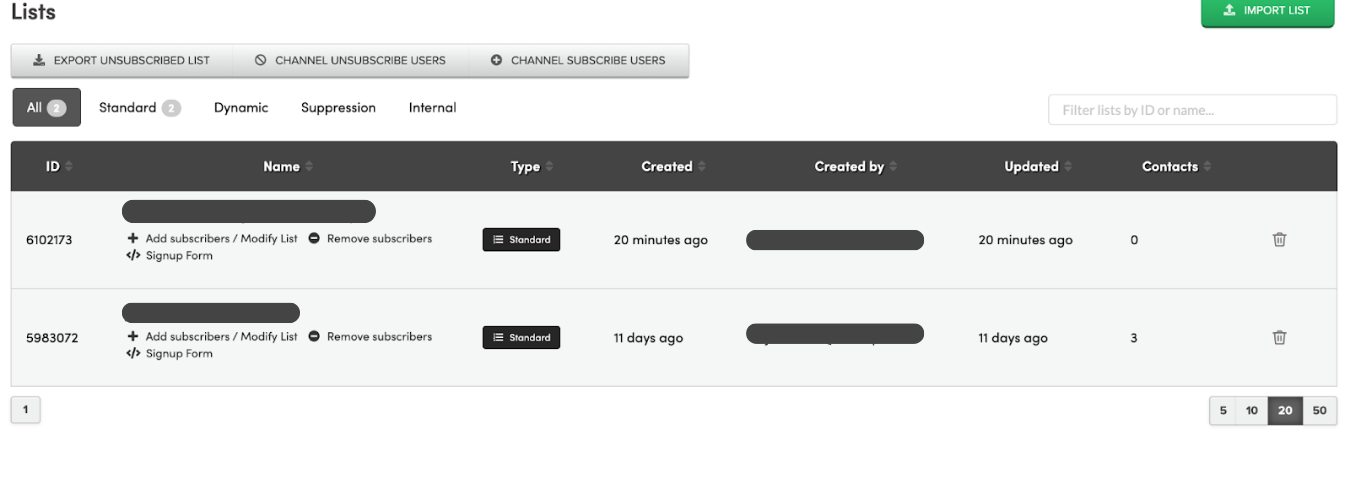
- If you are going to use Update Subscriber List, the ID of the list you want to write to. You can read it from the ID column on Iterable’s Lists screen.
Note:The list is appended to every time you add a new user. If an identifier already exists on the list, the other fields on that record are updated instead.
- The customer’s email address, available in Zeotap CDP at the moment the trigger fires, and matching the user profiles in Iterable.
- A Journeys workflow to attach the destination to. See Create a Workflow.
Create an Iterable API key
The destination authenticates to Iterable with an API key, which you generate in Iterable.1
Sign in to your Iterable project as an org admin, or as a member holding the Manage Integrations project permission.
2
Go to Integrations > API Keys. The screen lists the project’s existing API keys, but does not display the full key values.
3
Click New API Key.
4
In the Create API Key window, enter a name for the key and select the type of API key you want to generate.Give the key a descriptive name so you can tell later what it is used for — useful if you need to find and update it, or to disable or delete it for security reasons.
5
If you selected a client-side key type, two further settings appear:a. Event creation — either block the creation of new event definitions, or allow them for up to 14 days into the future. See Iterable’s notes on event creation.b. JWT authentication — selected by default, and recommended by Iterable. See Iterable’s notes on JWT authentication.
6
Click Create.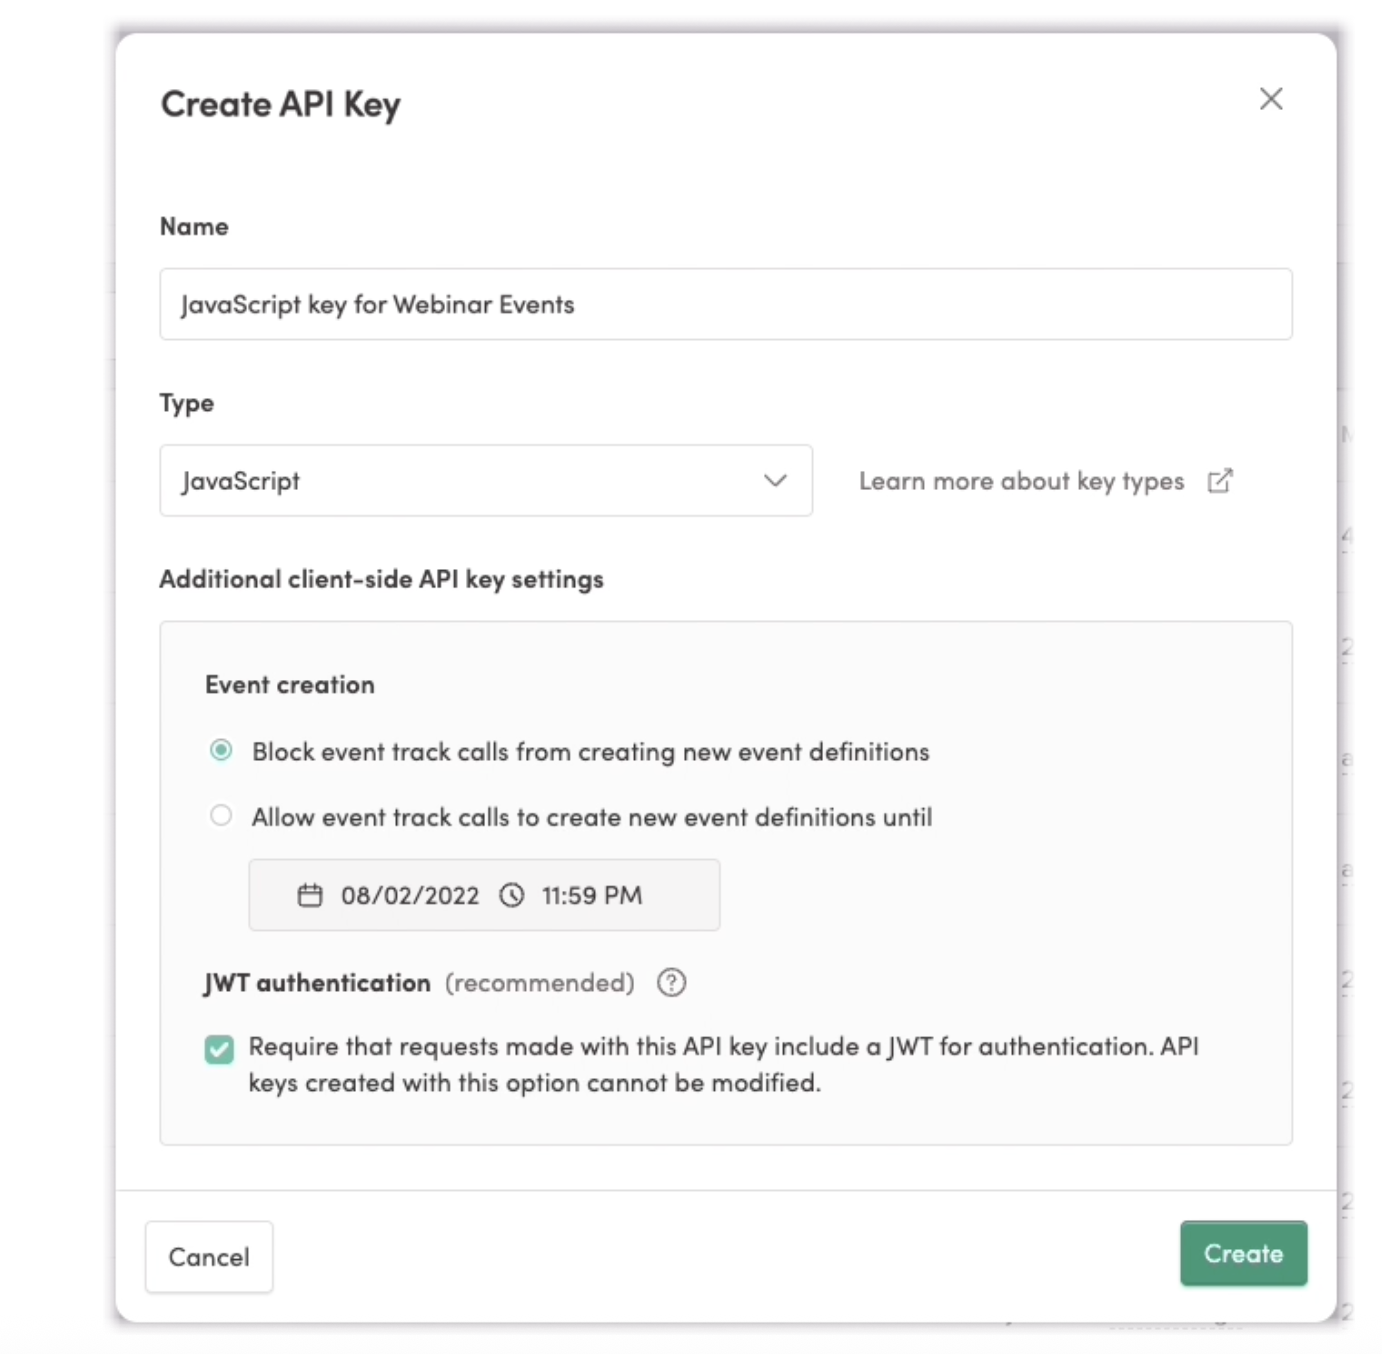
7
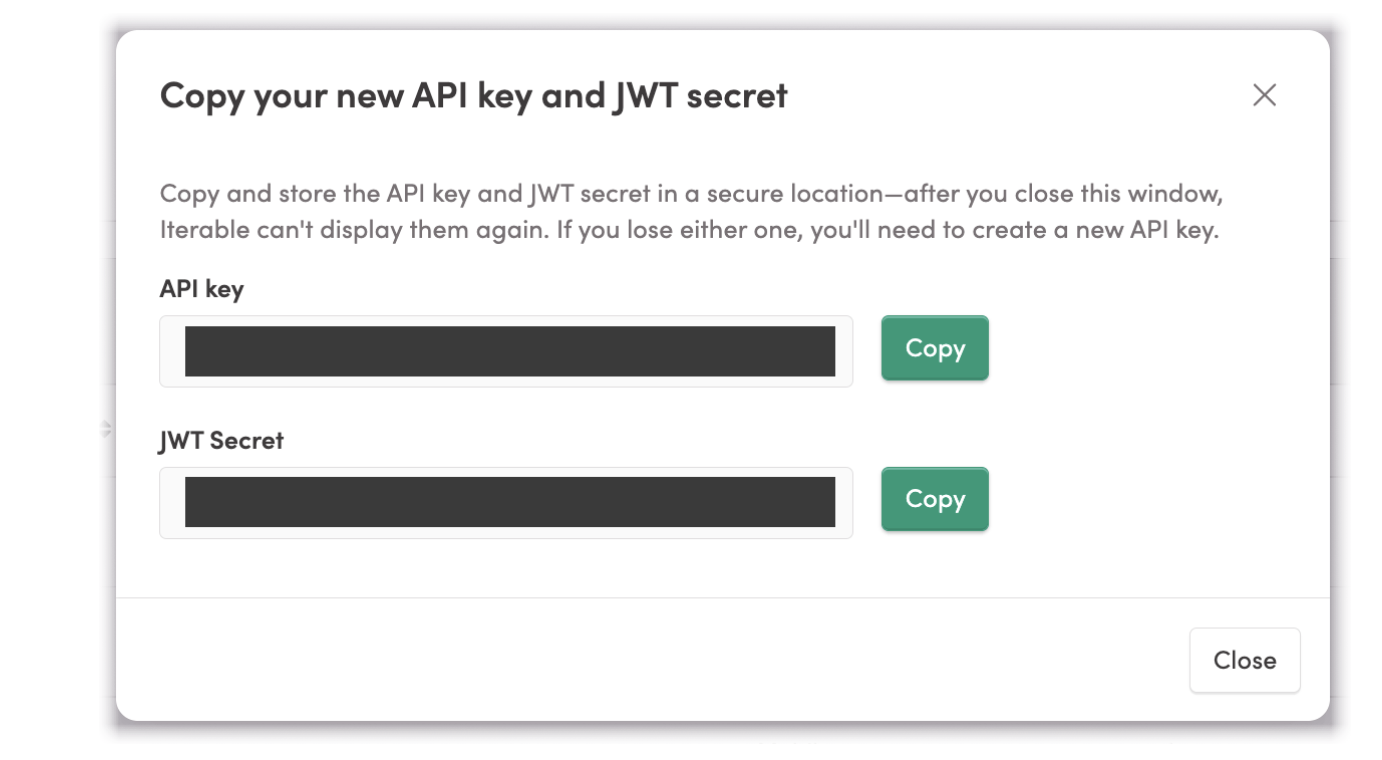
In the Copy your new API key window, copy the API key.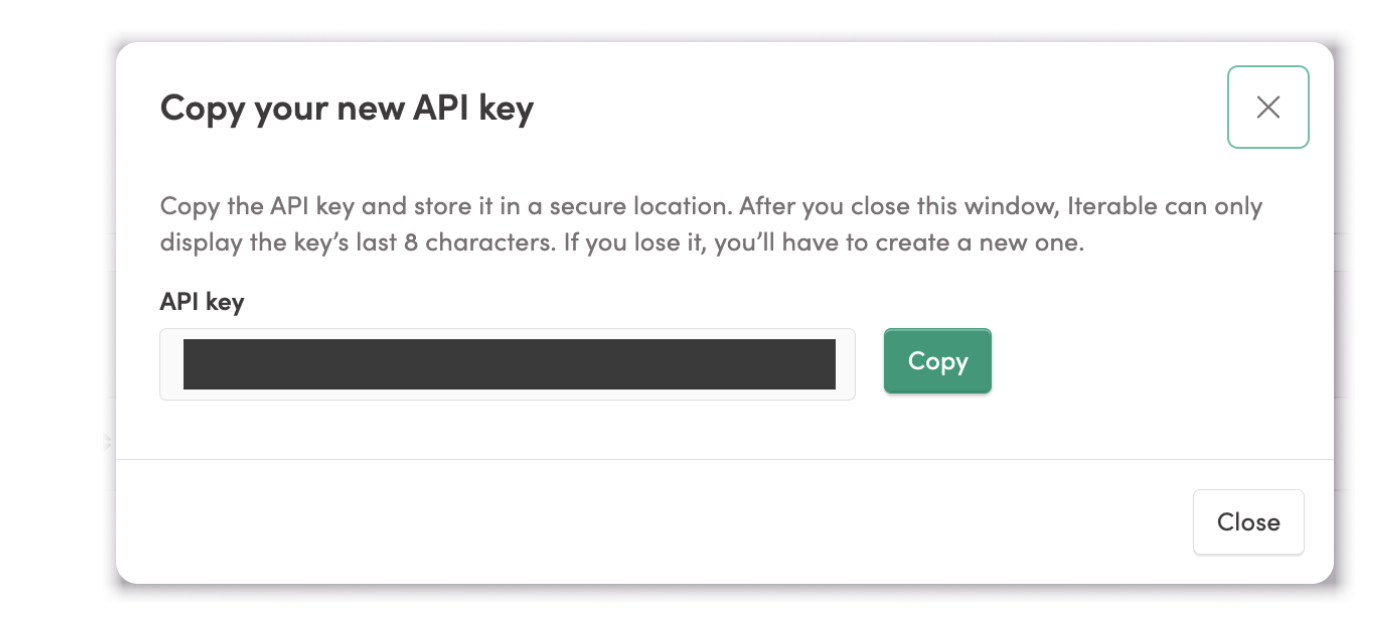
Create the Iterable: Campaign Trigger destination
1
Log into Zeotap CDP and go to Integrate > Destinations.
2
Click + Create Destination.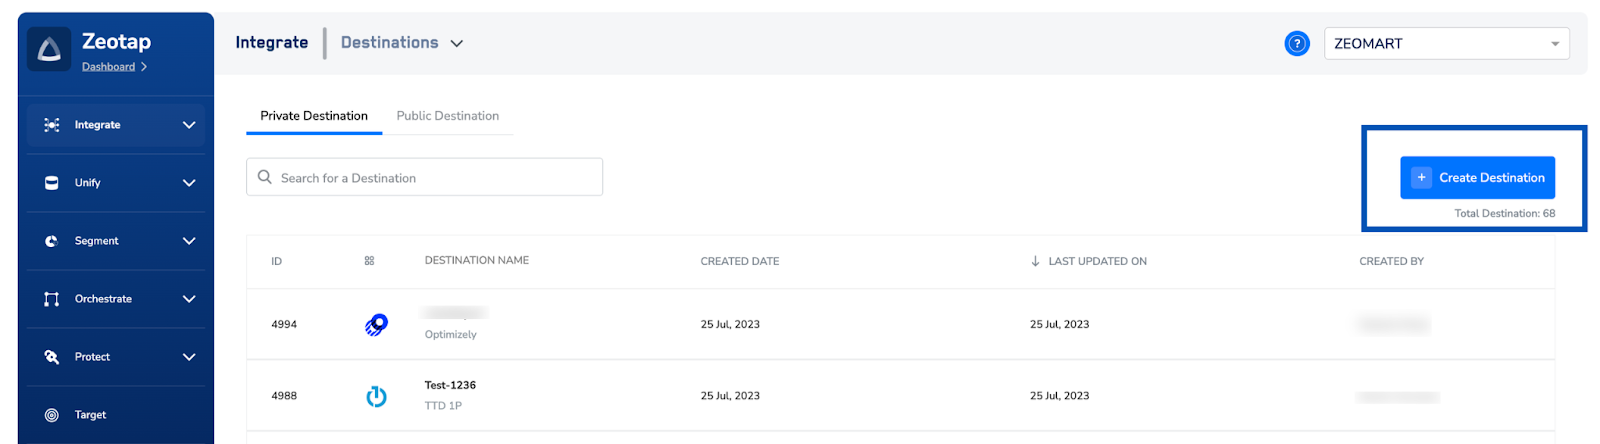
3
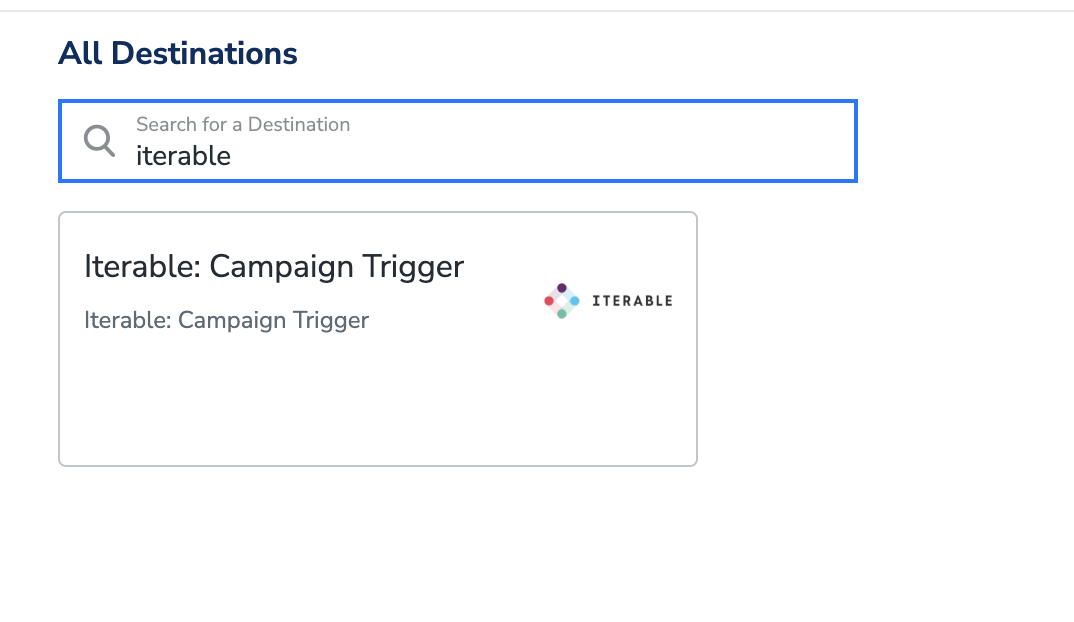
Under All Destinations, search for Iterable. The catalogue returns a single Iterable: Campaign Trigger tile.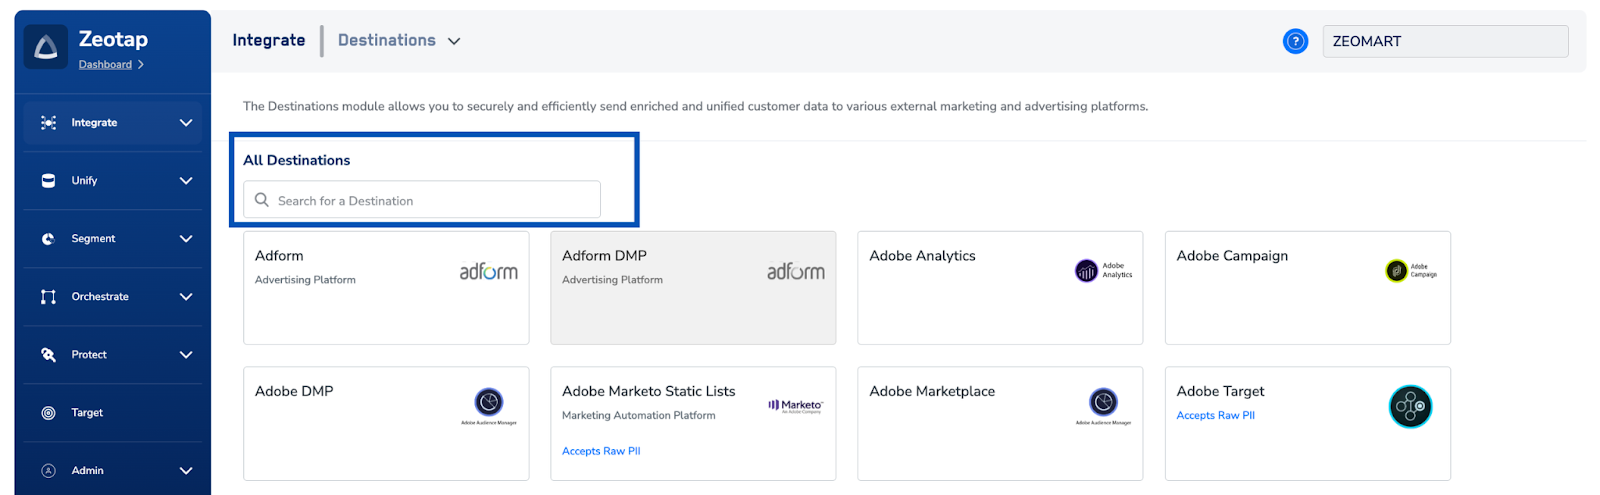
4
Click Iterable: Campaign Trigger. The destination screen appears, describing the integration on the left and listing the fields it needs on the right. On the Destination Details tab, enter:a. Destination Name — a name for the destination, for easy identification.b. API key — the Iterable API key you created above.c. Data Center — the data centre of your Iterable instance: 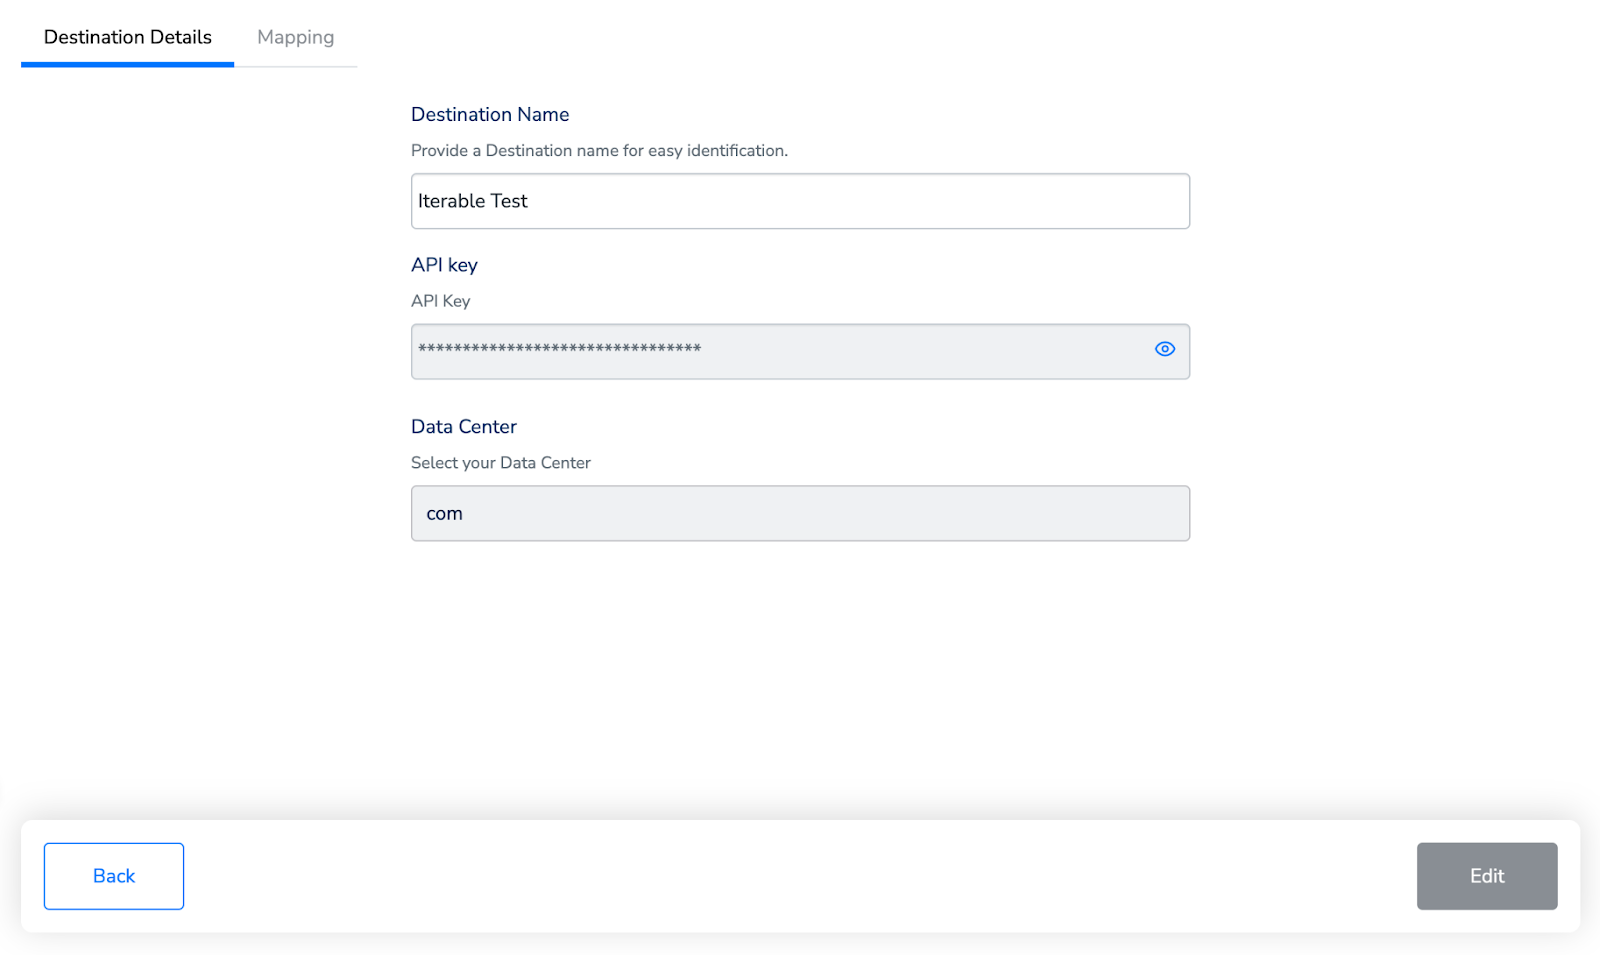
com for the US, eu for Europe.Review the values, then click Next.5
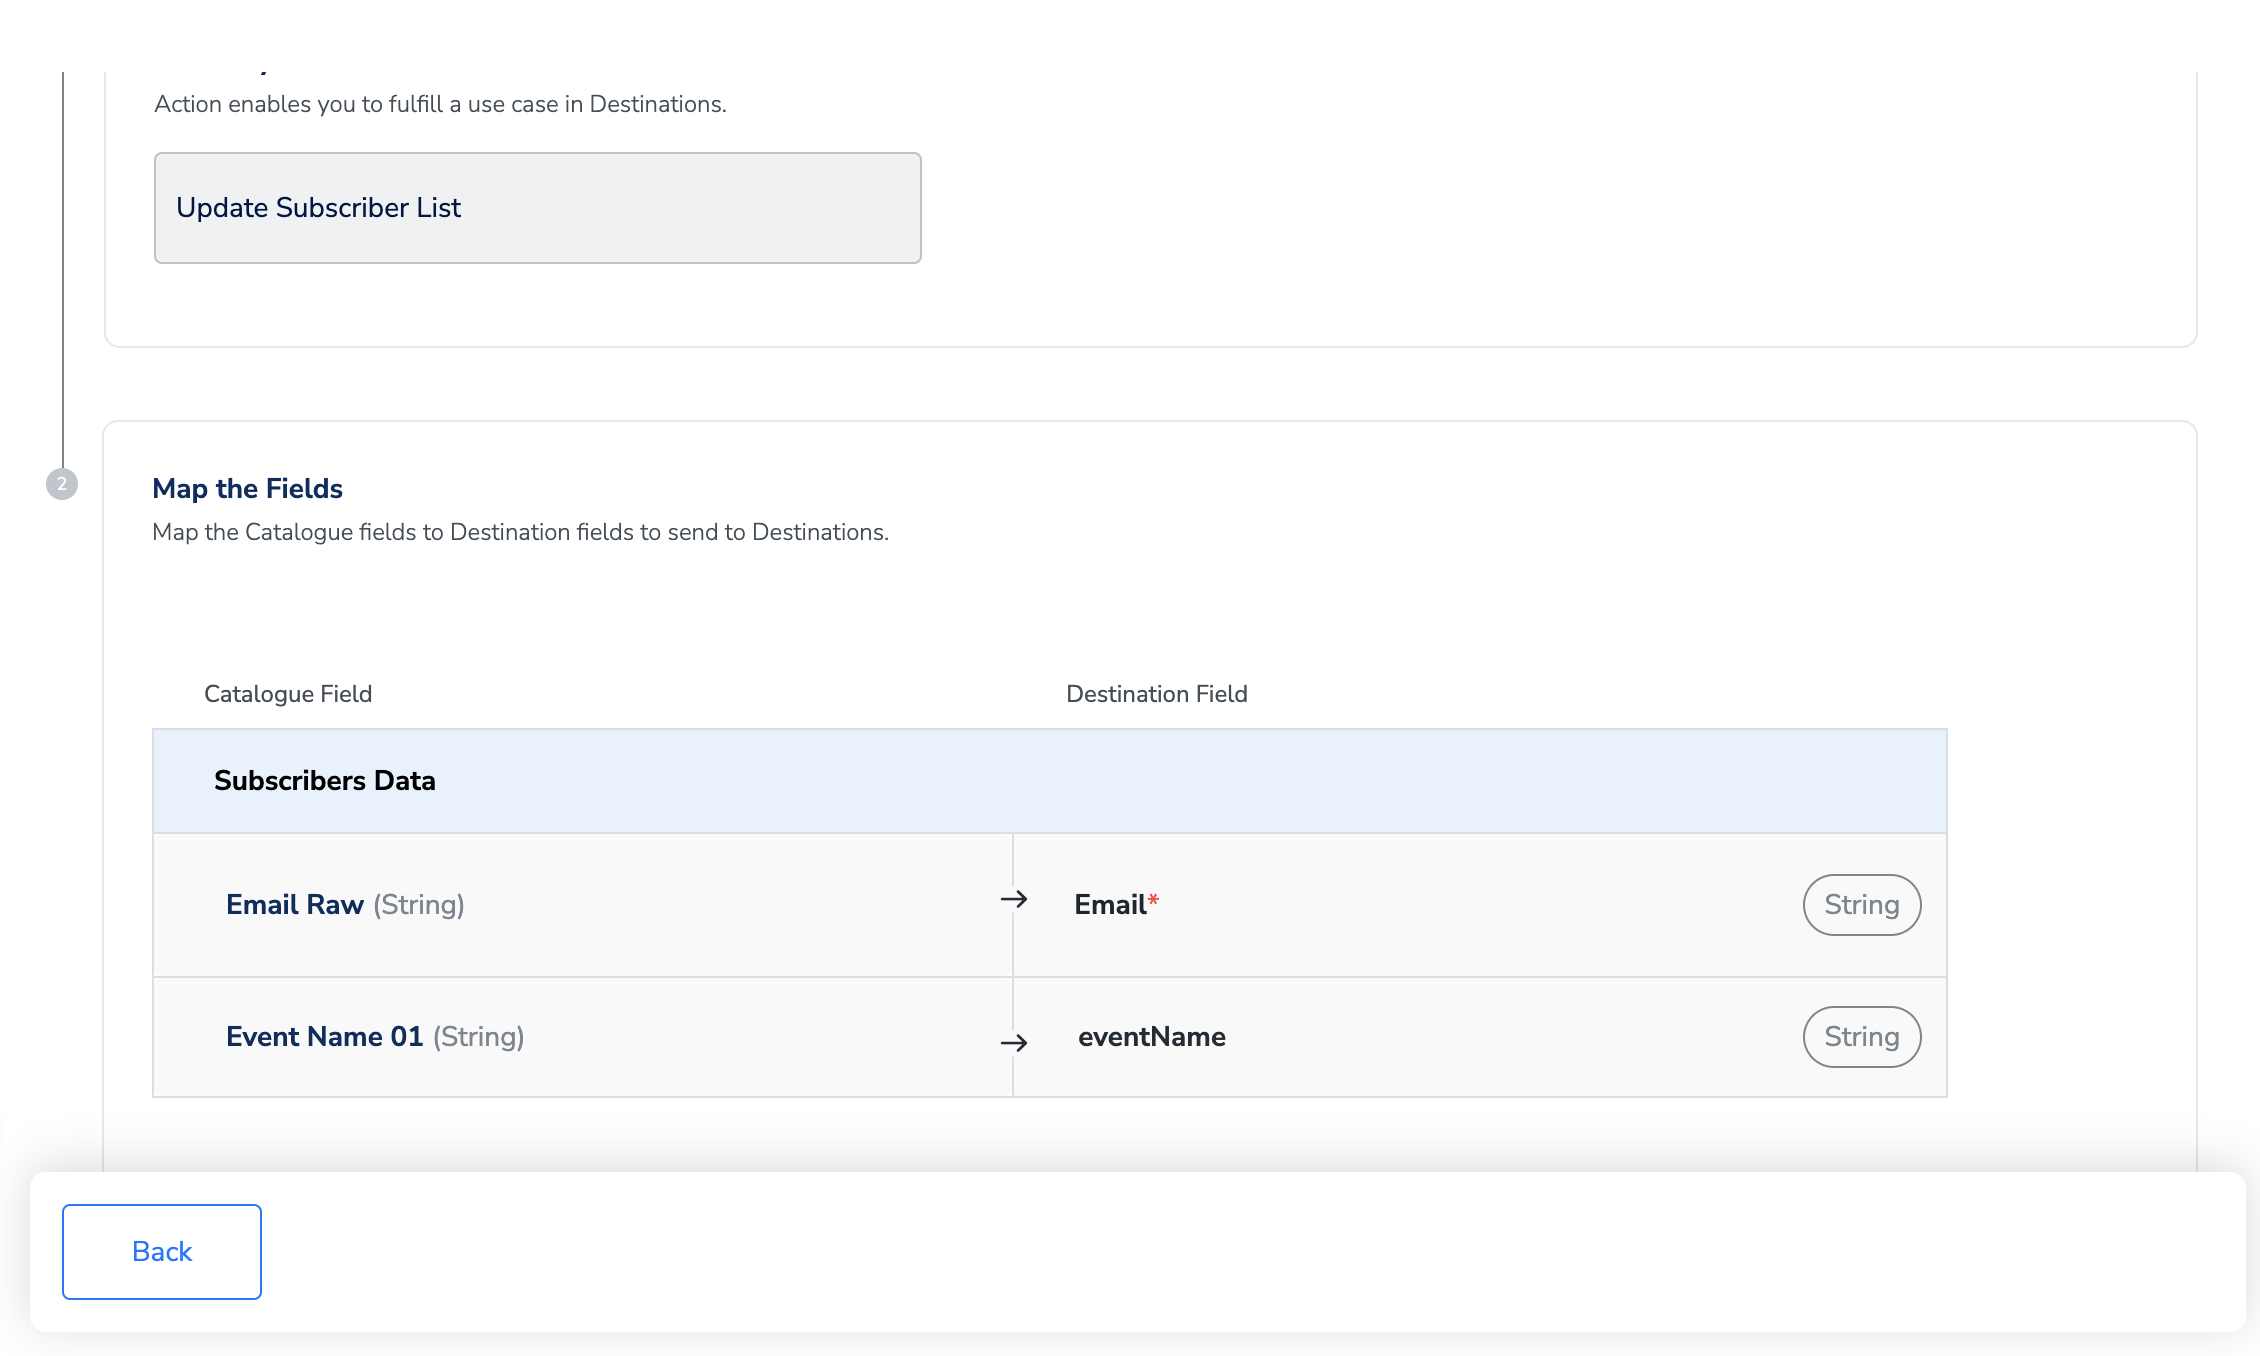
On the Mapping tab, choose the action and define the field mapping.a. Under Choose your Action, select Trigger Campaign or Update Subscriber List.b. Under Map the Fields, pair each catalogue field with the Iterable destination field it feeds. For Update Subscriber List, Iterable’s Email destination field is required, so map the catalogue field that carries the email address — for example Email Raw — to it.c. Add any further attributes your campaign needs with + Add Mapping.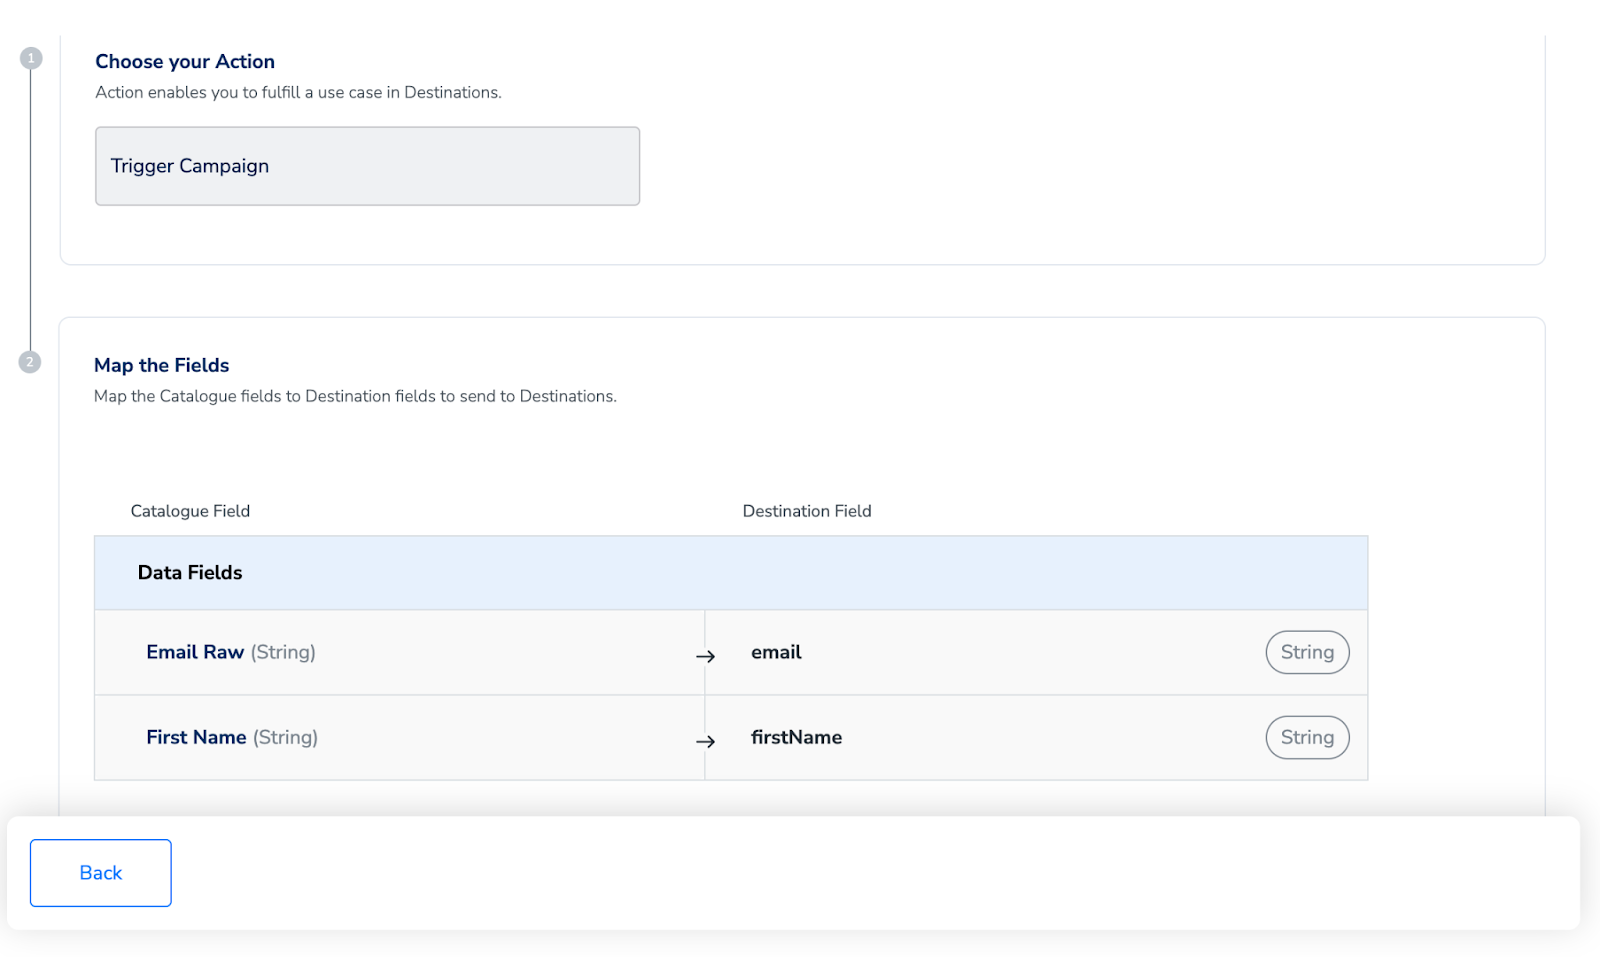
6
Click Create Destination. The destination is created and becomes available to link from a Journeys workflow.
Activate the destination in a journey
Once the destination exists, link it in the Send to Destinations node of your workflow.1
In the workflow, click + and choose Send to Destinations.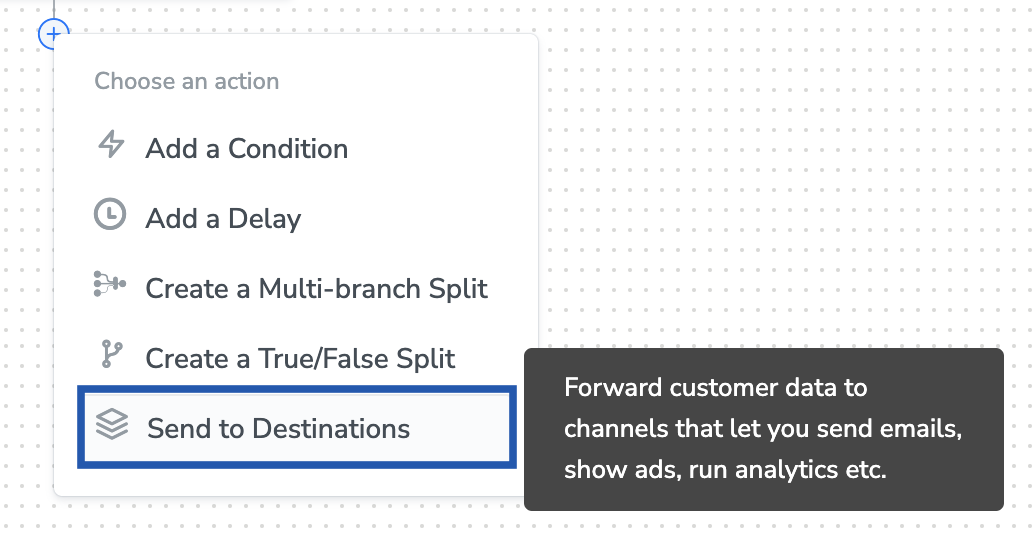
2
Find your destination in the list of available destinations using the search box.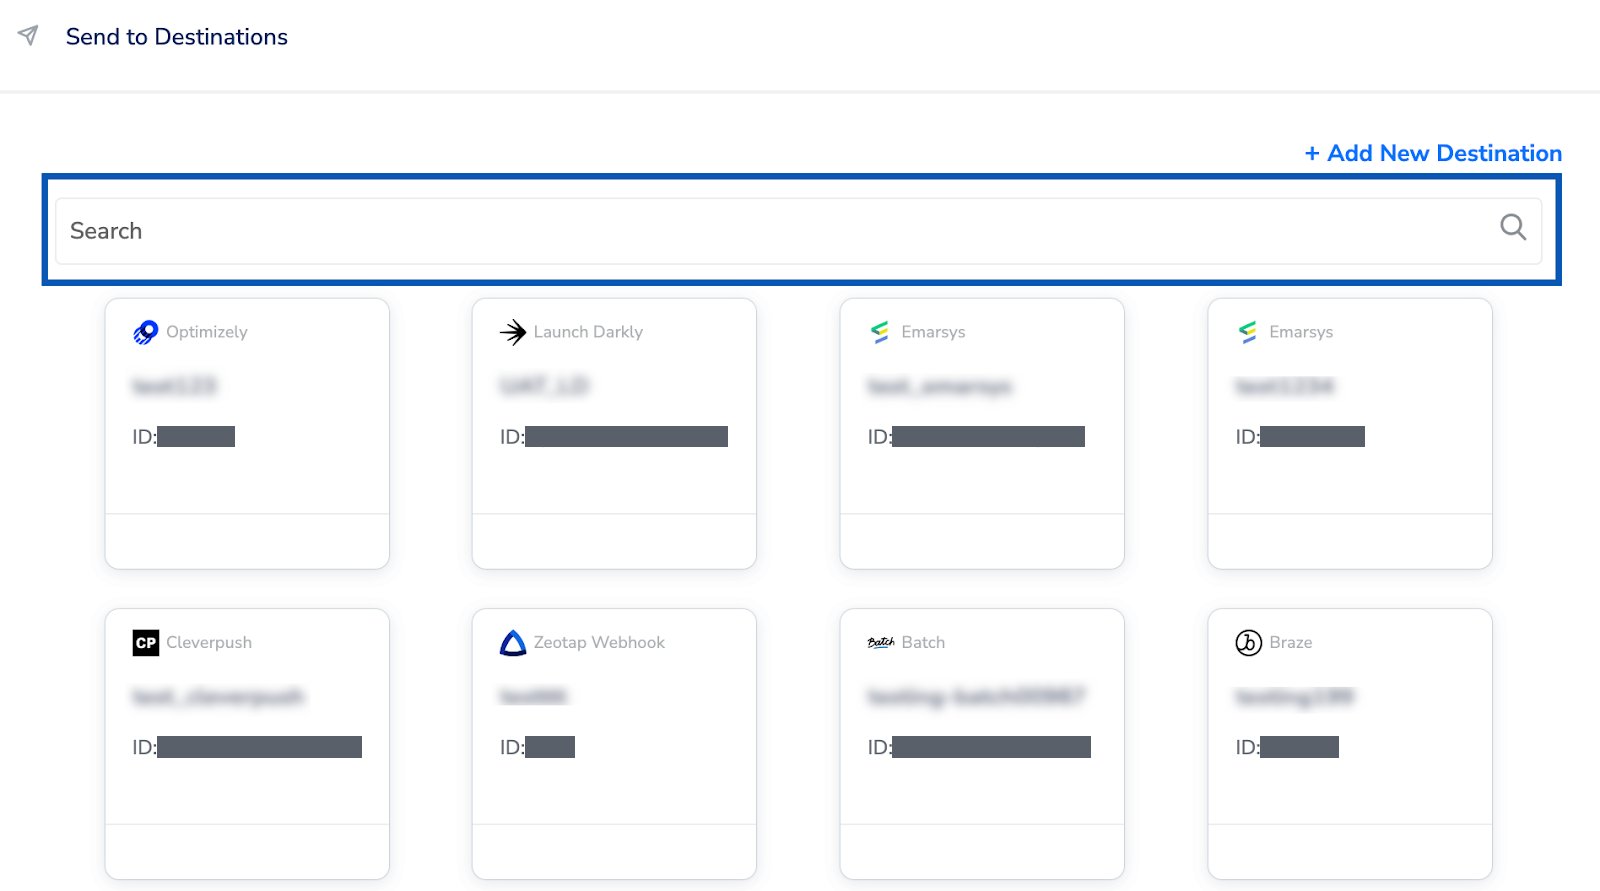
3
On the Destination Details tab, the API key and Data Center fields are populated automatically from the values you entered when you created the destination. Below them, set the settings this journey needs:a. List Ids — the field’s helper text describes a non-empty array of Iterable list IDs to send to.b. Campaign ID — the API-triggered campaign to fire.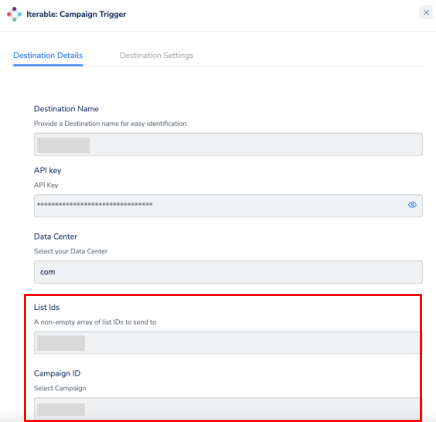
Note:While attaching a destination, Campaign ID might be a required field even if you are just trying to update a subscriber list. You can add any value to it. It will not be used.
4
Click Save Destination. The destination is attached to the node, showing its name, its ID and the action it will perform.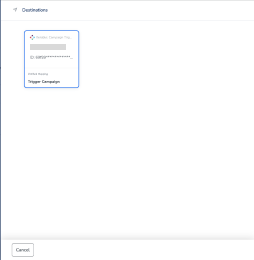
Verify the integration works
Check both sides. In Zeotap CDP- On the journey canvas, look at the destination node. Failures show red indicators and successful deliveries green ones. Open the node to see the Execution Details panel, which gives the failure status code, the timestamp, the destination name and the Request ID. See Identify Journey Errors.
- To see exactly what was sent for one customer, use Journey Traces. It shows the raw input event that triggered the journey and the transformed output event sent to each destination node.
- For Trigger Campaign, open the campaigns list. The campaign you targeted should be Running, and its Delivery column should show triggered and delivered counts climbing.
- For Update Subscriber List, open the Lists screen and check the Contacts count on the list you wrote to.
Troubleshoot this integration
Start with the Journey Trace for a failing execution: it carries the destination’s own response, which usually says more than the error code alone. Then check the scope — if every customer fails at the node, the cause is normally authentication or mapping; if only a small share fail, it is normally consent or data quality. See Troubleshooting Workflows.
For the full definitions, root causes and resolution steps, see Journey Error Codes.
If the journey reports success but nothing sends from Iterable, re-check the prerequisites: the campaign must exist as an API-Triggered Campaign, and it must be activated and set to Running.