

What this is
Channable is a feed management and automation platform that helps businesses streamline their product data for eCommerce, marketplaces, and advertising channels. It enables users to optimise, transform, and distribute product feeds to multiple platforms such as Google Shopping, Amazon, and Meta Ads — all from a single interface. This integration is a two-hop delivery. Zeotap CDP writes the audience to your Google Cloud Storage bucket as CSV, and Channable imports the CSV from that bucket. You configure the destination once against a bucket and folder, then reuse it for every audience you link to it. If you want the same CSV delivery into a bucket without the Channable import on the other side, use the Google Cloud Storage destination instead.The terms Audiences and Segments are used interchangeably to refer to customer cohorts belonging to a specific category. For example, an Audience or a segment could be a specific group of customers who are over 18 years of age and who have performed an
addToCart event within the last 30 days.Supported action and mandatory fields
This destination has a single action — Send data to Channable — which you choose on the Actions and Mapping screen when you activate an audience. The following fields are mandatory and must be mapped:- Availability
- Brand
- Description
- ID
- Image Link
- Link
- Price
- Product Type
- Sale Price
- Size
- Title
Prerequisites
Before you create a Channable GCS Upload destination in Zeotap CDP, make sure you have:- An active Channable account.
- A Google Cloud Storage bucket you can write to, plus the bucket name and the folder path inside it where files should land.
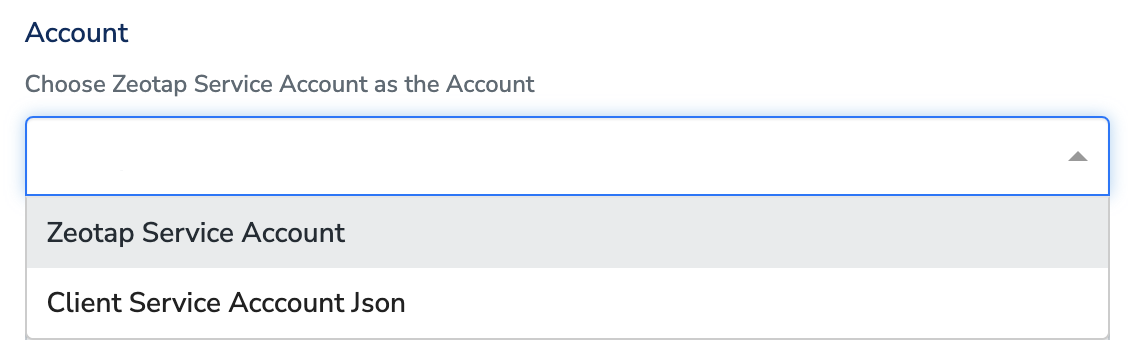
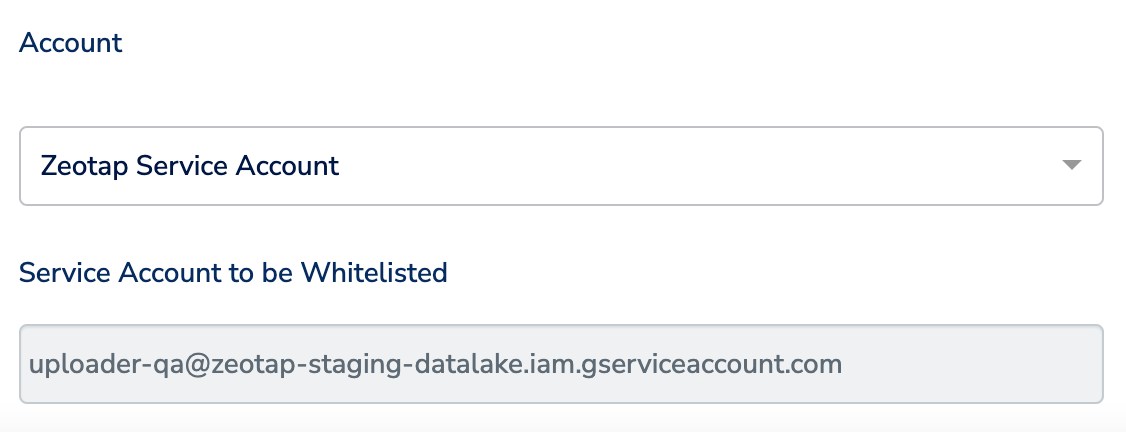
- The authentication you intend to use under Account — either the Zeotap Service Account (which you whitelist on your bucket) or a client service account JSON file you upload during configuration.
- An audience to activate, and the destination rights described in the Destinations prerequisites.
Where each detail appears in Google Cloud Storage
Gather the following details from your Google Cloud Storage account before you create the destination.Bucket
This is the name of your Google Cloud Storage bucket. You can obtain it from your Google Cloud Storage account, as shown below.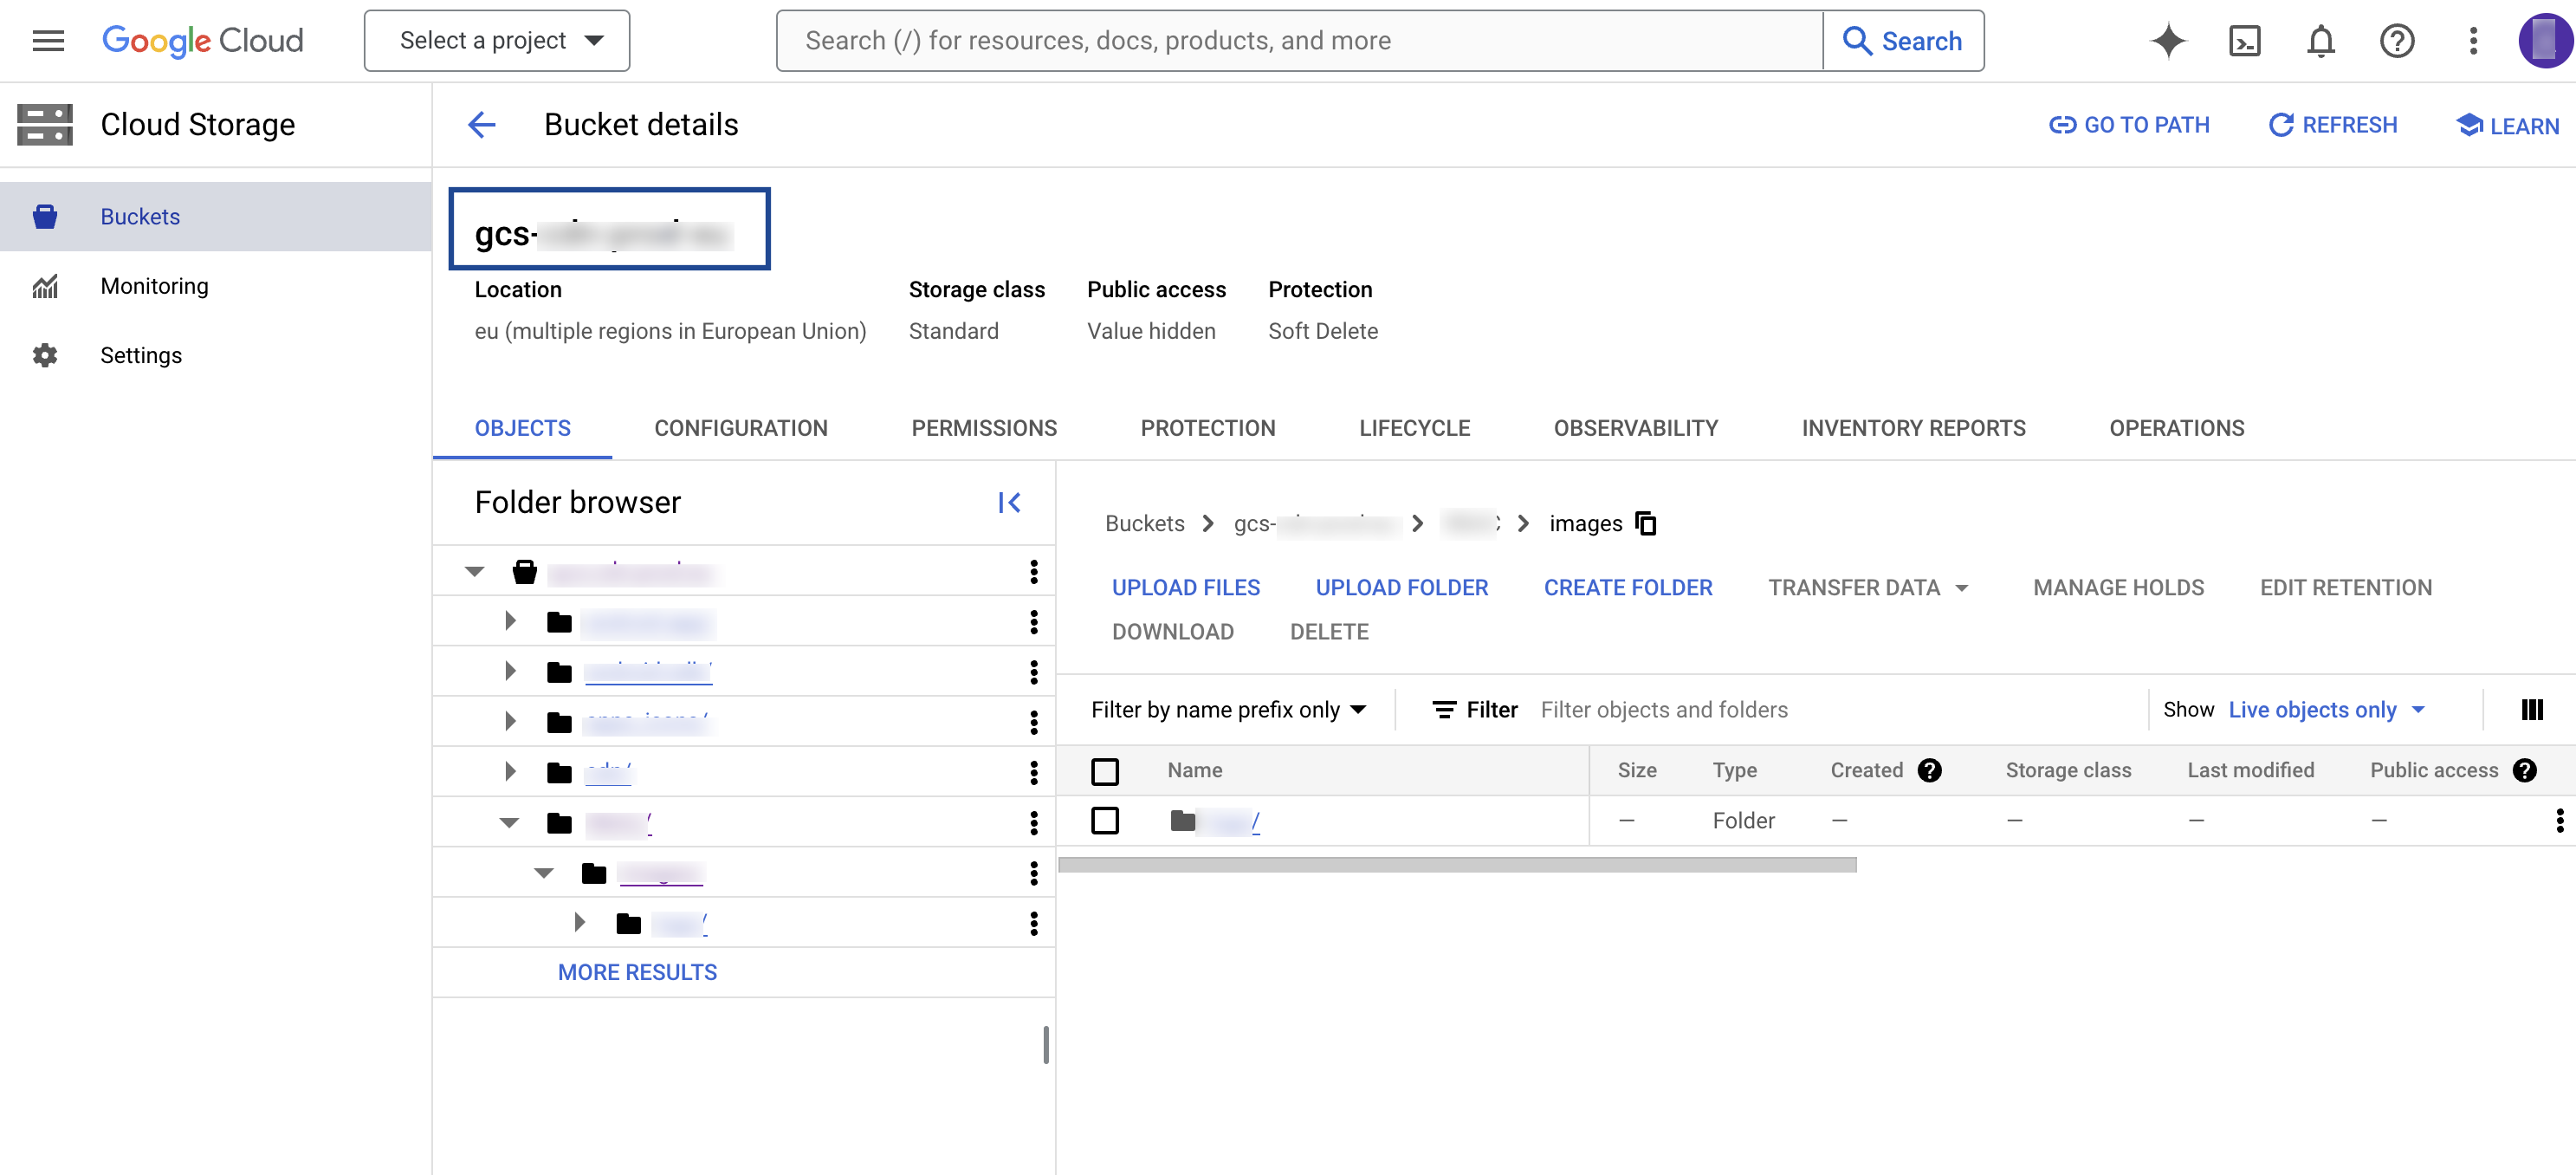
Folder
In Google Cloud Storage, a folder serves as a logical container for organising stored objects within a bucket. In reality, there are no actual folders in Google Cloud Storage. Instead, the folder concept is emulated by employing object key names containing slashes (”/”) to replicate a hierarchical arrangement. You can obtain this information from your Google Cloud Storage account, as shown below.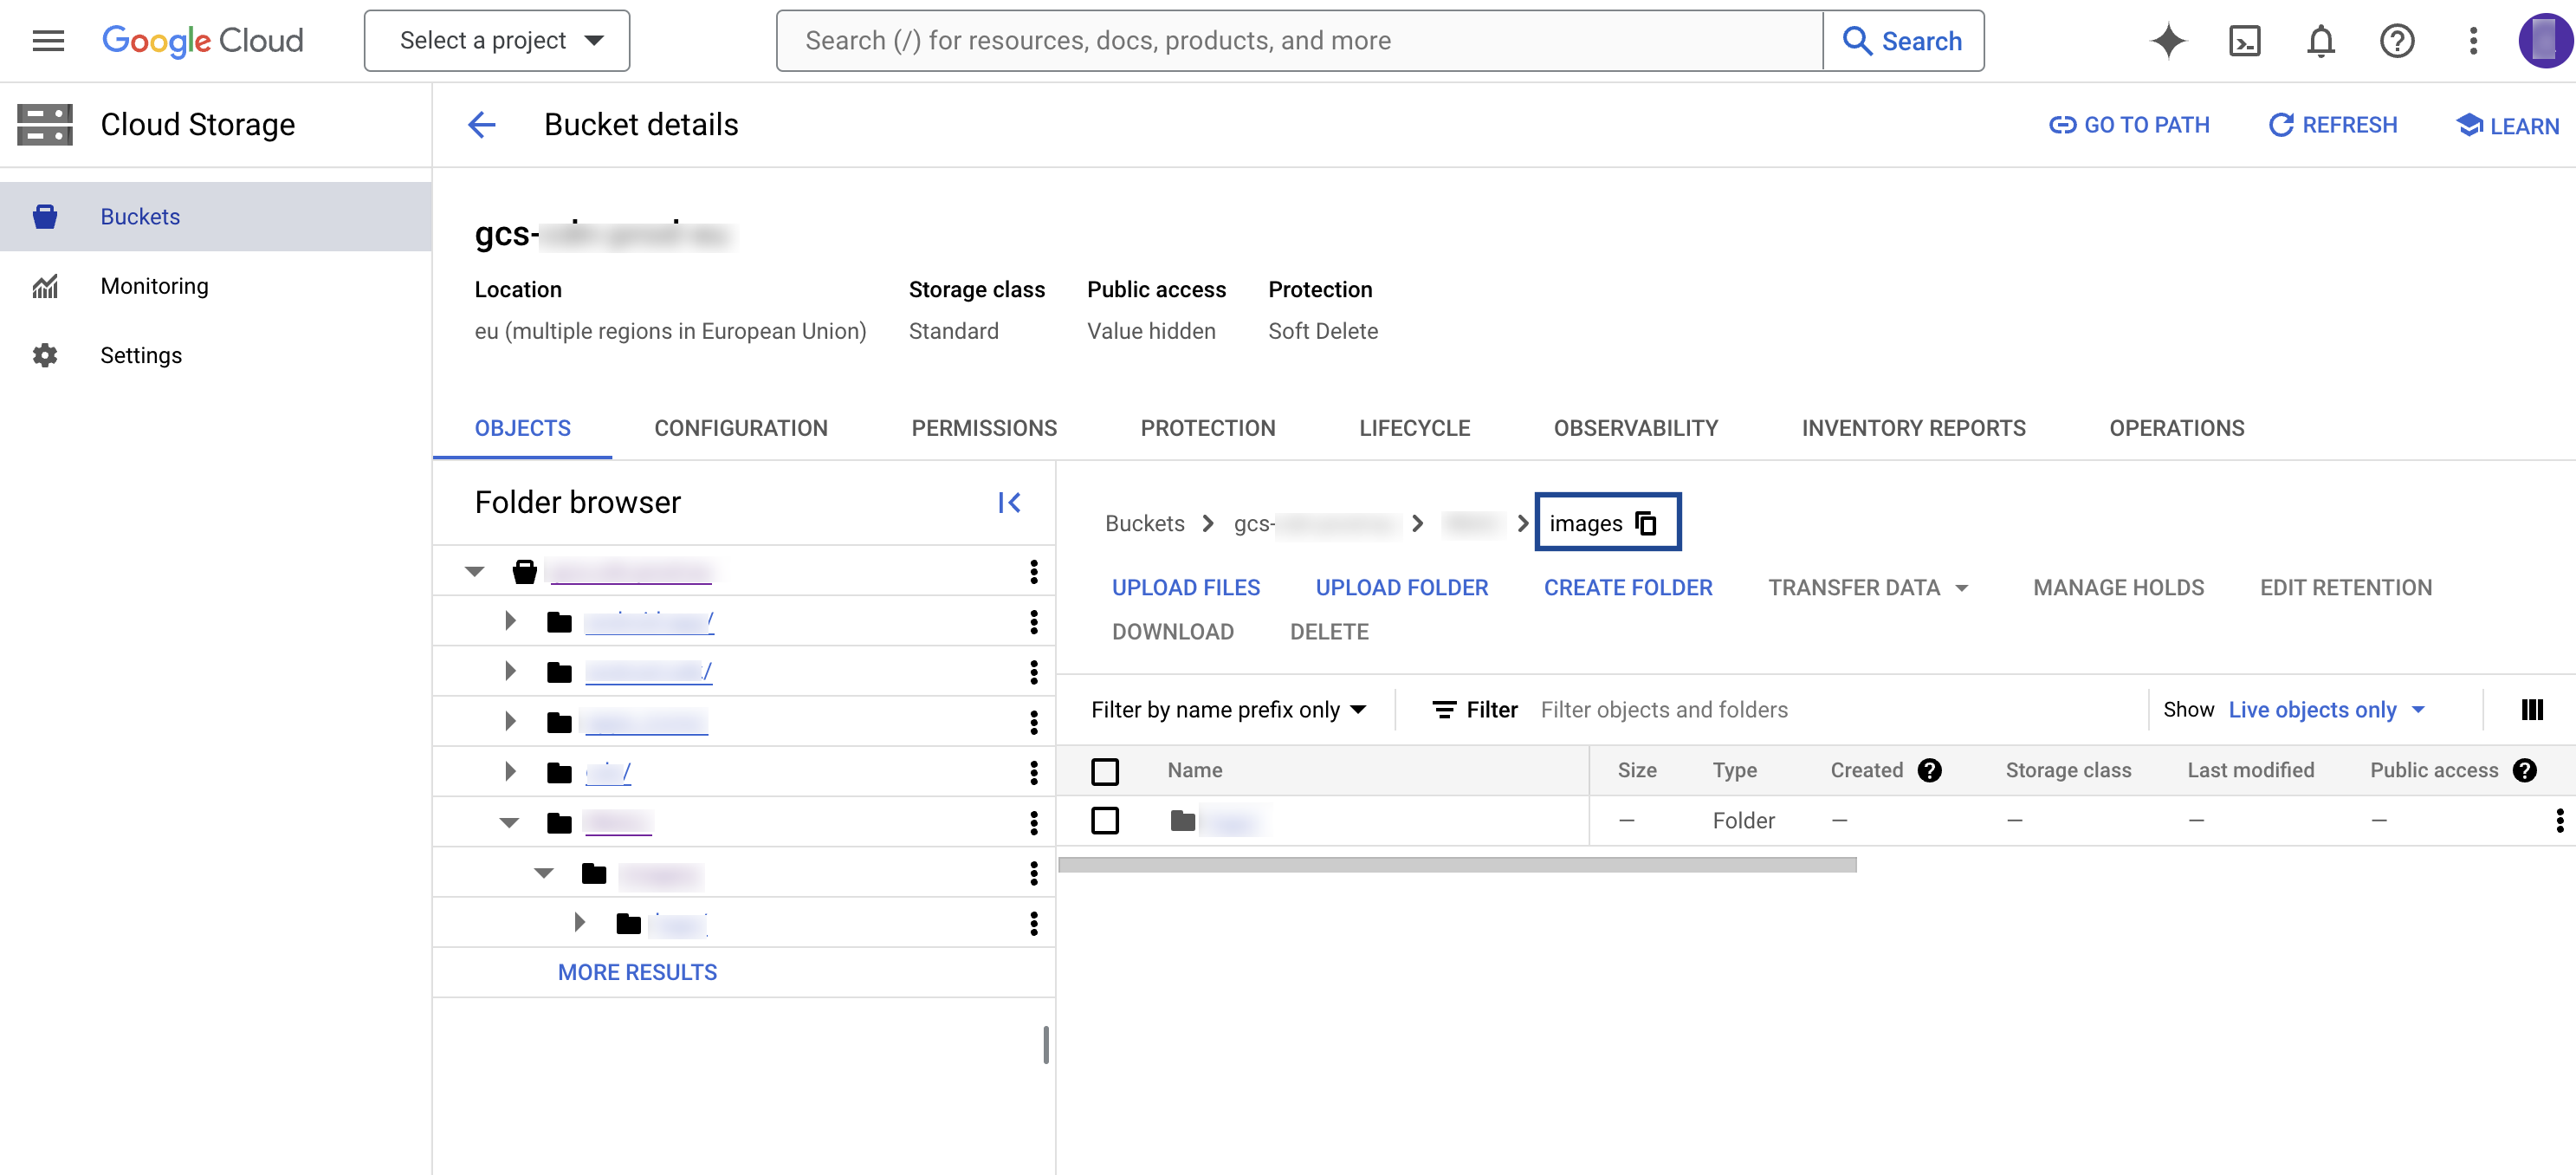
Account
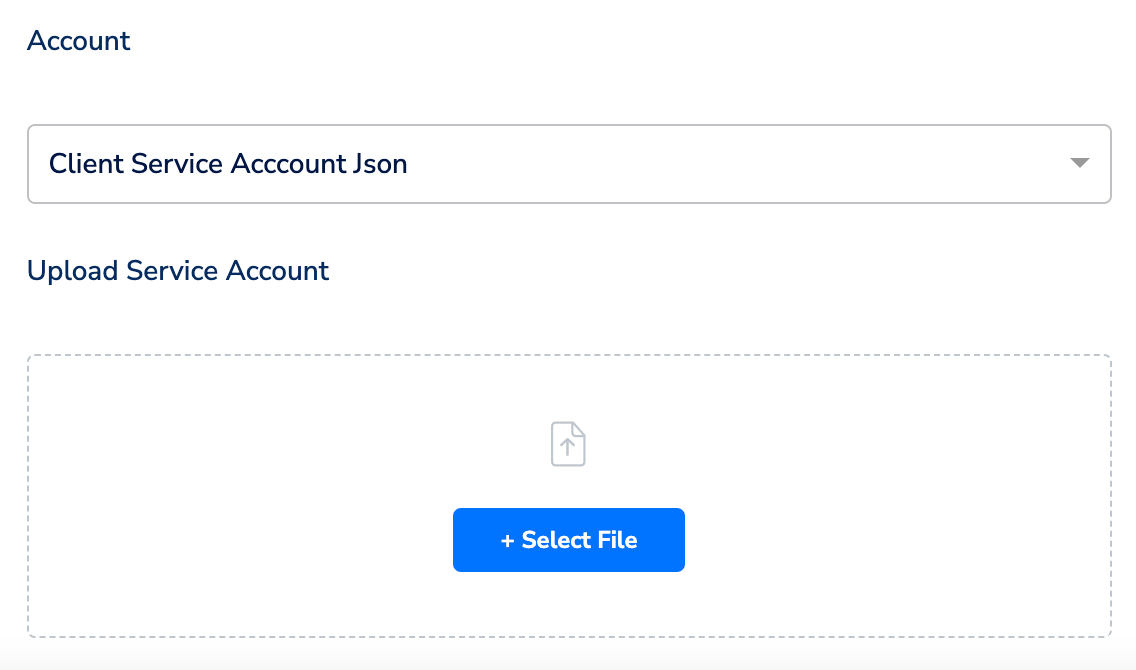
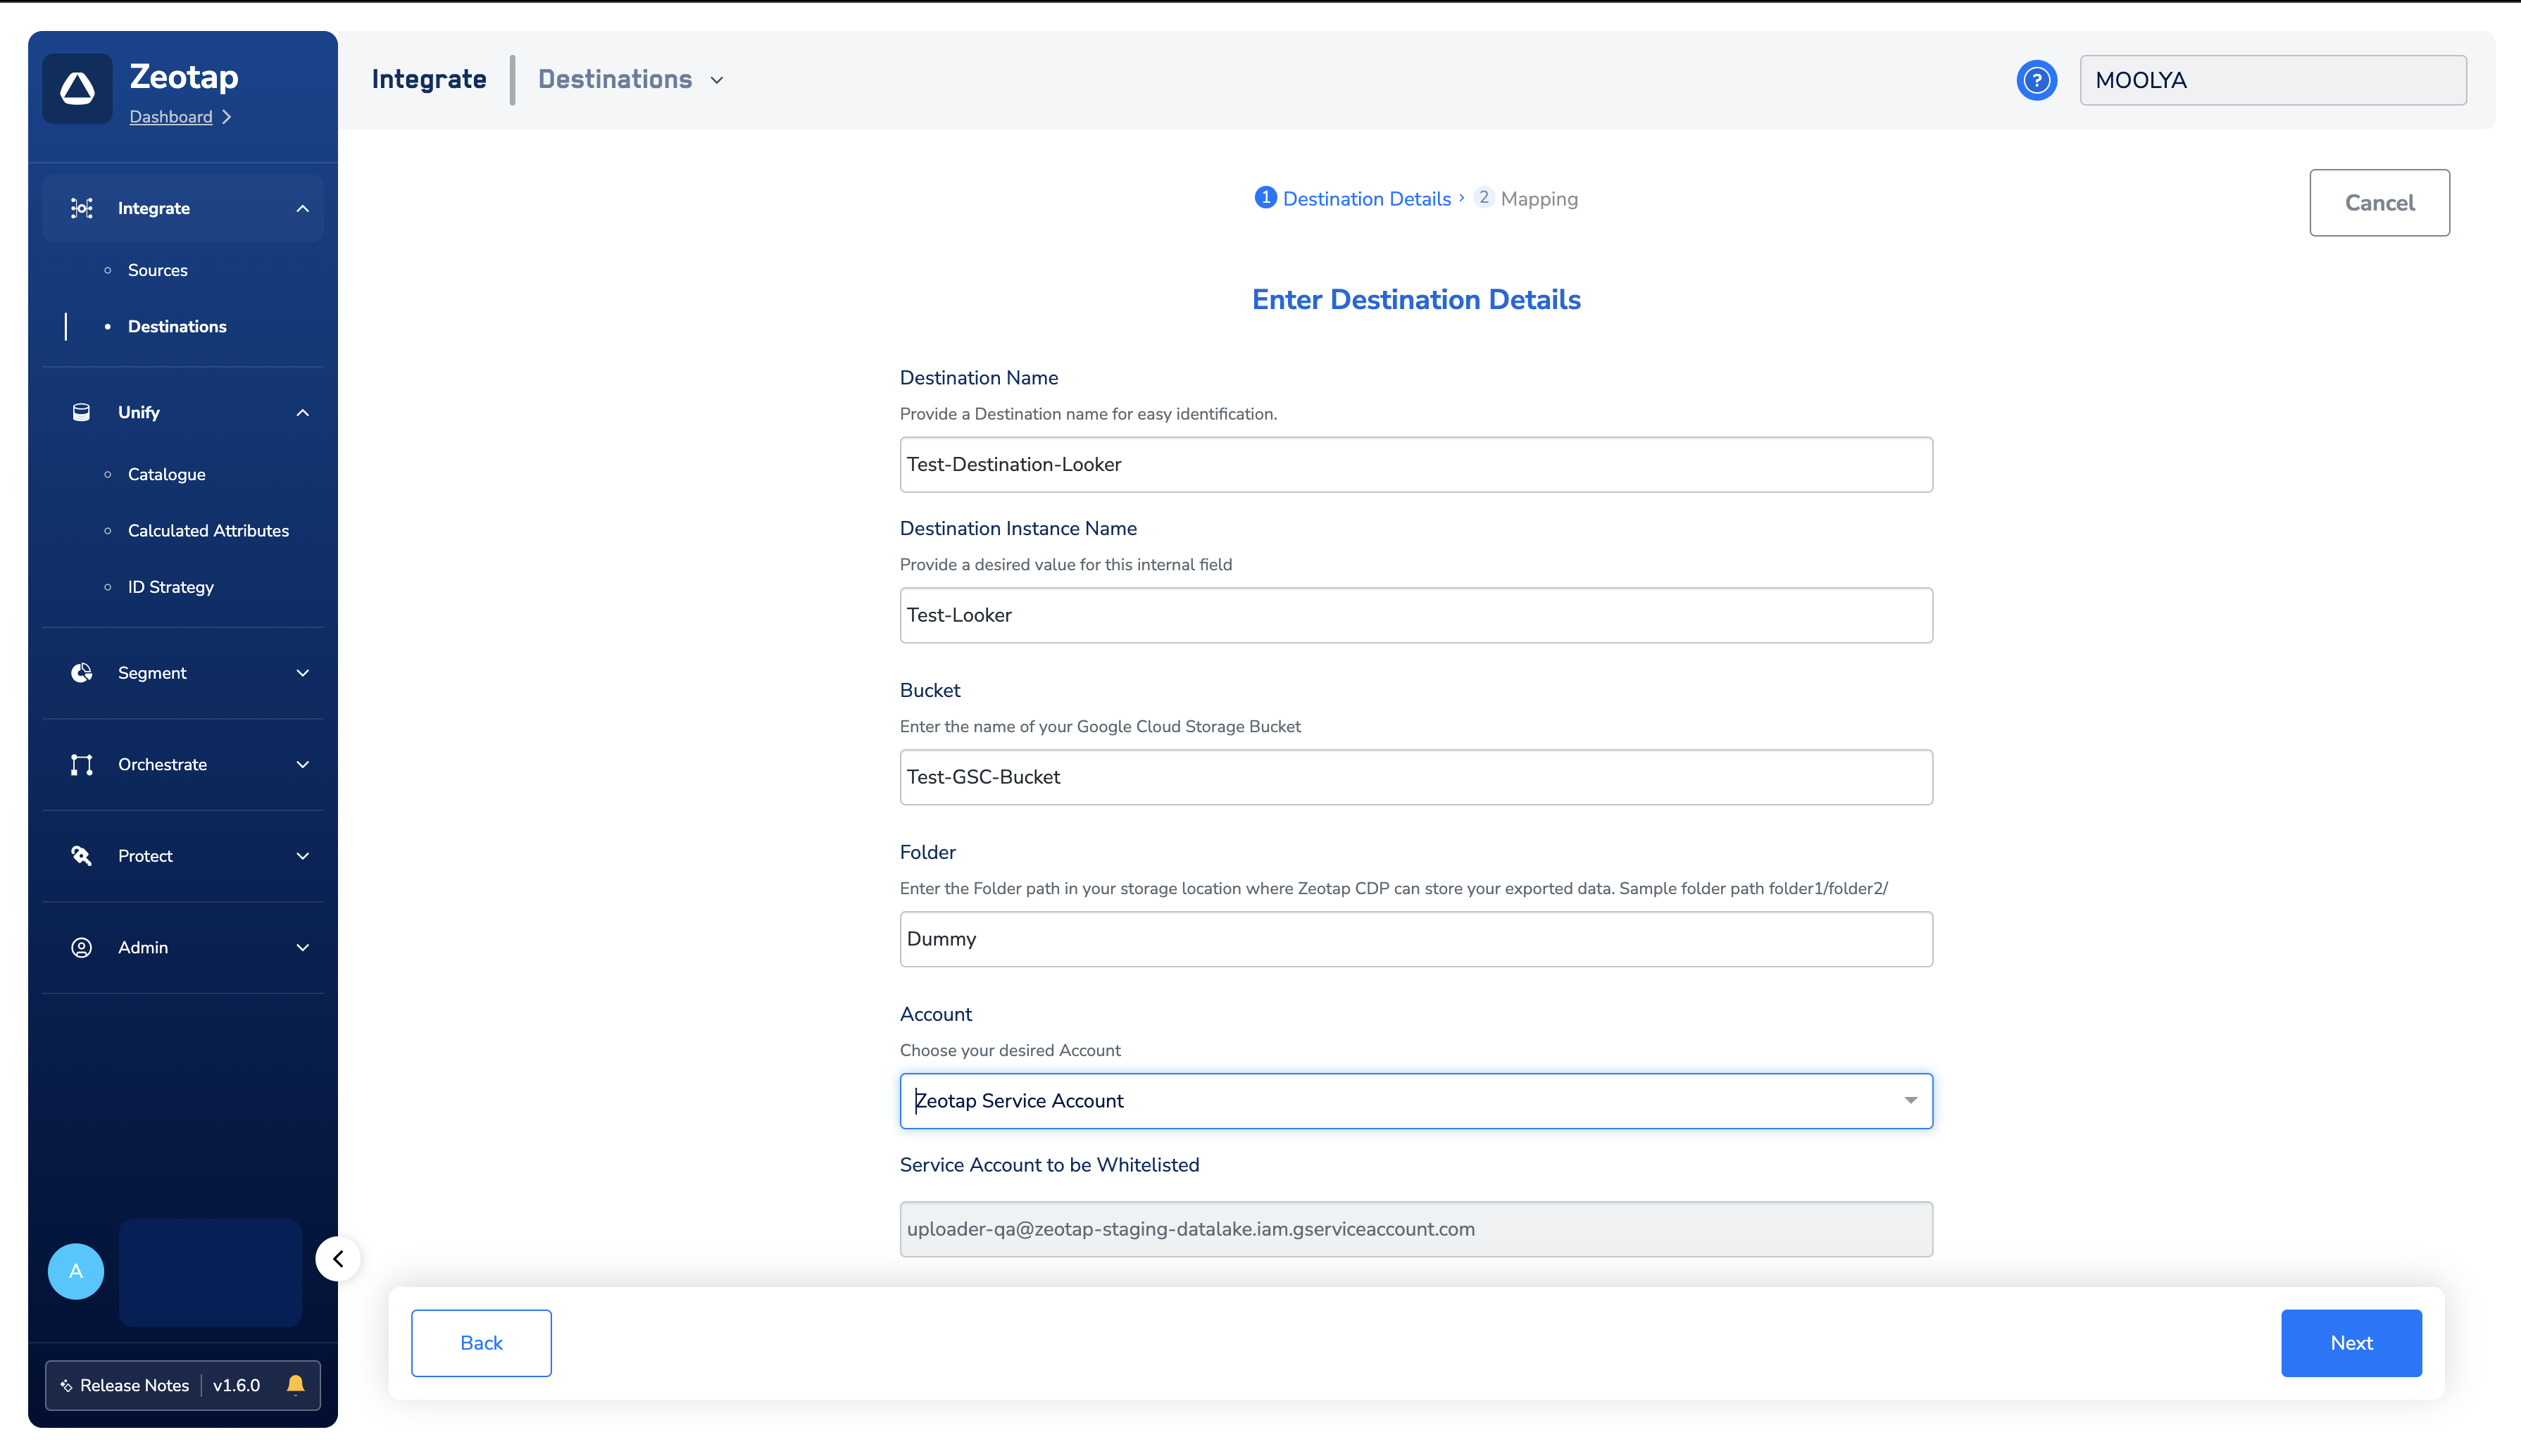
This is the identity Zeotap CDP uses to write into your bucket. You choose it on the destination configuration screen:- Zeotap Service Account — the service account Zeotap provides. Whitelist it on your bucket so Zeotap CDP can push audiences (segments) to Google Cloud Storage.
- Client Service Account Json — a service account you manage. You upload its JSON key during configuration.
Create the Channable GCS Upload destination
1
Log into the Zeotap CDP App and go to the DESTINATIONS application.
2
Click + Create Destination..png?fit=max&auto=format&n=UNwlFBI6l-jpipWP&q=85&s=562fa59a1a1e2b76442fa98f6e6f991e)
3
Under the All Destinations section, search for Channable GCS Upload..png?fit=max&auto=format&n=UNwlFBI6l-jpipWP&q=85&s=653728565c7ed5863548171765d4086f)
4
Click Channable GCS Upload. A screen appears displaying details about the particular destination towards the left. On the right-hand side of the screen find a list of fields that are required for the integration to be established. Provide the required details as mentioned in the following steps:a. Enter a name for the Destination. Choose a name that identifies the bucket and folder it delivers to, so the destination is easy to find when you link an audience.b. In the Destination Instance Name field, provide a value of your choice.c. In the Bucket field, provide the name of the Google Cloud Storage Bucket.d. In the Folder field, provide the folder path in your storage location where Zeotap CDP can store your exported data.e. Under Filename Prefix, enter a text value without special characters, such as underscores (_), spaces, or symbols (
Note:Ensure to follow the below points while providing the folder path:
- The folder path should follow the below structure:
- folder_name/sub_folder_name/.
- The folder name should not start with a /.
- The folder name and sub-folder name should end with a /
#, @, $, %, &, *). The full file name pattern is described in Identify the segment files in your bucket below.5
In the new screen that appears, choose Send data to Channable under Choose your Action, then map the fields under Map the Fields. Map every mandatory field listed in Supported action and mandatory fields above.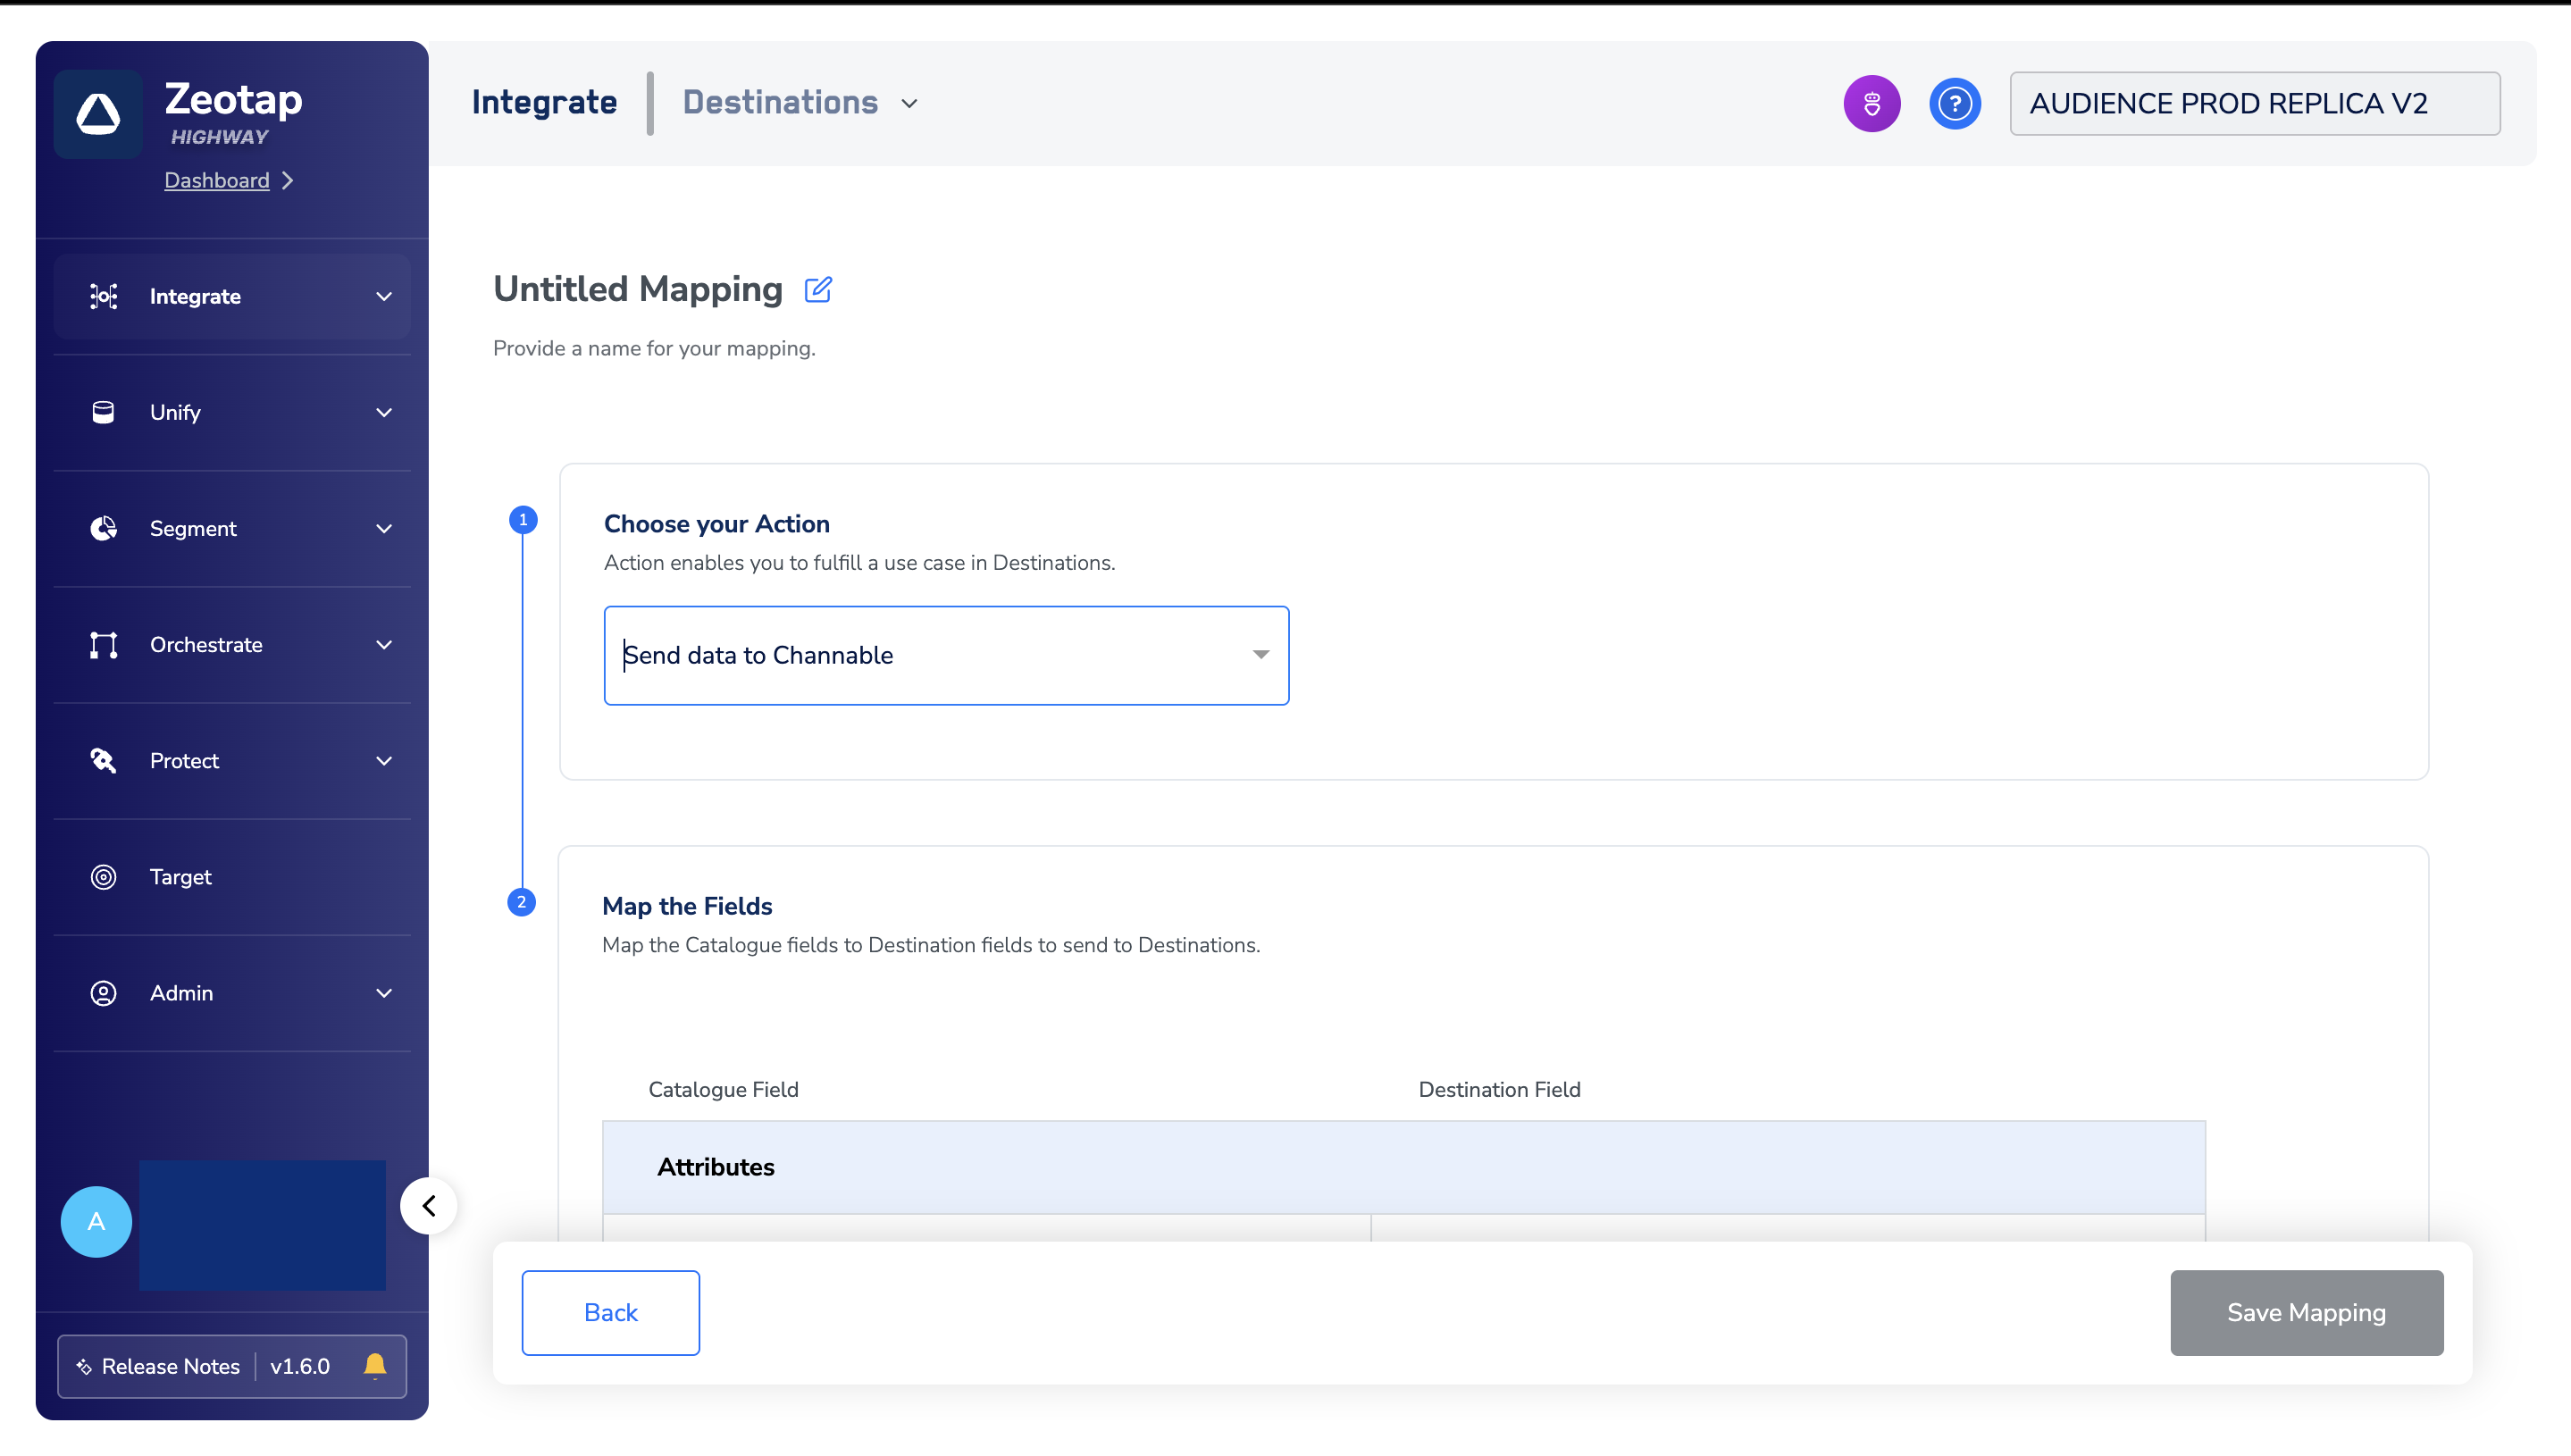
6
After finalising the attributes and identifiers to send, click Create Destination. The created Destination gets listed in the Audiences application, which can be linked to an audience.
Link an audience to the destination
For information about how to link an audience or segment to the created Destination in the Audiences application, see Link an audience to the destination.Identify the segment files in your bucket
Zeotap CDP writes each activation as one or more CSV files into the folder you configured.File name pattern
yyyy-MM-dd format, and destinationAudienceId is the ID associated with your audience (segment) in Zeotap CDP, which is generated by Zeotap CDP after the audience (segment) is linked to a Destination.
Example file name:
Multipart uploads
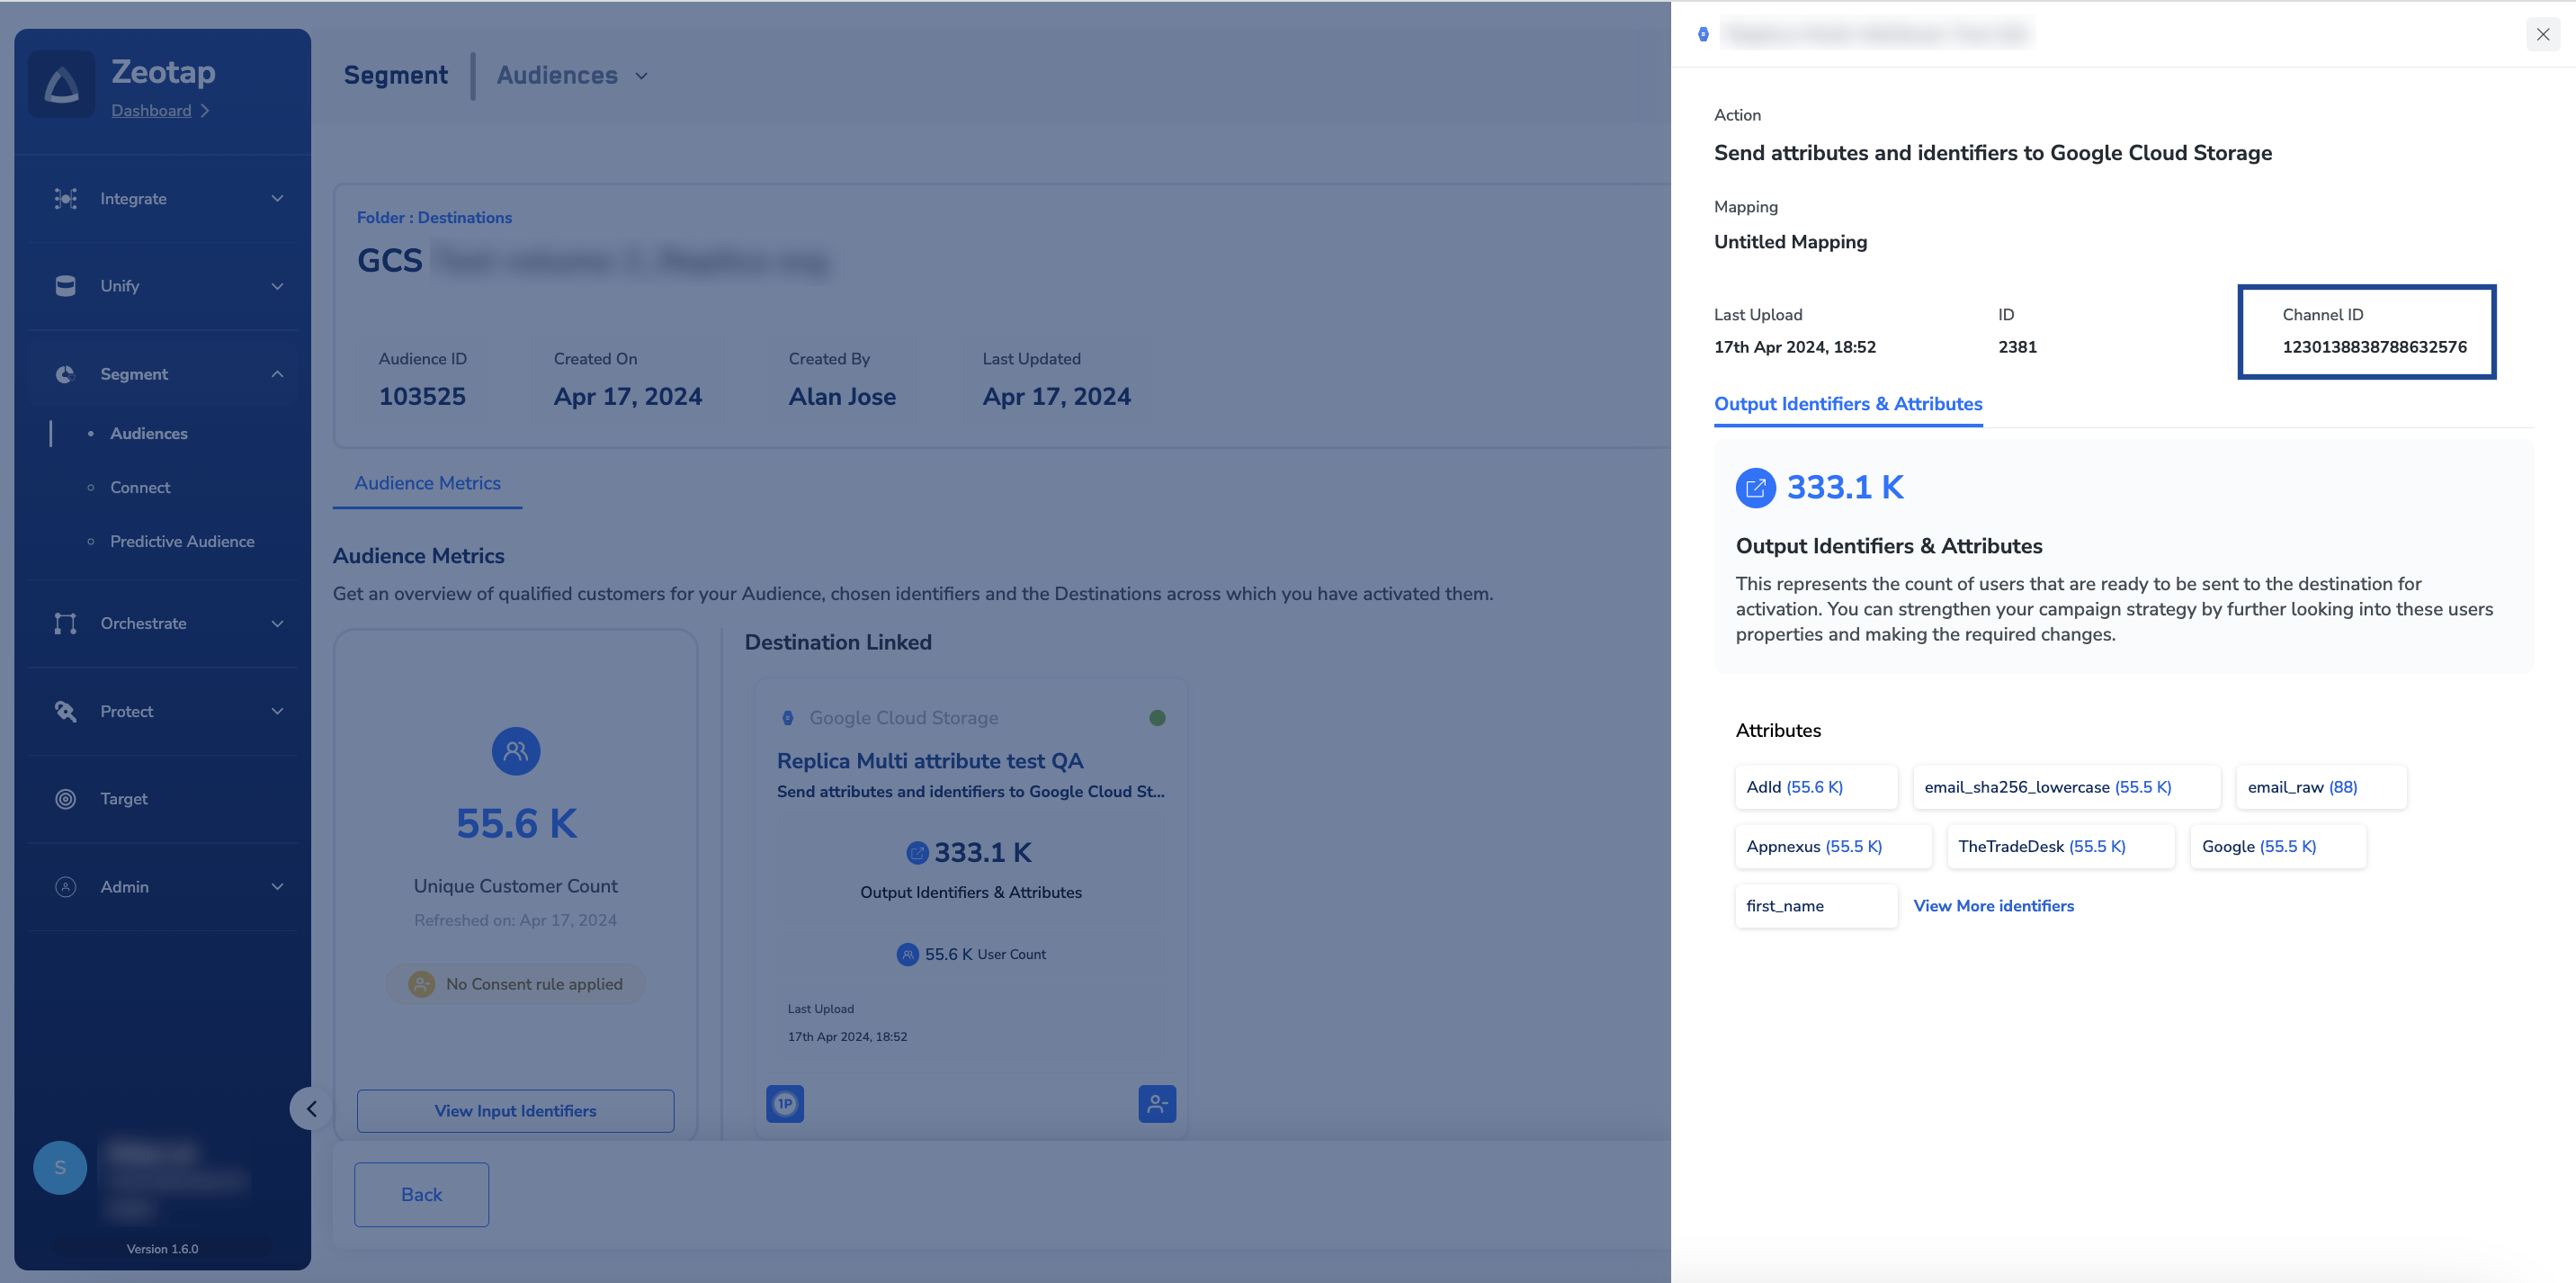
Multipart uploads allow you to upload large files in multiple parts or chunks rather than uploading the entire file in one go. In that case the file name follows this convention:partNumberrefers to the part of the multipart upload in Google Cloud Storage. Part 0 refers to the first part.channelIdis the ID associated with your audience (segment) in Zeotap CDP. This is generated by Zeotap CDP after the audience (segment) is linked to a Destination. You can obtain this information as shown in the image below.${timestamp}is the timestamp in epoch format.
12345678, a filename prefix testprefix, and a file number 98765, uploaded as the first part of a multipart upload at epoch milliseconds 1625138600:
Import the CSV file into Channable
Once the files are in your bucket, set up the import on the Channable side.1
Prepare your CSV file — make sure your product data is in CSV format and stored in your GCS bucket.
2
Log in to Channable — access your Channable account and navigate to your project.
3
Create a new import — go to Feeds or Imports (depending on your account setup) and select Google Cloud Storage as the source.
4
Authorise access — provide Channable with the permissions it needs to read your GCS bucket. This usually involves entering your project and bucket details or generating a service account key.
5
Specify the file path — enter the path to your CSV file in the GCS bucket, for example:
6
Configure import options — review and configure options such as delimiter, encoding, and field mapping to ensure your data is imported correctly.
7
Test the connection — run a test import to confirm that Channable can access and read your CSV file.
8
Start importing — once everything is set up, you can schedule imports or run them manually to keep your Channable instance updated with the latest data.
Verify the audience reached Channable
Confirm the delivery at each of the three hops:- In Zeotap CDP — open the linked audience–destination pair and check that the latest run completed with a non-zero qualified count. For what a successful run records and what a failed one shows, see Verify the activation worked.
- In your Google Cloud Storage bucket — open the folder path you configured on the destination and confirm that CSV files for the audience are present, named according to the patterns above.
- In Channable — run the test import described above and confirm that Channable reads the file and that the imported rows carry the fields you mapped.
Troubleshoot the Channable GCS Upload destination
For delivery errors that are not specific to this destination — no customers qualified, a terminated refresh, a rejected payload — see Why deliveries fail and When to contact support.