

What this is
SFTP is a protocol for transferring files securely between a client and a server. An SFTP destination in Zeotap CDP writes each linked audience to a folder on your SFTP server as one or more CSV or JSON files, so your downstream systems can pick the files up and use them for targeting, suppression, or enrichment. Because the transfer is file-based, this destination is designed for batch audience delivery, not real-time event streaming — event data cannot be sent through it.Prerequisites
Before you start, gather the following from your IT team. Each value maps directly to a field on the destination form.
- SFTP Host — the server address (IP or domain) where the SFTP service runs.
- SFTP Port — the port the SFTP service listens on.
- SFTP Username — the account name for the SFTP session.
- Authentication credential — either the account Password or, for key-based authentication, permission to add Zeotap’s SSH public key to the account. Zeotap uses SSH-2.
- Folder — the absolute path Zeotap will write to (for example
/home/user/data/). Relative paths such as../data/are rejected. - Destination Instance Name — an internal label you will assign to this destination.
- PGP public key (optional) — required only if you enable PGP encryption on the payload. For background, see PGP encryption in destinations.
Configure the SFTP destination
Follow these steps in the Zeotap CDP app. Every input on the form maps to a value from Prerequisites.1
Sign in to the Zeotap CDP app and open the DESTINATIONS application.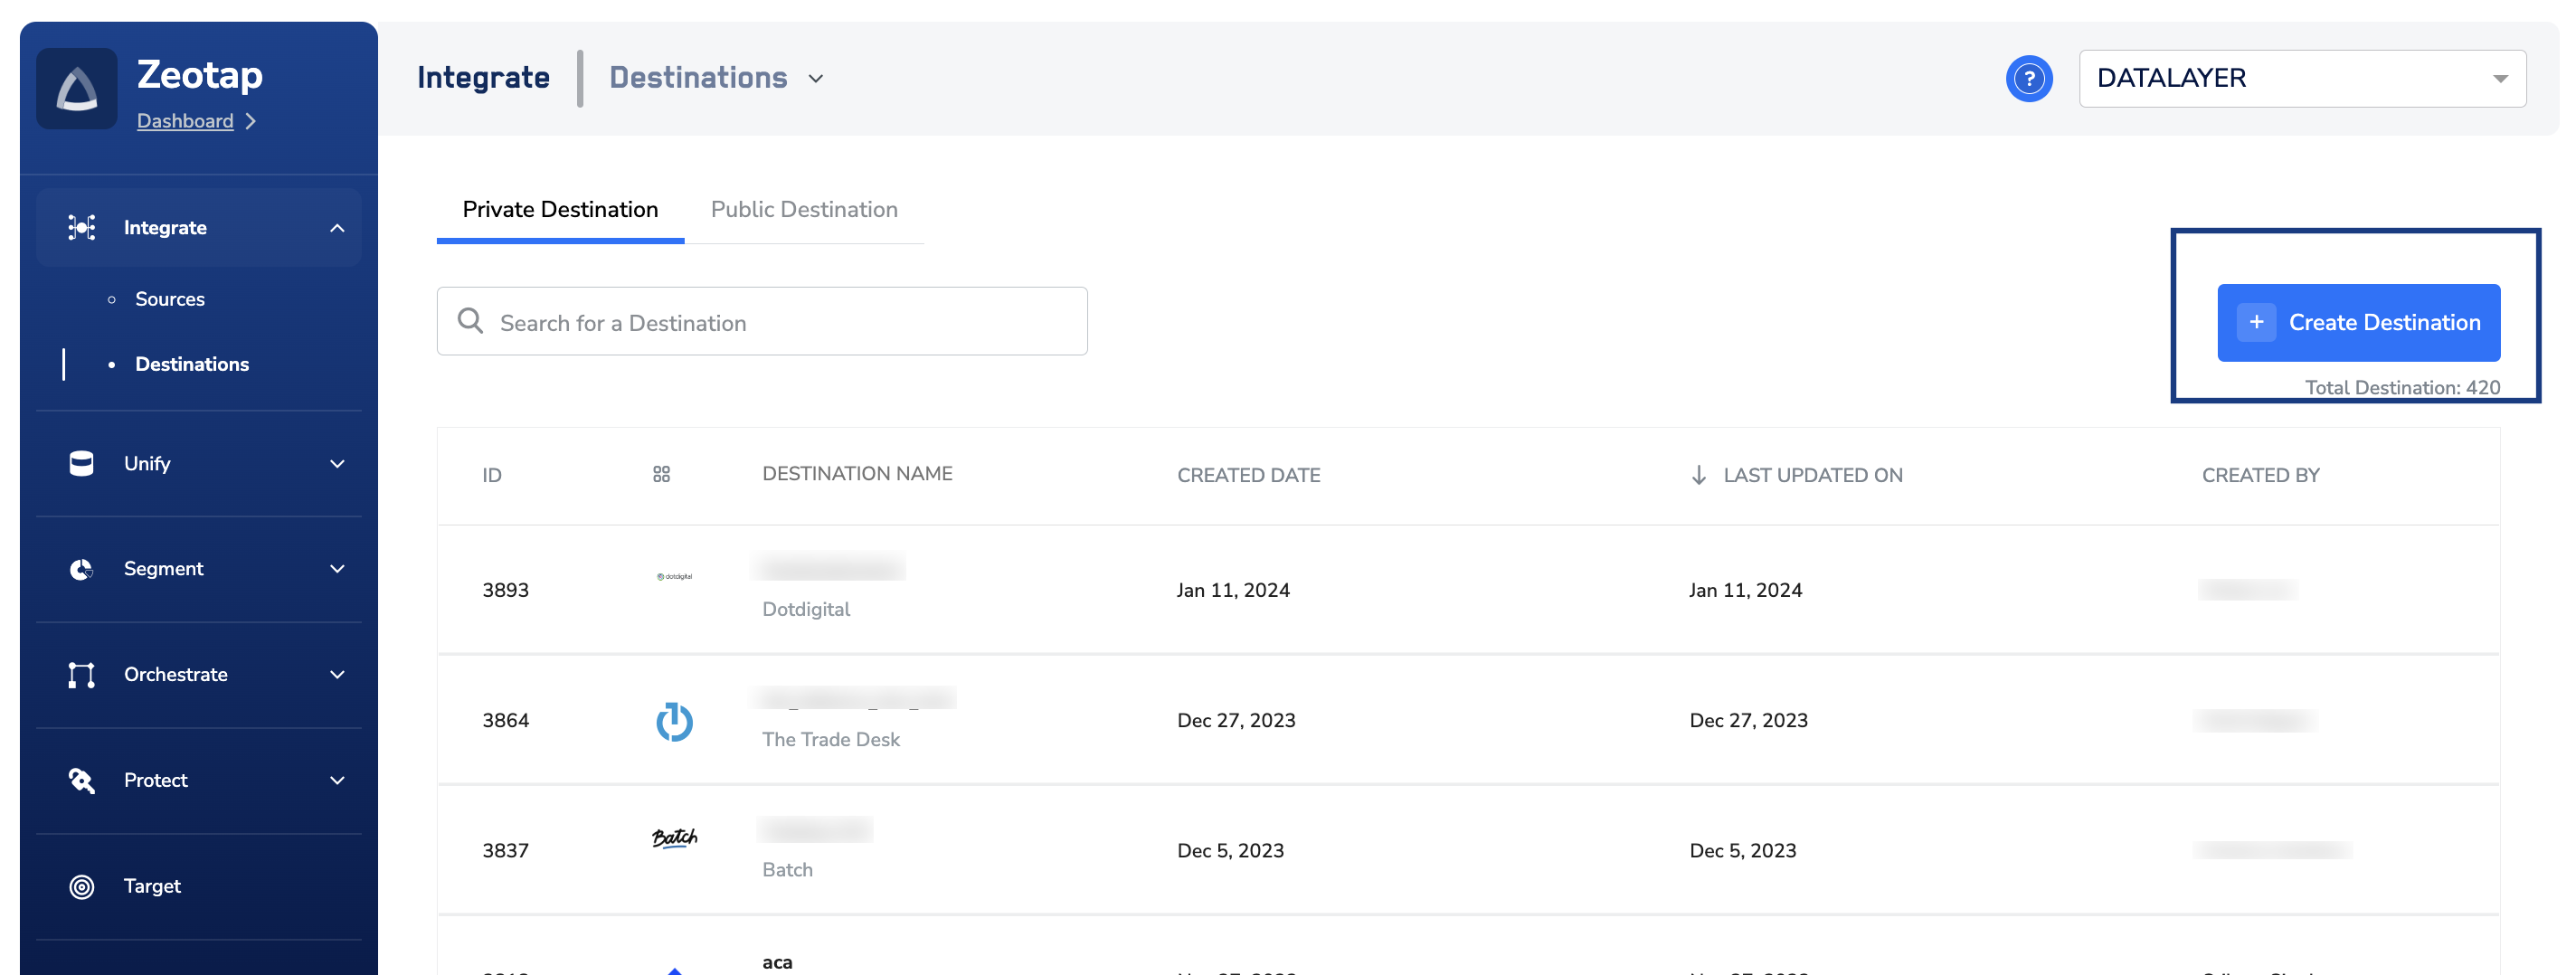
2
Click + Create Destination, then under All Destinations search for and select SFTP.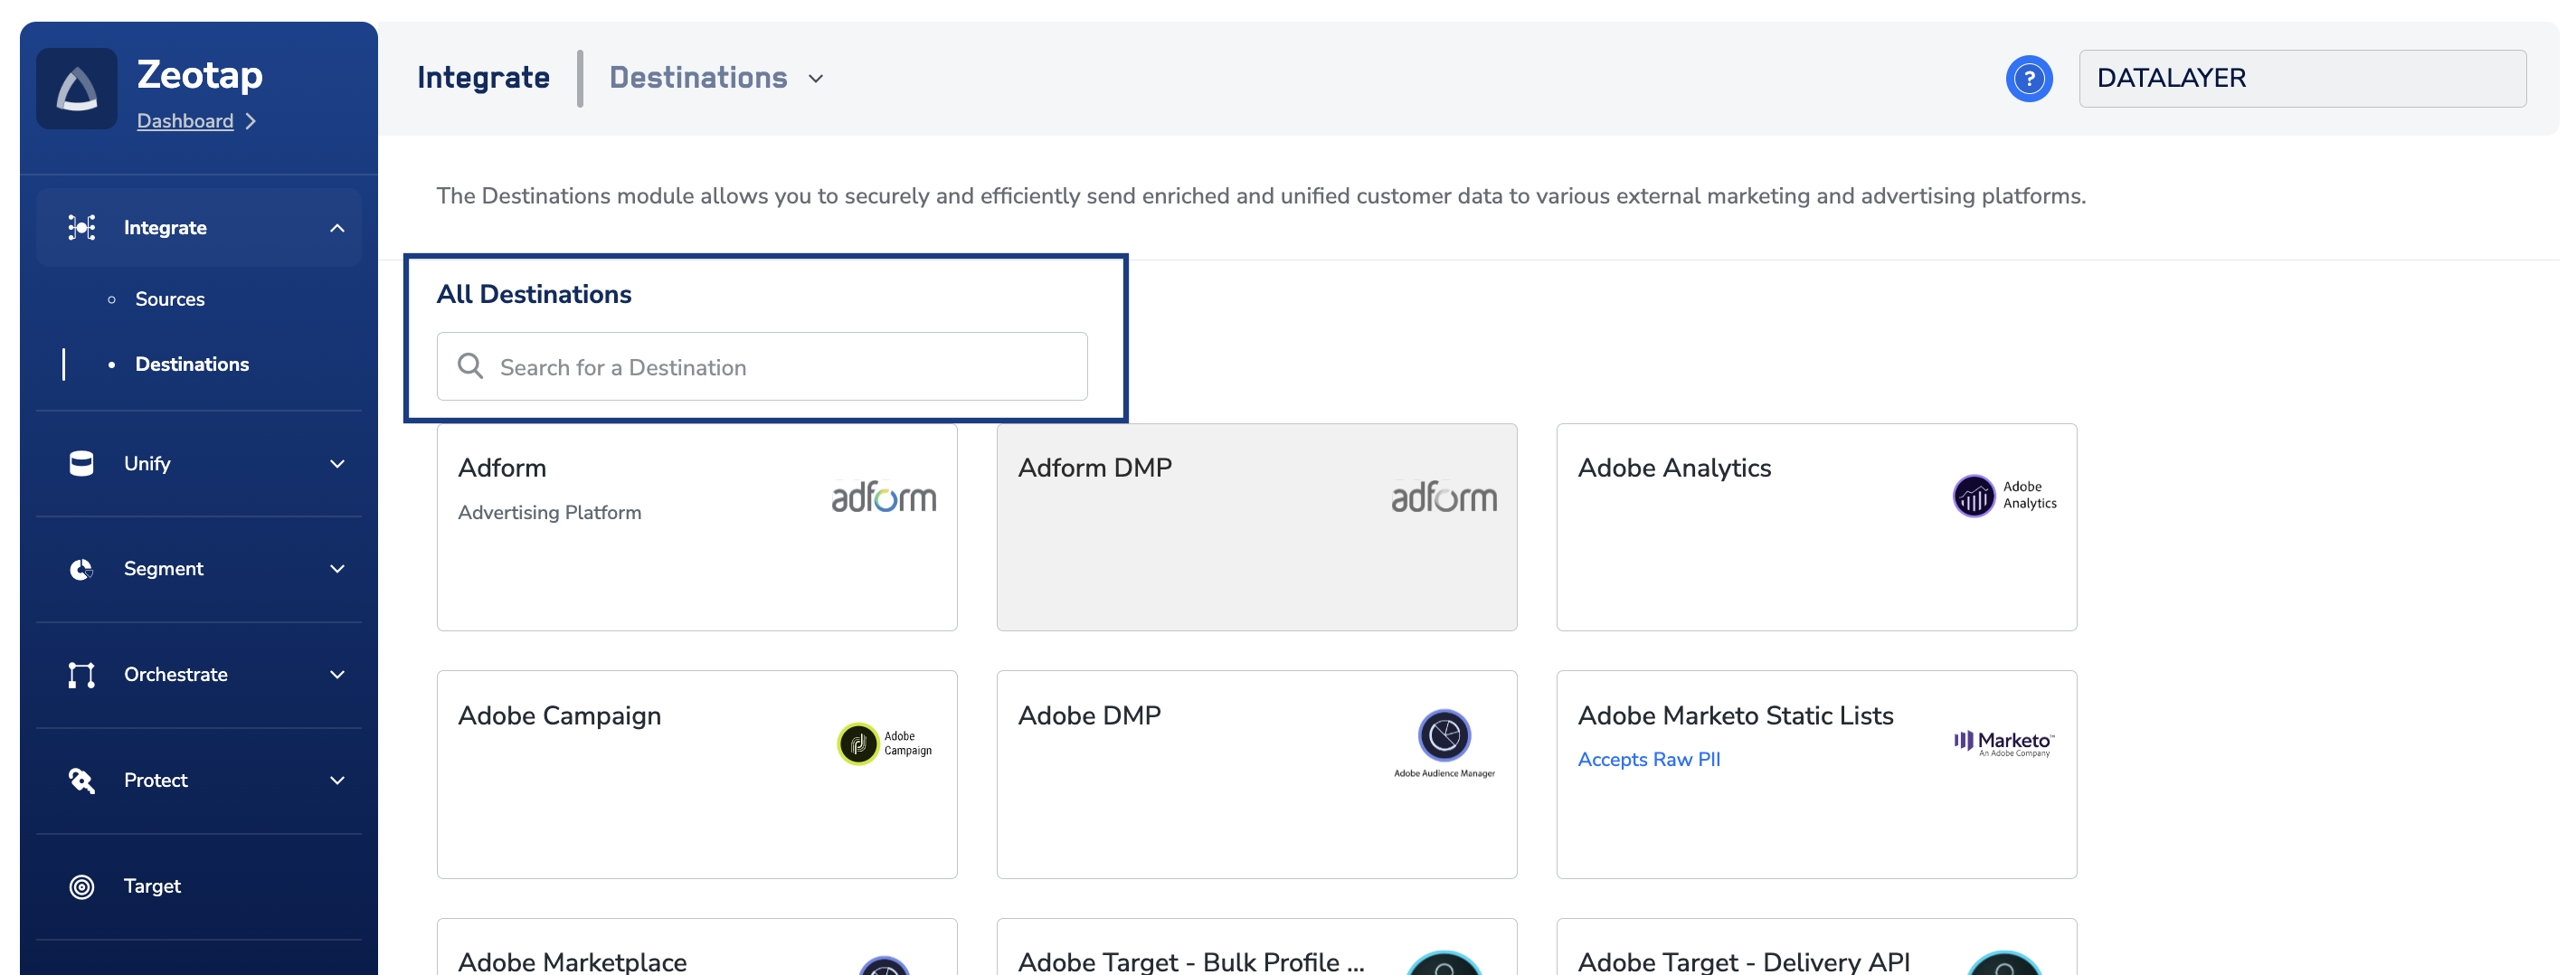
3
On the destination detail screen, enter the connection details on the right-hand panel:
- Enter a name for the destination.
- Fill in SFTP Port, Destination Instance Name, SFTP Host, and SFTP Username with the values from your IT team.
- In Folder, enter the absolute path Zeotap should write to (for example
/home/user/data/). - In Filename Prefix, enter a plain text value. Underscores (
_), spaces, and the symbols#,@,$,%,&, and*are not permitted.
Example filenames:
4
Under Authentication, choose one option: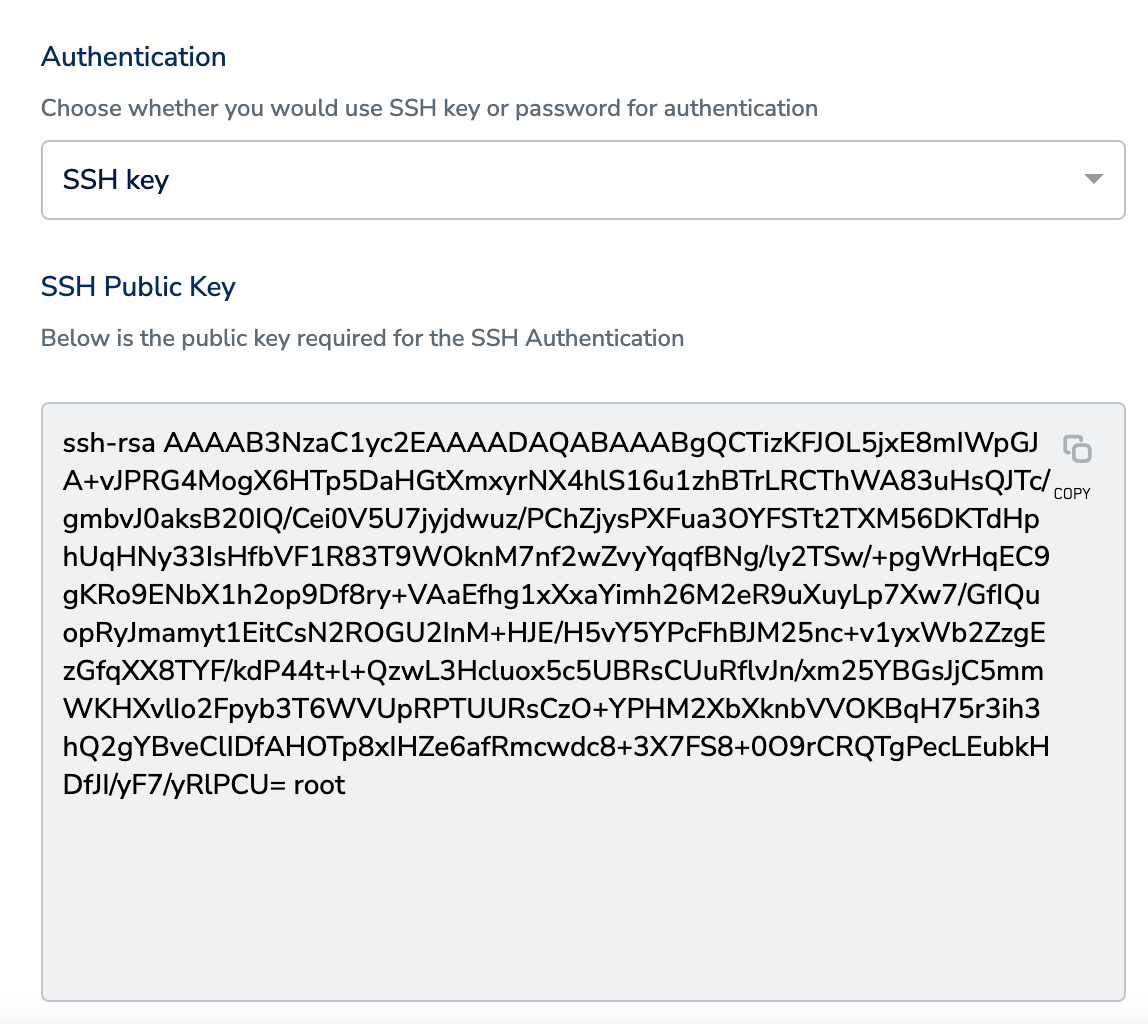
- SSH Key — Zeotap displays an SSH public key. Copy it and add it to the authorized keys for your SFTP account. Zeotap uses SSH-2.
- Password — Enter the password supplied by your IT team.
5
Under Send Encrypted Data, decide whether to encrypt the outgoing files with PGP. If you select Yes, upload the PGP Public Key on the same panel.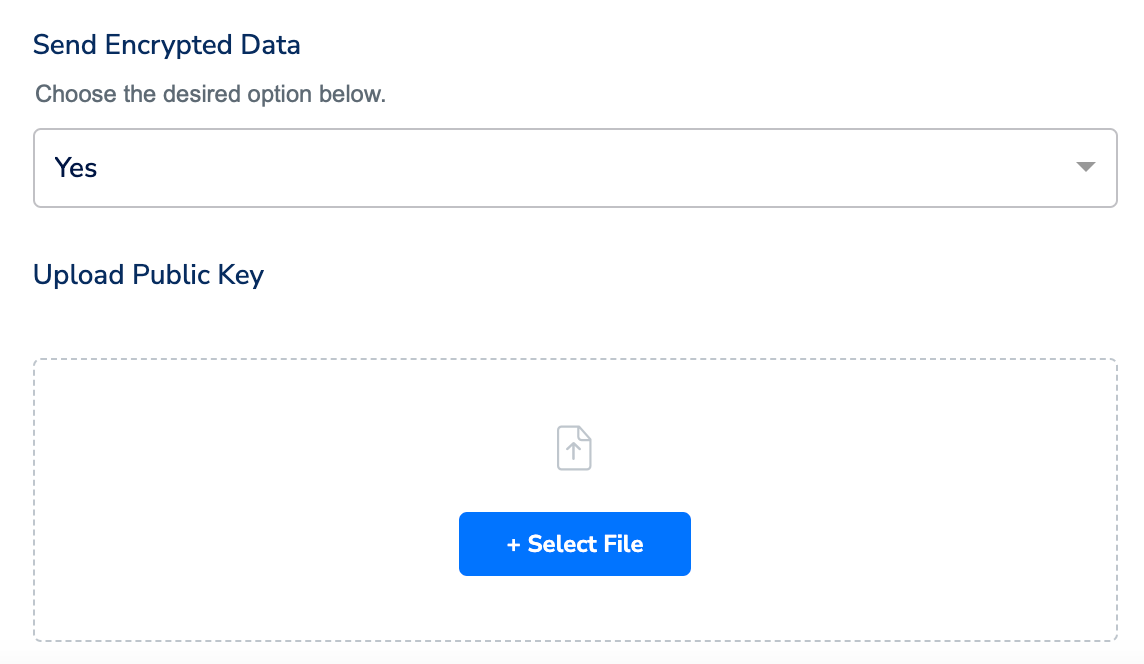
6
On the Actions and Mapping screen, choose one action:
- Send CSV file to SFTP
- Send JSON file to SFTP
7
Click Create Destination. The destination is added to the list in the Audiences application and can be linked to an audience.
Link an audience to the destination
Once the destination exists, link an audience to it from the Audiences application. See Link an audience to the destination for the full flow.The terms Audiences and Segments refer to the same customer cohorts in Zeotap CDP — a group of customers who share a set of attributes or behaviours (for example, customers over 18 years of age who performed an
addToCart event within the last 30 days).Verify the delivery
After you link an audience and the first refresh runs, confirm the file arrived on your SFTP server:- Sign in to your SFTP server and open the folder you configured in the destination.
- Look for a file whose name starts with your Filename Prefix and ends in
.csvor.json, containing the${destinationAudienceId}assigned to the linked audience. - Open the file. The header row (CSV) or first record (JSON) contains the fields you mapped under Map the Fields.
- If PGP encryption is enabled, decrypt the file with your private key before opening it — the file extension is unchanged.
Troubleshoot common issues
Use this table to map the condition you observe to the field to correct. Every row here is validated at setup or at file-generation time, before support involvement.
If the file never appears in your folder after a linked audience has been refreshed, and none of the rows above match, contact Zeotap support. Include in your request:
- The destination name and the linked audience name
- The Folder path configured on the destination
- The SFTP Host, SFTP Port, and SFTP Username on the destination (do not include the password or private key)
- The
${destinationAudienceId}shown on the linked audience - The expected timestamp of the last refresh in your time zone
FAQ
Can I send event data through the SFTP destination?
Can I send event data through the SFTP destination?
No. This destination transfers audience data only. Event data must go through a destination that accepts event streams.
Which SSH version does Zeotap use for key-based authentication?
Which SSH version does Zeotap use for key-based authentication?
Zeotap uses SSH-2. Your SFTP server must accept an SSH-2 public key.
Why does my CSV column contain a JSON blob instead of separate columns?
Why does my CSV column contain a JSON blob instead of separate columns?
The Send CSV file to SFTP action does not flatten nested objects — a nested field is written as one column whose value is the raw JSON. To get flat columns, switch to Send JSON file to SFTP, or flatten the object in your Catalogue before mapping.
What format is the timestamp in the filename?
What format is the timestamp in the filename?
The
${timestamp} component uses the yyyyMMdd-hhmmssSSS format (for example 20250113-113649855).