

What this is
Acxiom is a global data and marketing technology company that primarily focuses on providing data solutions and insights to help businesses understand and engage their customers more effectively. The company is best known for its capabilities in customer data analytics, data-driven marketing, and identity resolution. The Acxiom integration with Zeotap allows the customer to push the audiences from Zeotap to the S3 bucket provided by Acxiom. It is a batch integration for audiences: you configure the destination once against a bucket and folder, then reuse it for every audience you link to it. Each delivery writes CSV files into that folder.Supported identifiers and actions
This integration supports MAIDs (Raw), Email addresses (SHA 256), Phone numbers, TTD, ID5 and External ID. Each identifier has its own action on the Actions and Mapping screen. Choose the action that matches the identifier you want to deliver:Prerequisites
Before you create an Acxiom Destination in Zeotap CDP, ensure that you obtain the following S3 bucket details from Acxiom:
- Bucket
- Folder
- Access Token
- Secret Access Token
- S3 Bucket Region
- Data Format
Where each detail appears in Amazon S3
The screenshots below show where each of these values appears in the Amazon S3 console.Bucket
This is the name of your S3 bucket. You can obtain this information on your Amazon S3 account by navigating to Buckets. The bucket name is shown in the breadcrumb and as the heading of the bucket’s own page, as highlighted below.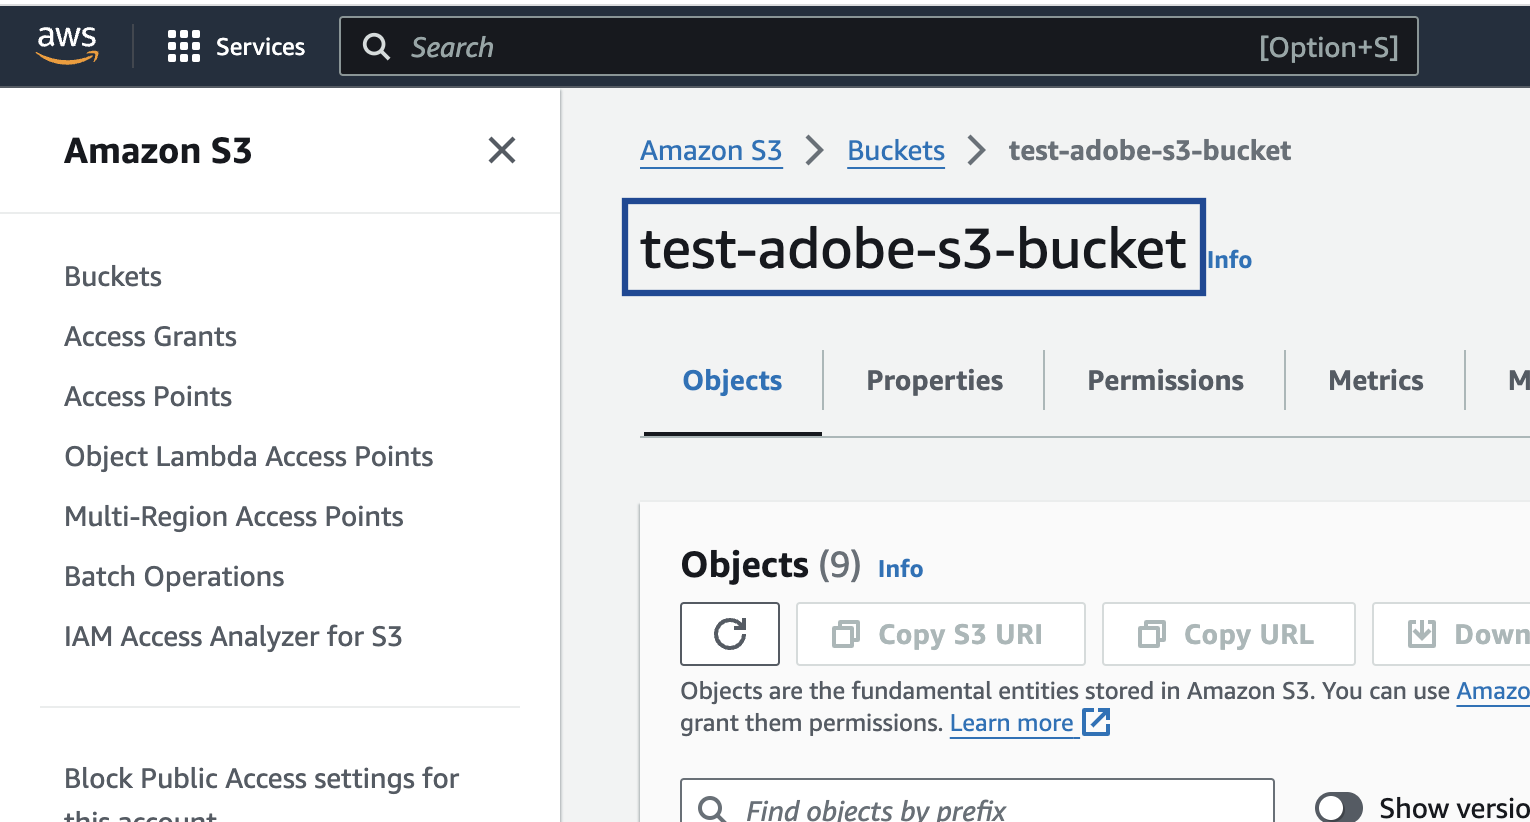
Folder
In Amazon S3, a folder serves as a logical container for organising stored objects within a bucket. In reality, there are no actual folders in Amazon S3. Instead, the folder concept is emulated by employing object key names containing slashes (”/”) to replicate a hierarchical arrangement. You can obtain this information from your Amazon S3 account by navigating to the Objects tab under the Amazon S3 bucket as shown in the image below.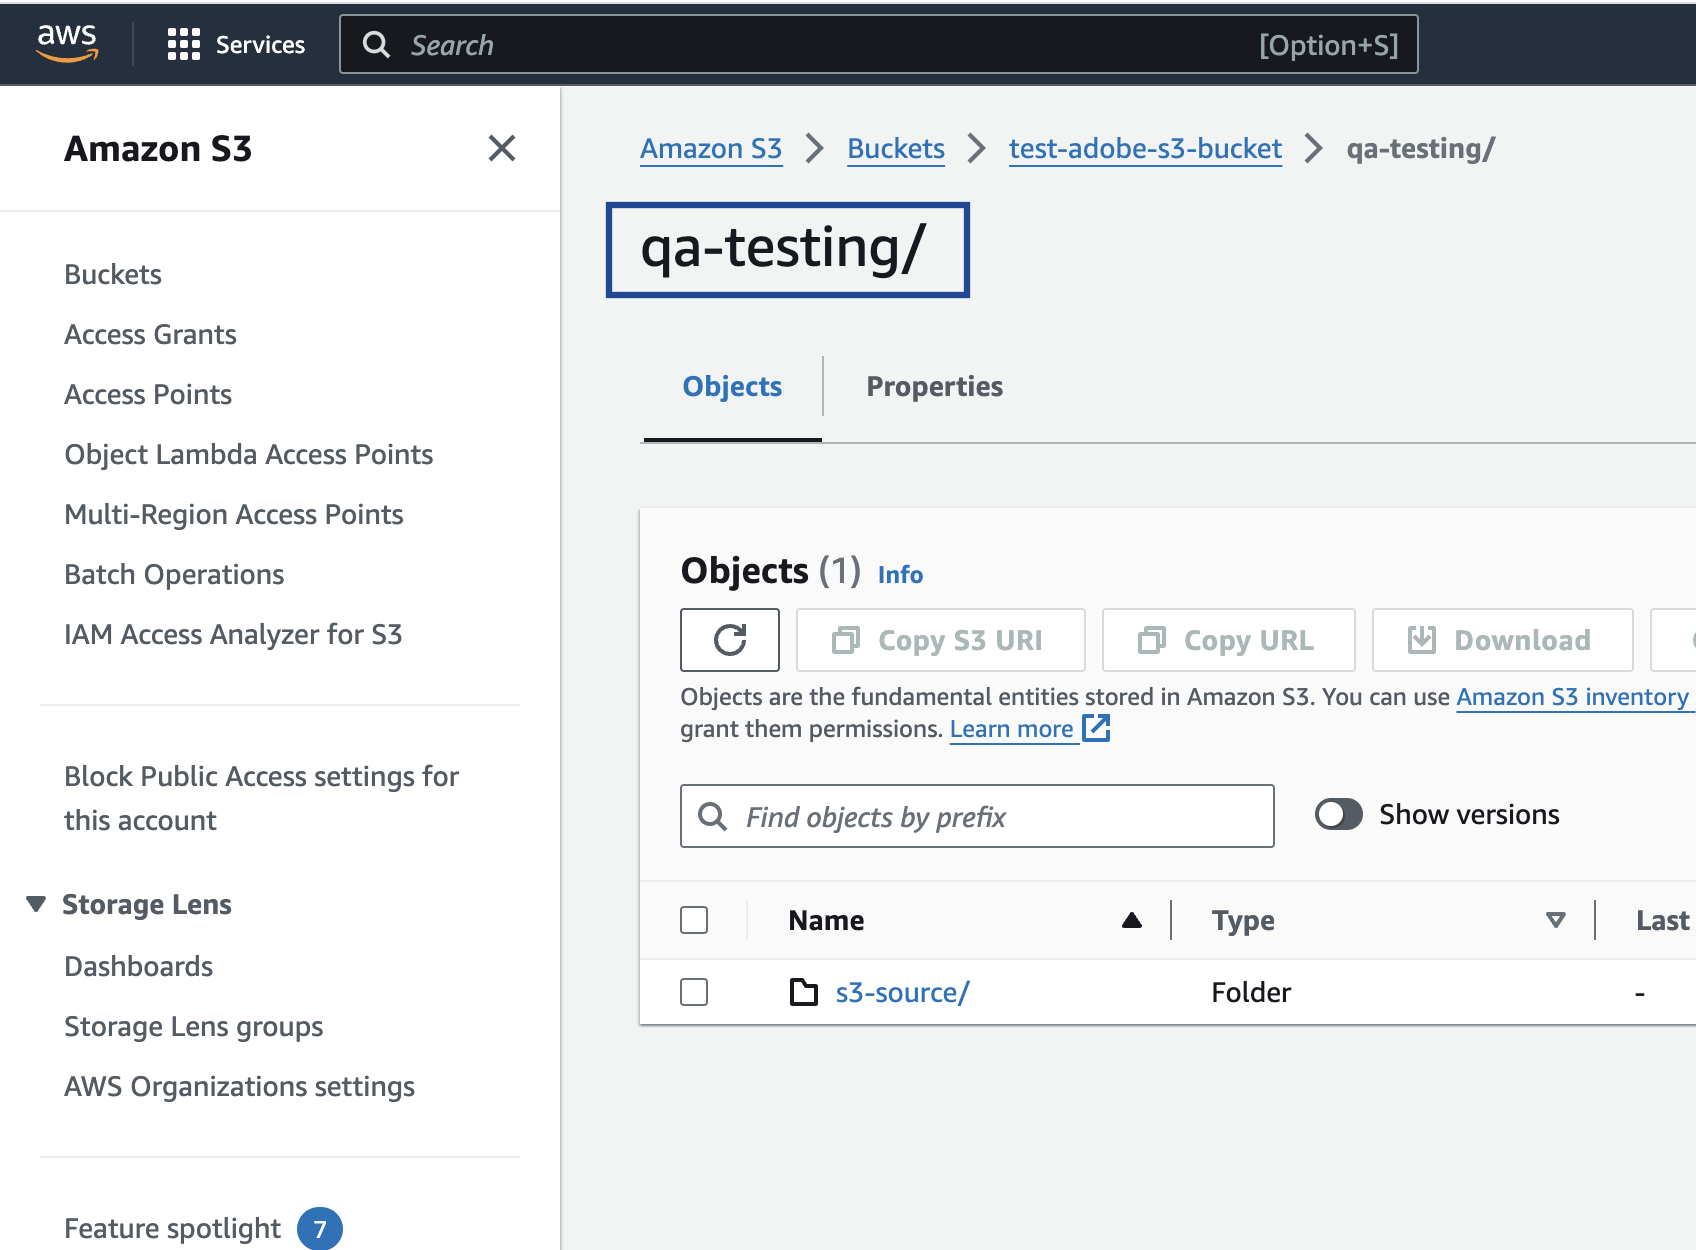
folder_name/sub_folder_name/
Access Token and Secret Access Token
These are the security tokens that provide secure access to your Amazon S3 resources. You can obtain the Access Token and Secret Access Token by navigating to the AWS IAM Credentials tab under Security credentials in your Amazon S3 account.S3 Bucket Region
This is the geographical location where the Amazon S3 storage is available. You can obtain this information by navigating to the Properties tab under the Amazon S3 bucket as shown in the image below.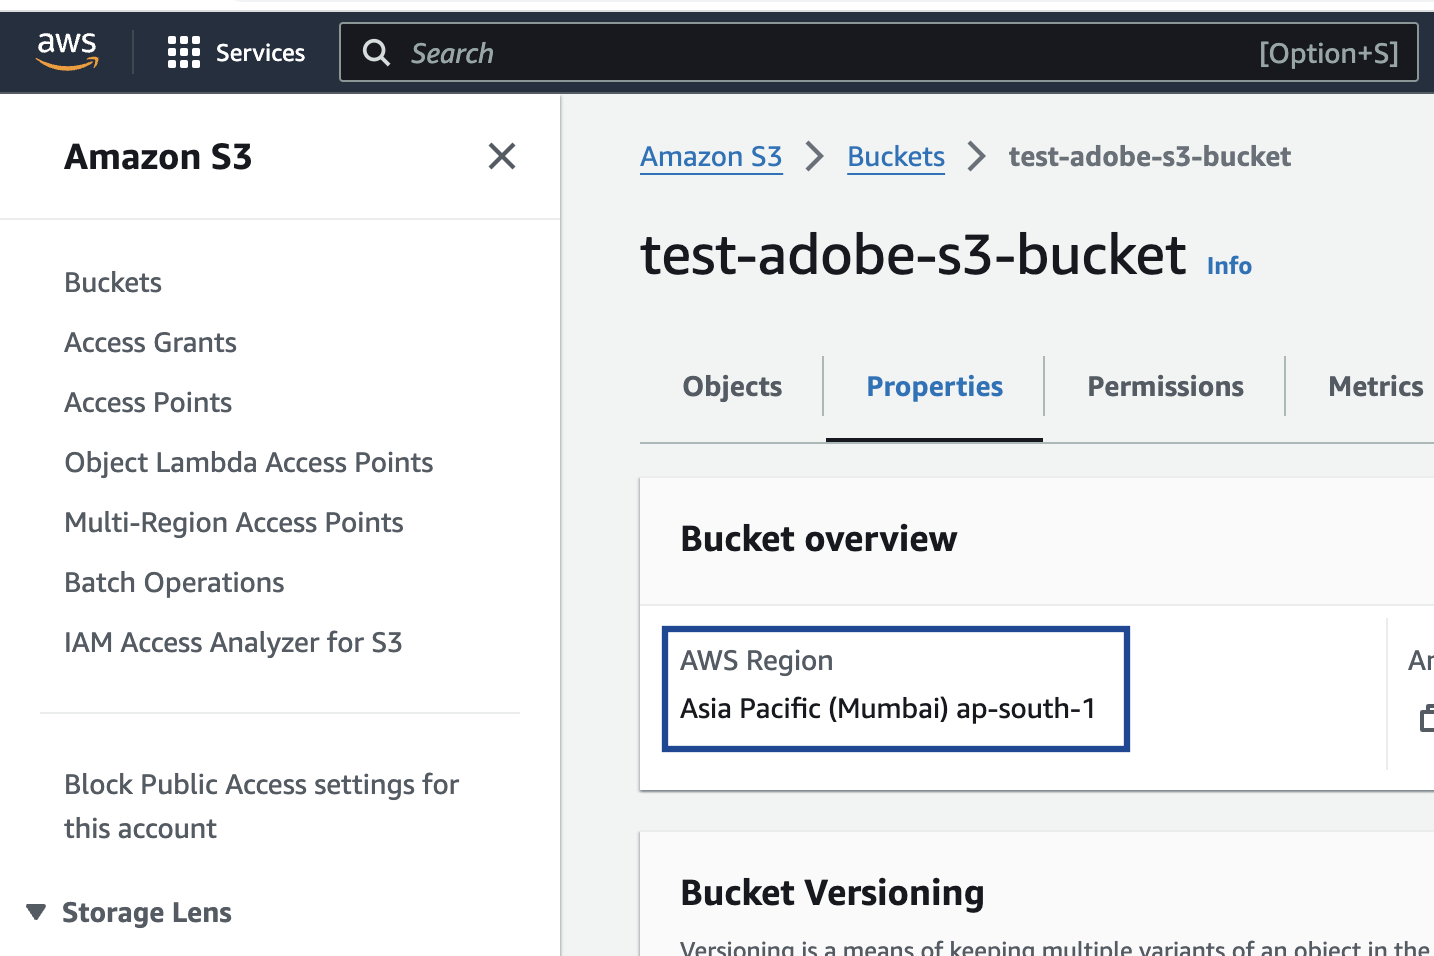
Data format
- Phone number format — full international format without ”+”. For example, 9876453123.
- Enrichers needs to be applied based on the format in which the data is ingested. Please contact your Zeotap POC before using the Send Phone Number to Acxiom action. For what enrichers do on the mapping screen, see Enrichers in Destination Mapping.
- File name — delivered files follow this pattern:
/{{ org_id }}/{{ identifier used }}/{{segment_id}}_{{ segment_name }}_{{ timestamp_of_update }}_{{ part }}.csv
Create the Acxiom destination
Perform the following steps to create a Destination for Acxiom:1
Log into the Zeotap CDP App and go to the DESTINATIONS application.
2
Click + Create Destination.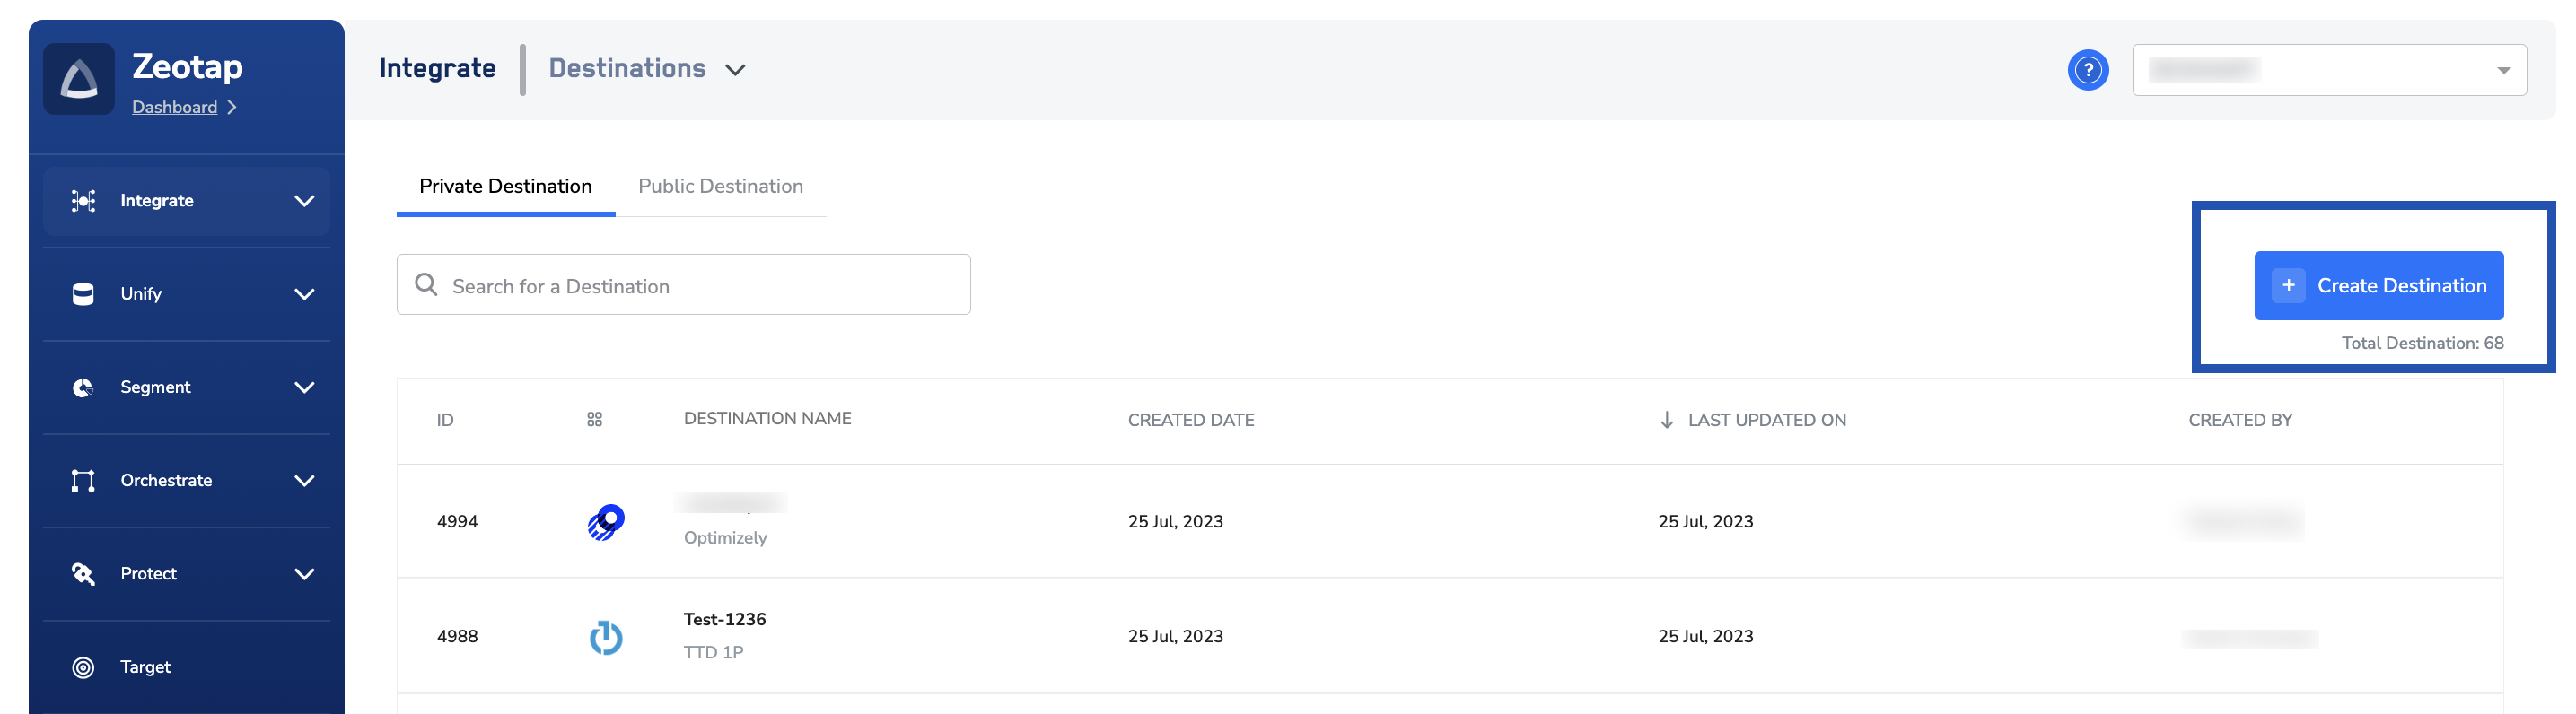
3
Under the All Destinations section, search for Acxiom.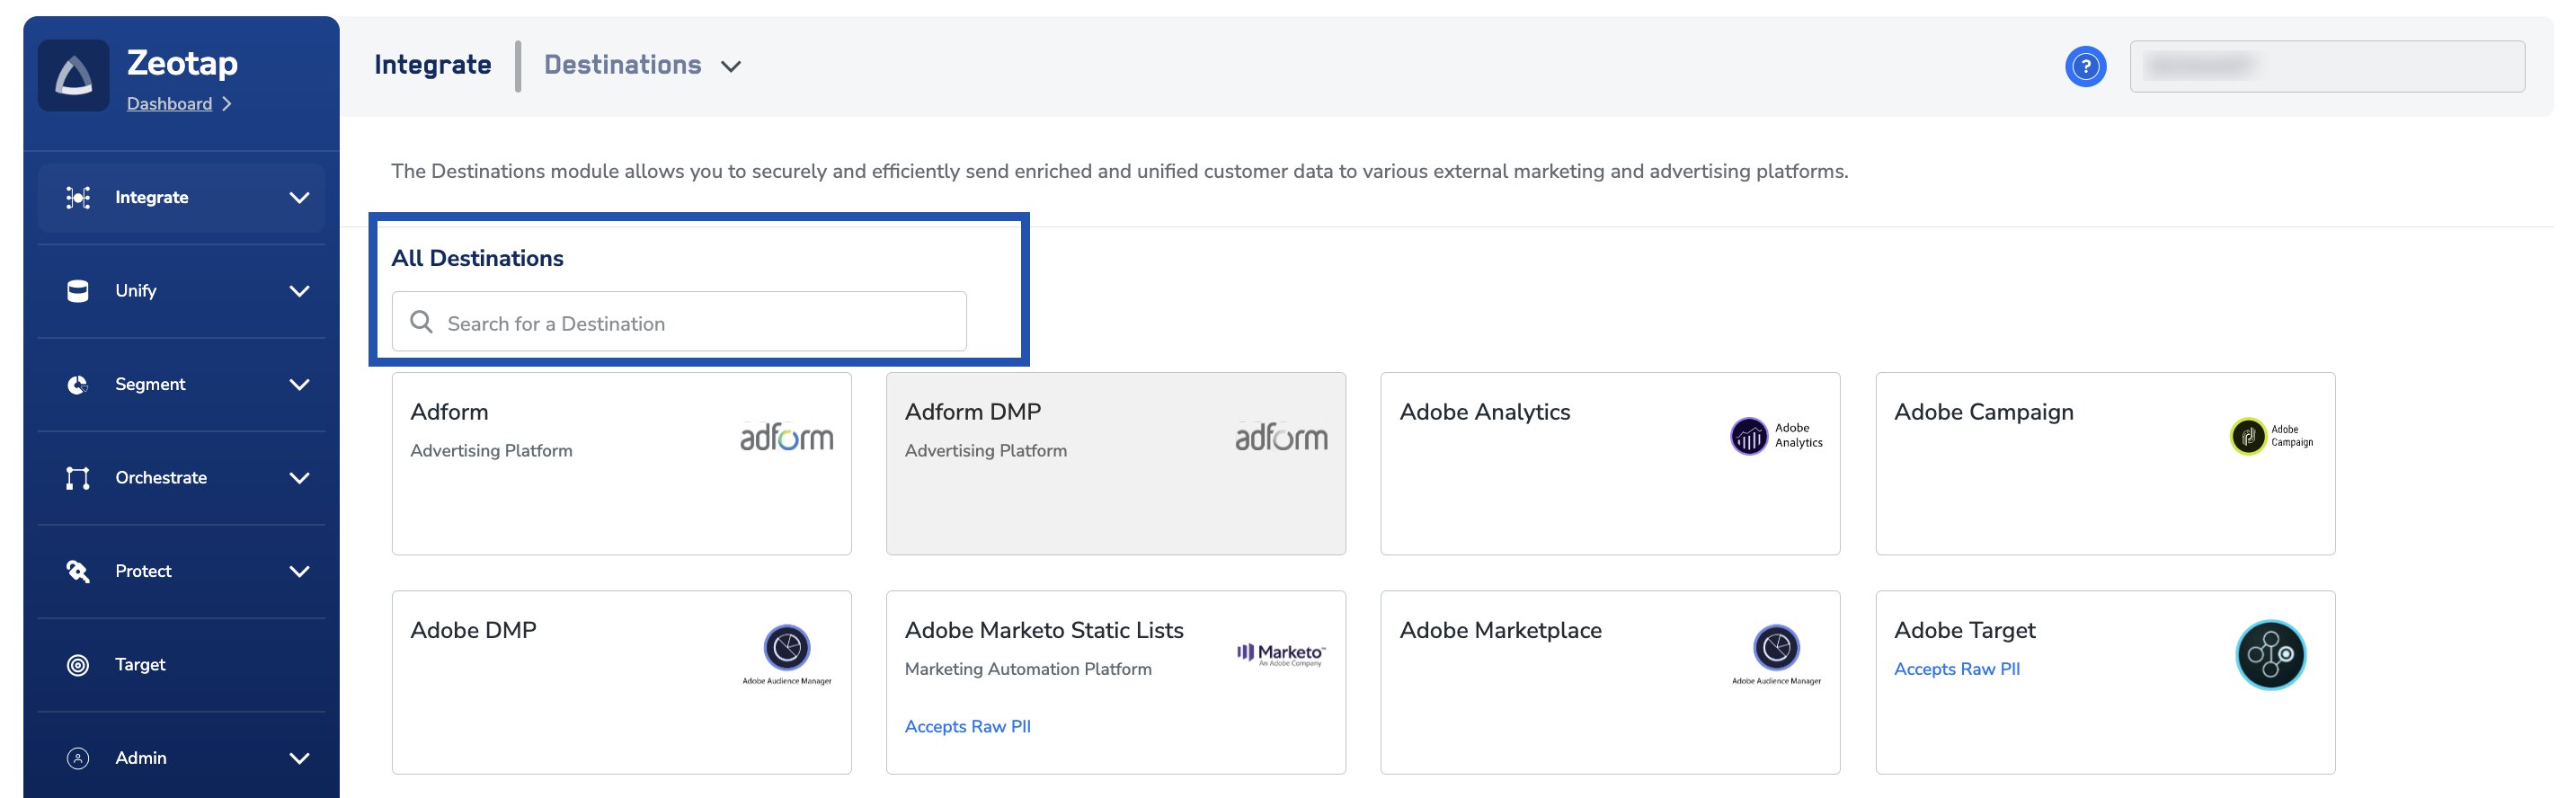
4
Click Acxiom. A screen appears displaying details about the particular destination towards the left. On the right-hand side of the screen find a list of fields that are required for the integration to be established. Provide the required details as mentioned in the following steps:a. Enter a name for the Destination. Choose a name that identifies the Acxiom bucket it delivers to, so the destination is easy to find when you link an audience.b. In the Bucket field, provide the name of the Amazon S3 Bucket.c. In the Folder field, provide the folder path in your storage location where Zeotap CDP can store your exported data.d. Enter Access Token and Secret Access Token that you obtained from your Amazon S3 account.e. In the S3 Bucket Region field, provide the geographical region where your Amazon S3 bucket is available.f. Review all the values entered above and then click Next to proceed.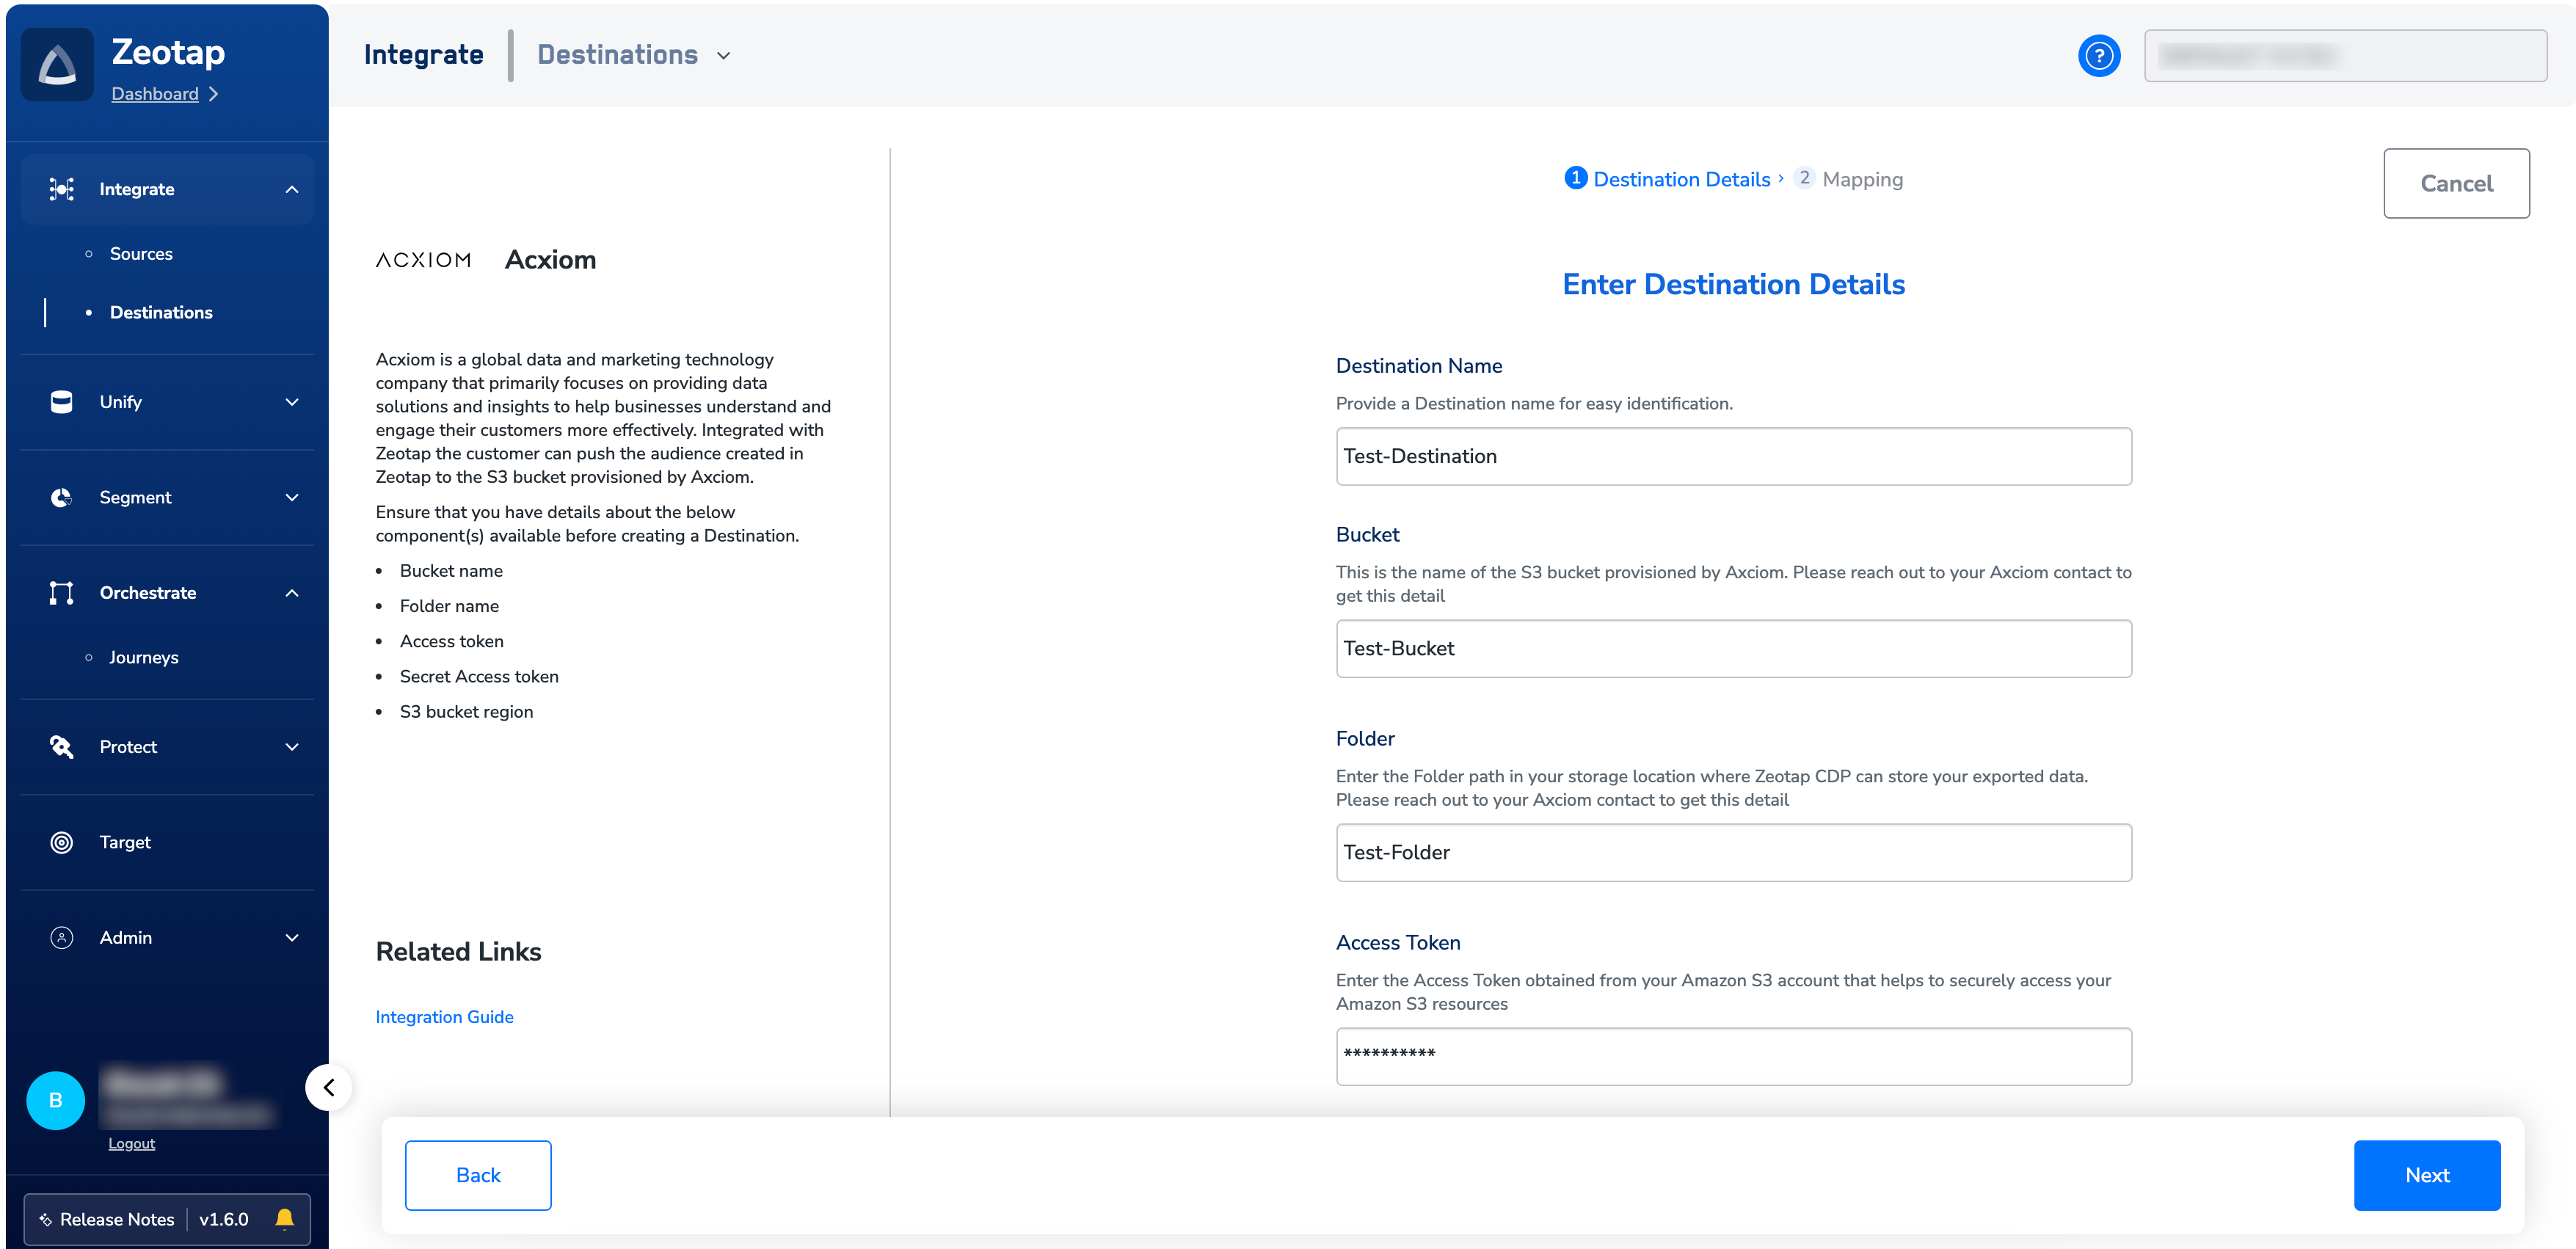
5
In the Actions and Mapping screen that appears, choose the action for the identifier you want to deliver — see Supported identifiers and actions above.
6
Based on the actions you choose, map the catalogue fields to the corresponding destinations fields. Ensure that you map the mandatory fields, otherwise destination will fail. For how mapping works across destinations, see Define the mapping.
7
Click Create Destination. The created Destination gets listed in the Audiences application, which can be linked to an audience.
Link an audience to the destination
For information about how to link an Audience or segment to the created Destination in Audiences application, refer to Link an audience to the destination.Note:The terms Audiences and Segments are used interchangeably to refer to customer cohorts belonging to a specific category. For example, an Audience or a segment could be a specific group of customers who are over 18 years of age and who have performed an
addToCart event within the last 30 days.Verify the audience reached Acxiom
Confirm delivery from both sides:- In Zeotap CDP — open the linked audience–destination pair and check that the latest run completed with a non-zero qualified count. For what a successful run records and what a failed one shows, see Verify the activation worked.
- In the S3 bucket — if you have read access to the bucket, open the folder path you configured on the destination and confirm the CSV files for the audience are present, named according to the file name pattern above.
Troubleshoot the Acxiom destination
For delivery errors that are not specific to Acxiom — no customers qualified, a terminated refresh, a rejected payload — see Why deliveries fail and When to contact support.