

What this is
Adobe Analytics is a destination: data flows one way, out of Zeotap CDP and into Adobe Analytics. Nothing comes back into Zeotap CDP through this connector. You create the destination once in the Destinations module, then link an audience to it, and each refresh of that audience delivers the mapped identifiers to Adobe Analytics. Adobe Analytics is a web and mobile analytics provider that enables organisations to gather data and gain actionable insights from any digital customer interaction. With in-depth analysis, versatile reporting and predictive intelligence, organisations get the insightful foundation they need to build better experiences for their customers. For data flowing the other way — Adobe-side tags collecting web events and user identities into Zeotap CDP — see Adobe Experience Platform Tag Extension. Other Adobe destinations have their own pages: Adobe Campaign and Adobe Target.Supported identifiers and actions
This integration supports Analytics Cookies. On the mapping step you choose the action. Select Send identifiers to Adobe Analytics, which supports ID extension. By default, the mapping is pre-populated with the output identifiers that the platform accepts, such as MAIDs, cookies and email IDs. You can edit, add or remove an identifier from that list — see Define the mapping.Prerequisites
- An audience defined in Zeotap CDP, built on a source that is connected and mapped to the Catalogue. For the full upstream checklist, see Destinations.
- A role that grants destination edit rights on the organisation that owns the destination.
- The three Adobe Analytics details described below: Report Suite ID, Name Space and Marketing Cloud Org ID. Gather these before you start, because the create-destination form asks for all three on its first screen.
Gather the details from Adobe Analytics
Report Suite ID
A report suite is a silo of data that Adobe Analytics uses to pull reports. An organisation can have many report suites, each containing different data sets. To find a Report Suite ID in Adobe Analytics:1
Log into the Adobe Experience Platform and navigate to Adobe Analytics. Note that Adobe Experience Platform allows you to ingest Adobe Analytics data through the Analytics source connector.
2
In the Adobe Analytics screen, from the top bar, click Admin > All admin.
3
Under Data configuration & collection, click Report suites. Here you can find a list of report suites, including their ID and title.
Name Space
In Adobe Analytics, a namespace is a logical container that holds all the properties, segments, events and other components related to a specific website or application. For more information about namespaces in Adobe Analytics, refer to Adobe’s documentation.Marketing Cloud Org ID
The Marketing Cloud Org ID is the ID associated with your provisioned Experience Cloud company. This ID is a 24-character alphanumeric string, followed by (and must include)@AdobeOrg. You can view your organization ID, along with other account information, using the keyboard shortcut Ctrl+i from any page at https://experience.adobe.com.
For more information about how to fetch the Marketing Cloud Org ID, refer to Adobe’s documentation.
Create the Adobe Analytics destination
1
Log in to the Zeotap CDP App and go to Destinations under Integrate.
2
Click + Create Destination.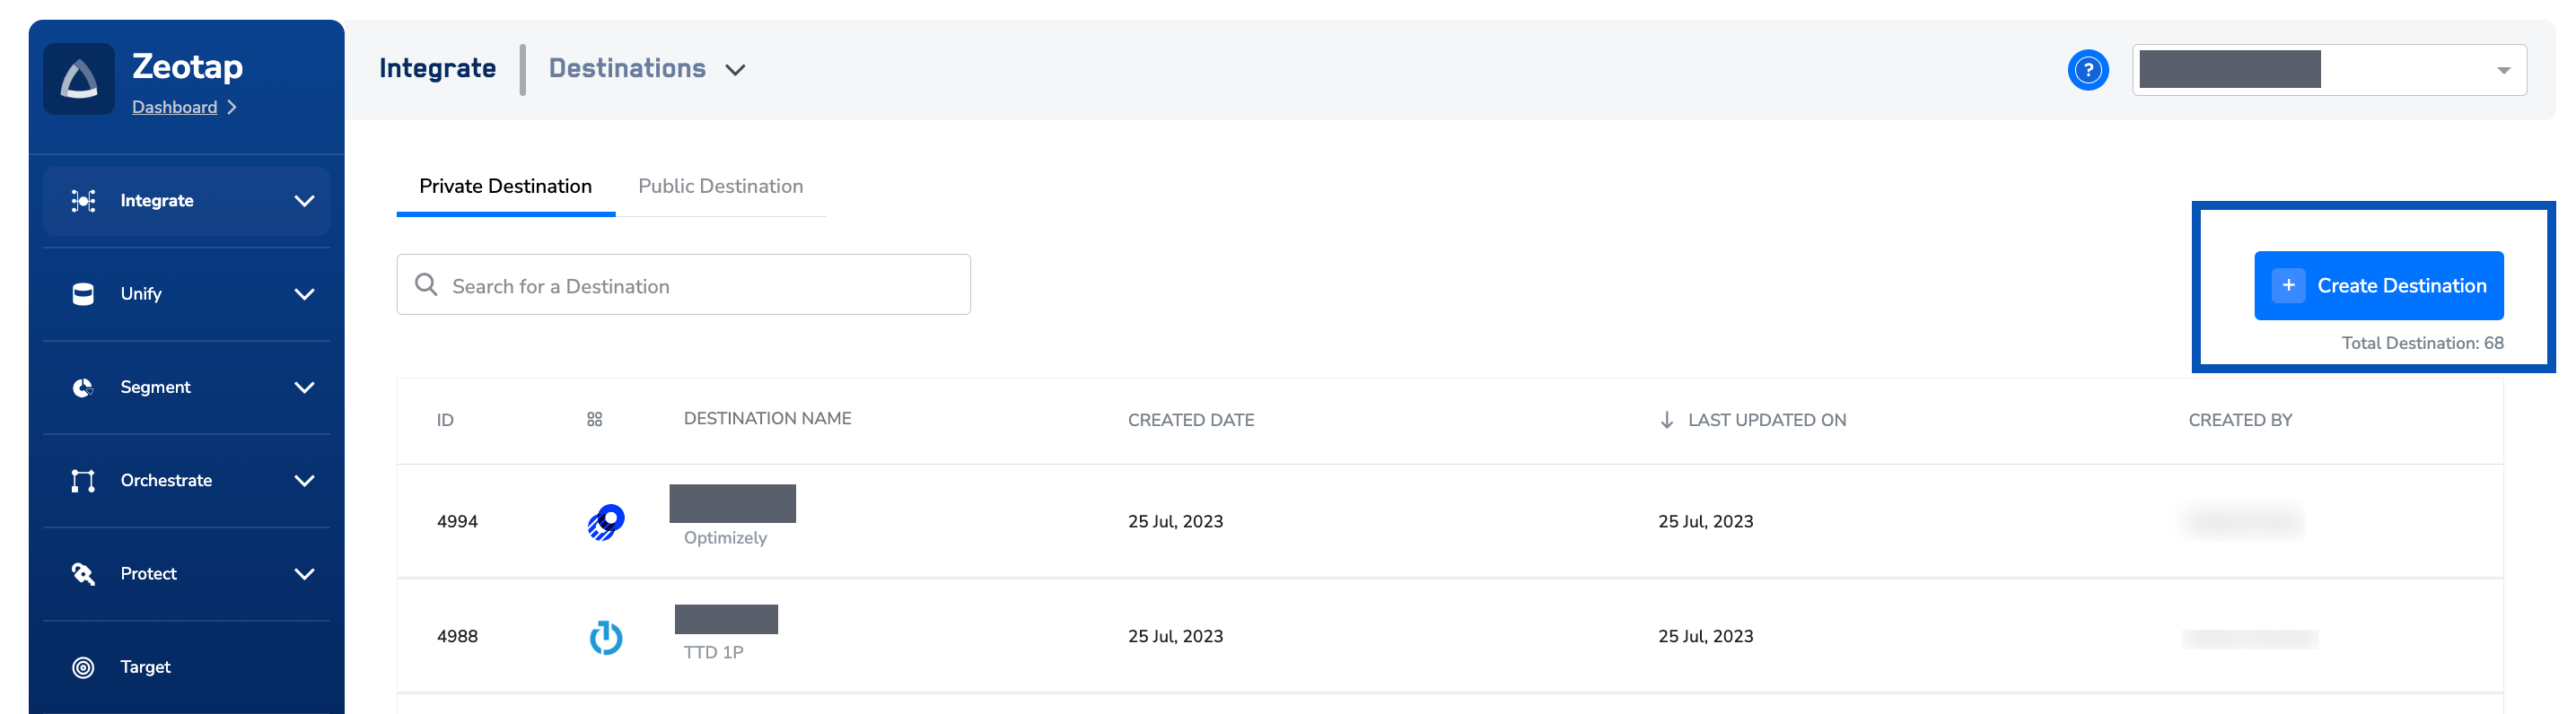
3
Under All Destinations, search for Adobe Analytics.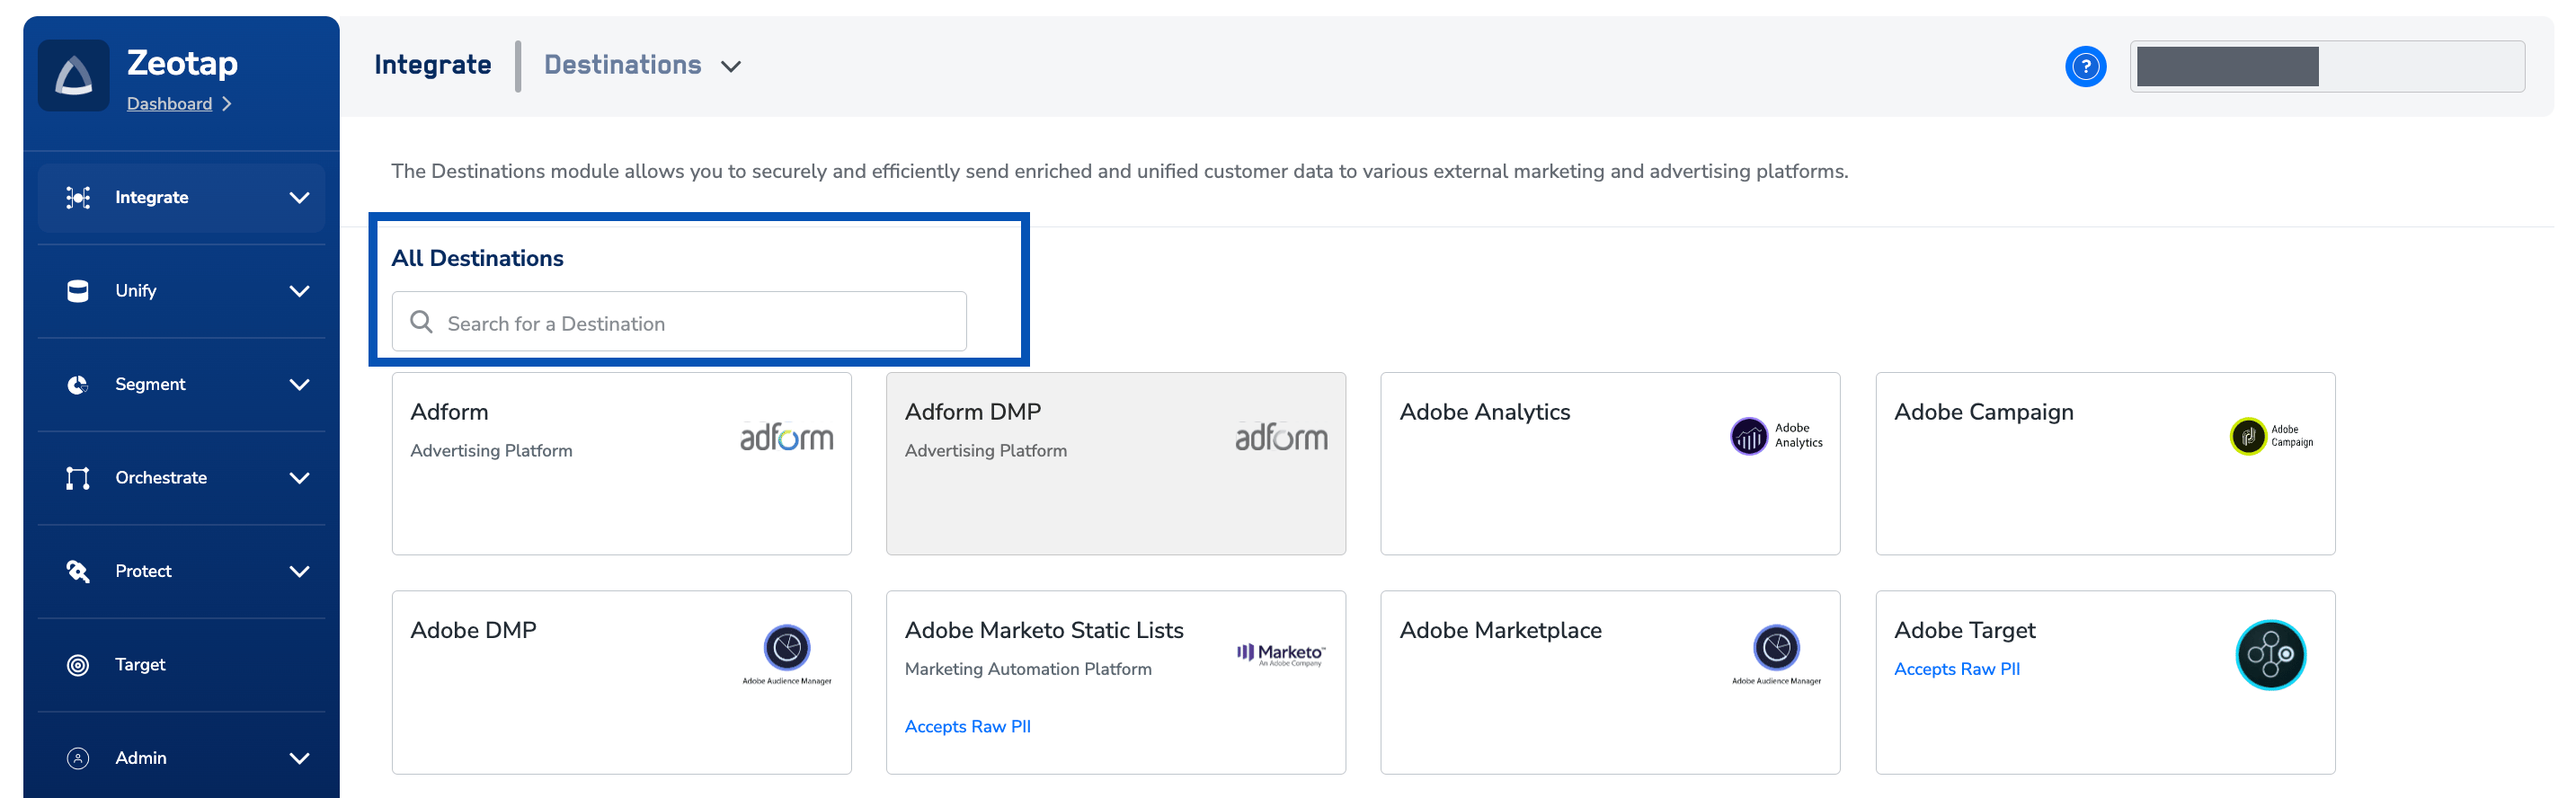
4
Click Adobe Analytics. The Enter Destination Details screen appears, with details about the destination on the left and the fields required for the integration on the right. Enter the following:a. Destination Name — a name for the destination, for easy identification.b. Report Suite Id, Name Space and Marketing Cloud OrgId — the values you gathered from Adobe Analytics above.c. Review the values you entered, then click Next to proceed.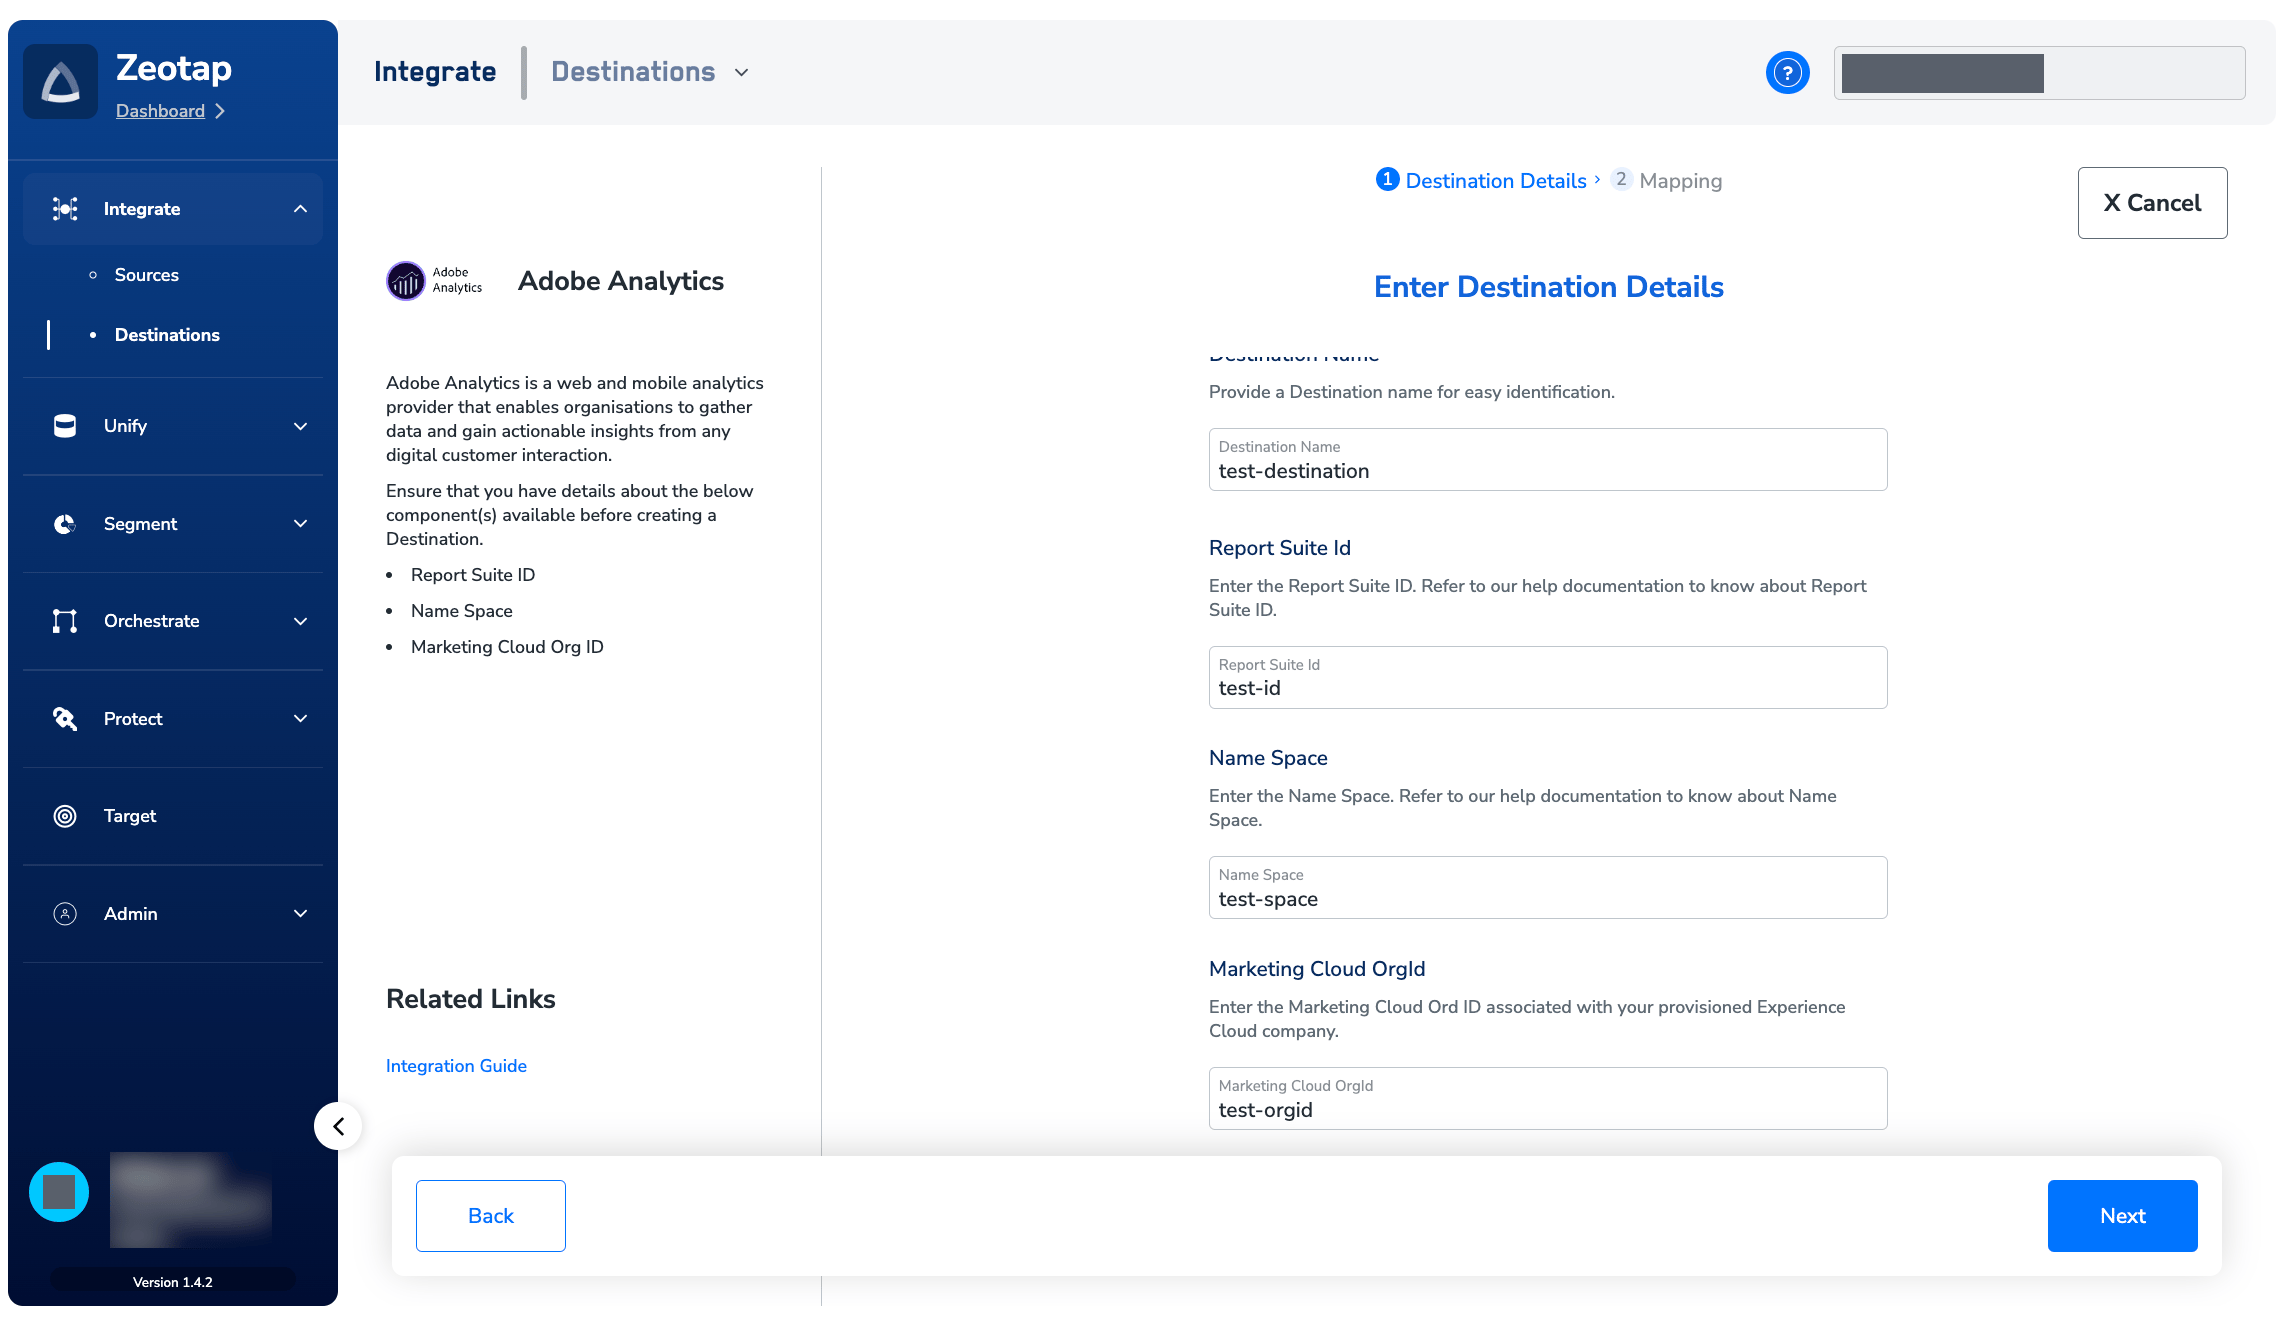
5
On the Mapping screen, choose the action and define the mapping:a. (Optional) Replace Untitled Mapping with a name for your mapping.b. Under Choose your Action, select Send identifiers to Adobe Analytics.c. Under Map the Fields, map the Catalogue fields to the destination fields under Output Identifiers Mapping. To change which identifiers are sent, refer to Define the mapping.d. Click Create Destination. The created destination gets listed in the Audiences application, where it can be linked to an audience or segment.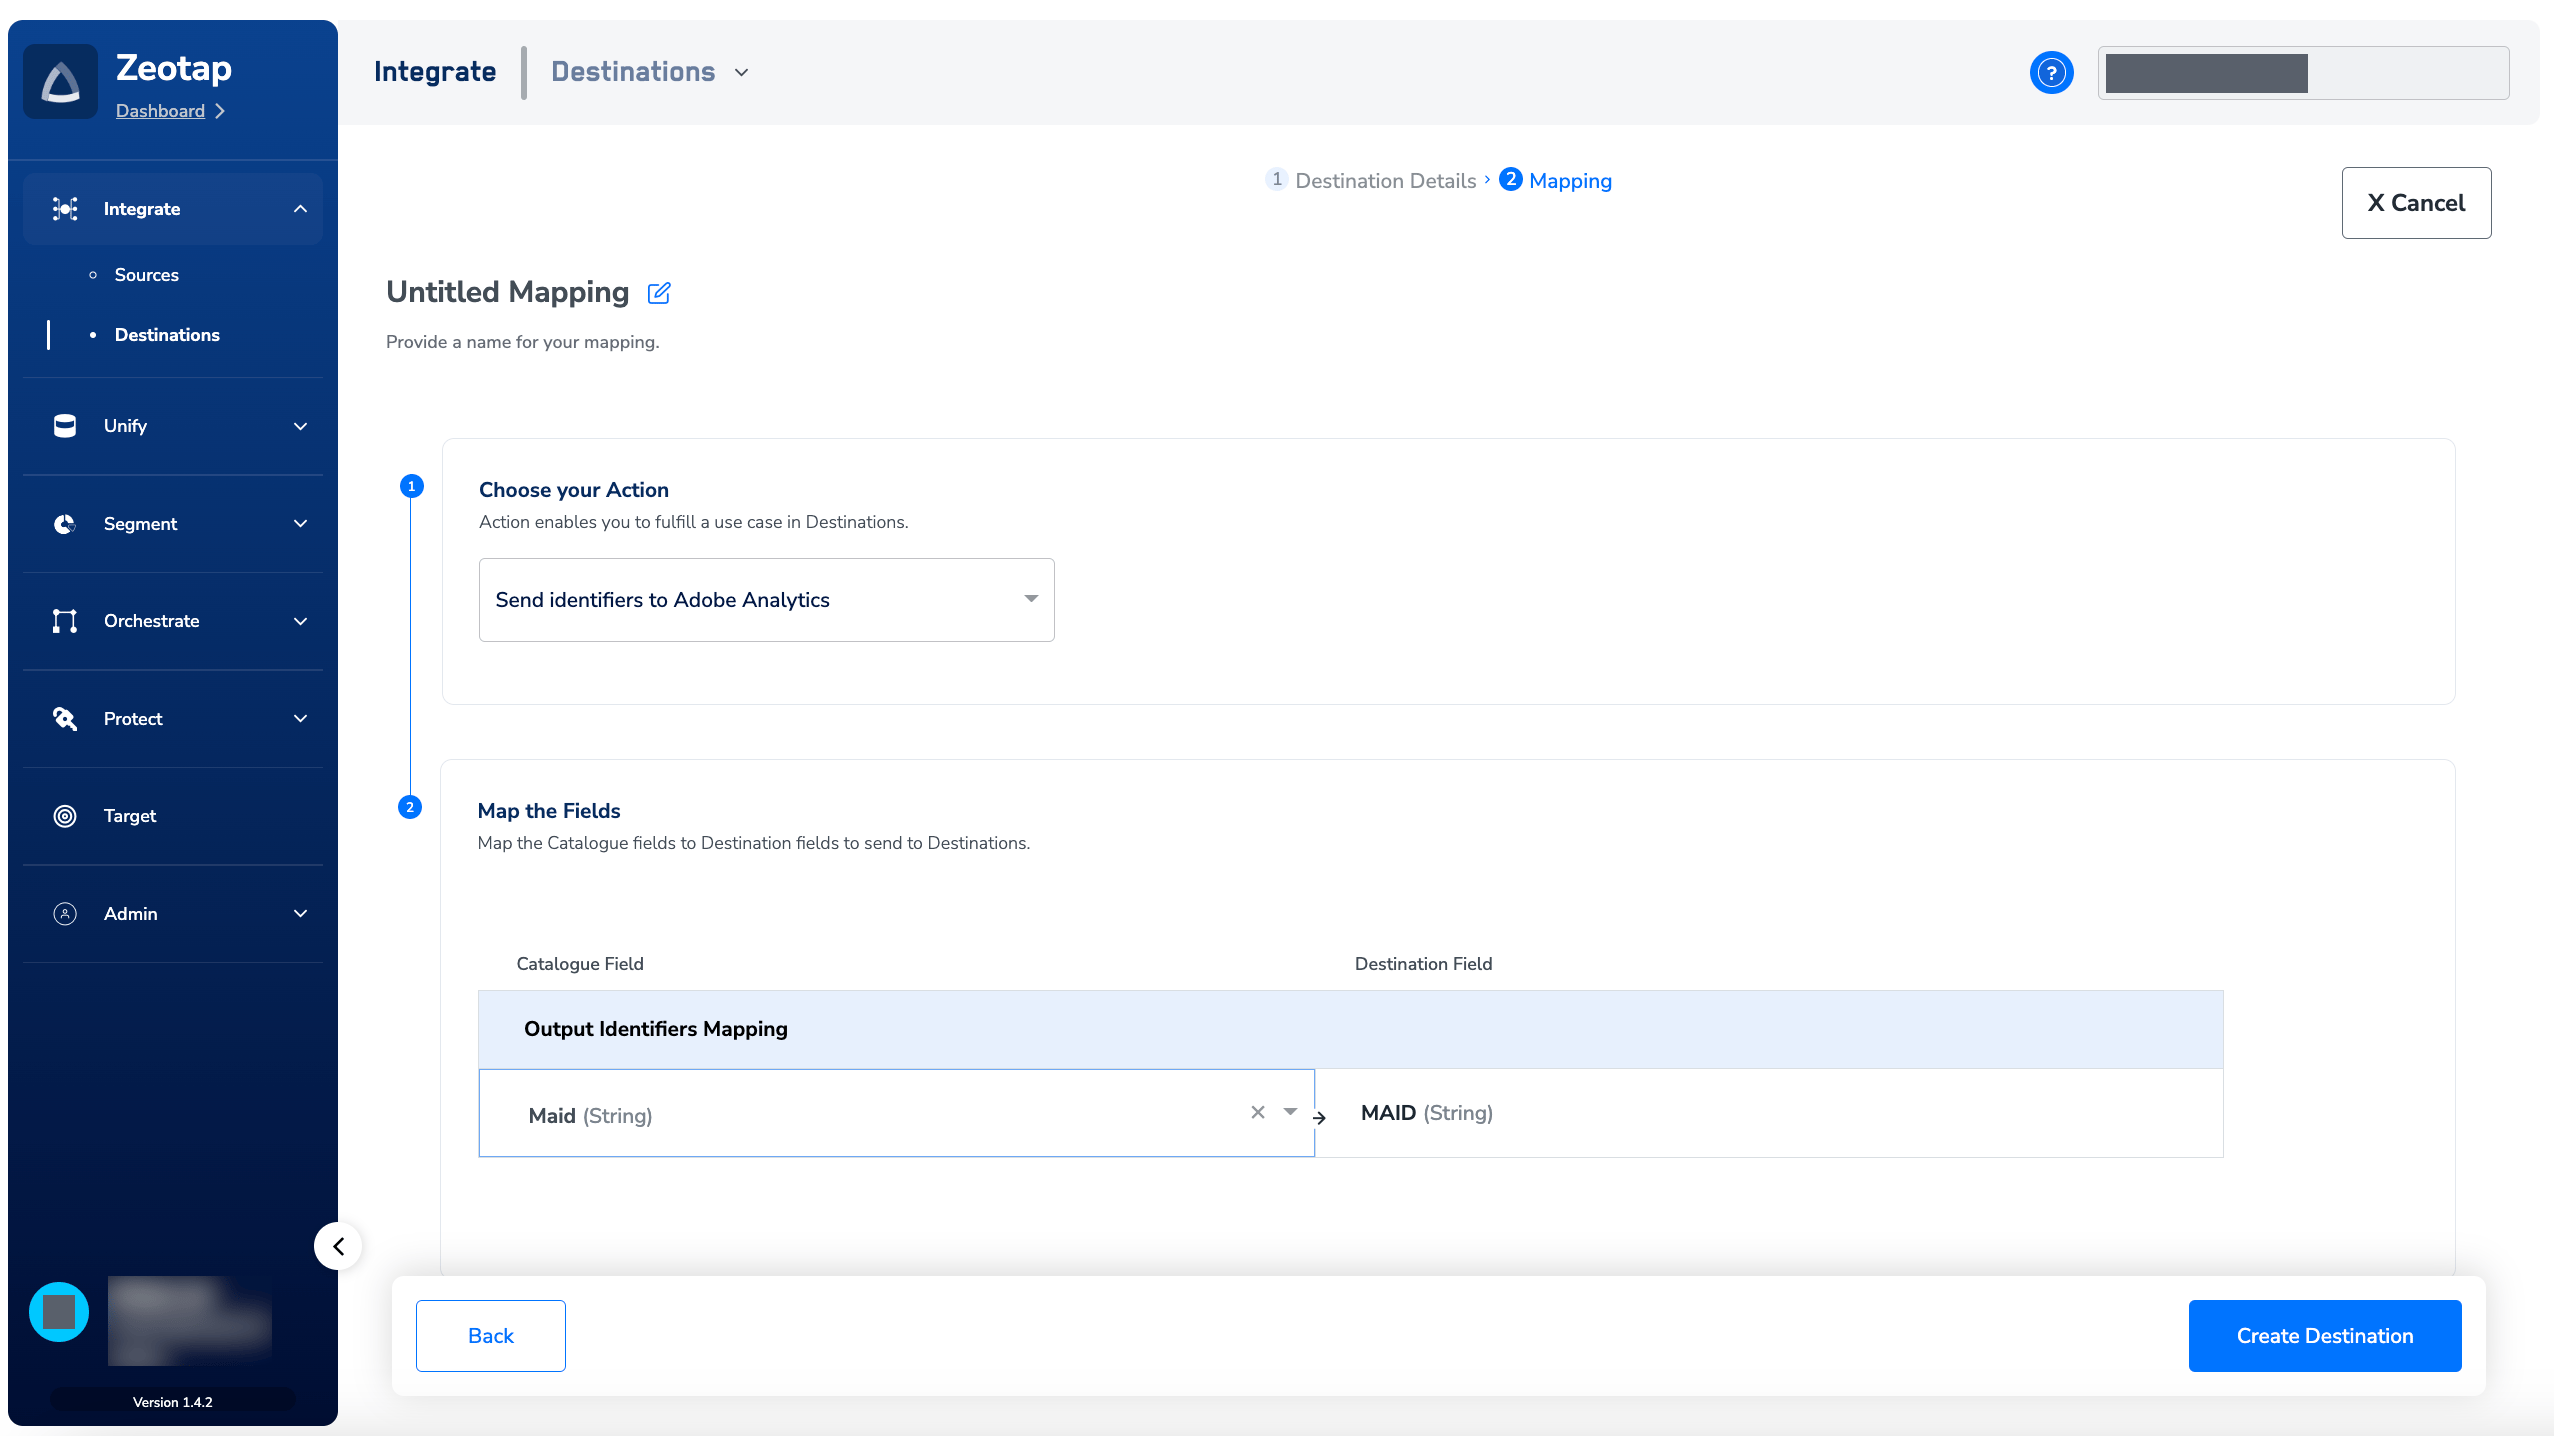
Link an audience to the destination
For information about how to link an audience or segment to the created destination in the Audiences application, see Activate Your Batch Audiences.Note:The terms Audiences and Segments are used interchangeably to refer to customer cohorts belonging to a specific category. For example, an audience or a segment can be a specific group of customers who are over 18 years of age and have performed an
addToCart event within the last 30 days.