

What this is
Moloco is a destination: data flows out of Zeotap CDP to Moloco, and nothing flows back. Moloco is a mobile attribution and retargeting platform that helps mobile app publishers and marketers maximise the effectiveness of their mobile advertising campaigns. It provides accurate attribution and measurement of ad campaigns across various channels, including social media, search, and app ads. Integrating with Zeotap enables sending audiences to Moloco for improved personalisation and customer experience. Moloco is a batch integration: you create the destination once, then link an audience (segment) to it from the Audiences application, and each audience refresh delivers the matched identifiers to Moloco. It is not driven from a journey. The integrations master list lists Moloco only as a destination, so there is no Moloco source page to send data the other way.Supported identifiers and actions
This integration supports MAIDs. The following table lists the available action types for the integration and the supported features for each action type:Prerequisites
Before you create the destination:- Complete the upstream Zeotap CDP setup — a connected source, fields mapped to the Catalogue, and a defined audience. See Prerequisites on the Destinations page.
- Have a Moloco Ads account with access to the workplace that owns the ad account you want to deliver to. A key authenticates only within the workplace that issued it, so the key and the ad account must belong to the same workplace.
- Gather the API Key and the Ad Account ID described below. Both are required to create the destination.
Gather the Moloco details
Ensure that you have details about the below components of Moloco available before creating a Destination.API Key
This is the key used to authenticate API calls to Moloco. A Moloco API key is 40 characters long and begins withca_. A value in any other format — a 36-character UUID, for example — is not a Moloco API key and causes the Destination to fail authentication.
To create one, sign in to Moloco Ads Manager and go to User settings → API Access → Create API Key. For Moloco’s own guidance on creating and managing keys, refer here.
Three things to know when you create the key:
- Keys are issued per workplace, not per ad account. A single key authenticates for every ad account within its workplace, so if you are creating several Destinations for ad accounts in the same Moloco workplace, you can reuse the same key. A key issued for a different workplace will not authenticate.
- An expiry date is mandatory, up to a maximum of one year. The Destination stops delivering on that date unless the key is renewed, so record the expiry alongside the key.
- The key is masked once saved. Once the Destination is saved, the API Key cannot be read back in full, so store it securely at the point you create it.
Ad Account ID
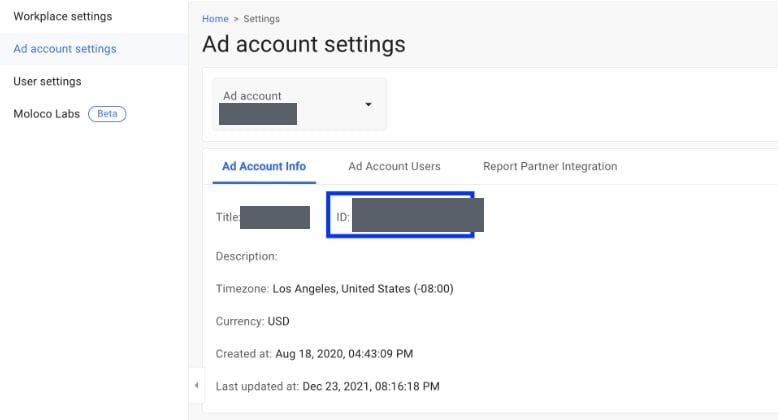
This is the Ad Account ID associated with the Moloco DSP account. It serves as a modifier to authenticate and authorise specific ad operations within Moloco’s platform. The Ad Account ID is a 16-character alphanumeric string — for example,a1b2c3d4e5f6g7h8.
To obtain this information, log into Moloco Ads and click Ad account settings below your profile. Under the Ad Account Info tab, you can find your Ad Account ID as shown in the image below.
Create the Moloco destination
Perform the following steps to create a Destination for Moloco:1
Log in to the Zeotap CDP App and go to the Destinations application.
2
Click + Create Destination.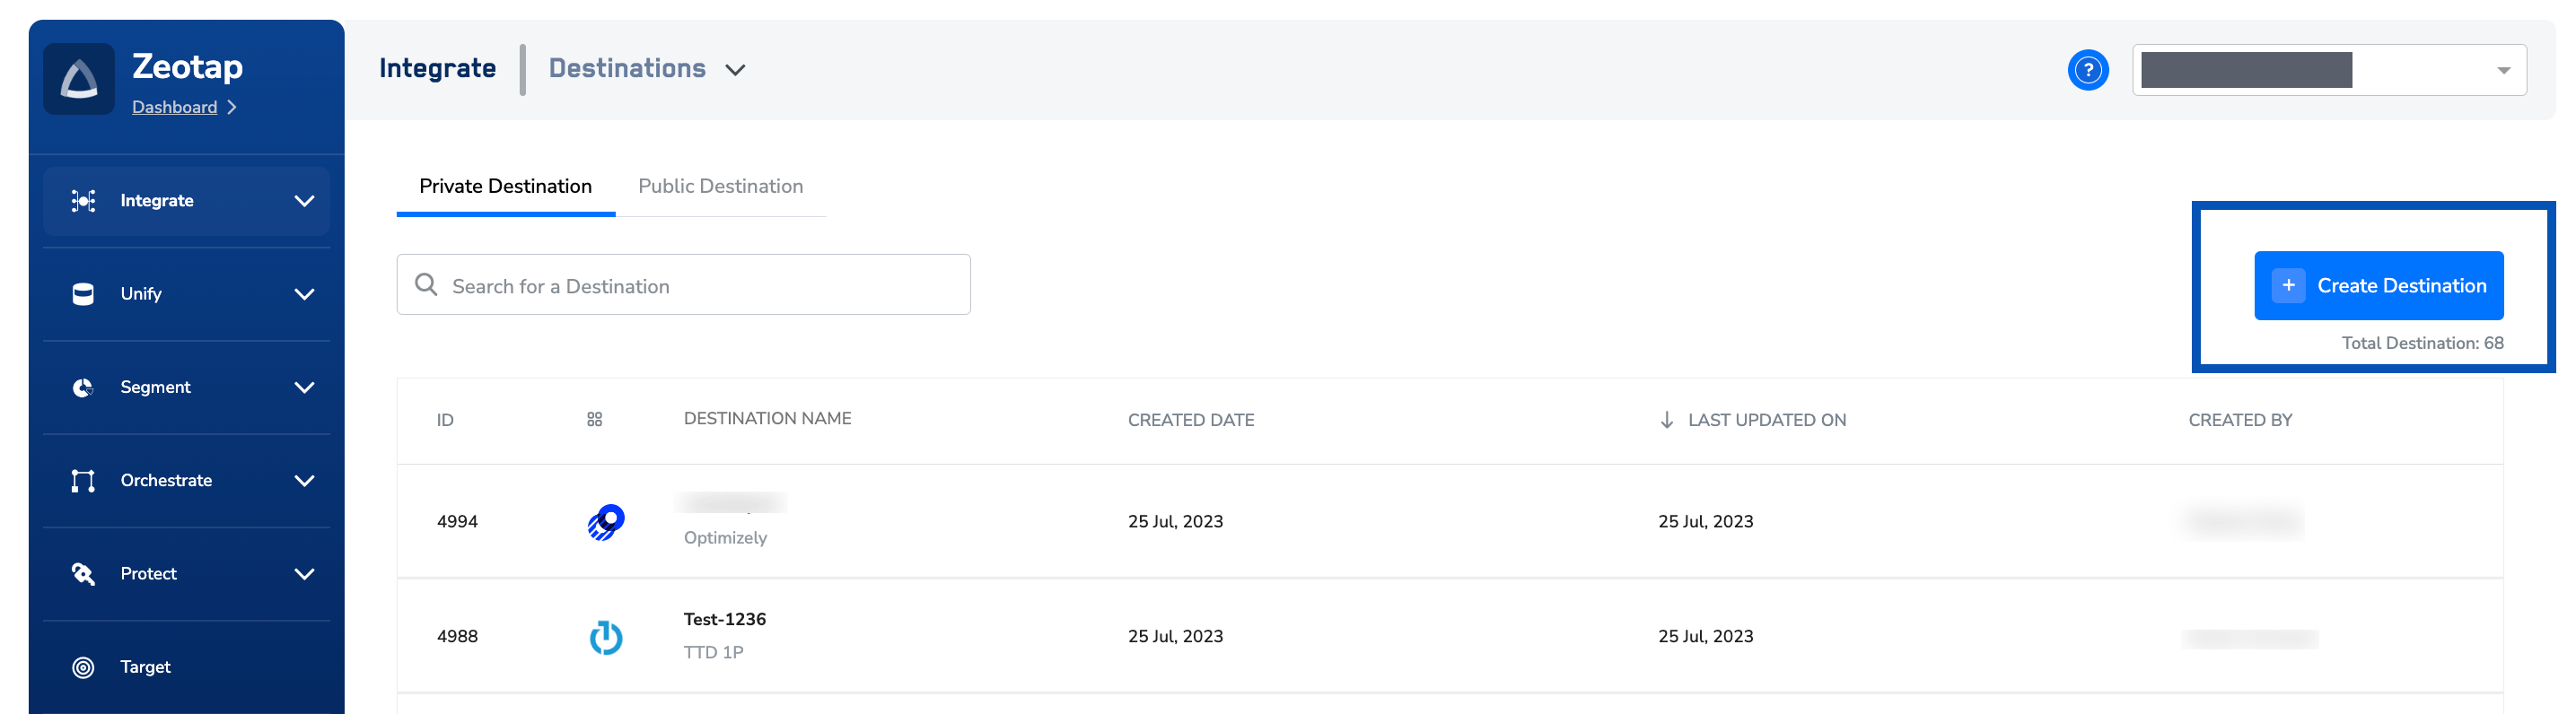
3
Under the All Destinations section, search for Moloco.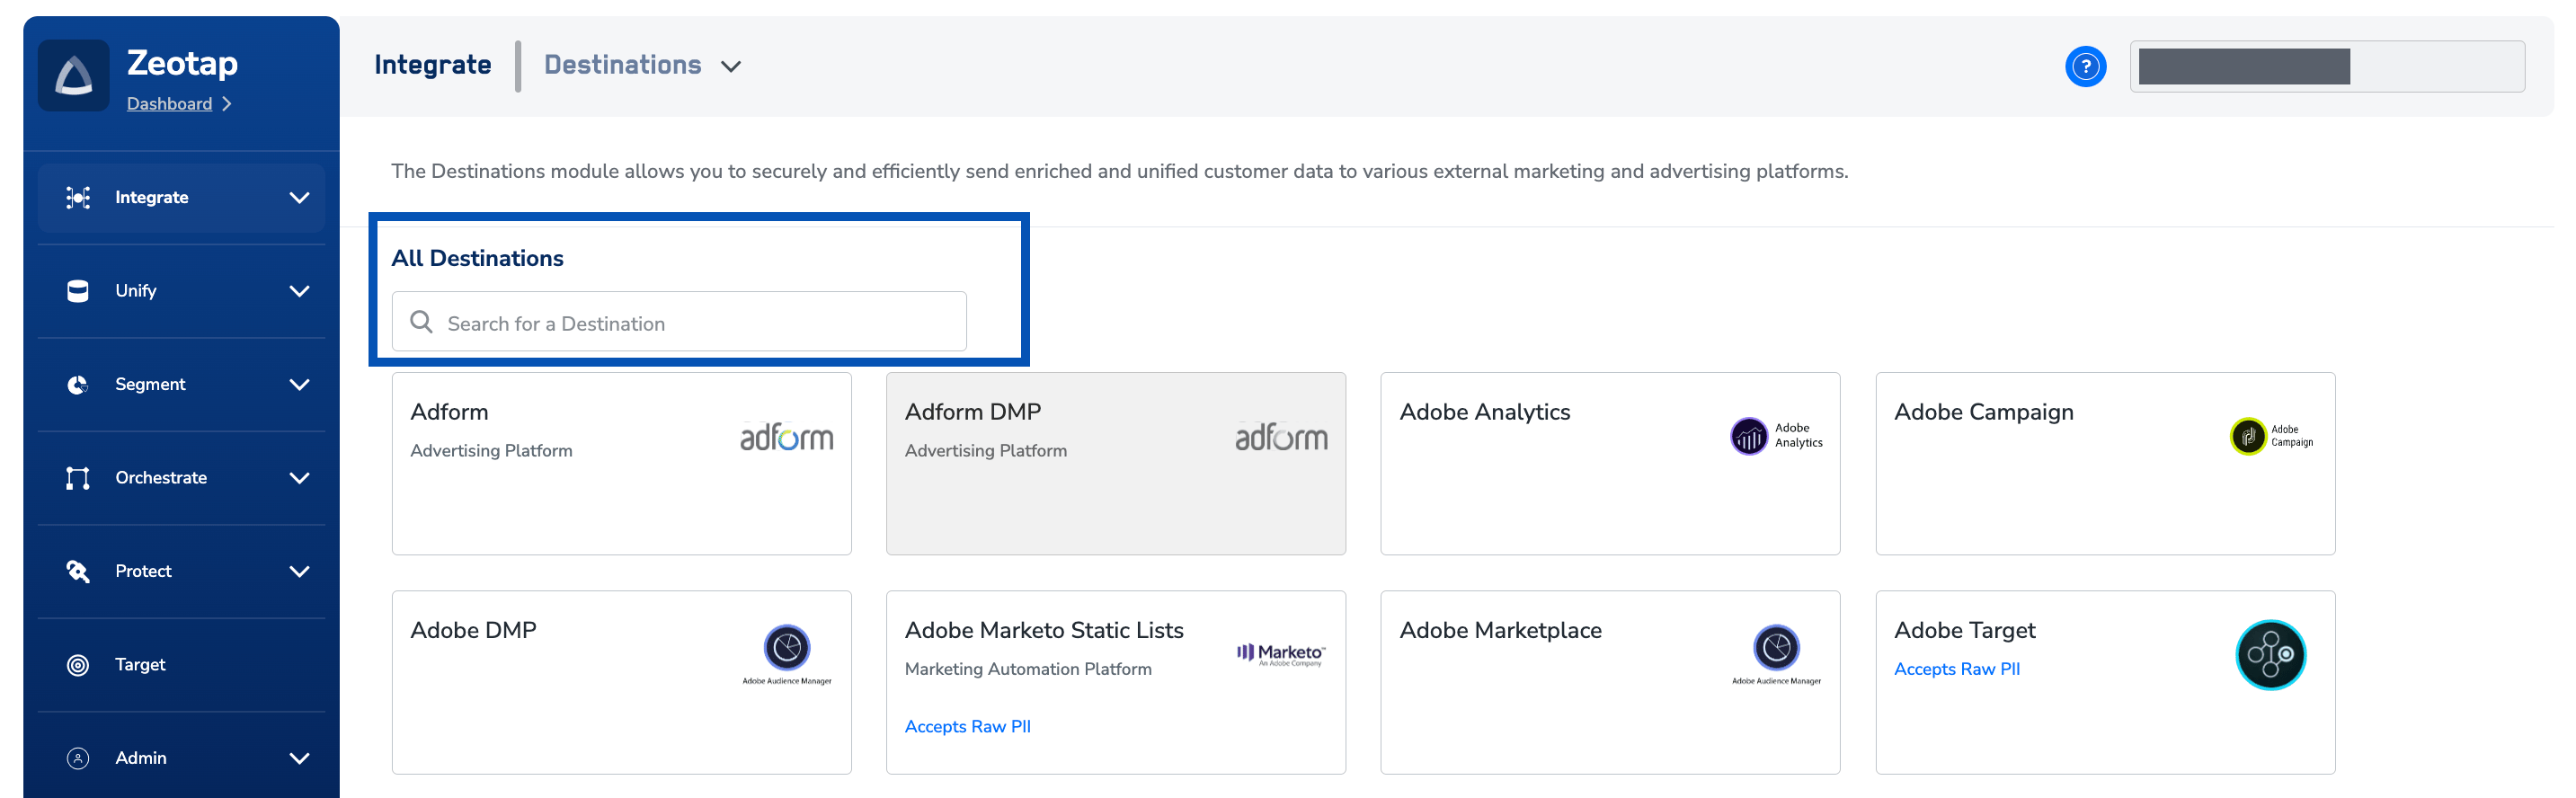
4
Click Moloco. A screen appears displaying details about the particular destination towards the left. On the right-hand side of the screen find a list of fields that are required for the integration to be established. Enter the required details as mentioned in the following steps:a. In Destination Name, enter a descriptive name for the Destination.b. Enter the API Key associated with your Moloco account.c. Enter the Ad Account ID obtained from your Moloco account.d. Review all the values entered above and then click Next to proceed.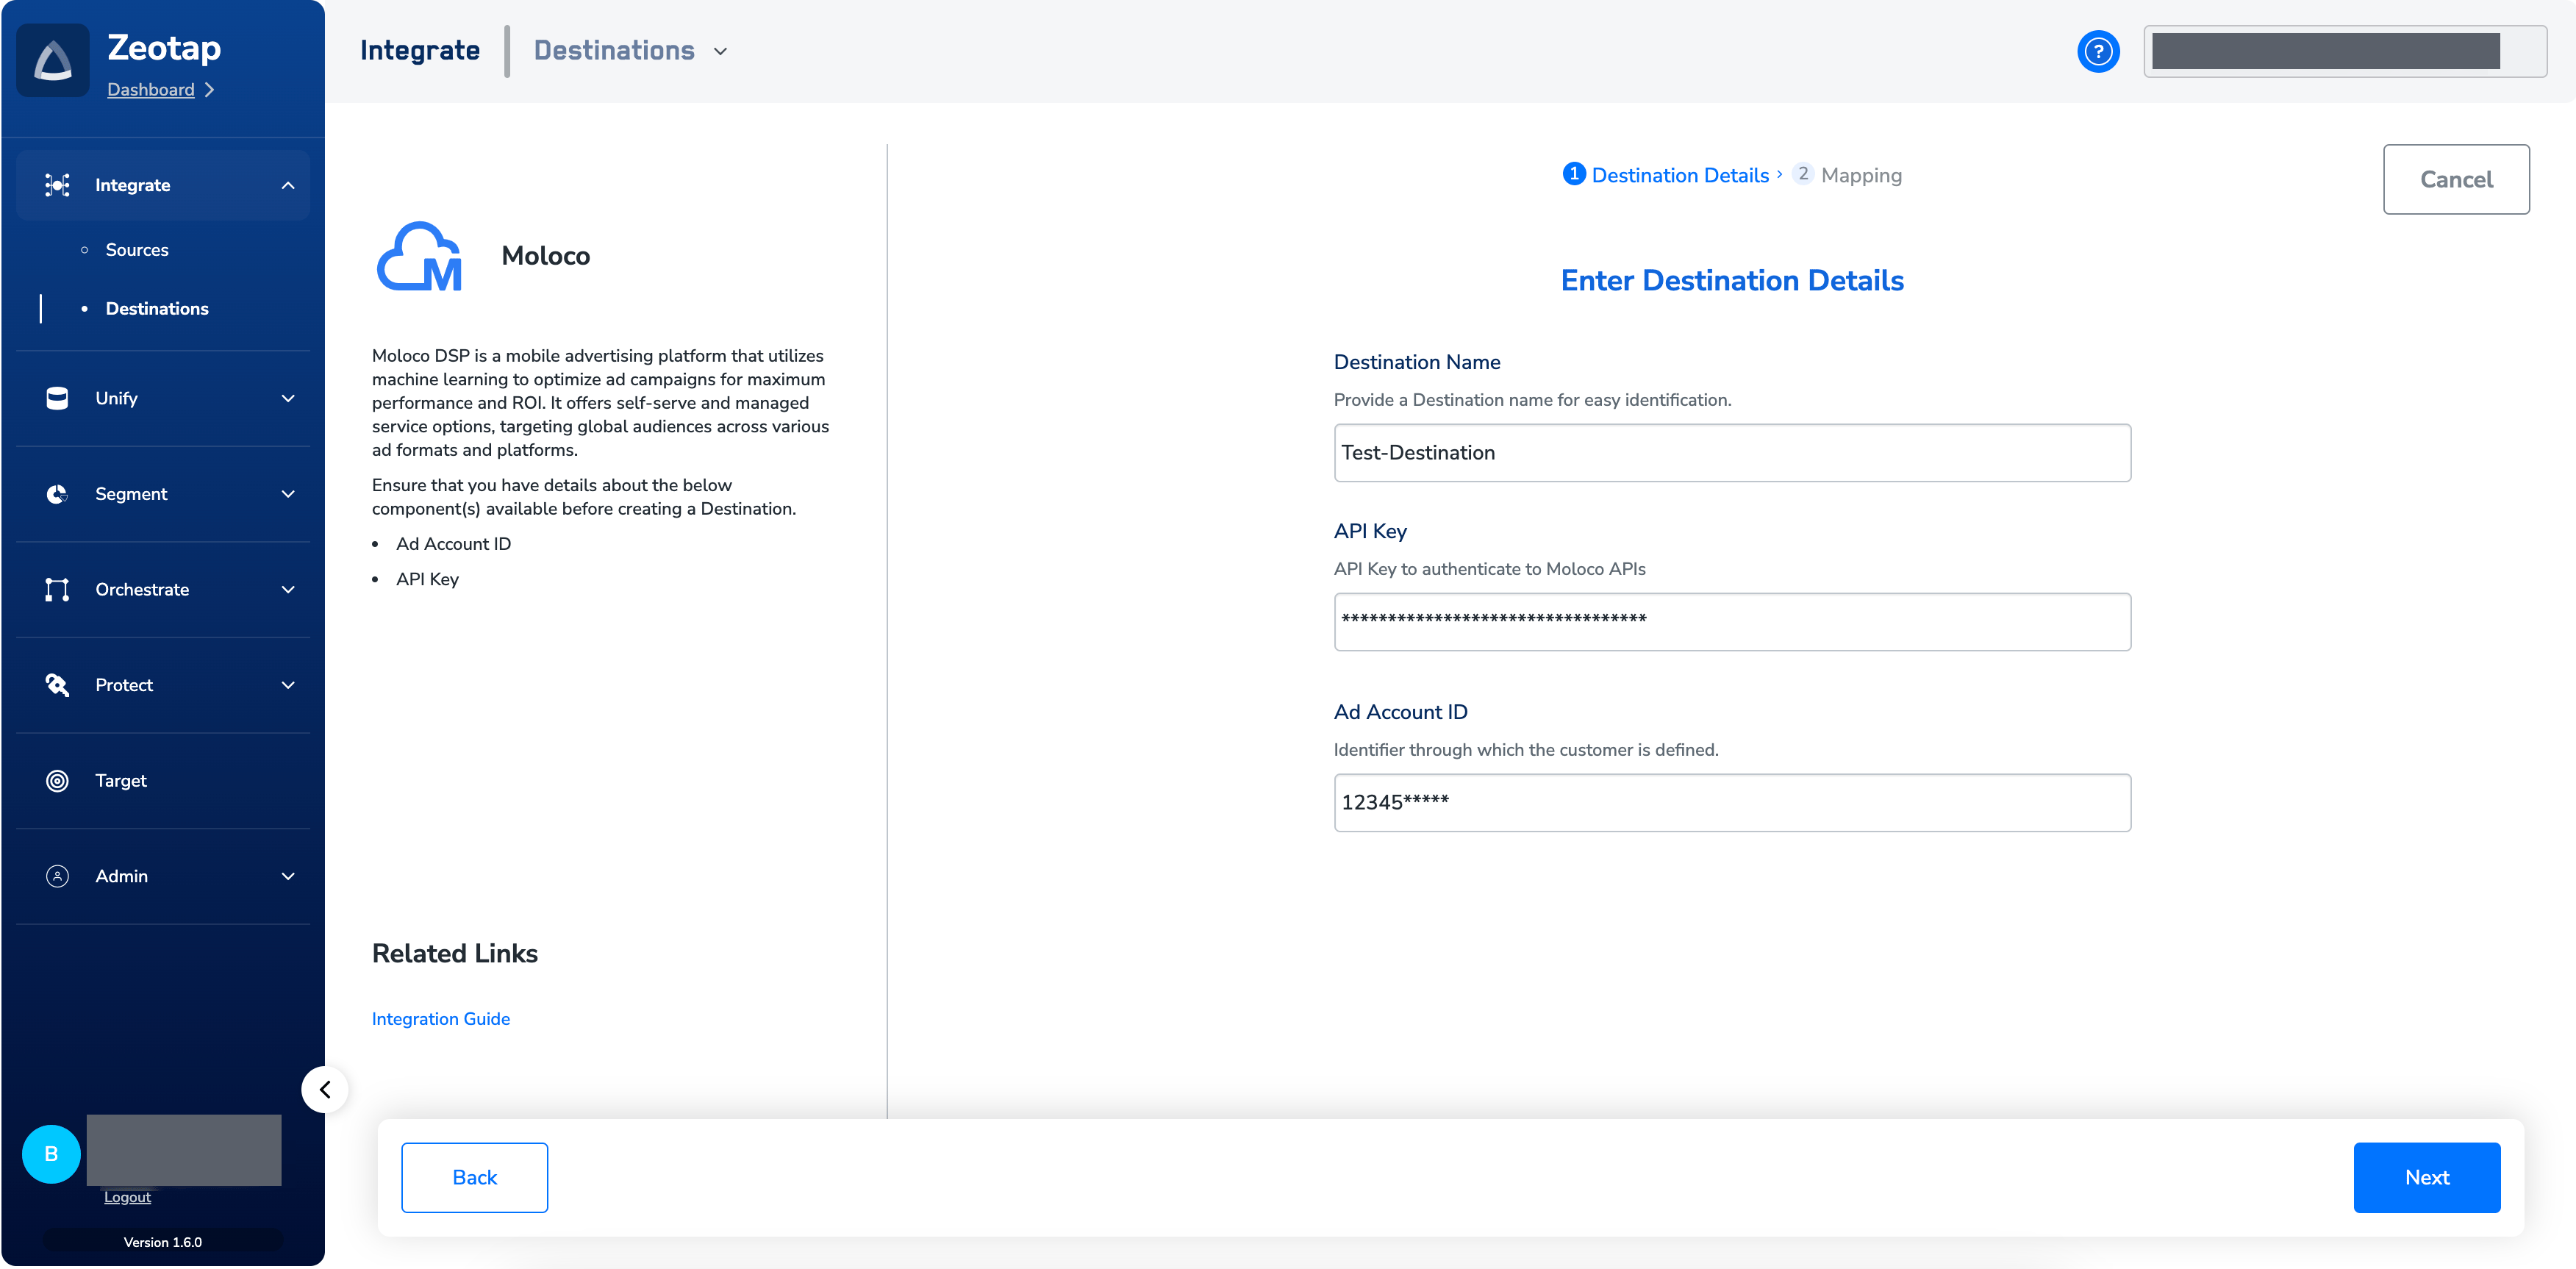
5
In the new screen that appears, under Choose your Action, select Send Identifiers to Moloco DSP as the action for activating your audience (segment) on the Audiences module. Under Map the Fields, you can map the desired output identifier to MAID.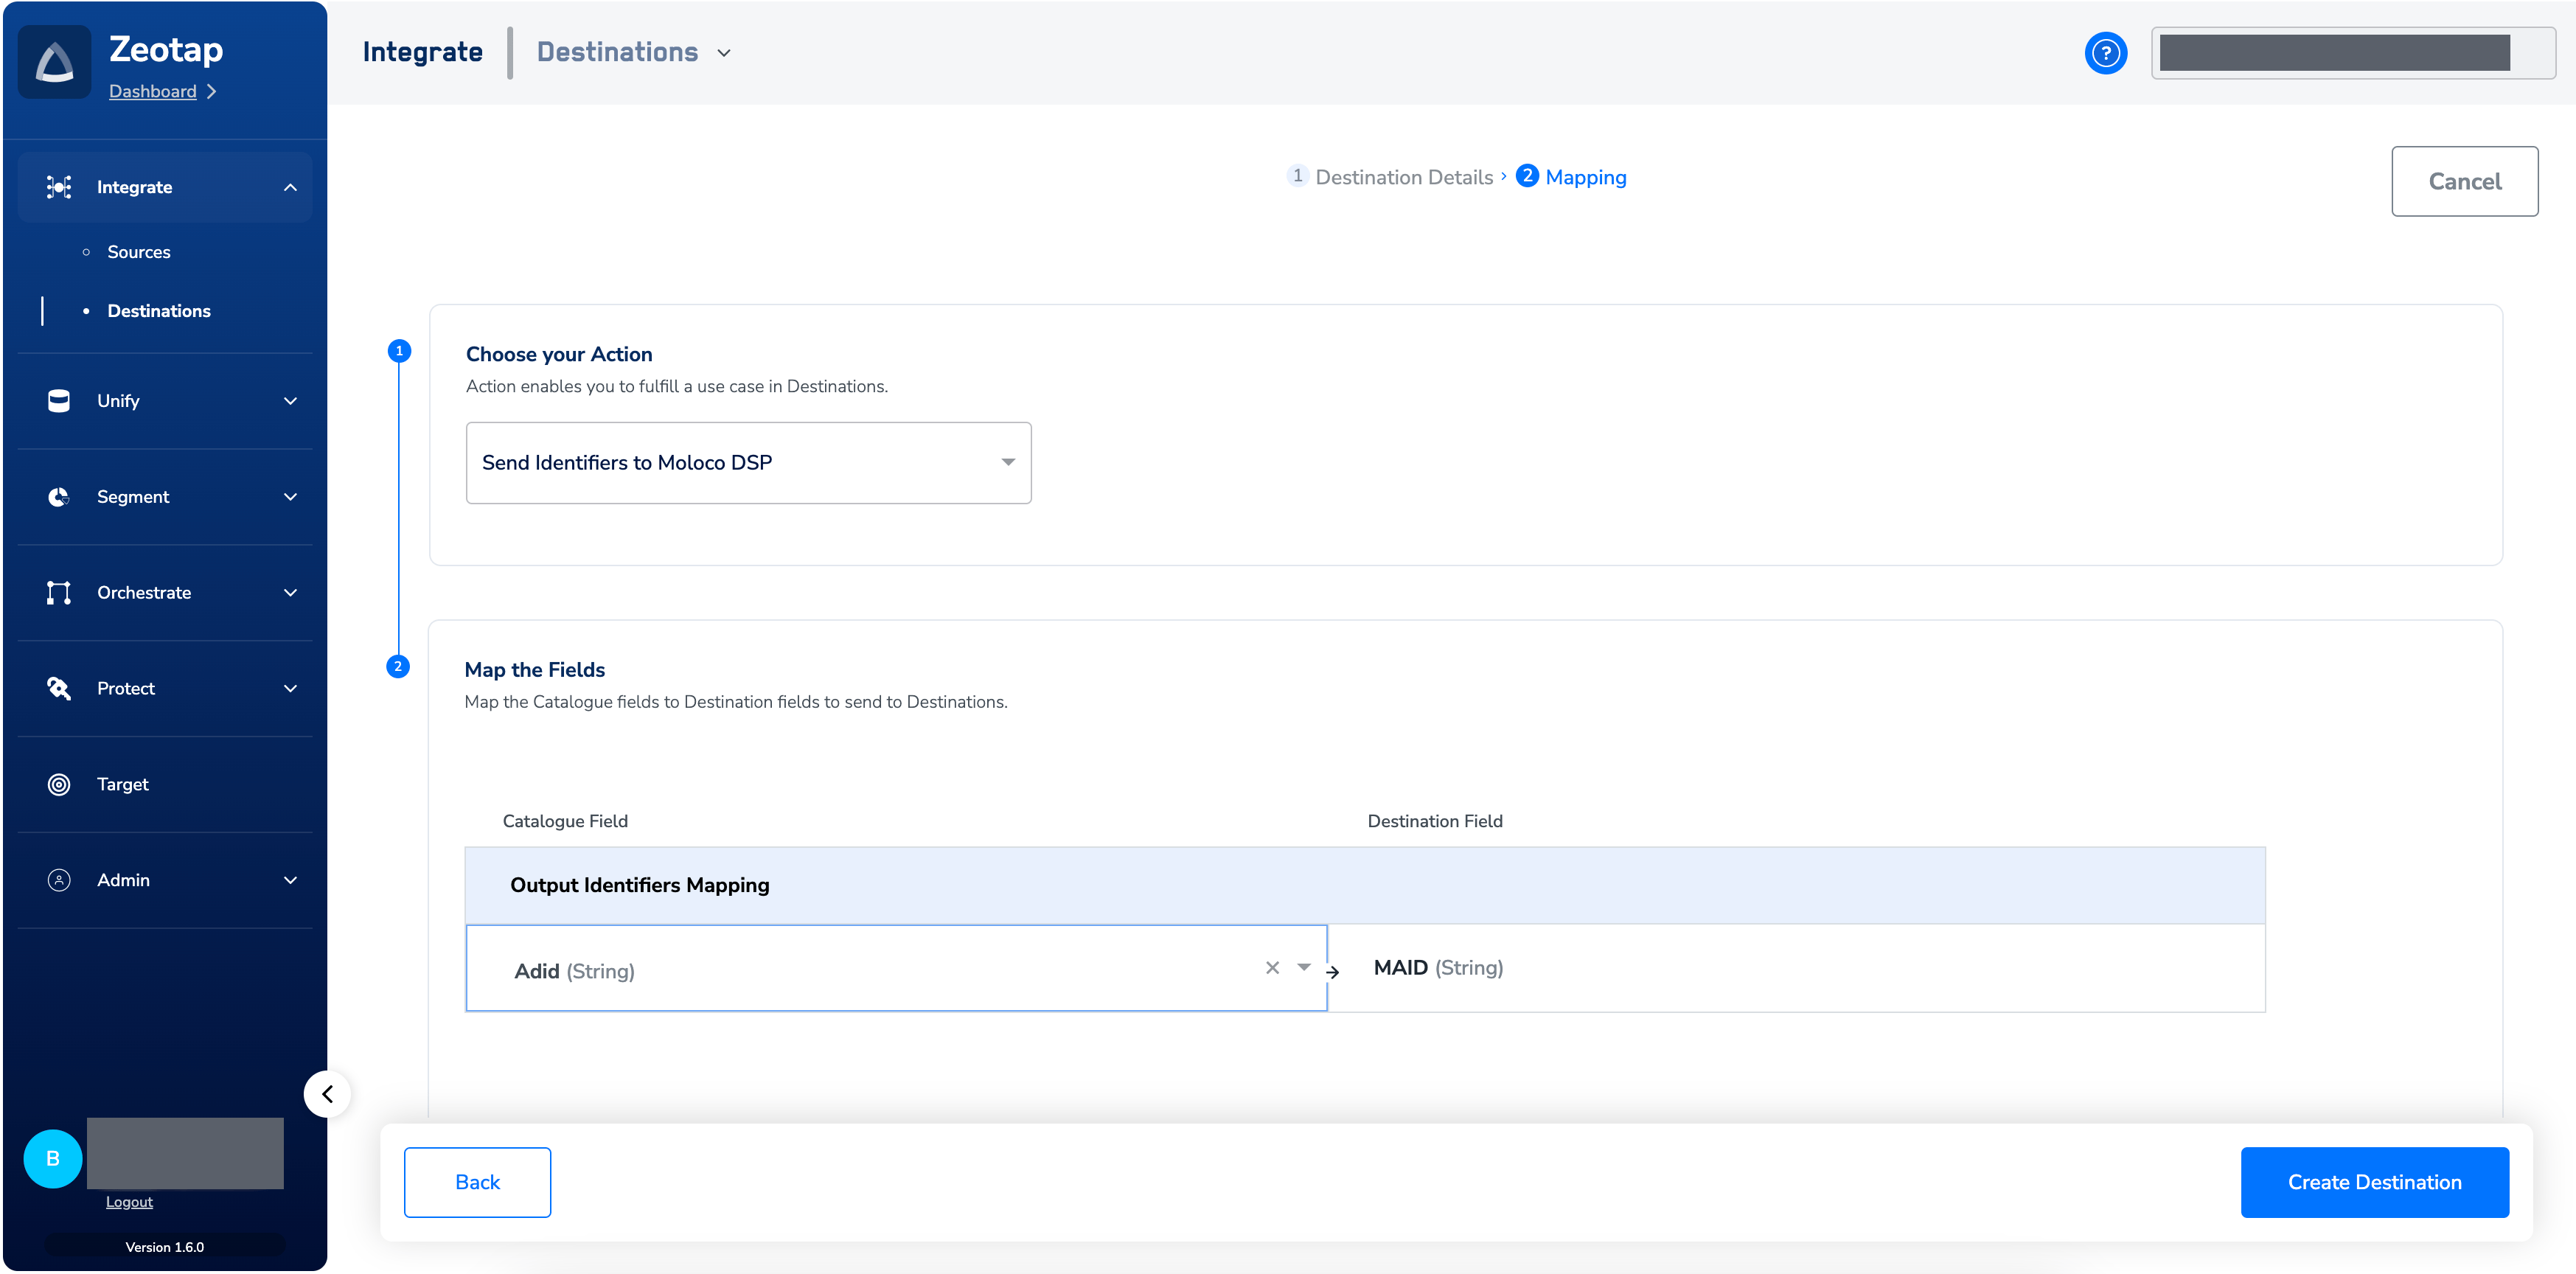
6
Click Create Destination. The created Destination gets listed in the Audiences application, which can be linked to an audience/segment.
Link an audience to the destination
For information about how to link an audience or segment to the created Destination in the Audiences application, refer to Activate in Audiences.Note:The terms Audiences and Segments are used interchangeably to refer to customer cohorts belonging to a specific category. For example, an Audience or a segment could be a specific group of customers who are over 18 years of age and who have performed an addToCart event within the last 30 days.
Verify the delivery
Confirm the delivery from both sides, as described in Verify the activation worked:- In Zeotap CDP — open the Moloco Destination and review its activity. A successful delivery records a run with a non-zero qualified count and a completed status. A run that fails records an error message you can use to diagnose the cause.
- In Moloco — open the user list and confirm the expected records are present, as described below.
1
Log into your Moloco account.
2
Select the Ad Account that you used while creating the Destination in Zeotap CDP, using the drop-down menu.
3
In the left panel, click Assets and click User Lists. Under the User
List-Zeotap_audience_id-Zeotap_audience_name, you can find all the audiences sent from Zeotap CDP.Troubleshoot the Moloco destination
The Destination fails with an authentication error (HTTP 401)
Moloco returnsHTTP 401 when the API key cannot be validated. Work through these causes in order:
Update the API Key on an existing Destination
Each fix above ends with updating the key on the Destination. You do not need to recreate the Destination to do this — recreating it would mean linking your audiences again. Open the Destination in the Destinations application, edit the API Key field on the Destination Details tab, and save. The new key takes effect on the Destination’s next scheduled refresh.A read-only key is not a cause of
HTTP 401 — it authenticates successfully. If the Destination authenticates but no data arrives in Moloco, check whether the key was created as read-only.ca_ (do not send the key itself), and the timestamp of the last failed run.