Step-by-Step Validation Guide
1. Navigate to the Tags Section
- Open Google Tag Manager.
- From the left sidebar, click on Tags.
- Confirm that your Zeotap Collect Tag is listed and is not paused or disabled.
2. Enable Preview Mode
- In the top-right corner of GTM, click the Preview button.
- This will launch the Tag Assistant tool in a new tab.
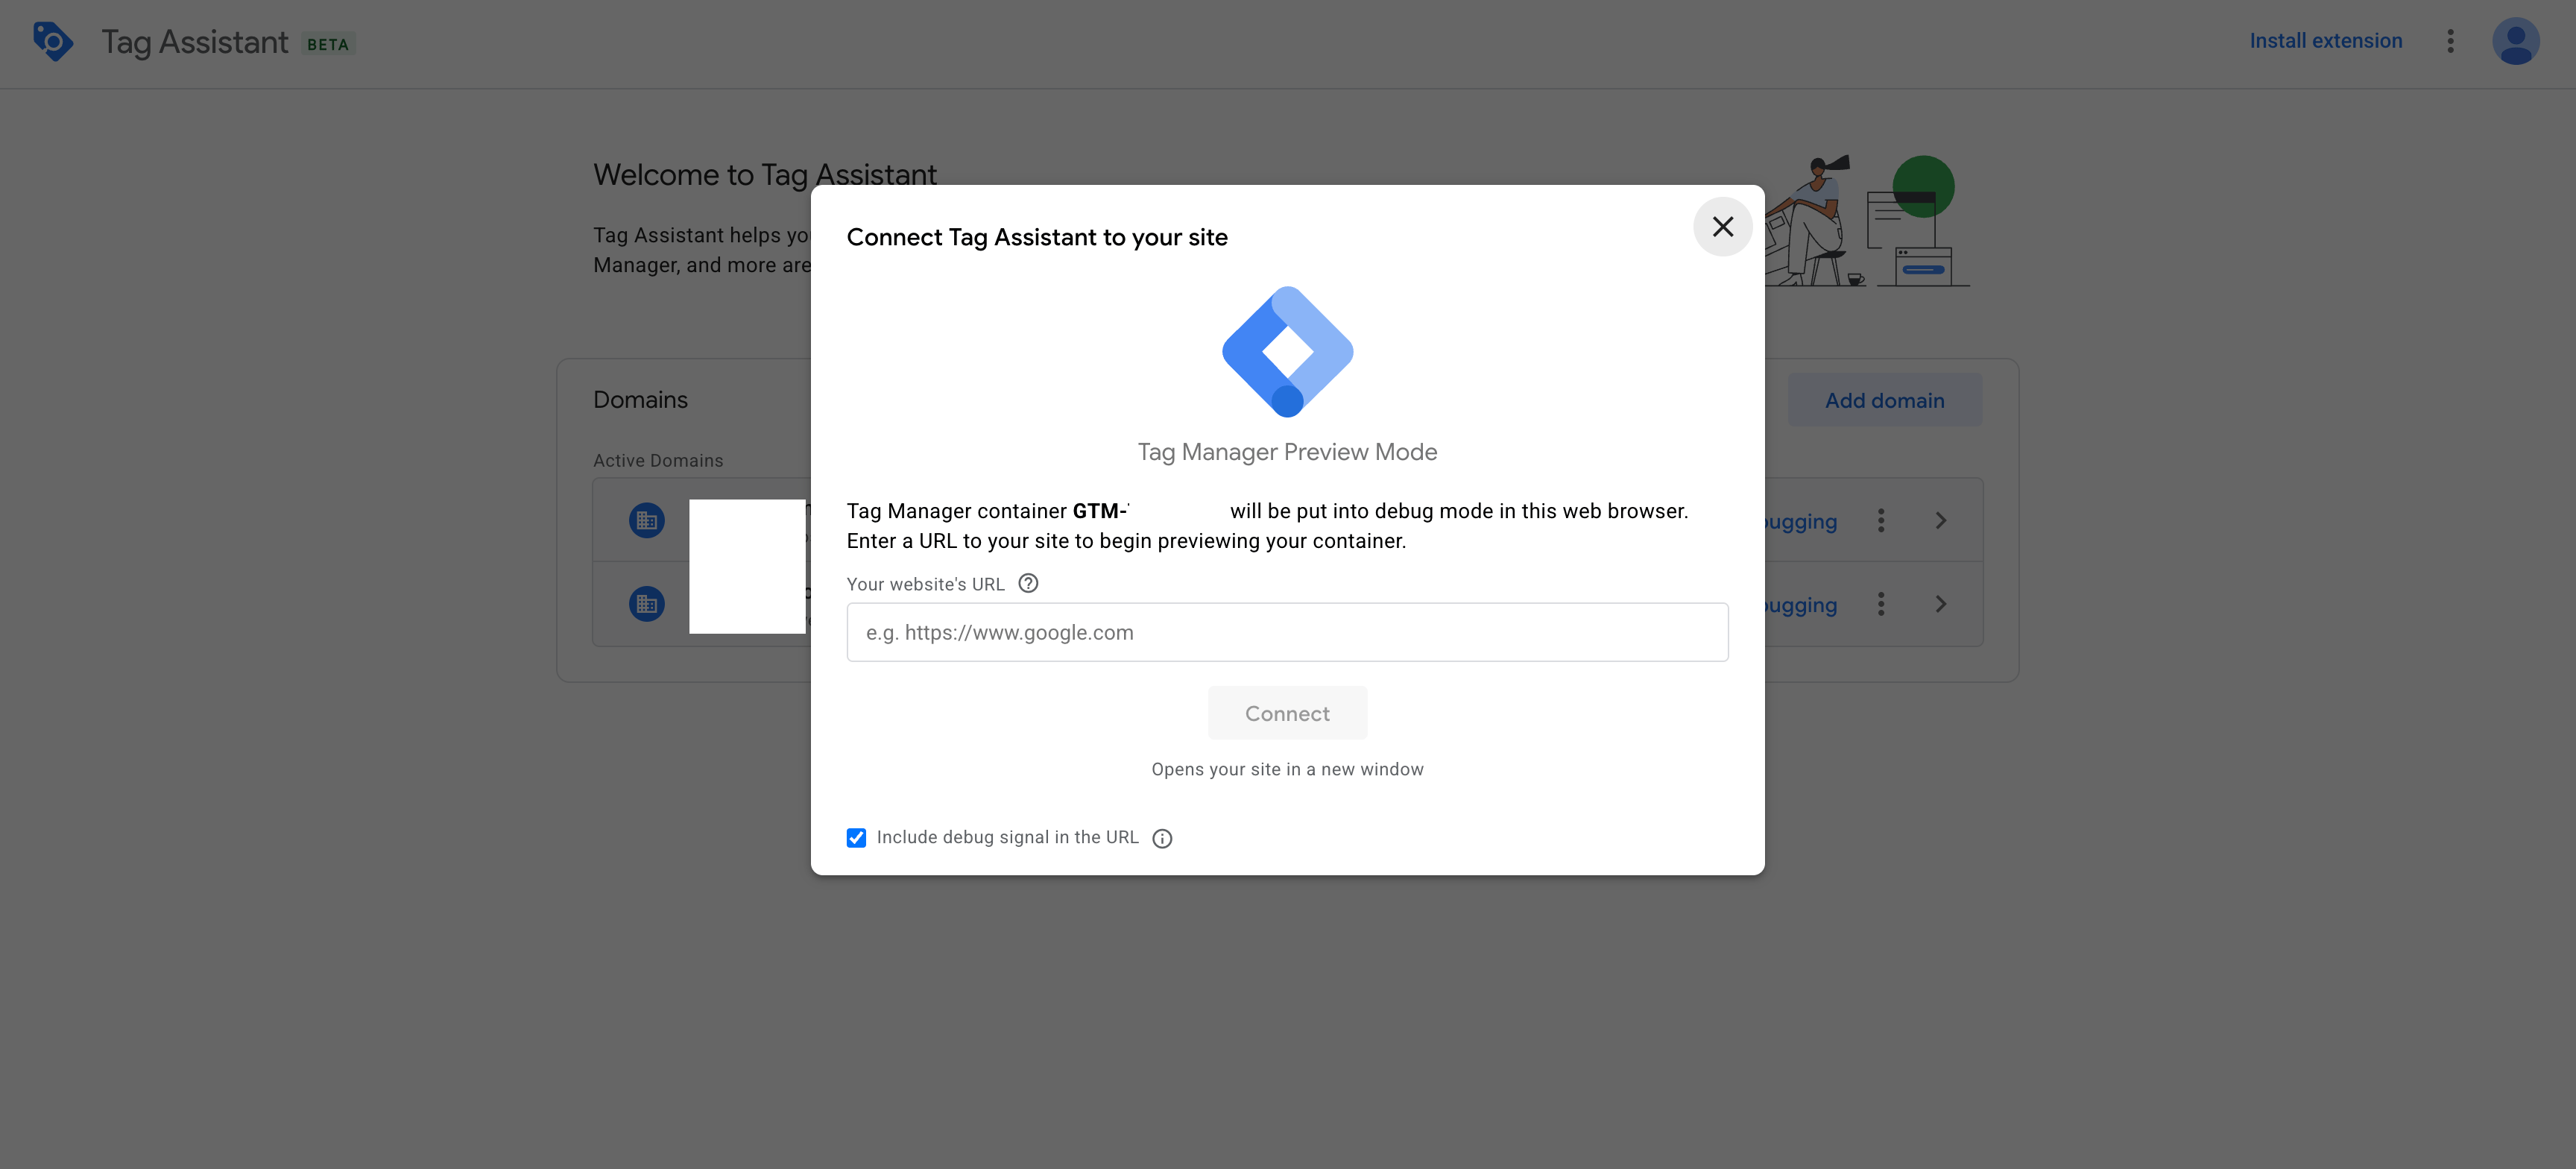
3. Enter Website URL
- In the Tag Assistant interface, enter the URL of the website where GTM is installed.
- Click Start to begin the preview session.
Example
4. Interact With Your Website
- Once the Tag Assistant redirects you to your website, perform the actions that would trigger the Zeotap Collect Tag.
- Example: Navigate to different pages, perform a login, or trigger any configured custom events.
5. Inspect Data in Developer Tools
- Right-click on the website and choose Inspect to open Chrome DevTools.
- Navigate to the Console tab.
- Look for the
dataLayeroutput and check if the relevant event names (e.g.,Login event) are logged.
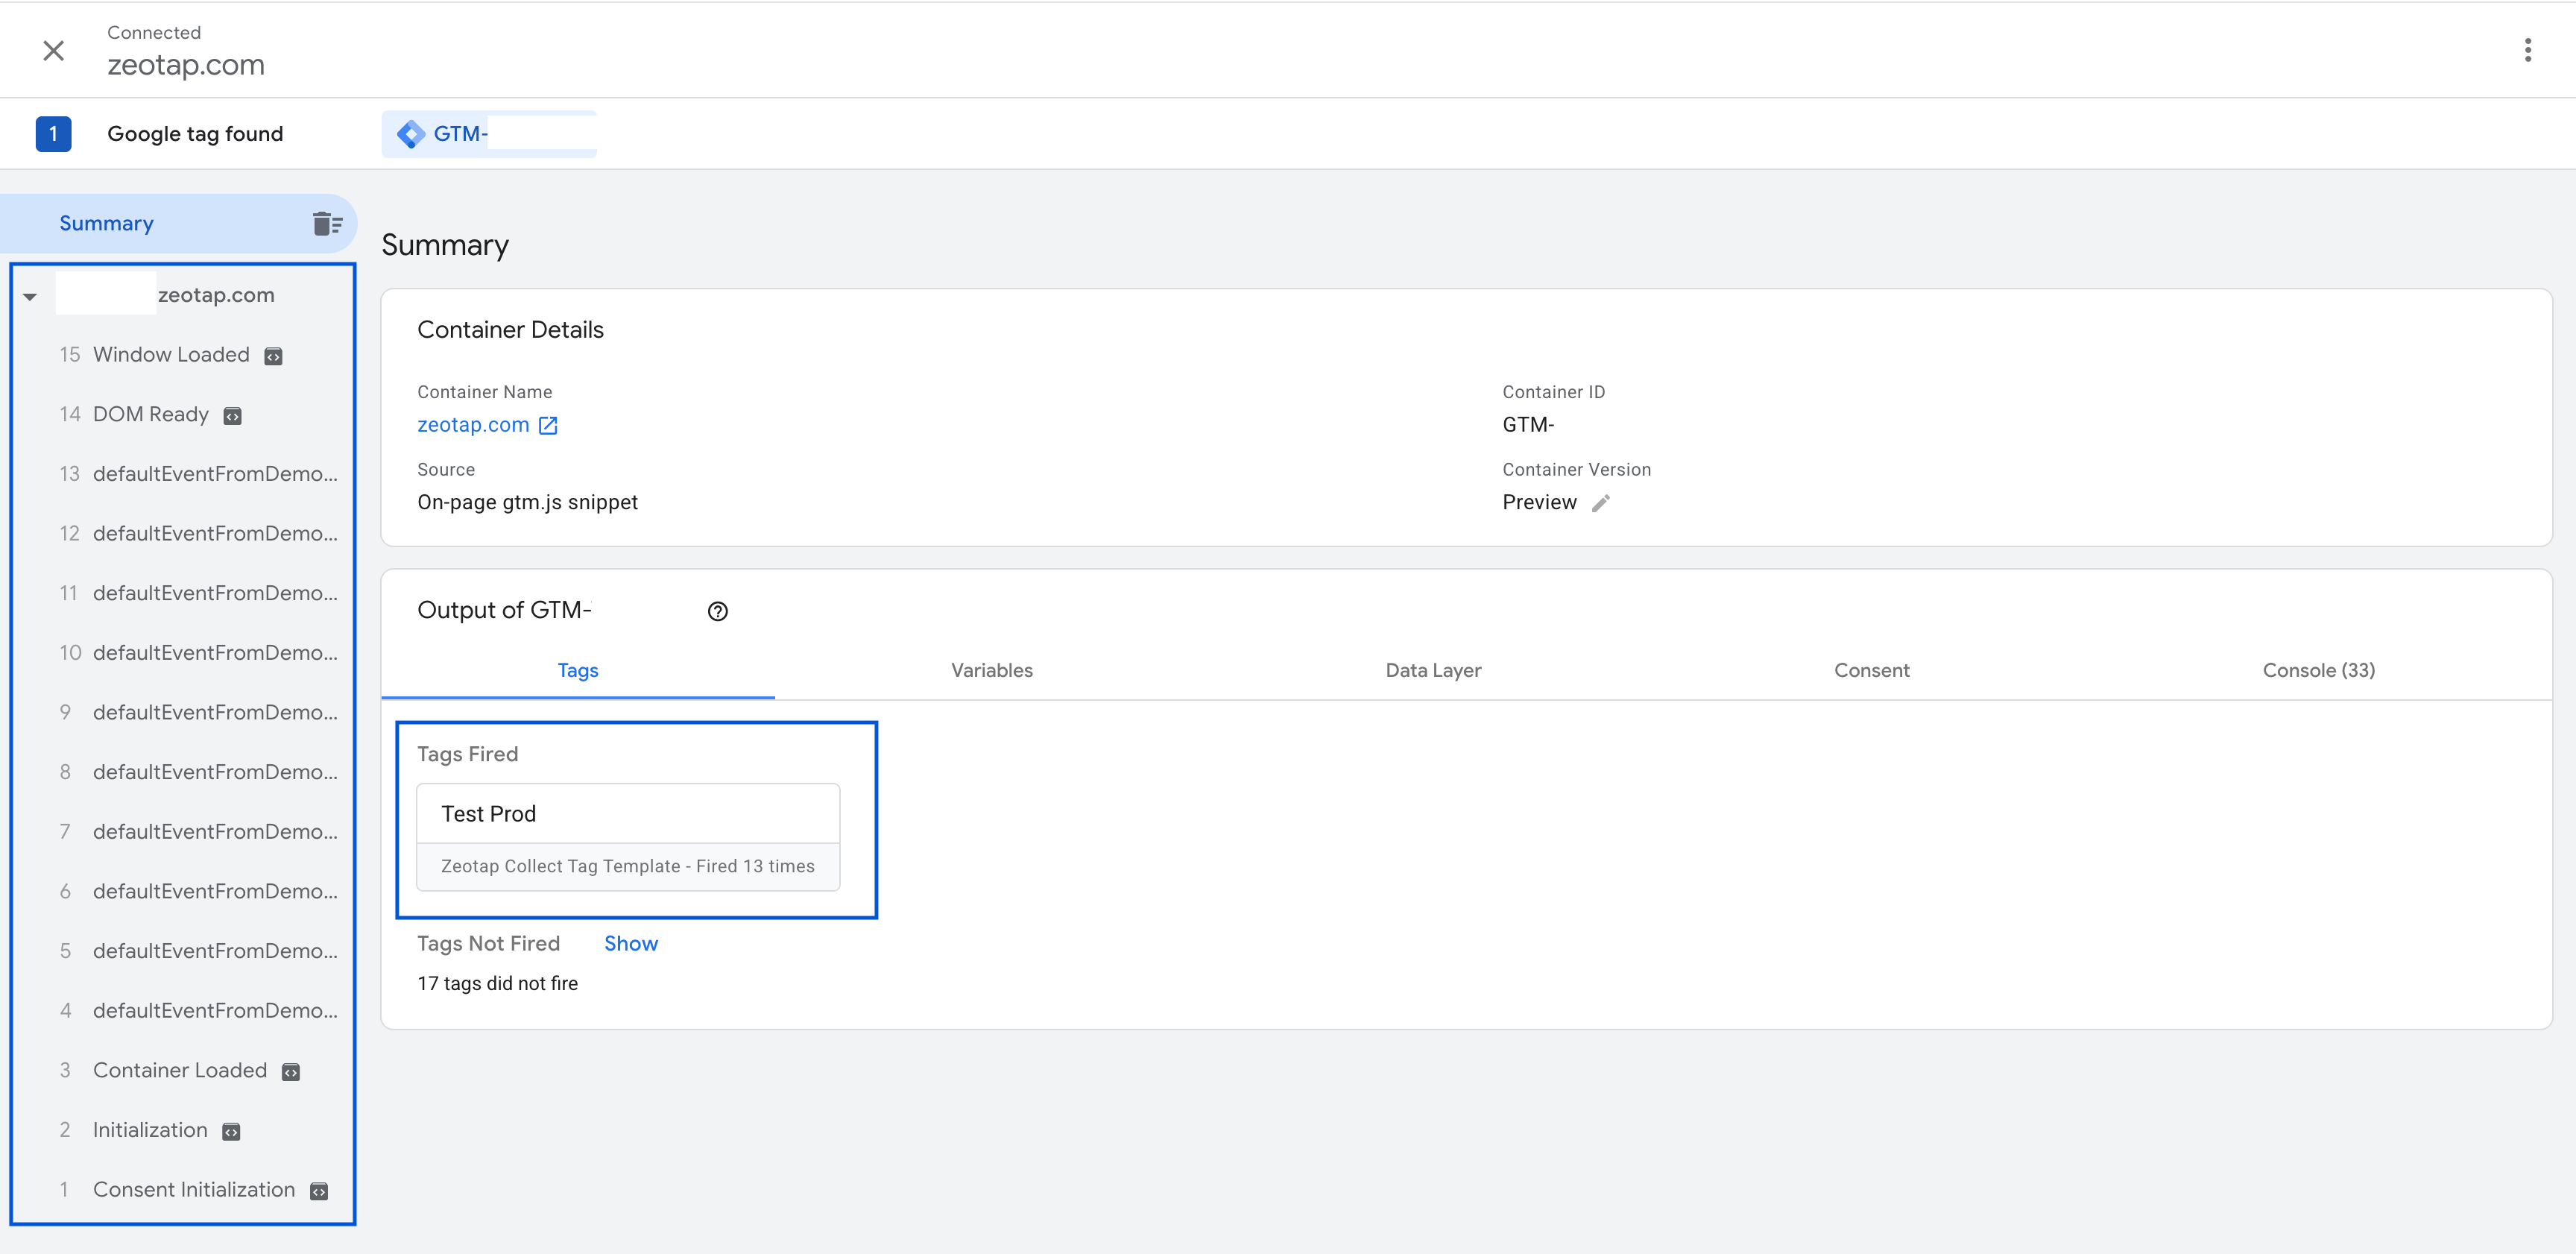
6. Review Tag Firing in Tag Assistant
- Return to the Tag Assistant tab.
- Click Continue to proceed to the next event.
- Under the Tags Fired section, verify that the Zeotap Collect Tag appears as fired.
Summary
By completing these steps, you can confirm:- The tag is active and configured correctly.
- It fires only for the intended events.
- Event data is being pushed to the
dataLayer.