Prerequisites
Ensure you have the following before proceeding:- Access to Adobe Experience Platform Tags (Launch) with edit permissions
- An active Zeotap Write Key (provided by your Zeotap representative)
- A published Adobe Launch property for your website
Step-by-Step Installation Guide
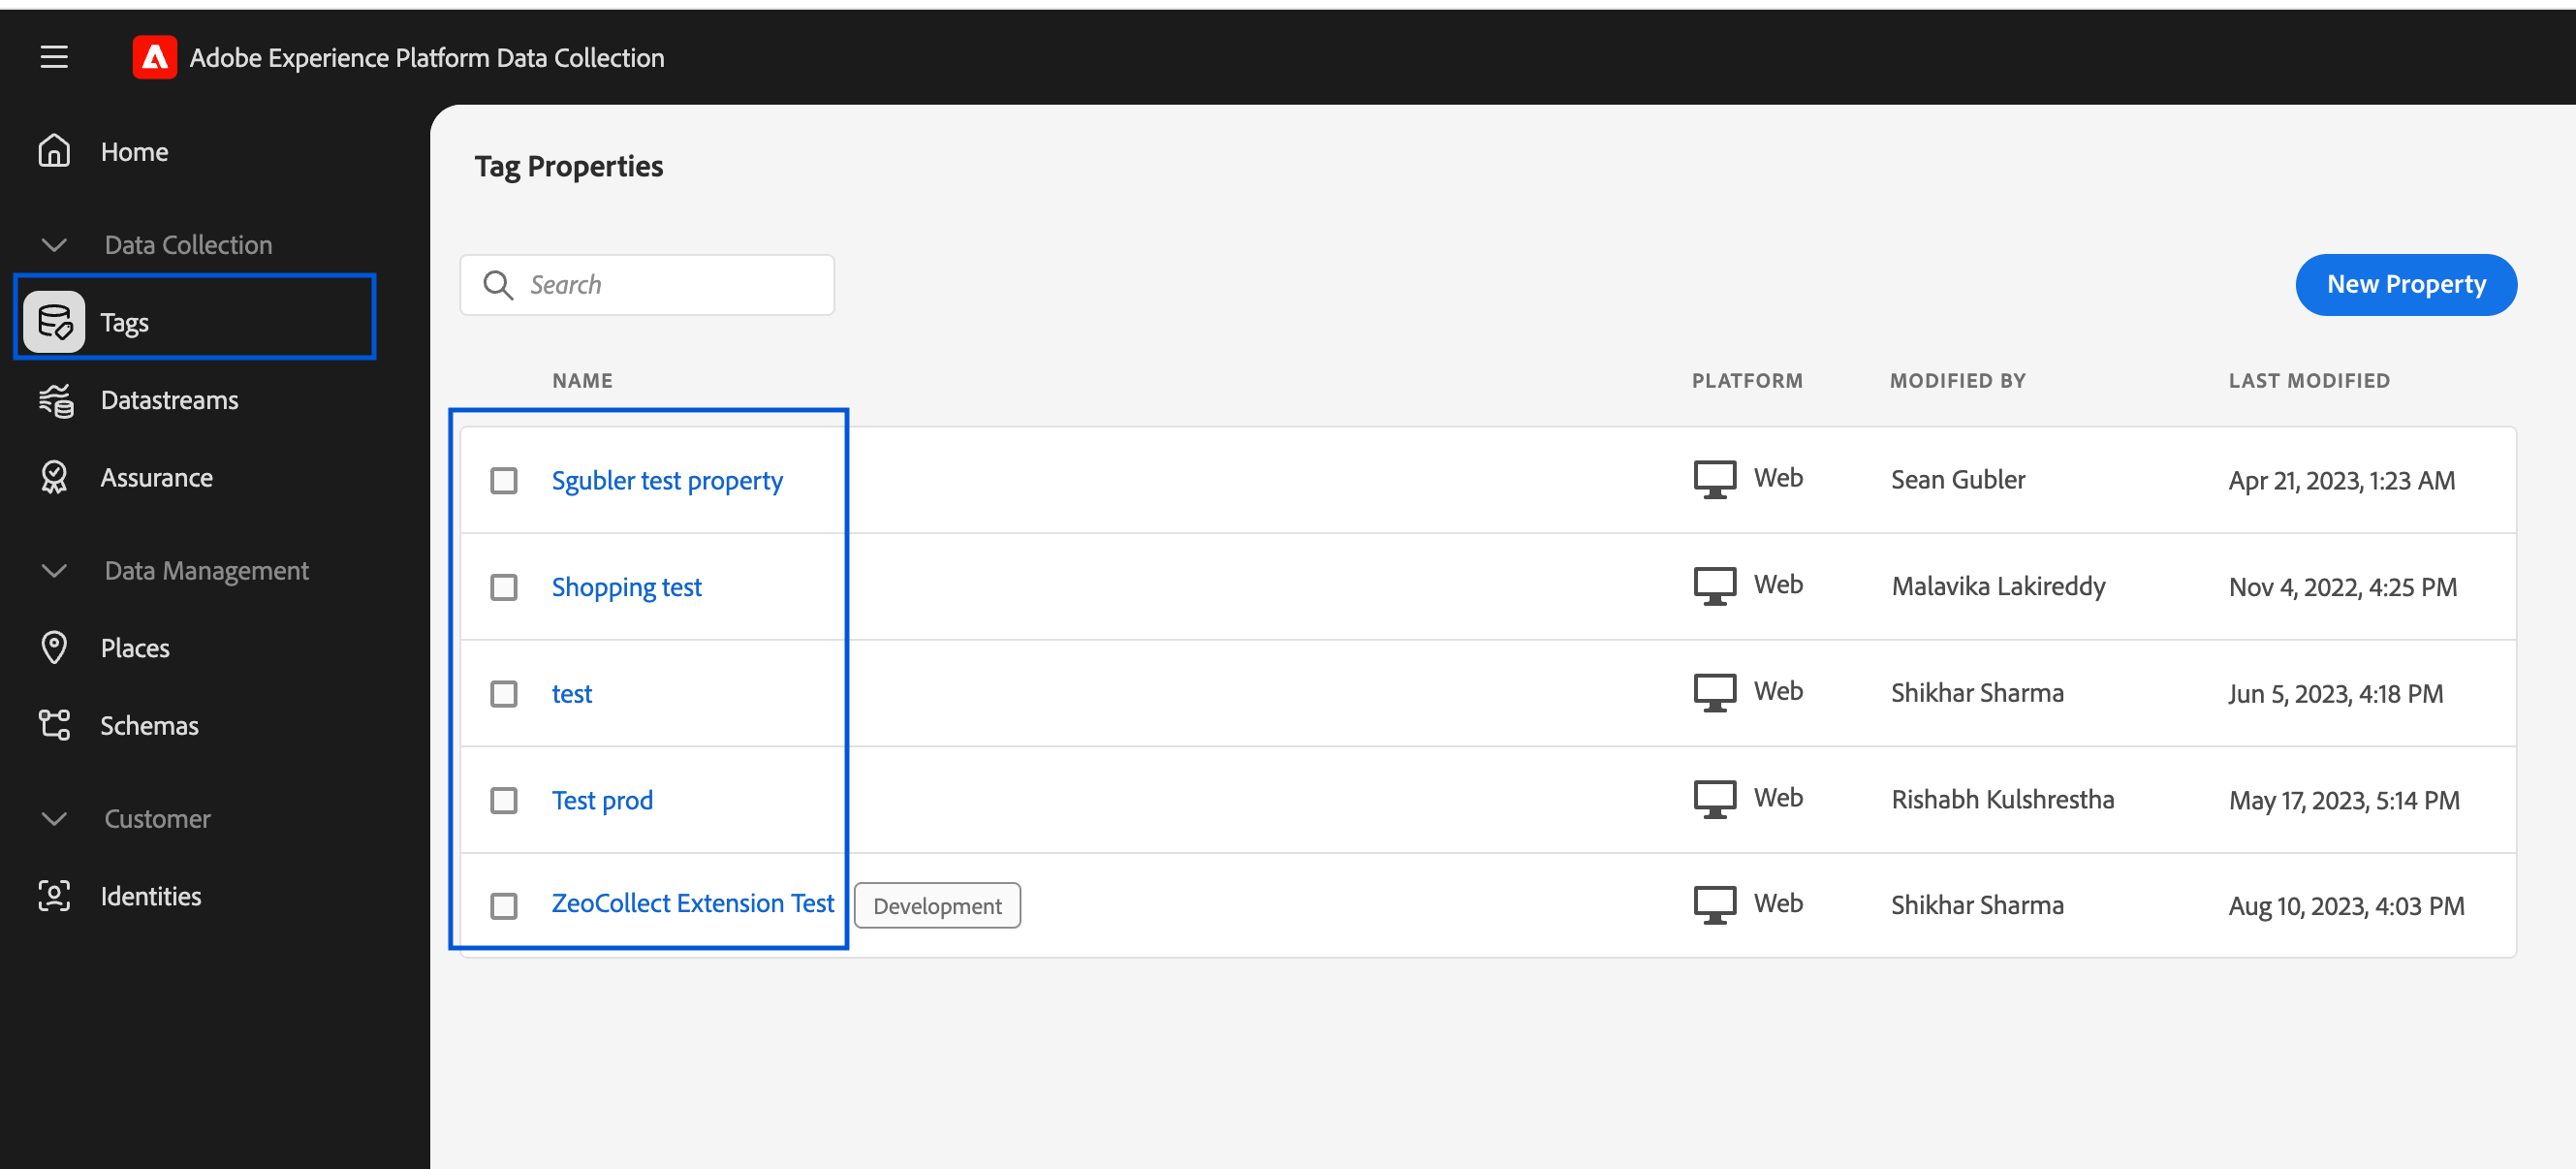
Step 1: Log into Adobe Launch
- Visit: https://experience.adobe.com/
- Navigate to Tags under Adobe Experience Platform
- Choose the appropriate Property for your website
Step 2: Open Extensions
- In the left-hand navigation, click Extensions
- Click the Catalog tab
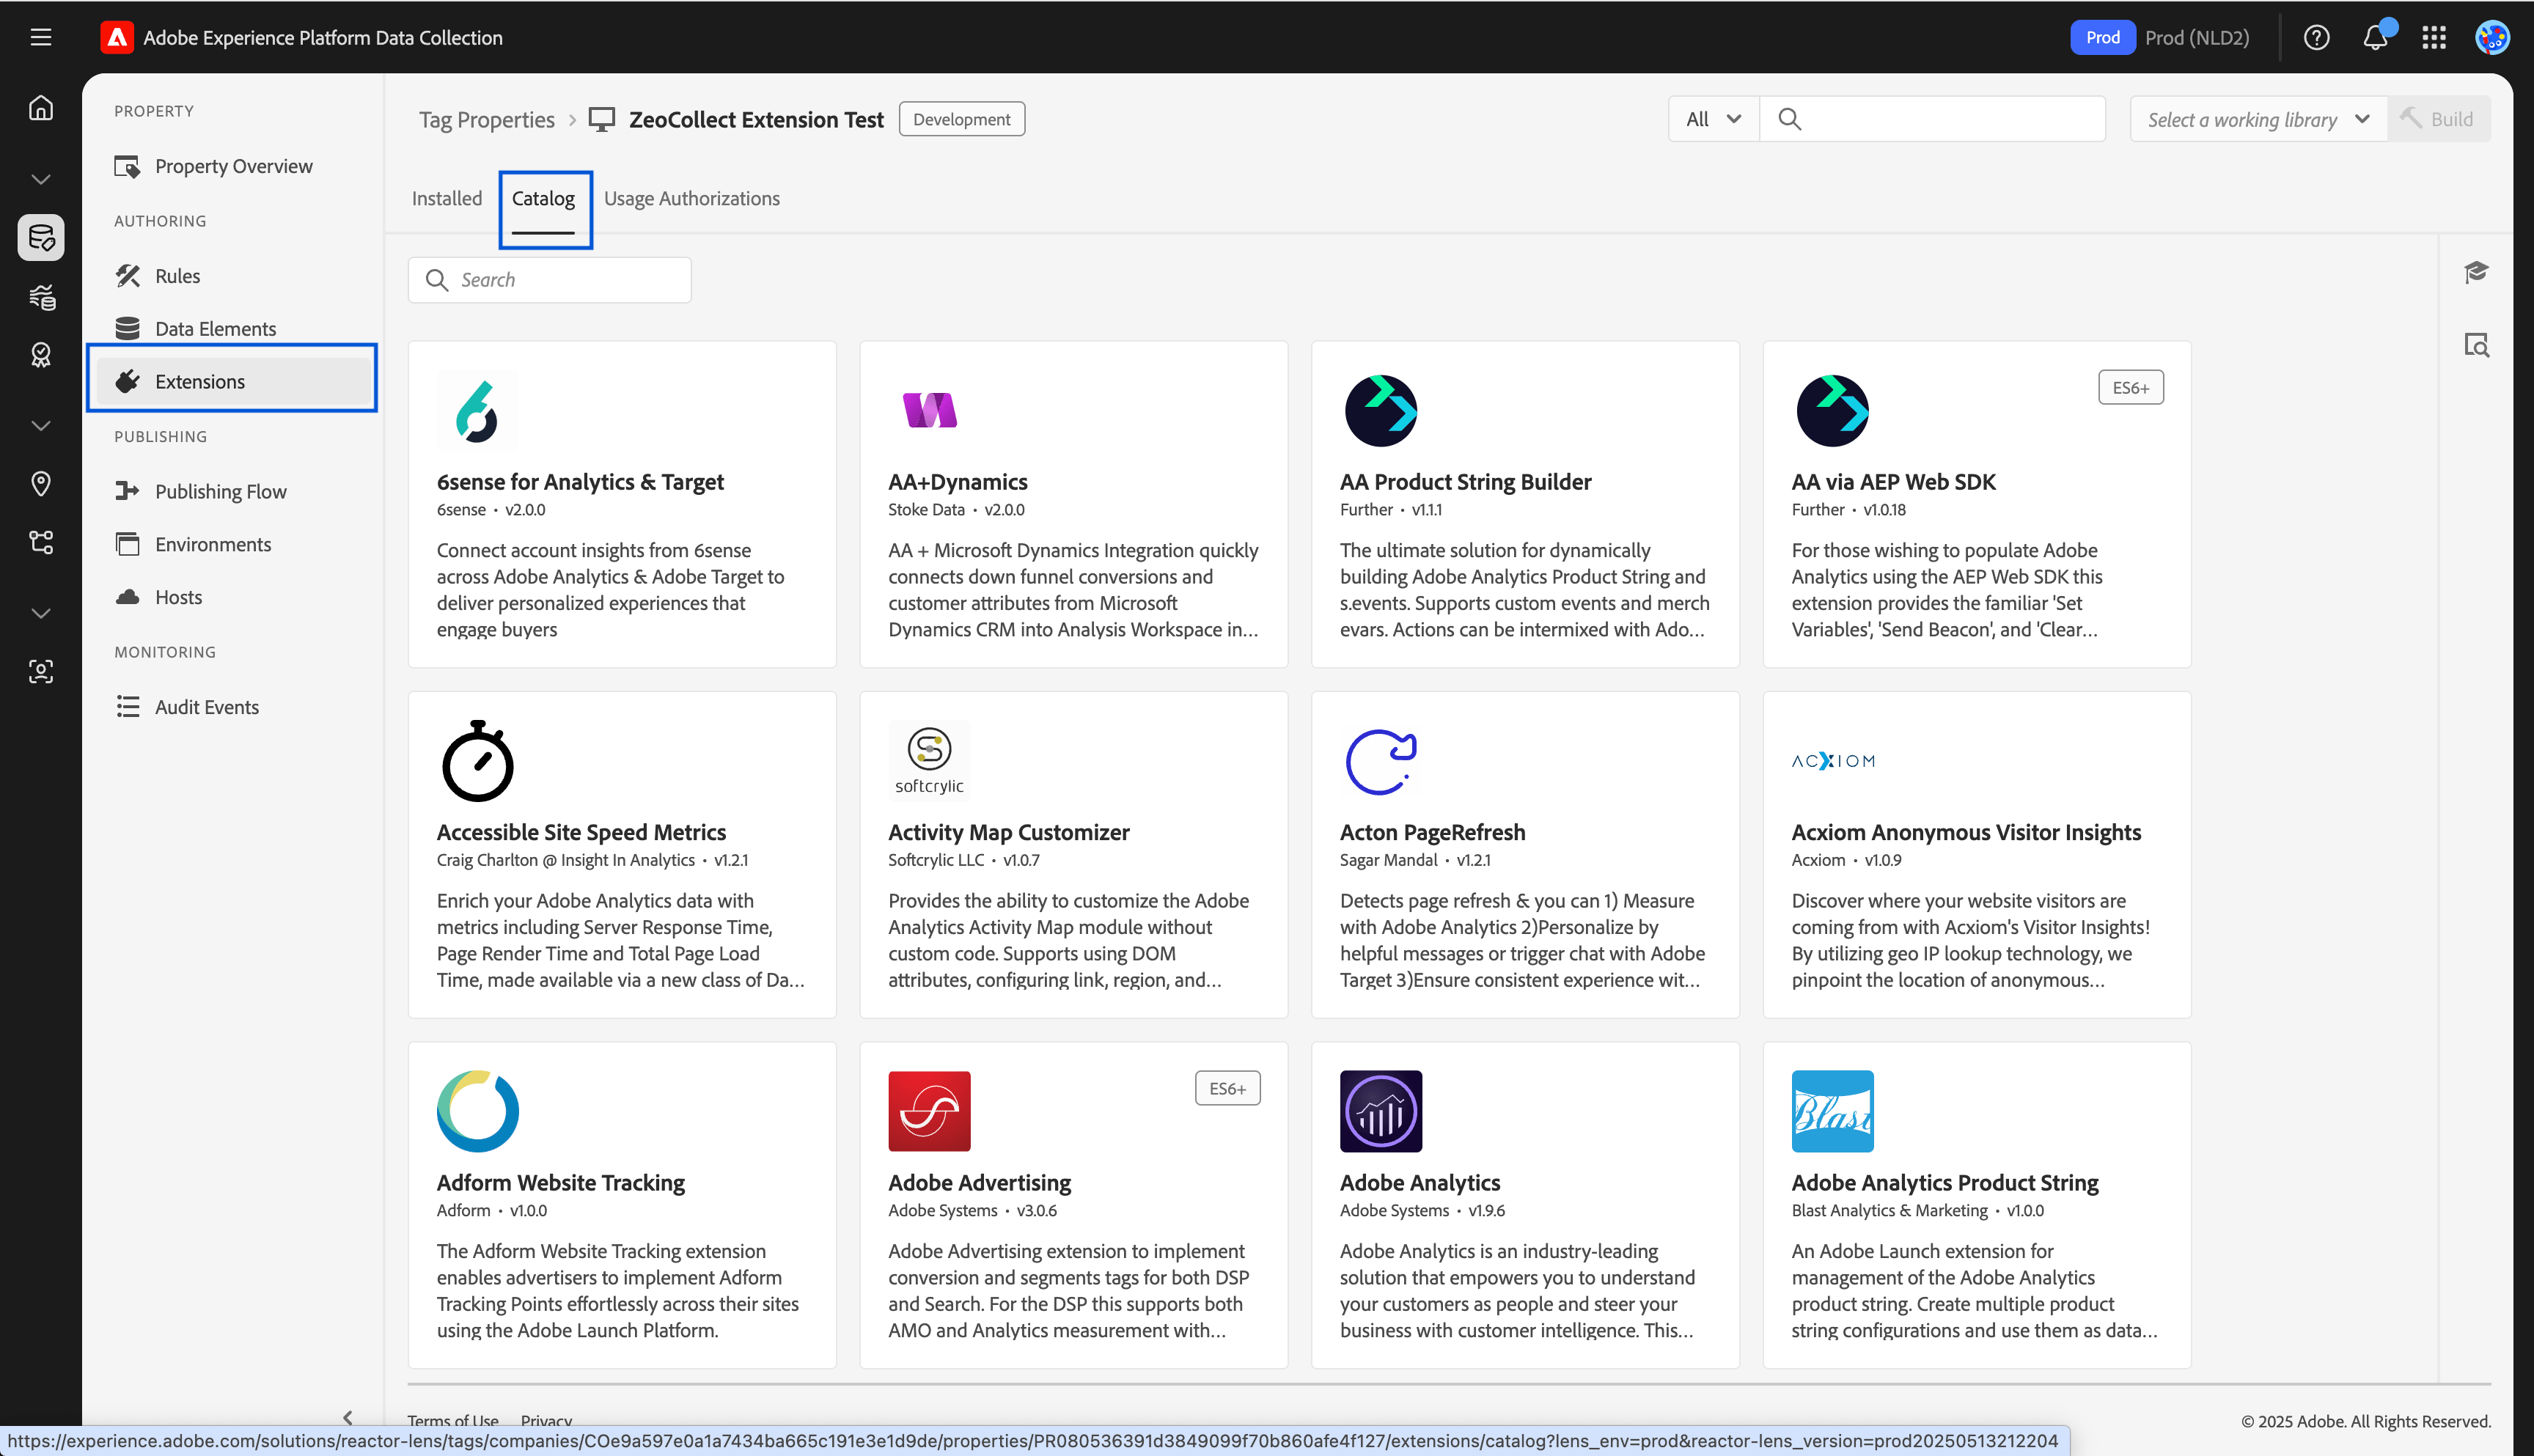
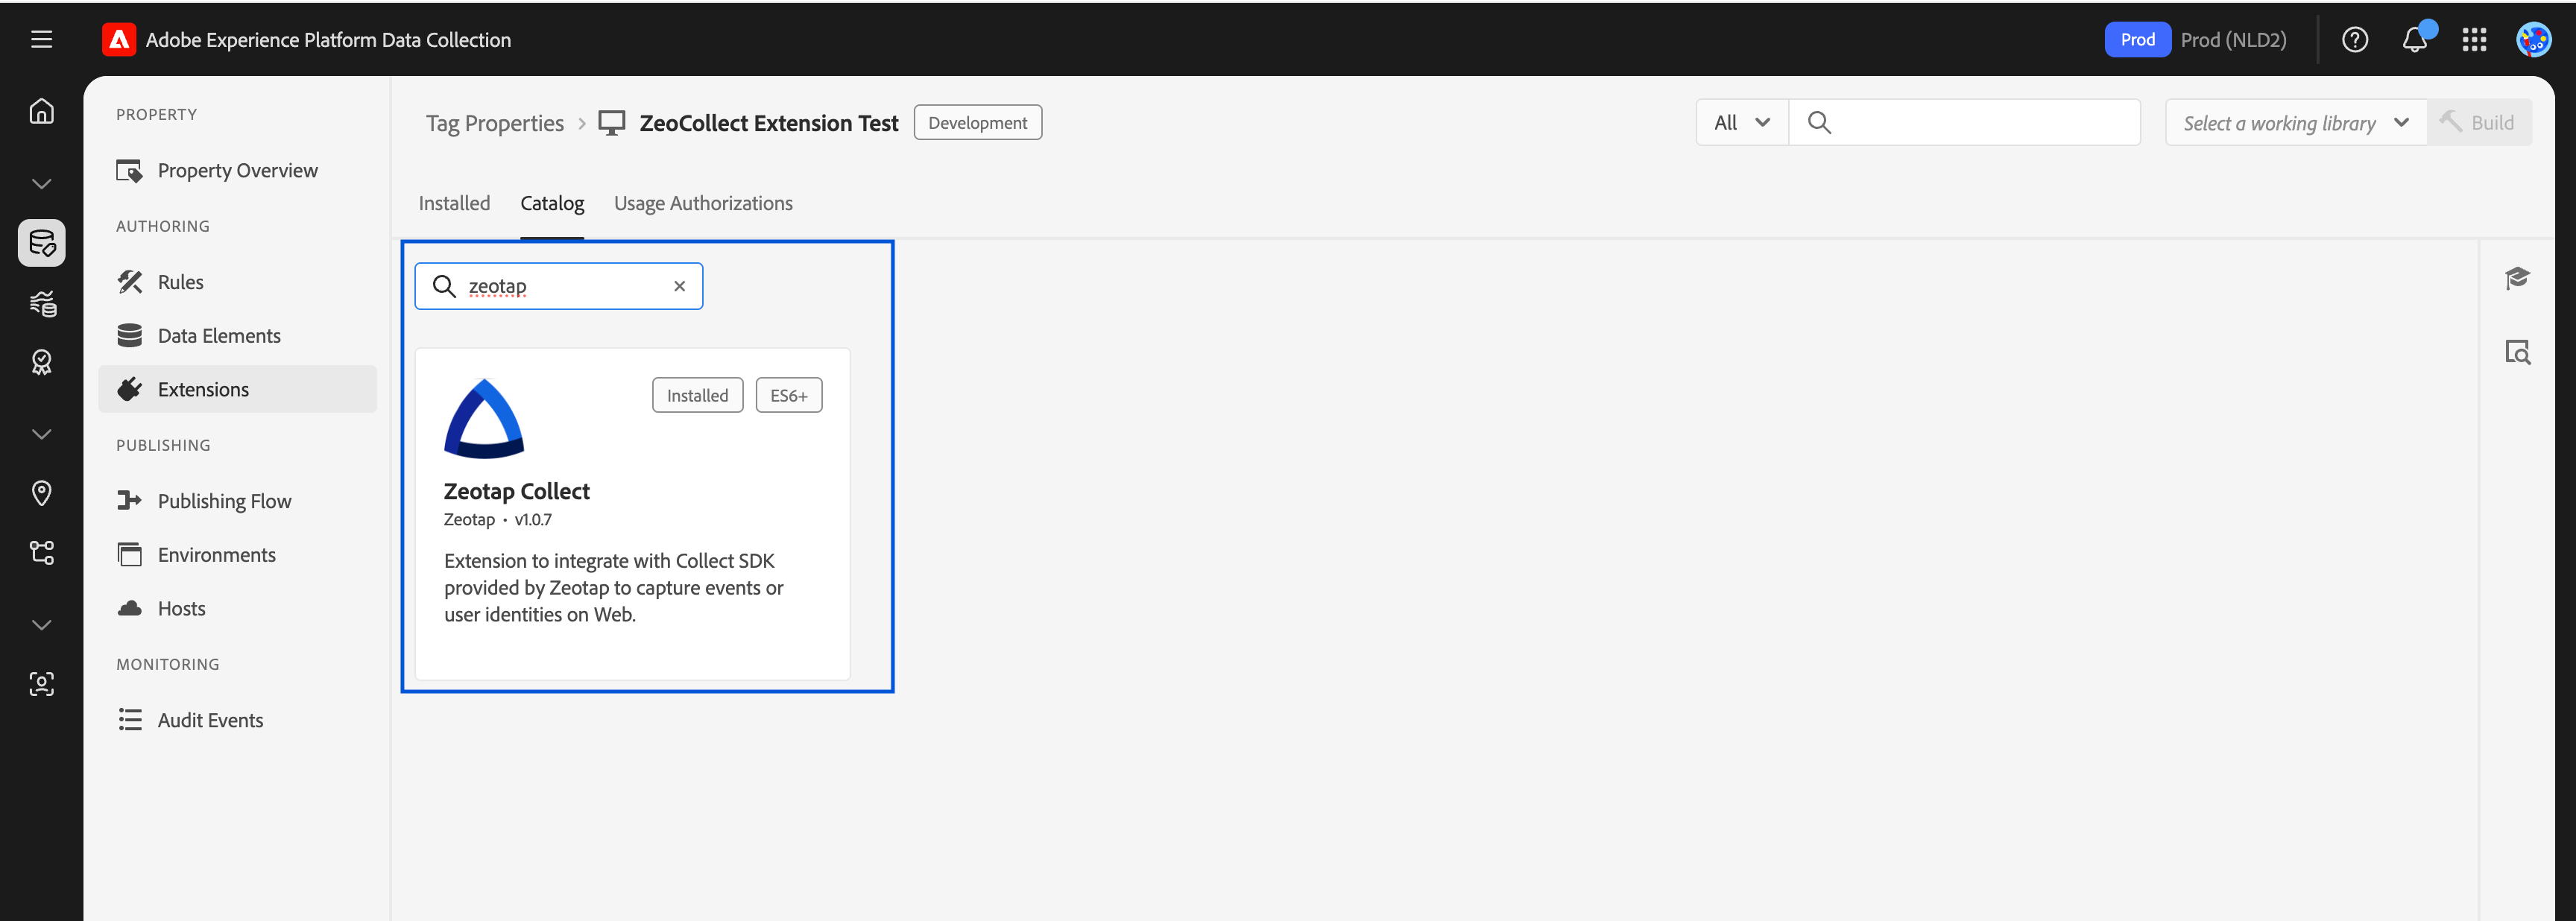
Step 3: Locate Zeotap Collect Extension
- Use the search bar to find
Zeotap Collect - Click the Install button next to the extension
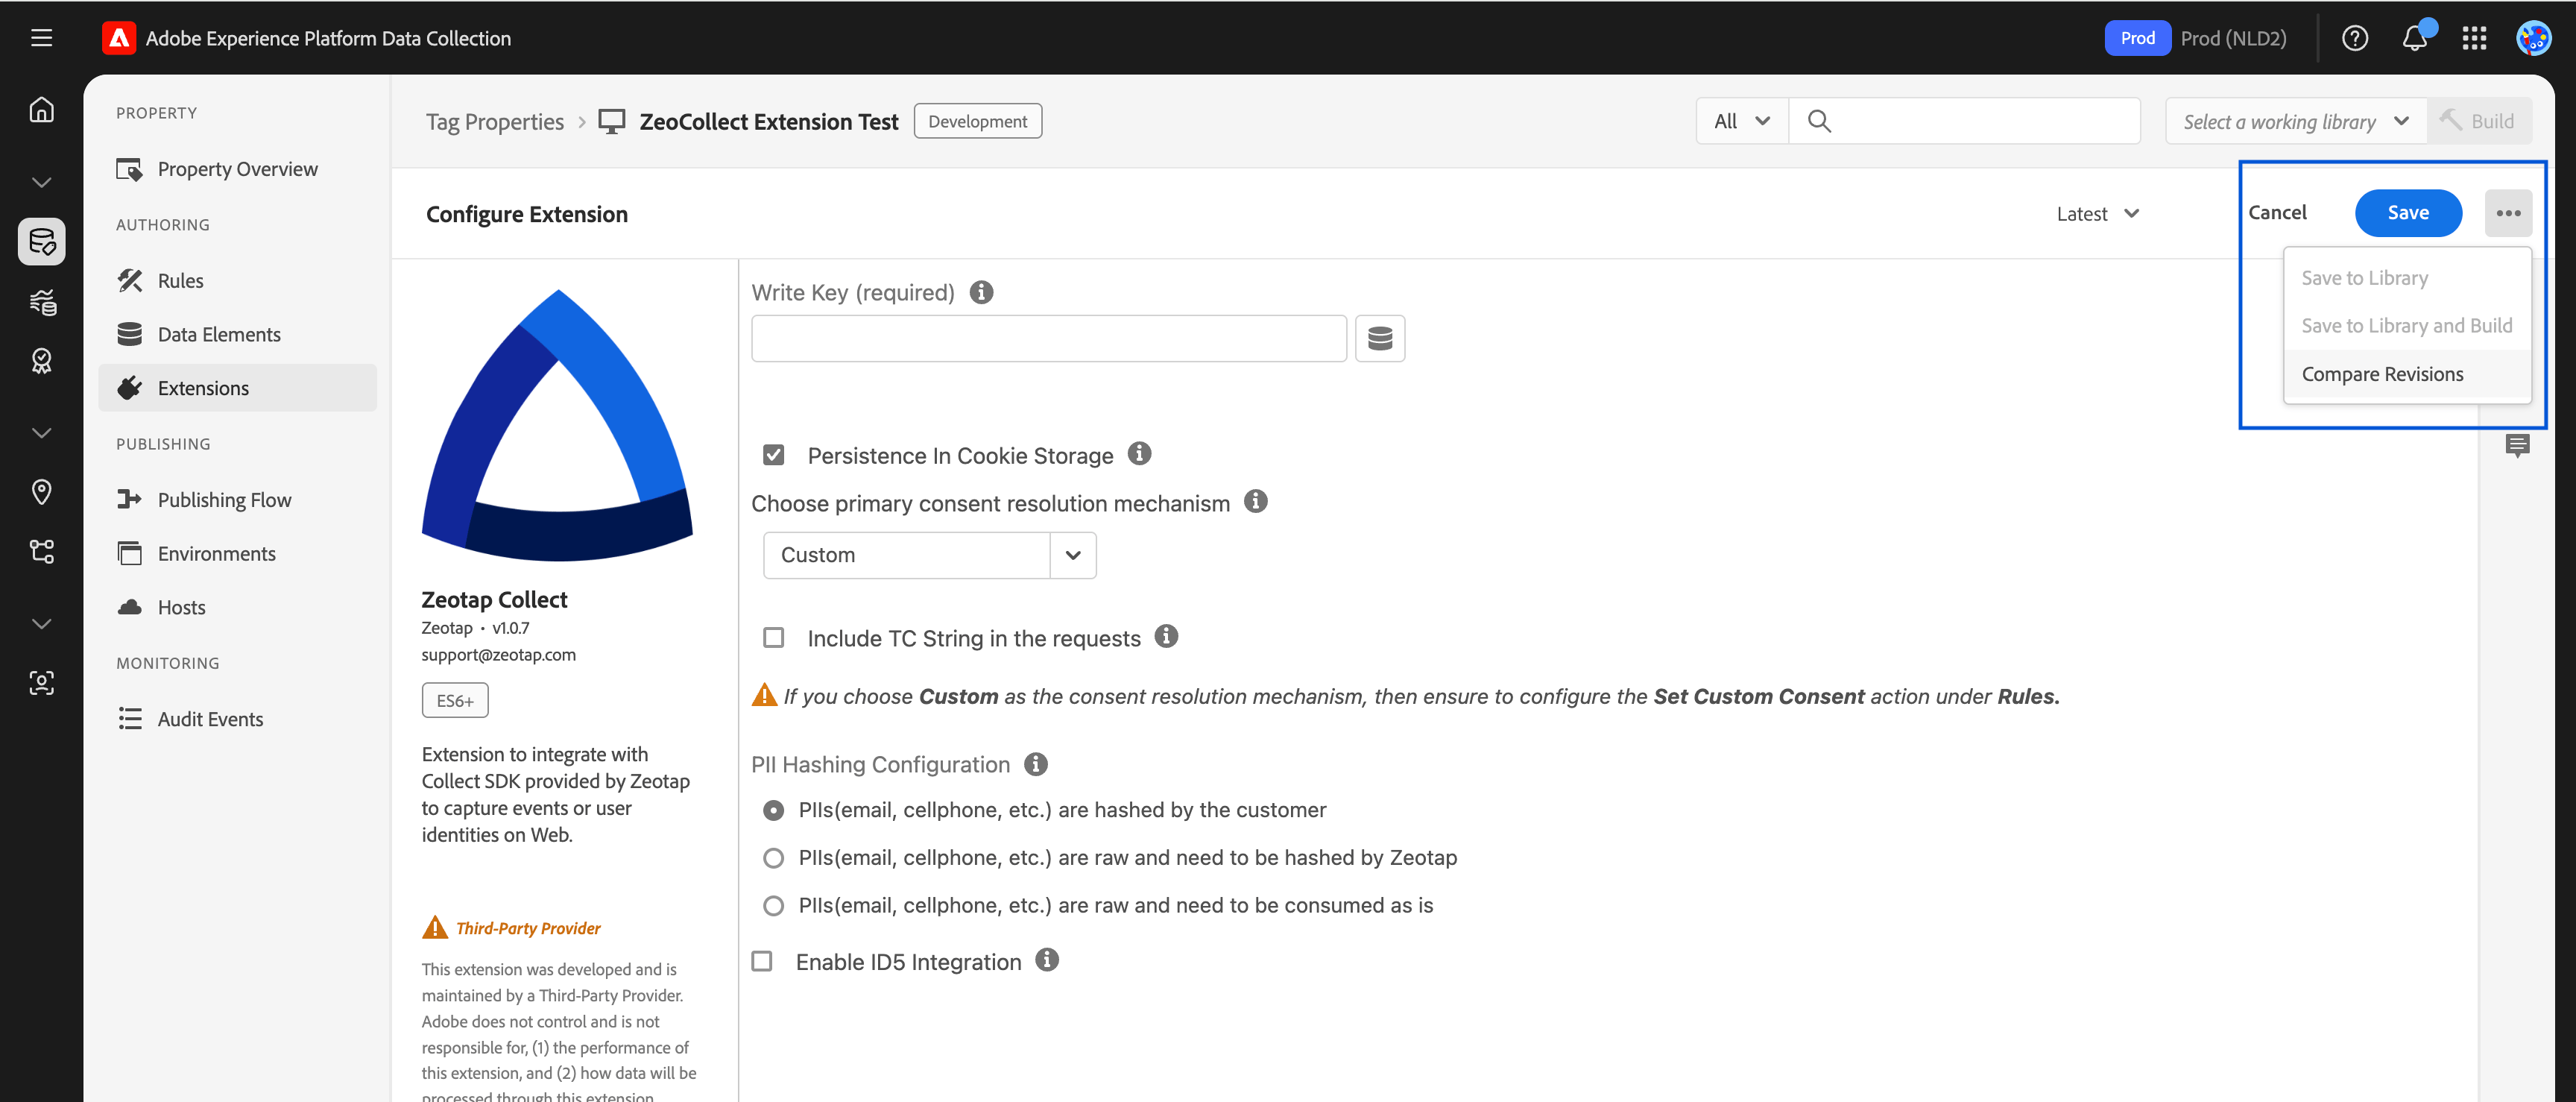
Step 4: Add the Extension to Your Property
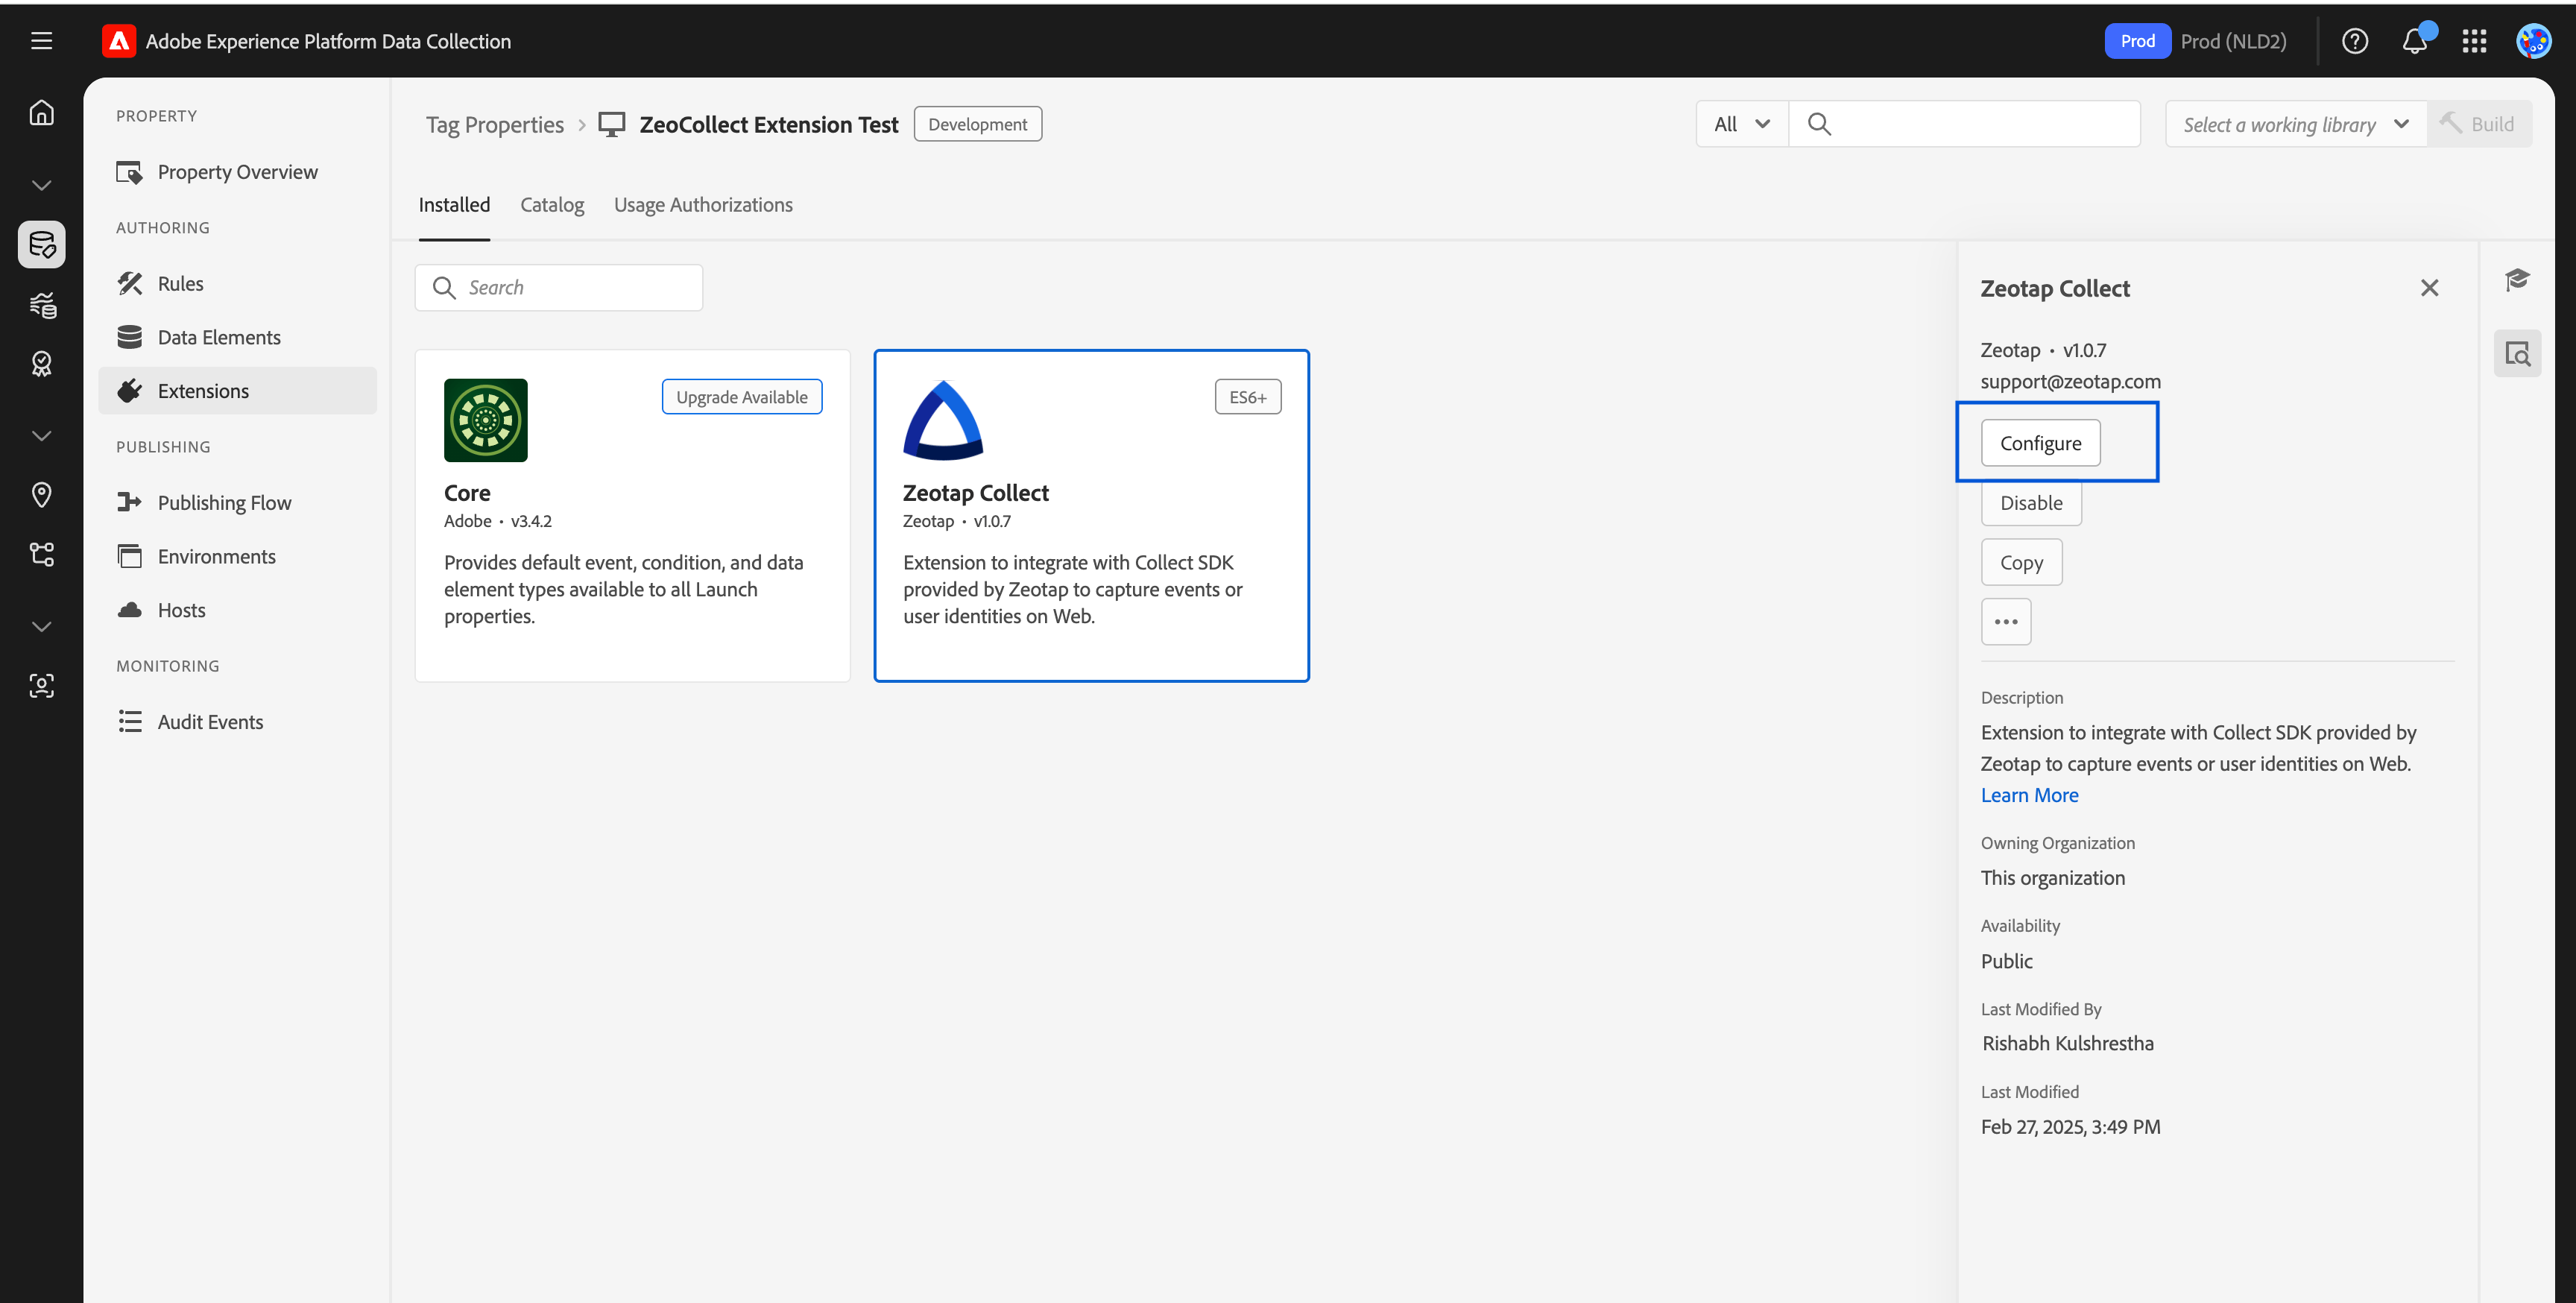
Once installed:- Go to the Installed tab
- Click on Zeotap Collect
- Proceed to configure the extension
Step 5: Save and Build
- After adding the extension, click Save
- Navigate to Publishing Flow
- Build a new library and assign it to the relevant environment (e.g., Development, Staging, Production)
- Click Submit, Approve, and Publish (if ready)
After installation and configuration, you can proceed to set up rules and actions for tracking events, syncing user identities, and managing consent.