

What this is
The Cleverpush (Real-time) source carries data into Zeotap CDP. You configure a webhook inside Cleverpush that points at the API URL Zeotap CDP generated for your source, and Cleverpush pushes the events you select as they happen. To send data the other way — out of Zeotap CDP and into Cleverpush — use the Cleverpush Real Time Integration for Journeys, or the Cleverpush destination for audience activation. This page covers the Cleverpush side of the connection. Creating the source itself is covered in Create a Cleverpush Real-Time Source.Supported identifiers
The integration fetches information about the subscribers of a Cleverpush channel, such as the subscription ID, channel ID,created_at, country, custom attributes and segments. For the integration overview, see Cleverpush Real Time Source.
Not every field a webhook sends is ingested. See Some fields are missing from the ingested data.
Prerequisites
Before you configure the webhook, make sure you have the following:- A Cleverpush channel. If you have not created one yet, see Create a New Channel in Cleverpush.
- At least one platform set up on that channel. The webhook is configured per platform, and Zeotap CDP supports Web Push, App Push and Email Push. Setup steps for each platform are in the Cleverpush appendix.
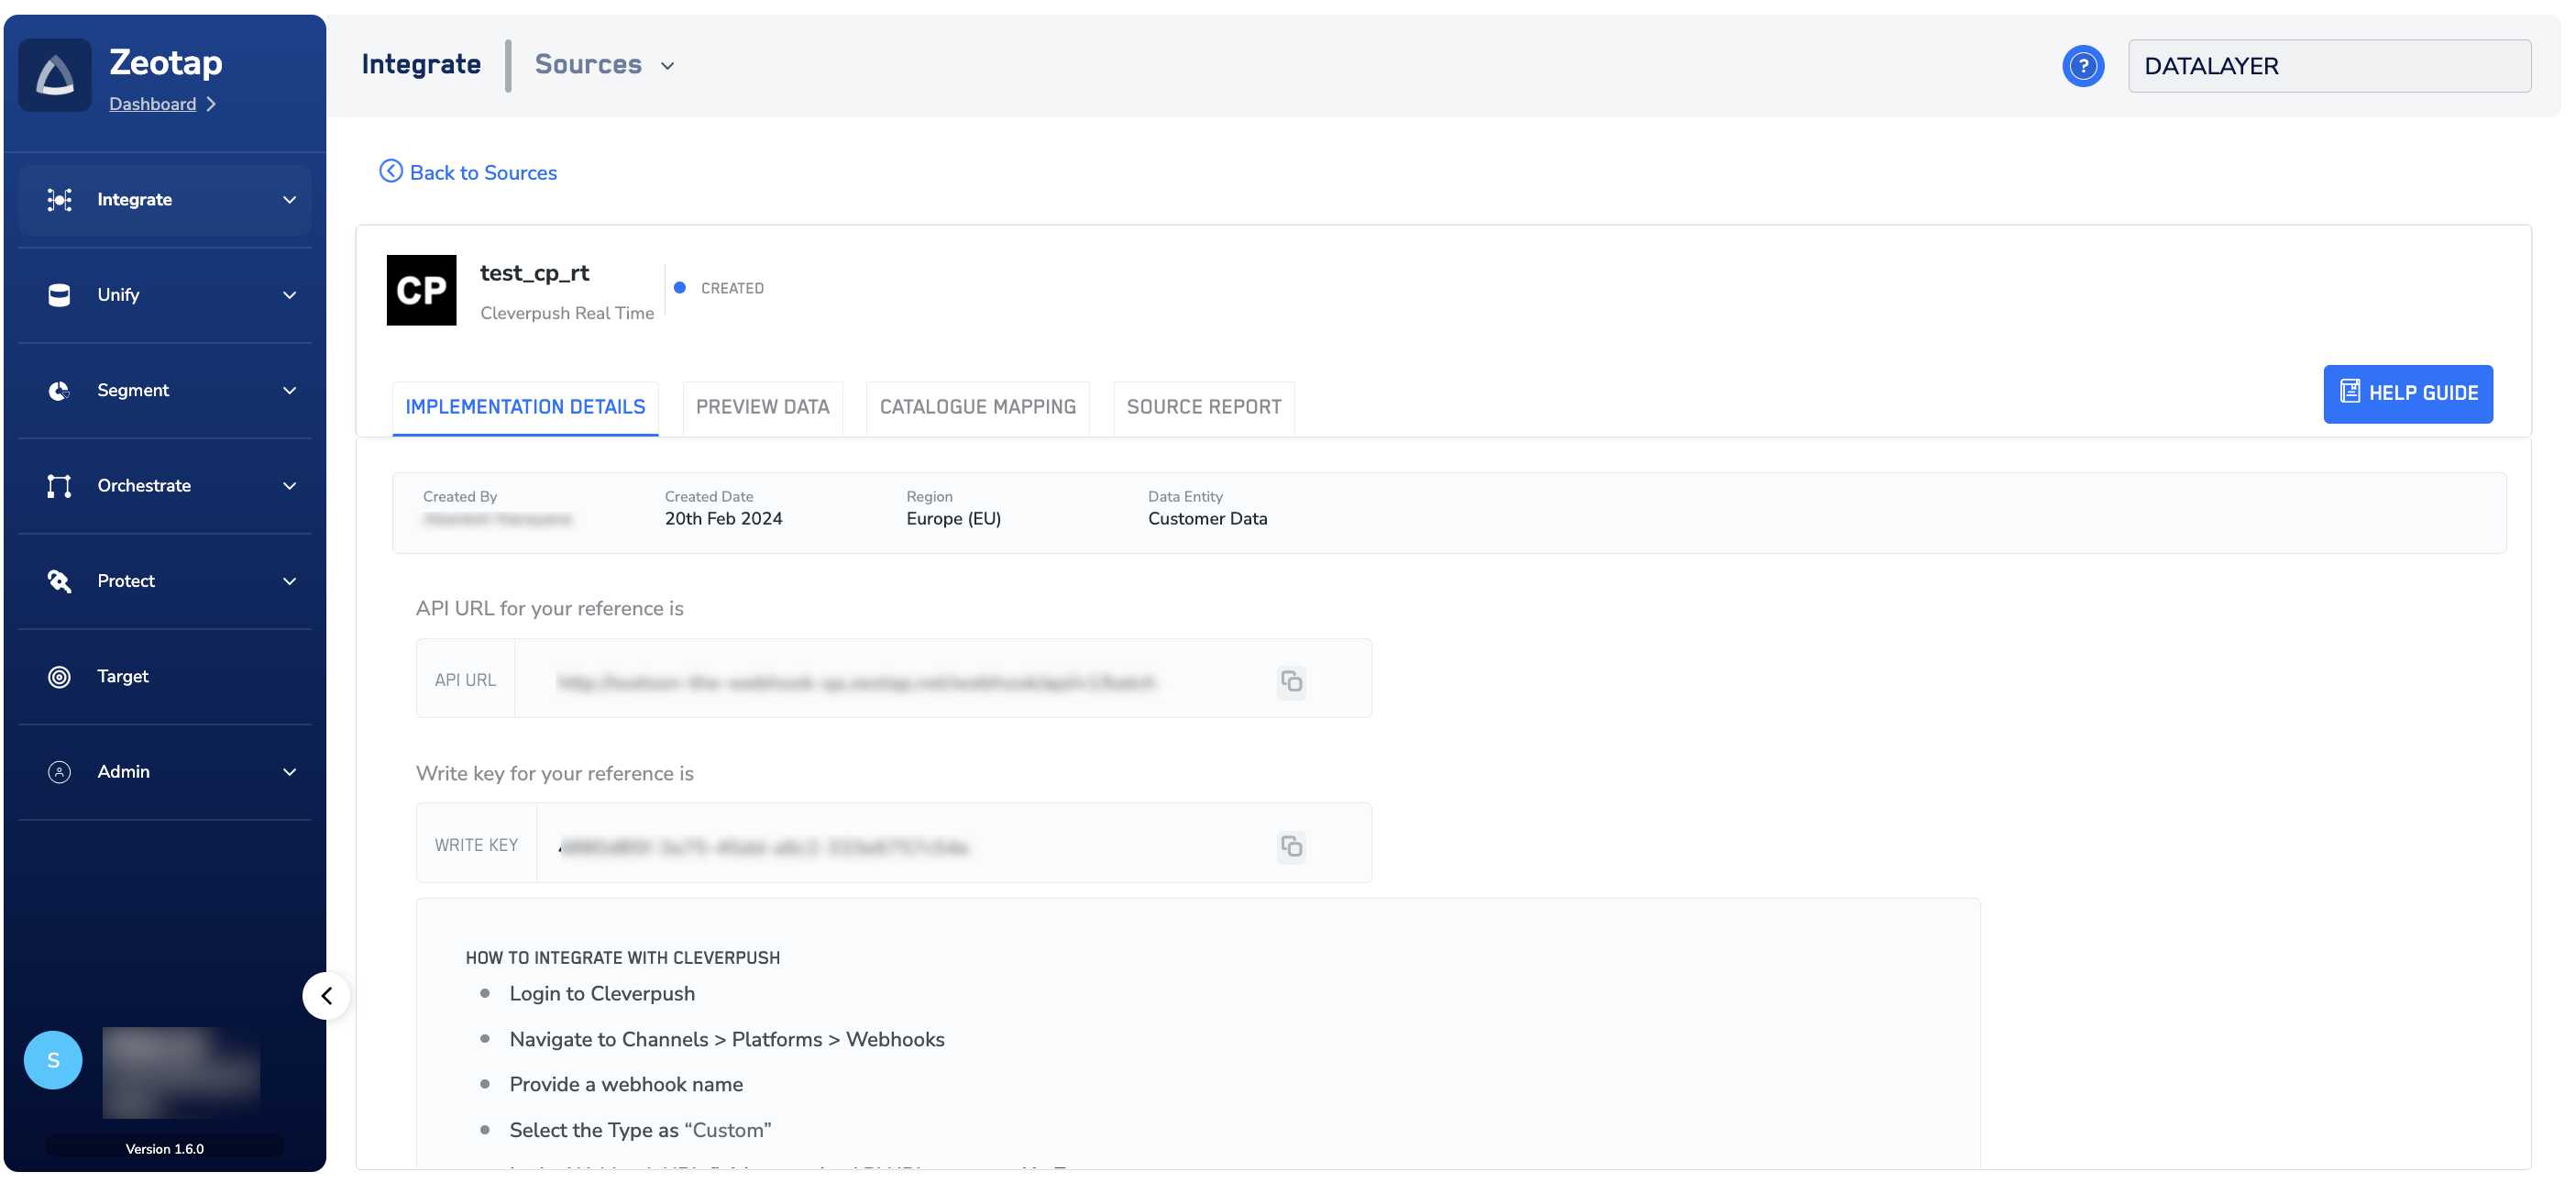
- A Cleverpush (Real-time) source created in Zeotap CDP. Creating the source generates an API URL and a Write Key, both shown on the source’s IMPLEMENTATION DETAILS tab. Copy both before you start; you paste them into Cleverpush below.
Set up the channel and its platforms in Cleverpush
1
Open Channels
Log into the Cleverpush platform and go to Channels.
2
Select your channel
Select the channel you created from the Channels drop-down menu.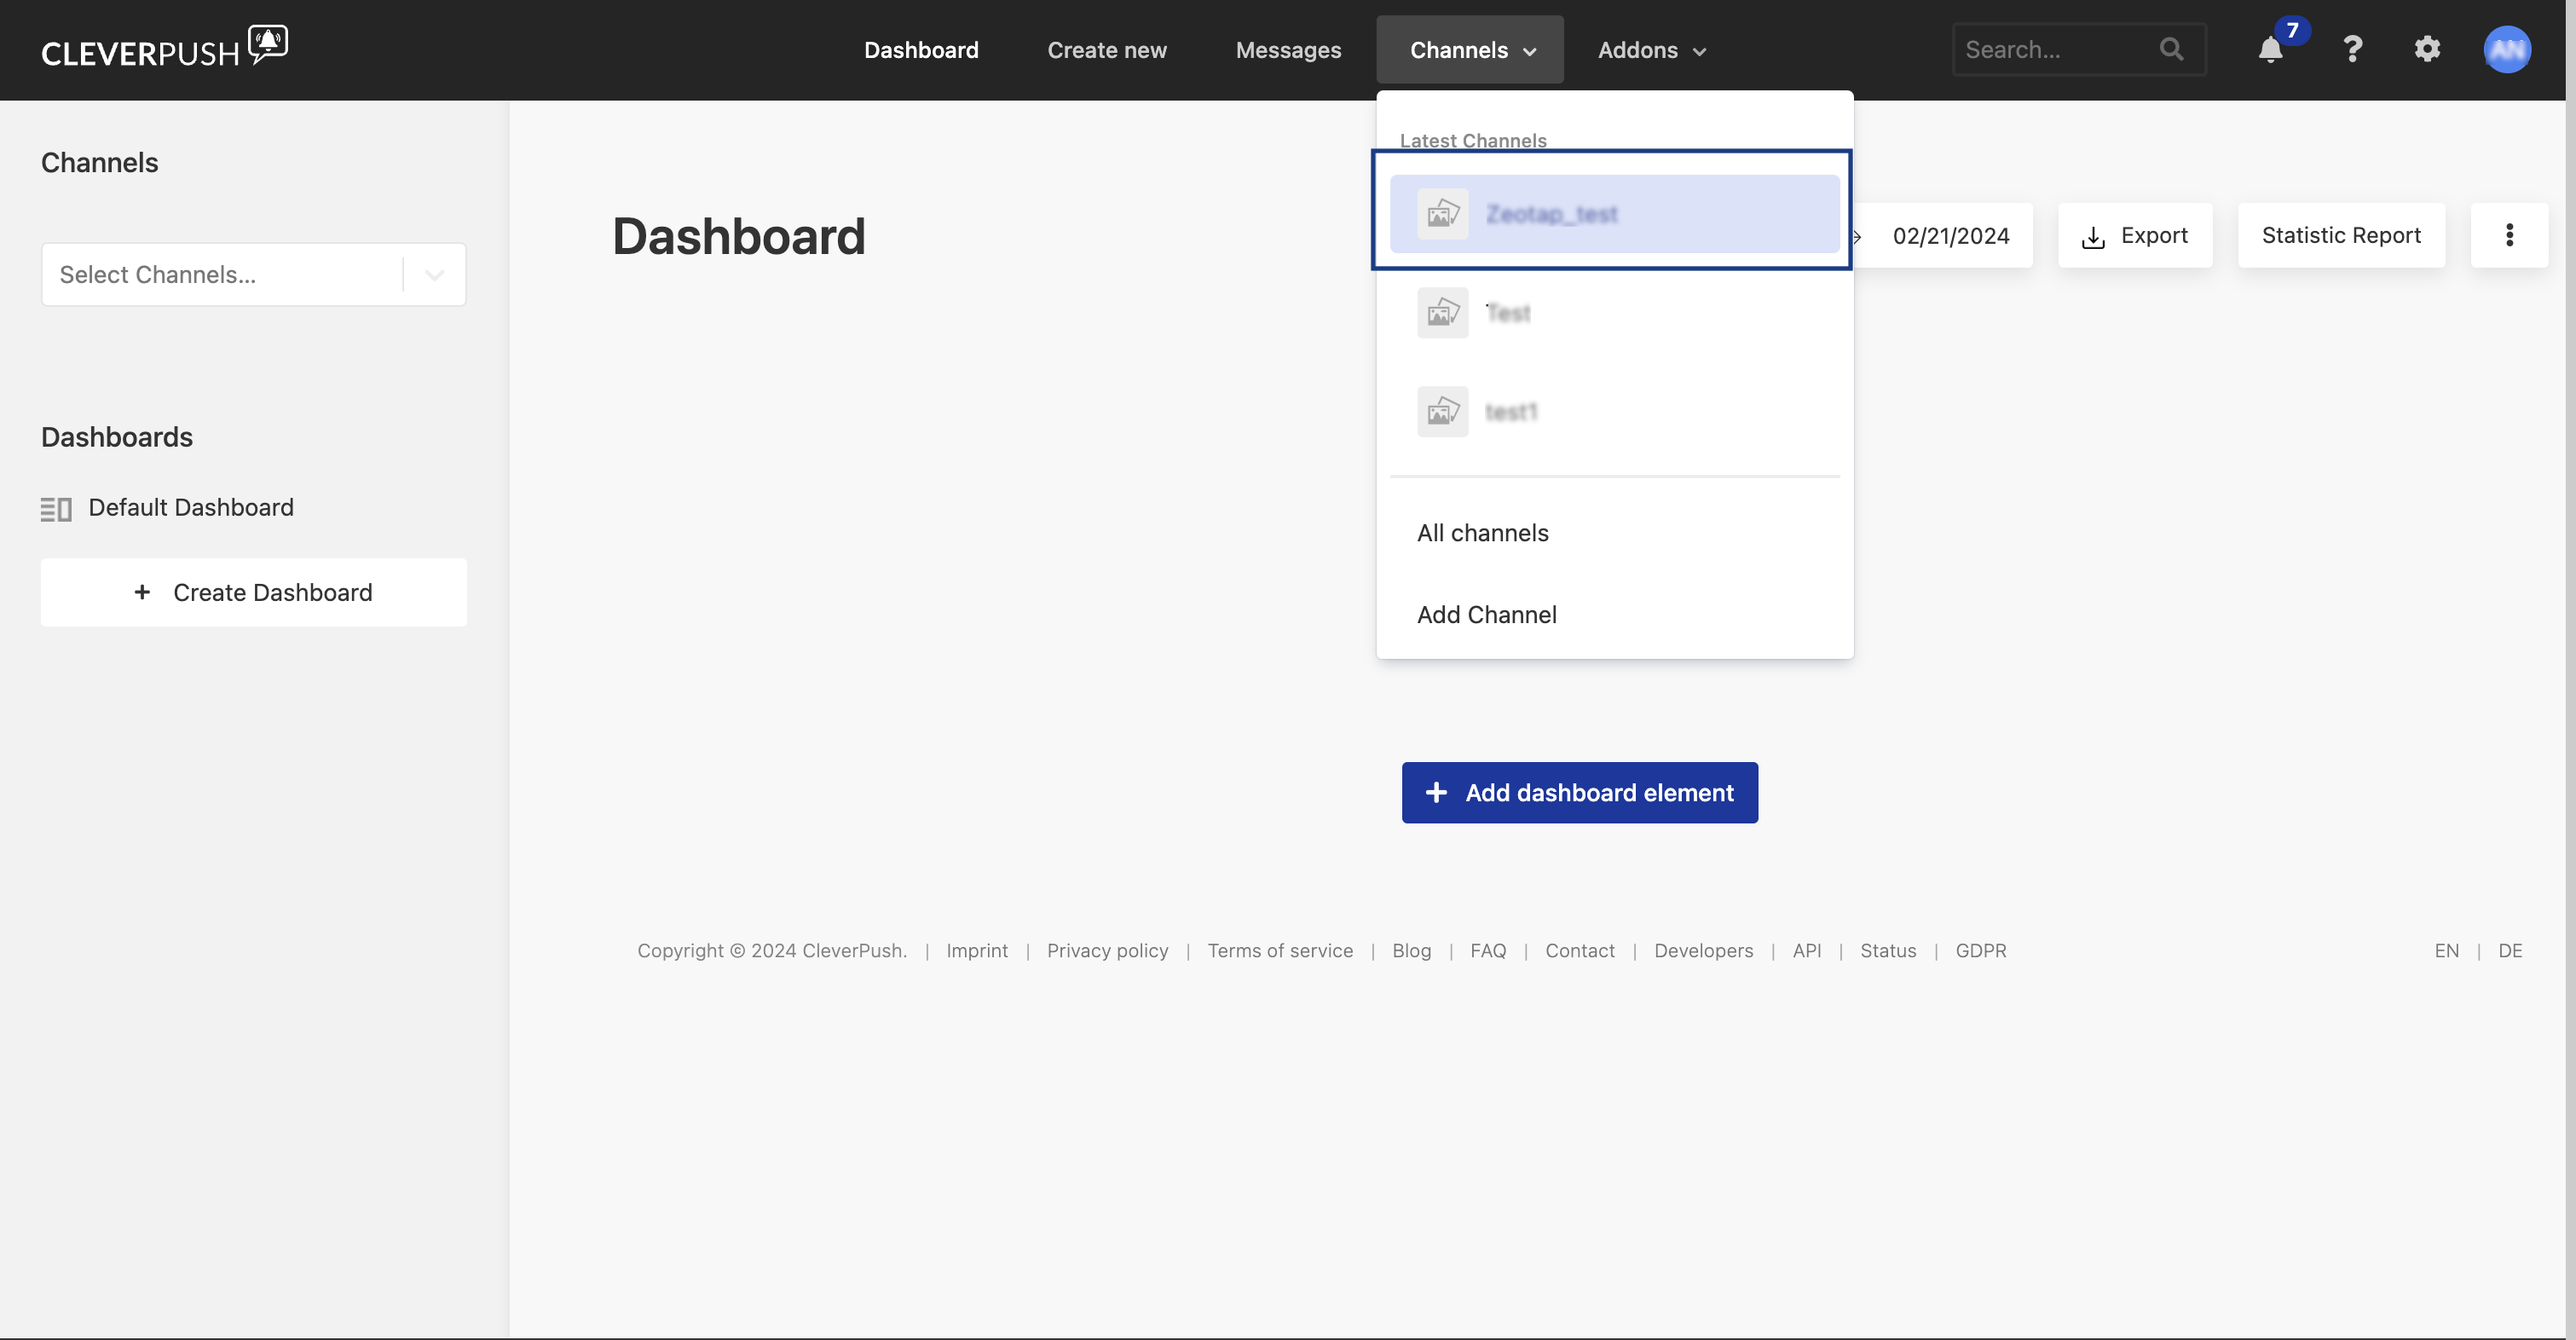
3
Set up the platforms
On that channel, set up the platforms you want notifications pushed to. Zeotap CDP supports Web Push, App Push and Email Push.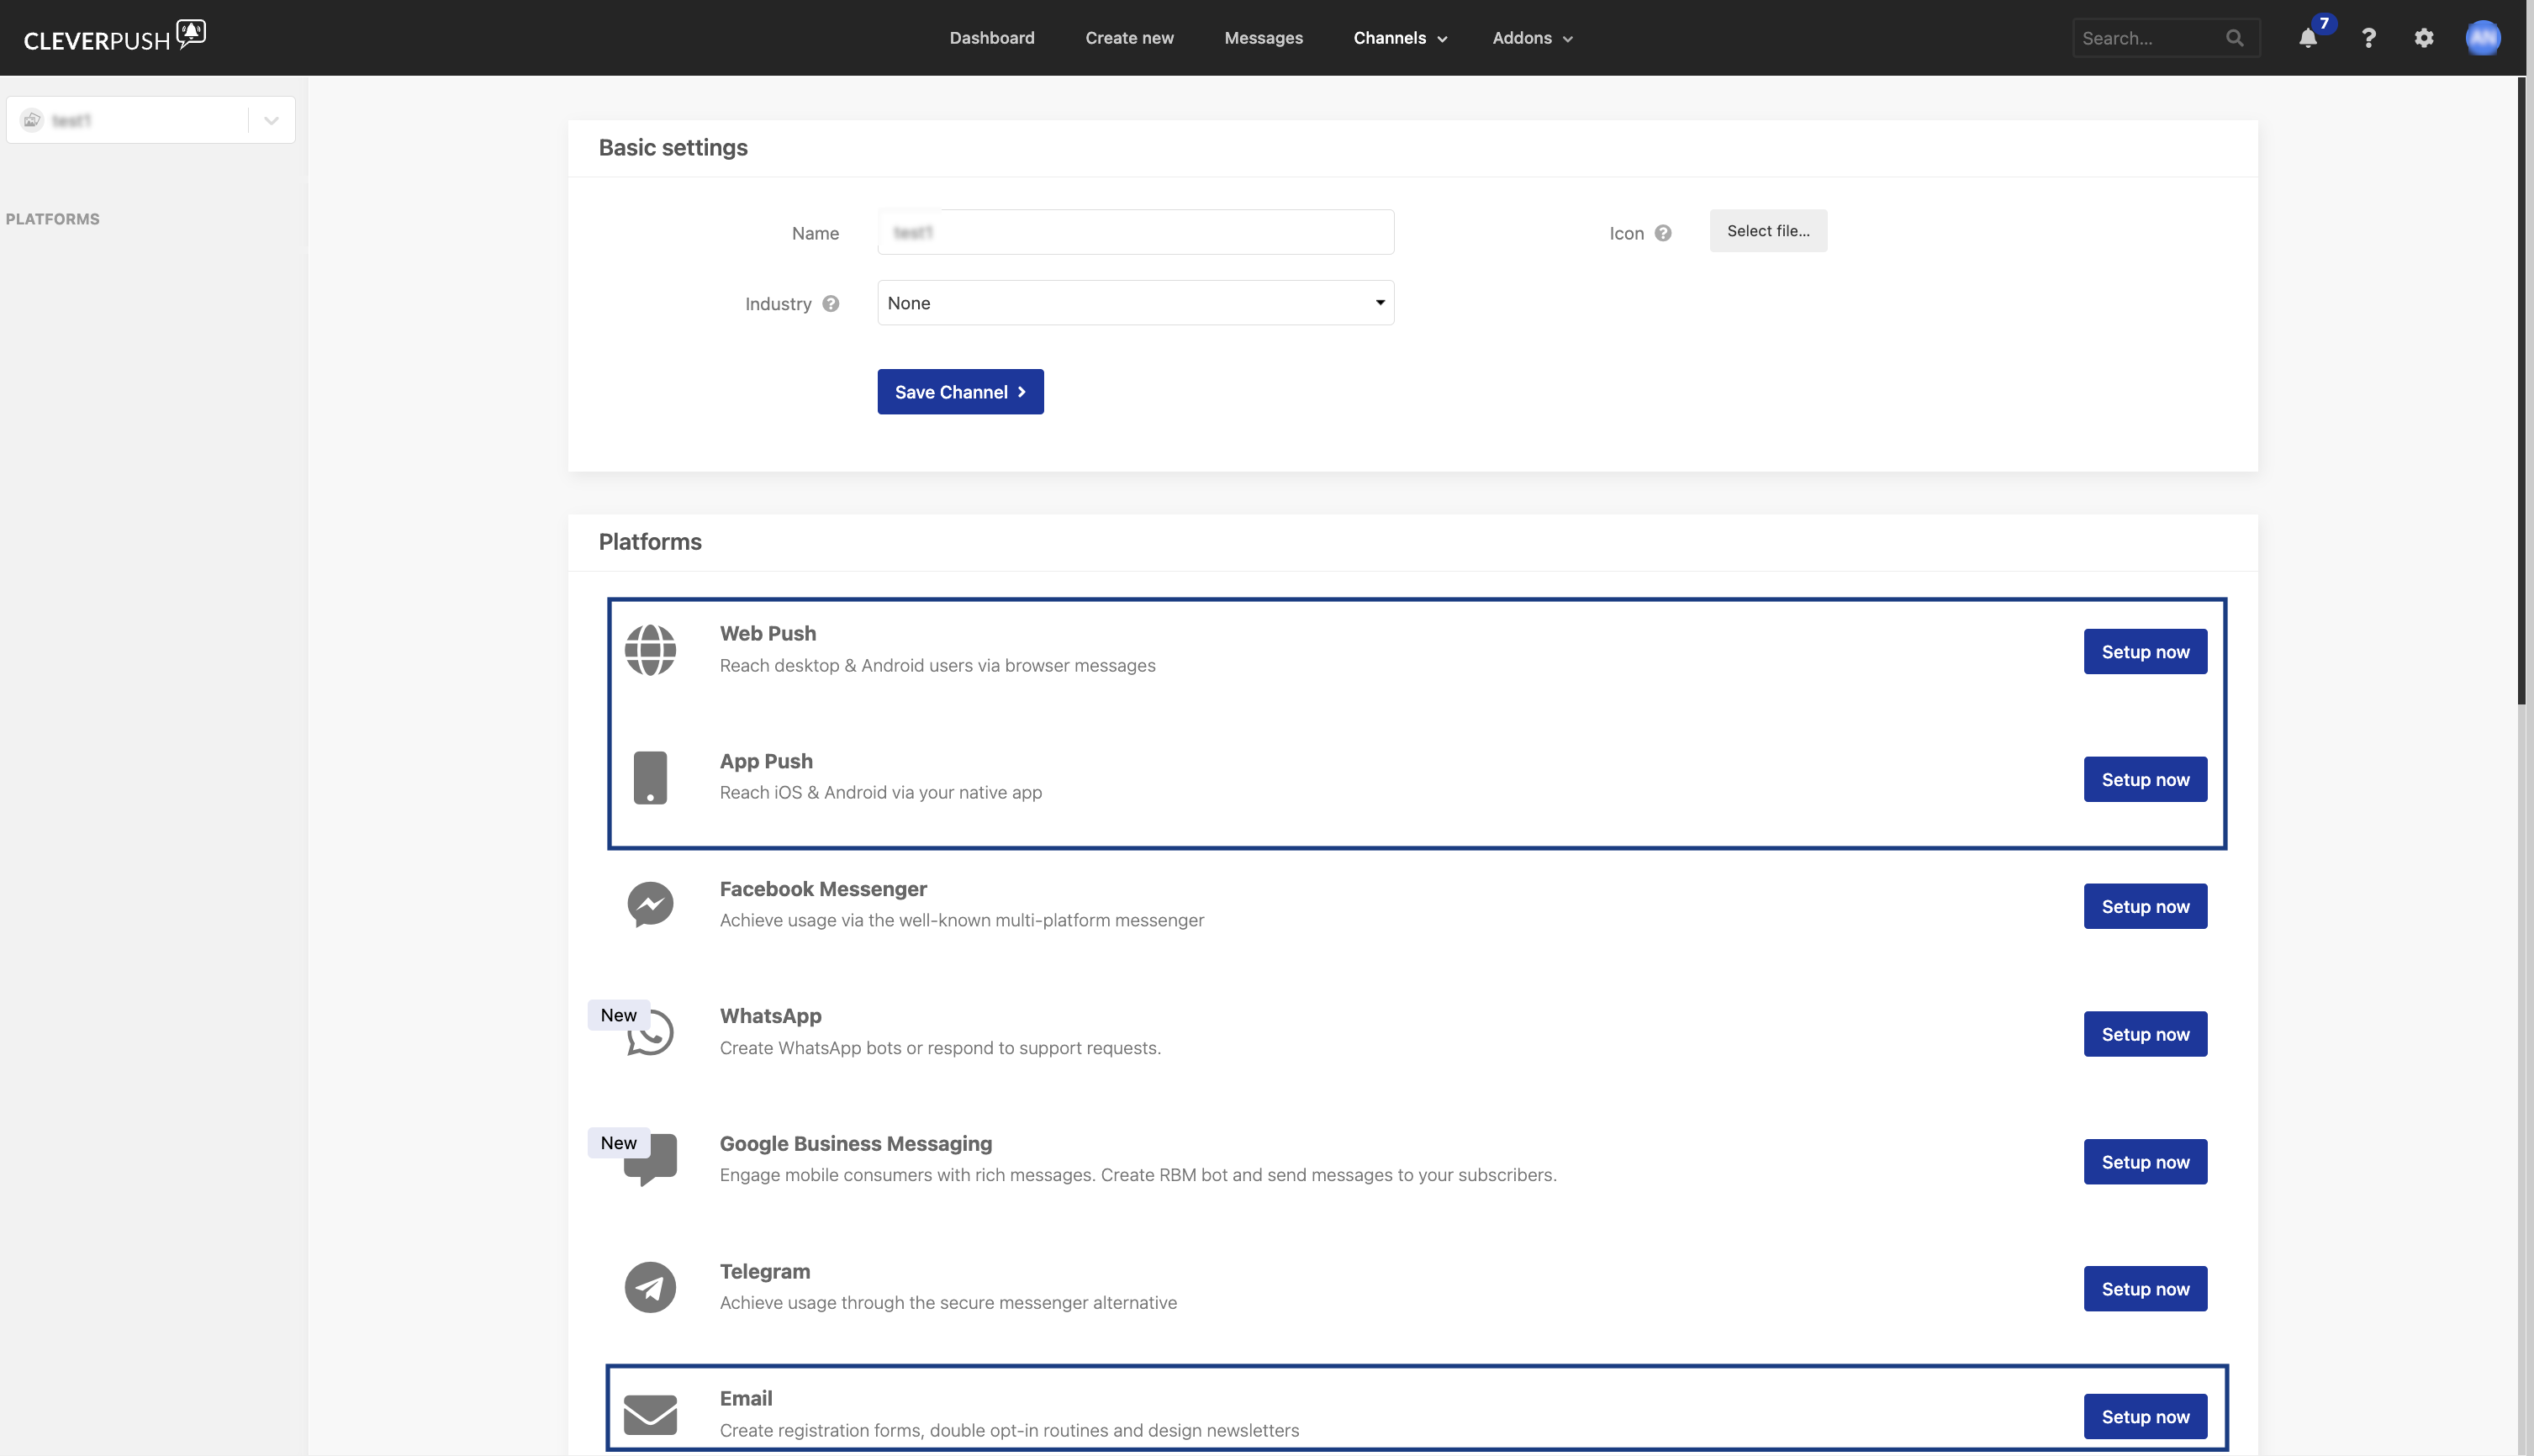
4
Confirm the platforms are listed
The configured platforms appear under PLATFORMS in the left panel.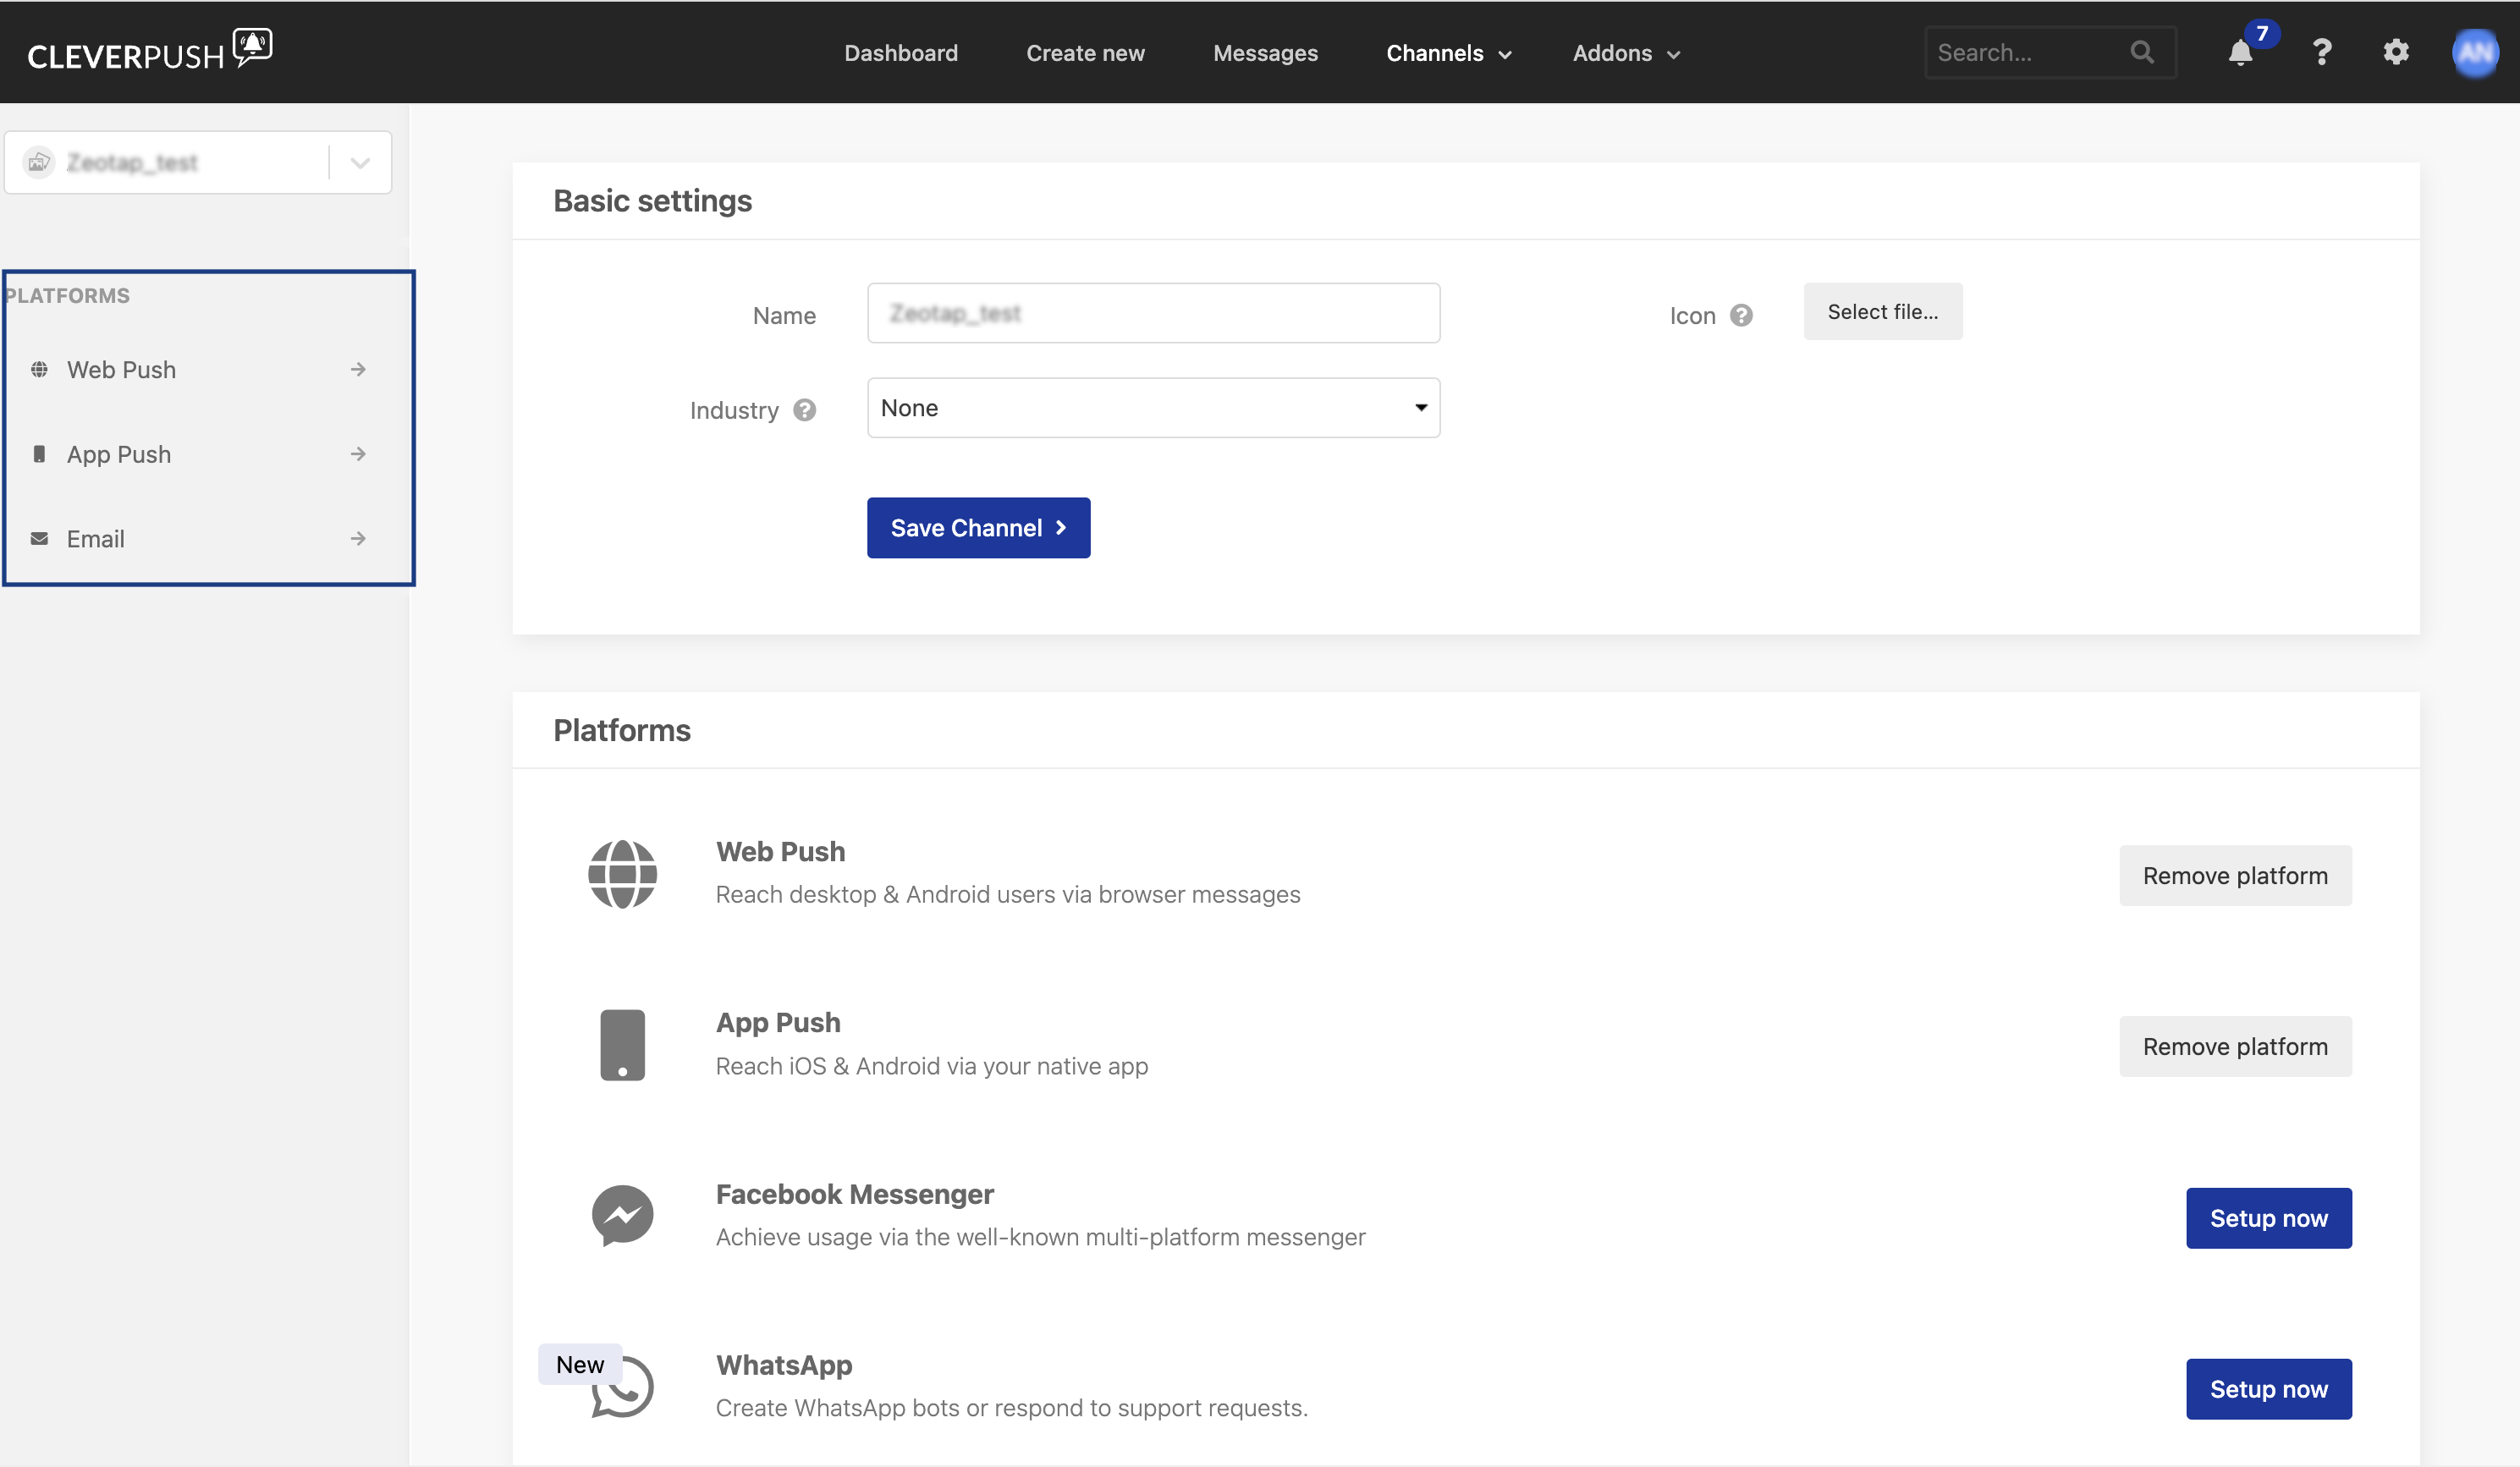
Configure the webhook in Cleverpush
1
Open Webhooks for the platform
Under PLATFORMS, select the platform you want to establish the real-time connection for, then go to Webhooks.
2
Name the webhook
Enter a Webhook name for your integration.
3
Set the type
Choose Custom as the Type.
4
Enter the webhook URL
In Webhook URL, paste the API URL from the IMPLEMENTATION DETAILS tab of your Cleverpush (Real-time) source.
5
Name the authorisation header
In Authorization Header Name, enter a name for the header. We recommend
Zeotap_write_key.6
Enter the write key
In Authorization Header Value, paste the Write Key from the IMPLEMENTATION DETAILS tab of your Cleverpush (Real-time) source.
7
Choose the events
Under Webhook events, select the events you want to send to Zeotap CDP.
8
Save
Click Save. The real-time connection is now established, and Cleverpush starts sending the selected events to Zeotap CDP.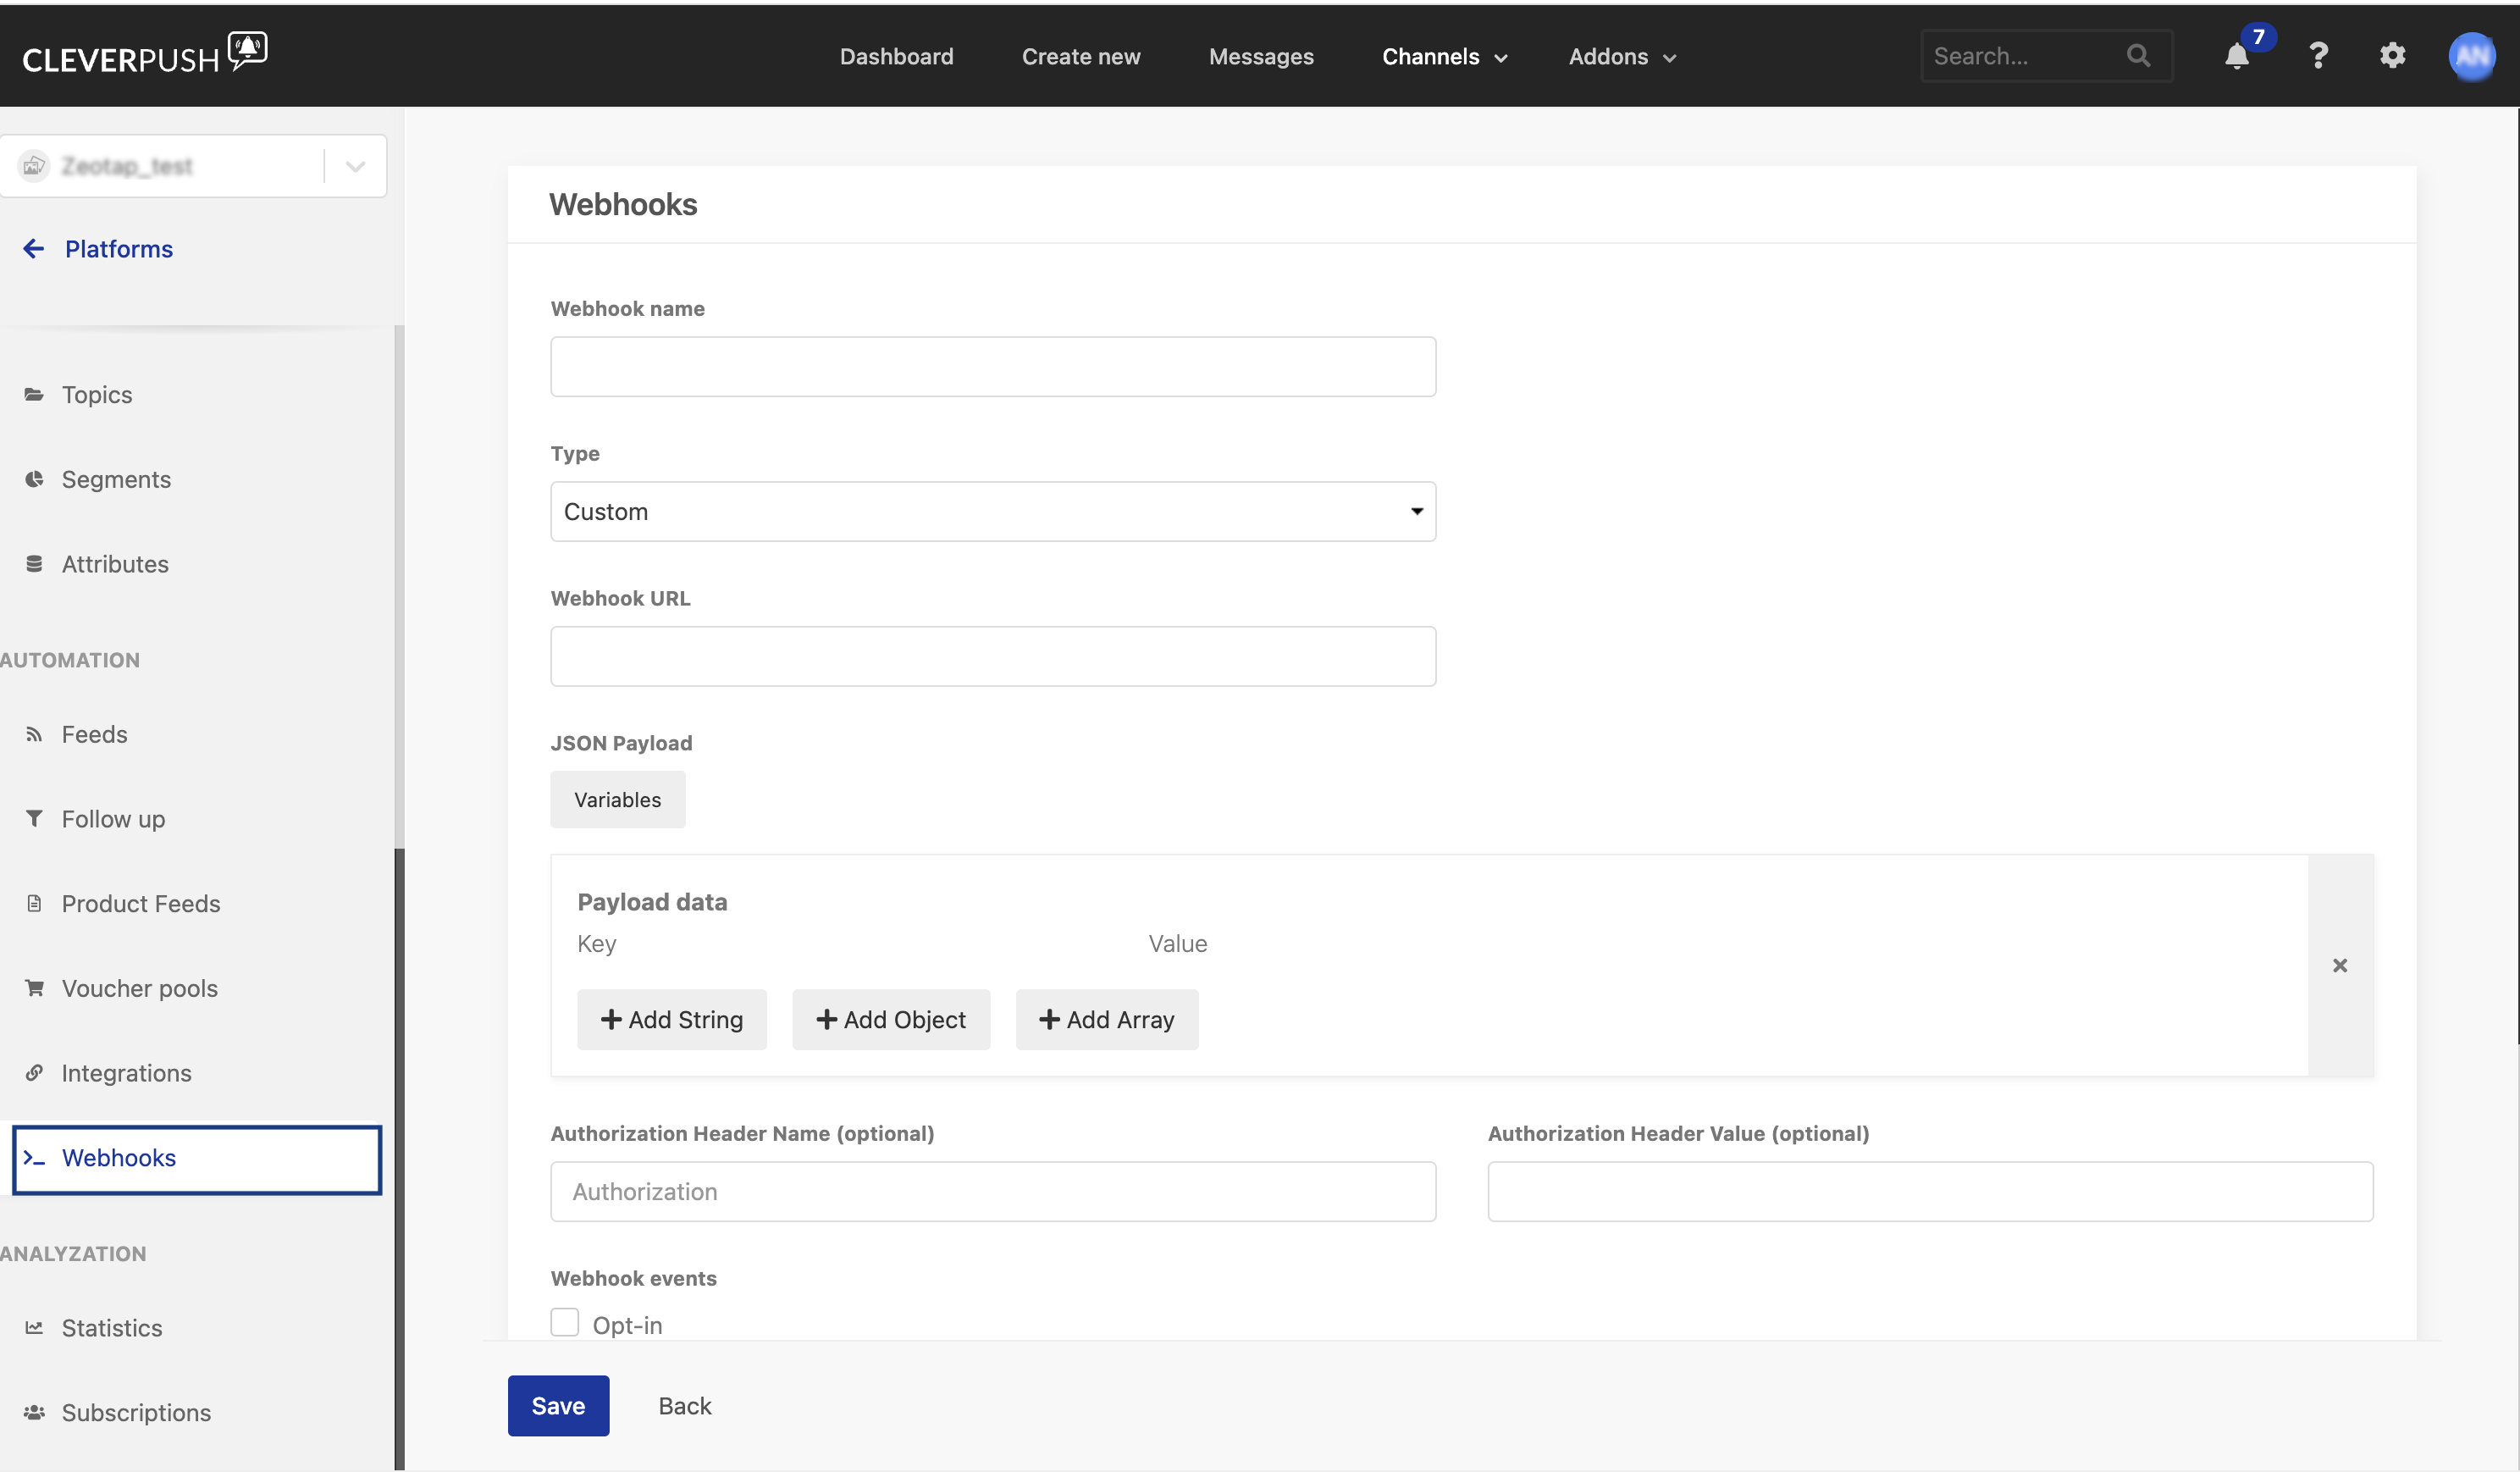
Verify the connection
Open your Cleverpush (Real-time) source in Sources in Zeotap CDP and check the following:- PREVIEW DATA — shows the records that have reached the system. Once data starts flowing in, the status of the source changes from Created to Integrated.
- SOURCE REPORT — shows the ingestion health and status of the source.
Troubleshoot the connection
The source is still in the Created state
Created means the source exists but has not yet received any data; it becomes Integrated once records start arriving. If it has not changed, re-check the values you entered in Cleverpush: the Webhook URL against the API URL on the IMPLEMENTATION DETAILS tab, the Authorization Header Value against the Write Key on the same tab, and whether at least one event type is selected under Webhook events.Some fields are missing from the ingested data
The records for the country and city columns are blacklisted for ingestion, because Zeotap CDP resolves the country and city from the user’s IP address automatically. For the complete list, see Blacklisted Fields for Data Ingestion.Records arrive but are rejected
The Ingestion Log, under the SOURCE REPORT tab of the source, gives more information about the errors identified while ingesting a record. See Understanding the Ingestion Log Error.Next steps
- Map the catalogue for customer data — map the ingested fields to the Zeotap Catalogue so the data can be used downstream.
- Components of the Preview Data Tab — what each field on the PREVIEW DATA screen means.
- Cleverpush Real Time Integration — send identifiers and attributes from Zeotap CDP back to Cleverpush.