What this is
A Cleverpush Real-Time source brings data into Zeotap CDP. Cleverpush is a web-based platform that lets website owners and developers send push notifications to users who have subscribed to receive them. With this source in place, Cleverpush posts subscriber and notification events from one of your channels to Zeotap CDP over a webhook as they happen. Setting the integration up takes two pages. This one covers the Zeotap CDP side: you create the source, and Zeotap generates the API URL and Write key that identify it. You then paste those two values into a webhook on the Cleverpush side — see Implement a Cleverpush Real-Time Source. Three neighbouring Cleverpush integrations are easy to confuse with this one:- To fetch subscriber data in batches instead of streaming it, use the Cleverpush (Batch) Source.
- To send data the other way — out of Zeotap CDP to Cleverpush, so you can target an audience with push notifications — use the Cleverpush destination.
- Cleverpush Real Time Integration is despite its name also an outbound integration: it sends data from a Journeys workflow to Cleverpush.
Supported identifiers
The source brings in subscriber records from the Cleverpush channel it is connected to. The identifiers are:- Channel ID
- Subscription ID
- Subscription platform name (
Subscription.platformName)
Subscription.browserType, Subscription.createdAt, Subscription.syncedAt, Subscription.language, Subscription.country, Subscription.timezone, Subscription.customAttributes, Subscription.emailAddress, Subscription.optInIpAddress, Subscription.optInUrl, Subscription.topics, Notification.campaignId, Notification.campaignName, Notification.customData and Notification.feedGuid.
Which of these actually arrive depends on the webhook events you select in Cleverpush, which you choose when you configure the webhook.
Cleverpush sends a country value, but Zeotap CDP works the country and city out automatically from the user’s IP address, so those two columns are excluded from ingestion. For the full list, see Blacklisted fields for data ingestion.
Prerequisites
- A Cleverpush channel with at least one platform configured. The webhook that feeds this source is configured per platform in Cleverpush, so the channel needs at least one platform — Web Push, App Push or Email Push — set up before there is anywhere to add it. See Create a new channel in Cleverpush and Setup Web Push in Cleverpush.
- Access to the Sources application under Integrate in the Zeotap CDP App.
Create the Cleverpush Real-Time source
1
Open the Sources application
Sign in to the Zeotap CDP App and go to Integrate → Sources.
2
Start a new source
Click CREATE SOURCE.
3
Choose the category
On the Data Source step, choose Customer Engagement Channels — Ingest Data from engagement channels.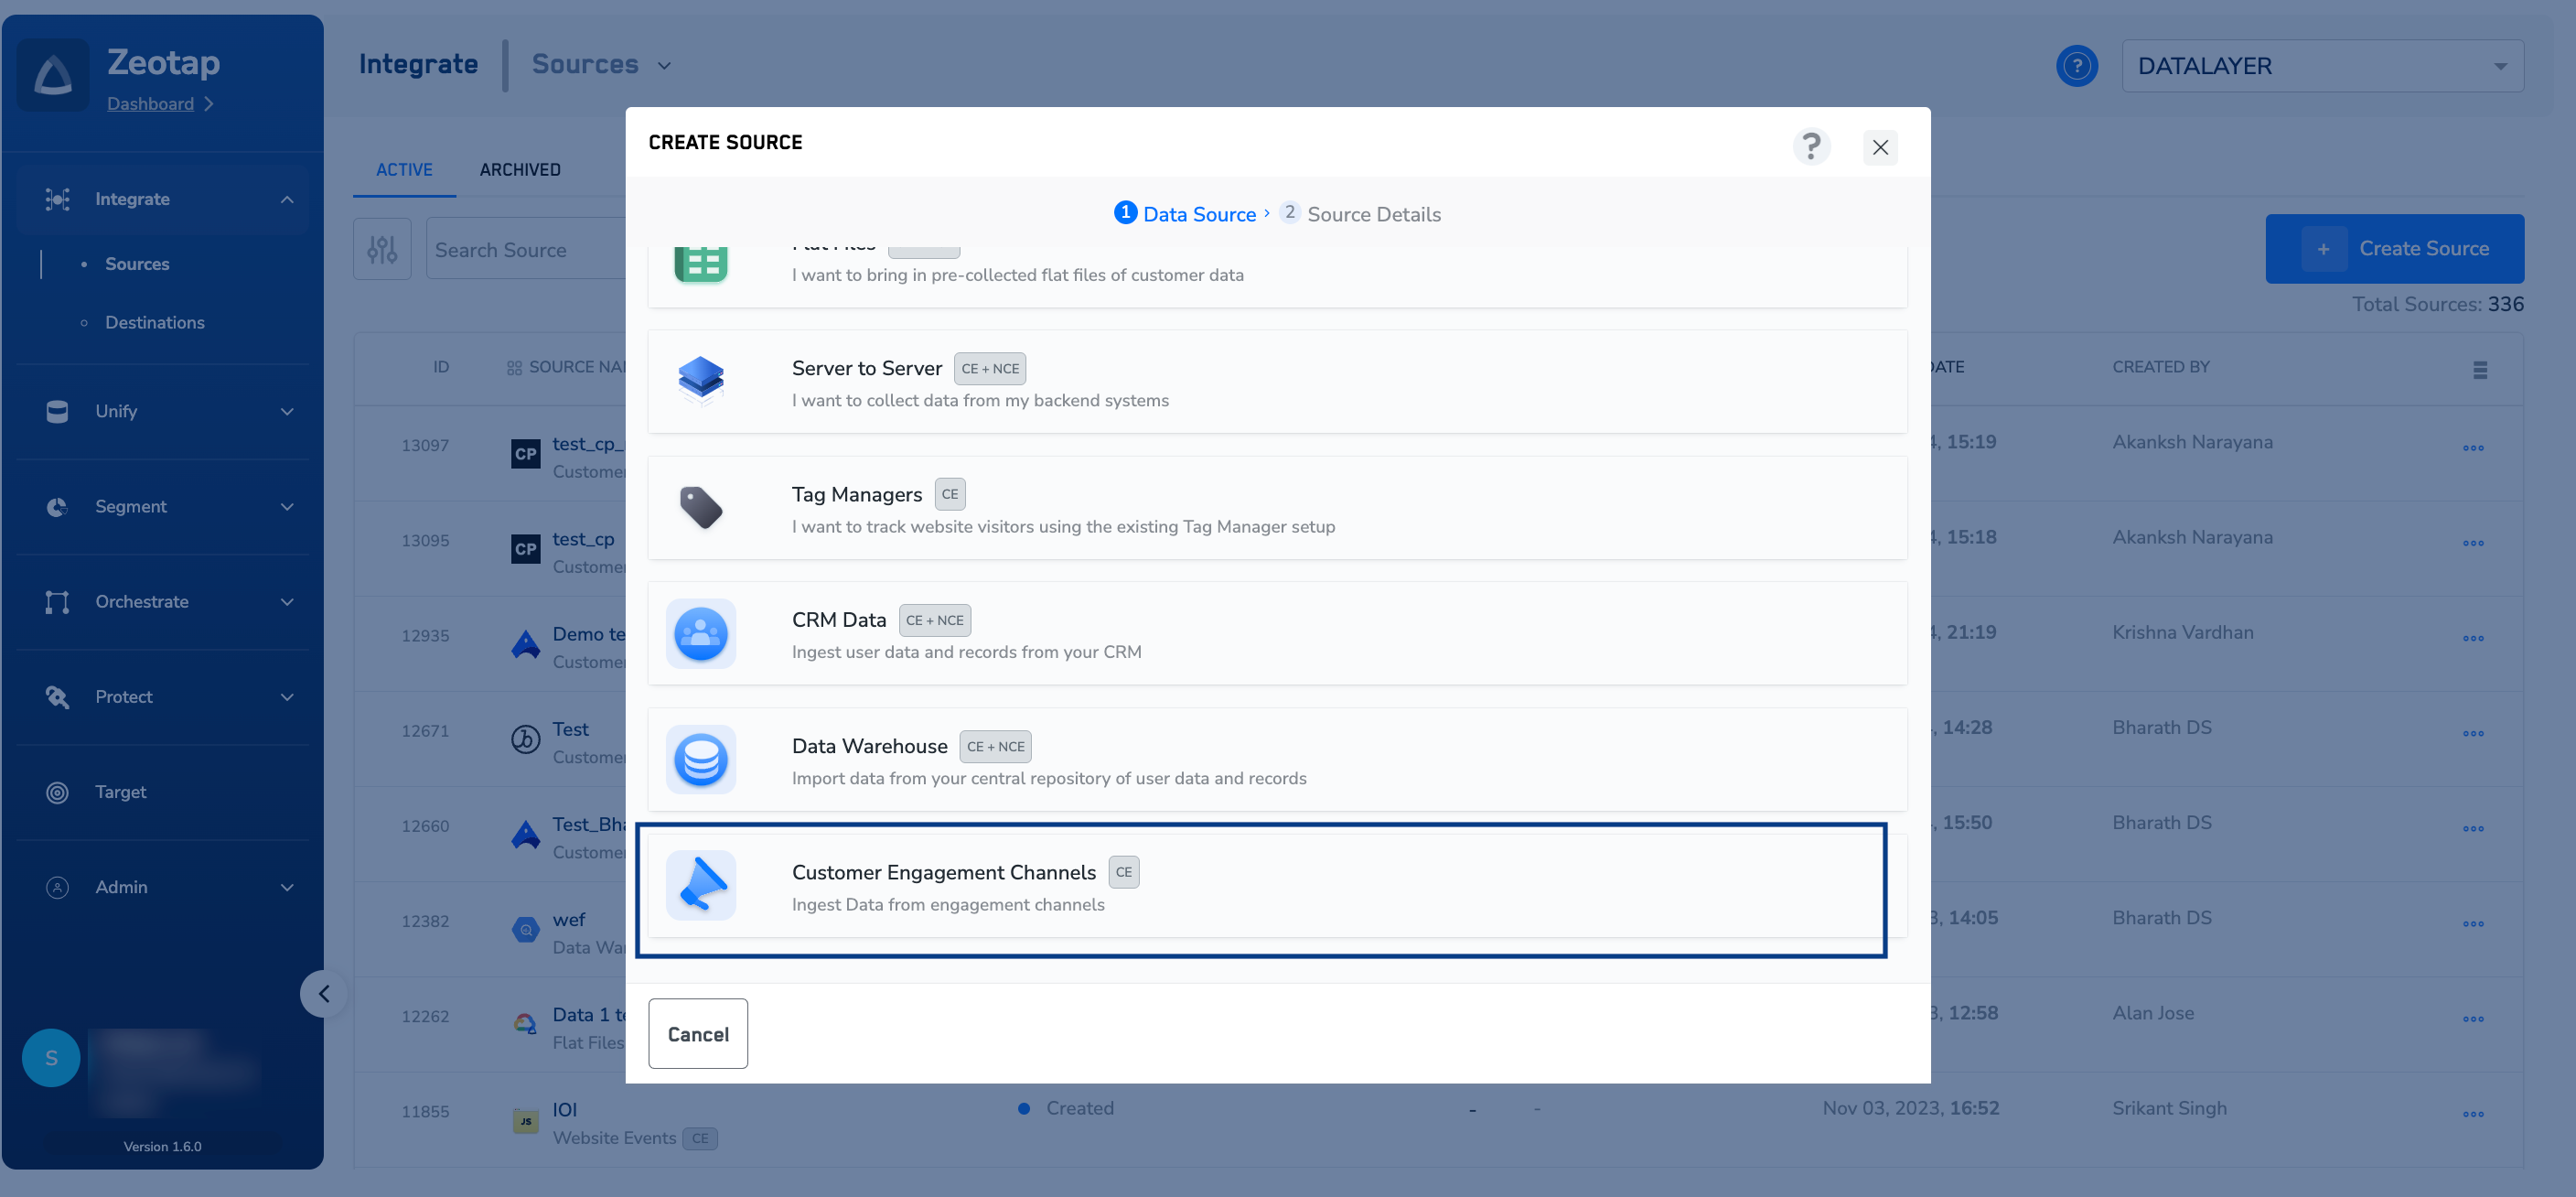
4
Select the Cleverpush Real Time source
Select the Cleverpush Real Time tile — Integrate with Cleverpush Webhook to get real-time data.Take care not to pick the Cleverpush tile directly beneath it. That one creates the batch source, which asks for a Private API Key and a Channel ID instead.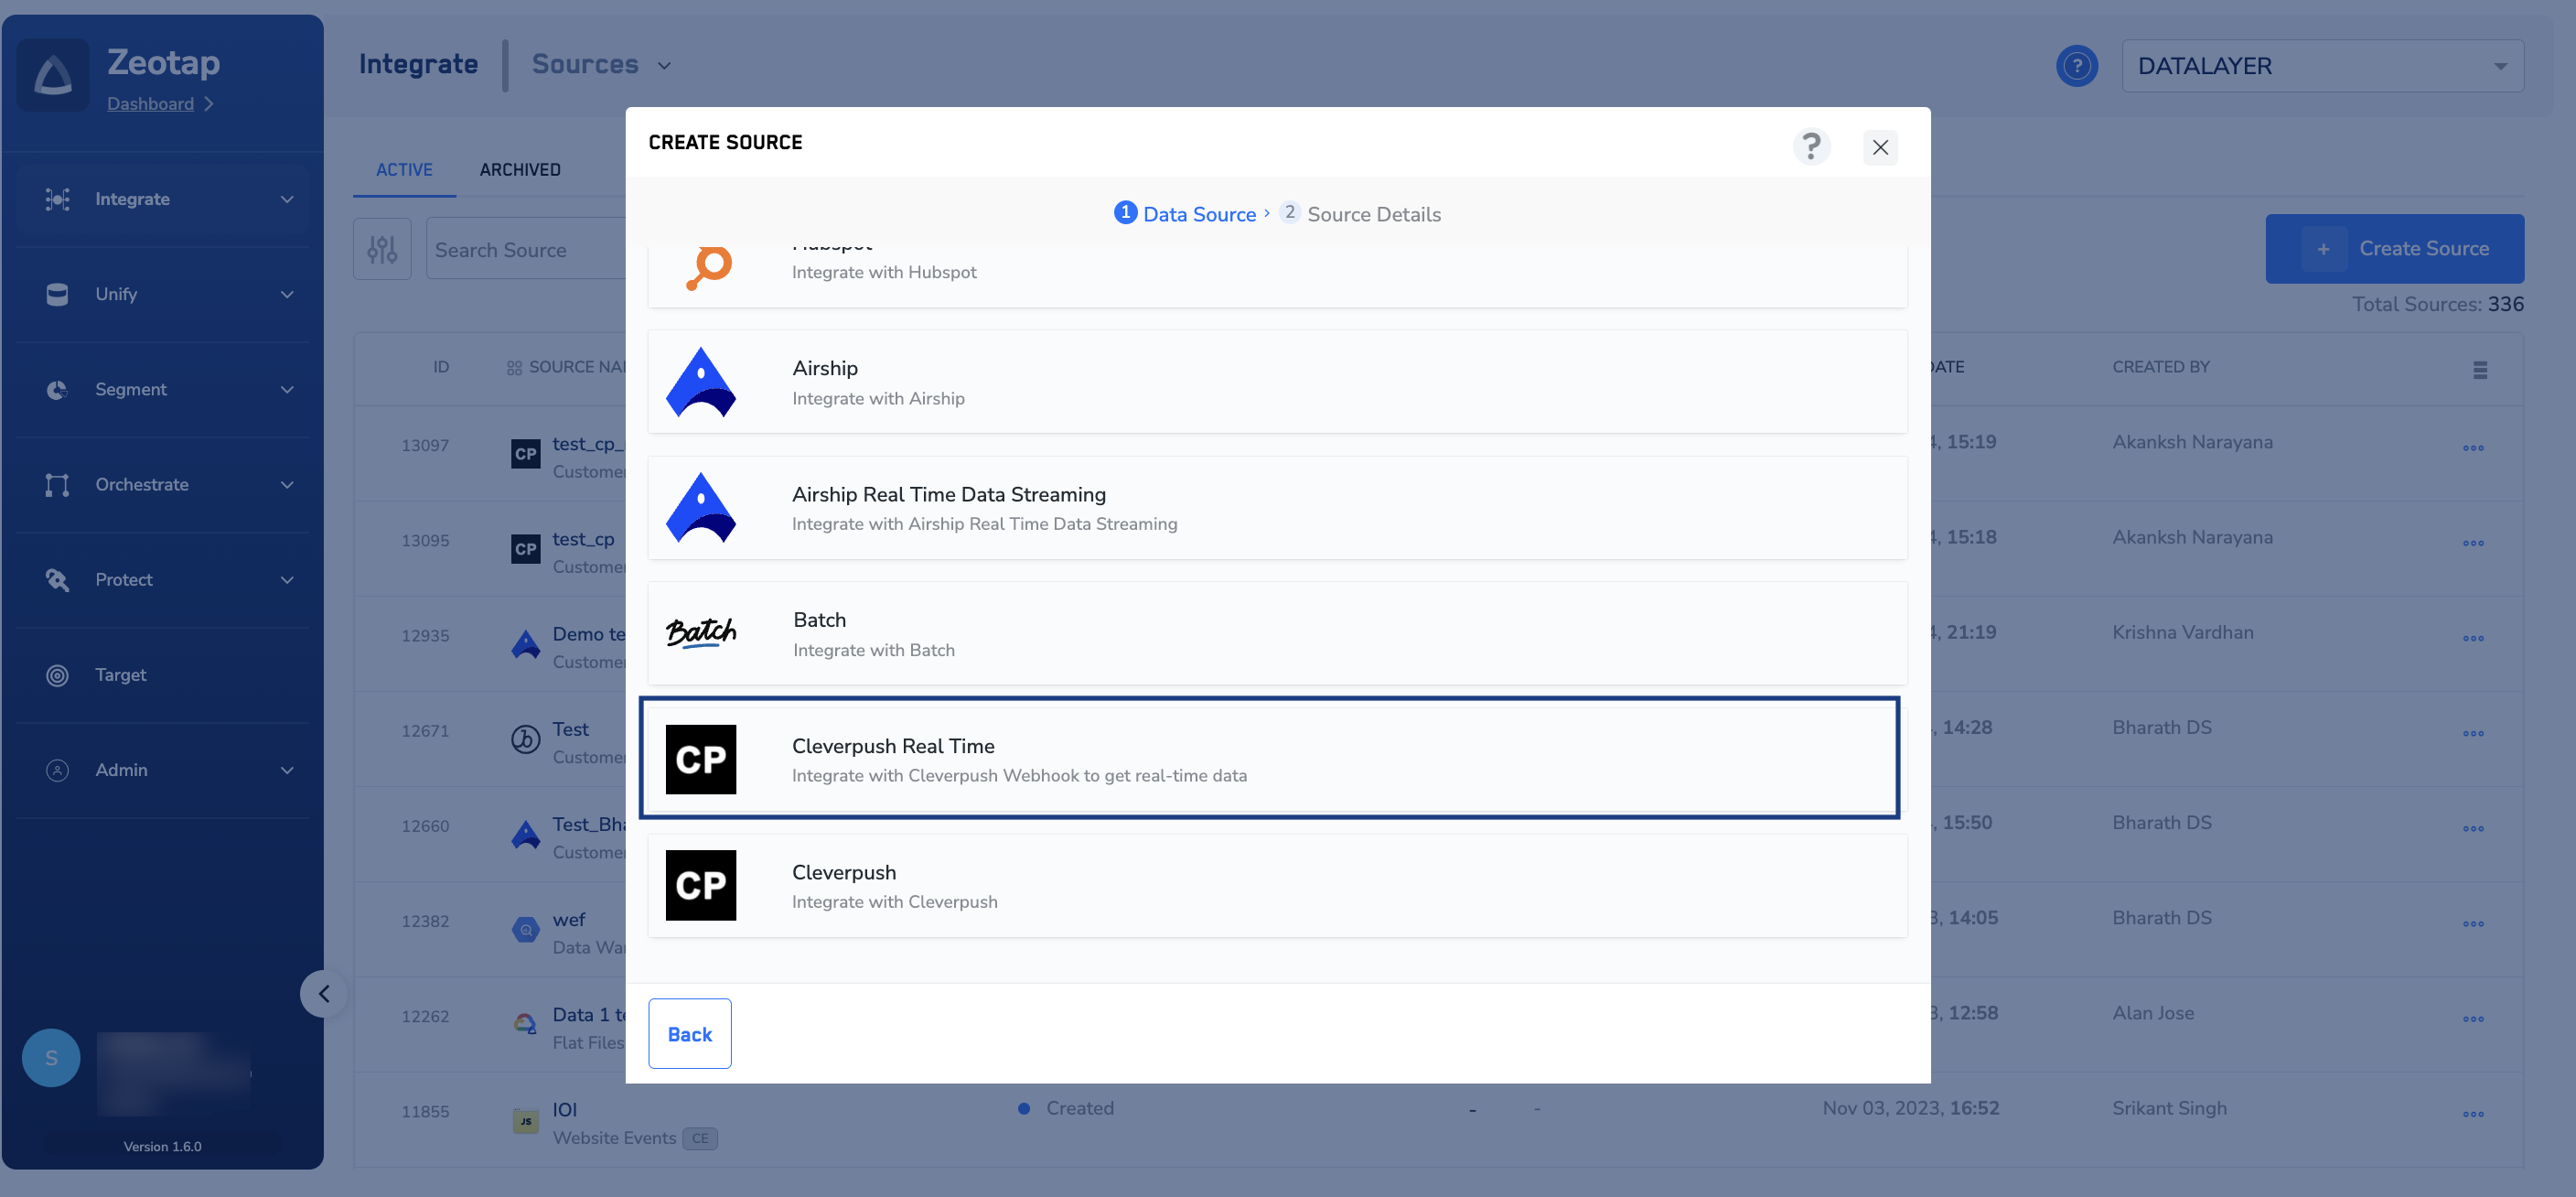
5
Enter the source details
On the Source Details step: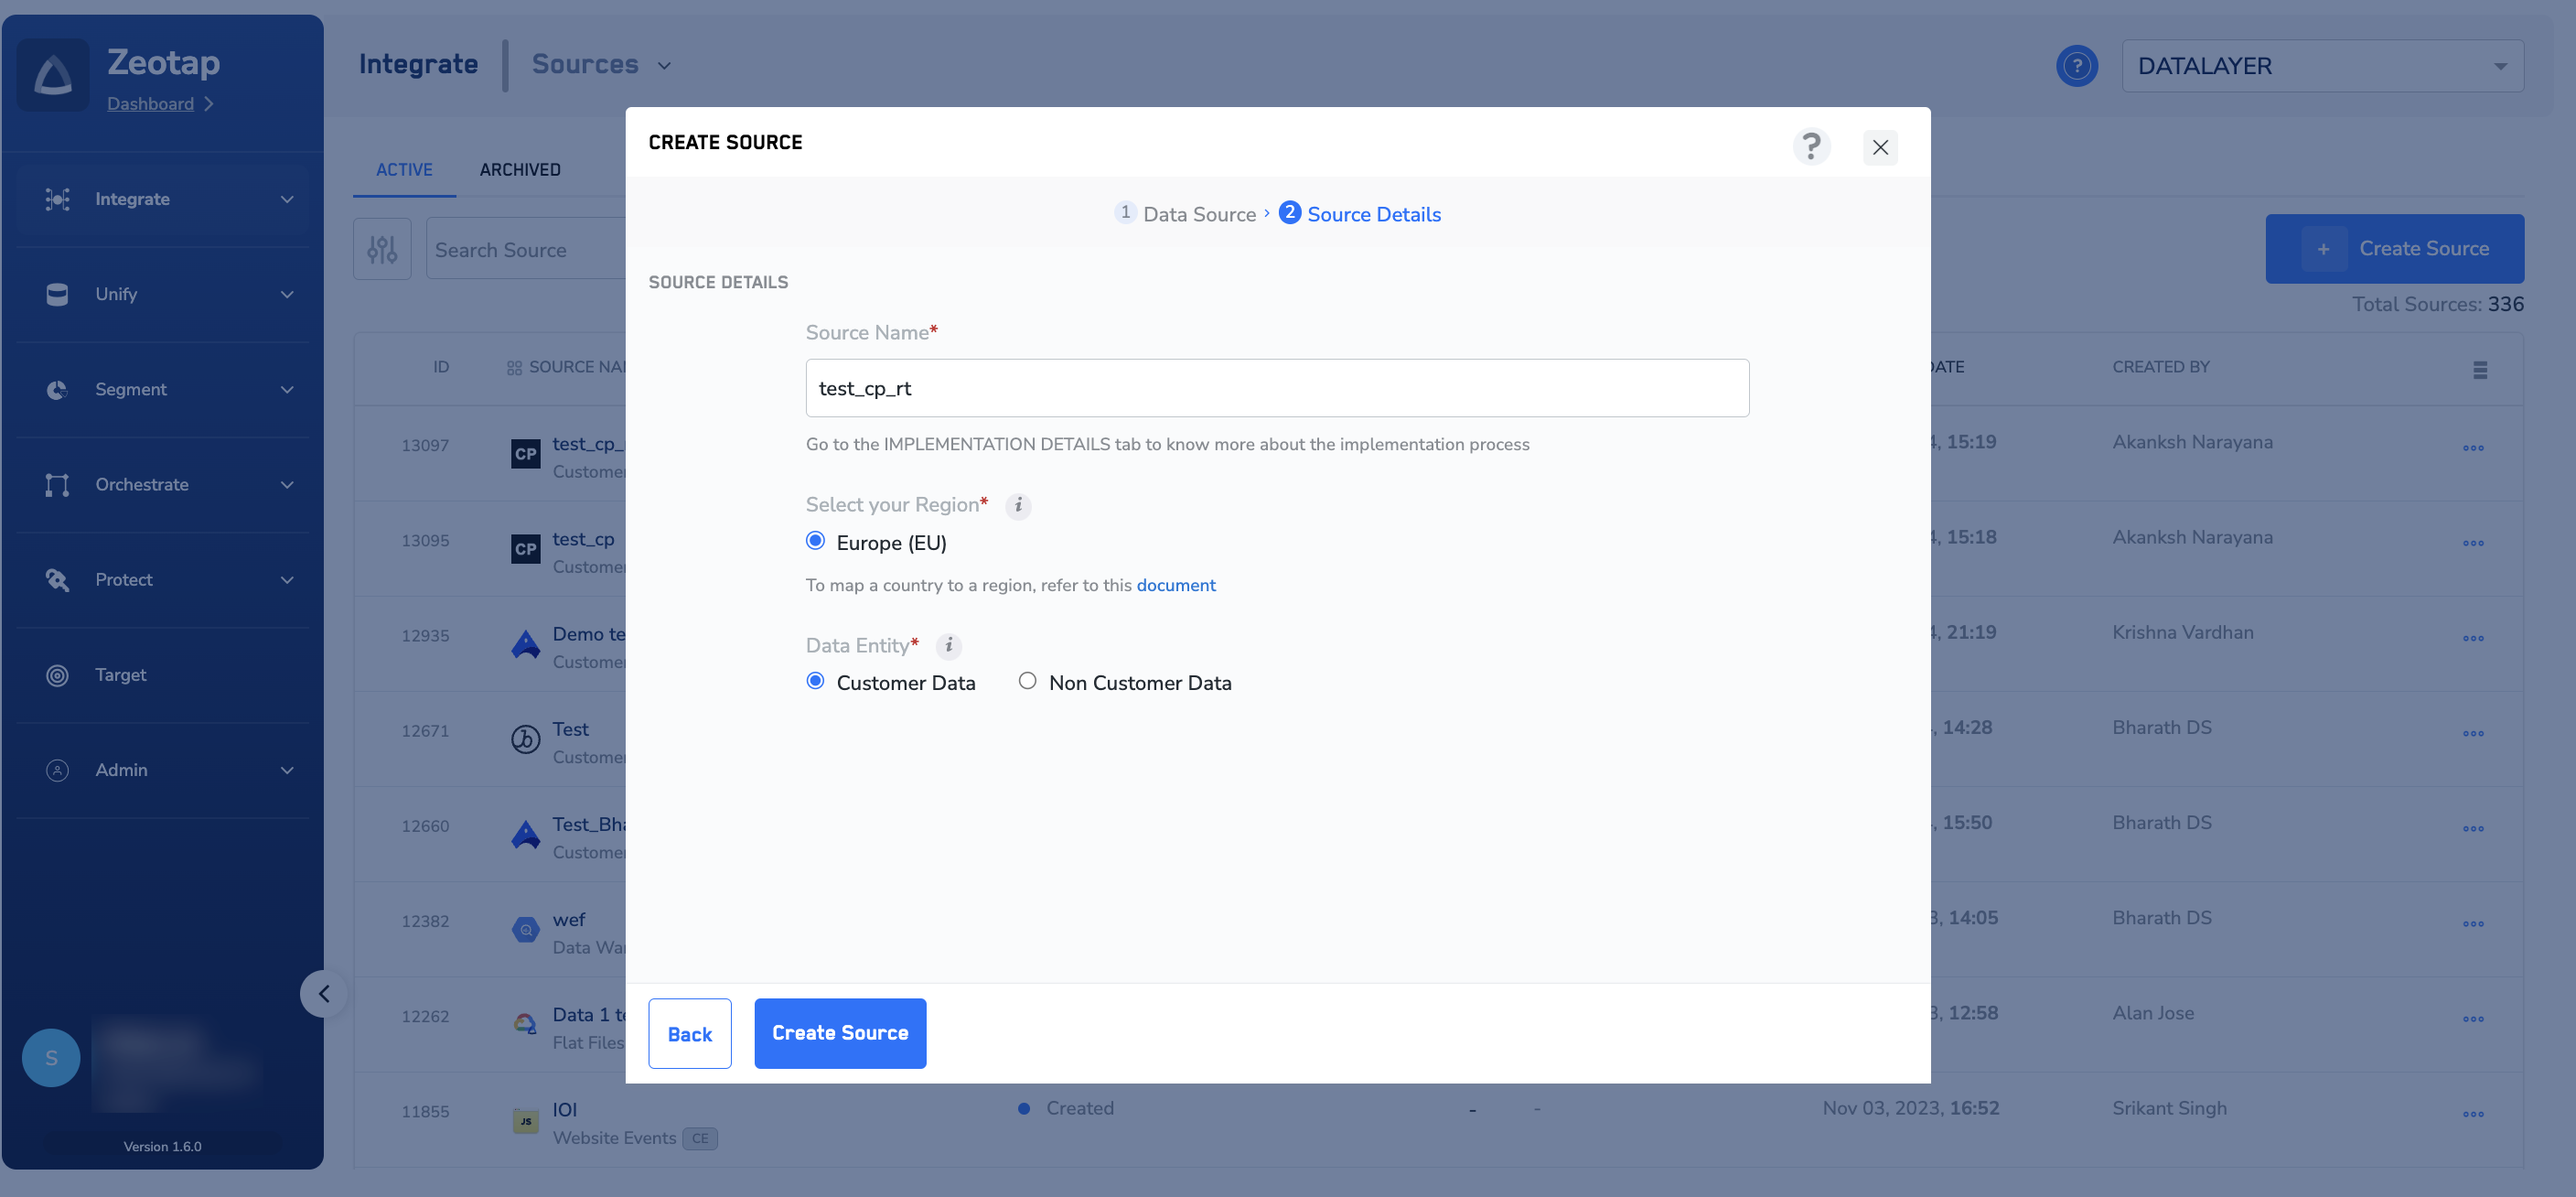
- In Source Name, enter a short, descriptive name. Make the vendor and the direction obvious, so the source is easy to pick out on the listing later.
- Under Select your Region, choose the region this source uploads to.
- Under Data Entity, choose Customer Data or Non Customer Data, depending on the type of data you want to ingest. See Supported data entities.
6
Create the source
Click CREATE SOURCE. Zeotap generates the API URL and Write key for the new source straight away.
Verify the source was created
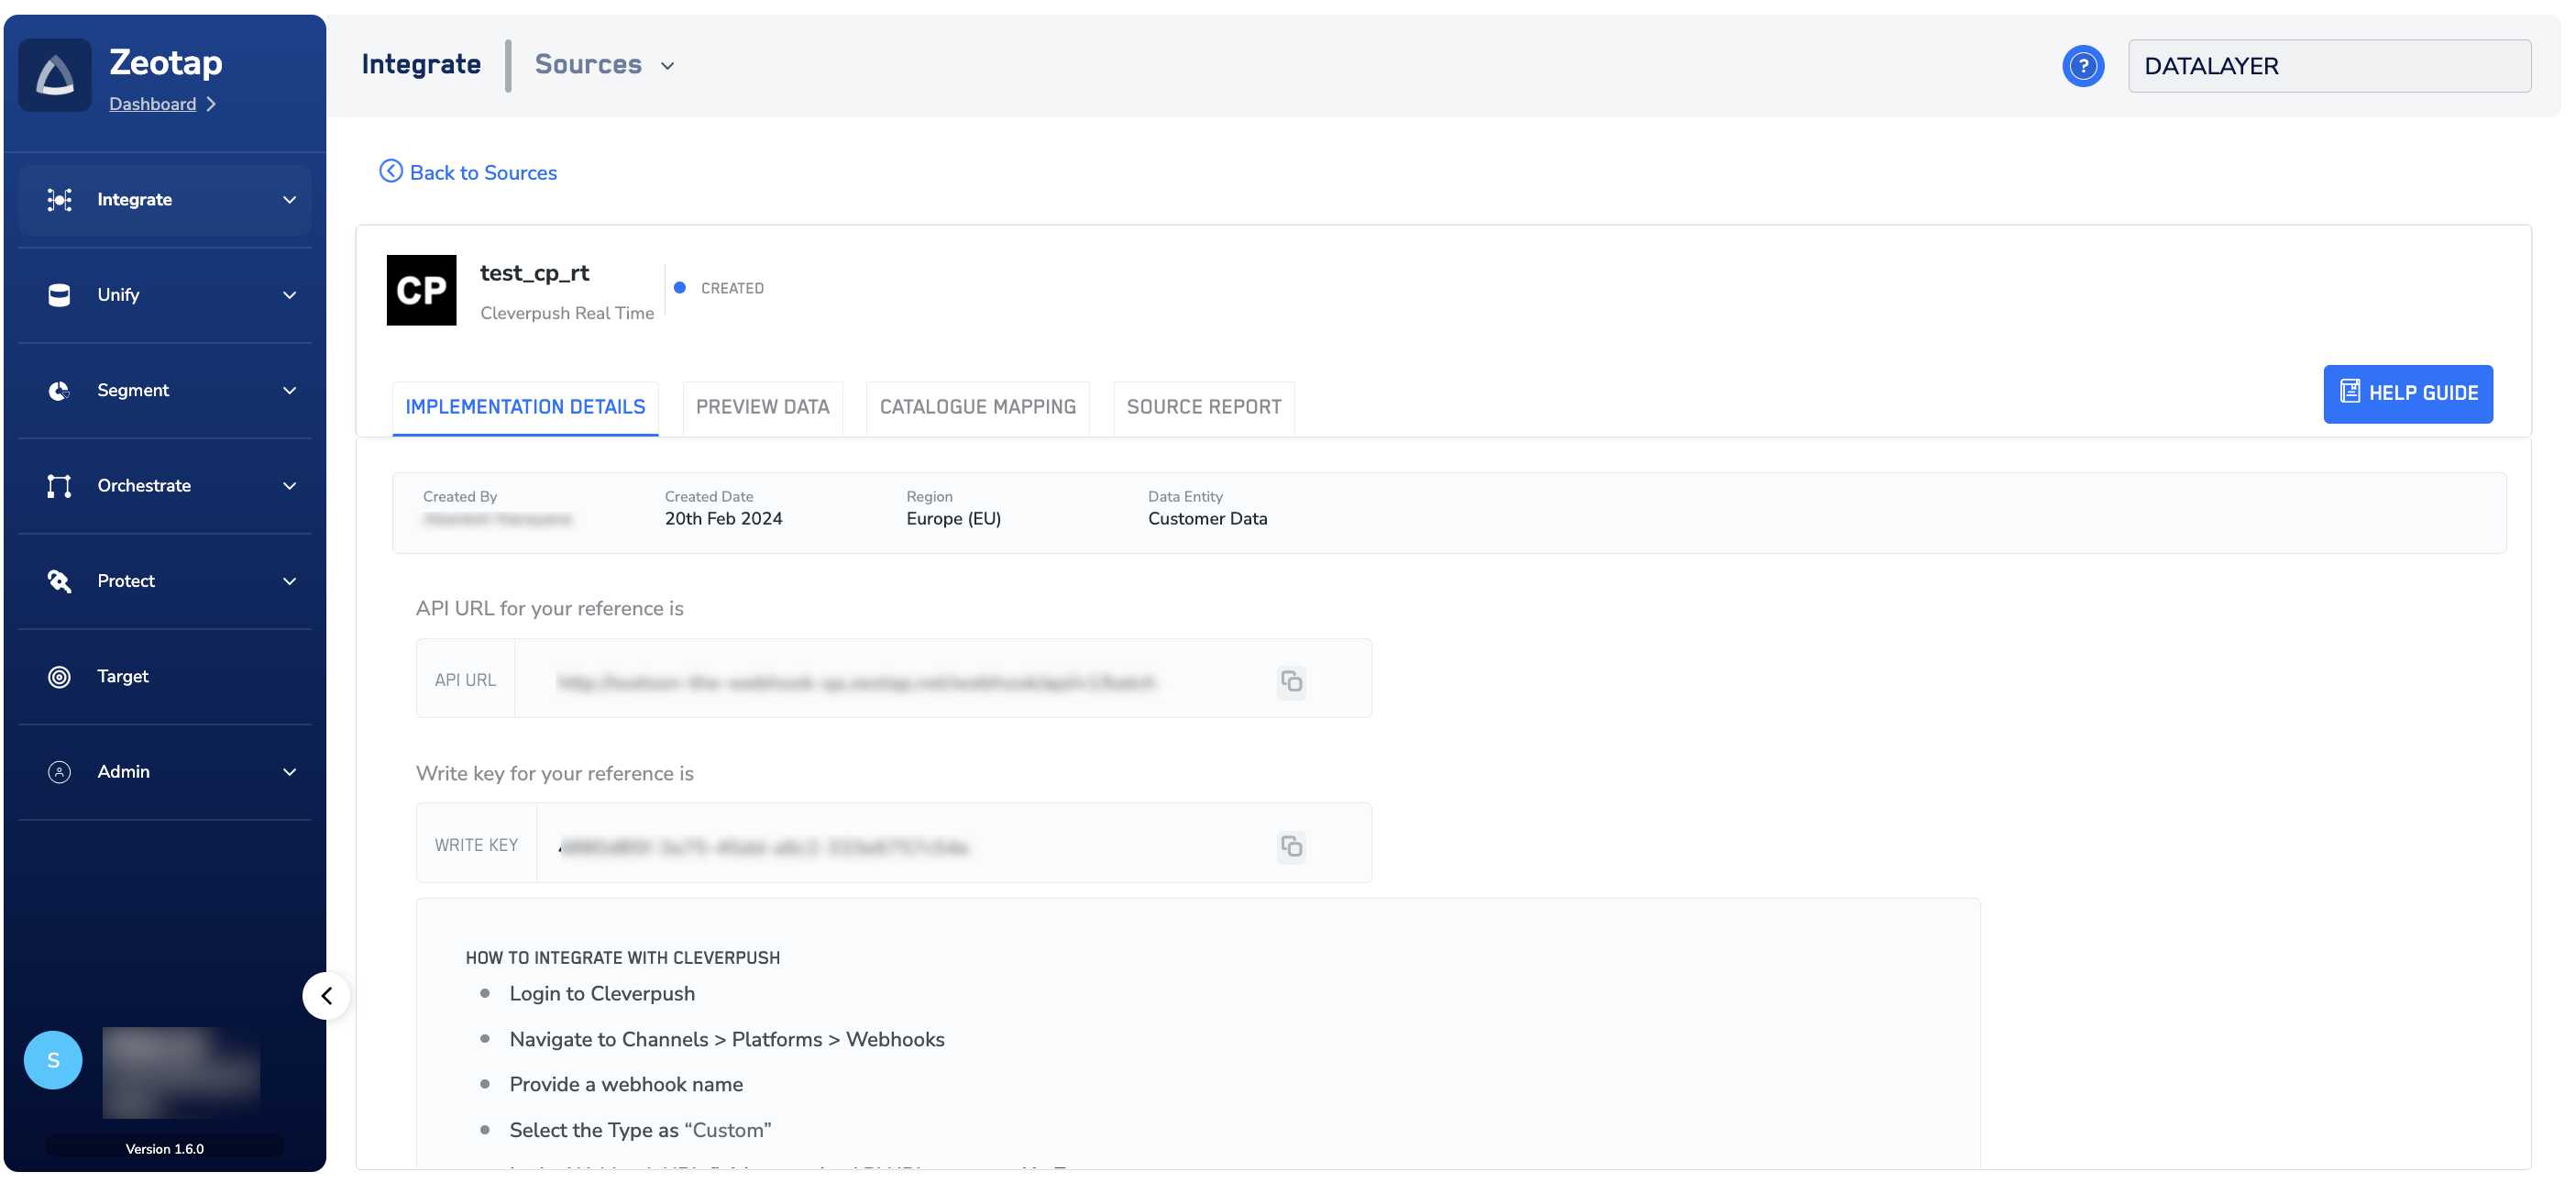
The new source opens on its own page with its status shown beside the name, and it is added to the SOURCES listing under Integrate → Sources. A source you have just created shows the status Created, which means it exists but has not received any data yet. It moves to Integrated once data starts arriving — see Components of the Source Listing Page for what each status means. On the IMPLEMENTATION DETAILS tab, check the following:- Created By, Created Date, Region and Data Entity — confirm the region and data entity match what you selected.
- API URL — the endpoint Cleverpush posts to. This is the value you enter as the webhook URL on the Cleverpush side. Use the copy button beside the field.
- Write key — the value Cleverpush sends as the authorisation header value, so Zeotap can tell which source the incoming data belongs to. Copy it the same way.