

What this is
The Adobe Experience Platform Tag Extension source brings website data into Zeotap CDP. You deploy the Zeotap Collect extension through your Adobe Experience Platform Tags (Adobe Launch) property, and it captures events, user identities, and consent signals on your site and sends them to Zeotap CDP. Data flows one way — from your website into Zeotap CDP. Use this page once the source itself exists in Zeotap CDP: it covers installing and configuring the extension, building the Adobe Launch rules that fire the Zeotap actions, verifying the implementation, and the identifiers and request formats Zeotap accepts.The Zeotap Collect extension for Adobe Launch is documented in full in the Adobe Launch integration guide, which is the current, field-by-field reference for installation, configuration, and rule actions. Where the two differ, follow the Adobe Launch guide.
Prerequisites
Before you begin, confirm the following:
- You have created an Adobe Experience Platform Tag Extension source in the Sources application and copied its write key. See Create an Adobe Experience Platform Tag Extension Source.
- You have access to Adobe Experience Platform Tags (Adobe Launch) with edit permissions, and a published Launch property for your website.
- You are familiar with the Adobe Tags building blocks this integration uses — tags, extensions, rules, and data elements. See Understanding Adobe Launch terminology.
- If you resolve consent with a TCF 2.0 Consent Management Platform (CMP), that CMP is already implemented on your website — the extension queries its TCF API before recording events.
How the Zeotap Collect extension works
Four pieces make up the integration:- The extension — a package of code you install into your Adobe Launch property from the Adobe Tags extension catalogue. It carries the Zeotap SDK and the Zeotap action types.
- The extension configuration — a single screen holding your write key, consent method, identity and hashing settings, and optional integrations. These settings apply to every rule that uses the extension.
- Rules — Adobe Launch’s
Event → Condition → Actionlogic. A rule decides when a Zeotap action runs; the action decides what is sent. - Data elements — named variables that point at values on your page, such as data layer entries, JavaScript variables, cookies, or the
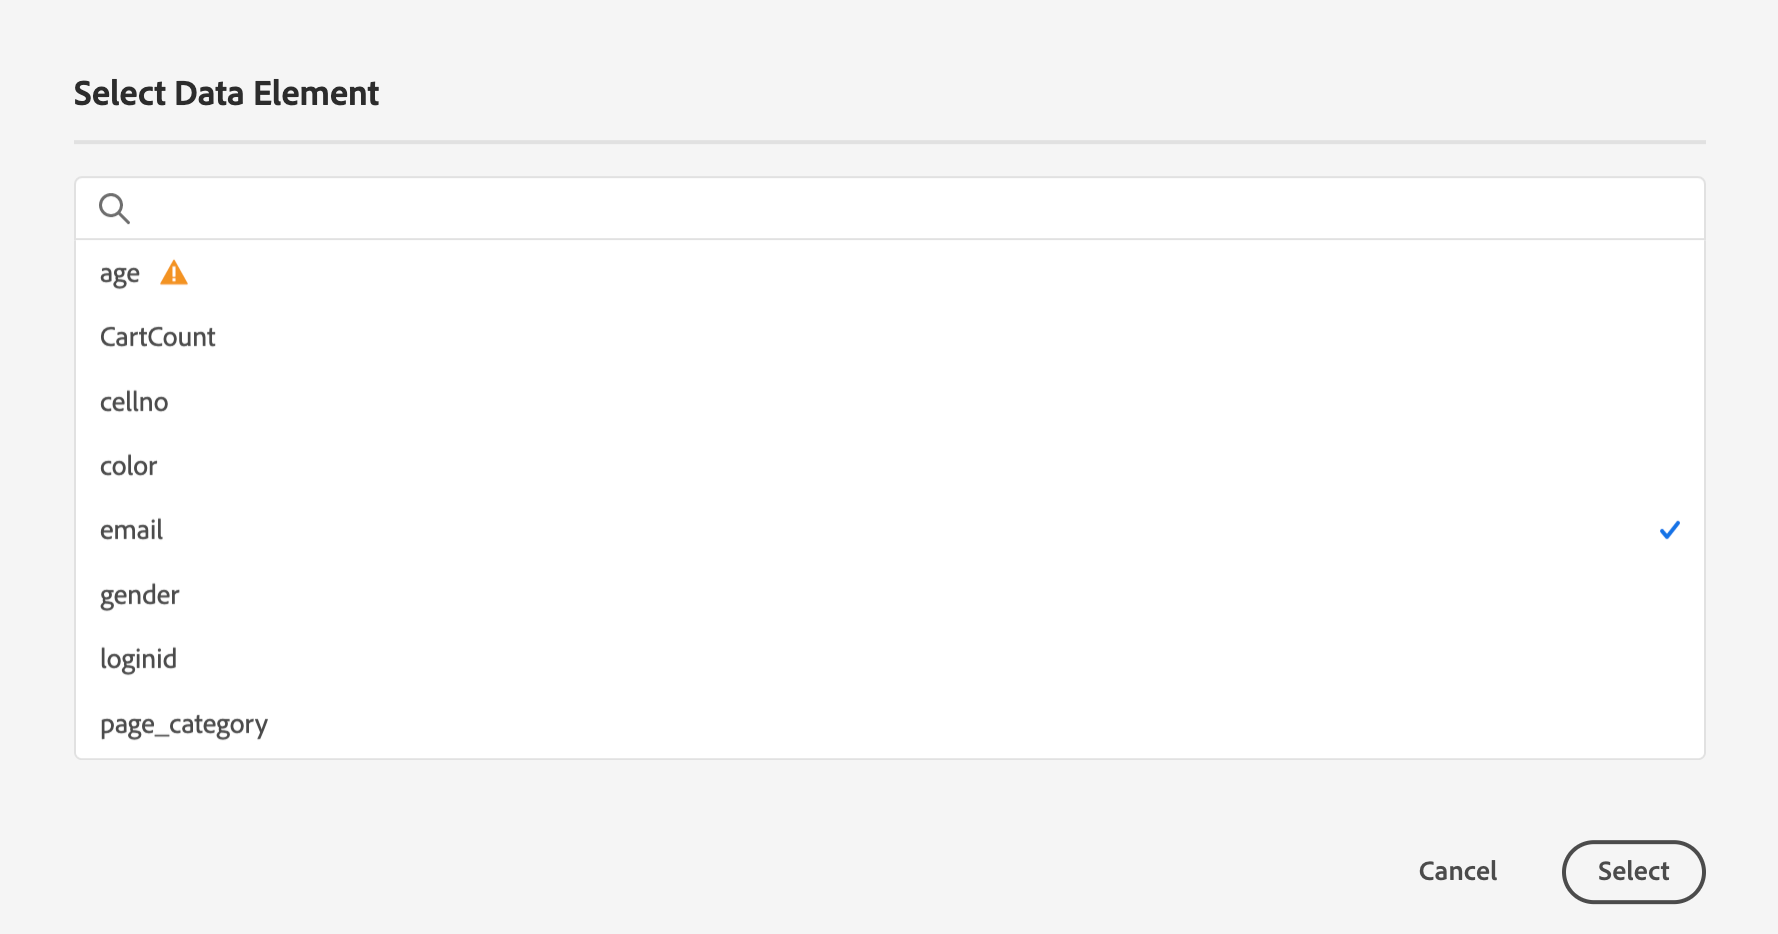
detailobject of a direct call. You map data elements into the Zeotap action fields so every call carries the right values.
Install the extension
In your Adobe Launch property, open Extensions, select the Catalog tab, search for Zeotap Collect, and install it. See Installing the Zeotap Collect Extension.Configure the extension
Open Zeotap Collect from the Installed Extensions tab of your Launch property and set the following. For field-by-field detail on every option, see Configuring the Zeotap Collect Extension.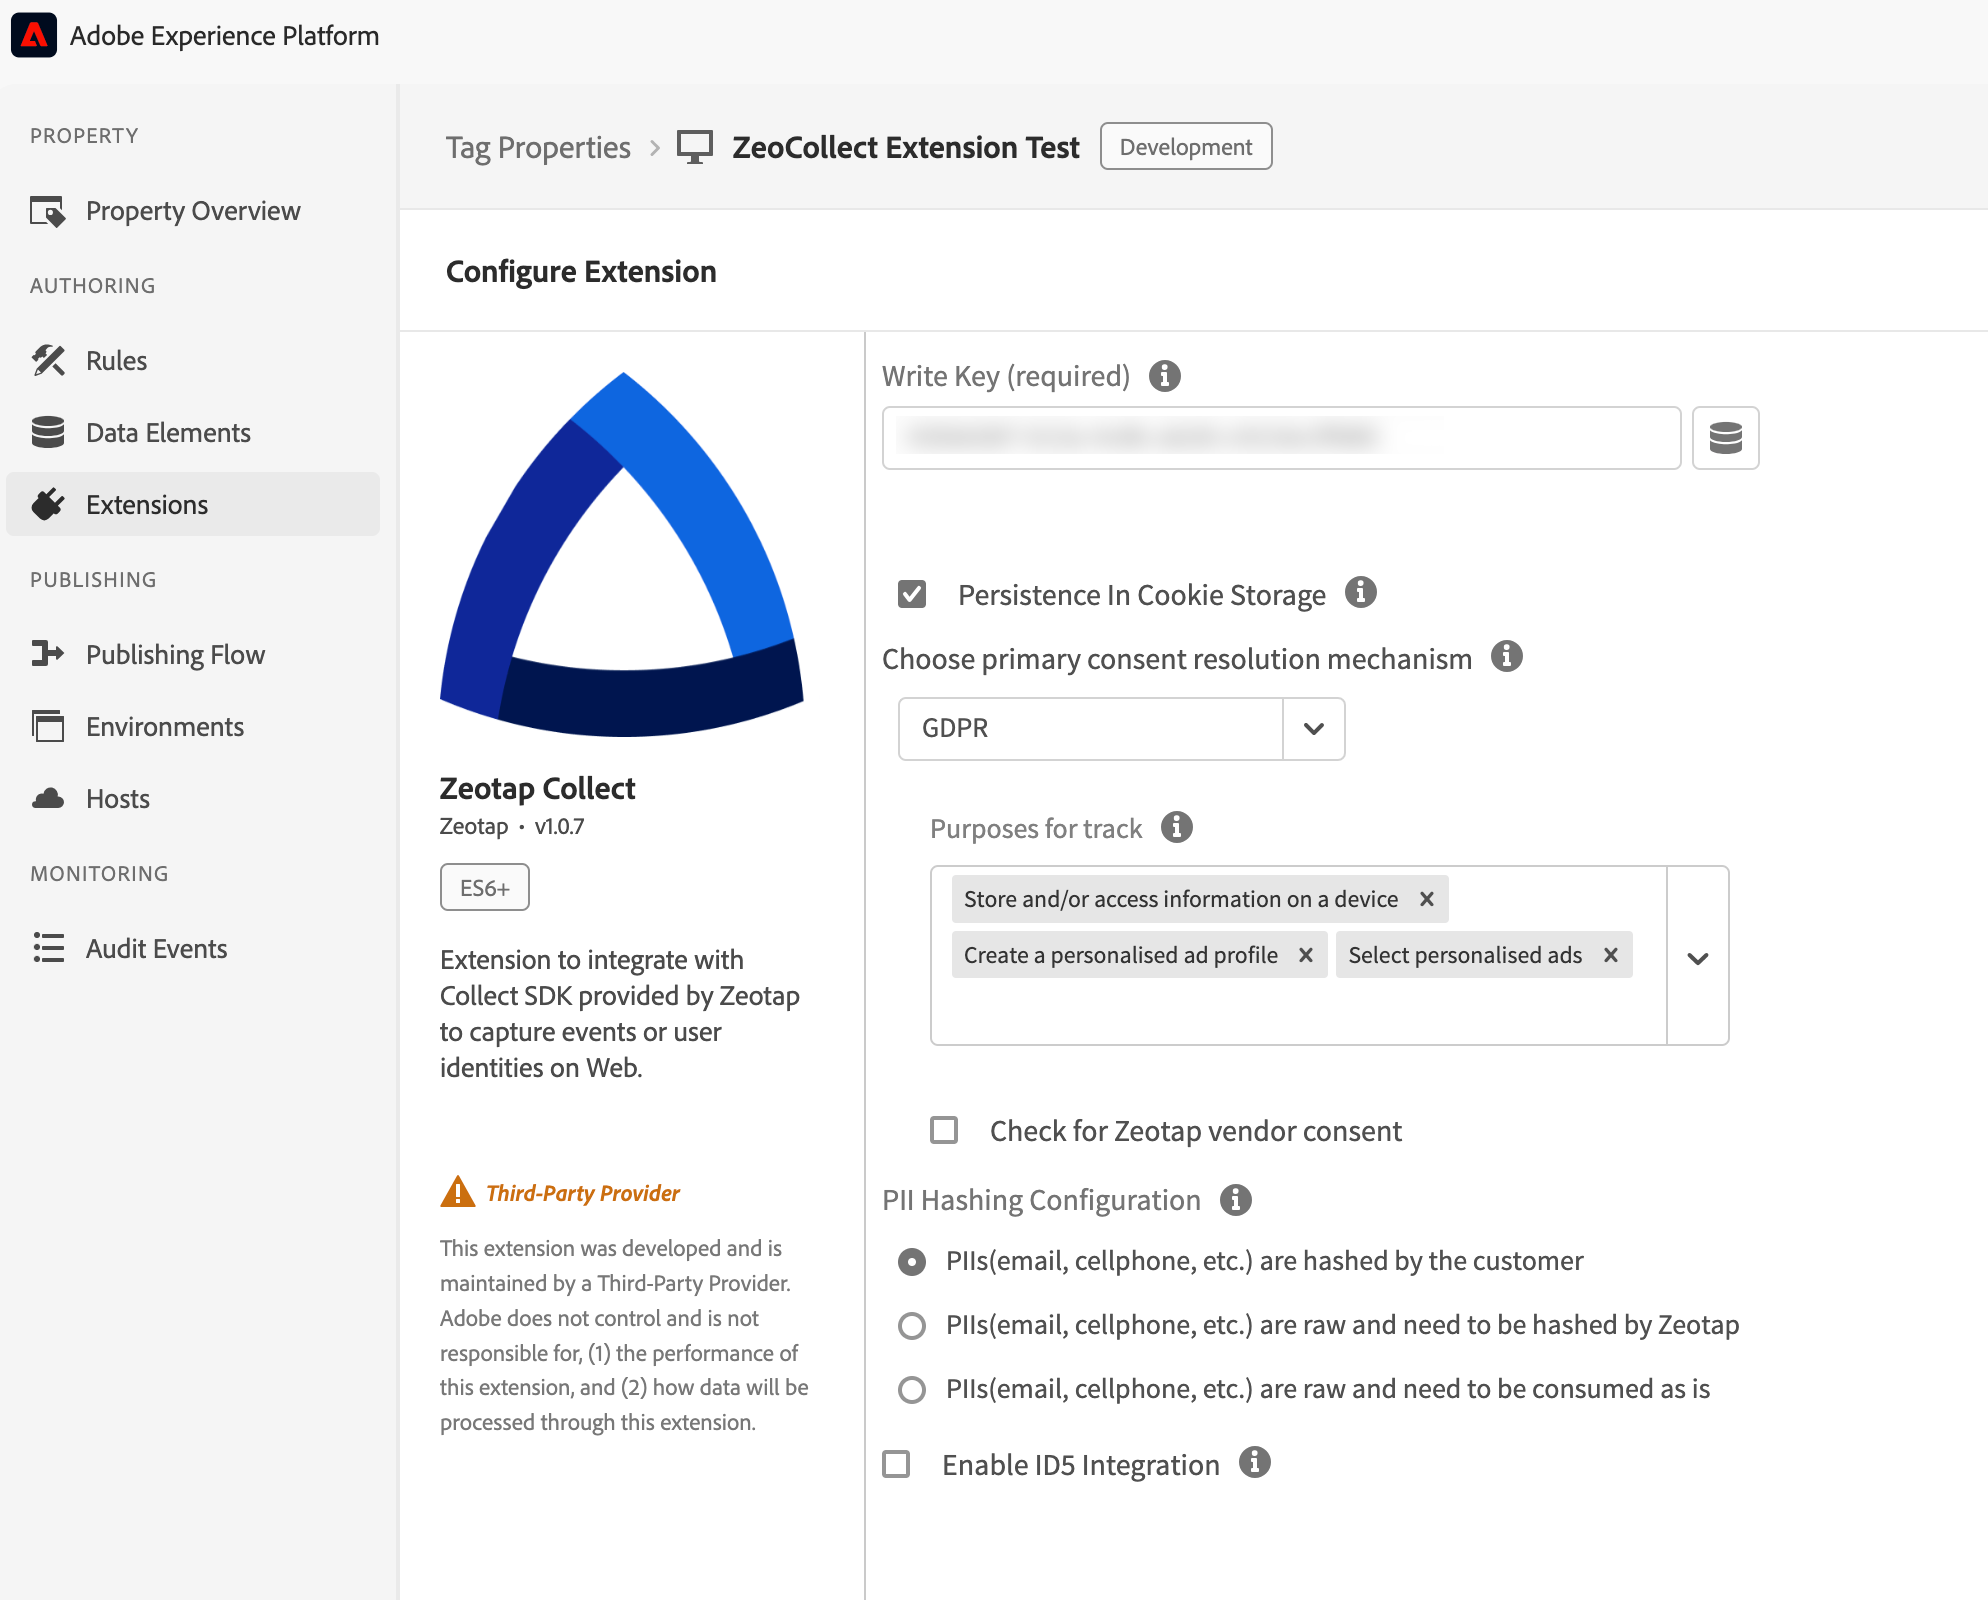
- Write Key — the key generated when you created the source in the Sources application. This is a mandatory field for recording events.
- Consent Method — how the extension resolves consent before it collects anything. Choose Default Opt-in, TCF (GDPR), or Custom Consent:
- With TCF (GDPR), select the purposes required for tracking, and optionally check consent for Zeotap as a vendor (vendor ID
1469) in the TC string. - With Custom Consent, you must also build a rule that uses the Set Custom Consent action, mapping the
trackandcookieSyncvalues from your own consent flow. - Brand Consent key-value pairs can be sent under any consent method, using the same Set Custom Consent action.
- With TCF (GDPR), select the purposes required for tracking, and optionally check consent for Zeotap as a vendor (vendor ID
- PII Hashing Configuration — how Personally Identifiable Information (PII) such as email addresses and cell phone numbers is handled. Three options are available: PII is hashed by you before it reaches the extension, PII is sent raw and hashed by Zeotap, or PII is sent raw and consumed as is. The identifiers each option accepts are listed in User identity reference.
- Country Code — the ISO Alpha-3 country code for the country you want to associate your users with. See Configuring the Zeotap Collect Extension.
- ID5 — optional. See Enable the ID5 integration.
Cookie syncing is enabled by default for the Zeotap Collect extension. To restrict or disable it, contact your Zeotap representative or Zeotap Support. See Zeotap’s list of integrated partners for the platforms it syncs with.
Set up rules and actions
With the extension installed and configured, build Adobe Launch rules that call the Zeotap action types:- Track Event — send page views, user properties, and custom events. See Track Event.
- Sync User Identities — send user PII and custom identifiers such as
crmID,ECID, orvisitorID. See Sync User Identities. - Set Custom Consent — send primary consent (
track,cookieSync) and brand consent signals. See Set Custom Consent.
The Load Zeotap SDK action is no longer required. The Launch tag loads the Zeotap SDK automatically.
Country and city values sent in an event payload are not ingested — Zeotap resolves them from the user’s IP address. For the complete list of fields excluded from ingestion, see Blacklisted Fields for Data Ingestion.
Example: track an Add to Cart event
This rule fires when your website makes a direct call namedaddToCart and sends the event to Zeotap CDP.
1
Open the Rules screen
Log in to Adobe Experience Platform and open your Launch property. In the left menu, under AUTHORING, click Rules.
2
Add a rule
Click Add Rule.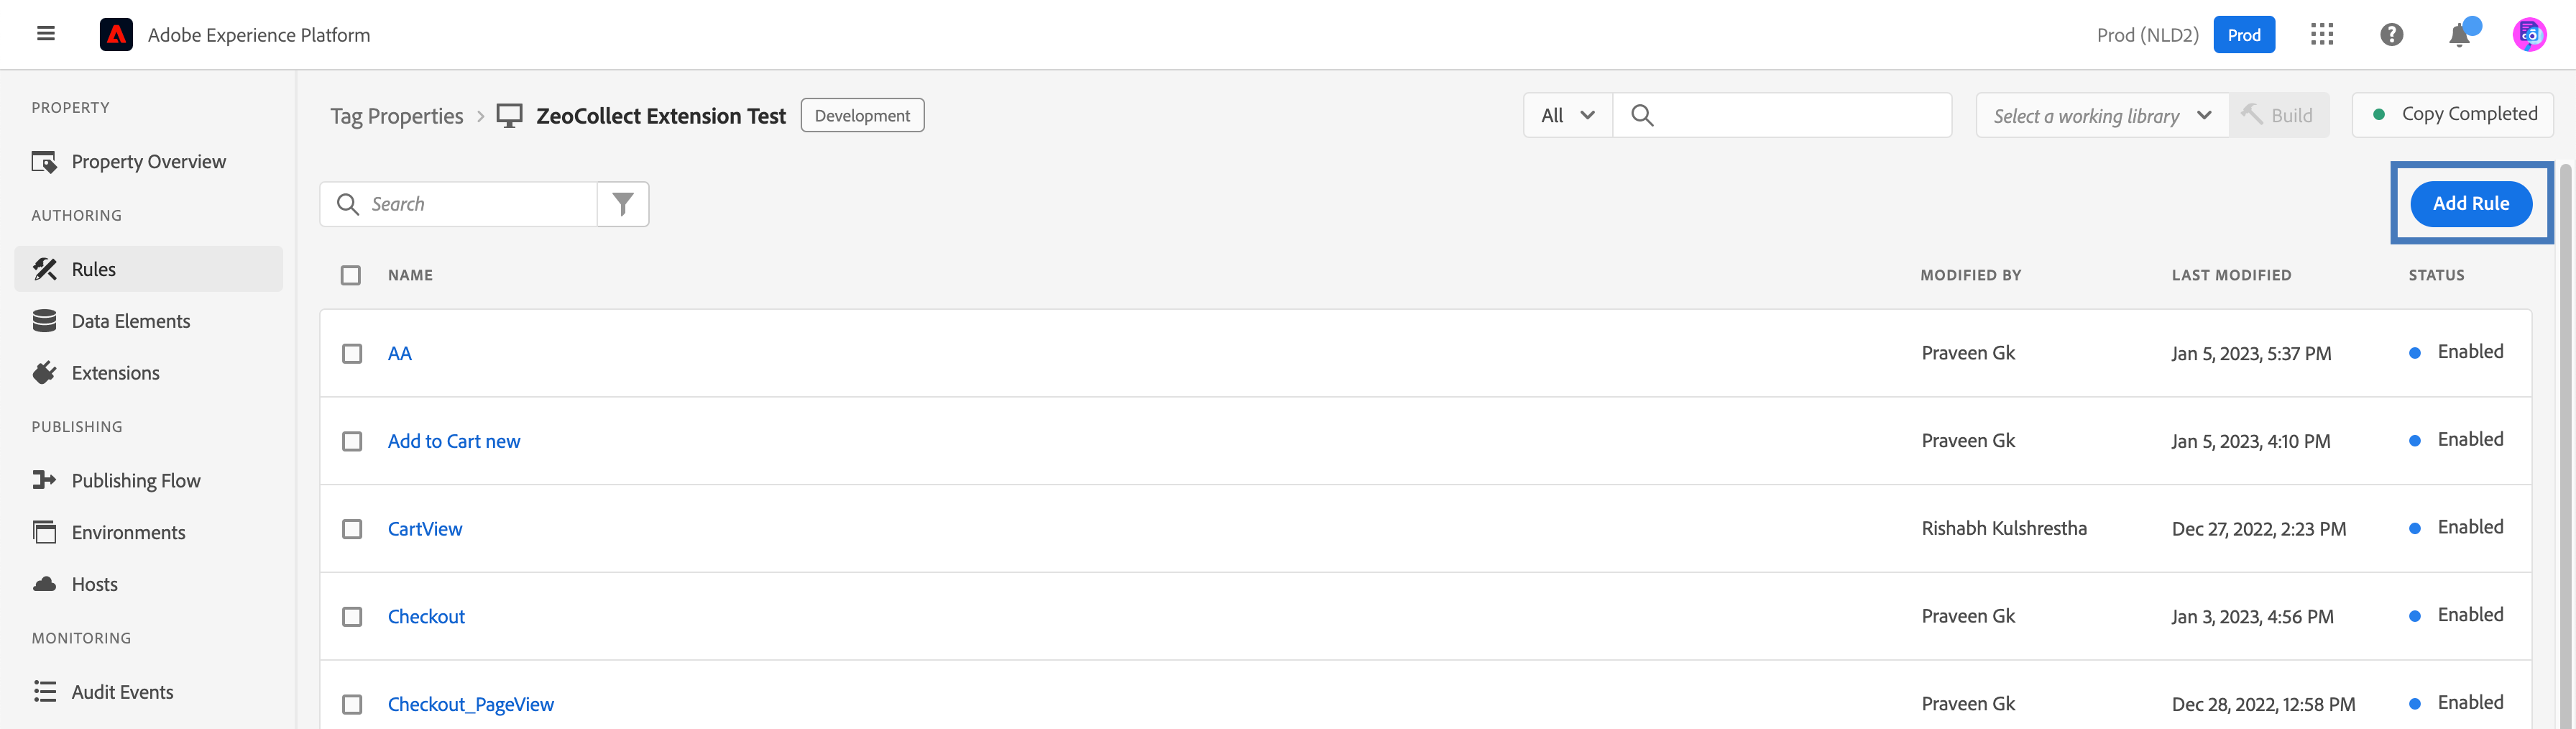
3
Name the rule
Enter a name for the rule — for example, 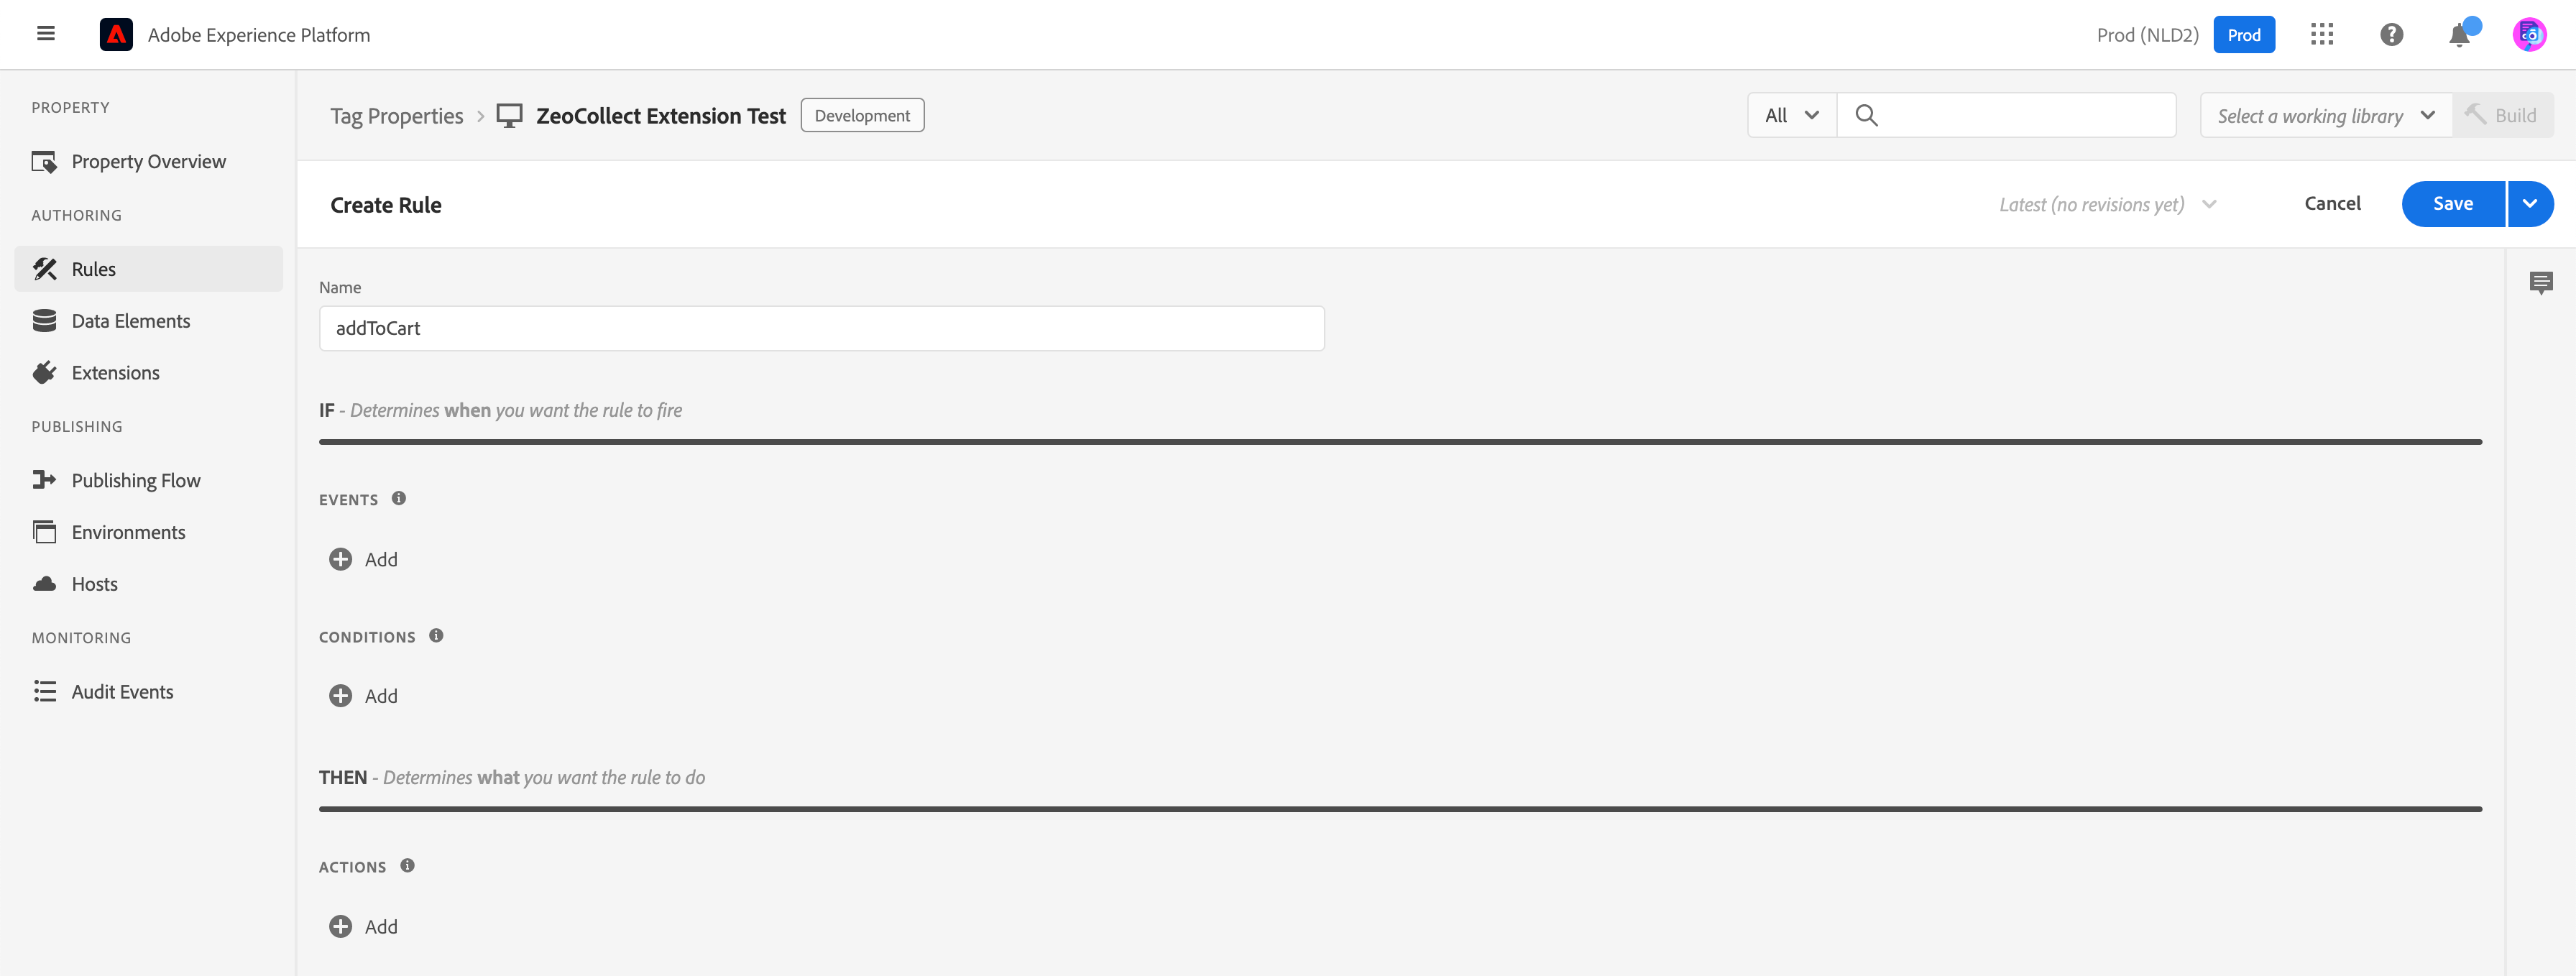
addToCart. You configure its events and actions in the steps that follow; the actions run when the configured event fires.4
Add the event
Under EVENTS, click Add.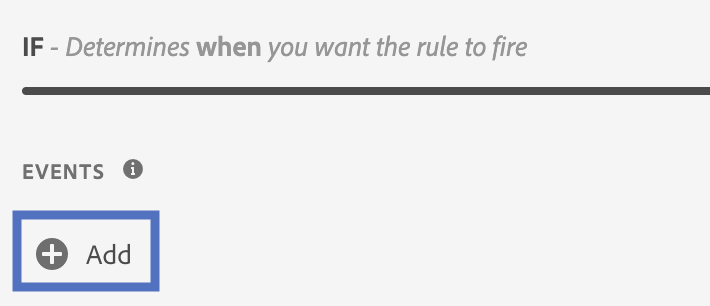
5
Configure the event
In the window that appears: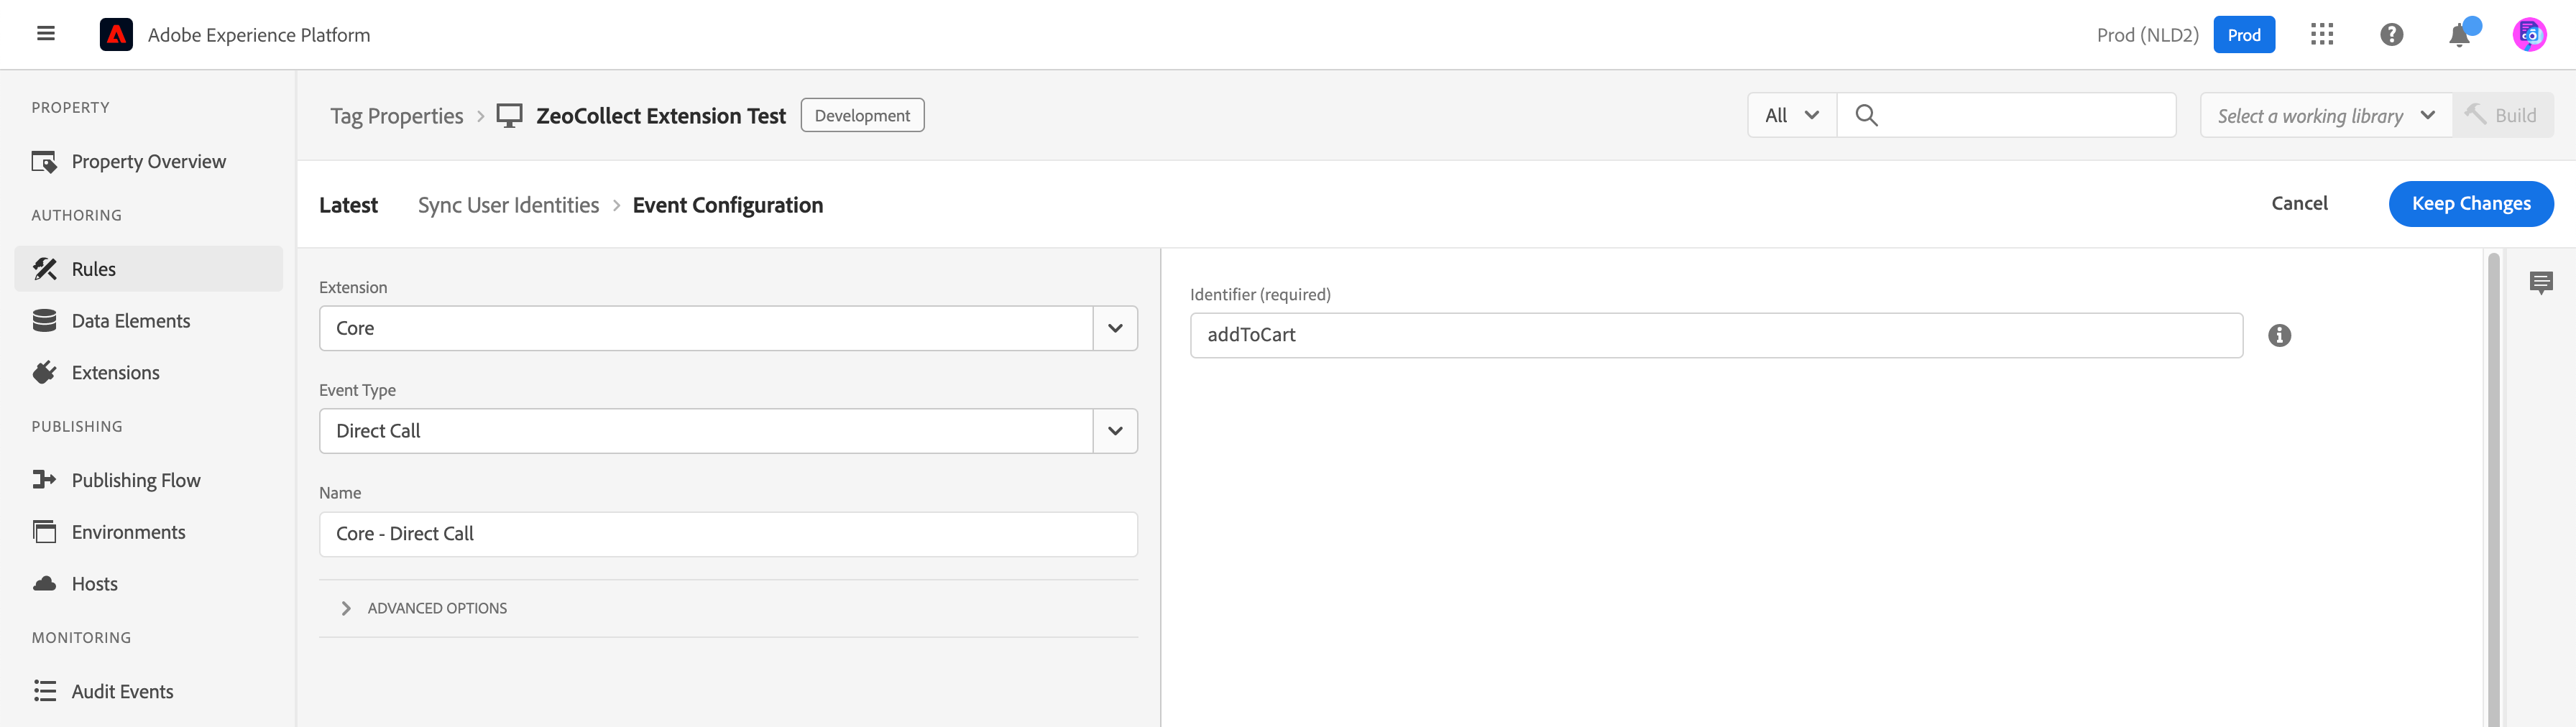
- Select Core as the Extension. Each extension offers its own set of default event types.
- Select Direct Call as the Event Type. In the Identifier field, enter the string your website passes to
_satellite.track(), without quotation marks — here,addToCart. - The Name field is auto-populated from the selected extension and event type. Click Keep Changes to save the event configuration.
6
Trigger the event from your website
Invoke the direct call from your site:
7
Add conditions (optional)
Add Conditions if you need to scope the rule — for example, to particular pages or environments.
8
Add the first action
Under ACTIONS, click Add.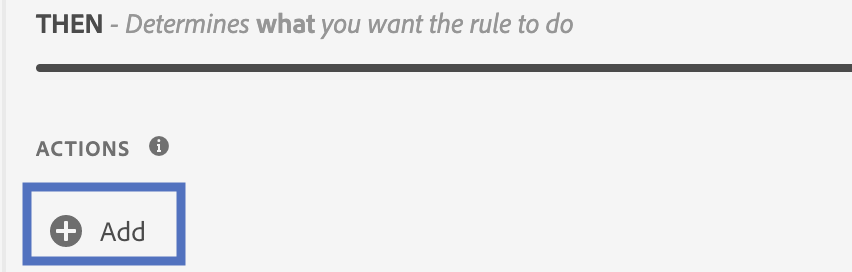
9
Select the Custom Code action
Select Core as the Extension and Custom Code as the Action Type. In the right-hand panel, select JavaScript under Language.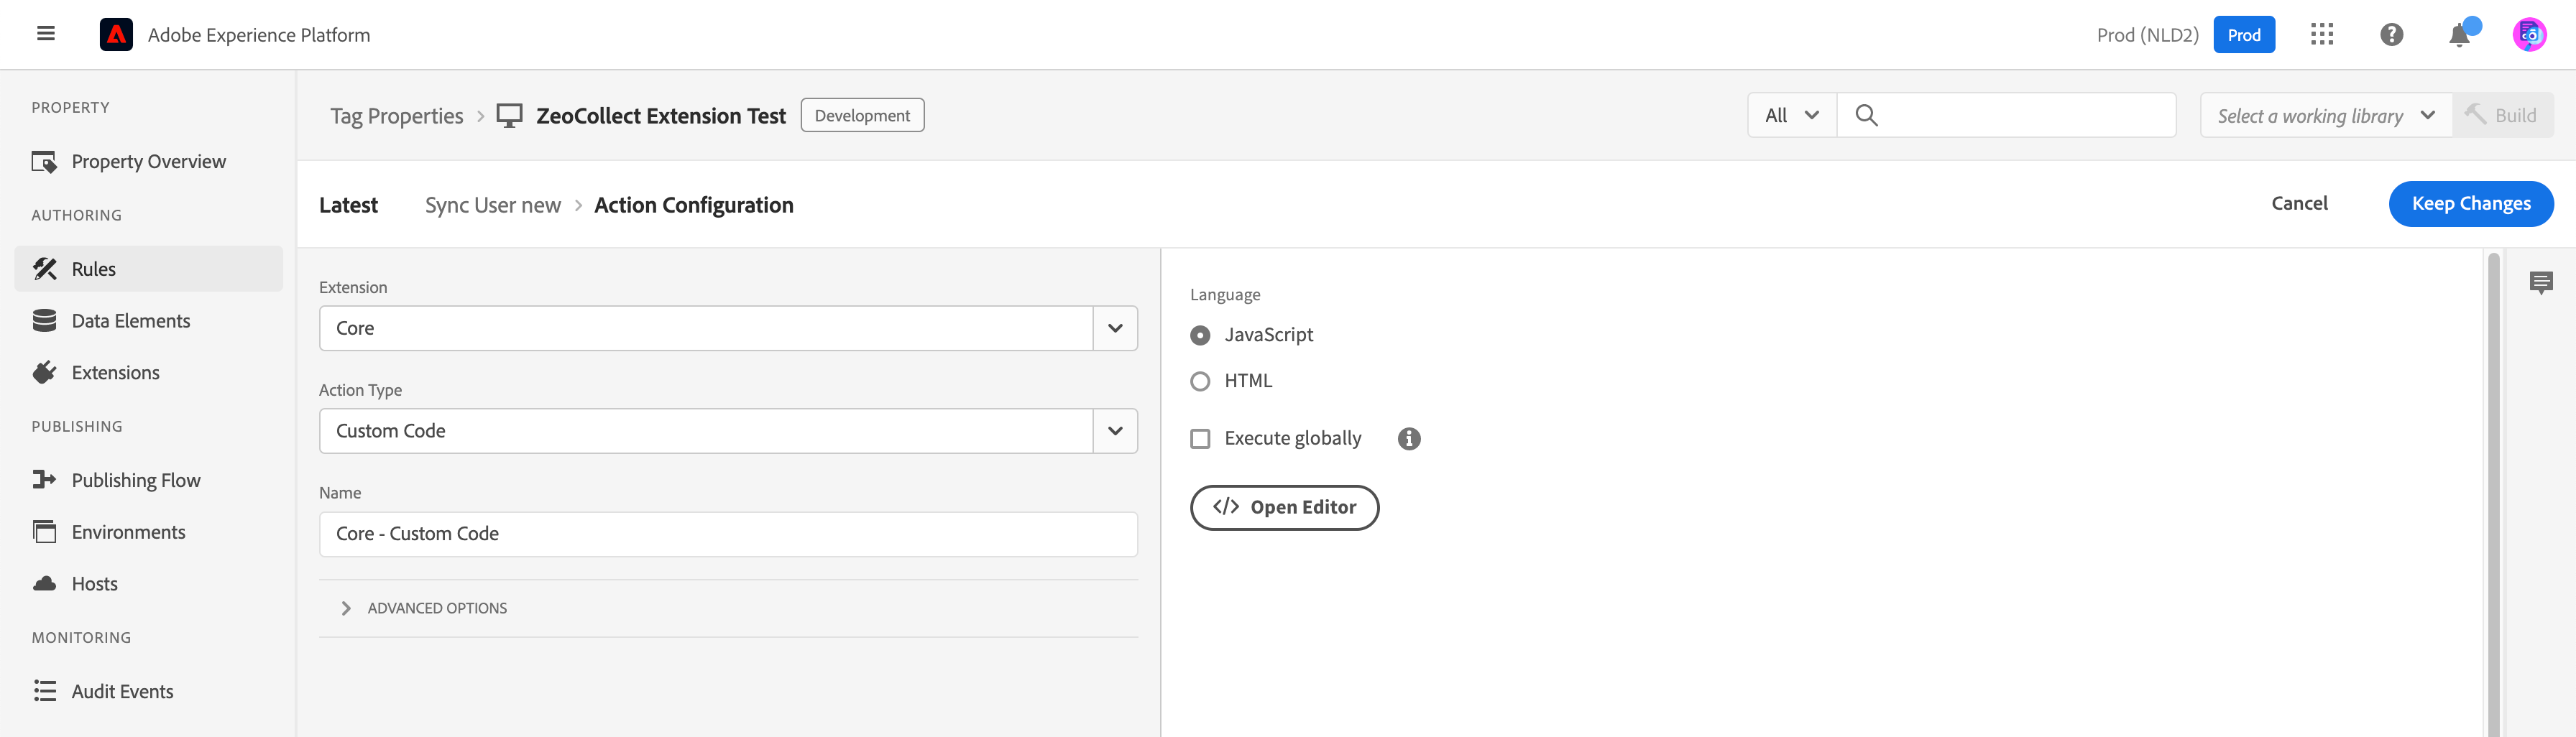
10
Add the custom code
Click
</> Open Editor, paste the following, and save the changes:11
Add the Zeotap action
Add a second action that sends the event to Zeotap CDP, configured with these attributes: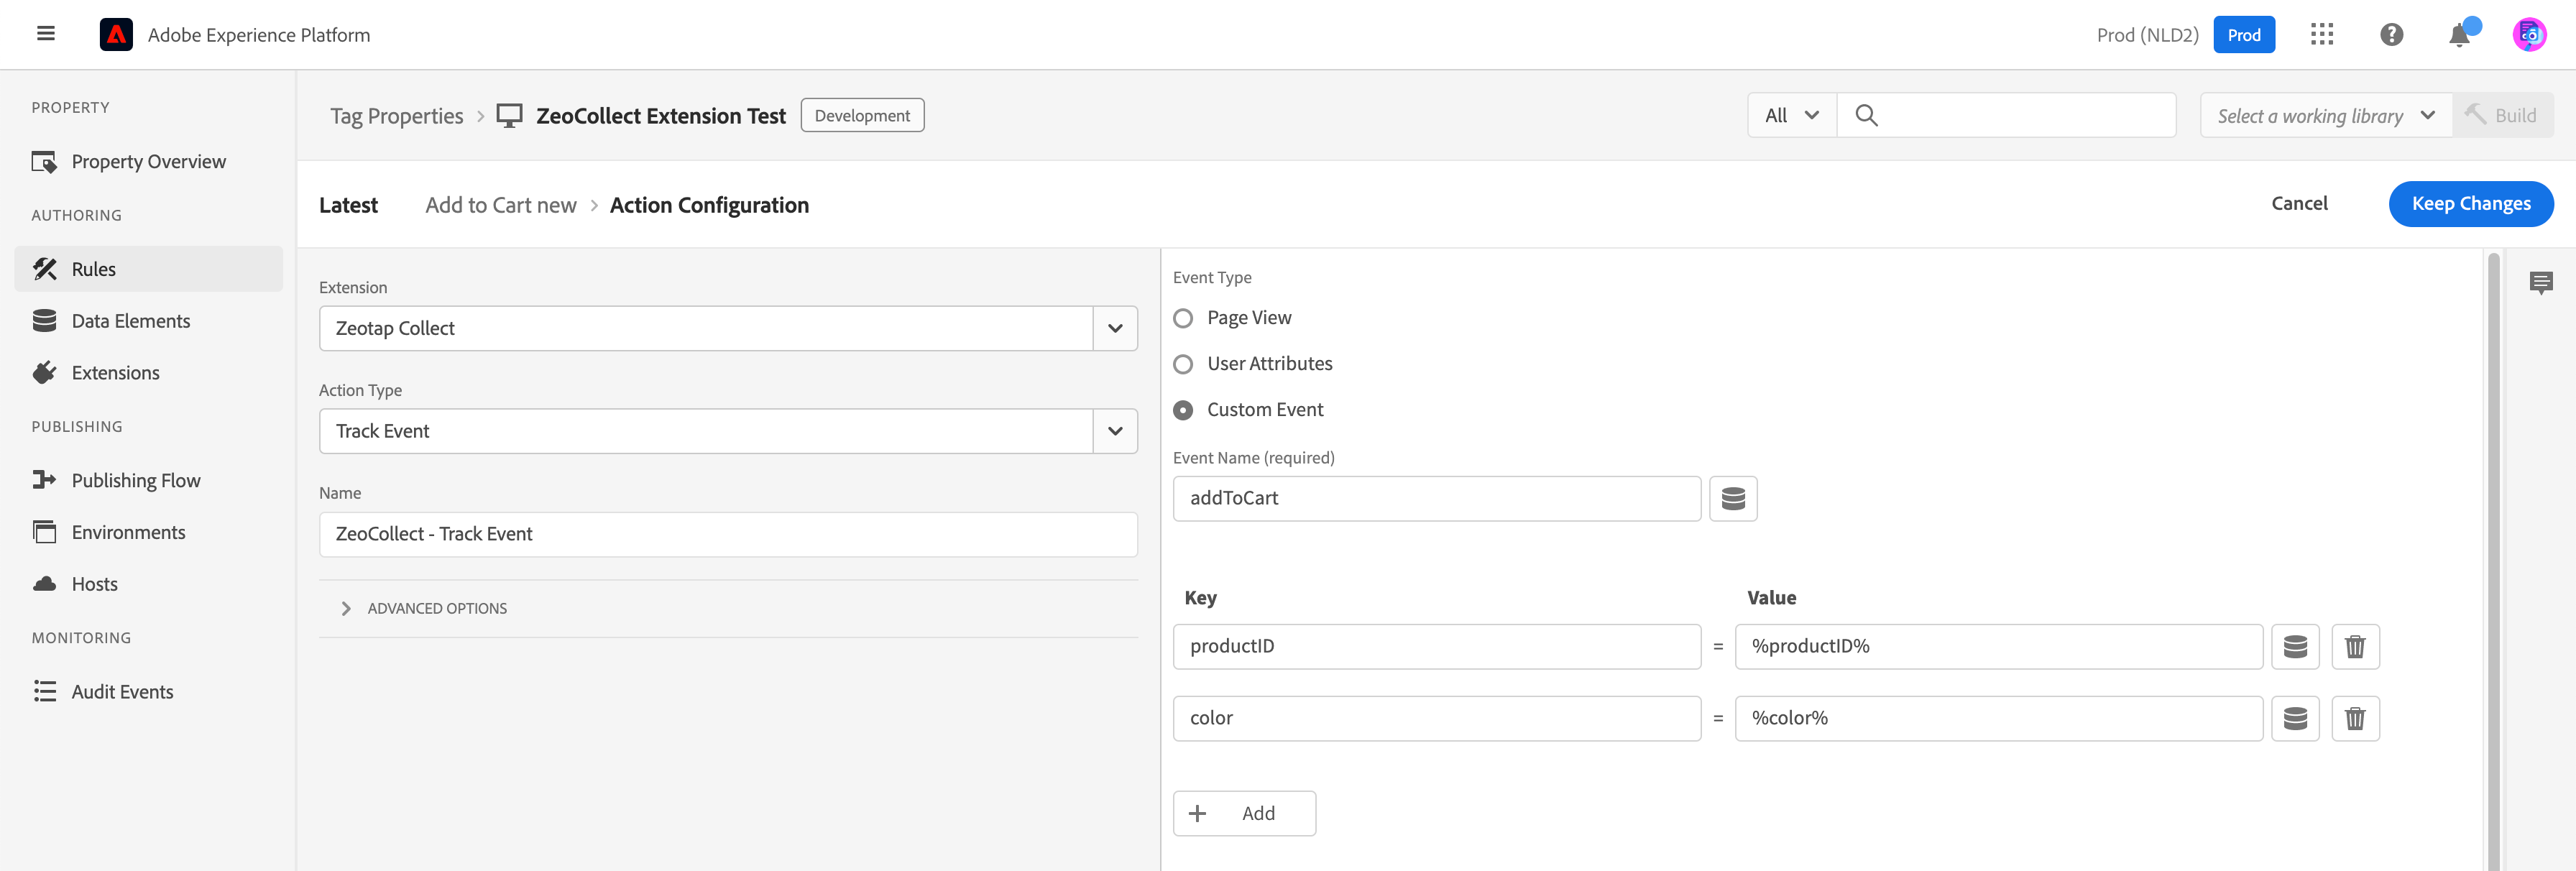
- Extension: Zeotap Collect
- Action Type: Track Event
- Event Type: Custom Event — set the key-value pairs you want to capture with the event.
12
Save and build
Save the configuration and build the changes into your library.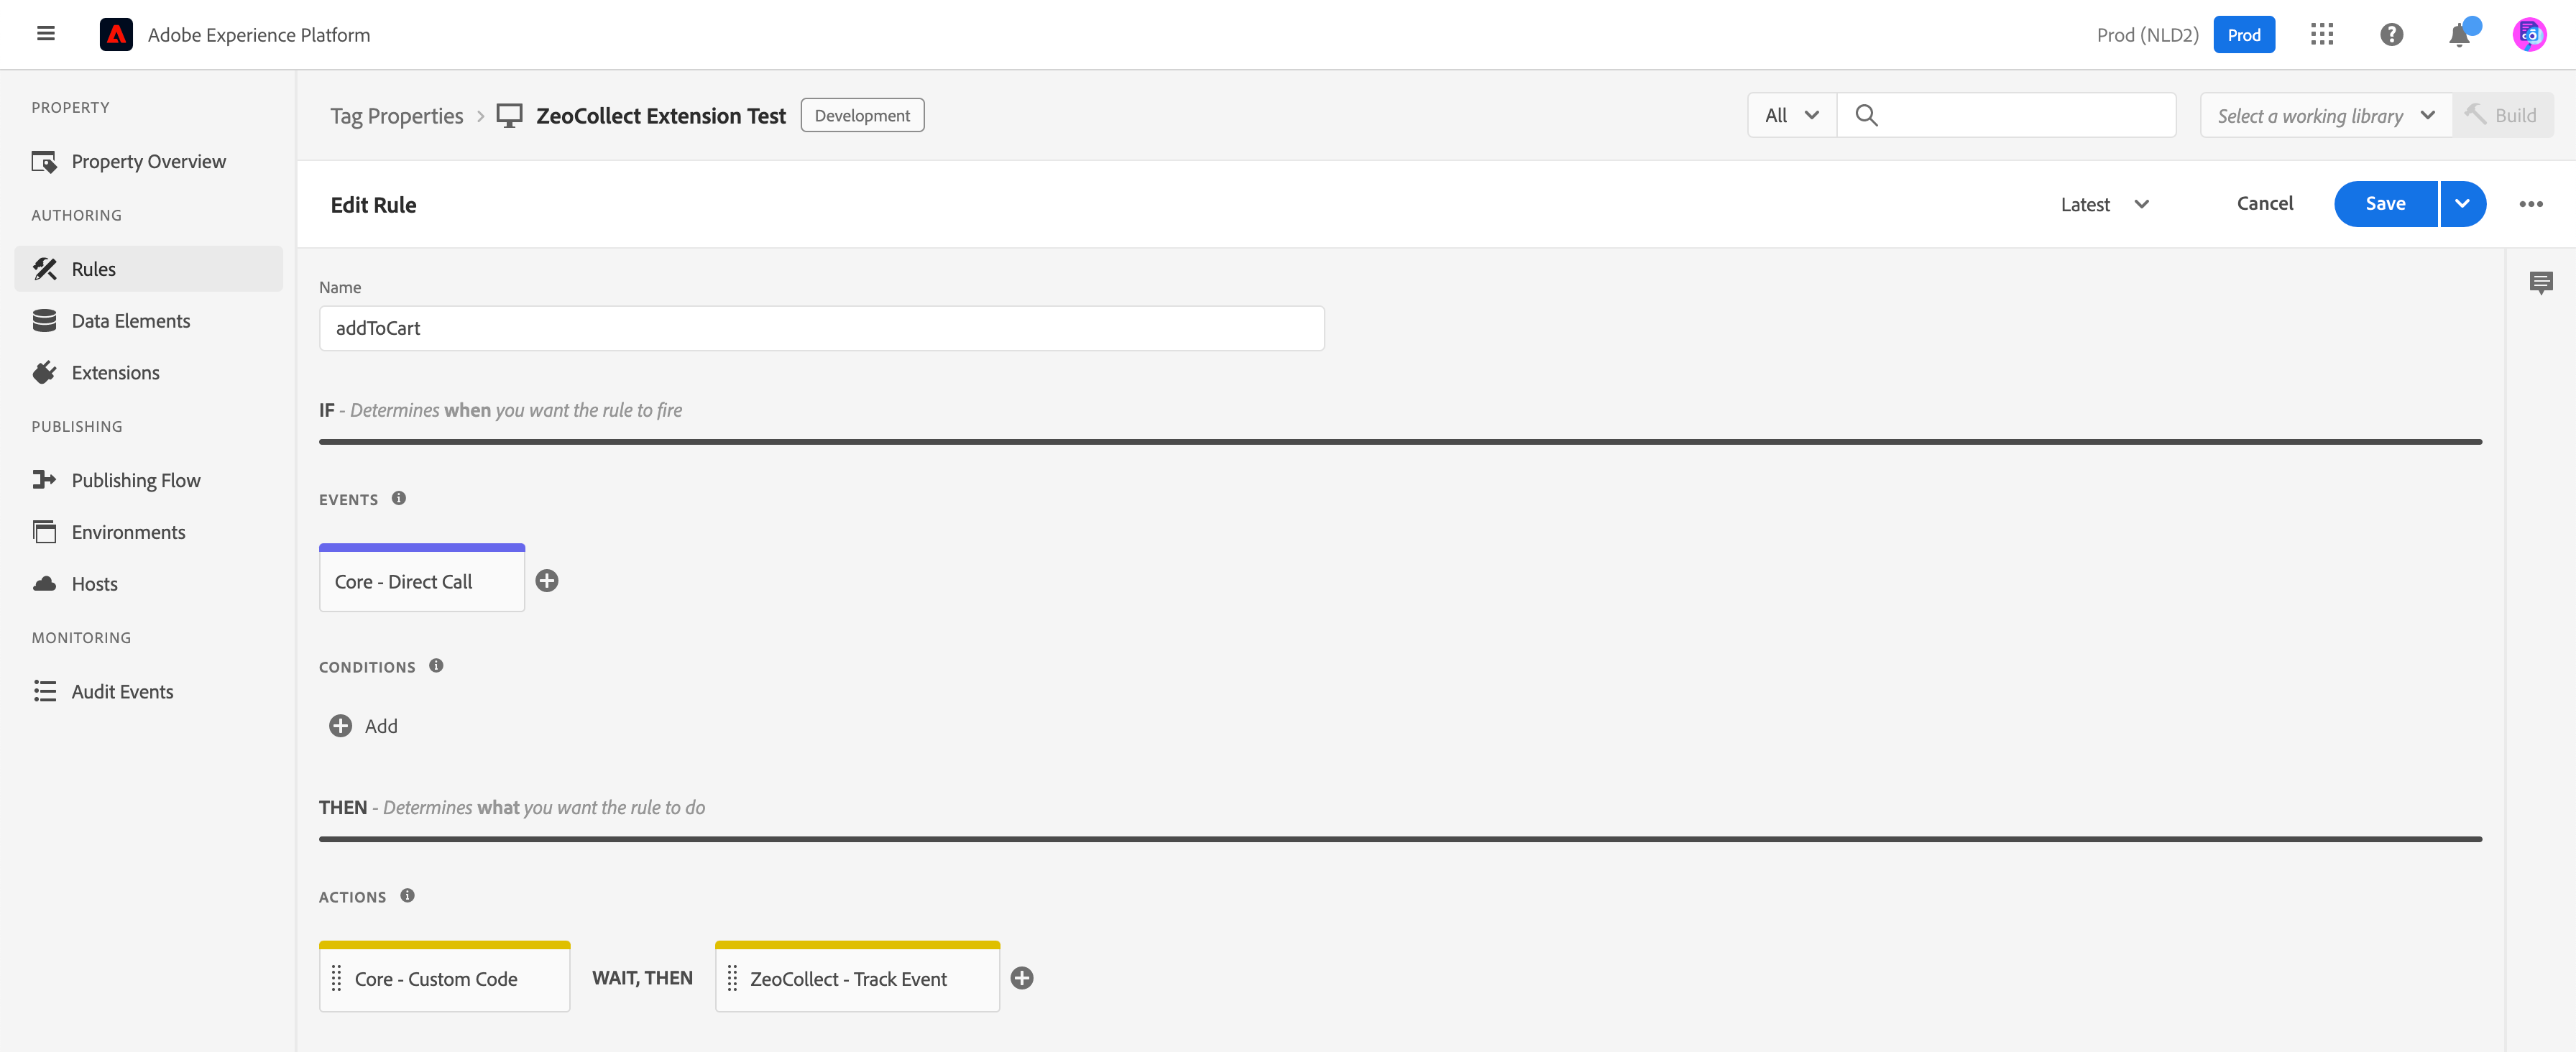
When the rule is triggered, the key-value pairs in the action configuration are sent to Zeotap CDP along with the event attributes passed as the second argument to
_satellite.track().Example: sync user identities on login
Use the same rule structure to send user PII or custom identifiers to Zeotap CDP so that unique user profiles can be built — for example, when a user logs in. Only the direct-call identifier, the custom code, and the Zeotap action differ from the previous example.1
Add a rule
Under AUTHORING, click Rules, then click Add Rule.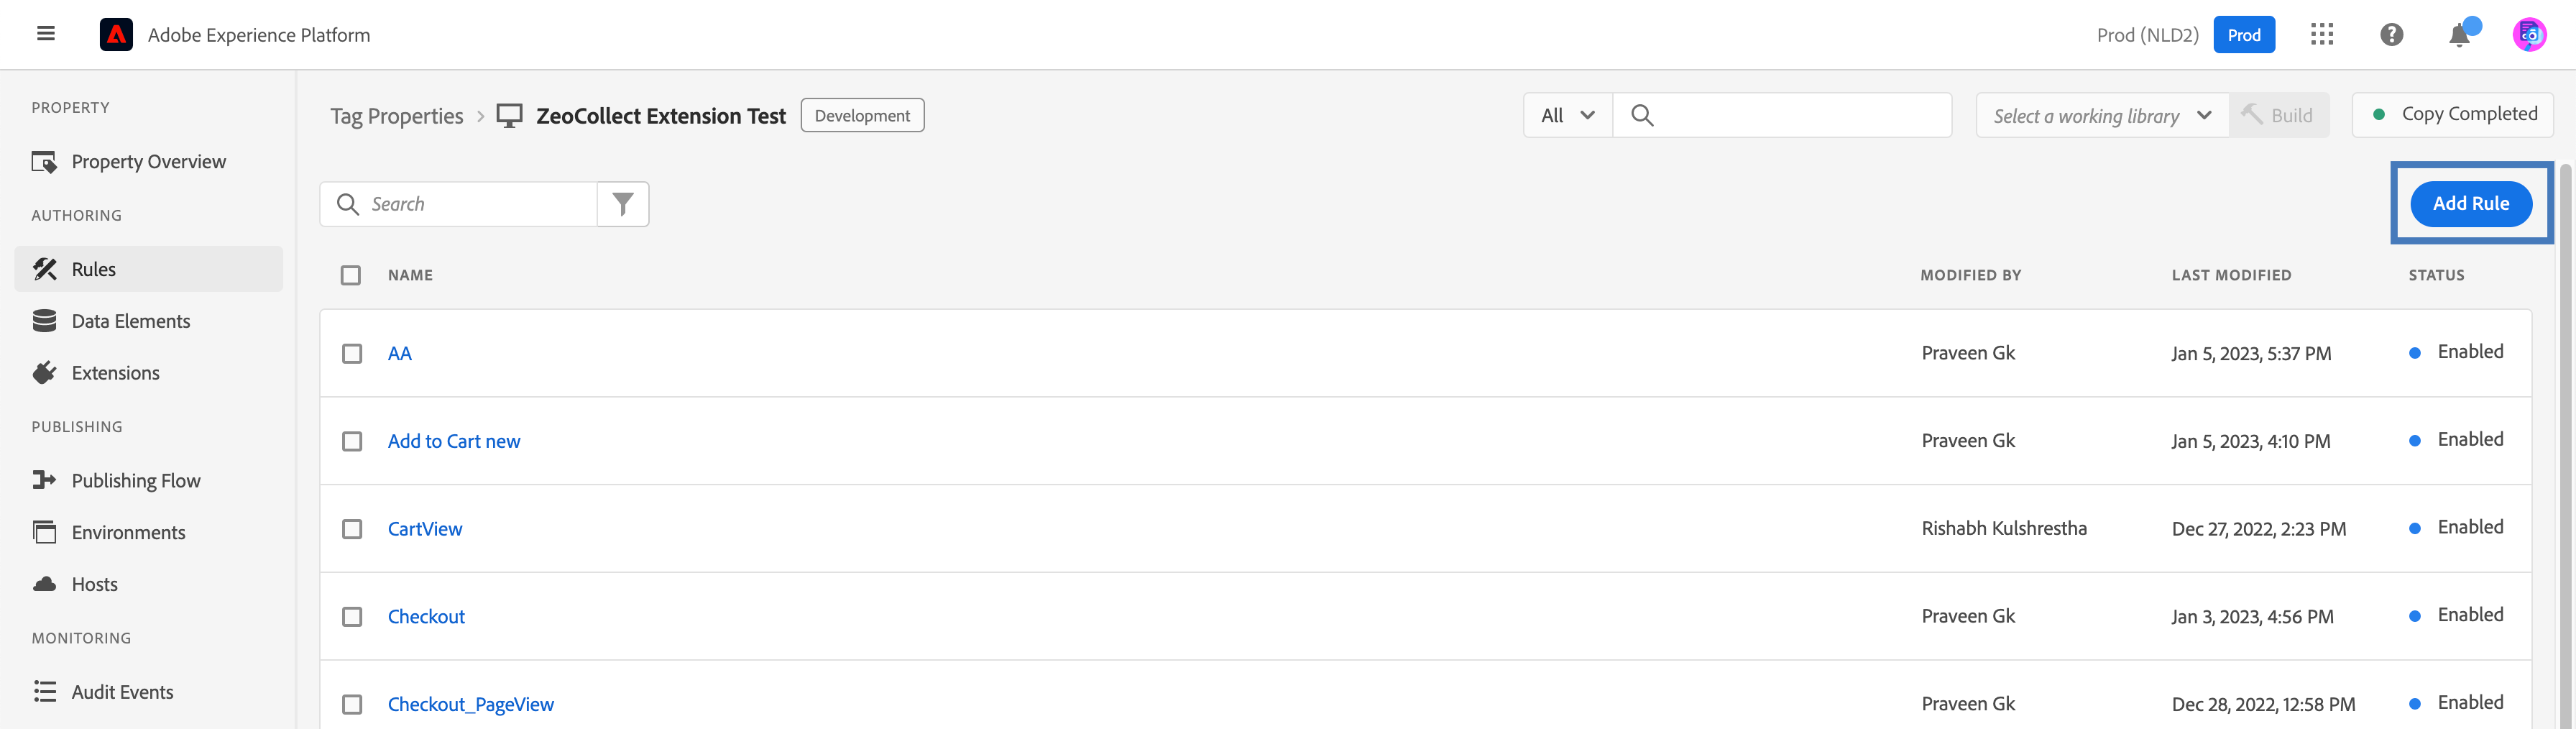
2
Name the rule
Enter a name for the rule — for example, 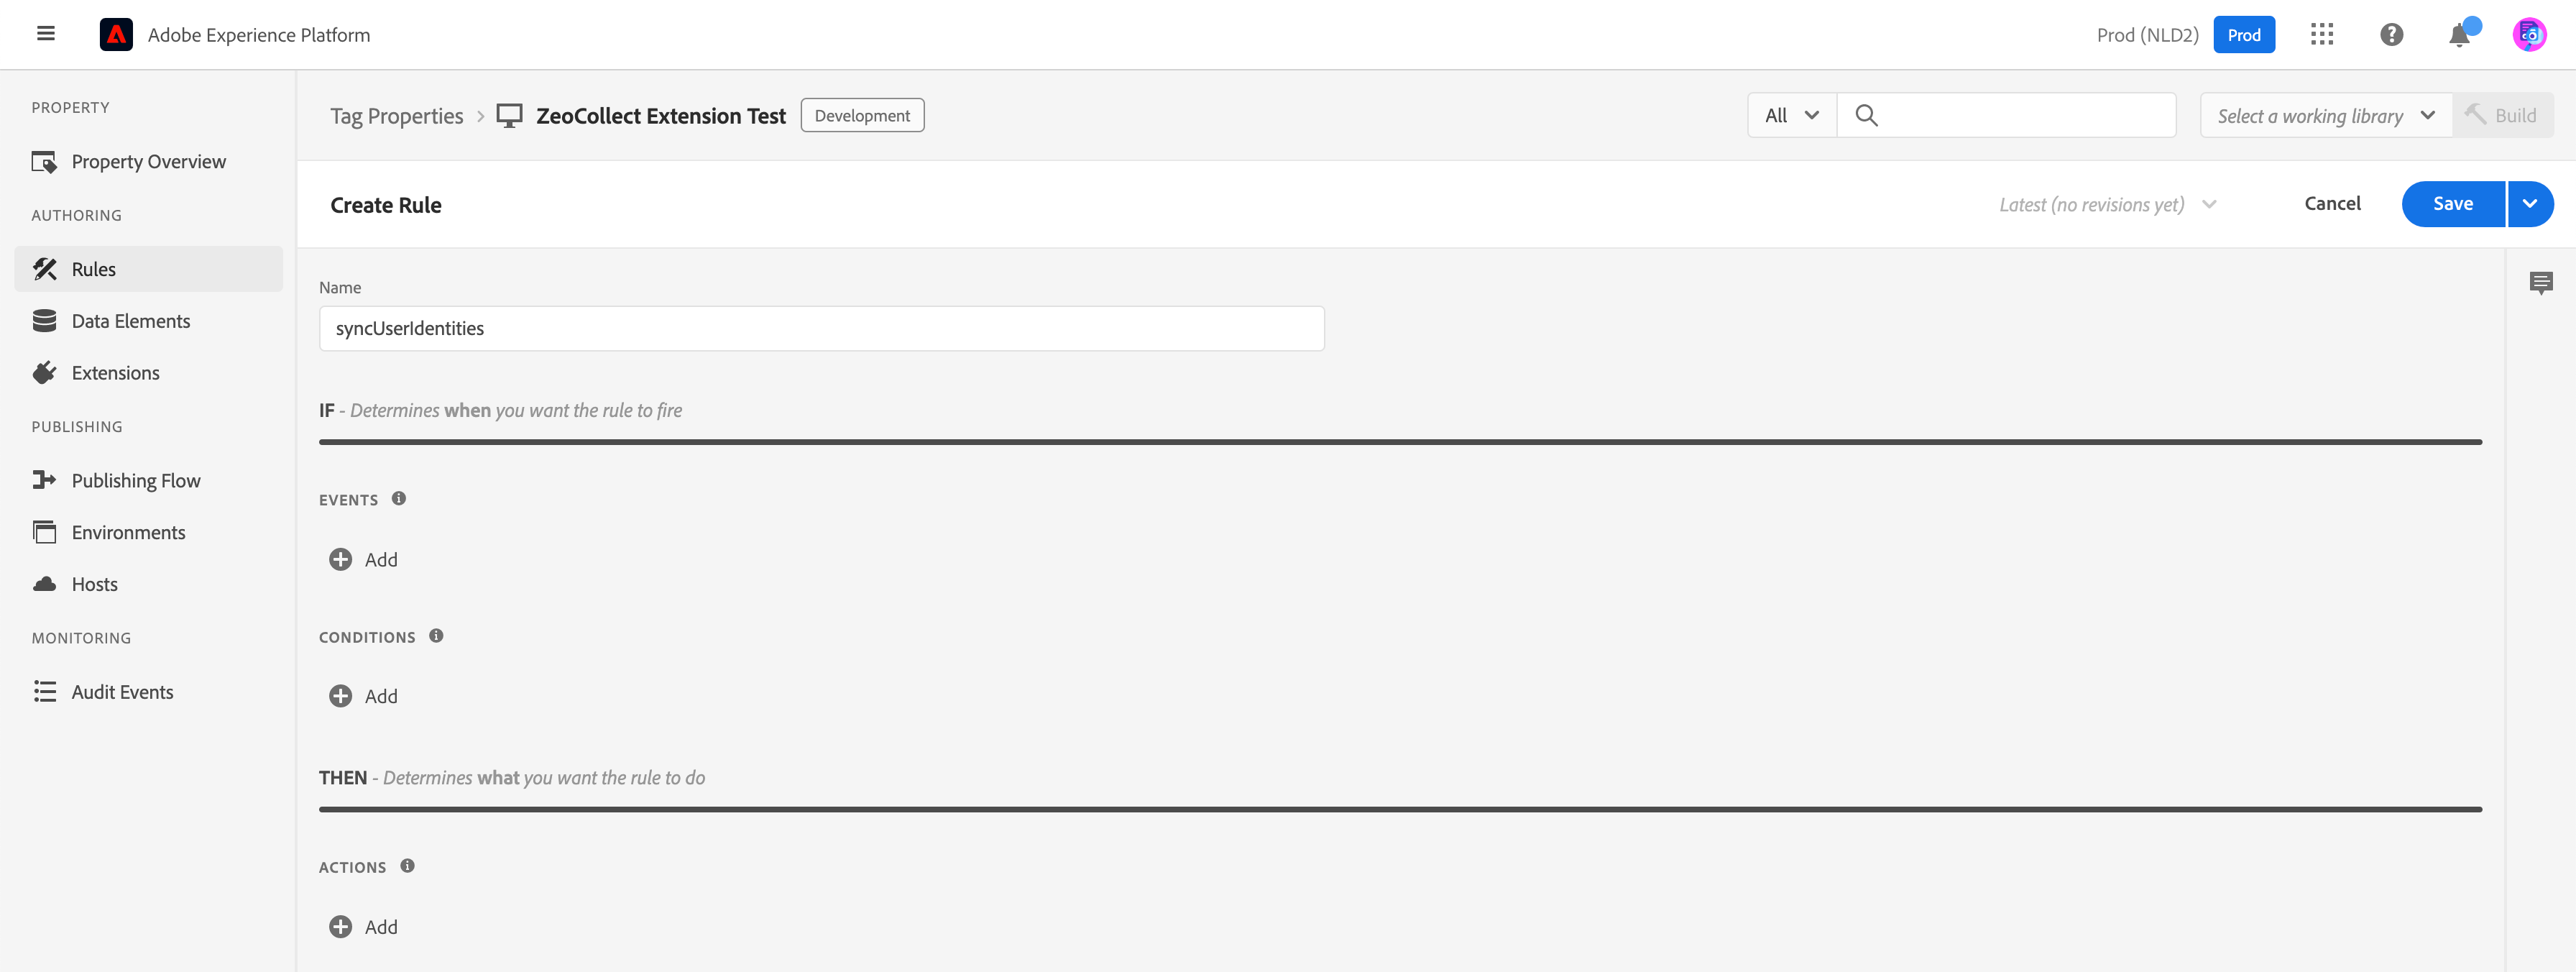
syncUserIdentities.3
Add the event
Under EVENTS, click Add.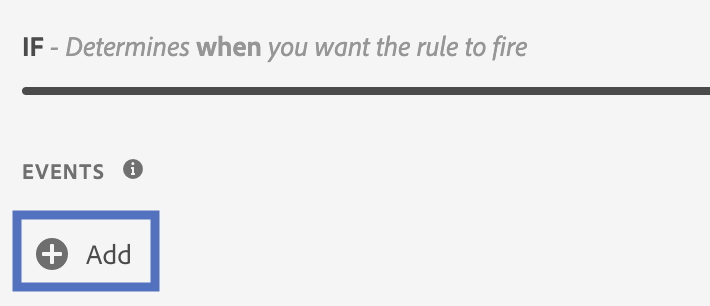
4
Configure the event
Select Core as the Extension and Direct Call as the Event Type. In the Identifier field, enter the string your website passes to 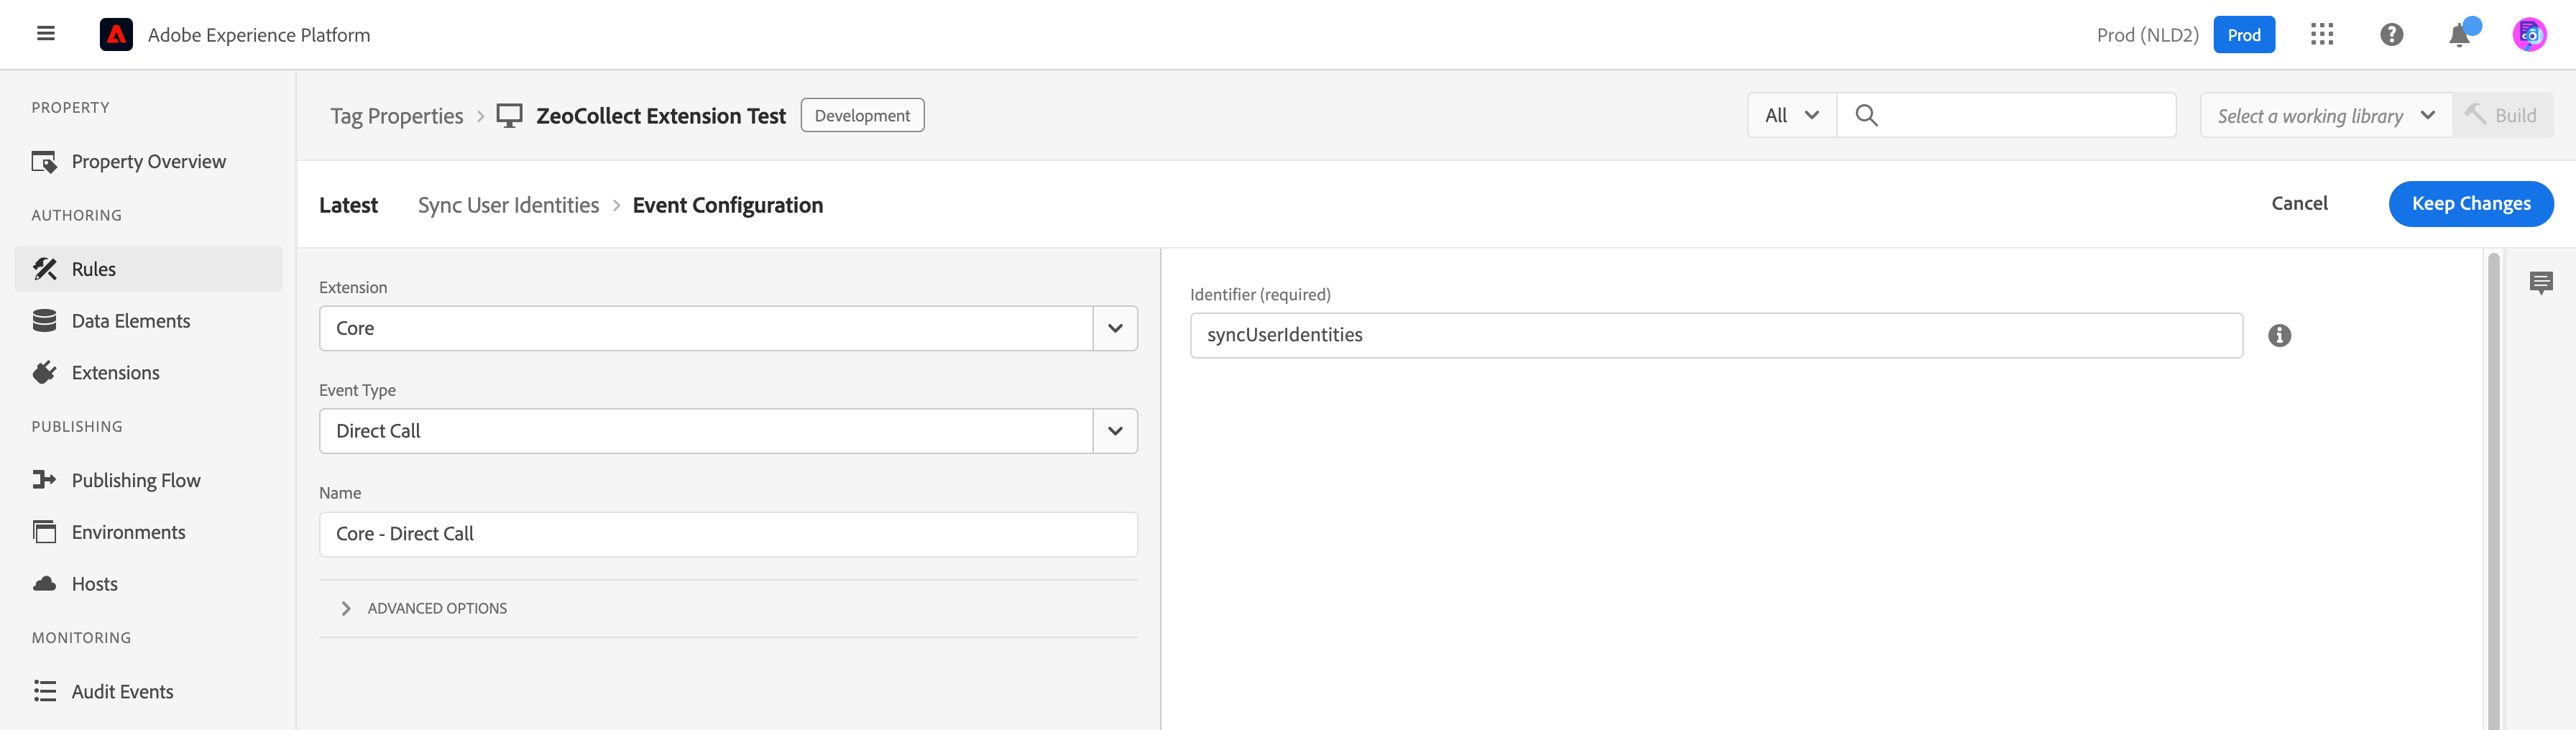
_satellite.track(), without quotation marks — here, syncUserIdentities. The Name field is auto-populated; click Keep Changes.5
Trigger the event from your website
Invoke the direct call from your site:
6
Add conditions and the first action
Add Conditions if required, then click Add under ACTIONS.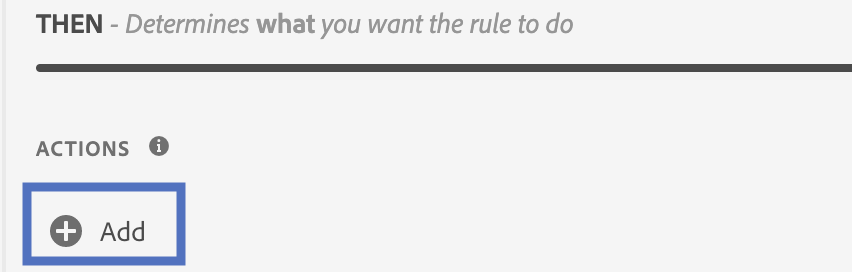
7
Select the Custom Code action
Select Core as the Extension and Custom Code as the Action Type, then select JavaScript under Language.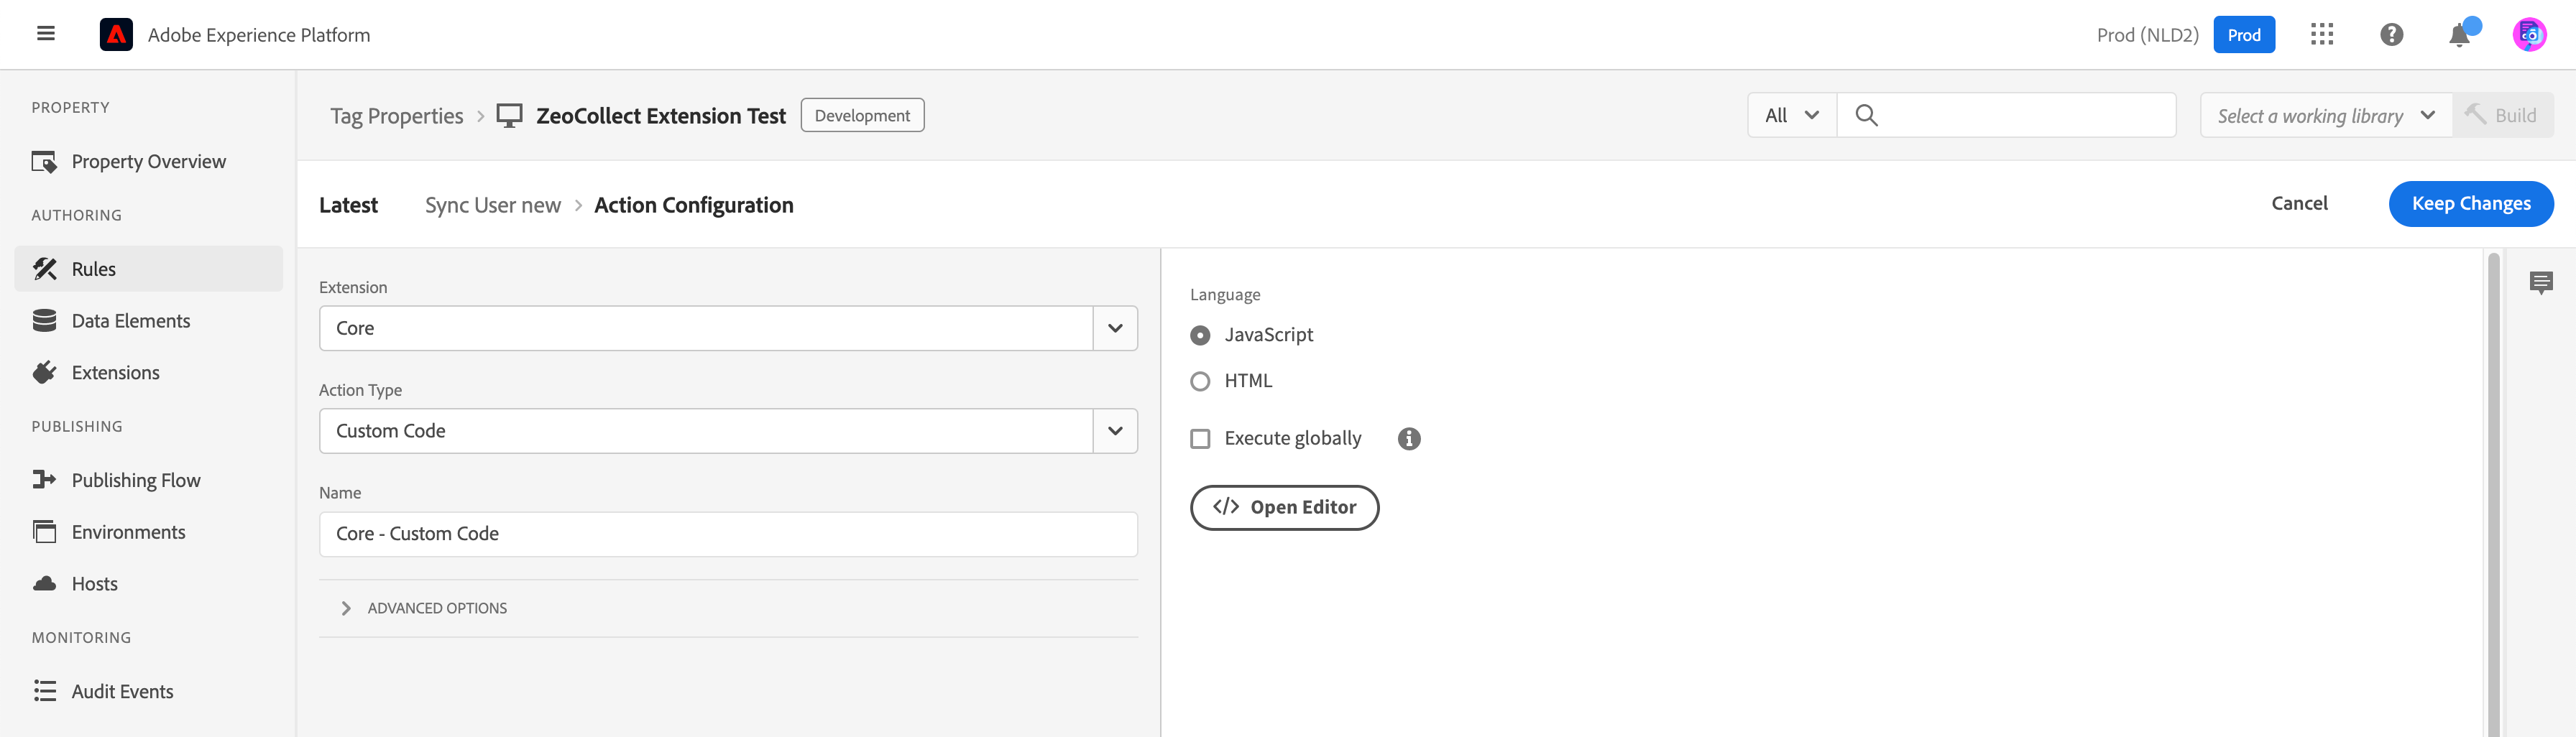
8
Add the custom code
Click
</> Open Editor, paste the following, and save the changes:9
Add the Zeotap action
Add a second action that sends the user PII or custom identifiers to Zeotap CDP, configured with these attributes: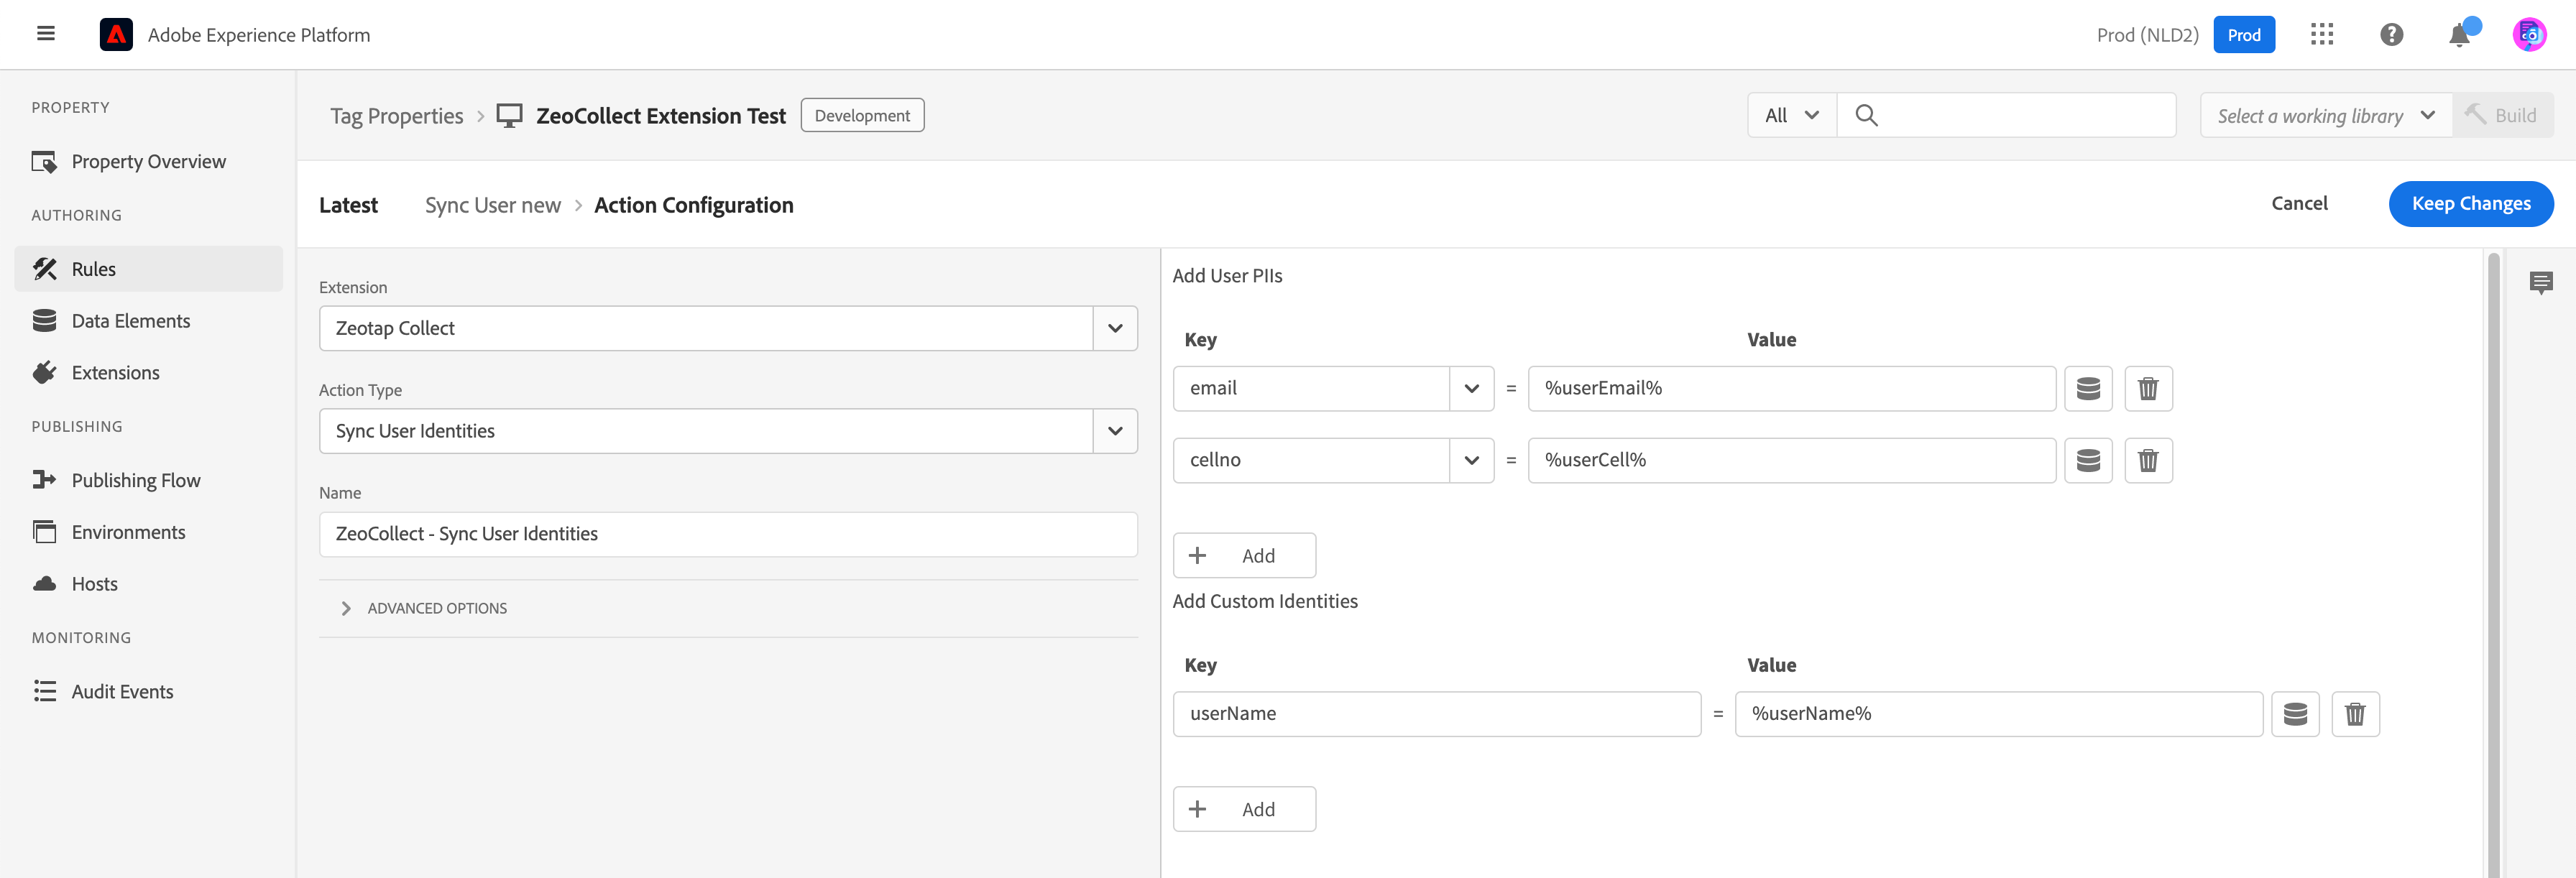
- Extension: Zeotap Collect
- Action Type: Sync User Identities
- In the right-hand panel, set the key-value pairs for the identifiers you want to capture.
10
Save and build
Save the configuration and build the changes into your library.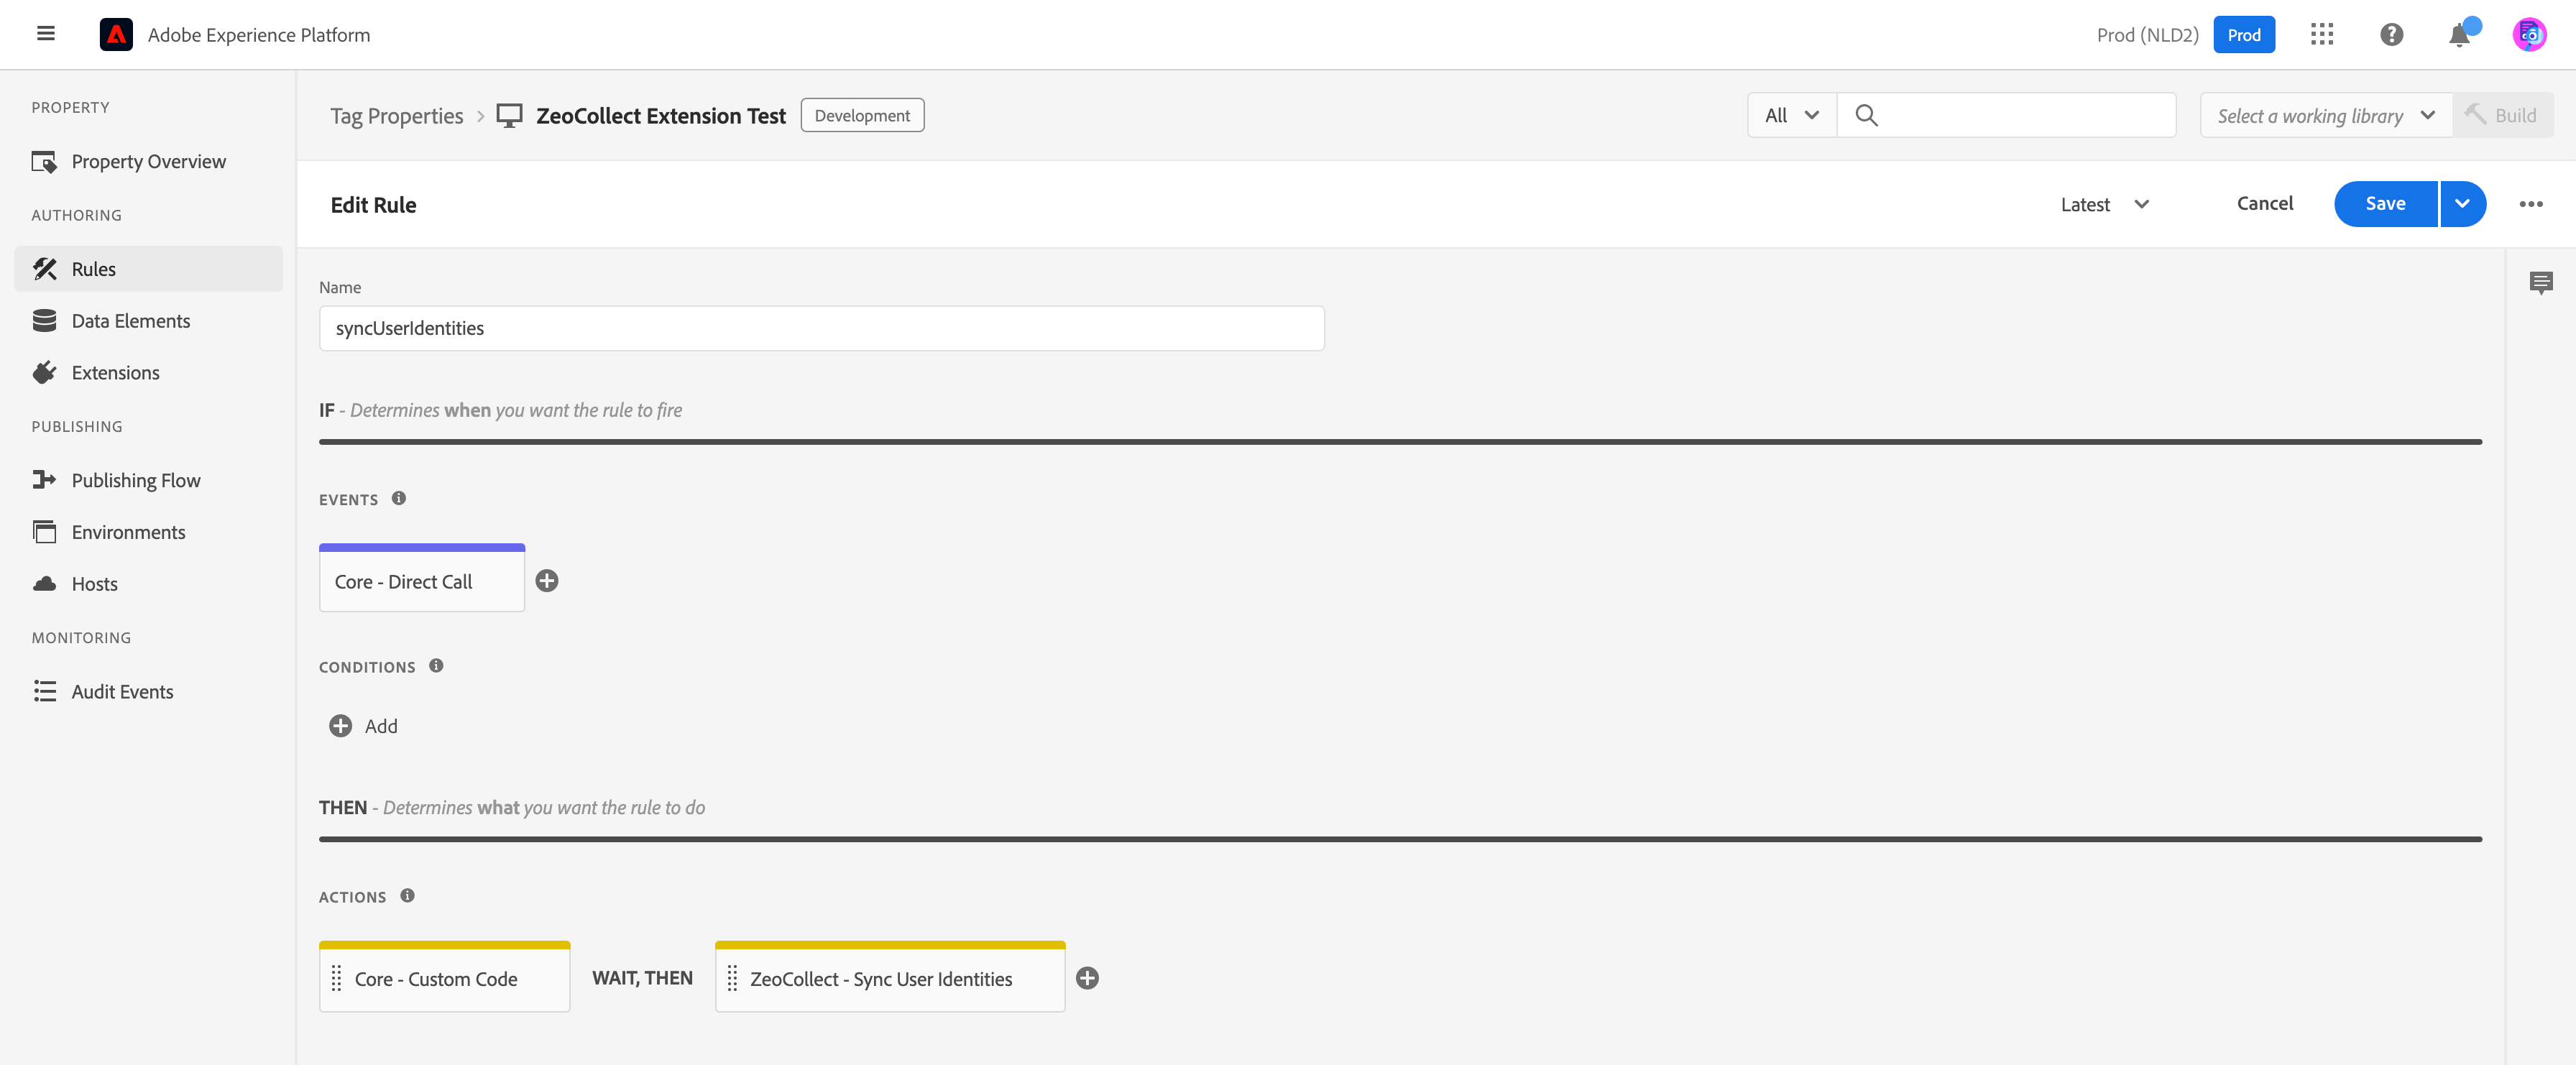
Enable the ID5 integration
The Zeotap SDK offers an optional integration with ID5. You need the Partner ID that ID5 provides.Step 1: Add the ID5 JavaScript library
Load the ID5 JavaScript library in the script section of your website, after the CMP JavaScript and before the Zeotap Collect SDK:Step 2: Configure ID5 in the Zeotap extension
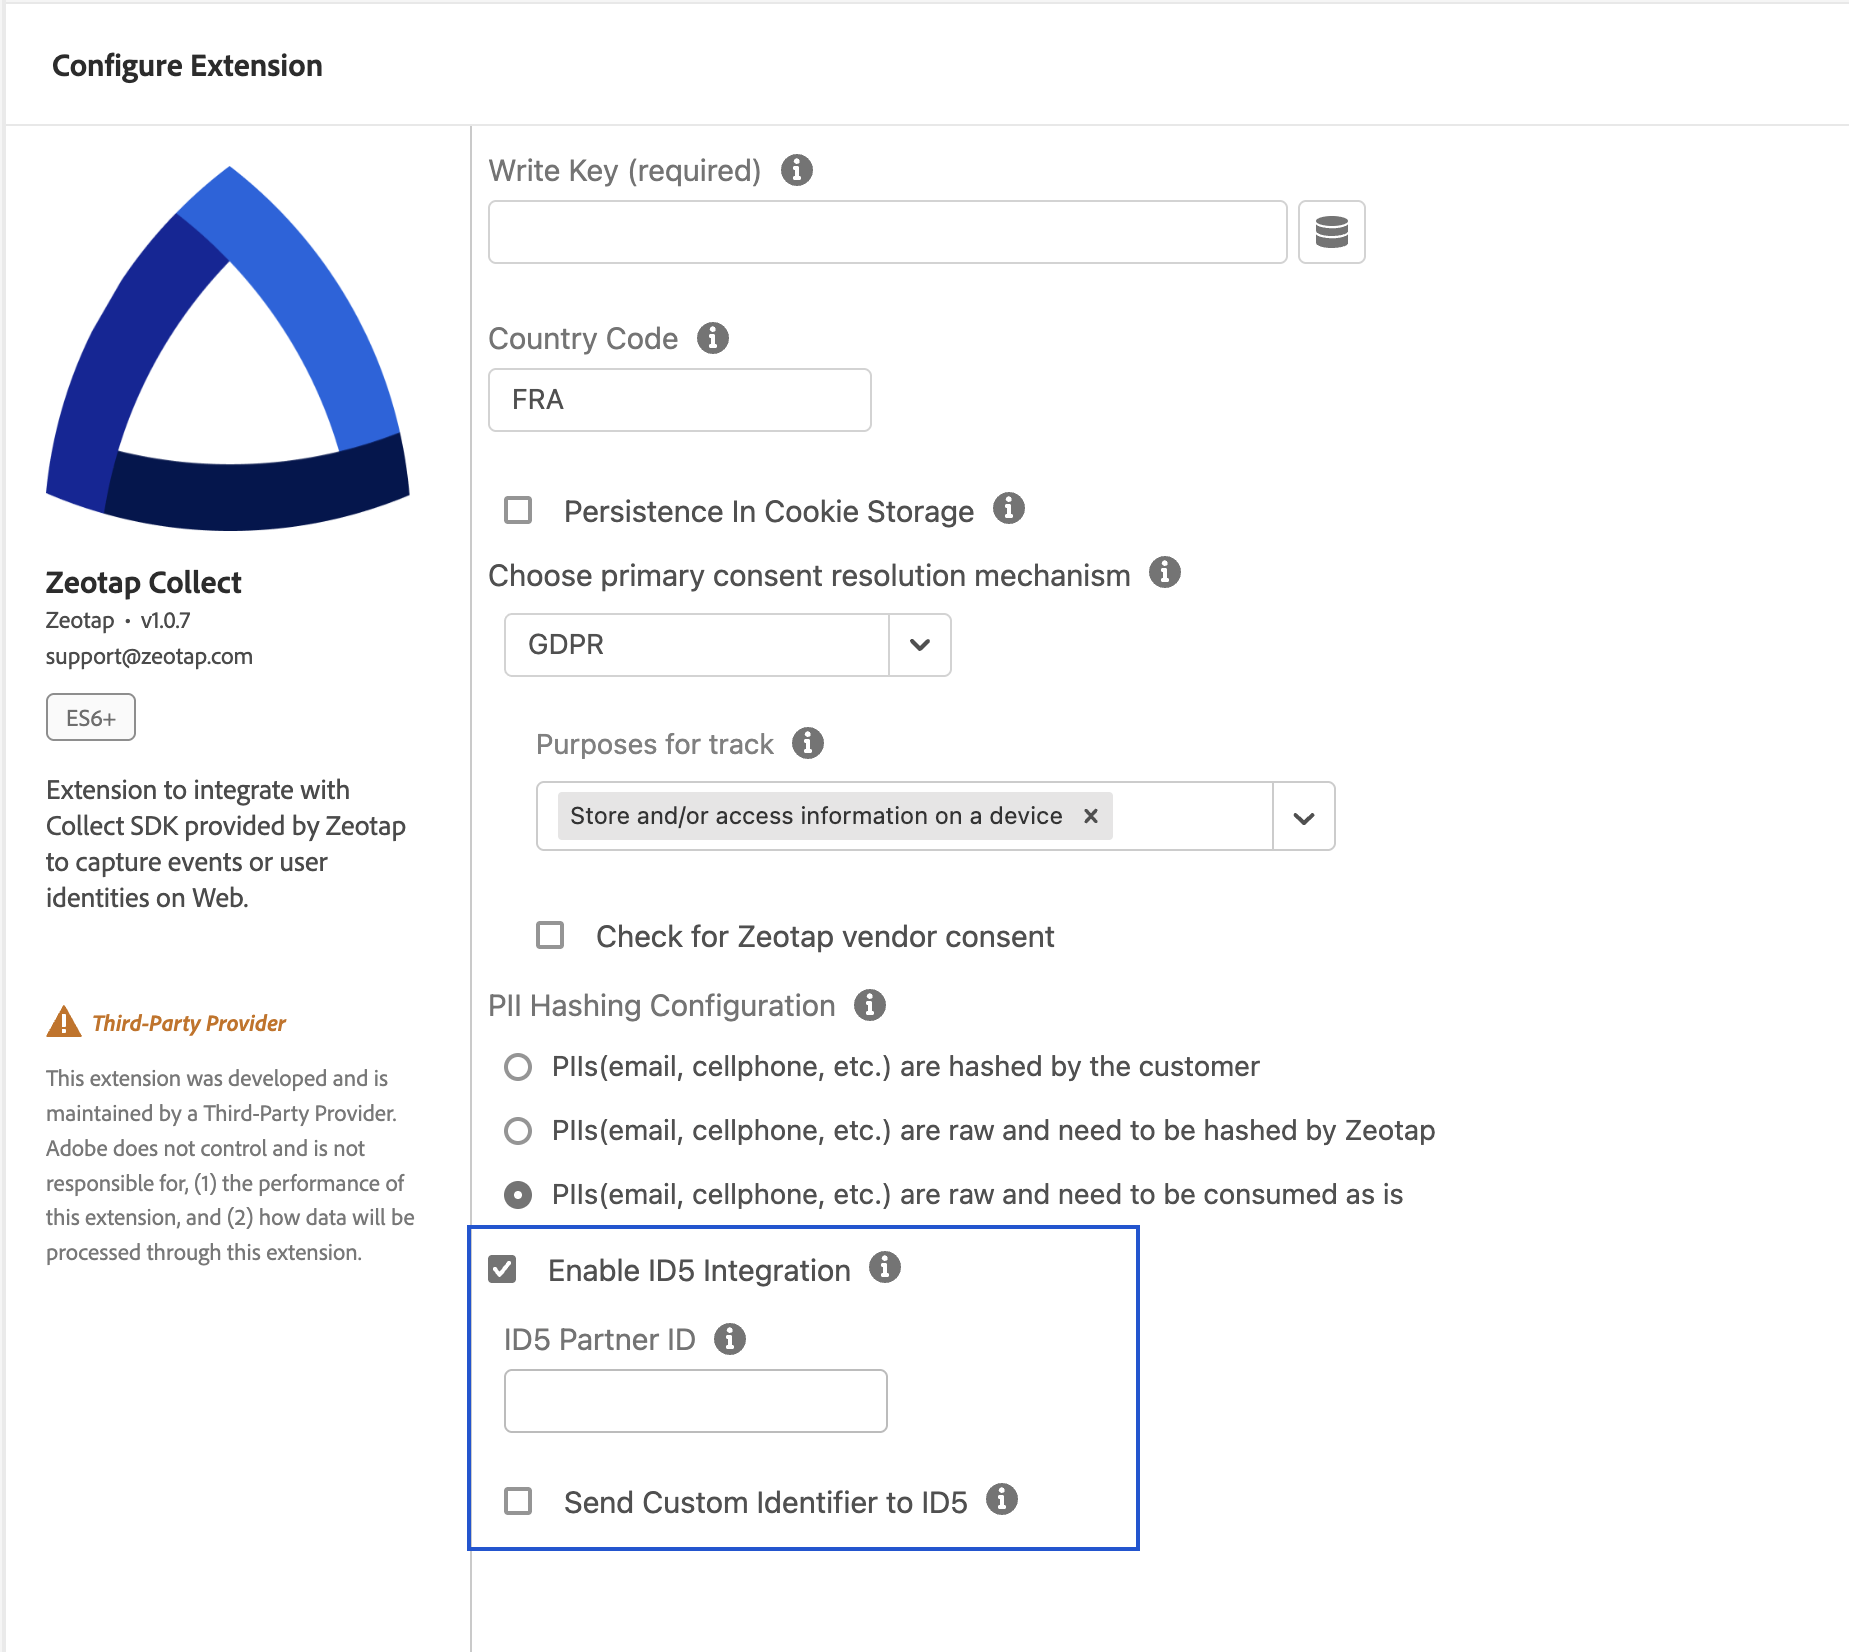
- On the extension configuration screen, select the option that enables ID5.
- Enter your ID5 Partner ID.
- To share the
sha256-hashed email address and cell phone number with ID5, select the option that sends custom identifiers to ID5.
Step 3: Confirm the ID5 ID reaches Zeotap
Zeotap calls ID5 and attempts to retrieve the ID5 ID. When an ID is returned, it is transmitted in theuser node of every subsequent event payload and recorded in Zeotap CDP.
Verify the implementation
Work through these checks in your browser’s developer tools, on a page where the extension is live.-
The SDK loads. On the Network tab, confirm that the request for the Zeotap SDK script (
zeotap.min.js) returns status200.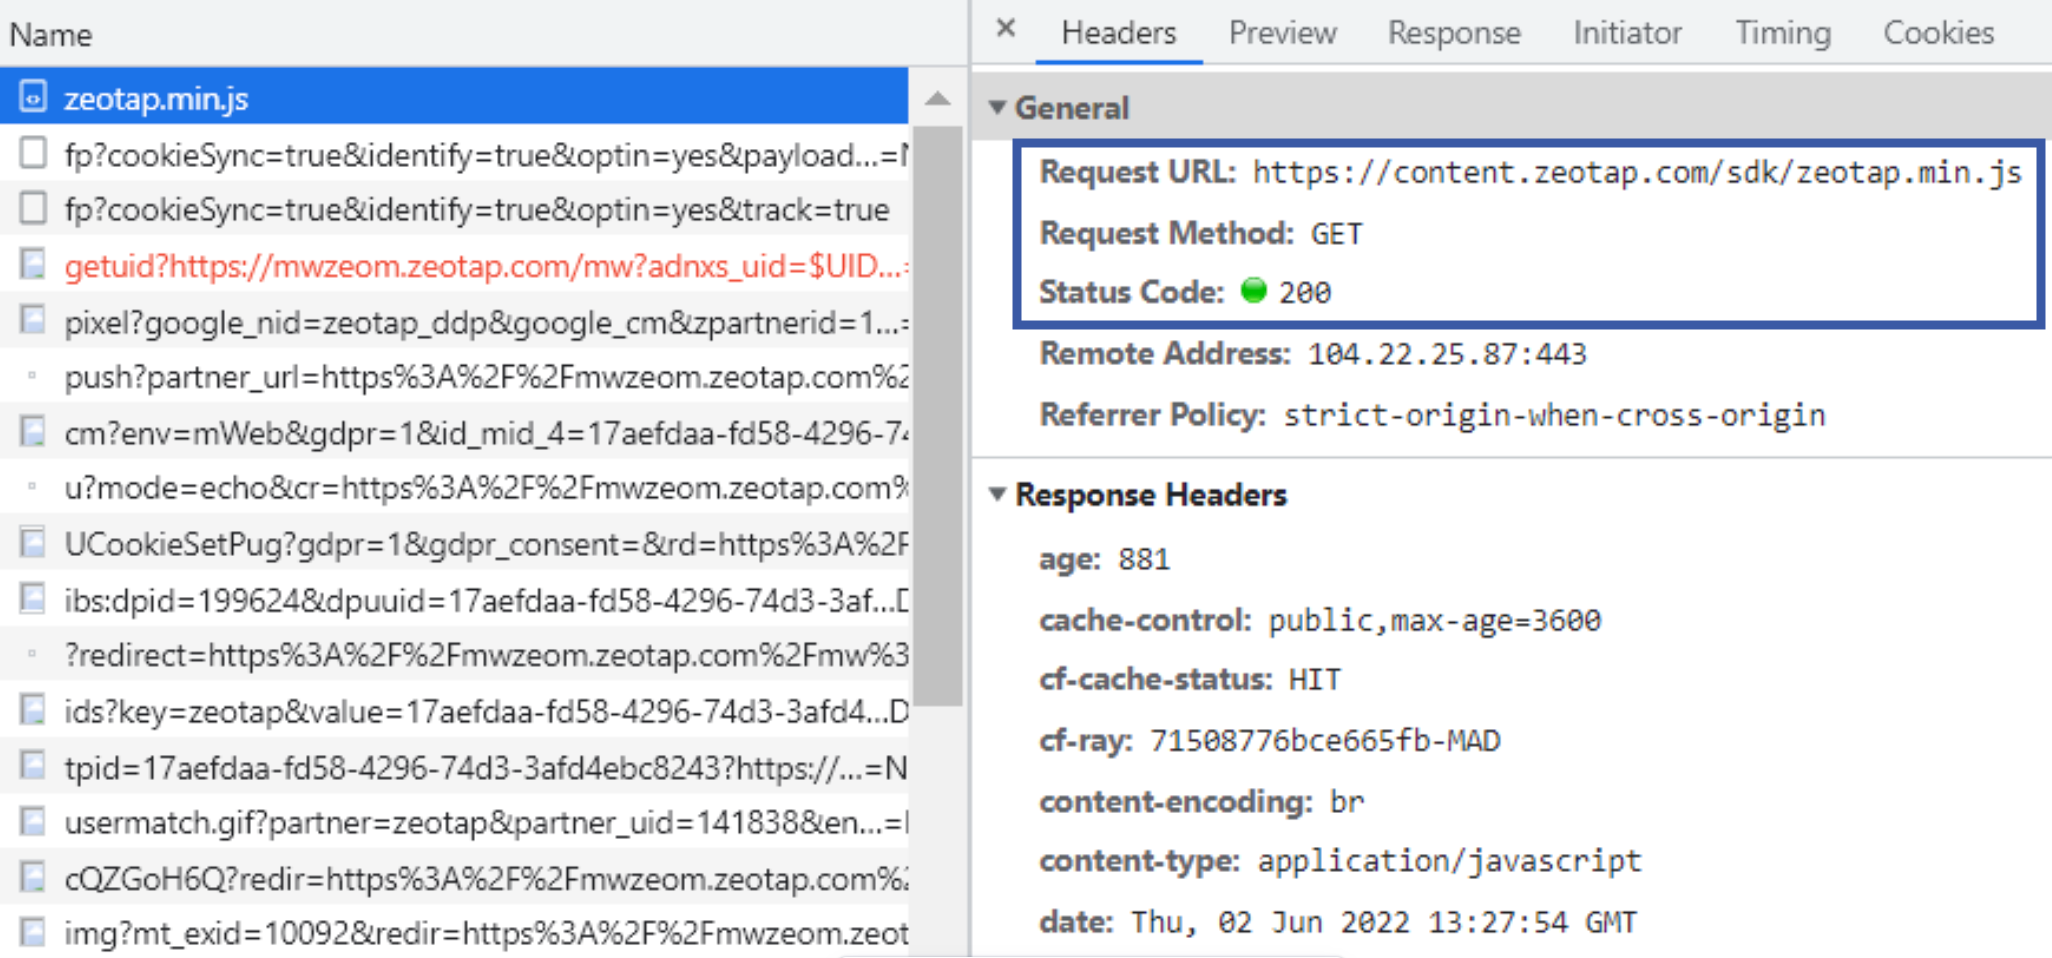
-
The SDK initialises. On the Console tab, enter
zeotap. The expected response ise {_q: Array(0), _qcmp: Array(0)}.If the response isundefined, initialisation has not succeeded. Both_qand_qcmpmust be empty arrays; if they are not, events are being queued because consent is still unresolved. -
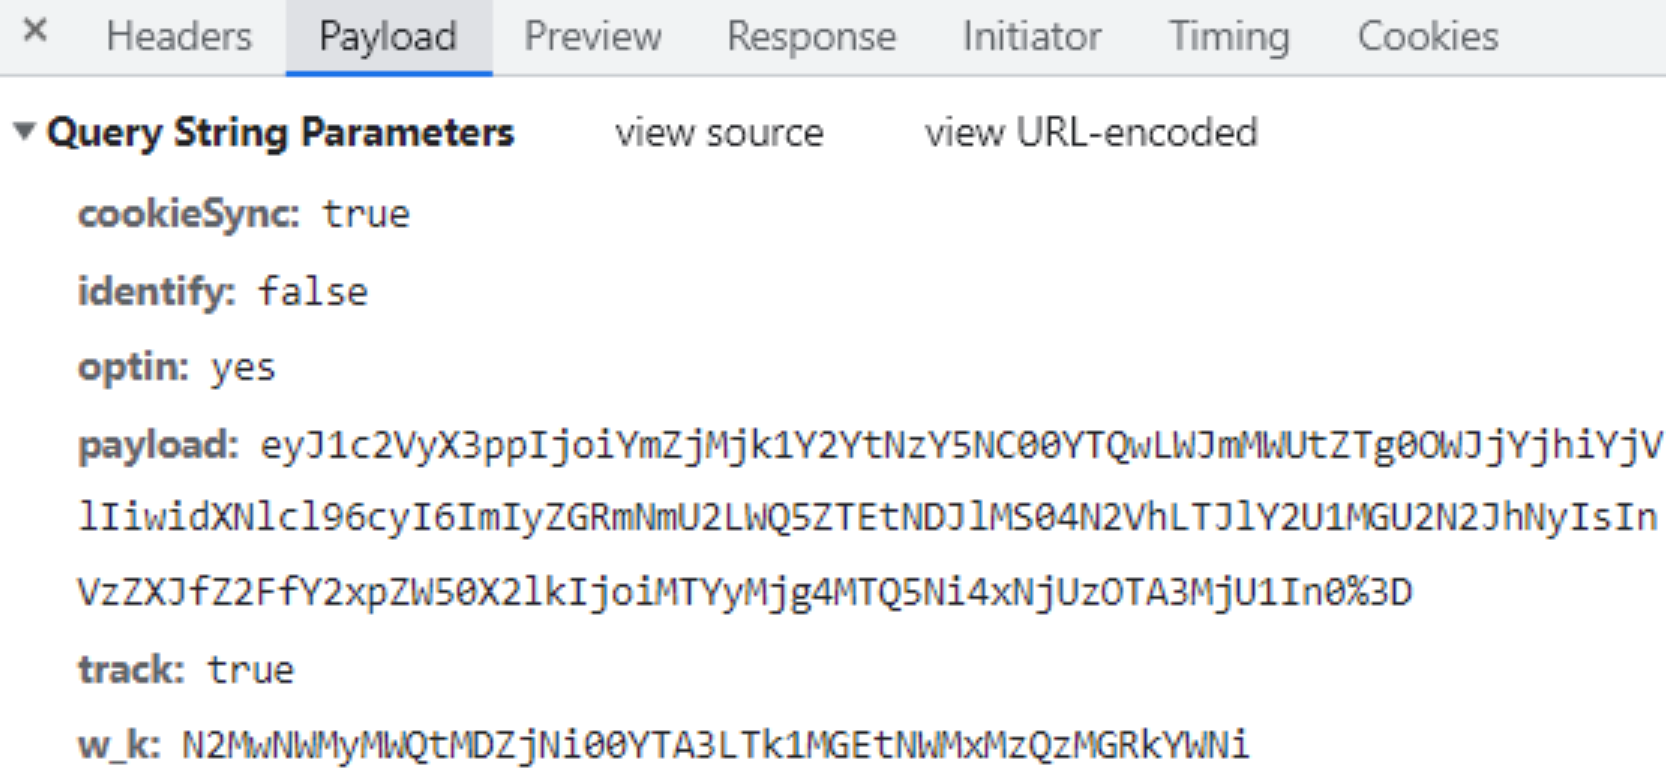
Cookie syncing fires. On the Network tab, filter on Fetch/XHR and confirm the GET call that performs cookie syncing with Zeotap’s partner platforms.
-
Events reach Zeotap. After a Track Event action runs, confirm that the POST call on the Network tab returns status
204. If the response is not
204or200, check that the write key configured in the extension matches the write key of the source.
Troubleshoot the implementation
A Zeotap action throws “Cannot read properties of undefined”
Symptom — a rule that runs Track Event or Sync User Identities throws one of the following:Uncaught (in promise) TypeError: Cannot read properties of undefined (reading 'setPageProperties')Uncaught (in promise) TypeError: Cannot read properties of undefined (reading 'setUserIdentities')
User identity reference
User information reaches Zeotap as identifiers, in three categories: raw user PII, hashed user PII, and custom identities.Raw user PII
Send these fields when you capture identifiers in raw form, whether or not you want Zeotap to hash them.Hashed user PII
Send these fields when you hash PII yourself, usingSHA-256, SHA1, or MD5, before it reaches the extension.
Custom identities
Custom identities are first-party identifiers you choose to send, such ascrmID, ECID, or visitorID. Hashing configurations do not apply to custom identities.
For the hashing guidelines that apply to email addresses and cell phone numbers, see Hashing Guidelines.
Request reference
Once the extension is live, it makes two kinds of call. Knowing their shape helps when you inspect traffic on the Network tab.Cookie-sync call
Request — a GET call. Line breaks are shown for readability; the live request is a single URL, and the placeholders below stand in for your own values.
General
Response — a list of image pixel tags carrying the URLs to cookie sync:
Event capture call
Request URLPOST
Request payload — the body carries an event node for the event properties, a user node for the identities (hashed or raw, according to your hashing configuration), and a page node for page information such as URL, referrer, and page category.
FAQ
Where does the write key come from?
Where does the write key come from?
Zeotap generates it when you create the Adobe Experience Platform Tag Extension source in the Sources application. Copy it from the source and enter it in the Write Key field of the Zeotap Collect extension configuration. It is mandatory for recording events.
Do I still need a Load Zeotap SDK rule?
Do I still need a Load Zeotap SDK rule?
No. The Load Zeotap SDK action is no longer required — the Launch tag loads the Zeotap SDK automatically.
Can I send brand consent when I am not using Custom Consent?
Can I send brand consent when I am not using Custom Consent?
Yes. Brand Consent key-value pairs can be sent under any consent method, using the Set Custom Consent action. The primary
track and cookieSync values depend on the consent method you selected.Why are country and city missing from my ingested events?
Why are country and city missing from my ingested events?
Country and city are not ingested from the event payload — Zeotap resolves them from the user’s IP address. See Blacklisted Fields for Data Ingestion for the full list of excluded fields.
The console shows values inside _q or _qcmp. What does that mean?
The console shows values inside _q or _qcmp. What does that mean?
Those arrays should be empty once the SDK is initialised and consent is resolved. Entries in them mean events are being queued while consent is still unresolved. If the console returns
undefined instead of the object, initialisation has not succeeded at all.