Overview
Journey Templates let you define a set of conditions or configurations once and apply them across multiple journey workflows. Instead of manually recreating the same logic every time a new journey is built, you define it in a template — and it automatically becomes available to any workflow in your account. Key benefits:- Consistency — Every workflow using the template follows the same baseline logic.
- Reduced effort — No need to rebuild conditions from scratch for each new journey.
- Error prevention — Standardised configurations eliminate human error in repeated setups.
Accessing Journey Templates
Journey Templates are located in the Templates module, found under the Protect section in the left navigation.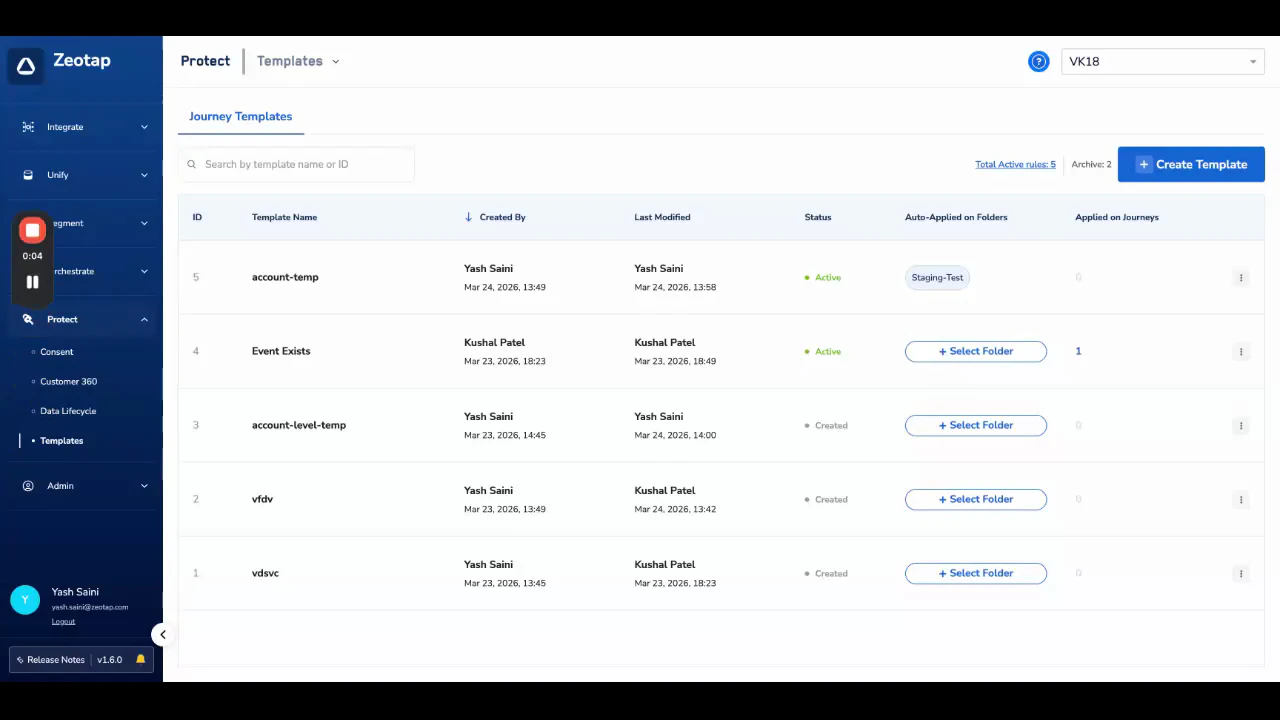
| Column | Description |
|---|---|
| ID | The unique identifier of the template. |
| Template Name | The name given to the template when it was created. |
| Created By | The user who created the template. |
| Last Modified | The date and user of the last edit. |
| Status | Either Active (in use by at least one workflow) or Created (not yet applied to any workflow). |
| Auto-Applied on Folders | Which folders the template is automatically applied to, if configured. |
| Applied on Journeys | The number of published or paused workflows currently using this template. |
Creating a Template
Add a name and description
Enter a clear template name and an optional description explaining what the template enforces (e.g., “GDPR consent check — required on all EU journeys”).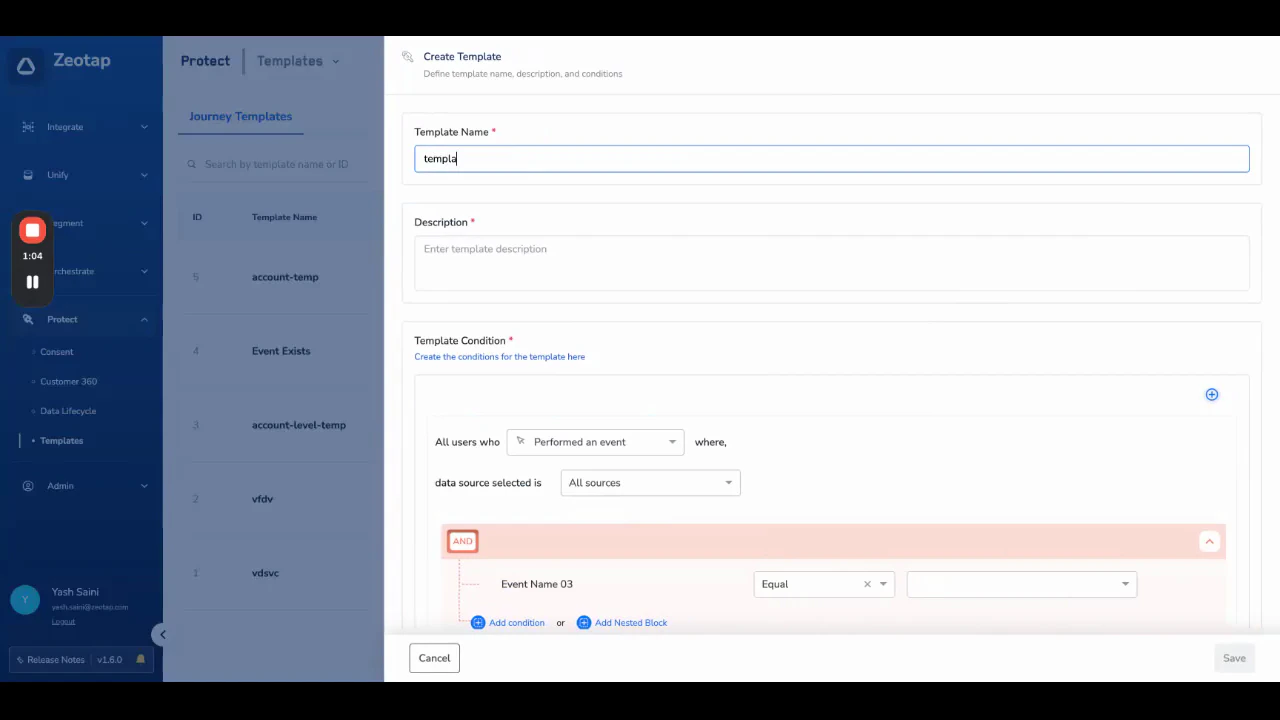
Define the conditions
Use the condition builder to define the logic that should be standardised. This is the same interface as creating an entry condition in a workflow — for example, 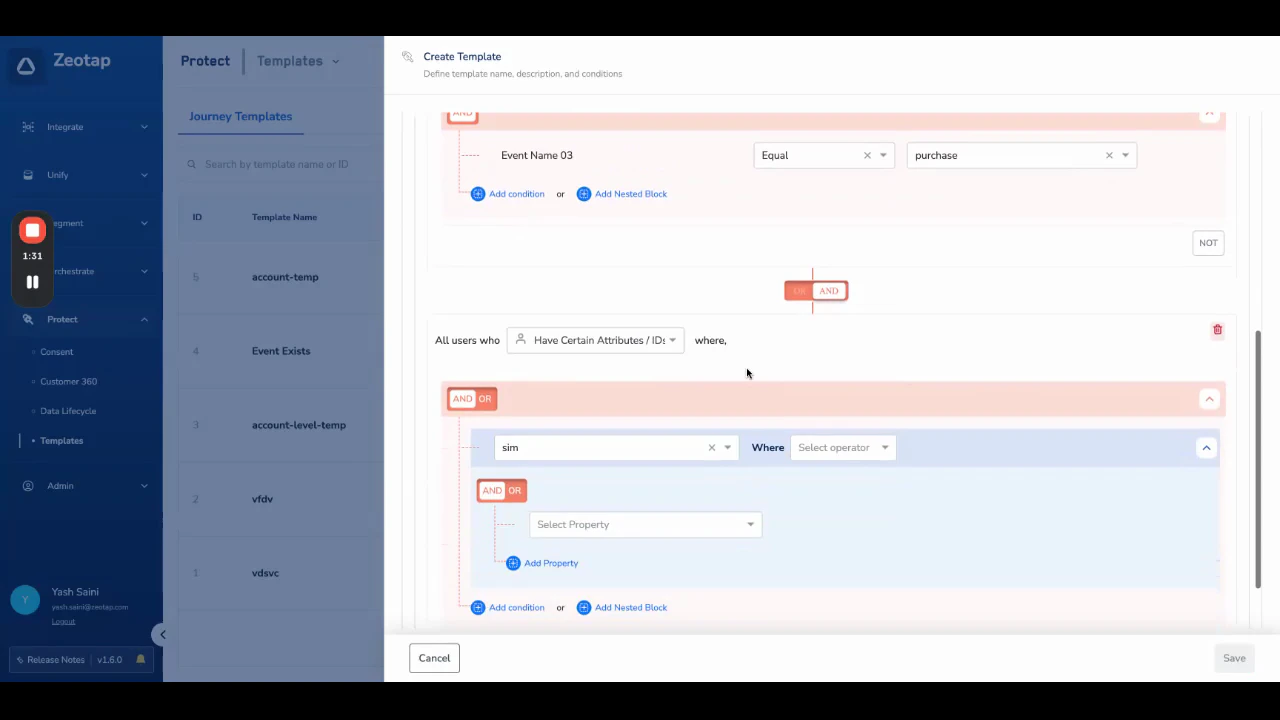
event_name equals purchase or conditions based on specific identifiers.The template condition builder is identical to the workflow condition builder. Any logic you can define in a workflow entry condition can be saved as a template.
Template States
| Status | Meaning |
|---|---|
| Created | The template has been saved but is not currently applied to any journey workflow. |
| Active | The template is live and applied to at least one published or paused workflow. |
| Archived | A template can only be archived when it is not used in any of the journeys. |
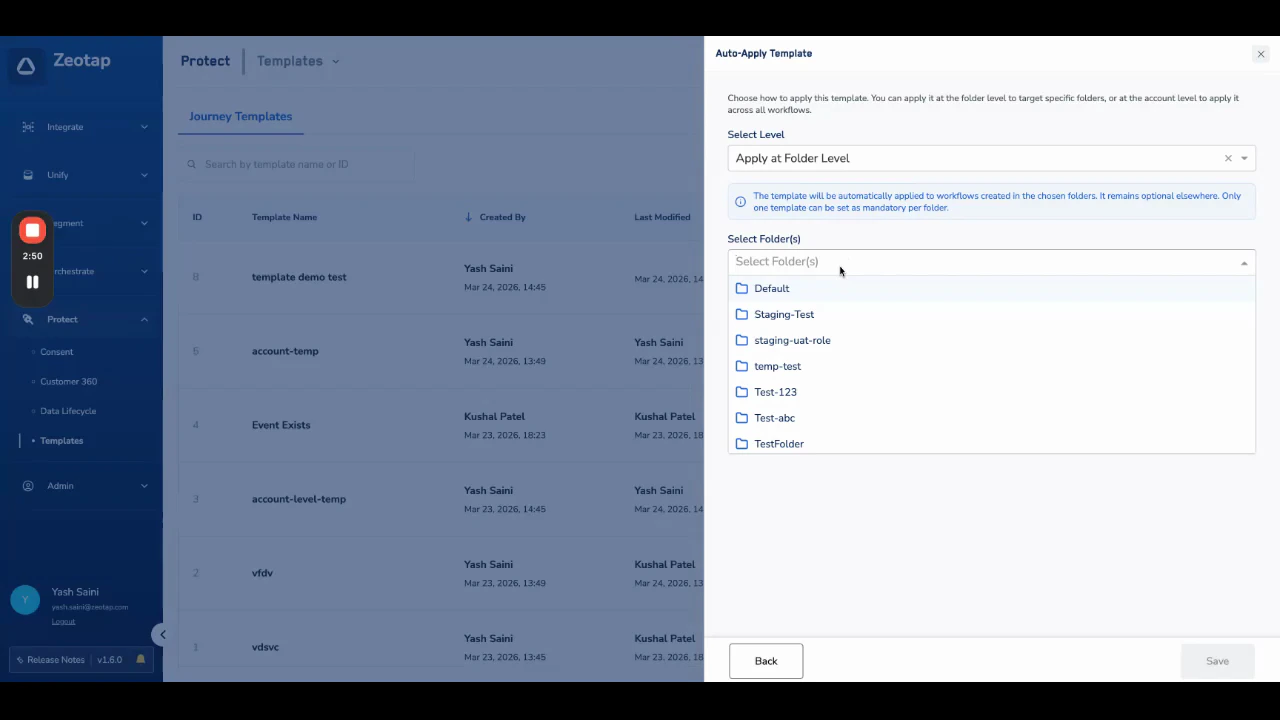
Auto-Applying Templates
Templates can be configured to apply automatically to all workflows within a specific folder or across the entire account. This ensures every journey created in that scope automatically inherits the template conditions.Only one template can be enabled for auto-apply per folder.
Setting Up Auto-Apply
Open the template and click Select Folder
From the template listing, click + Select Folder in the Auto-Applied on Folders column.
- Auto-apply to workflows in a selected folder — applies to all existing and future journeys within that folder.
- Auto-apply to all workflows in the account — applies to every workflow regardless of which folder it lives in.
How Auto-Apply Works
- Folder-level: The template attaches to all existing and future journeys in the selected folder. Child folders inherit the same configuration — if a child folder is created under a parent with an auto-applied template, all workflows in the child folder also receive the template.
- Account-level: The template applies to all workflows in the account, regardless of folder. When account-level is selected, all folders appear as selected in the folder list.
- Position: Auto-applied templates always appear at the top of the workflow as the first entry condition. Users cannot move or remove them.
Editing or Removing Auto-Apply
Admins can edit the auto-apply configuration at any time from the template’s Edit Auto Apply option. Changes (including removing a folder or switching from account-level to folder-level) take effect immediately across all affected workflows.Applying a Template Manually
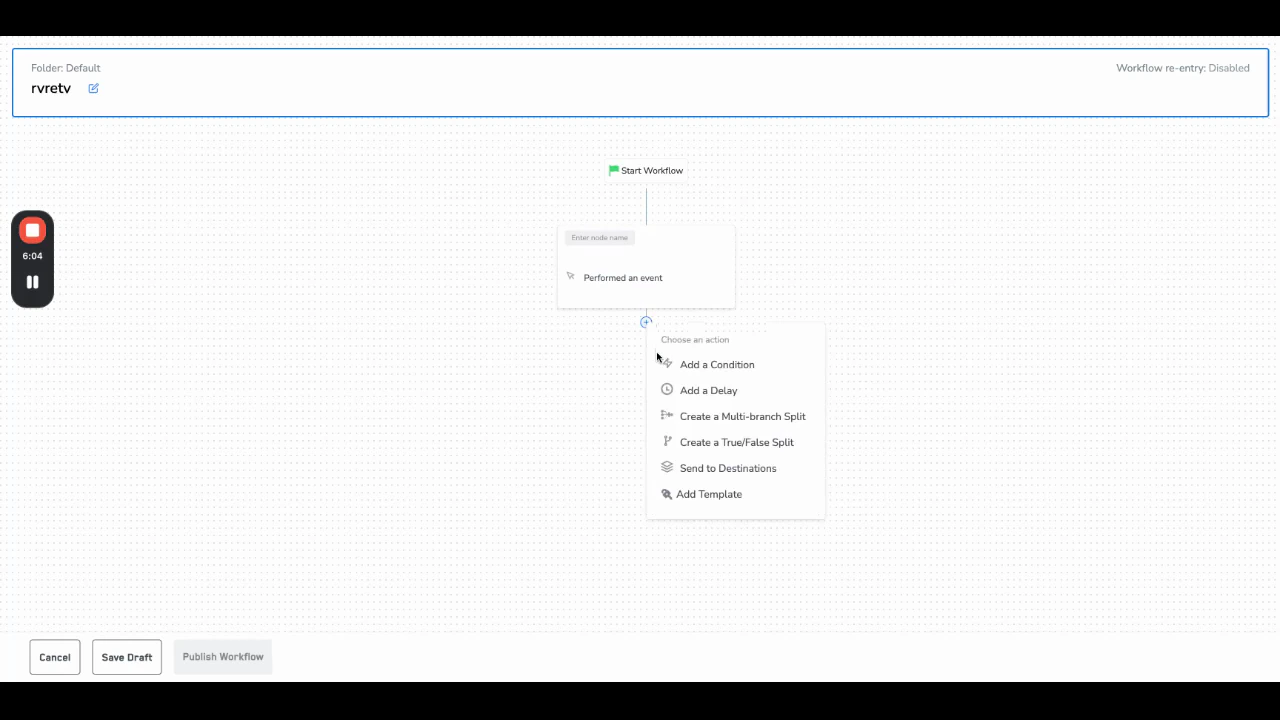
Any user can manually add a template to a workflow while building it in the Journey canvas.Open the workflow canvas
Navigate to Orchestrate → Journeys and open or create the workflow you want to add a template to.
Click Add Template
Inside the workflow canvas, click Add Template. A panel opens showing all available templates.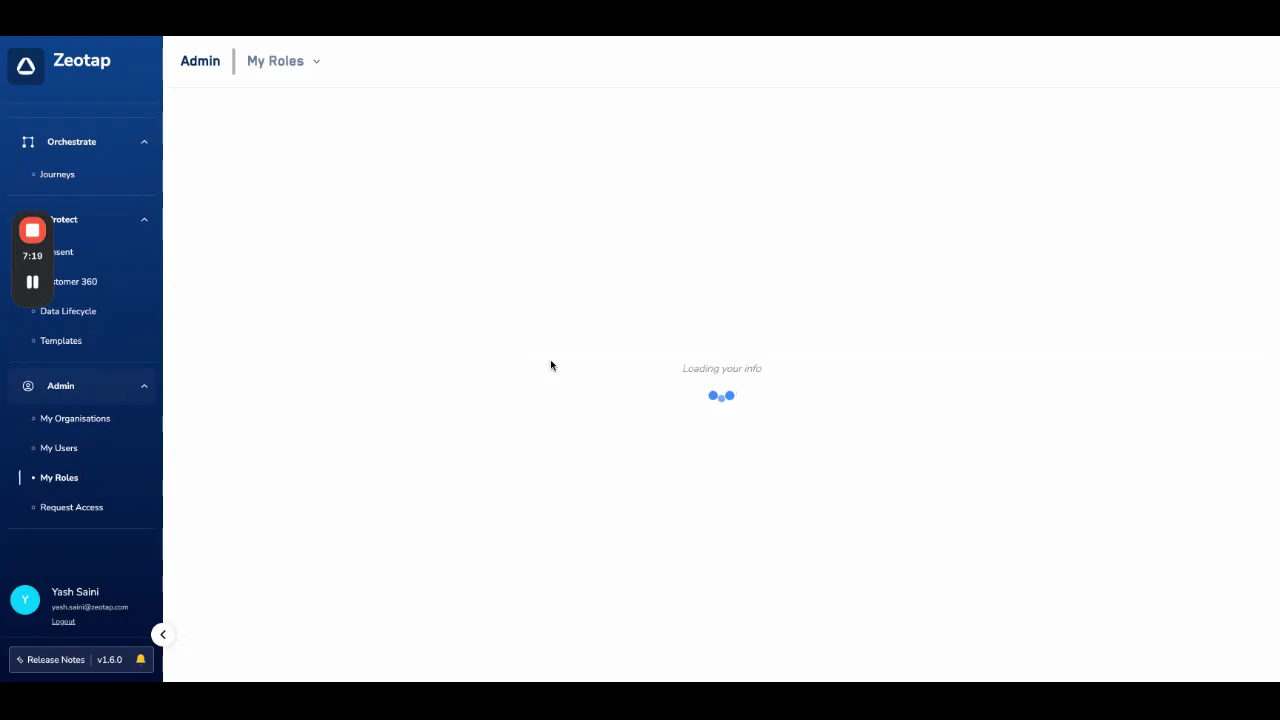
Templates applied manually can be removed by the user at any time. However, templates applied at the folder level or account level via auto-apply cannot be removed by regular users — only admins can change auto-apply configurations.
Template Permissions & Roles
| Action | Who Can Do It |
|---|---|
| View templates | Any user with View Audience or View Journeys permission |
| Create or edit templates | Any user with View Audience or View Journeys permission |
| Apply templates manually to a workflow | Any user |
| Configure, edit, or remove auto-apply | CDP Admin, CDP Manager only |
