

What this is
Adjust is a mobile measurement partner that attributes and records what happens in your mobile app. This integration brings that activity into Zeotap CDP — installs, reattributions, sessions, events, reinstalls and uninstalls — so it sits alongside the rest of your customer data and can be used to build audiences, apply consent filters and activate to your downstream channels. The integration has two halves:- In Zeotap CDP, you create a Server-to-Server source. On creation, Zeotap generates a write key for that source, shown on its IMPLEMENTATION DETAILS tab.
- In Adjust, you enable the Zeotap module in Campaign Lab and paste that write key in. From then on, Adjust sends a callback to Zeotap each time the activity occurs.
Adjust treats Zeotap as a partner it shares data with, which is what makes this a source in Zeotap CDP. If you are used to thinking of Adjust as a destination, note that the data flows from Adjust to Zeotap, not the other way.
Prerequisites
Before you start, confirm the following:In Zeotap CDP:
- Access to the Sources application under Integrate, with permission to create a source.
- The region for this source, decided in advance. It has to correspond to the Region you select in Adjust. See Region of storage.
- The data entity for this source — Customer Data or Non Customer Data. See Supported Data Entities.
- Access to Campaign Lab in the Adjust dashboard, with permission to enable partner integrations and edit data-sharing settings.
- The app you want to share data for, and the platform — Android, iOS, or both.
- The in-app events you want to map, if you plan to share events.
Create the Server-to-Server source in Zeotap CDP
This is where the write key comes from. For the full reference on this source type, see Create and Implement the Server-to-Server Source.1
Open the Sources application
Log into the Zeotap CDP app, open the Sources application under Integrate, and click + Create Source.
2
Choose the category and data source
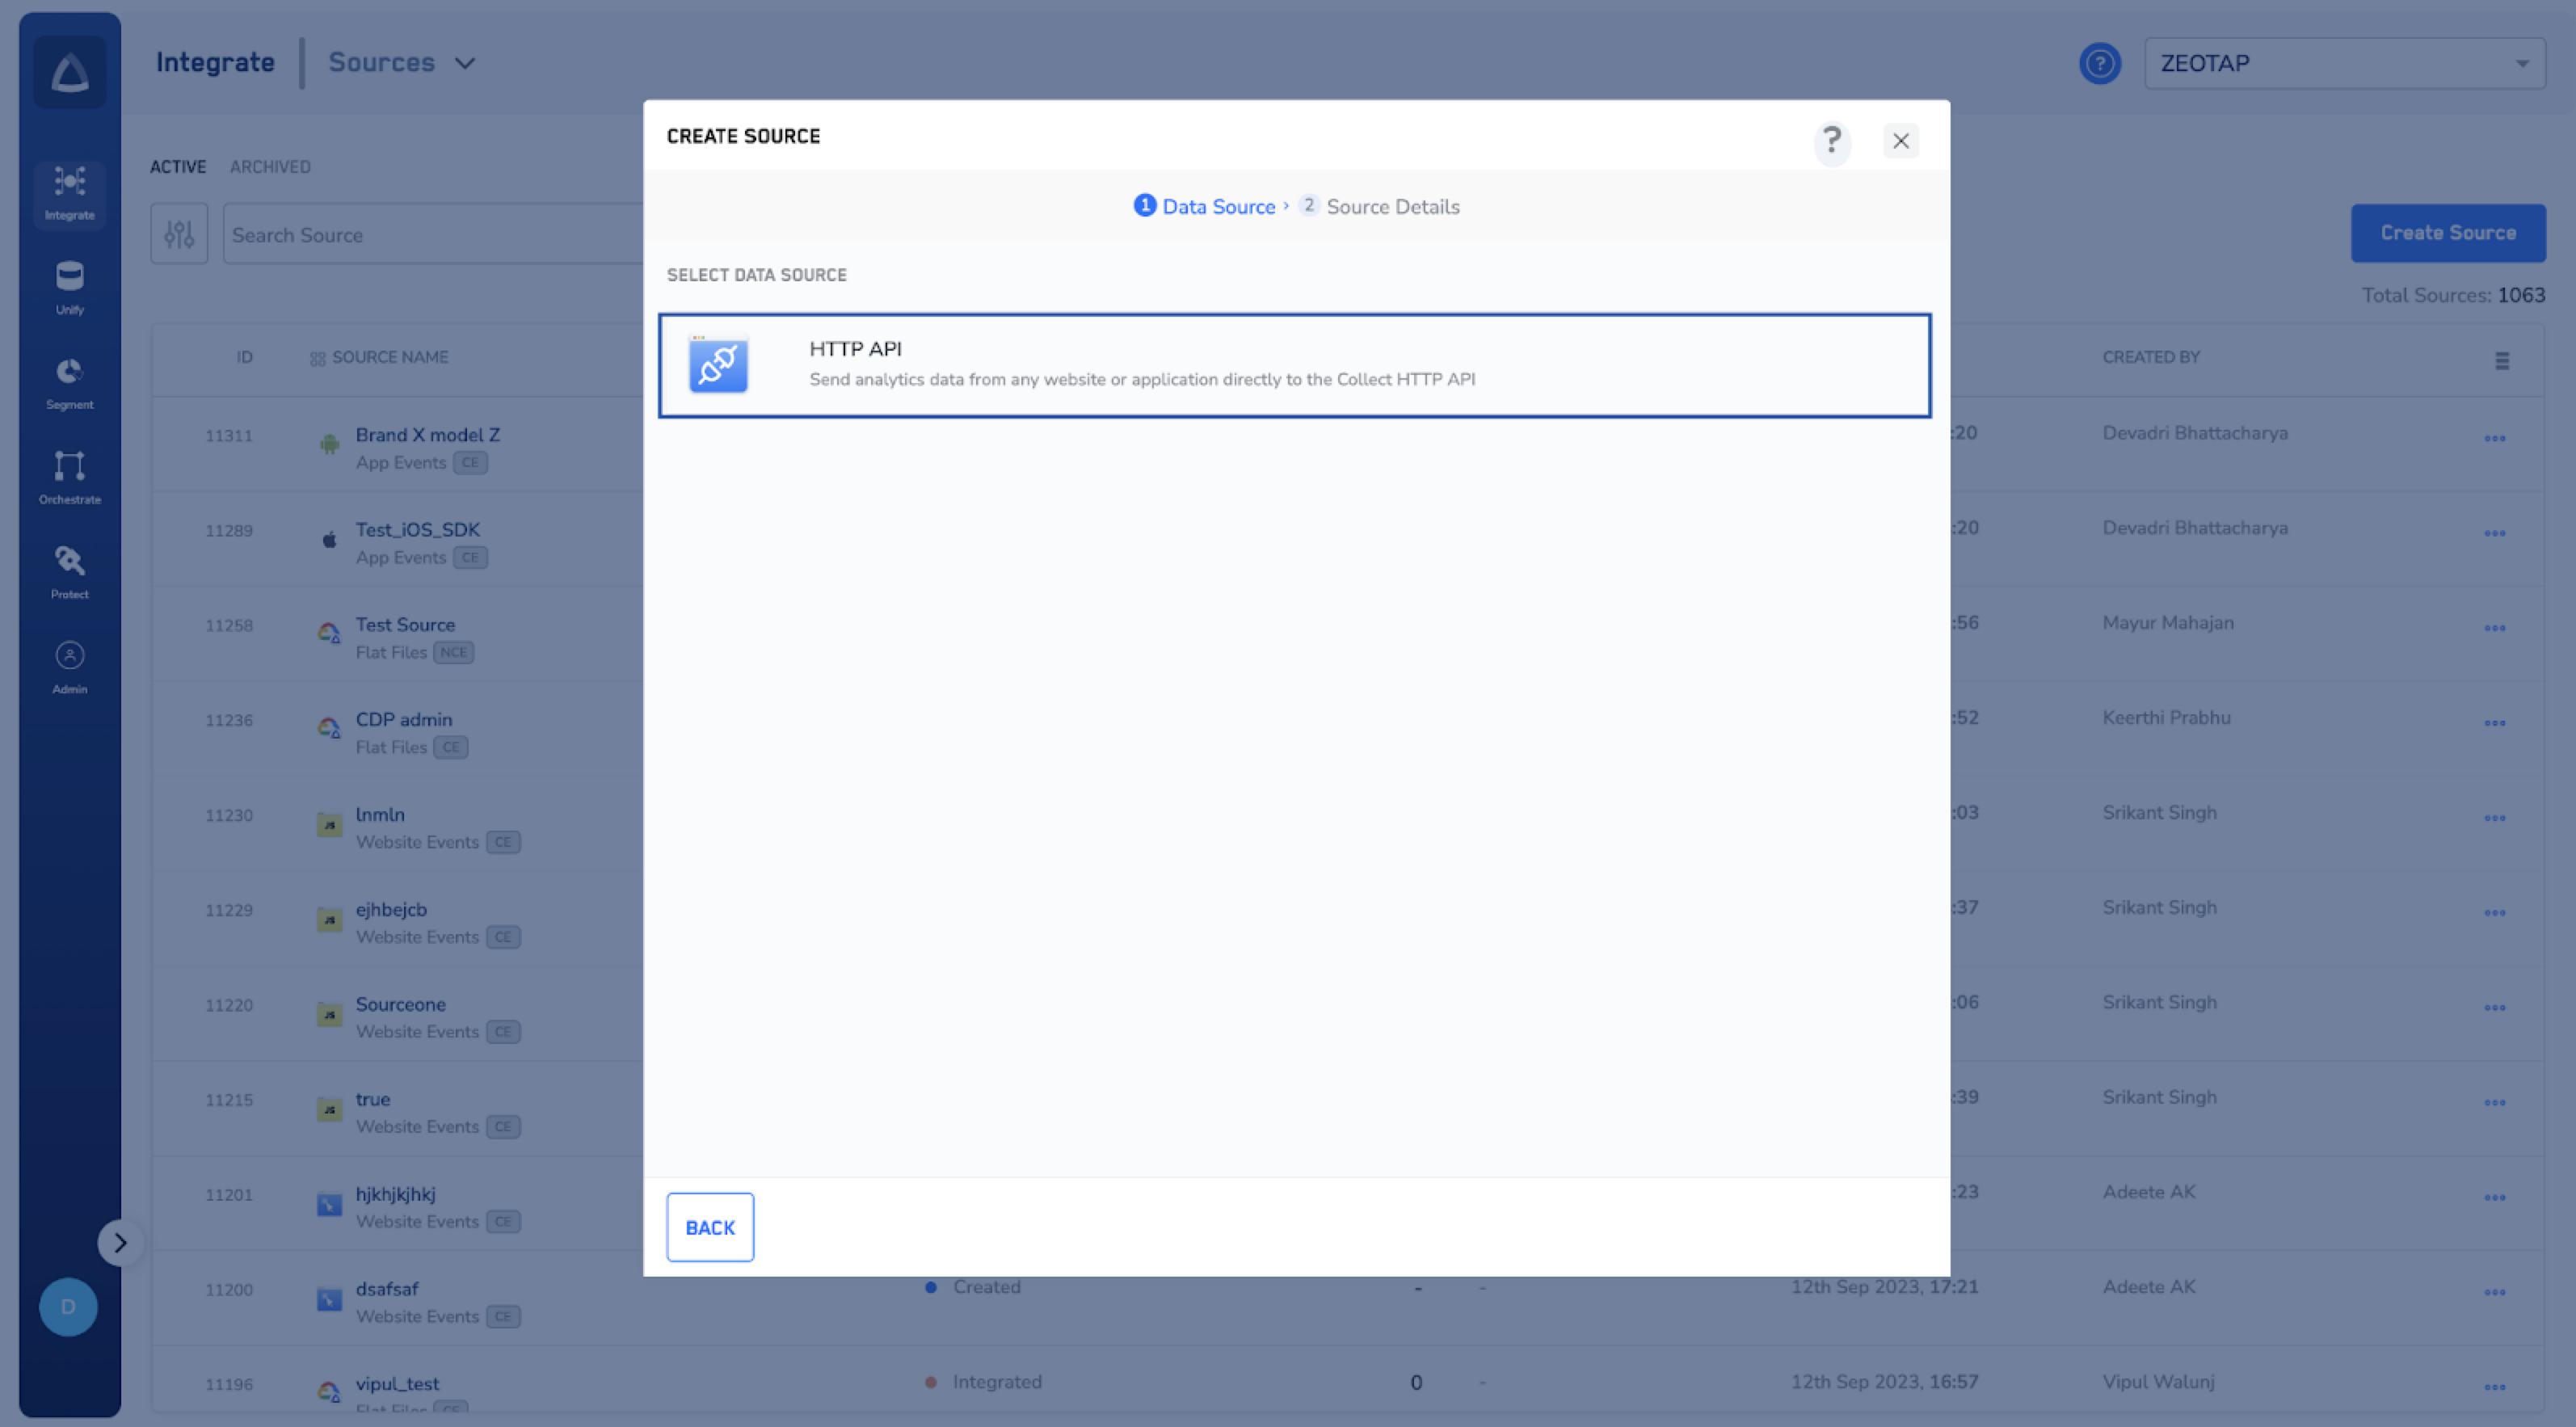
Choose Server to Server as the Category, then click HTTP API as the Data Source.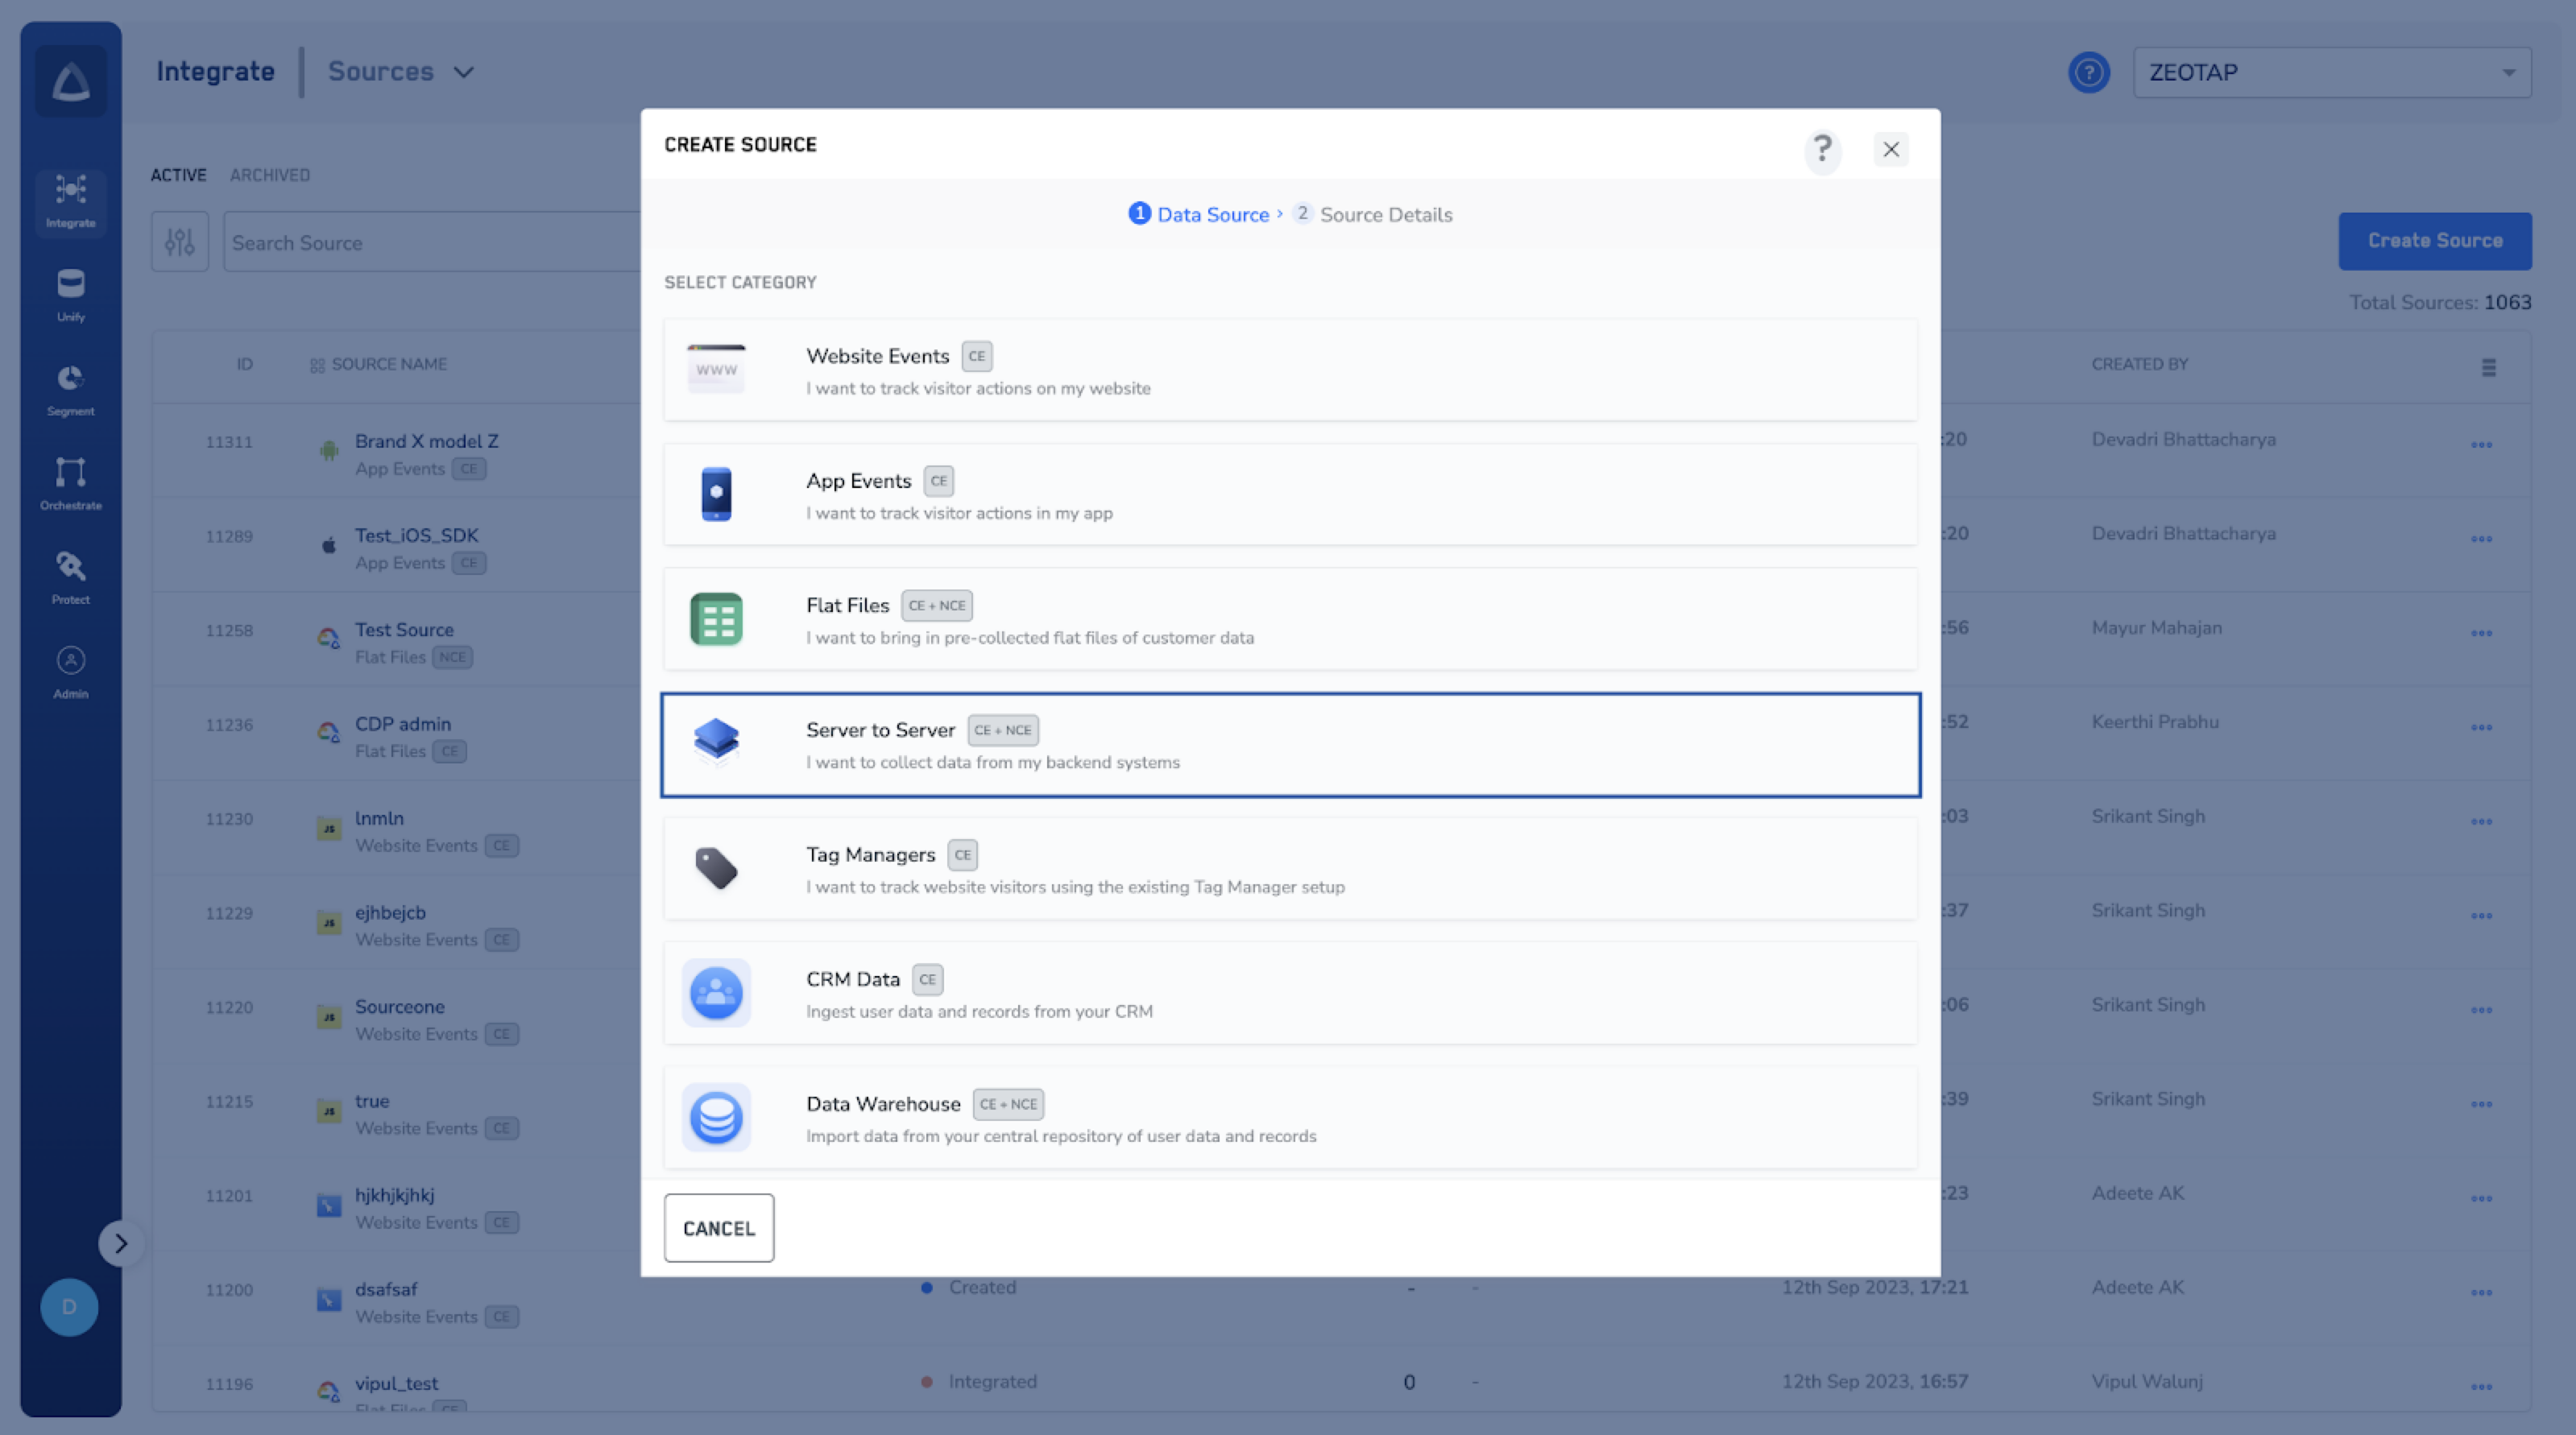
3
Enter the source details
In the source creation window, enter: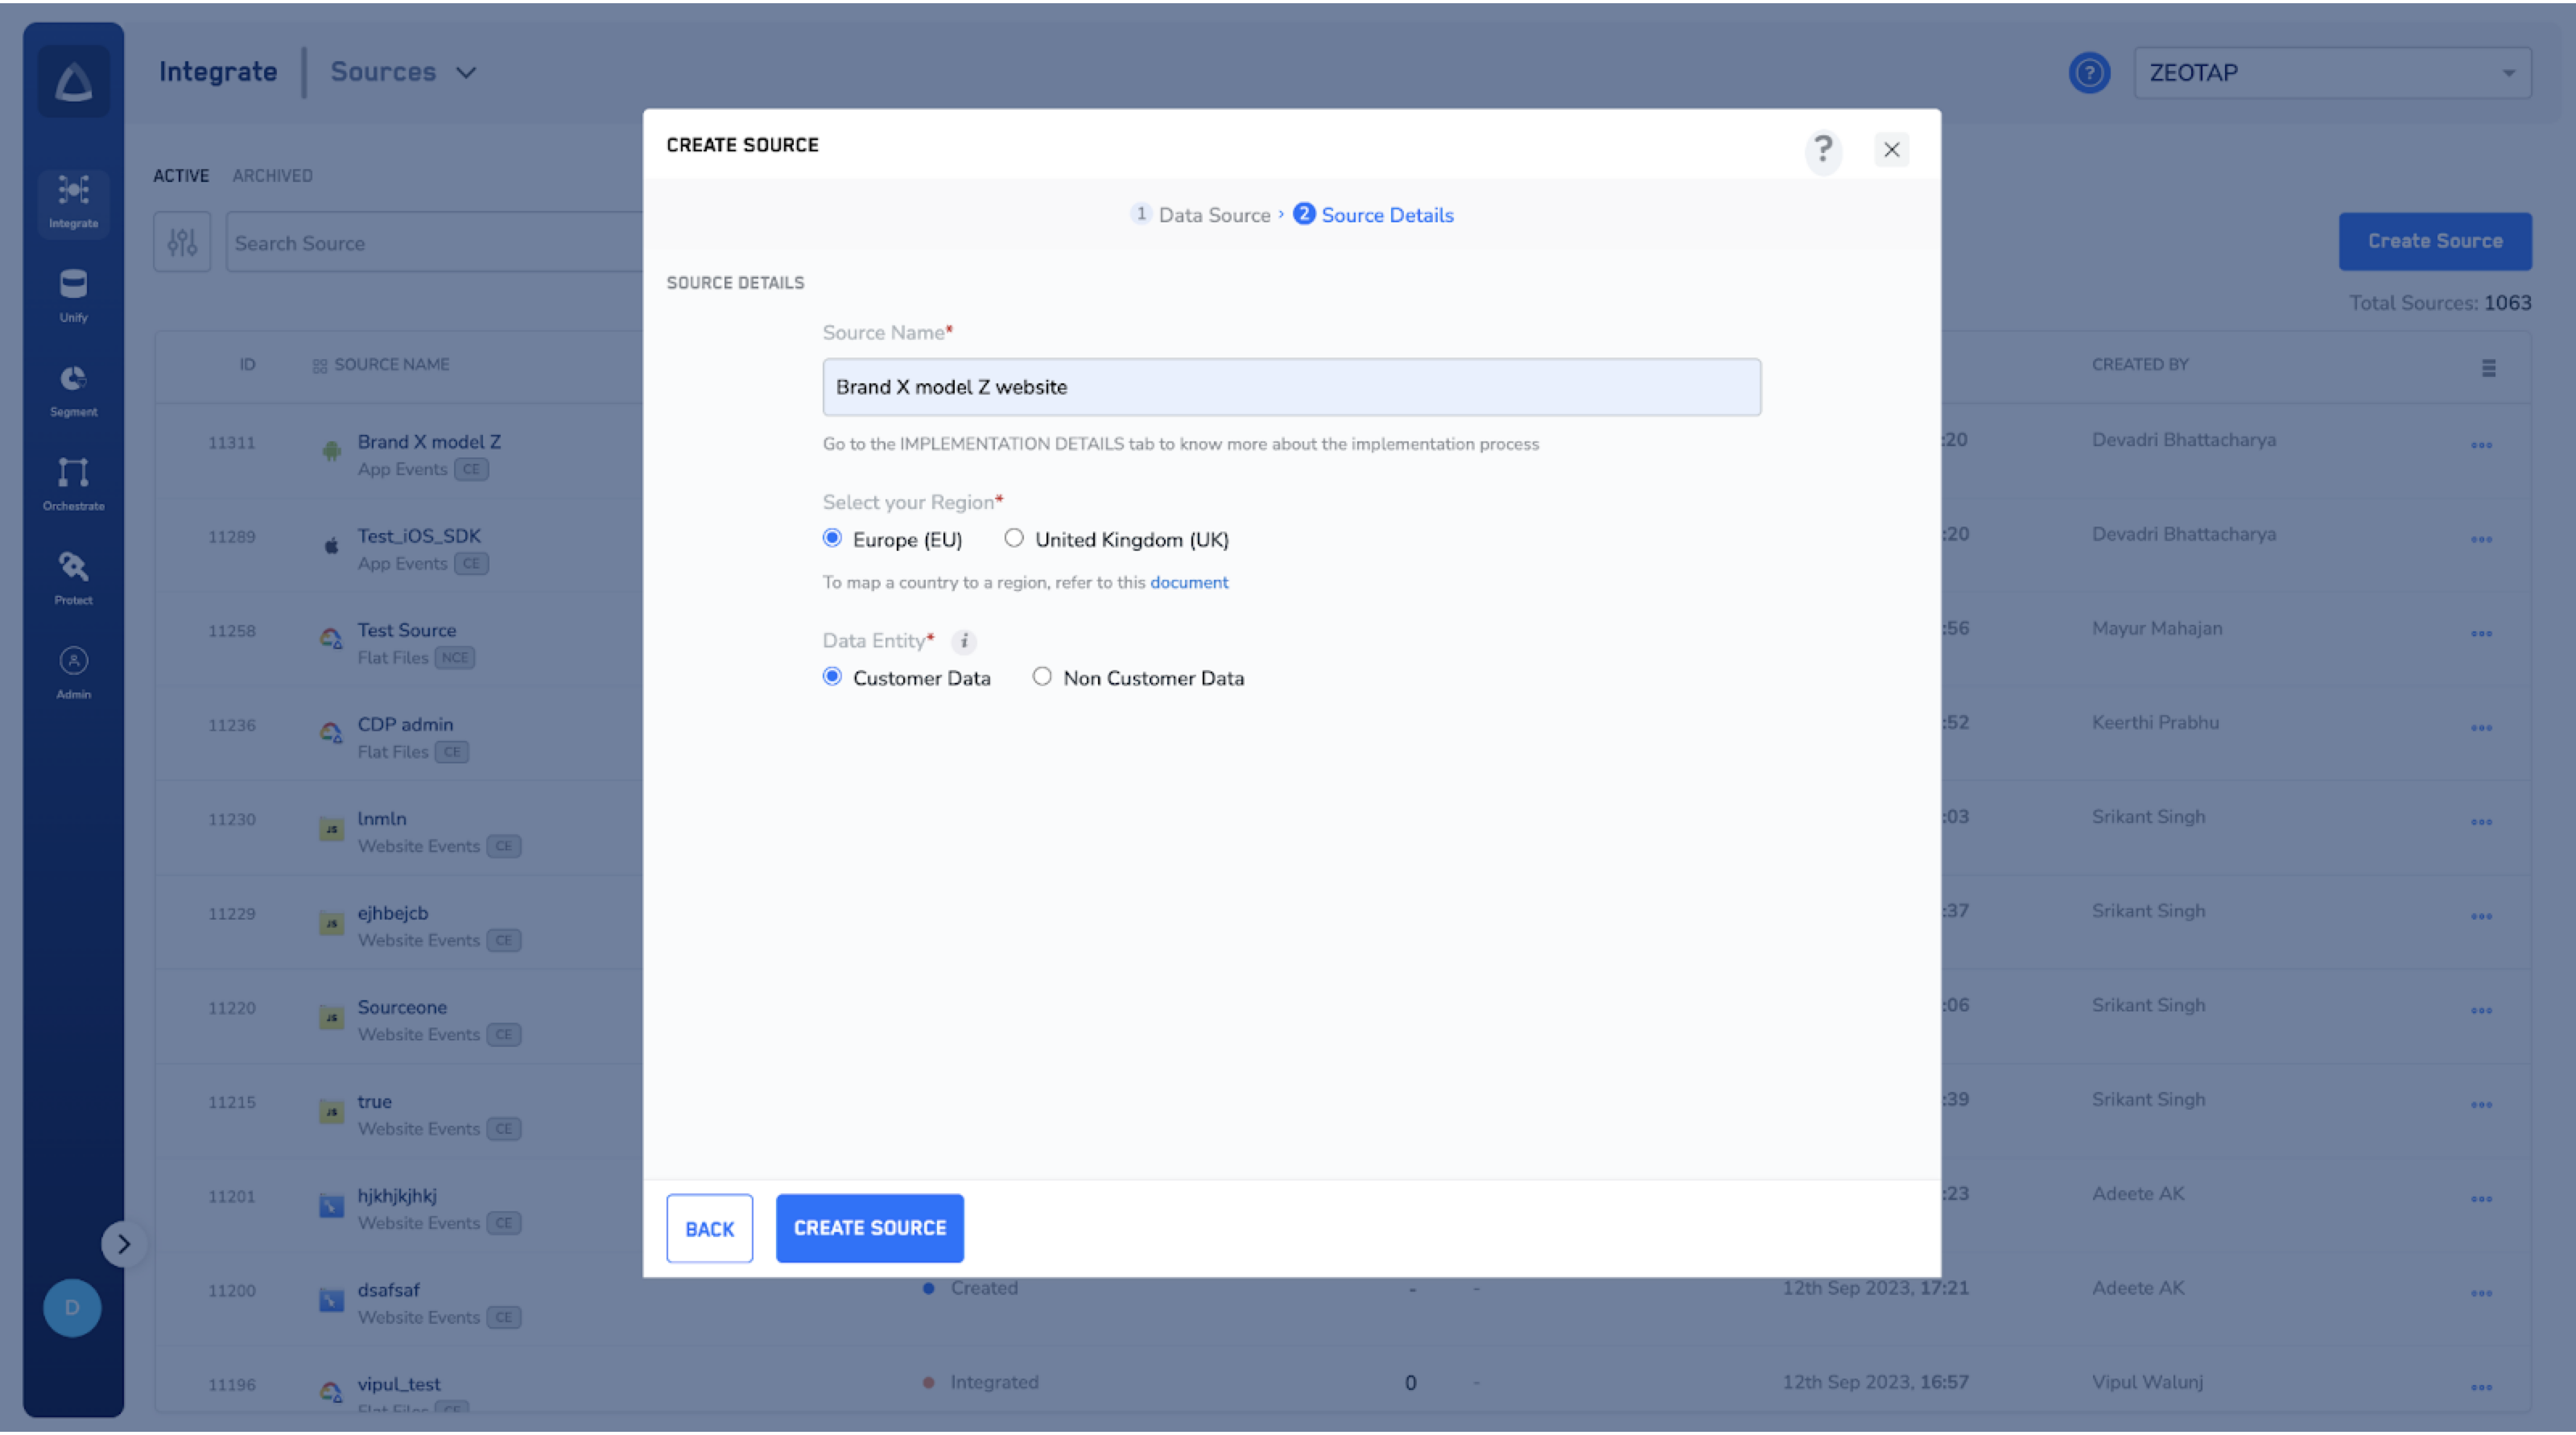
- A short, descriptive name that makes the origin obvious — for example,
Adjust - Android - Installs. - The region of upload where the data will be stored. It has to correspond to the Region you select in Adjust. See Region of storage for guidance.
- Under Data Entity, choose Customer Data or Non Customer Data, depending on the payload.
4
Create the source
Click CREATE SOURCE. The new source appears on the source listing page with the Created status.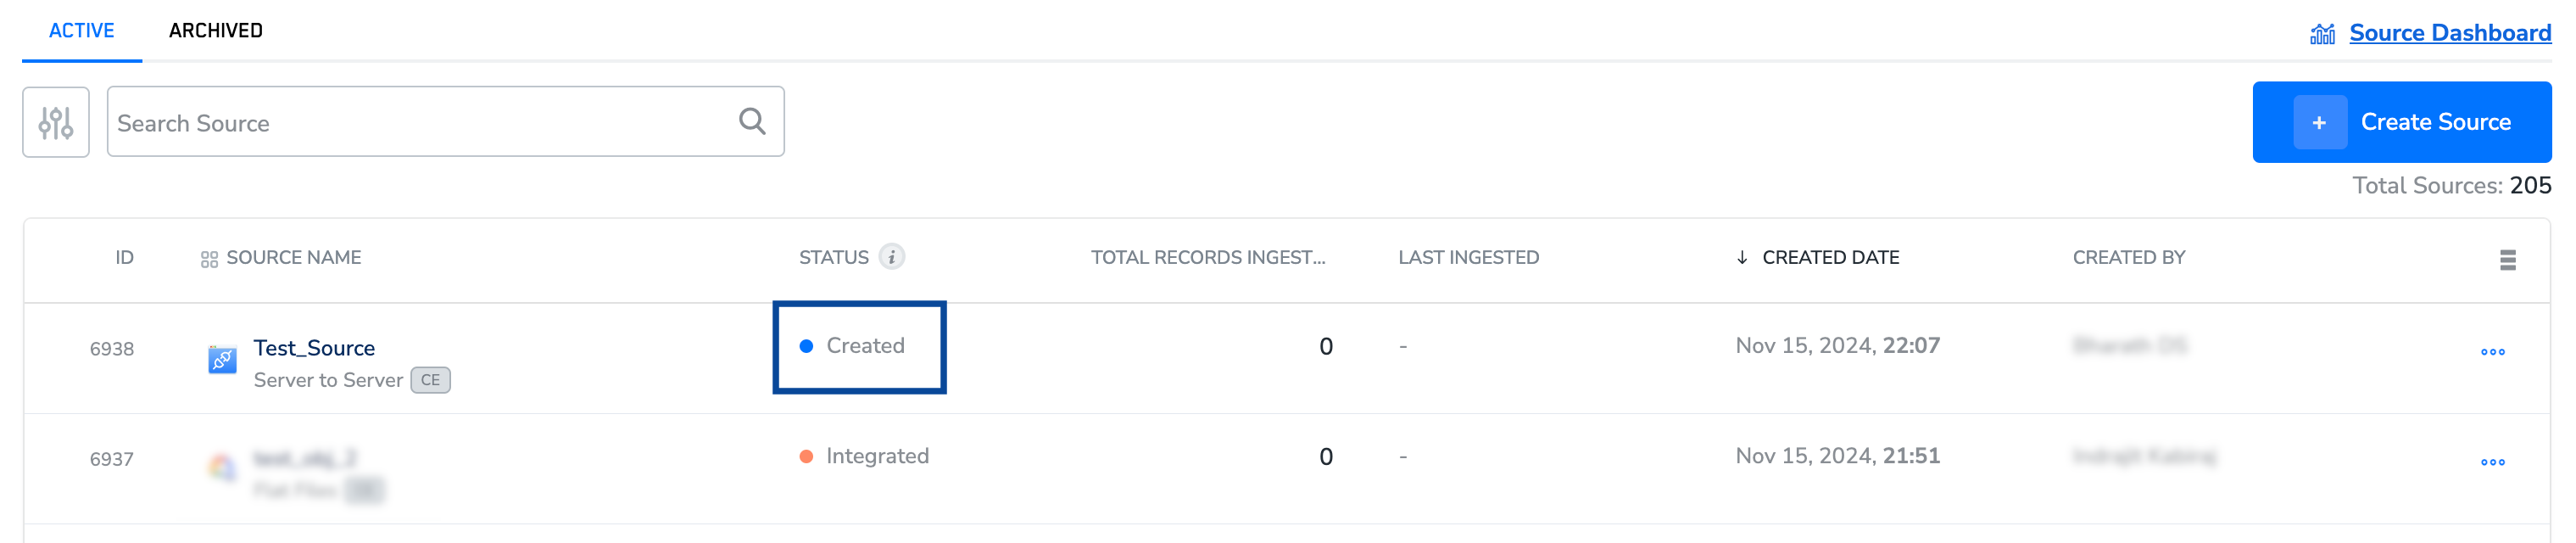
5
Copy the write key
Open the source and go to the IMPLEMENTATION DETAILS tab. Copy the write key — for this integration it is the only value you need, as Adjust supplies the endpoint itself.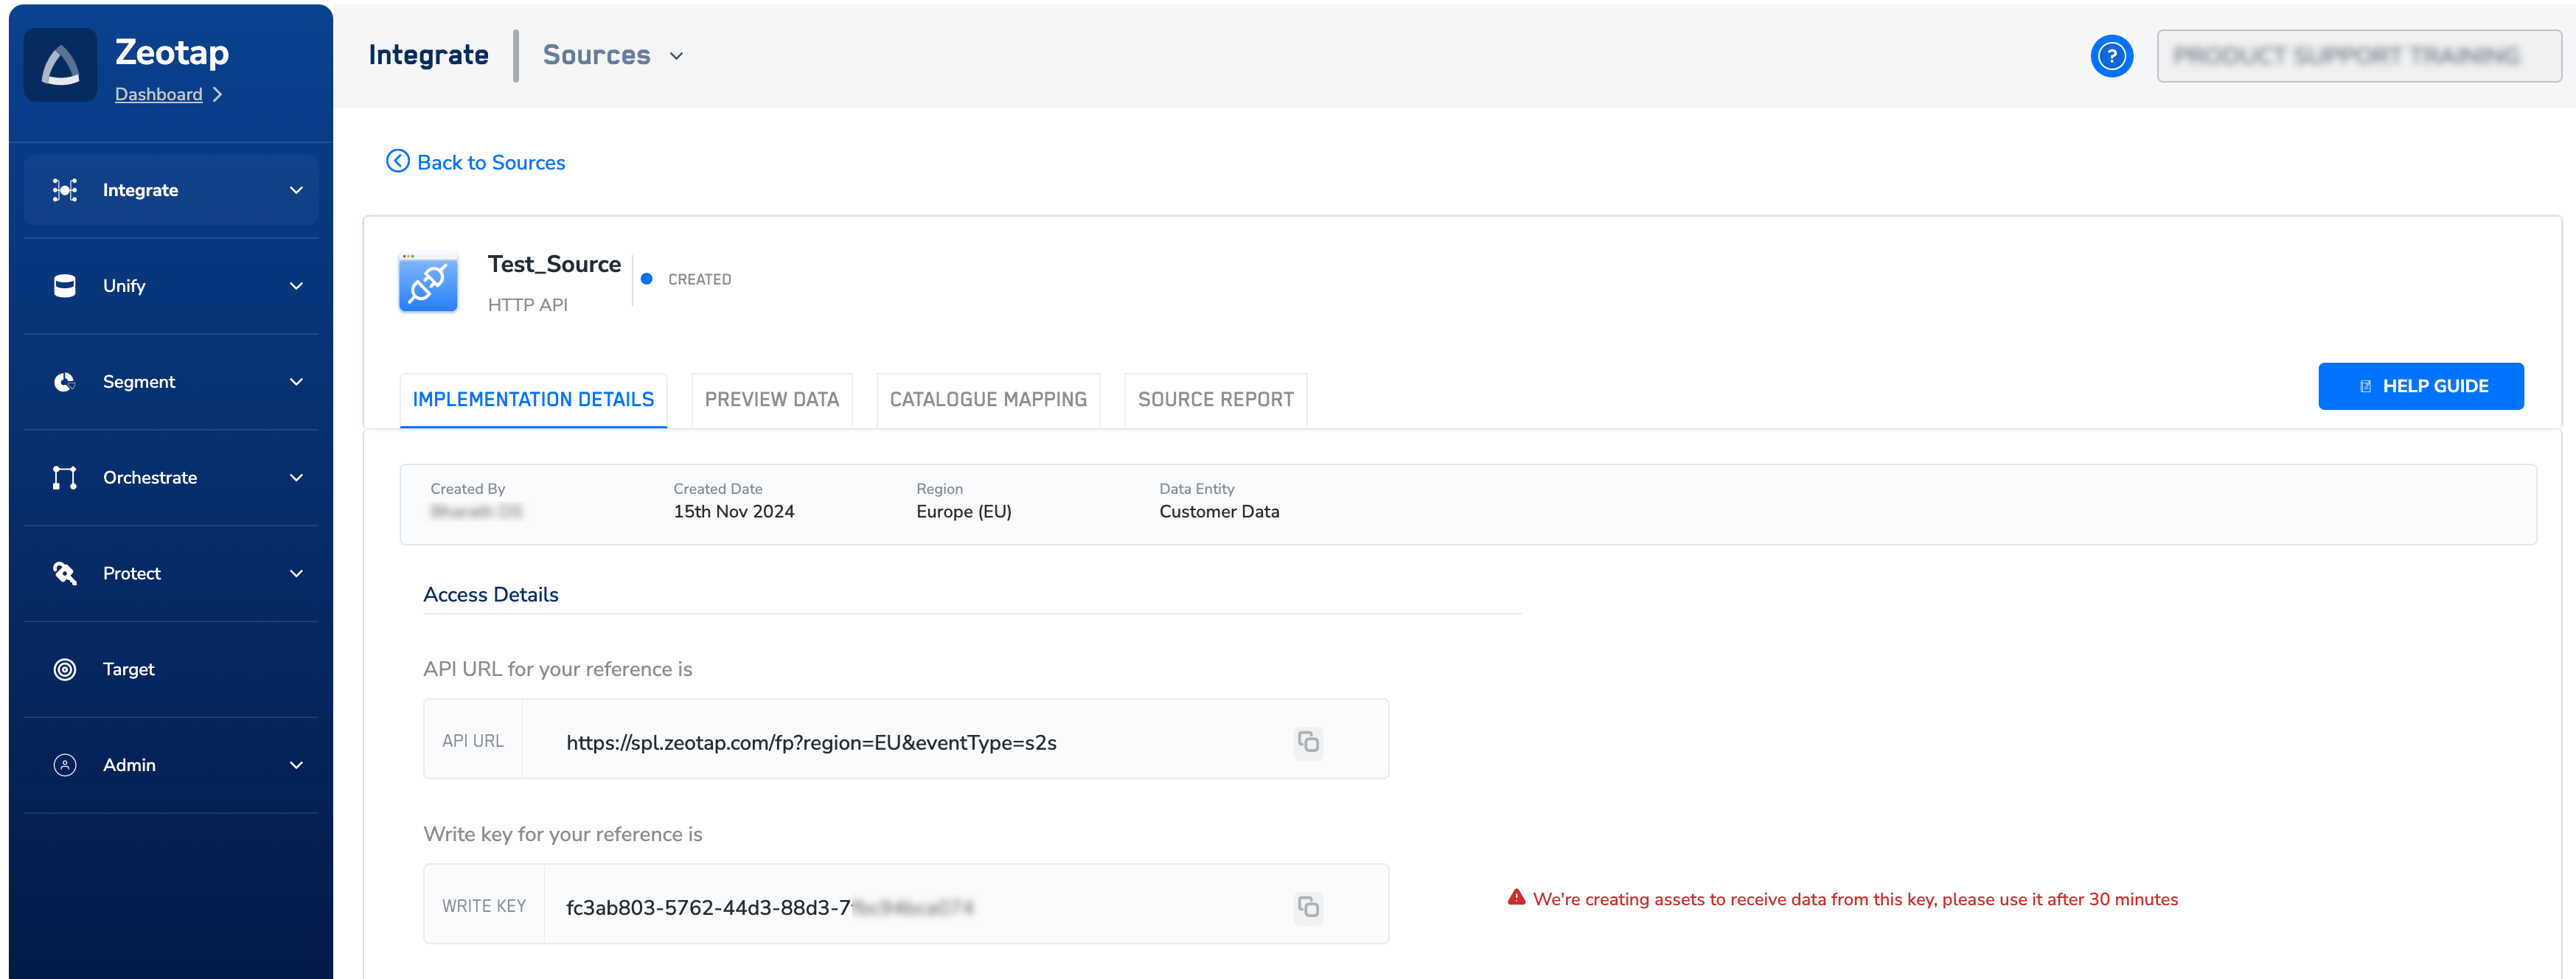
Decide how many sources you need
Each write key belongs to one source. You can point several activity types at the same source by reusing its write key, or keep them apart by creating a source per activity type.- Installs and reattributions share one write key. They use the same schema, and in Adjust they are controlled by a single field.
- Sessions, events, reinstalls, reattribution reinstalls and uninstalls each have their own field in Adjust. Give a field a write key if you want that activity, and leave it blank if you do not.
Configure the Zeotap module in Adjust
1
Find Zeotap in Campaign Lab
In the Adjust dashboard, open Campaign Lab and open the Network selection screen. Search for Zeotap, select it, and click Next.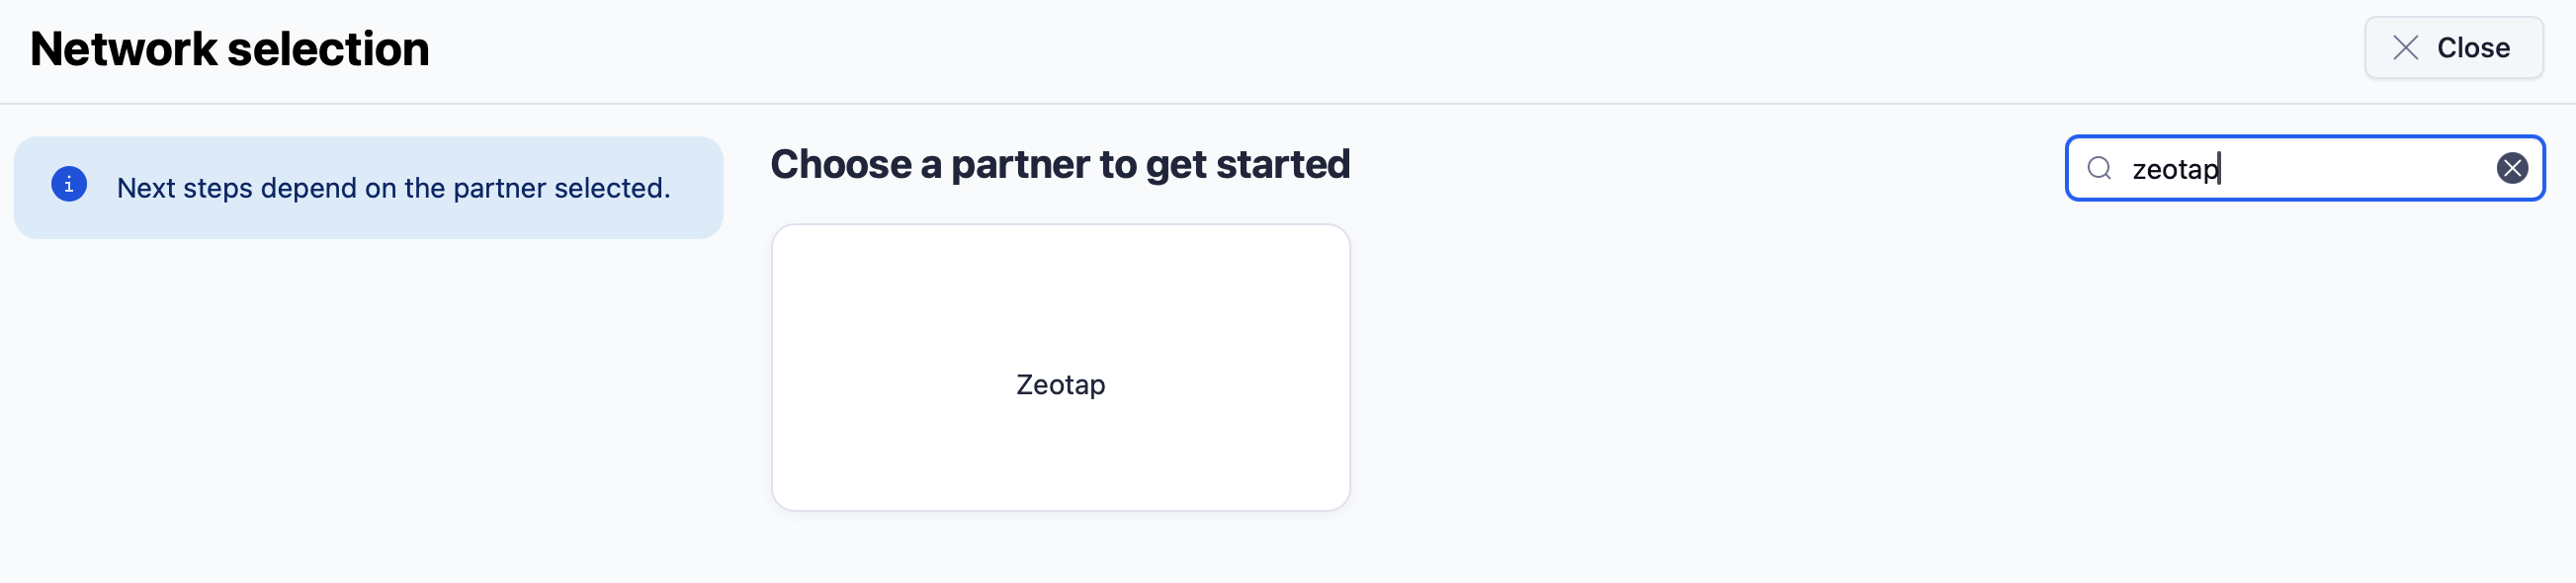
2
Choose your app
On the App selection screen, choose the app you want to share data for, then click Next.
3
Enable data sharing for each platform
The Enable data sharing window has a separate section for Android and for iOS. Complete each platform you want to send data for, then click Enable.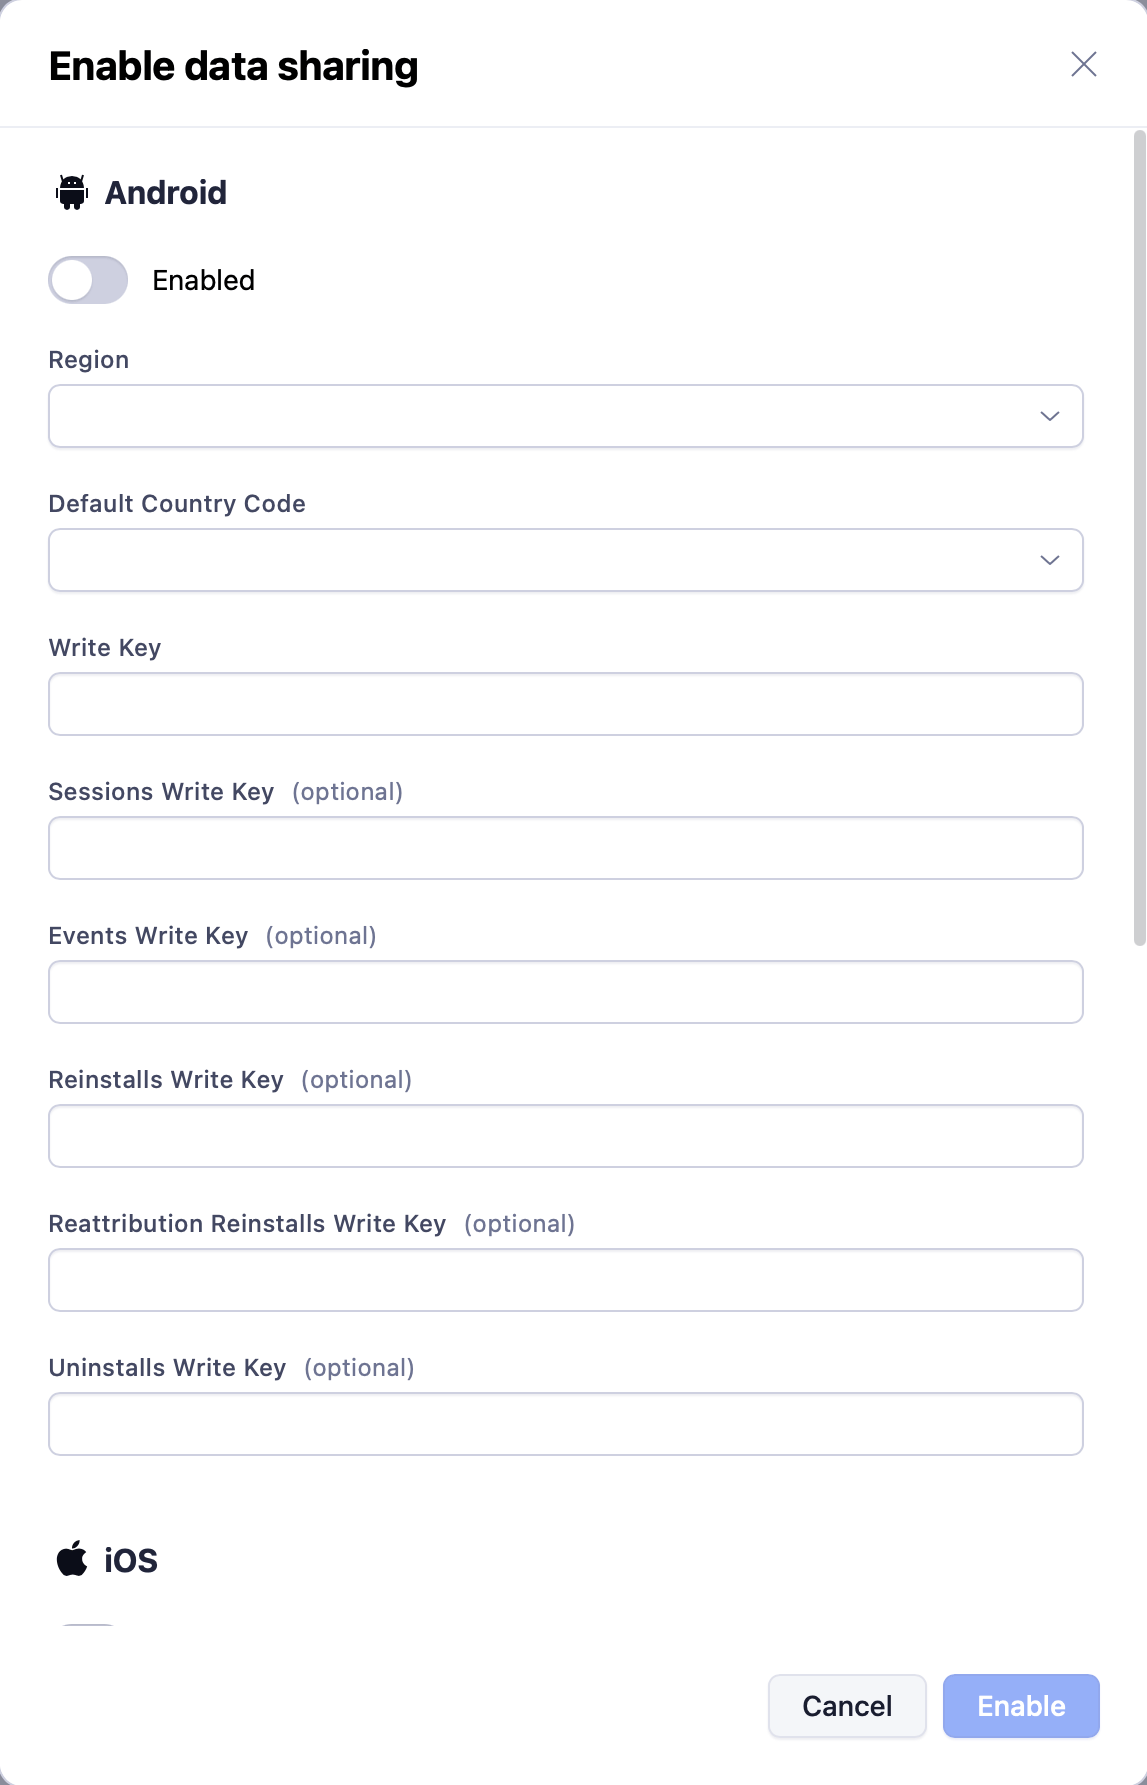
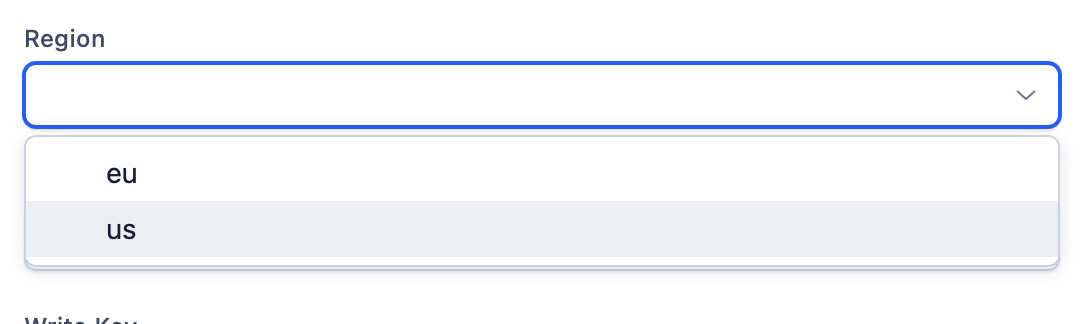
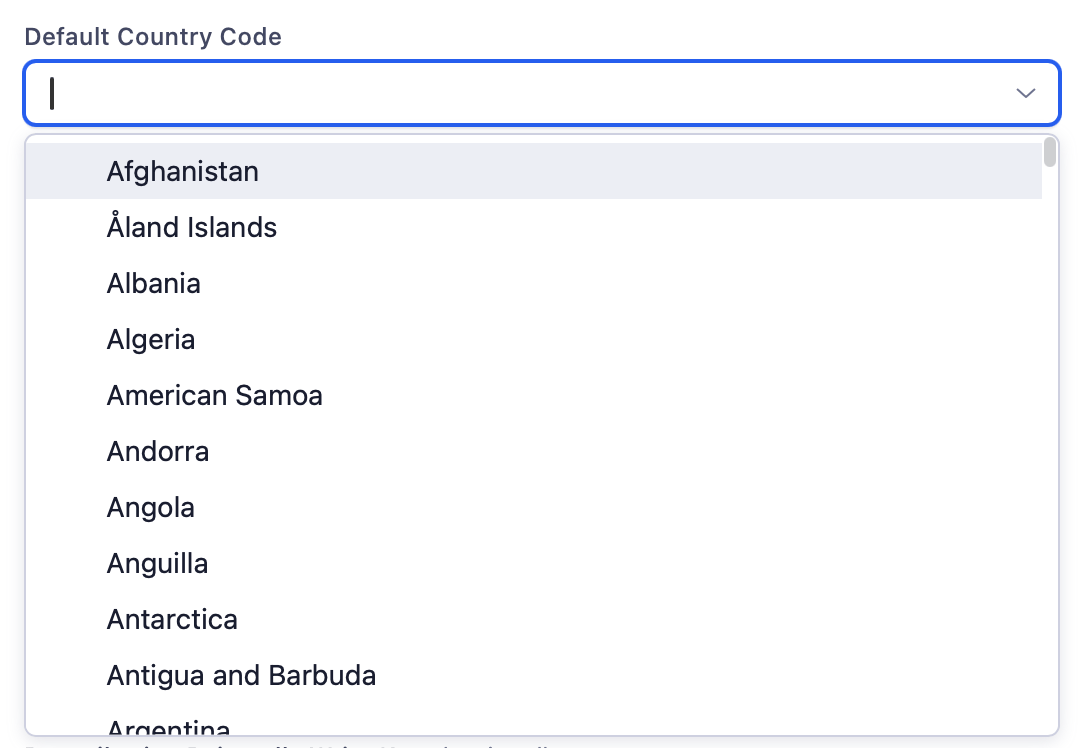
- Turn the Enabled toggle on for the platform.
- Select your Region — eu or us. This has to match the region of your Zeotap source.
- Select a Default Country Code.
- Enter your Write Key. This is the main key, and it covers installs and reattributions.
- Enter the optional write keys for any other activity you want to share, and leave blank anything you do not: Sessions Write Key, Events Write Key, Reinstalls Write Key, Reattribution Reinstalls Write Key, Uninstalls Write Key.
Adjust offers only eu and us. If the region on your Zeotap source is not one of those two, check with your Zeotap account manager which Adjust region to select before you enable the module — sending to the wrong region means the data is not accepted.
Why a default country code is required. Zeotap needs a country value on every record, and Adjust cannot always determine one — on server-to-server activities, for example, where no IP address is shared. When Adjust has no country for a record it sends this default instead, so the record is accepted rather than dropped.
4
Set your data-sharing options
Once the module is enabled, control what is shared on the Select data sharing options screen. For what each option covers on Adjust’s side, see Adjust’s Choose data sharing options. Installs and Reattributions are shared by default, from all attribution sources. Tick any additional activity you want — Send ad revenue, Sessions, Uninstalls and reinstalls, or In-app revenue (from in-app purchases).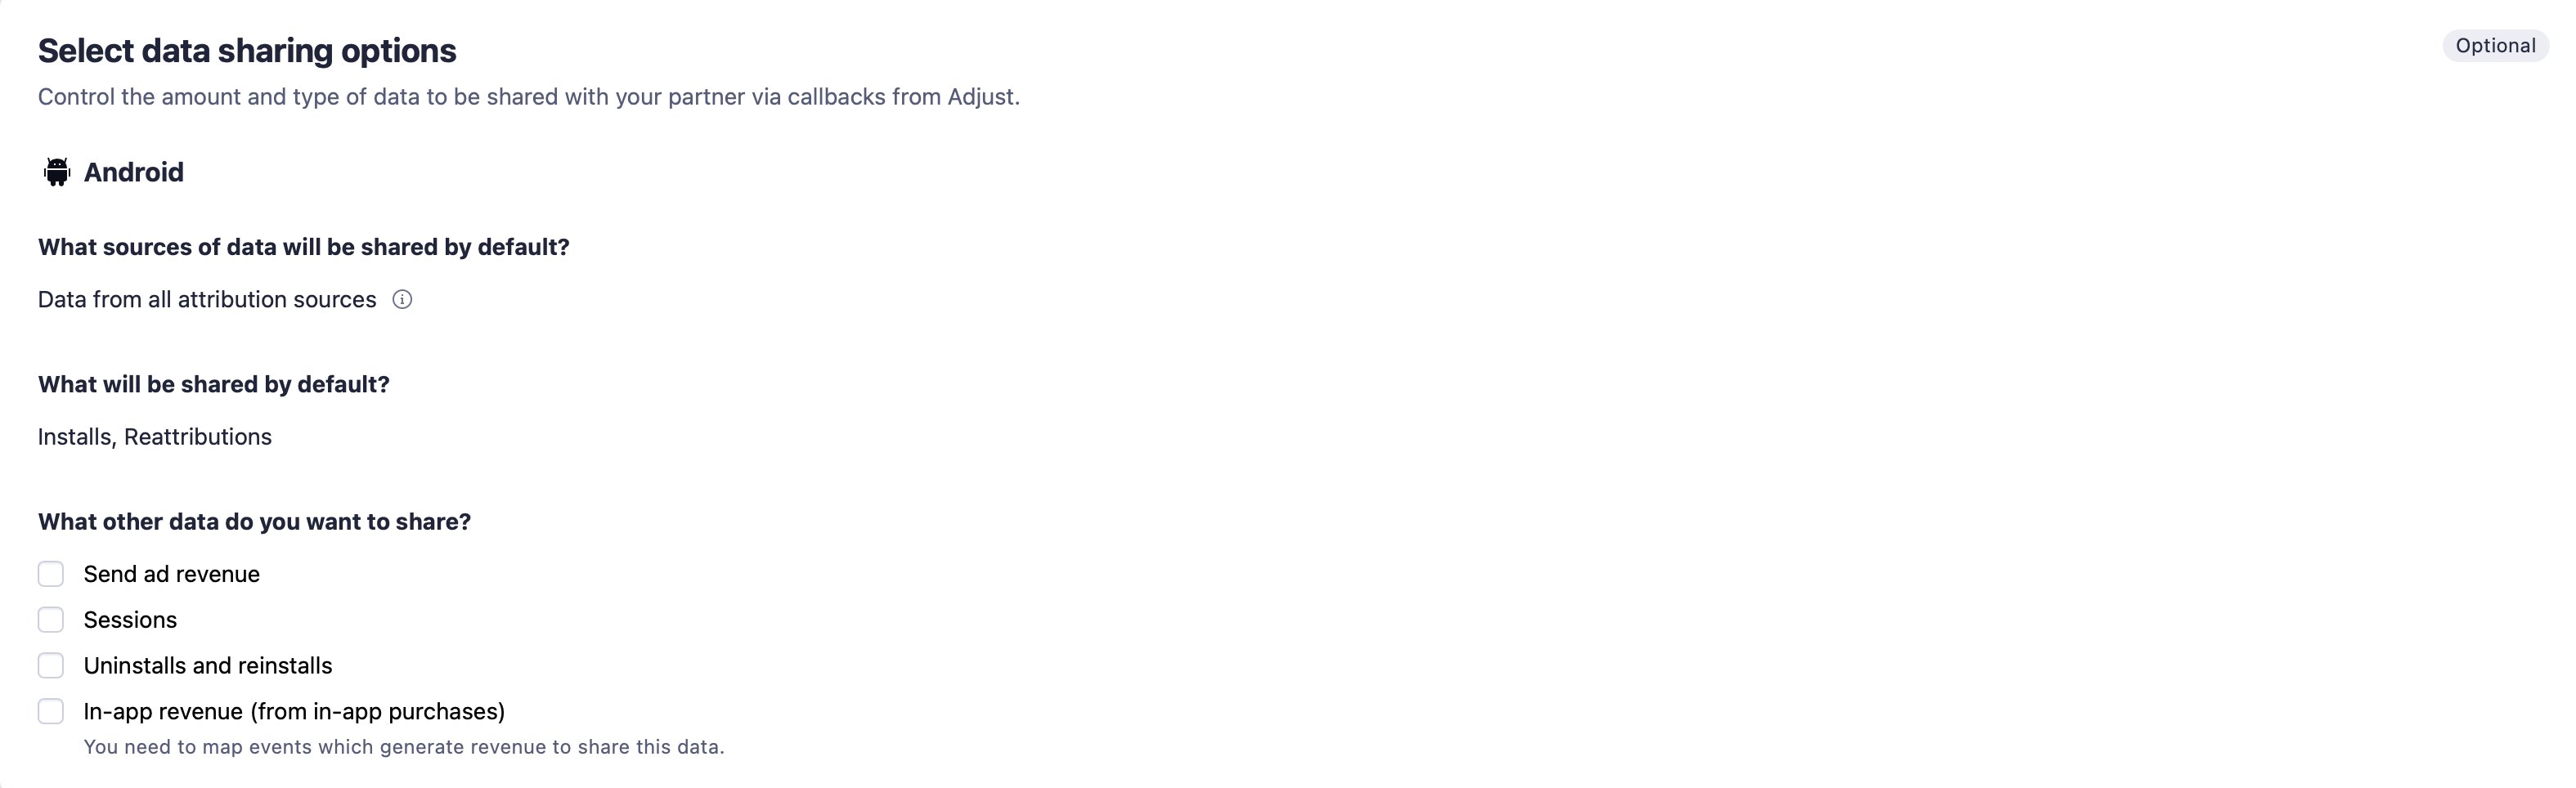
Ticking a box here is not enough on its own. Enabling an activity tells Adjust you want it, but the callback only fires once the corresponding write key has been entered. To share In-app revenue, Adjust additionally requires that you map the events which generate revenue.
5
Map your events
Only needed if you are sharing in-app events. Go to Map your events, select the events you want to share, map them to the values you want Zeotap to receive, and save the mapping.Data for any event you have not mapped is not sent, even with the Events Write Key in place.
Write key format. Adjust validates each write key as a UUID — 32 hexadecimal characters in an
8-4-4-4-12 pattern, for example 550e8400-e29b-41d4-a716-446655440000. Paste the key exactly as Zeotap generated it, with no leading or trailing spaces.What Adjust sends to Zeotap
Each activity arrives as five groups of fields — event, page, user, consent and device. None of this needs configuring: Adjust populates and sends it once the module is enabled.Verify data is arriving
Trigger the activity in your app — a fresh install is the simplest test, since installs are shared by default. The source’s status on the Sources listing tells you how far the integration has progressed:
For the full set of statuses and the other columns on the listing, see Components of the Source Listing Page.
Once the status reaches Integrated, check the data itself:
- The PREVIEW DATA tab shows a sample of the data received. See Components of the Preview Data Tab.
- The SOURCE REPORT tab gives the ingestion health and status of the source. See Exploring Source Reports.
Troubleshoot the integration
If you need further assistance, contact Zeotap support at support@zeotap.com with the source name and its ID from the Sources listing. For questions about the Adjust dashboard itself, contact Adjust support.
Limitations
- Three fields are not shared by Adjust. Adjust does not pass
att_status,event_tokenortracker_tokento partners. You still receive the event name (event) and the tracker name (tracker_name), so in most cases nothing is lost. - ATT status needs app development work. Because Adjust does not forward ATT status alongside device identifiers, the only way to receive it is to pass it as a partner parameter from your app, which requires a change in the app on both platforms — see Adjust’s documentation on global partner parameters for iOS and Android. If you do not need ATT status,
tracking_enabledgives you a simpler signal — but the two are not equivalent: ATT status has four values (0 Not determined, 1 Restricted, 2 Denied, 3 Authorized) wheretracking_enabledhas two. - A blank write key means no data, by design. Zeotap does not accept data without a valid write key, so Adjust skips that callback rather than sending it.