> ## Documentation Index
> Fetch the complete documentation index at: https://docs.zeotap.com/llms.txt
> Use this file to discover all available pages before exploring further.
# When to use a Catalogue Field
> This topic explains the two scenarios when you can use a Catalogue Field.
## Scenario 1 - Before Creating a Source
Identify all the possible data points that you are going to ingest into Zeotap.
Go to the **CATALOGUE tab** and click **Add Catalogue Field**.
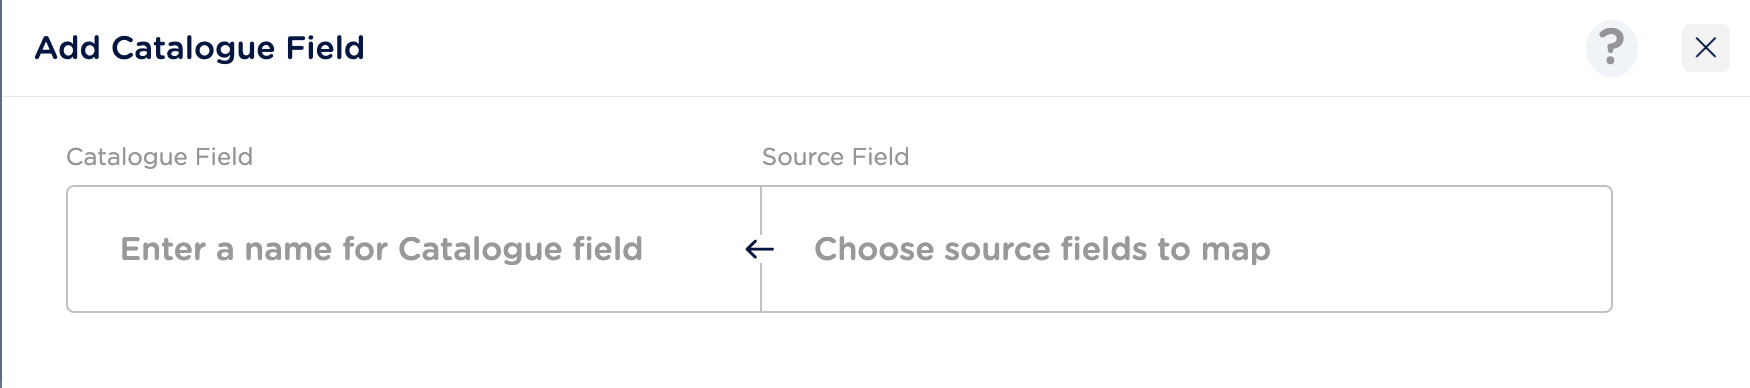 Look up for the field that you want to add.
1. If the field is present in the system, then you are prompted to use the existing field and you are taken to the details page.
2. If the existing field is not as per your requirement, then you can create a new field. While creating a new field, you can go with the system recommendation or add your own field. To know more, refer to [Adding a Catalogue Field](/articles/unify-customer/add-a-catalogue-field).
In the **Source Field**, define the name of the field in your source that has to be mapped to this catalogue field. While typing the name of your source field, the system first looks up in the list of unmapped fields. If already available, then select the same.
**Note**
The (auto) mapping defined here, gets reflected when a source is onboarded and if the same source field name appears in your source. After approval in the individual source mapping sections, the data is ingested into Zeotap.
They represent the list of all source fields(across sources) identified in your account that are yet to be mapped to a catalogue field.
Upon saving, the (auto) mapping defined here gets reflected when a source is onboarded and if the same source field name appears in your source (in the source’s **Catalogue Mapping** section).
**Note**
The data is ingested into Zeotap only after you have saved or approved the mapping in your individual source mapping section.
## Scenario 2- After Creating a Source
After a source is created and the data is shared, it moves from the created to an integrated state. To complete the source integration, you have to complete the catalogue mapping steps as mentioned below.
As part of the catalogue mapping, first, you have to map the Country/ID to begin the mapping.
Map the source fields as follows:
* If the mapping already exists for a source field, then the catalogue field appears as pre-selected on the right-hand side input box.
* If there is no mapping available for a source field, then select from your existing organisation catalogue fields or add a new catalogue field.
Click **Next** to map your consent and marketing preference fields as mentioned in step 2.
Click **Next** to review and save your mapping.
Once saved, Zeotap starts ingesting the mapped data field into your Zeotap account. To know more about source mapping, refer [Mapping the Catalogue](/articles/unify-customer/map-the-catalogue).
**Note**
Once the mapping is saved, the Unmapped Source Fields cannot be ingested.
Look up for the field that you want to add.
1. If the field is present in the system, then you are prompted to use the existing field and you are taken to the details page.
2. If the existing field is not as per your requirement, then you can create a new field. While creating a new field, you can go with the system recommendation or add your own field. To know more, refer to [Adding a Catalogue Field](/articles/unify-customer/add-a-catalogue-field).
In the **Source Field**, define the name of the field in your source that has to be mapped to this catalogue field. While typing the name of your source field, the system first looks up in the list of unmapped fields. If already available, then select the same.
**Note**
The (auto) mapping defined here, gets reflected when a source is onboarded and if the same source field name appears in your source. After approval in the individual source mapping sections, the data is ingested into Zeotap.
They represent the list of all source fields(across sources) identified in your account that are yet to be mapped to a catalogue field.
Upon saving, the (auto) mapping defined here gets reflected when a source is onboarded and if the same source field name appears in your source (in the source’s **Catalogue Mapping** section).
**Note**
The data is ingested into Zeotap only after you have saved or approved the mapping in your individual source mapping section.
## Scenario 2- After Creating a Source
After a source is created and the data is shared, it moves from the created to an integrated state. To complete the source integration, you have to complete the catalogue mapping steps as mentioned below.
As part of the catalogue mapping, first, you have to map the Country/ID to begin the mapping.
Map the source fields as follows:
* If the mapping already exists for a source field, then the catalogue field appears as pre-selected on the right-hand side input box.
* If there is no mapping available for a source field, then select from your existing organisation catalogue fields or add a new catalogue field.
Click **Next** to map your consent and marketing preference fields as mentioned in step 2.
Click **Next** to review and save your mapping.
Once saved, Zeotap starts ingesting the mapped data field into your Zeotap account. To know more about source mapping, refer [Mapping the Catalogue](/articles/unify-customer/map-the-catalogue).
**Note**
Once the mapping is saved, the Unmapped Source Fields cannot be ingested.