> ## Documentation Index
> Fetch the complete documentation index at: https://docs.zeotap.com/llms.txt
> Use this file to discover all available pages before exploring further.
# Configure the ID Strategy
Now that you have enough understanding of how the ID strategy works, perform the following steps to configure the ID strategy for your organisation:
In the Unify application, click the **IDENTITIES** tab.
You can either use the Default Strategy or choose to configure the Custom or High-Fidelity Strategy.
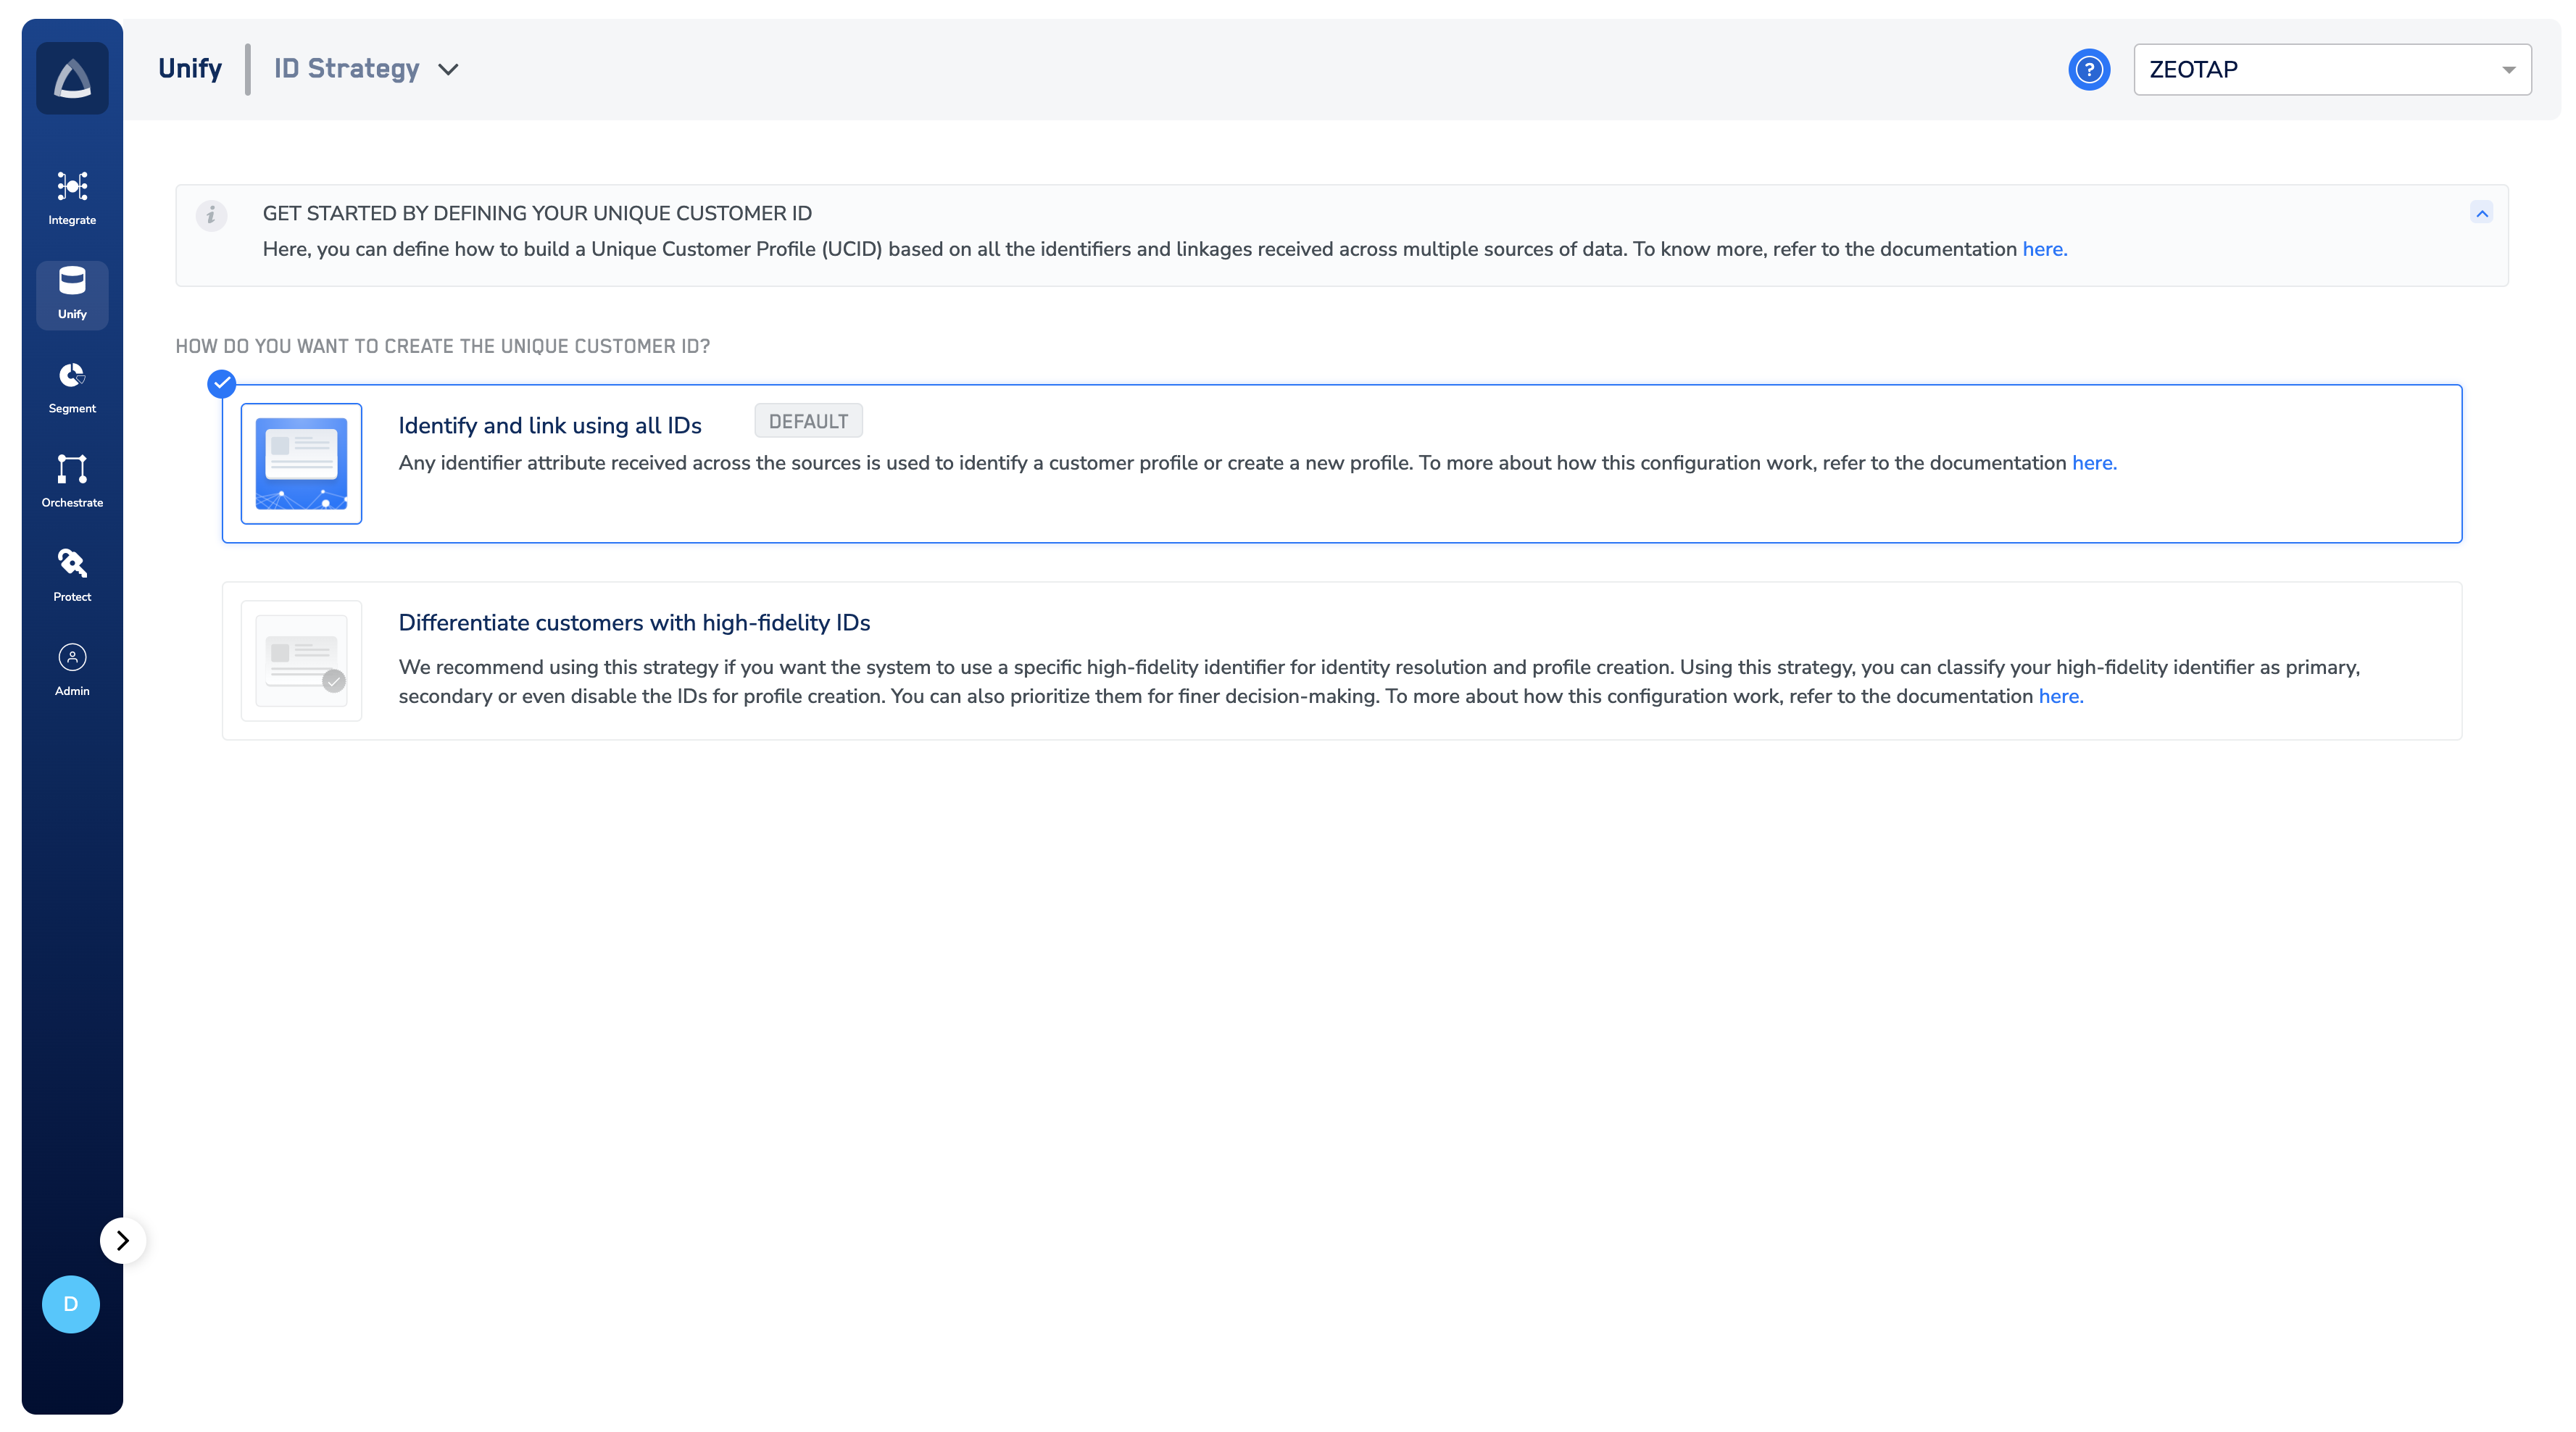 For the Default Strategy, any identifier attribute received across the sources is used to identify a customer profile or create a new profile.
For the Custom or High-Fidelity Strategy, you have to start by classifying your IDs. By default, all the IDs in your catalogue are marked as Secondary. You can change the selection to Primary as required.
For the Default Strategy, any identifier attribute received across the sources is used to identify a customer profile or create a new profile.
For the Custom or High-Fidelity Strategy, you have to start by classifying your IDs. By default, all the IDs in your catalogue are marked as Secondary. You can change the selection to Primary as required.
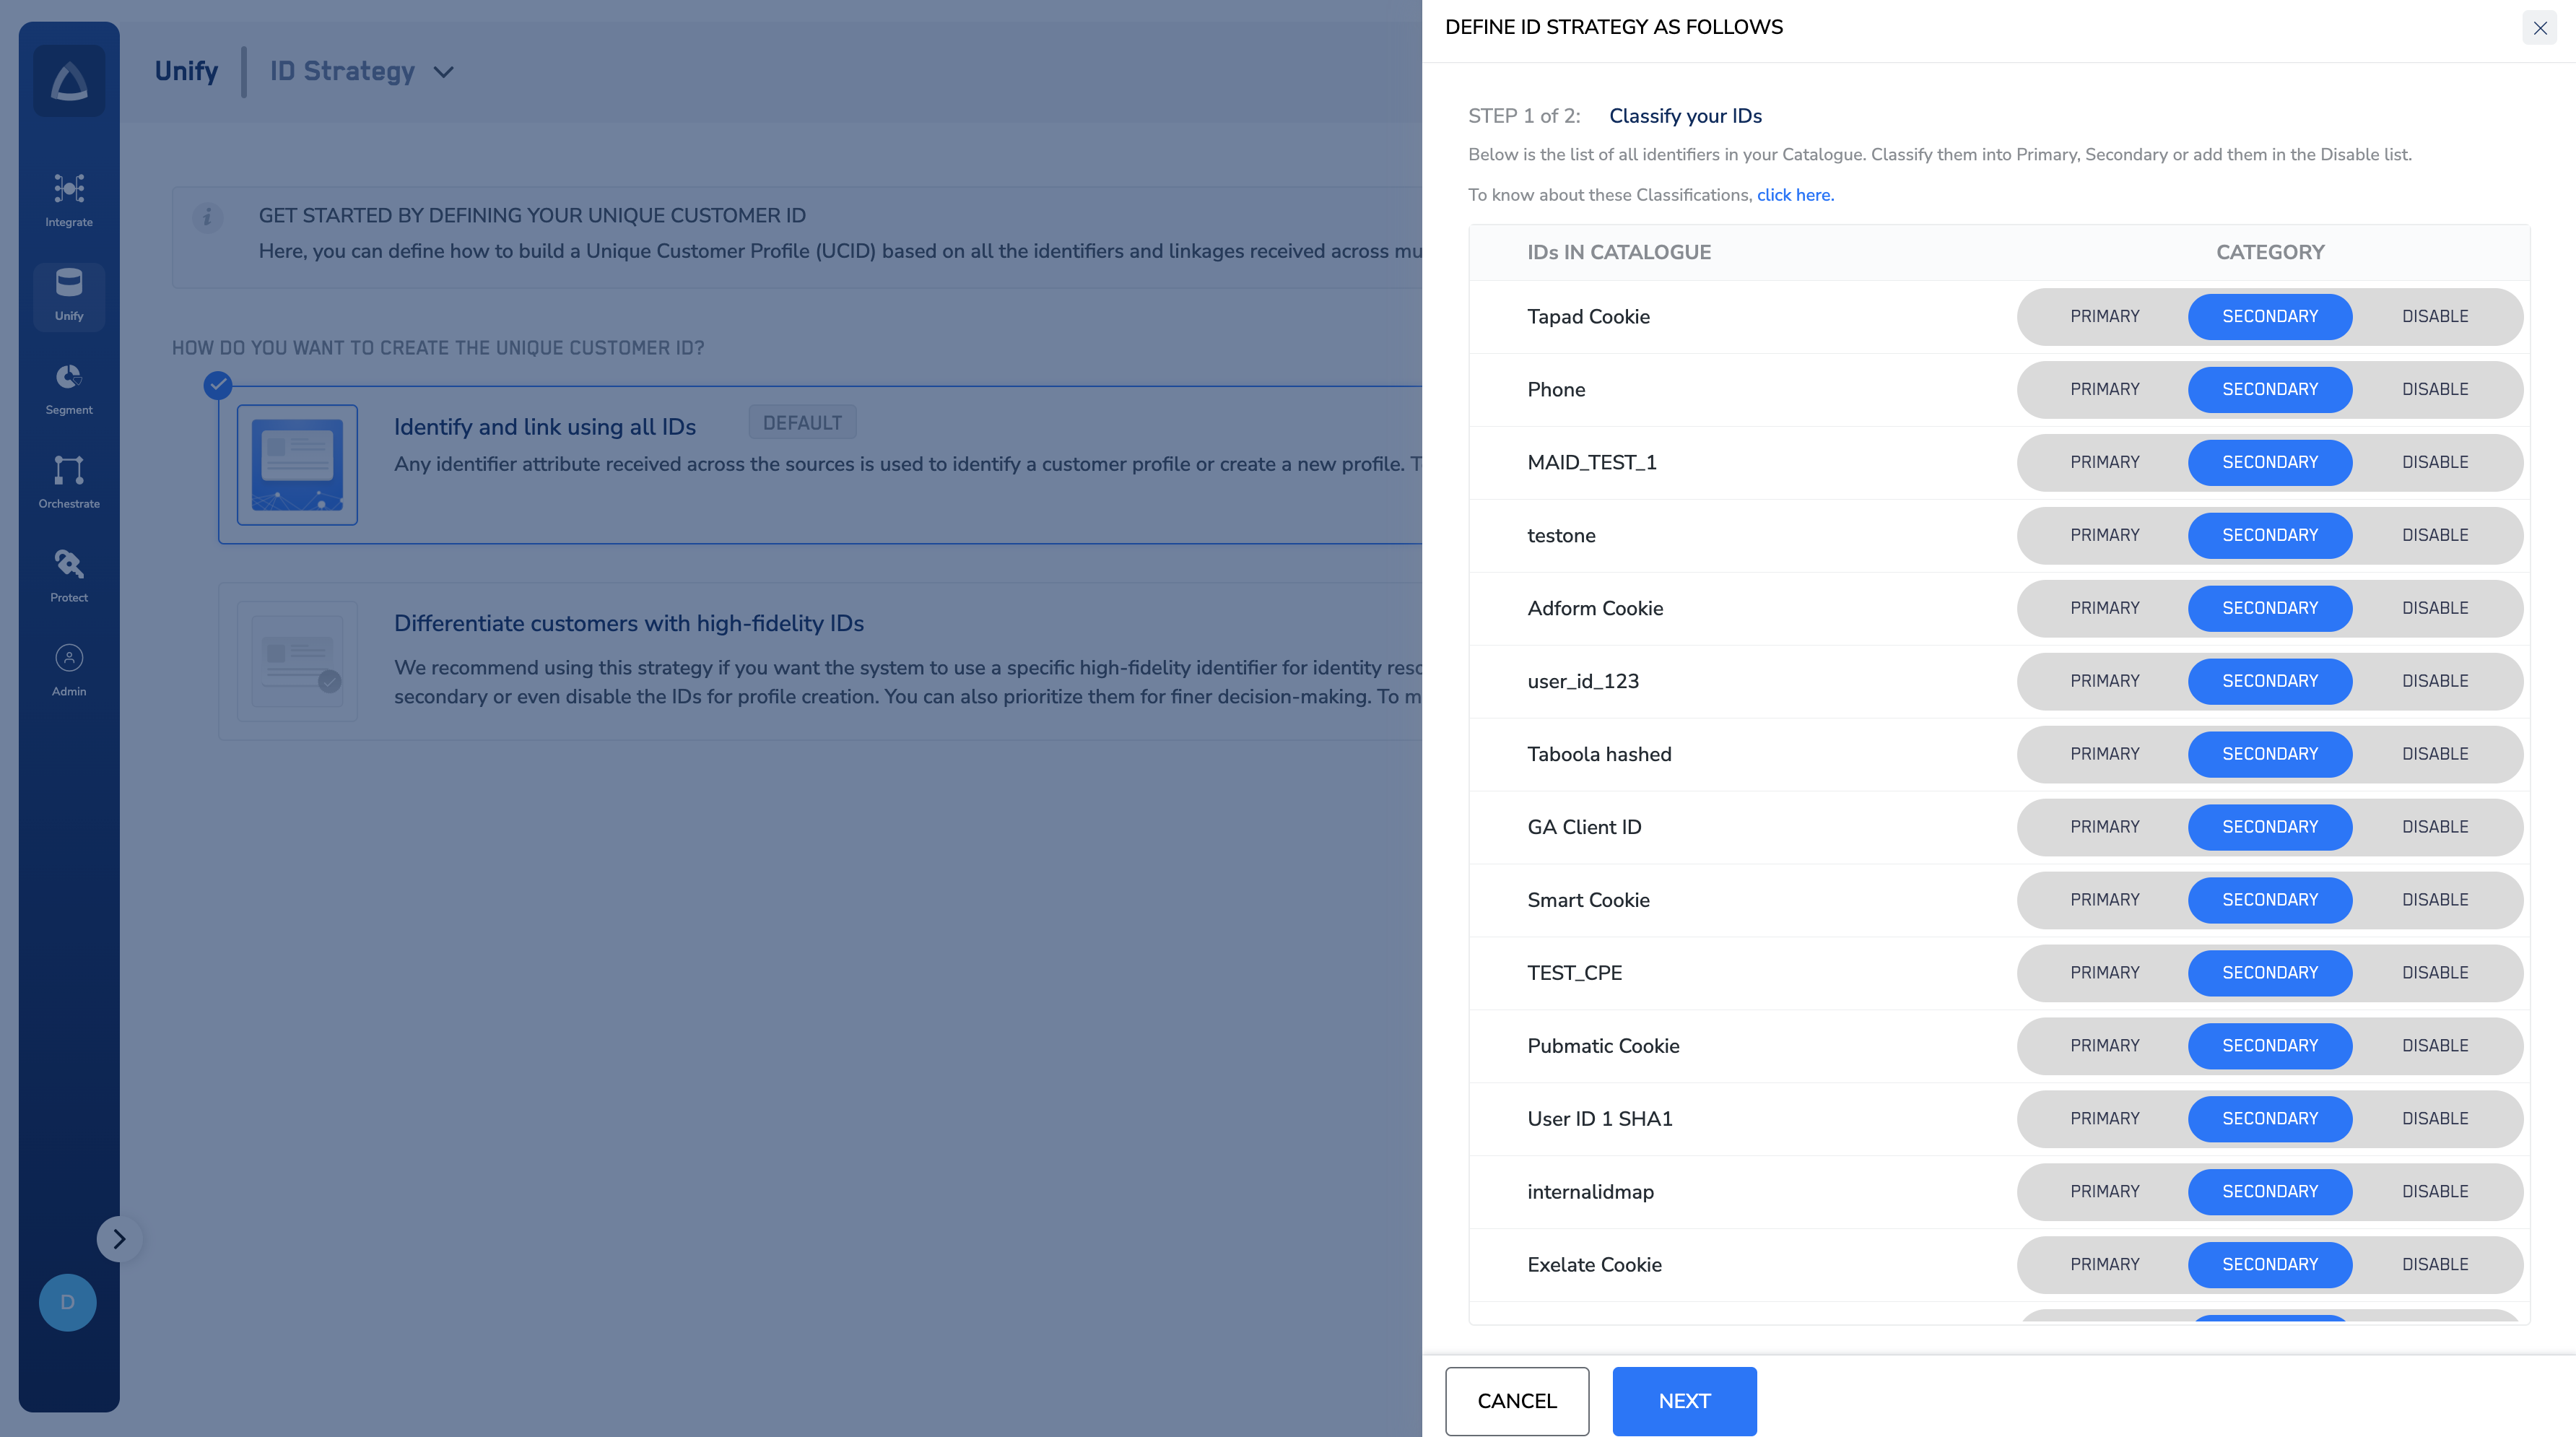 Click **NEXT** to proceed to the next step.
Primary or Secondary, they appear in the respective buckets. By default, all the IDs in the respective buckets, are assigned priority 1. Next, you can define the priority of your IDs as follows:
* You can either change the classification of the IDs by dropping them from one bucket to the other.
* Or, set the priority within the bucket. You can set the same or different priority among IDs within a classification. Zeotap allows you to define priority up to level five.
Click **NEXT** to proceed to the next step.
Primary or Secondary, they appear in the respective buckets. By default, all the IDs in the respective buckets, are assigned priority 1. Next, you can define the priority of your IDs as follows:
* You can either change the classification of the IDs by dropping them from one bucket to the other.
* Or, set the priority within the bucket. You can set the same or different priority among IDs within a classification. Zeotap allows you to define priority up to level five.
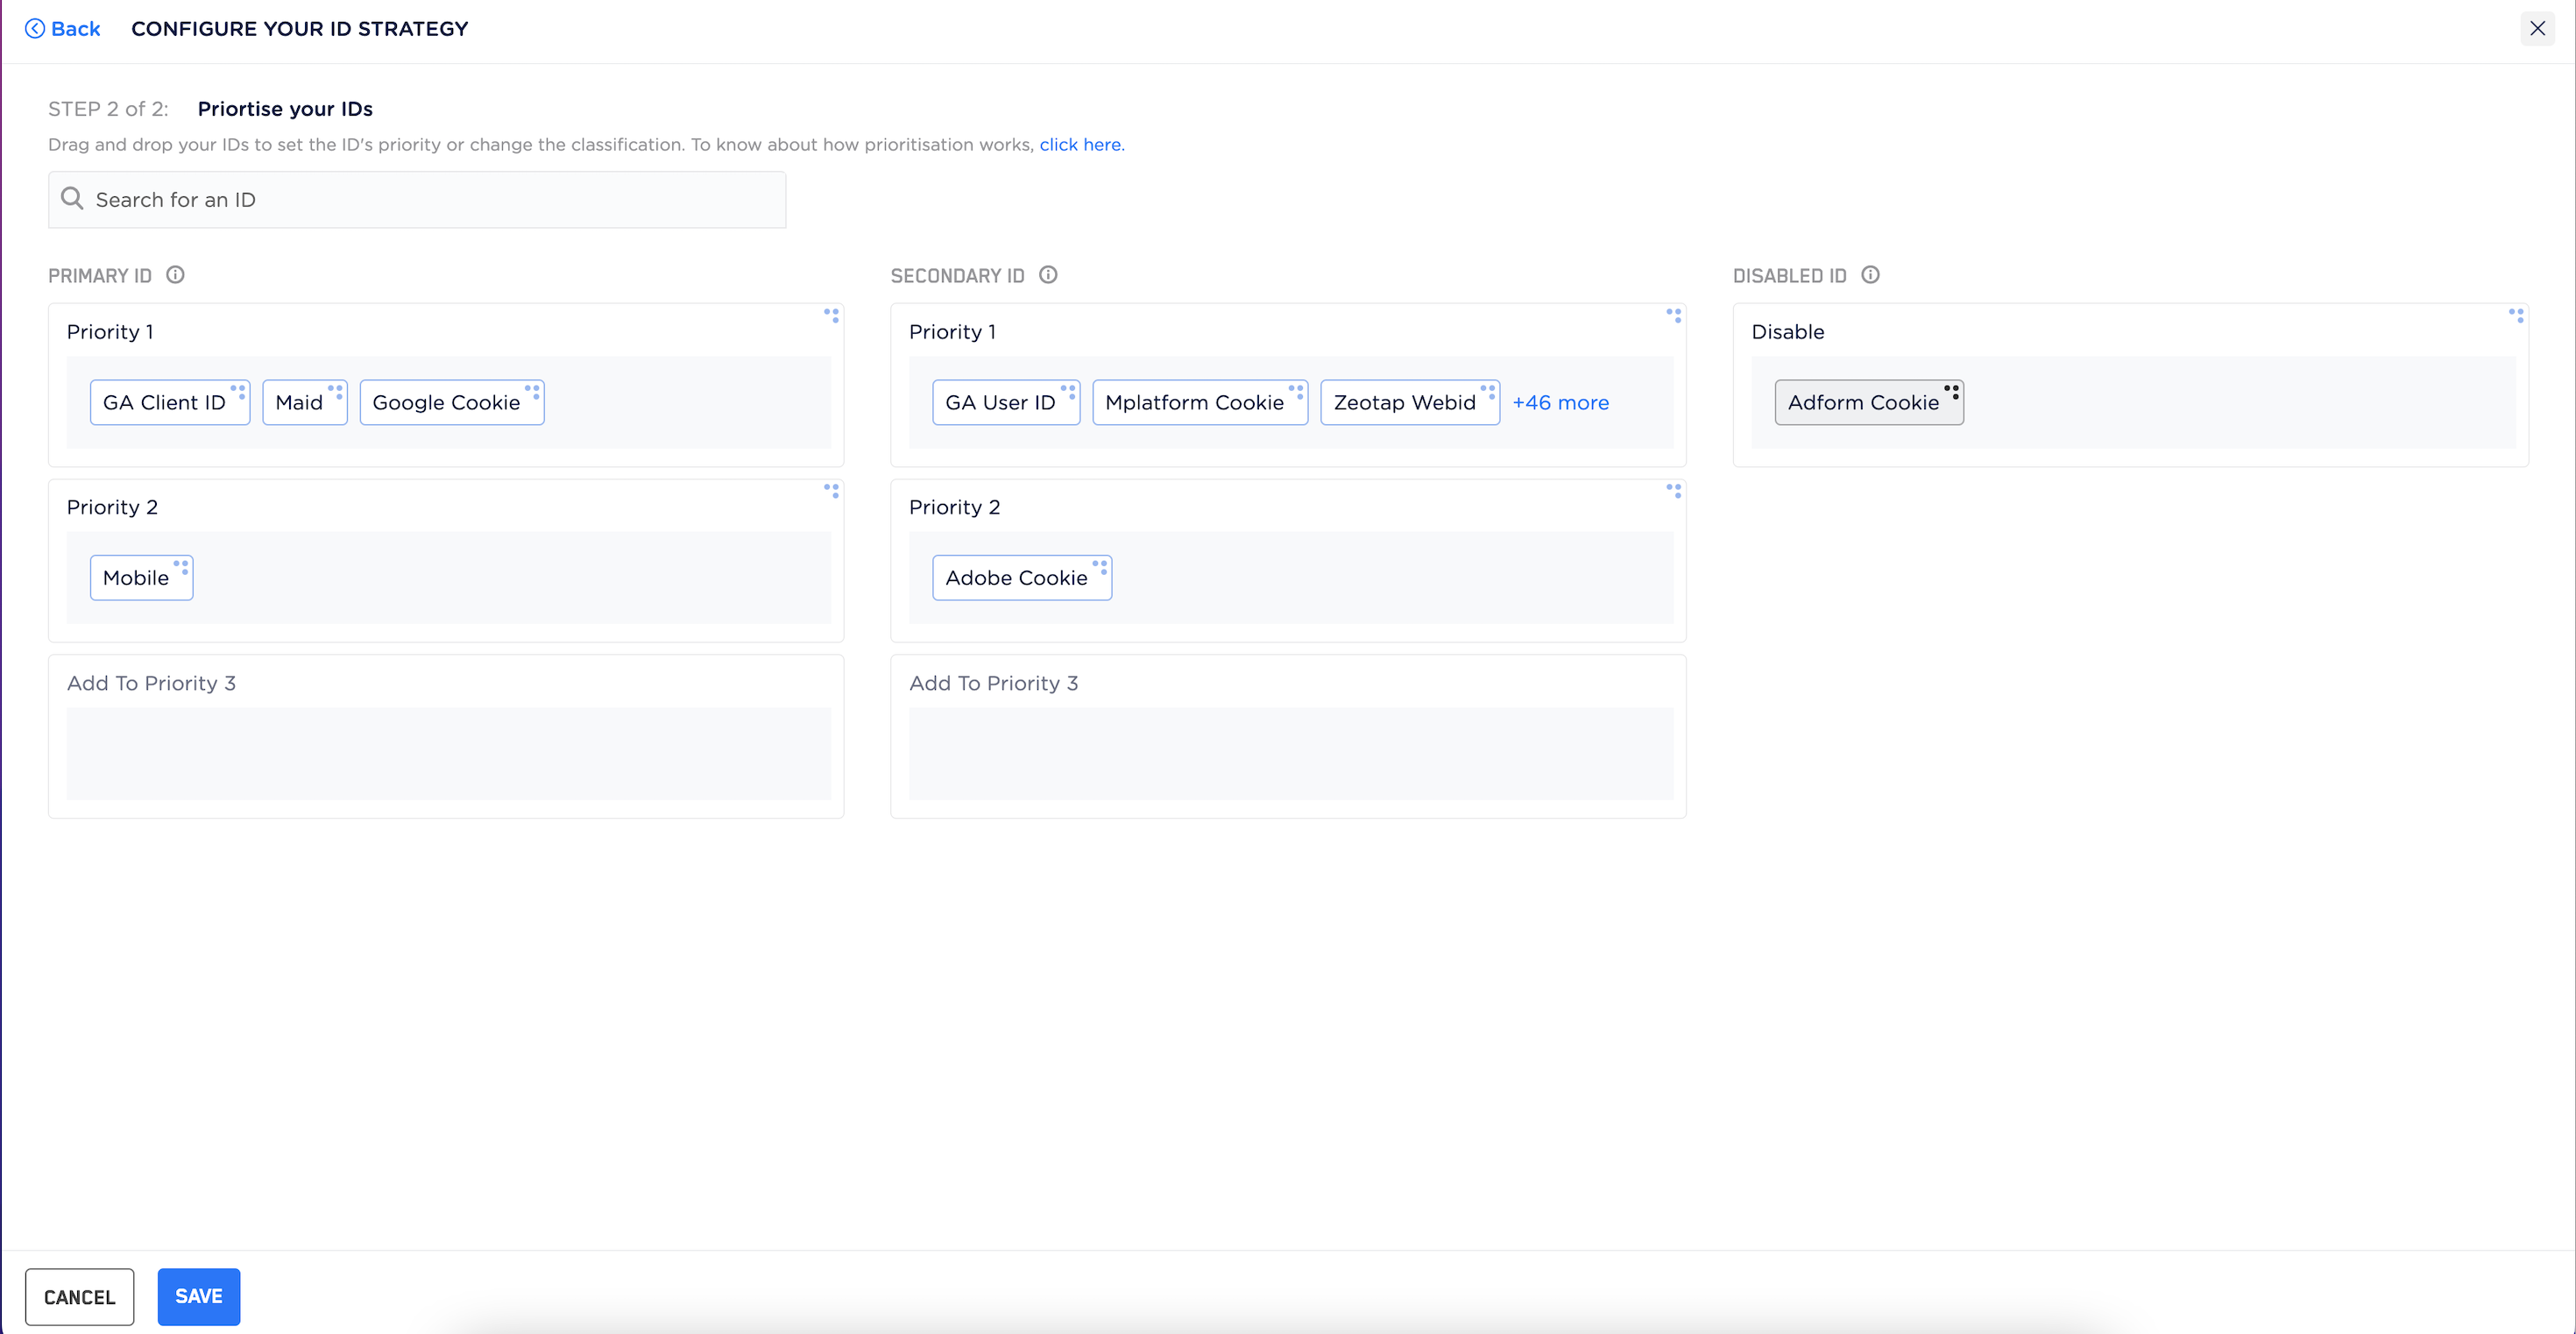 Once you have reviewed the configuration, save the changes.
**Note:**
Here are some quicks links for your reference:
Once you have reviewed the configuration, save the changes.
**Note:**
Here are some quicks links for your reference: