> ## Documentation Index
> Fetch the complete documentation index at: https://docs.zeotap.com/llms.txt
> Use this file to discover all available pages before exploring further.
# TTD
## Overview
TTD (The Trade Desk) is a demand-side platform (DSP) that provides programmatic advertising solutions to marketers. Integrated with Zeotap CDP it helps marketers better understand their customers, improve the targeting of advertising campaigns and optimise the marketing strategies.
## Supported Identifiers
This integration is supported for both MAIDs/Device IDs and TTD cookies.
## Components of TTD
Ensure that you have details about the below components of TTD available before creating a Destination.
### Currency
Only **USD** and **EUR** are accepted. Ensure that the currency matches with your account set-up in TTD.
### Org Type
Choose one of the following Org Types from the following list and provide the necessary information as prompted:
* **Partner** – If you choose **Partner** as the Org Type, then you must provide the **Partner ID** and **Partner Name** to proceed with the destination creation.
* **Partner ID** – This is your Trade Desk Partner ID that you can find in your TTD console. To find your Partner ID, log into the Trade Desk console with the advertiser view and navigate to **Preferences** > **Partner Info** > **Partner ID**.
* **Partner Name** – This is the name of the Partner. You can find it along with the Partner ID in the same Trade Desk console.
* **Advertiser** – If you choose **Advertiser** as the Org Type, then you must provide the **Advertiser ID** and **Advertiser Name** to proceed with the destination creation.
* **Advertiser ID** – This is your Trade Desk Ad Account ID.
* **Advertiser Name** – This is the name of the Advertiser. You can find it along with the Account ID in the TTD console.
* **System** – If you choose **System** as the Org Type, then you must provide an **Org Id** to proceed with the destination creation. This option is applicable only for public destinations.
## Create a Destination for TTD
Perform the following steps to create a Destination for TTD:
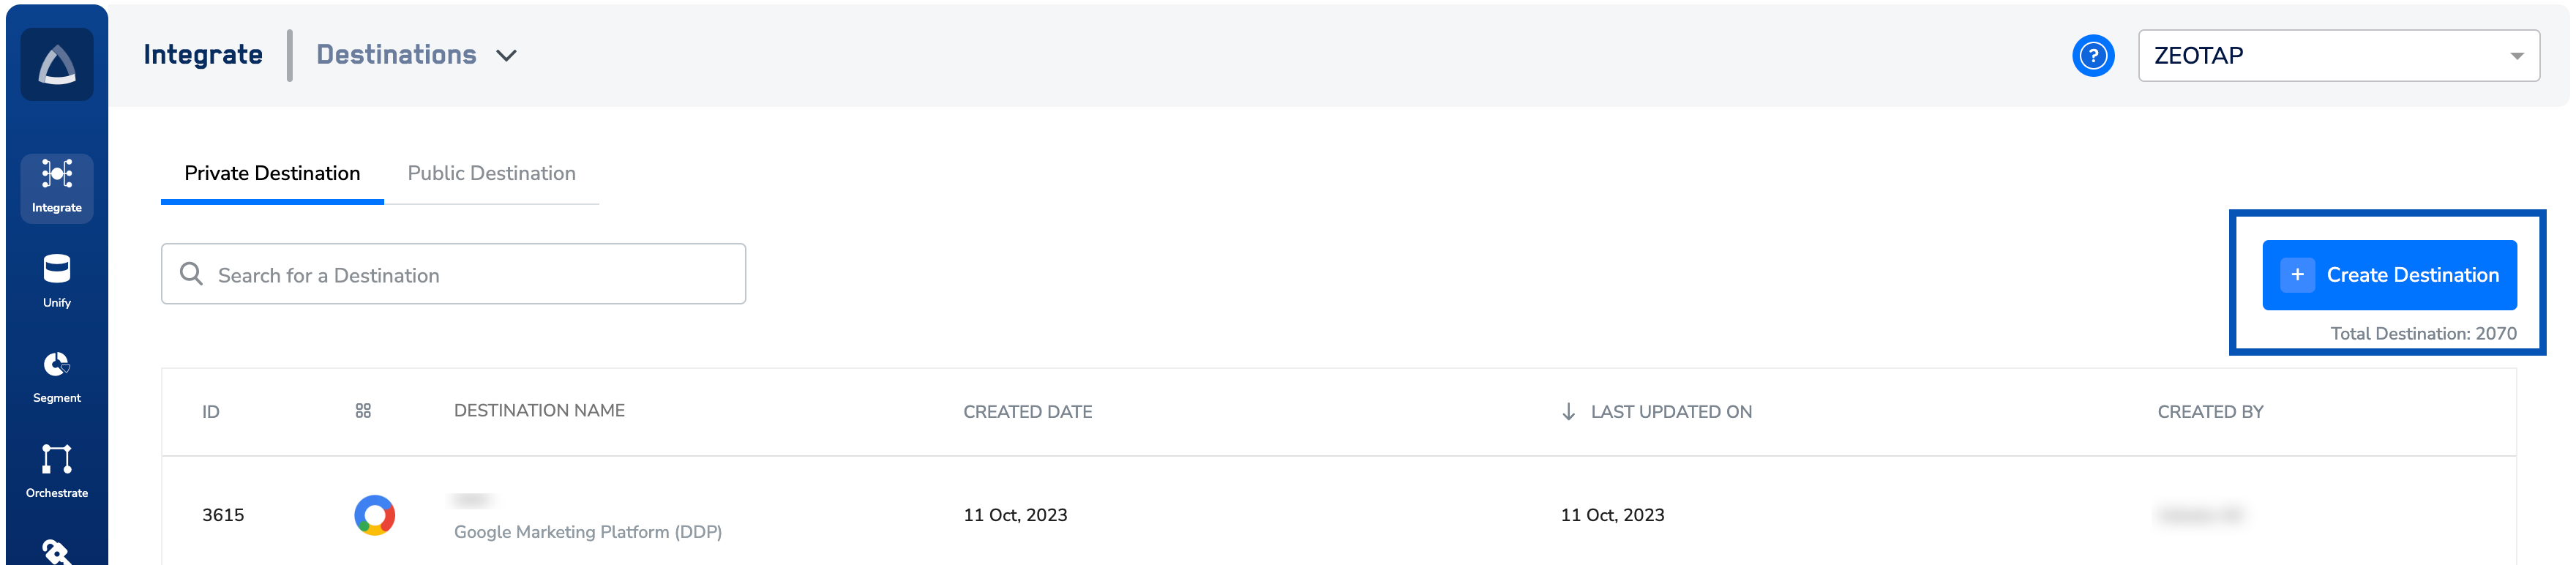
Log into the Zeotap CDP App and go to the **DESTINATIONS** application.
Click **+ Create Destination.**
 Under **All Destinations**, search for **The Trade Desk.**
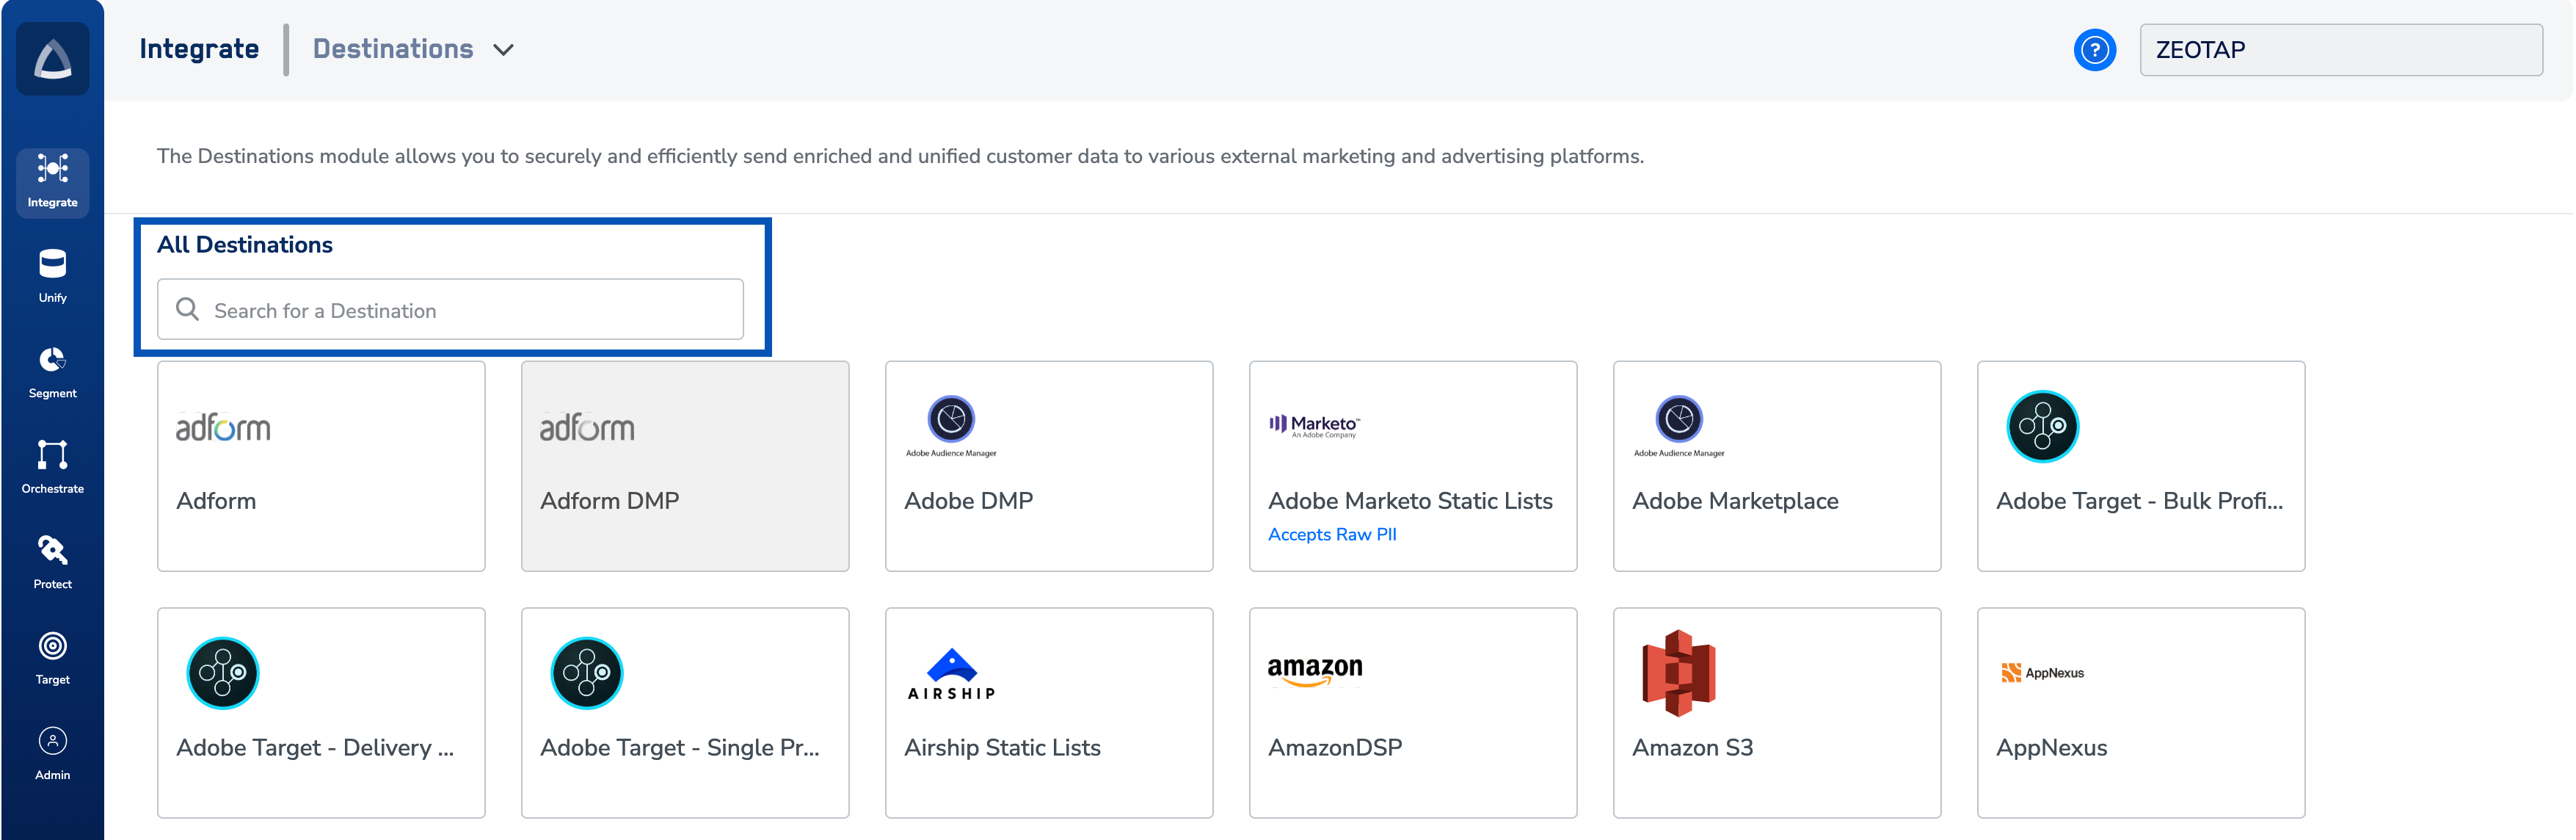 Click **The Trade Desk.**
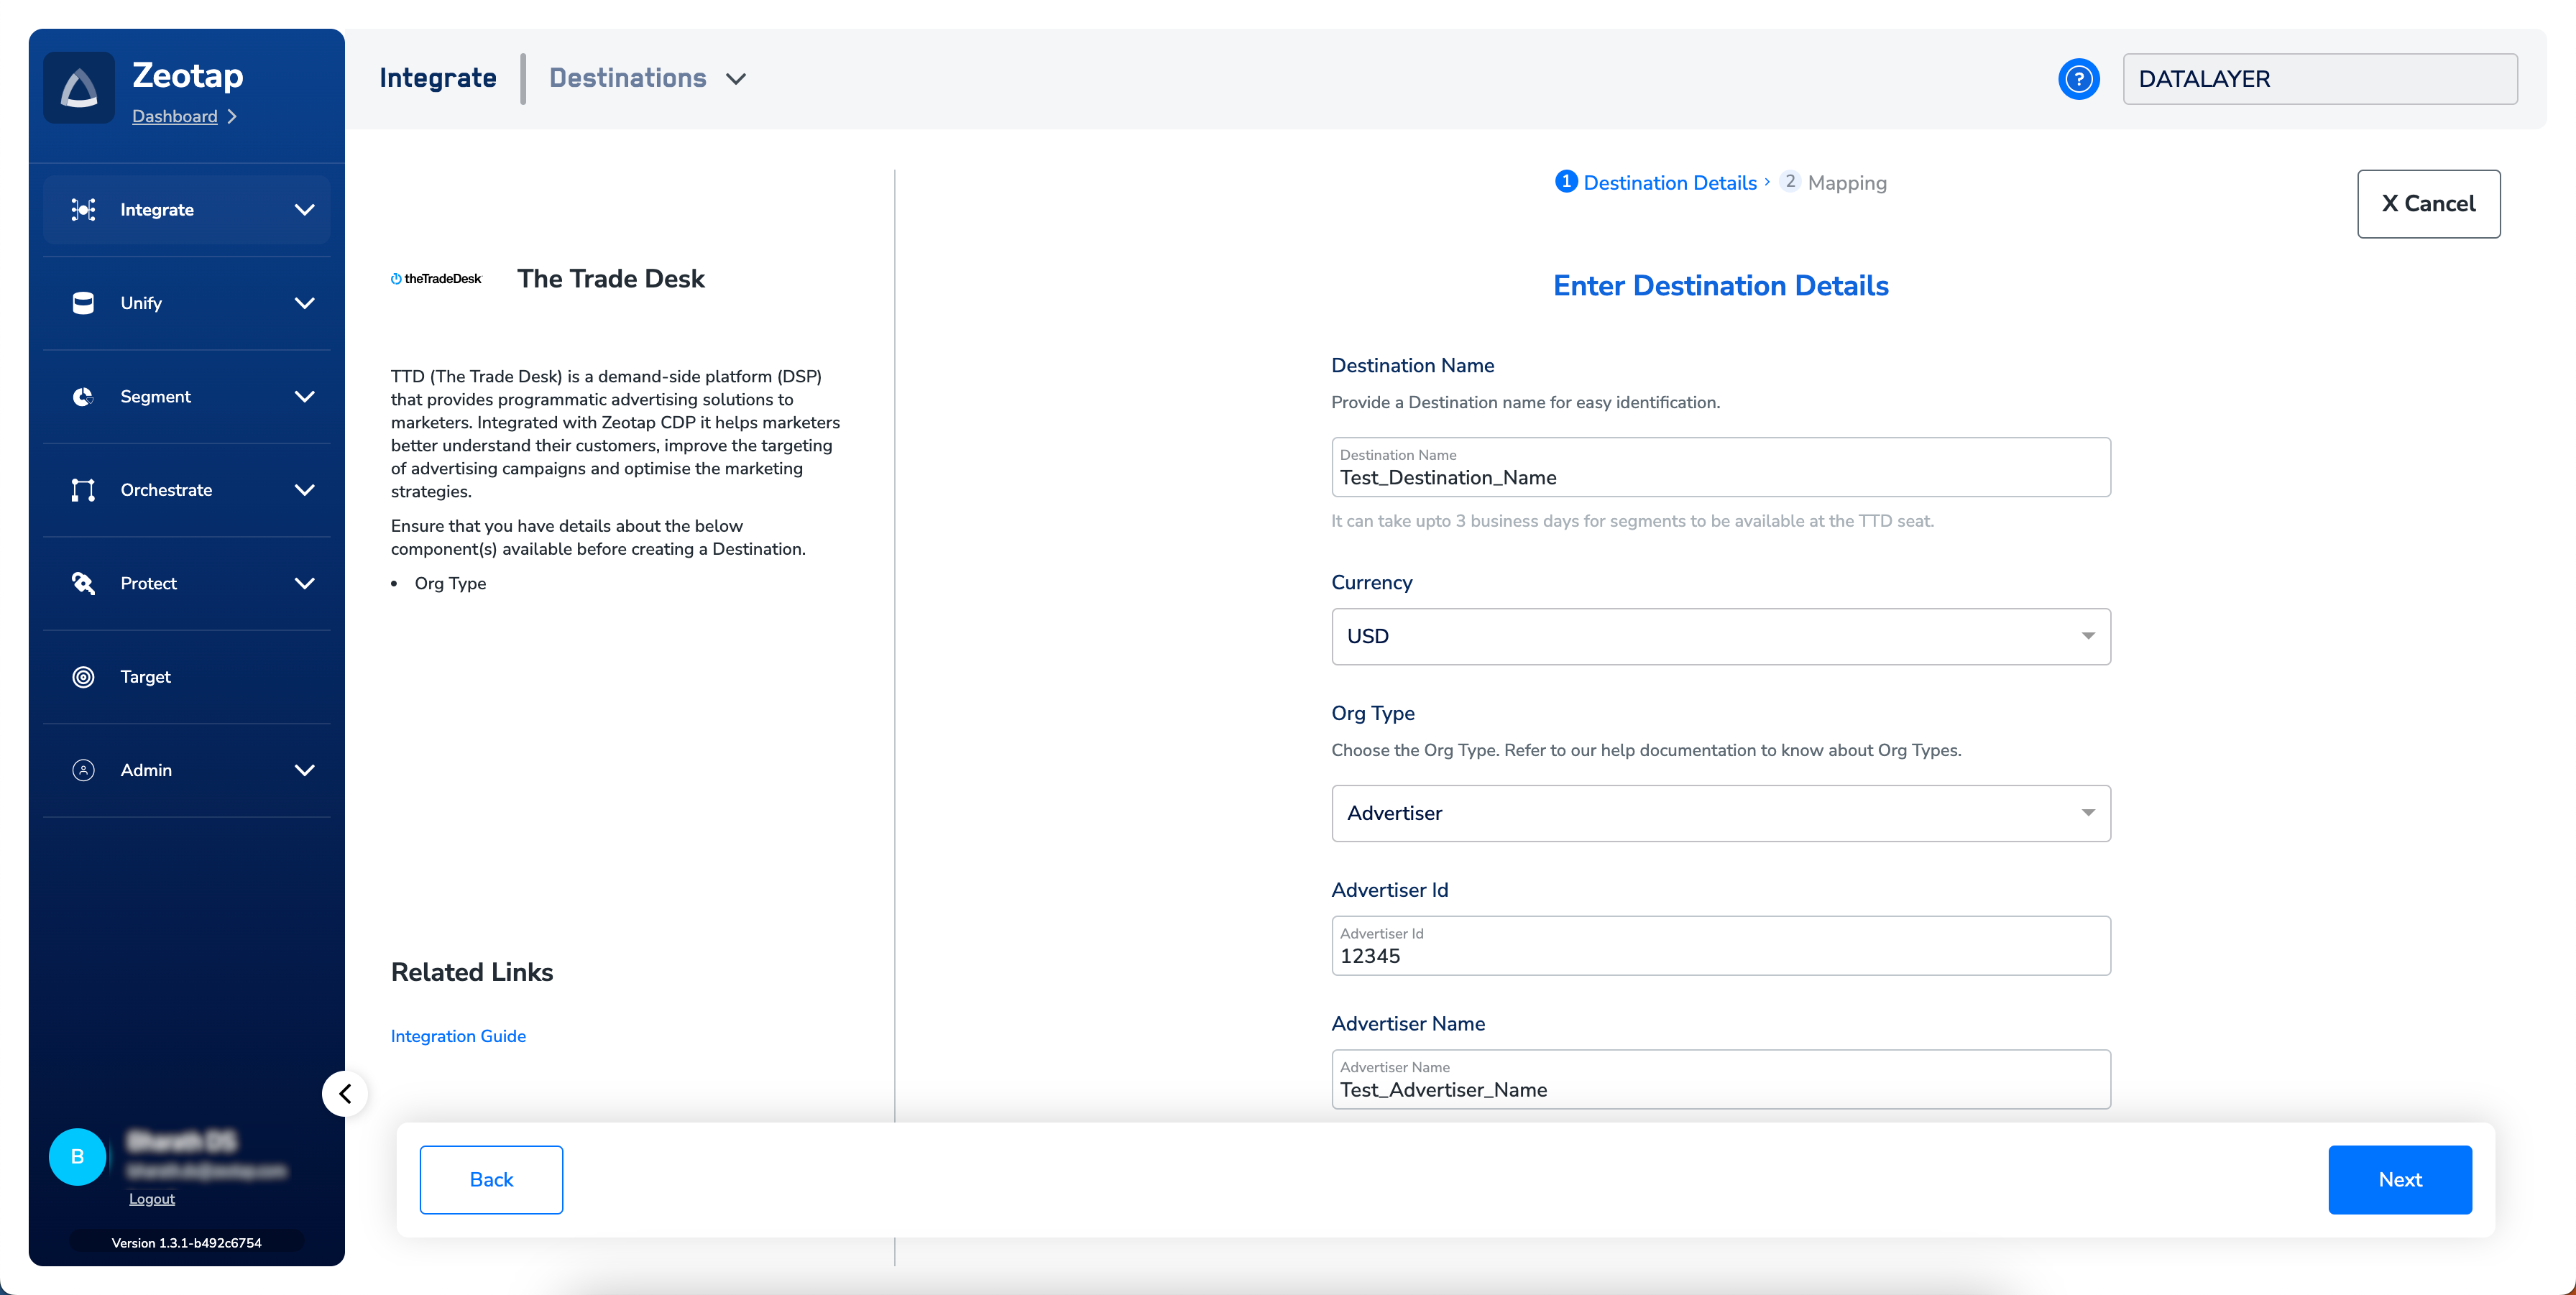
A screen appears displaying details about the particular destination towards the left. On the right-hand side of the screen find a list of fields that are required for the integration to be established. Enter the required details as mentioned in the following steps:
a. Enter a name for the Destination.
b. Choose the appropriate currency value.
c. Choose one of the available **Org Types** as explained [above](#org-type) and provide the necessary information.
d. Review all the values entered above and then click **Next** to proceed.
Click **The Trade Desk.**
A screen appears displaying details about the particular destination towards the left. On the right-hand side of the screen find a list of fields that are required for the integration to be established. Enter the required details as mentioned in the following steps:
a. Enter a name for the Destination.
b. Choose the appropriate currency value.
c. Choose one of the available **Org Types** as explained [above](#org-type) and provide the necessary information.
d. Review all the values entered above and then click **Next** to proceed.
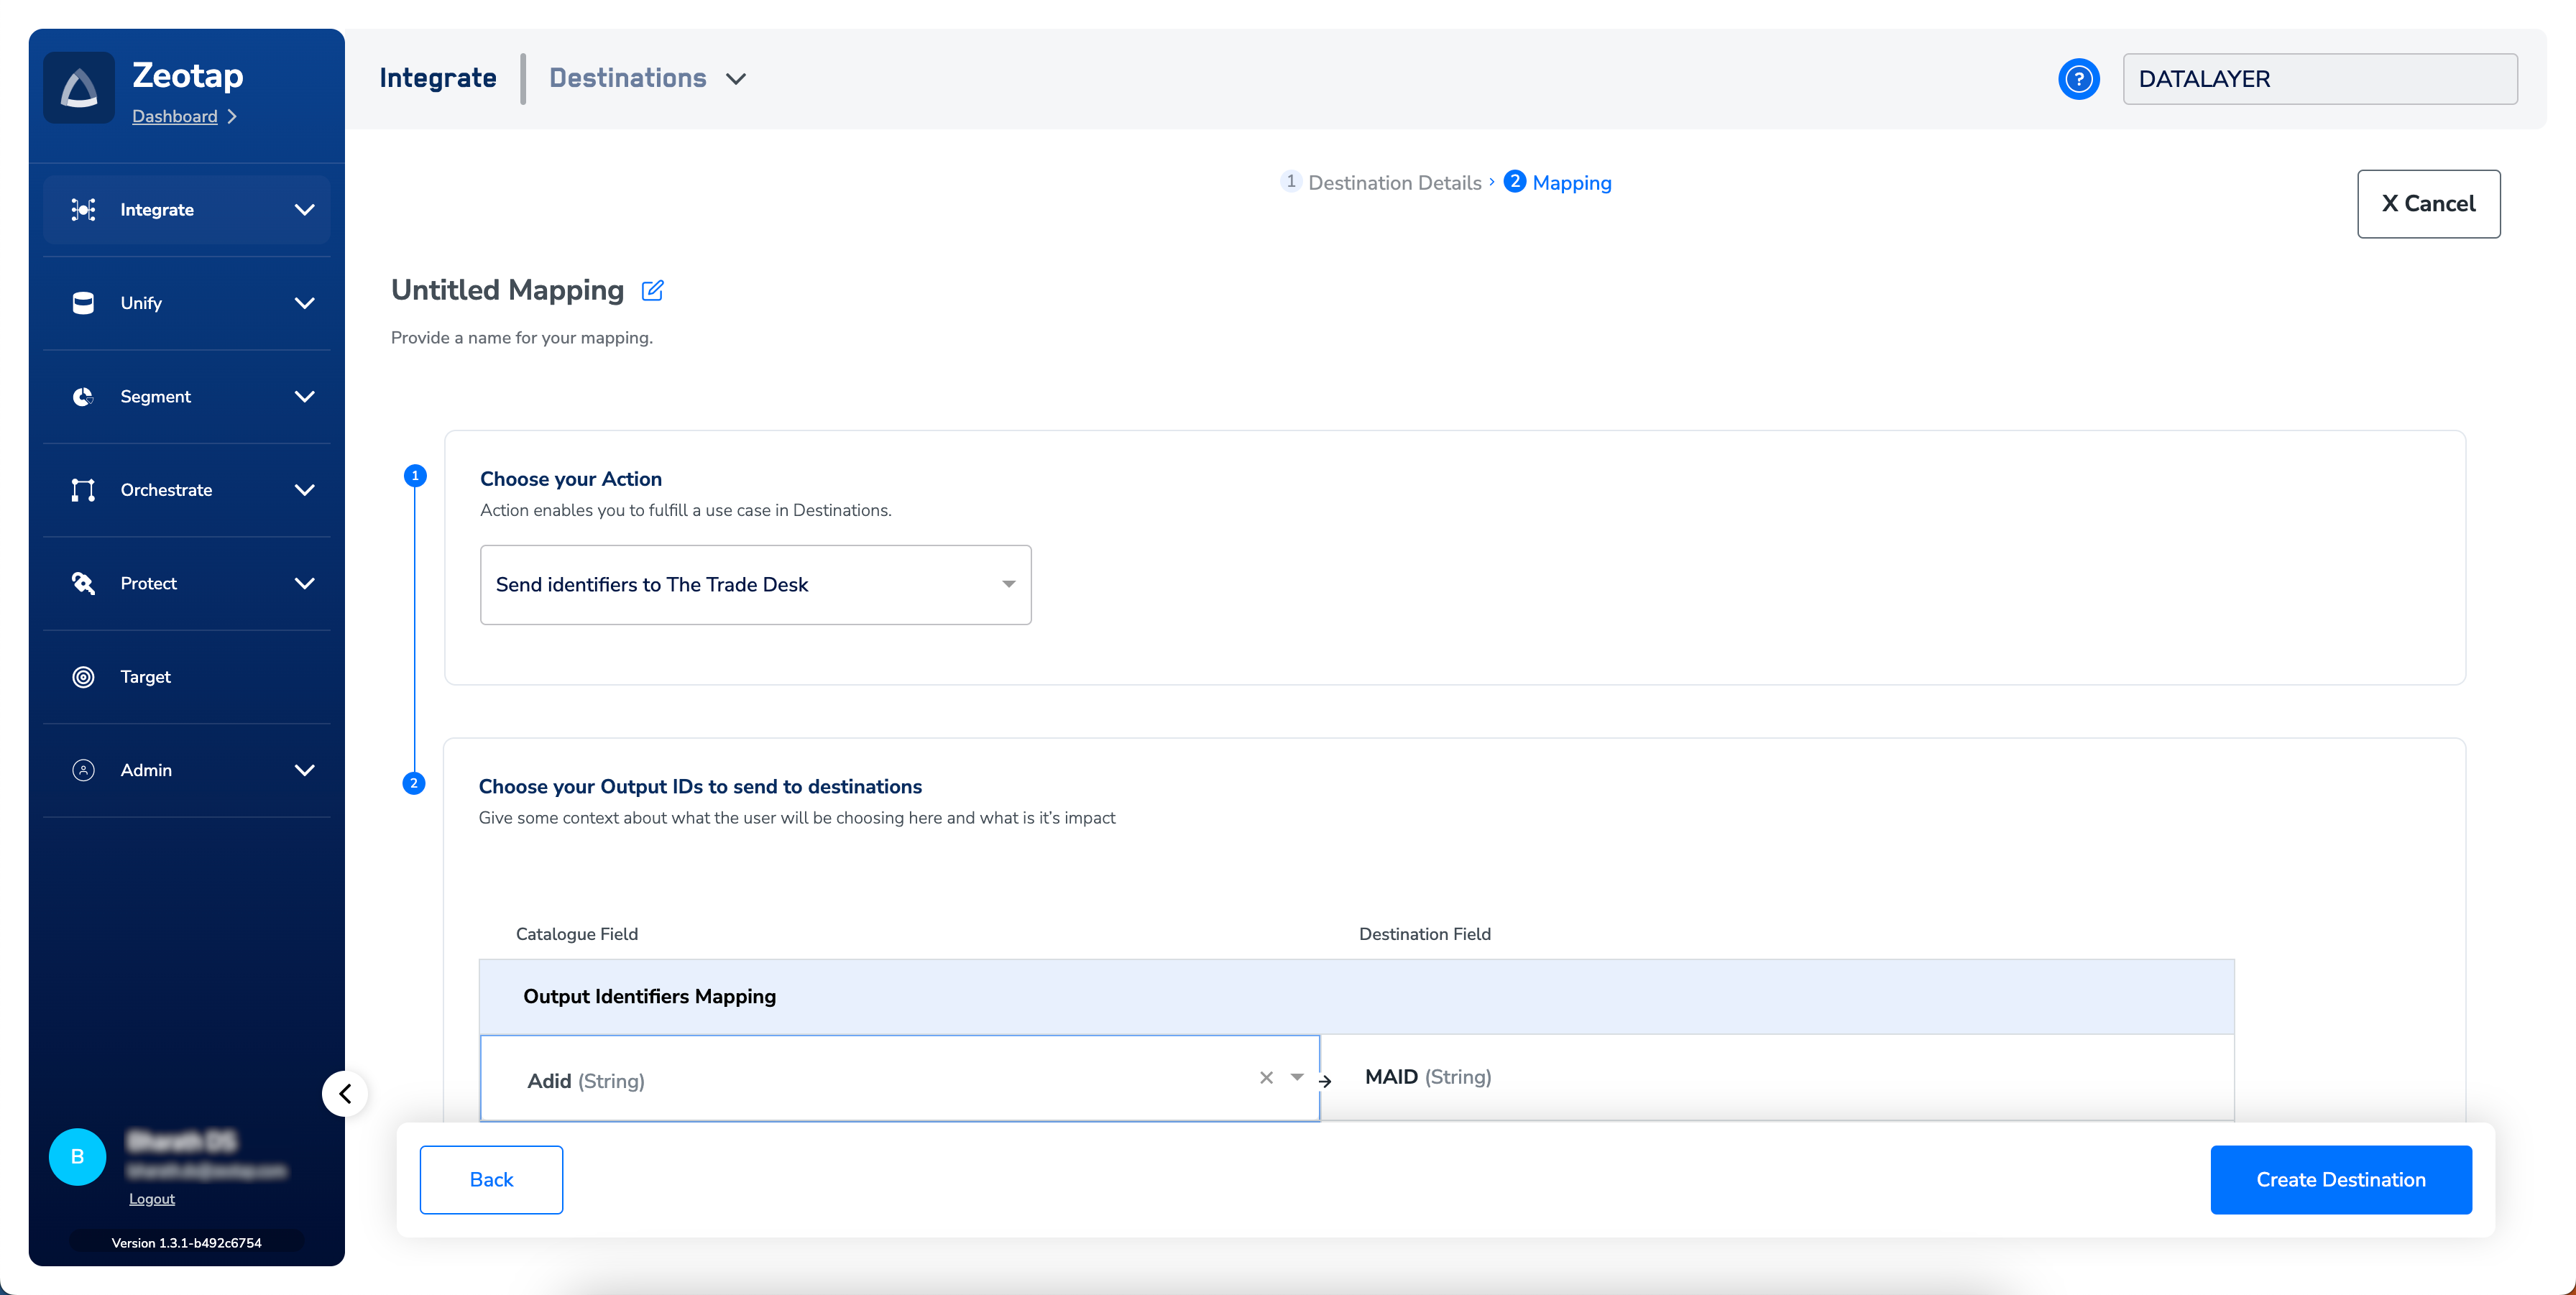
 In the new screen that appears, choose the appropriate Action and mapping as explained below.
a. Choose the desired [action](/articles/integrate-customer/destinations#actions) under **Choose your Action** and then choose the corresponding identifiers under **Map the Fields**. By default, the [Output Identifiers](https://docs.zeotap.com/articles/segment-customer/choose-the-output-identifiers) that are accepted by the platform such as, MAIDs, Cookies, email Ids and more are displayed. However, you can edit, add or remove an identifier from the list. To do so, refer [here](/articles/integrate-customer/destinations#mappings).
b. Click **Create Destination**. The created Destination gets listed in the **Audiences** application, which can be linked to an Audience/segment.
In the new screen that appears, choose the appropriate Action and mapping as explained below.
a. Choose the desired [action](/articles/integrate-customer/destinations#actions) under **Choose your Action** and then choose the corresponding identifiers under **Map the Fields**. By default, the [Output Identifiers](https://docs.zeotap.com/articles/segment-customer/choose-the-output-identifiers) that are accepted by the platform such as, MAIDs, Cookies, email Ids and more are displayed. However, you can edit, add or remove an identifier from the list. To do so, refer [here](/articles/integrate-customer/destinations#mappings).
b. Click **Create Destination**. The created Destination gets listed in the **Audiences** application, which can be linked to an Audience/segment.
 ## Link an Audience to the TTD Destination
For information about how to link an Audience or segment to the created Destination in **Audiences** and **Target** applications, refer [here](/articles/integrate-customer/link-an-audience-to-the-destination).
**Note:**
The following are some useful information related to pushing a segment to TTD Destination:
* TTD takes 24-48 hours to process the requests for private segments. Until then, the status of the license/destination remains in the **Approved** state. Once the segment request is processed by TTD, the status changes to **Active**. Therefore, request the client to wait for two days if they are unable to find the segment under their account.
* In Audiences, search for the appropriate audience. If segment pricing is enabled for the customer, then enter the **Price** and **Percentage of Media Cost** and then push it to TTD. Note that once you have pushed an audience (segment) with a Price, you are not to make changes to it. If you still need to make any changes, reach out to Zeotap support.
* If you are creating segments at 0\$ price, then get in touch with your CSM with the segment details. These segments are required to go through an additional approval process with TTD.
* It can take up to three business days for segments to be available at the TTD seat.
## View Audiences on TTD
Log into the TTD Audience Builder console.
Under **Data Preferences**, search for **Zeotap** and then, select **Zeotap New** from the drop-down list.
## Link an Audience to the TTD Destination
For information about how to link an Audience or segment to the created Destination in **Audiences** and **Target** applications, refer [here](/articles/integrate-customer/link-an-audience-to-the-destination).
**Note:**
The following are some useful information related to pushing a segment to TTD Destination:
* TTD takes 24-48 hours to process the requests for private segments. Until then, the status of the license/destination remains in the **Approved** state. Once the segment request is processed by TTD, the status changes to **Active**. Therefore, request the client to wait for two days if they are unable to find the segment under their account.
* In Audiences, search for the appropriate audience. If segment pricing is enabled for the customer, then enter the **Price** and **Percentage of Media Cost** and then push it to TTD. Note that once you have pushed an audience (segment) with a Price, you are not to make changes to it. If you still need to make any changes, reach out to Zeotap support.
* If you are creating segments at 0\$ price, then get in touch with your CSM with the segment details. These segments are required to go through an additional approval process with TTD.
* It can take up to three business days for segments to be available at the TTD seat.
## View Audiences on TTD
Log into the TTD Audience Builder console.
Under **Data Preferences**, search for **Zeotap** and then, select **Zeotap New** from the drop-down list.
 From the Type (1) drop-down menu, choose one of the following options:
a. Look-a-like
b. First party data
c. Behavioral
d. Demographics
e. Mixed
From the Type (1) drop-down menu, choose one of the following options:
a. Look-a-like
b. First party data
c. Behavioral
d. Demographics
e. Mixed
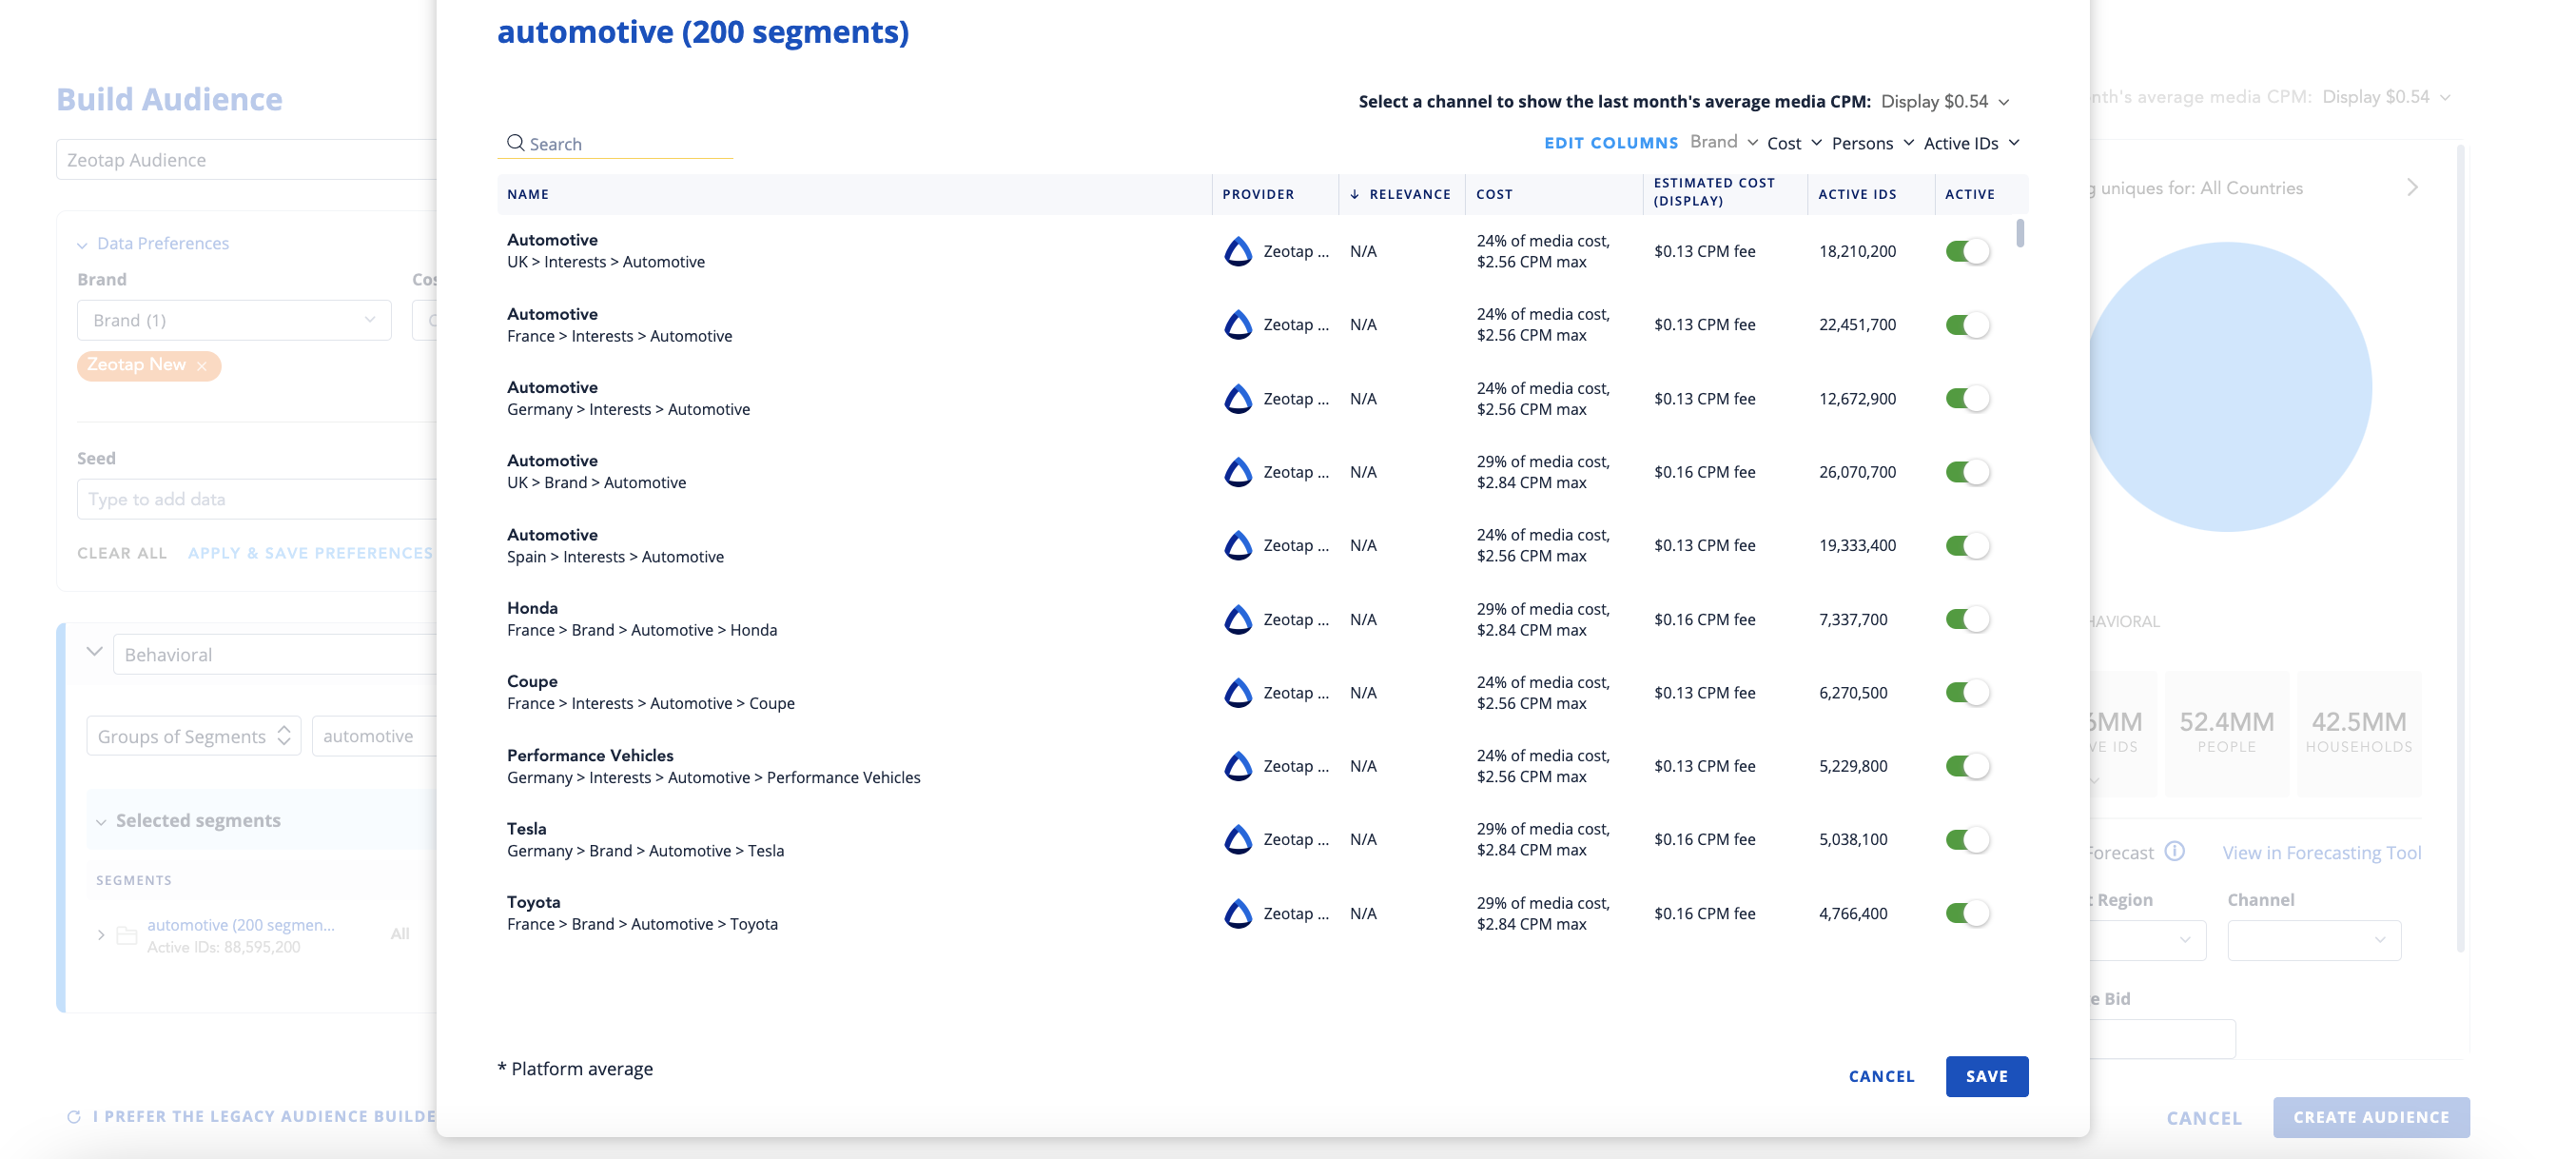
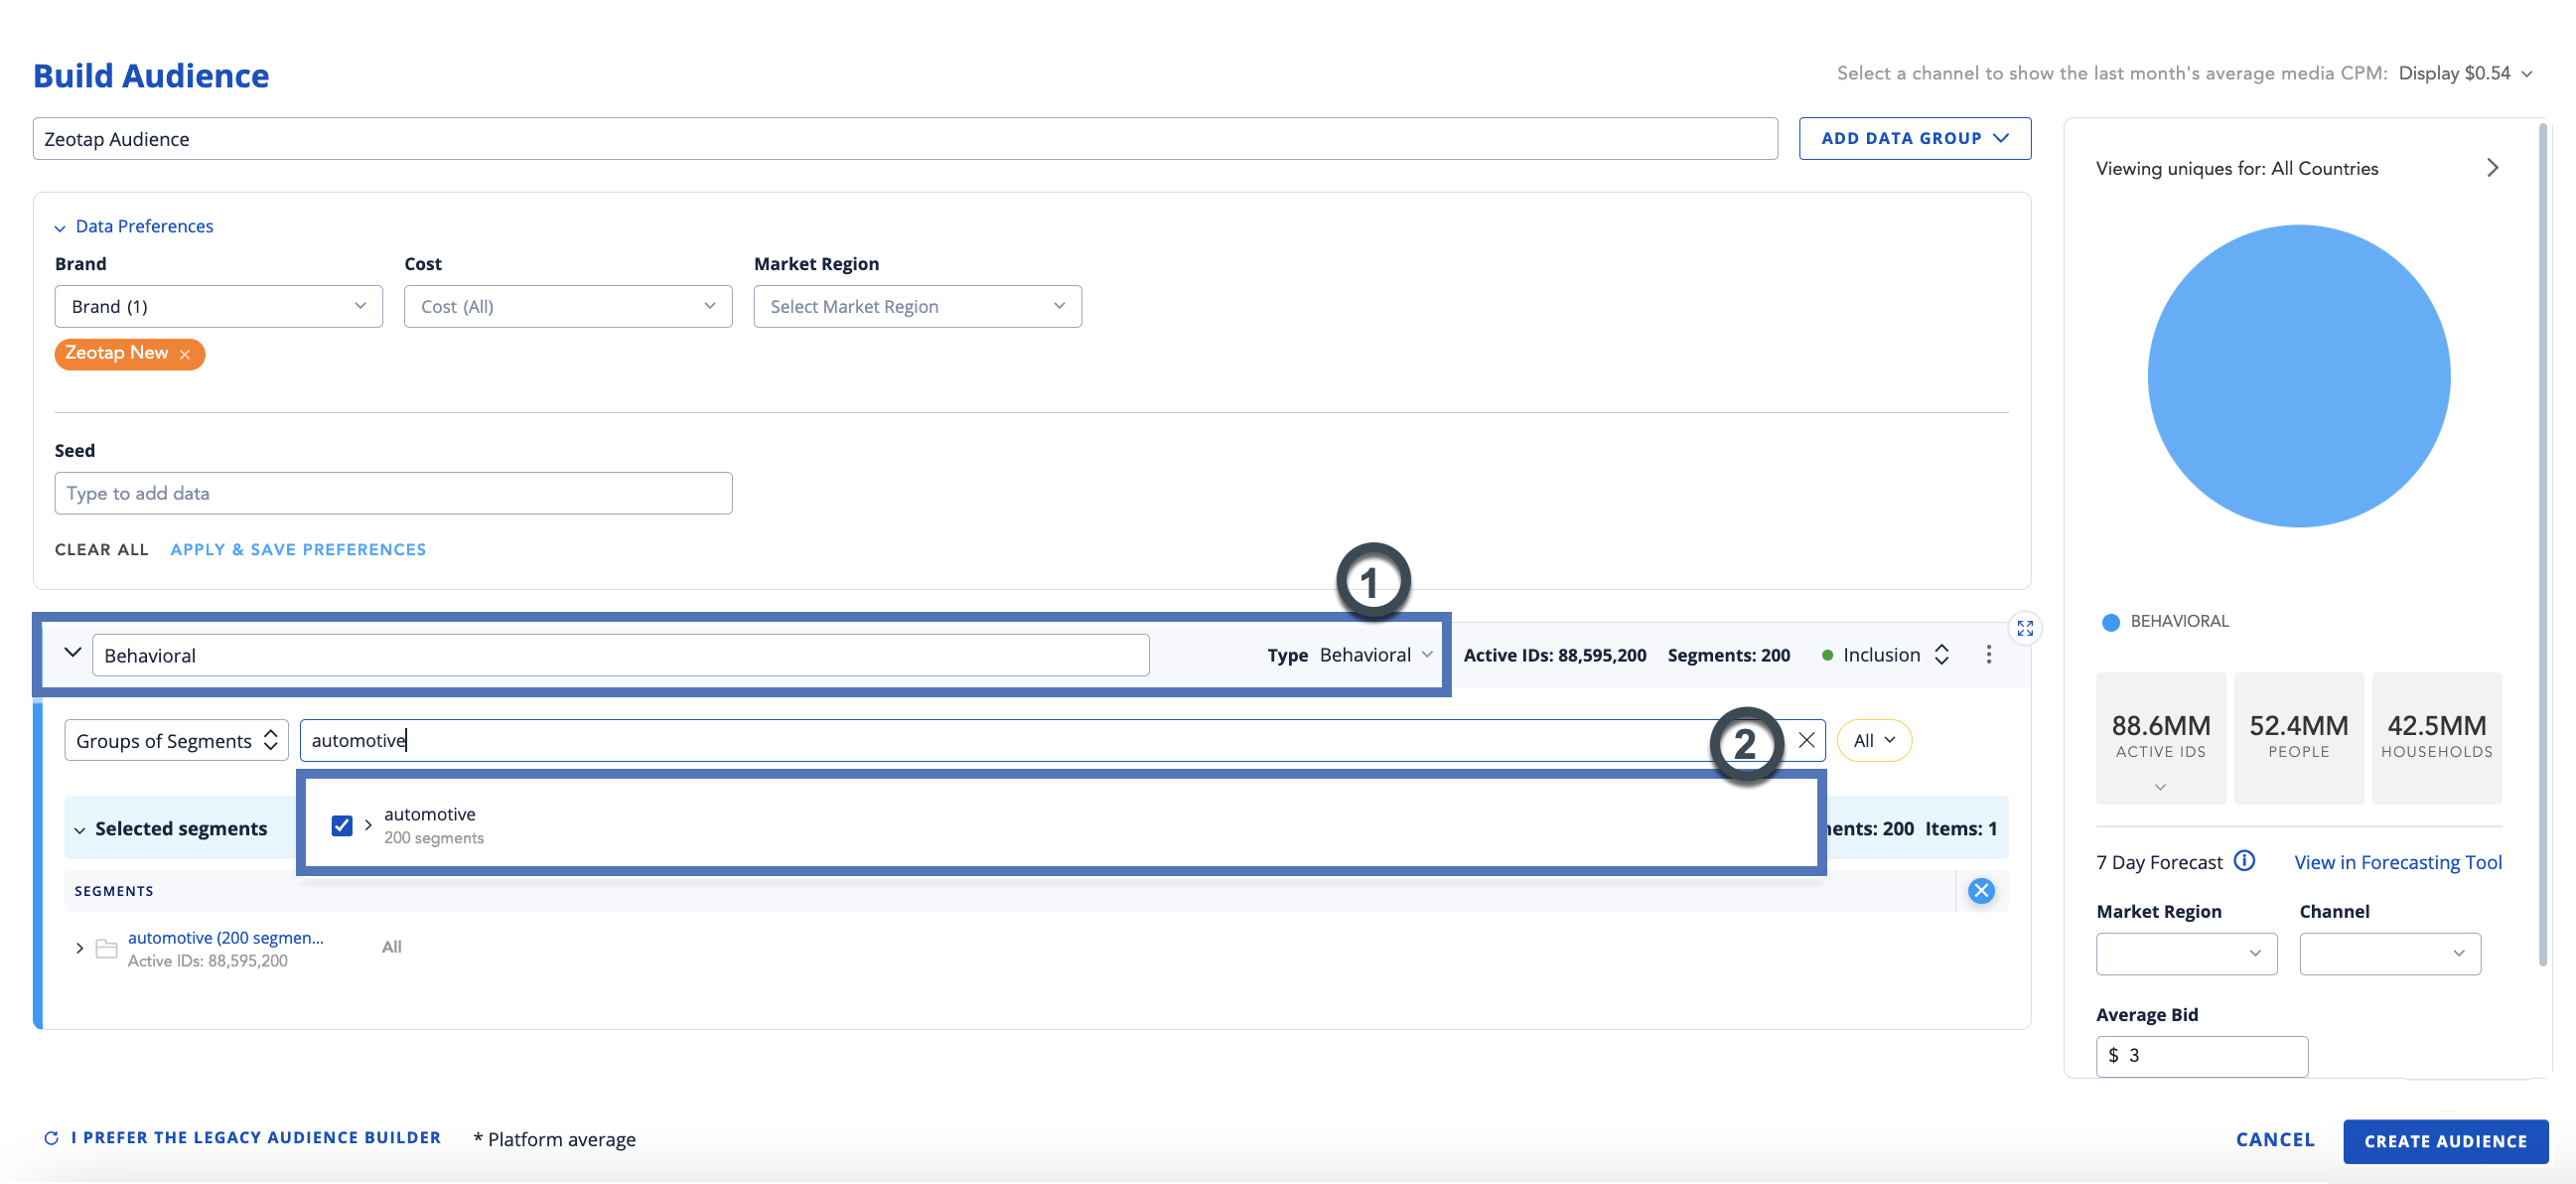 In the **Group of Segments** (2) field, search and select the desired segment group. The list of segments under the selected segment group appears as shown below.
 ## User Disqualification from Audiences
This integration supports user disqualification from audiences. That is, a user can be disqualified from an audience (segment) for various reasons, such as not meeting audience criteria, consent requirements or other conditions set for a particular audience.
* When a user disqualifies from an audience, Zeotap CDP initiates a user deletion request in the next refresh cycle. These requests are sent to the audiences linked to the specific destination.
* The disqualified users are excluded from the audiences based on the configured refresh frequency for a particular audience.
* User disqualification is a programmatic process that works automatically. You do not need to specify anything to trigger the disqualification and exclusion of users from audiences.
## User Disqualification from Audiences
This integration supports user disqualification from audiences. That is, a user can be disqualified from an audience (segment) for various reasons, such as not meeting audience criteria, consent requirements or other conditions set for a particular audience.
* When a user disqualifies from an audience, Zeotap CDP initiates a user deletion request in the next refresh cycle. These requests are sent to the audiences linked to the specific destination.
* The disqualified users are excluded from the audiences based on the configured refresh frequency for a particular audience.
* User disqualification is a programmatic process that works automatically. You do not need to specify anything to trigger the disqualification and exclusion of users from audiences.