> ## Documentation Index
> Fetch the complete documentation index at: https://docs.zeotap.com/llms.txt
> Use this file to discover all available pages before exploring further.
# TikTok
> TikTok data refers to data collected directly by TikTok from its users. Integrated with Zeotap this data can be used by marketers to better understand and target their audiences, create custom audiences and more personalisation for the targeted audience on the platform.
**Note:**
*The integration with TikTok uses the TikTok Marketing API to send
custom audiences to the ad account of clients.*
### Pre-requisites
Ensure that the following points are taken care of before you proceed with this integration:
* The client has a TikTok Ad Account.
* A business centre account is set up for the client. The Ad Account must be added to the business centre account. The steps for adding the Ad Account to the business centre account are documented [here](https://ads.tiktok.com/help/article?aid=12786).
### Supported Identifiers
This integration supports `Email addresses`, `Hashed cellphone numbers` and `MAIDs`. Note that TikTok recommends sending hashed cellphone numbers in e164 format.
## Available Actions and Supported Features
The following table lists the available action types for the integration and the supported features for each action type:
| Action Name | [ID EXTENSION](/articles/segment-customer/extend-your-audience#id-extension) | [DELETE](https://docs.zeotap.com/articles/#!integrate-customer/delta-upload-and-delete-functions) | [DELTA UPLOAD](https://docs.zeotap.com/articles/#!integrate-customer/delta-upload-and-delete-functions) |
| :------------------------- | :--------------------------------------------------------------------------- | :------------------------------------------------------------------------------------------------ | :------------------------------------------------------------------------------------------------------ |
| Send identifiers to TikTok | ✅ | ✅ | - |
## Components of TikTok
Ensure that you have details about the below components of TikTok available before creating a Destination:
### Advertiser ID
This is your `TikTok Ad Account ID`. Ensure you have a valid Ad Account without which you cannot proceed with this integration. You can find the Advertiser ID in the TikTok Ads Manager from any of the two places shown below.
 ### Access Token
The access token is an important component of this integration. It can be obtained once you authorise the the Zeotap CDP App to push segments to TikTok on your behalf. The steps to generate the access token are mentioned below:
Navigate to the URL - [https://business-api.tiktok.com/portal/auth?app\_id=7010666682221854722\&state=your\_custom\_params\&redirect\_uri=https%3A%2F%2Fads.tiktok.com%2Fmarketing\_api%2Fdocs](https://business-api.tiktok.com/portal/auth?app_id=7010666682221854722\&state=your_custom_params\&redirect_uri=https%3A%2F%2Fads.tiktok.com%2Fmarketing_api%2Fdocs) or copy the link below and paste it in your browser. You will be redirected to a login page as shown in the image below.
```bash theme={null}
https://business-api.tiktok.com/portal/auth?app_id=7010666682221854722&state=your_custom_params&redirect_uri=https%3A%2F%2Fads.tiktok.com%2Fmarketing_api%2Fdocs
```
### Access Token
The access token is an important component of this integration. It can be obtained once you authorise the the Zeotap CDP App to push segments to TikTok on your behalf. The steps to generate the access token are mentioned below:
Navigate to the URL - [https://business-api.tiktok.com/portal/auth?app\_id=7010666682221854722\&state=your\_custom\_params\&redirect\_uri=https%3A%2F%2Fads.tiktok.com%2Fmarketing\_api%2Fdocs](https://business-api.tiktok.com/portal/auth?app_id=7010666682221854722\&state=your_custom_params\&redirect_uri=https%3A%2F%2Fads.tiktok.com%2Fmarketing_api%2Fdocs) or copy the link below and paste it in your browser. You will be redirected to a login page as shown in the image below.
```bash theme={null}
https://business-api.tiktok.com/portal/auth?app_id=7010666682221854722&state=your_custom_params&redirect_uri=https%3A%2F%2Fads.tiktok.com%2Fmarketing_api%2Fdocs
```
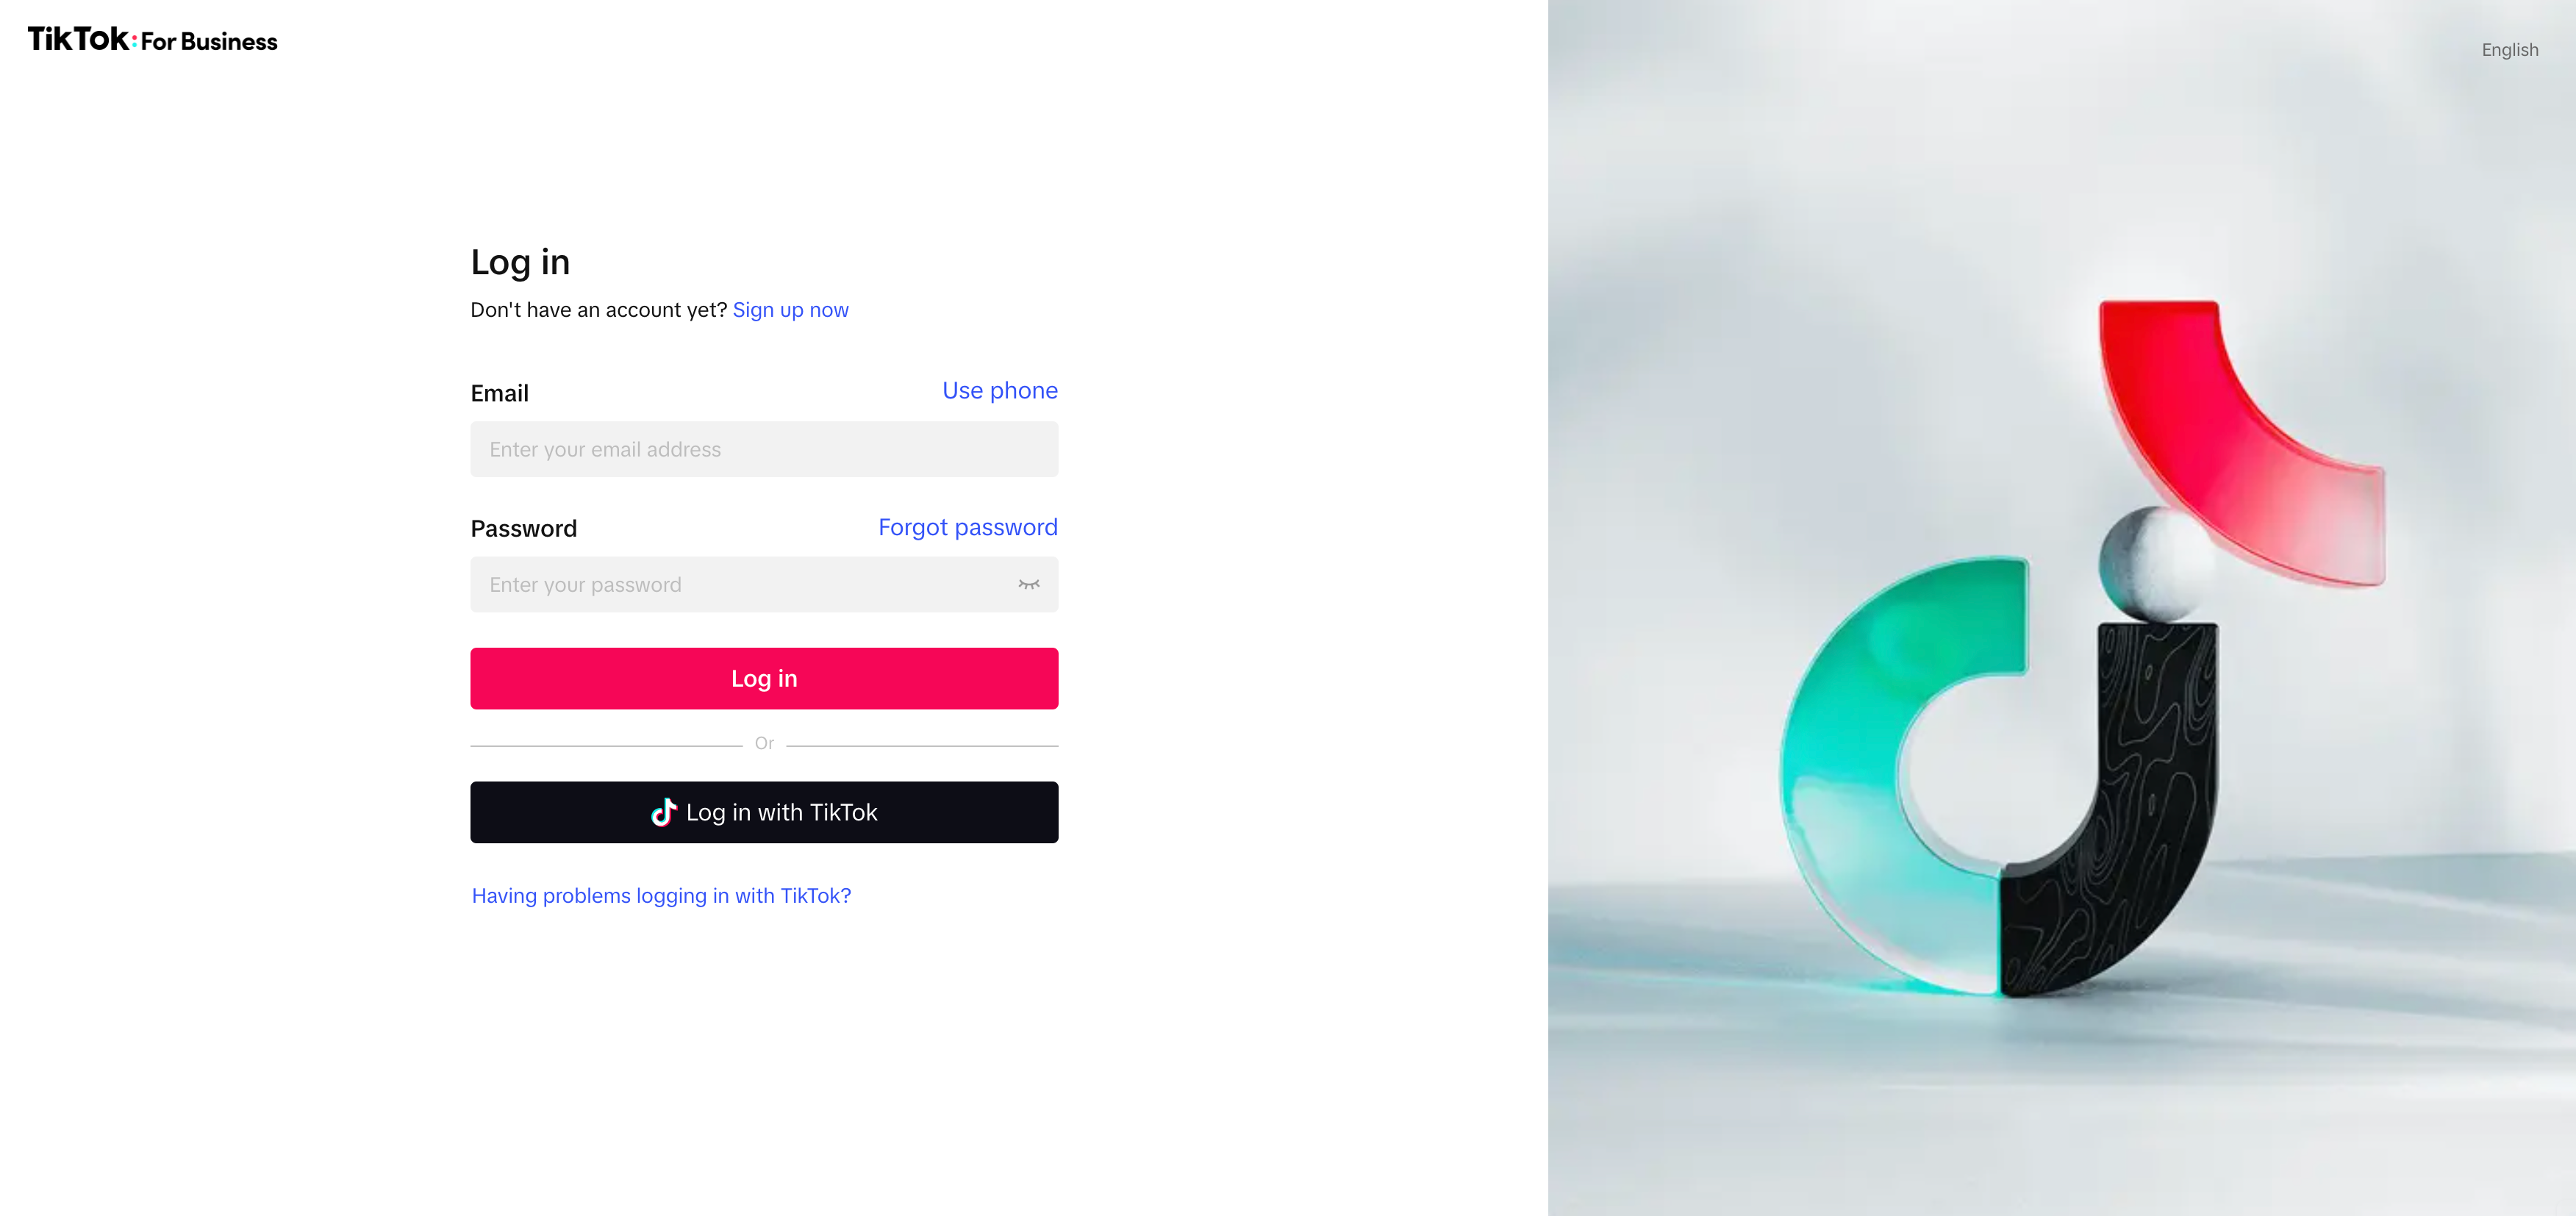 Enter the appropriate credentials and a permissions dialog box appears. Grant the relevant permissions to the the Zeotap CDP App as shown below.
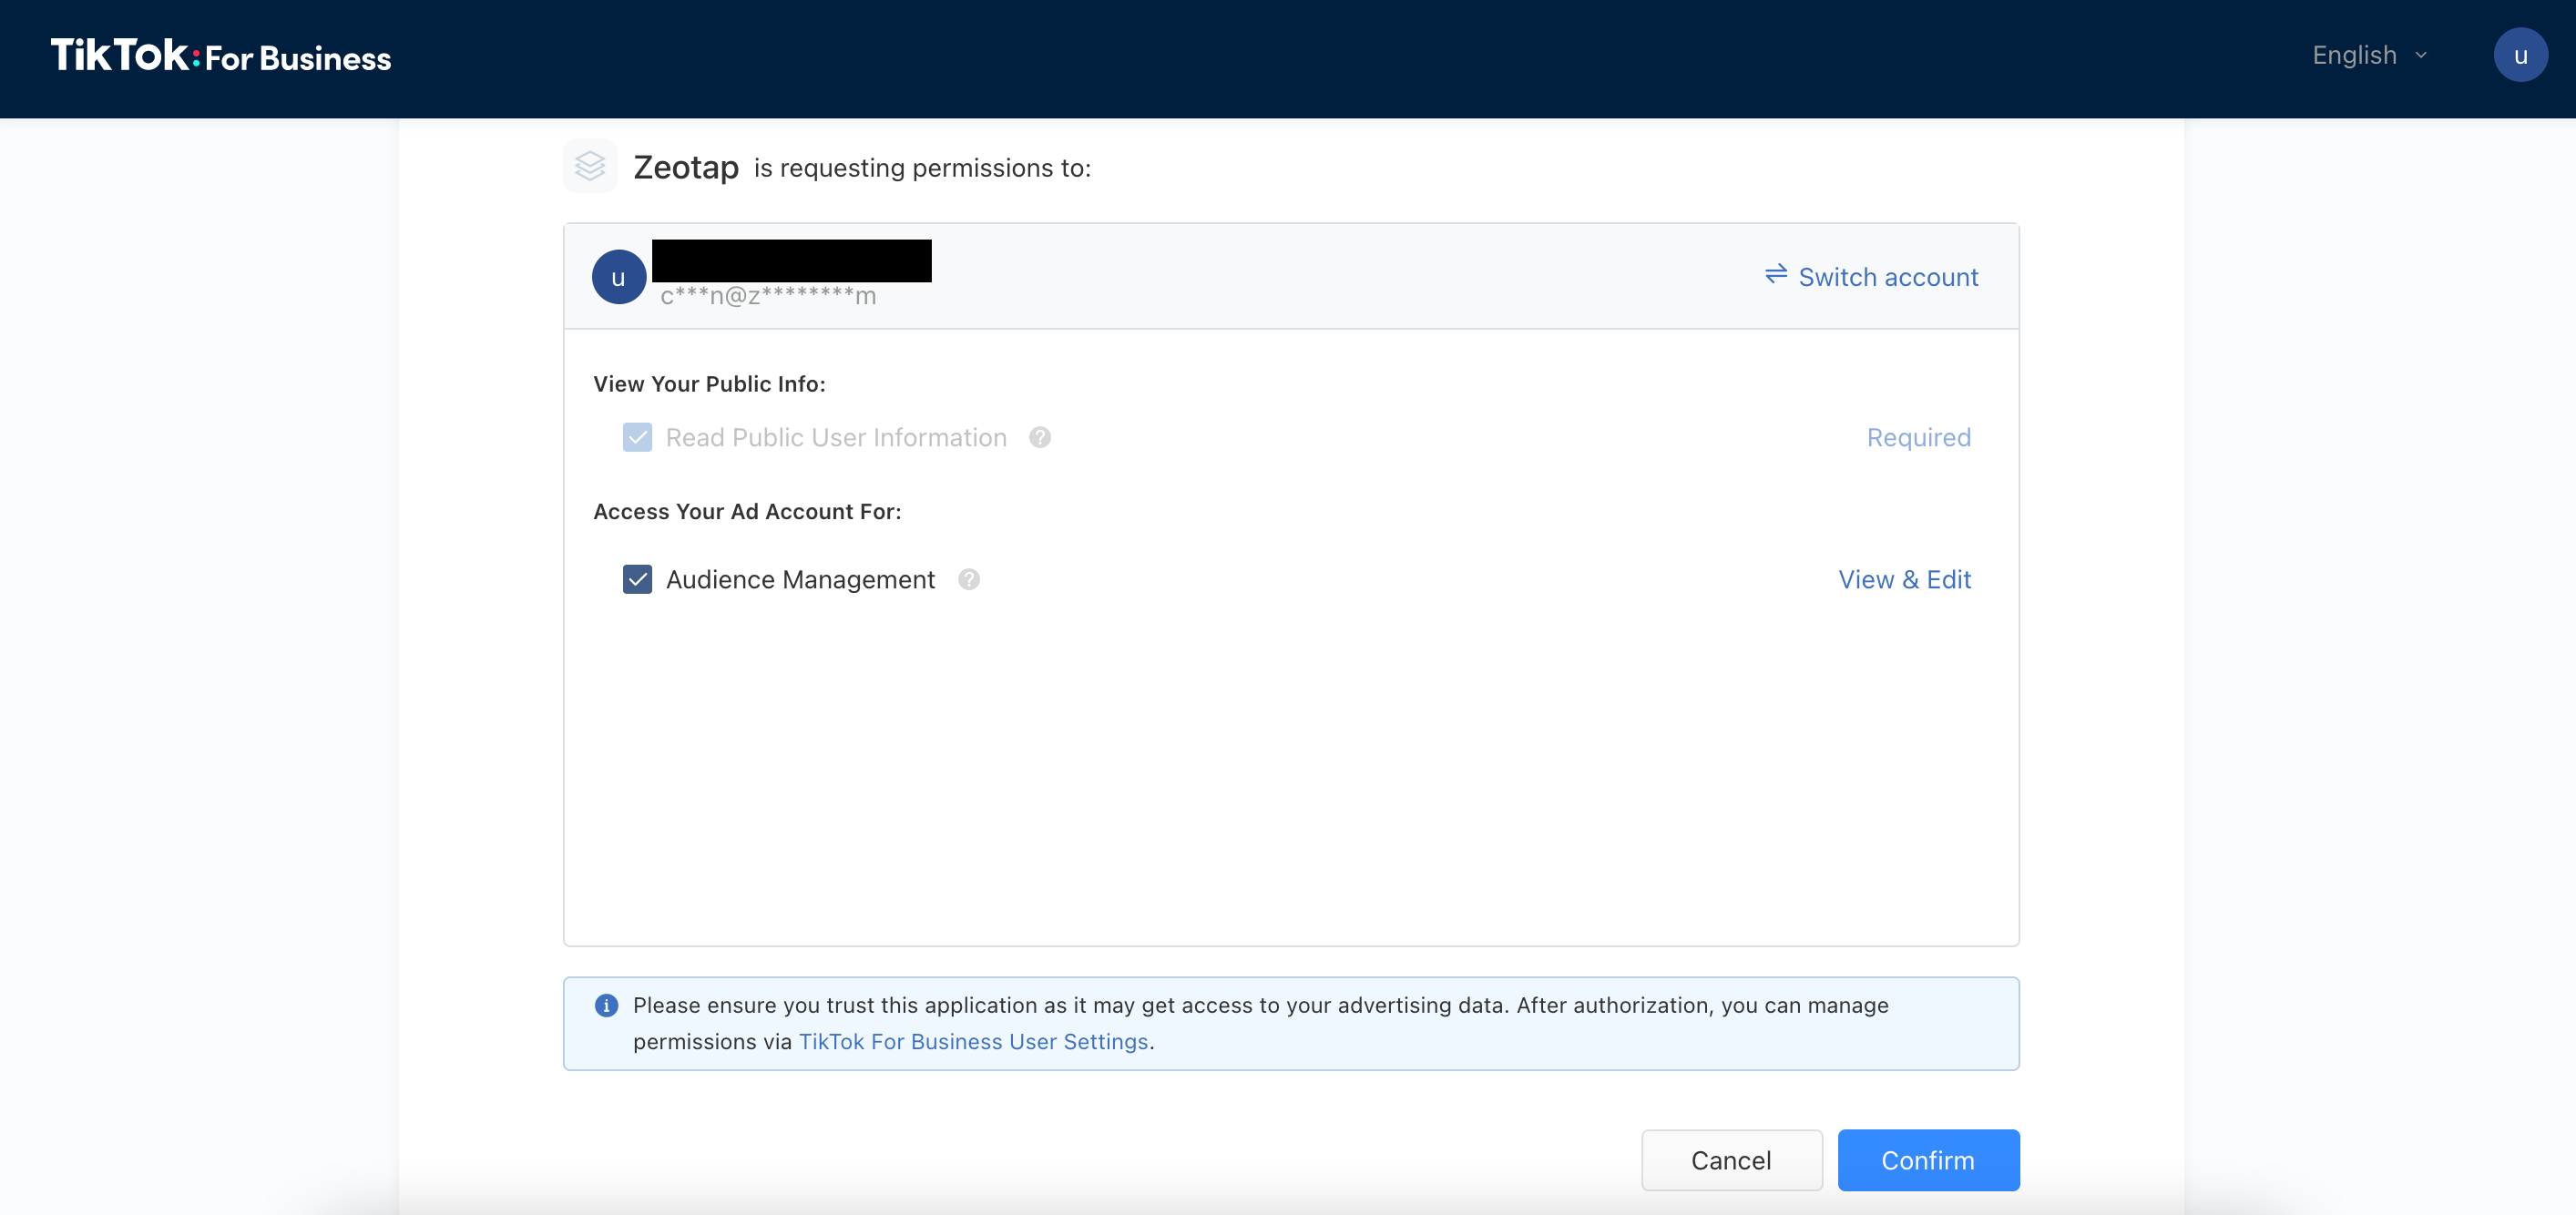 Click **Confirm**. You are redirected to a different page.
Go to the address bar in your browser and find the `auth_code` in the callback URL as shown in the image below.
Click **Confirm**. You are redirected to a different page.
Go to the address bar in your browser and find the `auth_code` in the callback URL as shown in the image below.
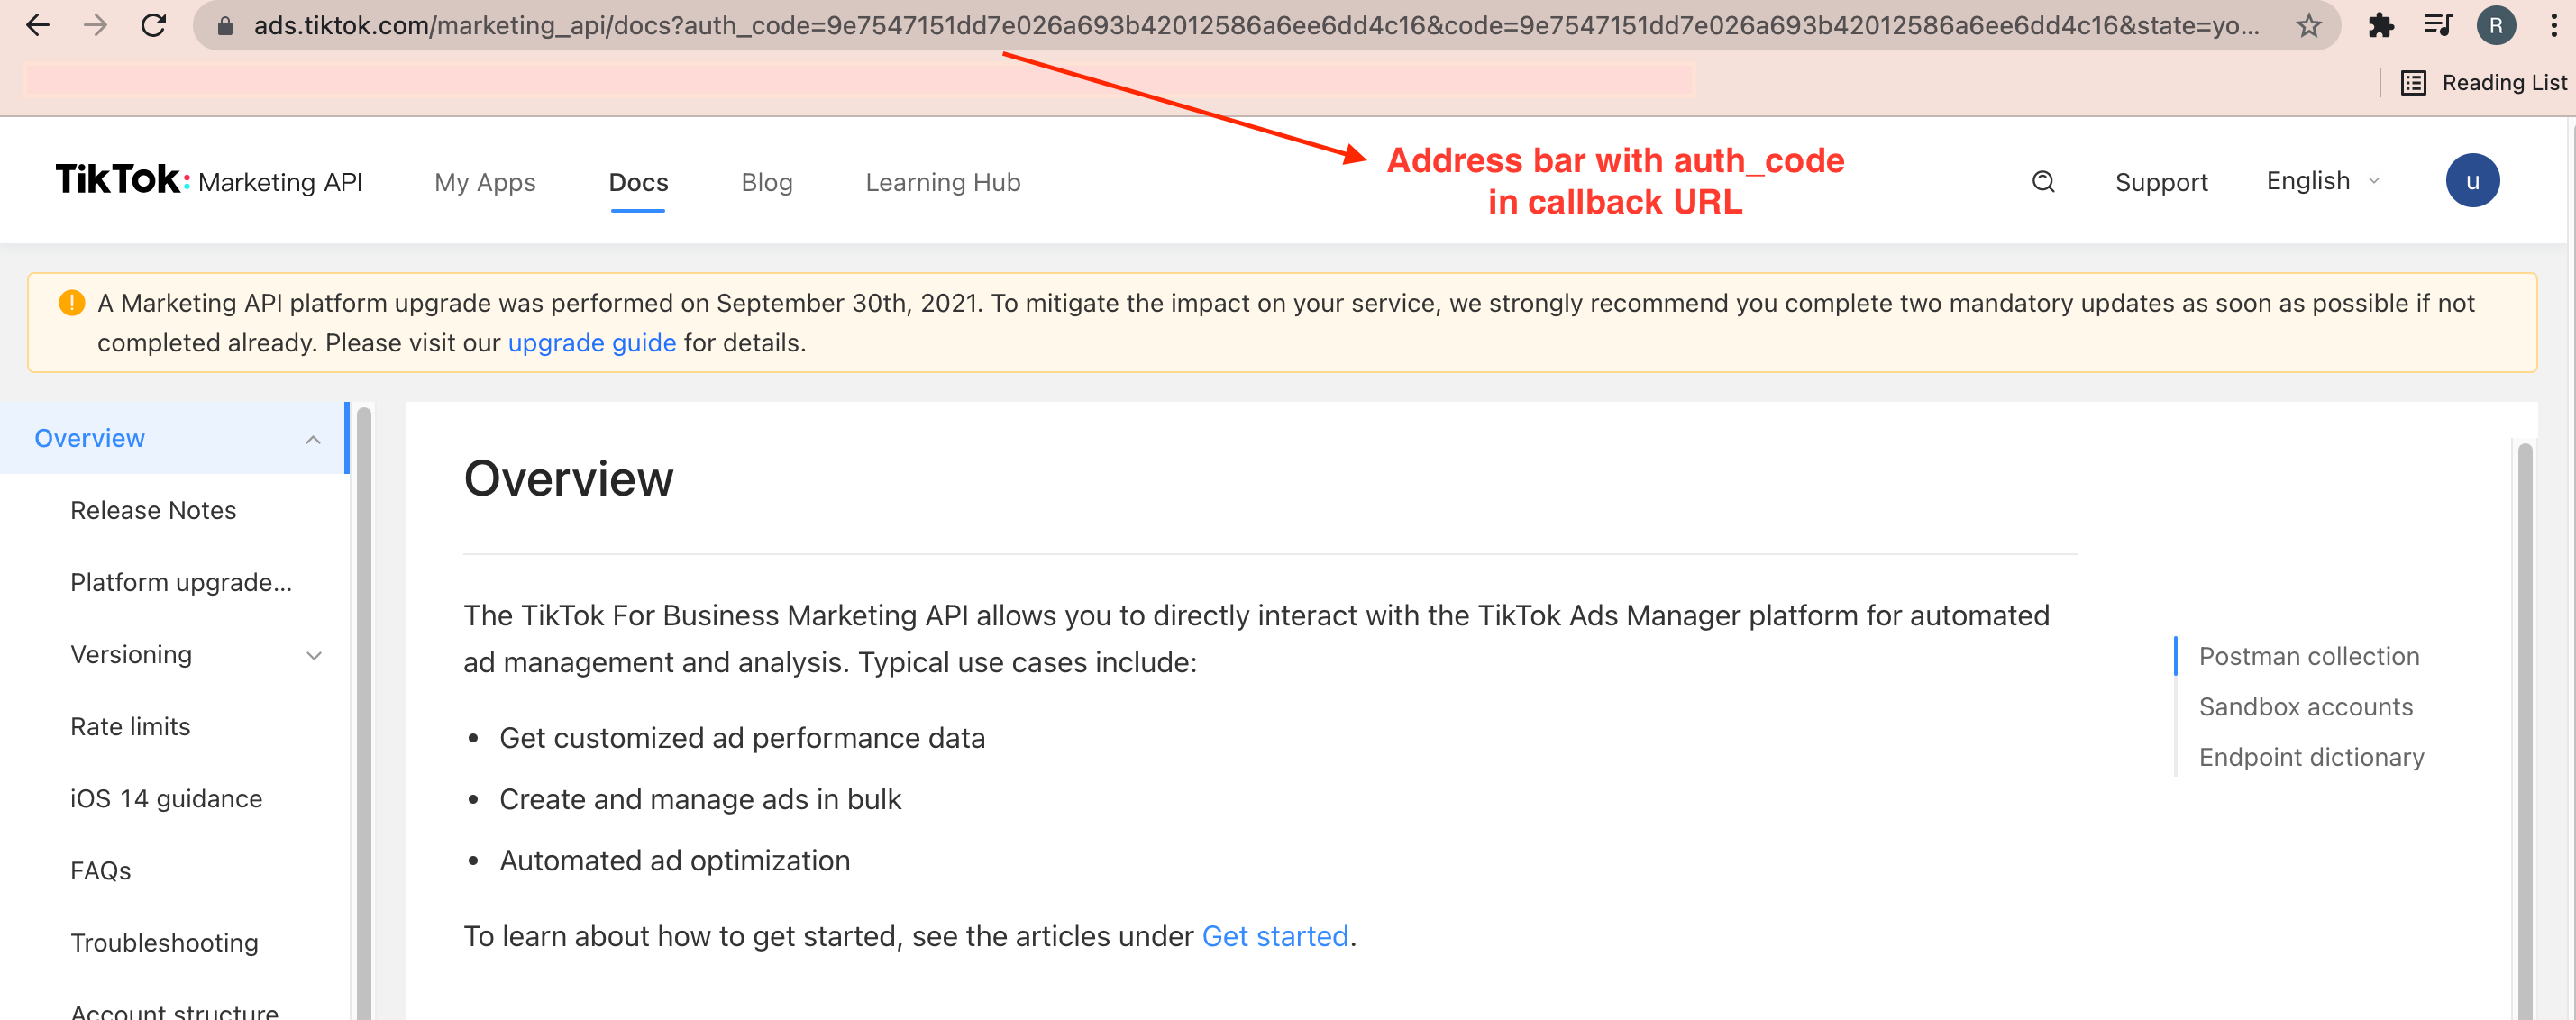 Immediately provide this `auth_code` along with your Advertiser ID to your respective CSM/TAM. As the `auth_code` expires in 10 minutes only, ensure that you pass on this code immediately and not through an email. Once expired, you have to repeat the entire process again. Your Zeotap POC will generate an access token using this `auth_code` which they will share with you for the destination setup.
## Create a Destination for TikTok
TikTok can have Private Destinations only. To create a private destination for TikTok, log into the Zeotap CDP App and perform the following steps:
Log into the Zeotap CDP App and go to the **DESTINATIONS** application.
Click **+ Create Destination.**
Immediately provide this `auth_code` along with your Advertiser ID to your respective CSM/TAM. As the `auth_code` expires in 10 minutes only, ensure that you pass on this code immediately and not through an email. Once expired, you have to repeat the entire process again. Your Zeotap POC will generate an access token using this `auth_code` which they will share with you for the destination setup.
## Create a Destination for TikTok
TikTok can have Private Destinations only. To create a private destination for TikTok, log into the Zeotap CDP App and perform the following steps:
Log into the Zeotap CDP App and go to the **DESTINATIONS** application.
Click **+ Create Destination.**
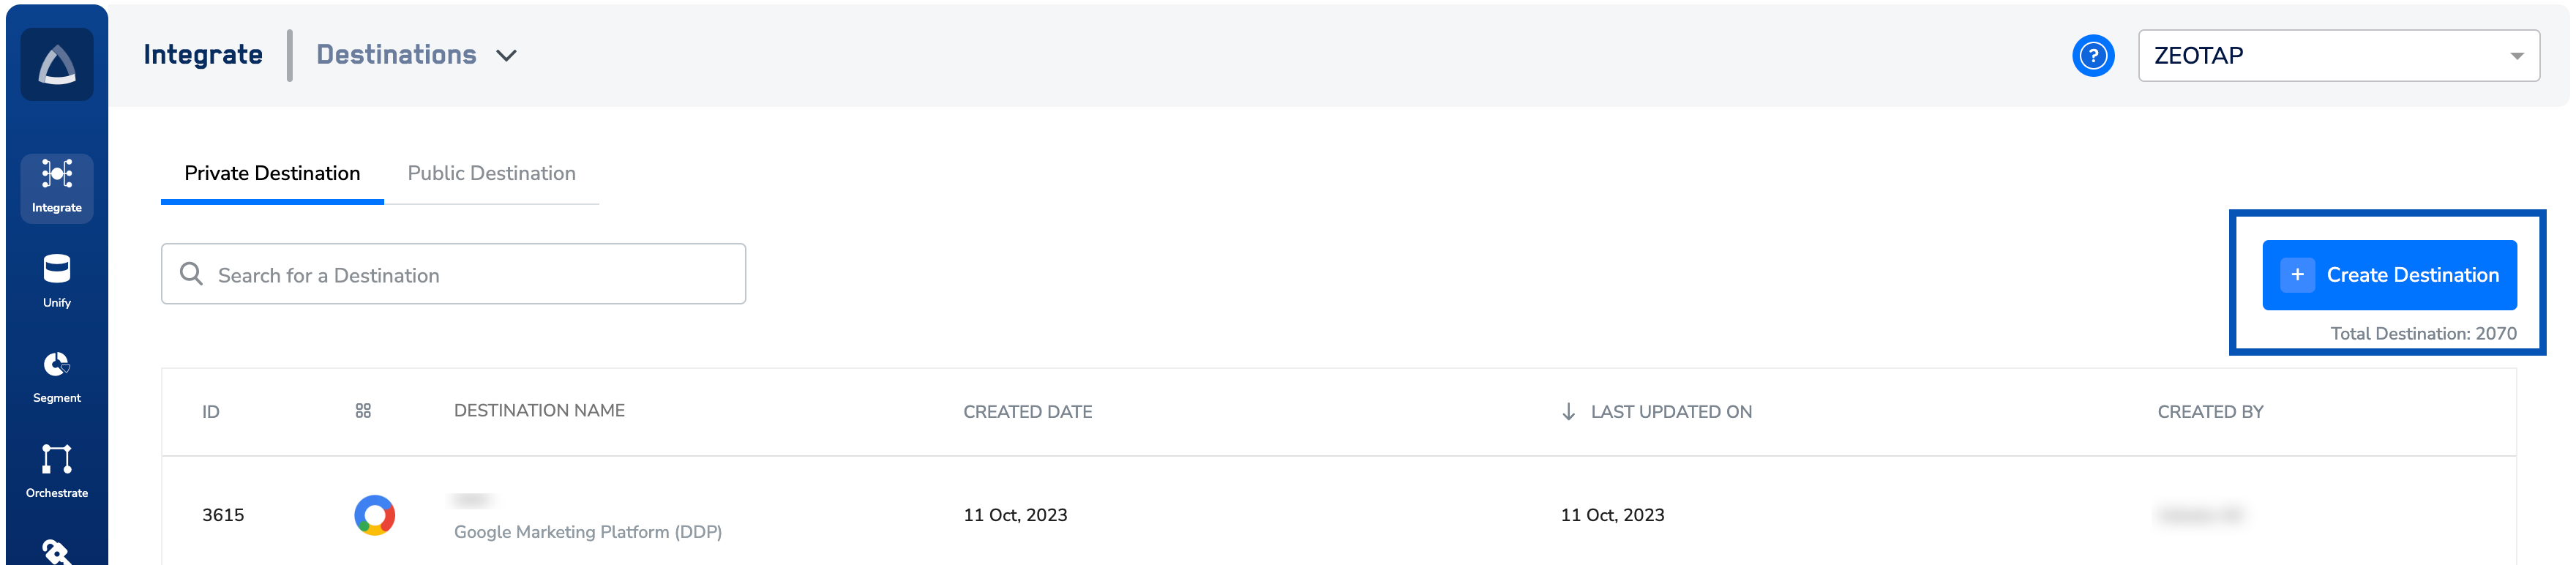 Under **All Destinations**, search for **TikTok.**
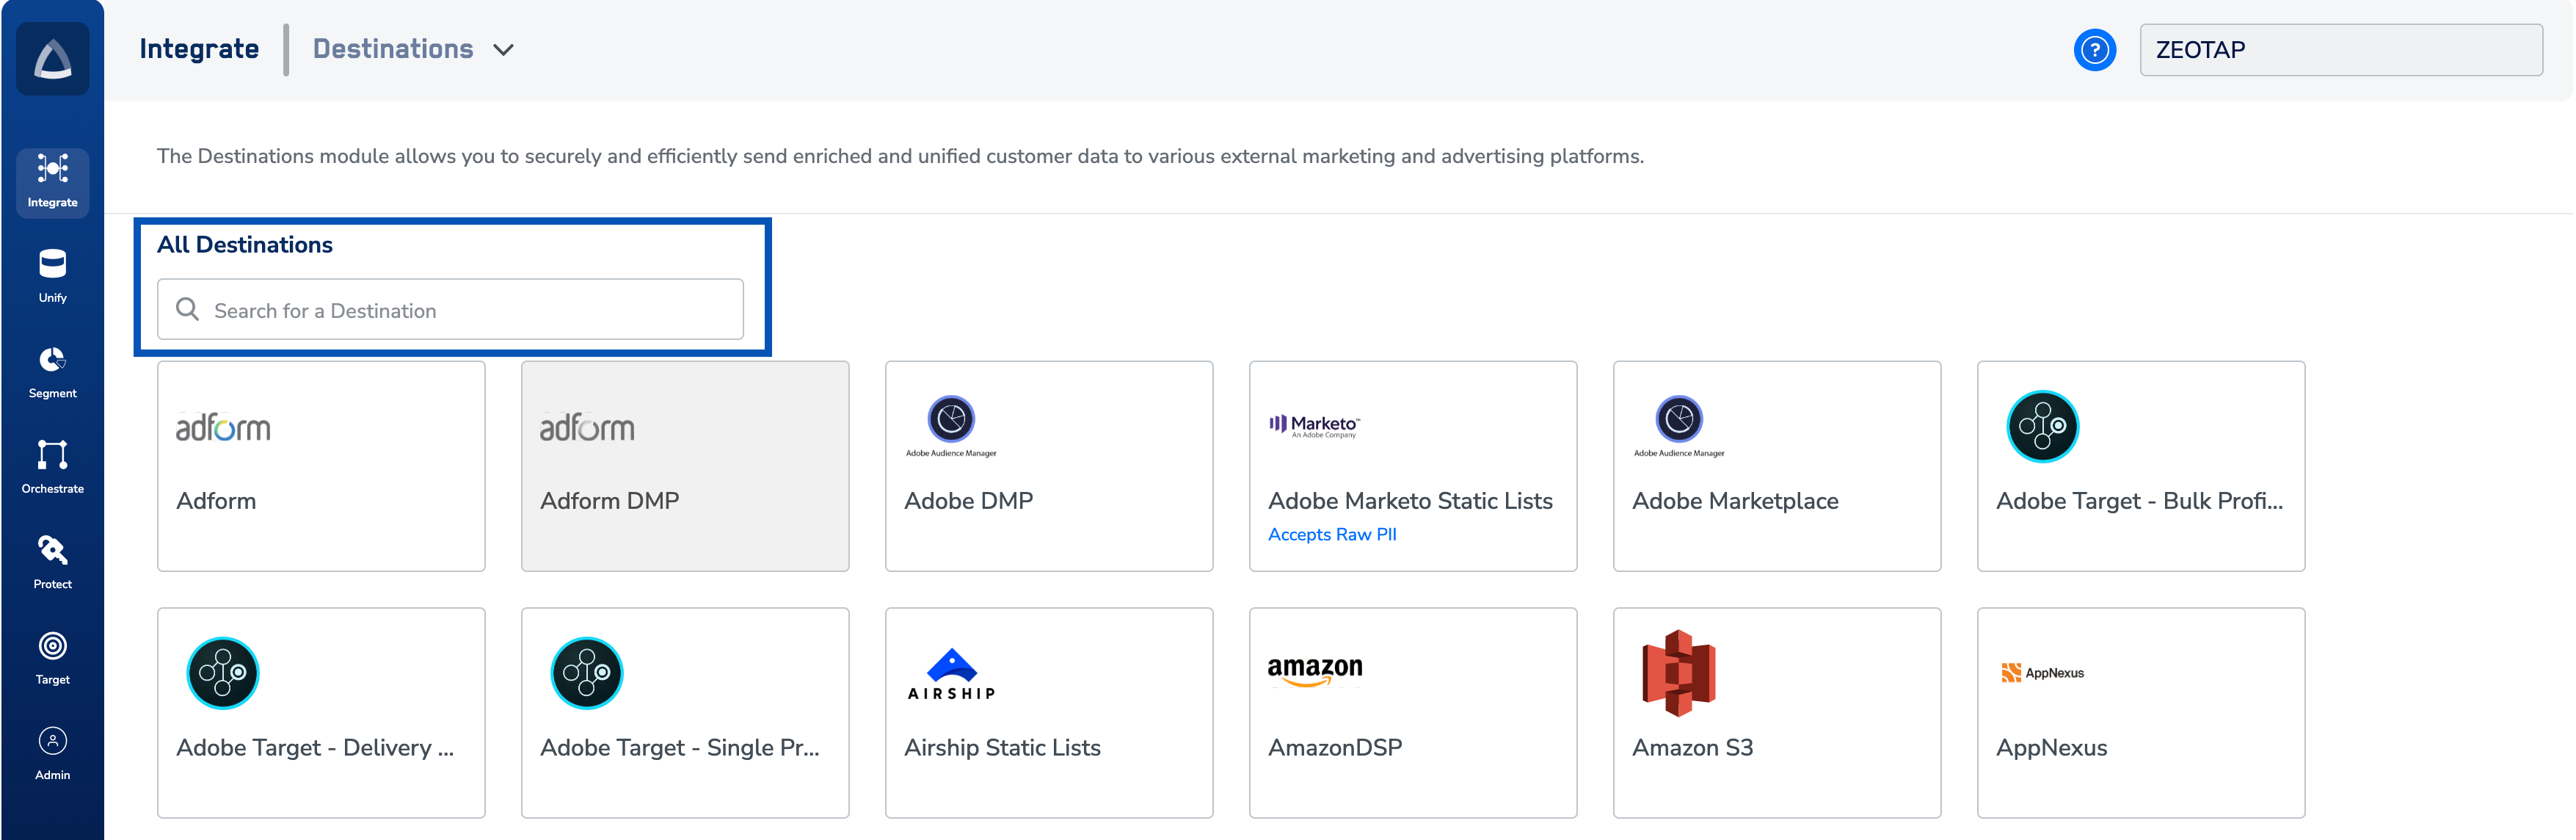 Click **TikTok.** A screen appears displaying details about the particular destination towards the left. On the right-hand side of the screen find a list of fields that are required for the integration to be established. Enter the required details as mentioned in the following steps:
a. Enter a name for the Destination.
b. Enter the [**Advertiser ID**](#advertiser-id) of your TikTok Ad Account.
c. Enter the [**Access Token**](#access-token) that is provided by your Zeotap POC.
d. Click **Next** to Proceed to mapping.
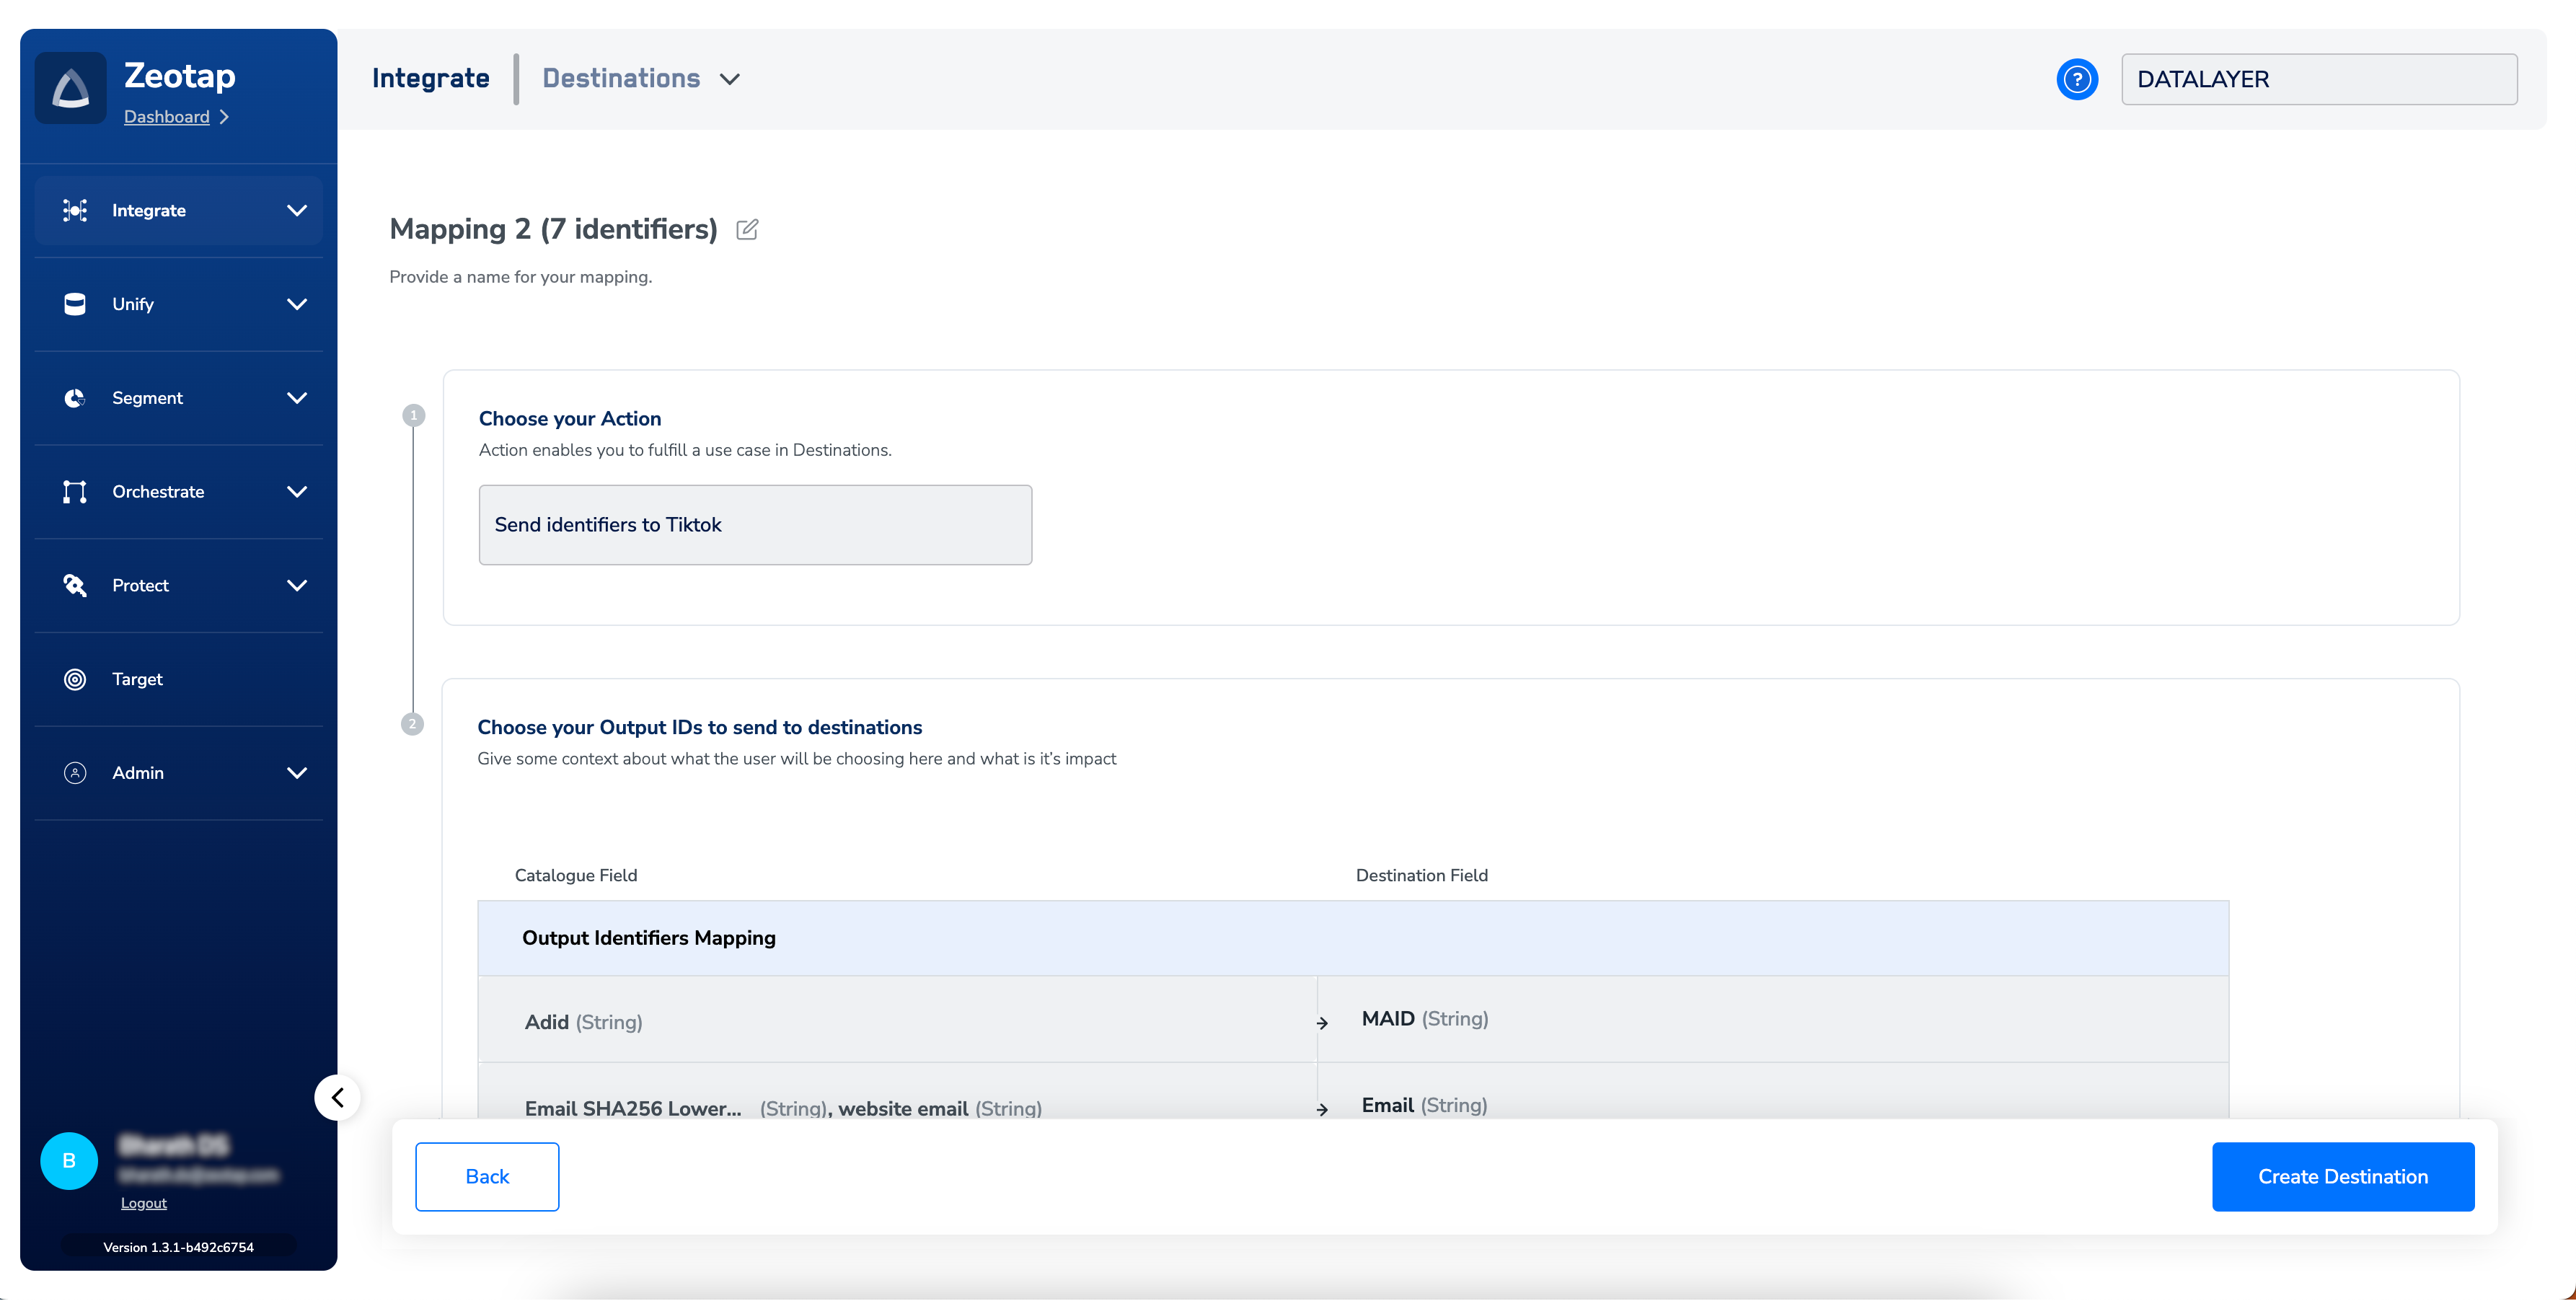
In the new screen that appears, choose the appropriate Action and mapping as explained below.
a. Choose the desired [action](/articles/integrate-customer/destinations#actions) under **Choose your Action** and then choose the corresponding identifiers under **Map the Fields**. By default, the [Output Identifiers](https://docs.zeotap.com/articles/segment-customer/choose-the-output-identifiers) that are accepted by the platform such as, MAIDs, Cookies, email Ids and more are displayed. However, you can edit, add or remove an identifier from the list. To do so, refer [here](/articles/integrate-customer/destinations#mappings).
b. Click **Create Destination**. The created Destination gets listed in the **Target** and **Audiences** applications, which can be linked to an Audience/segment.
Click **TikTok.** A screen appears displaying details about the particular destination towards the left. On the right-hand side of the screen find a list of fields that are required for the integration to be established. Enter the required details as mentioned in the following steps:
a. Enter a name for the Destination.
b. Enter the [**Advertiser ID**](#advertiser-id) of your TikTok Ad Account.
c. Enter the [**Access Token**](#access-token) that is provided by your Zeotap POC.
d. Click **Next** to Proceed to mapping.
In the new screen that appears, choose the appropriate Action and mapping as explained below.
a. Choose the desired [action](/articles/integrate-customer/destinations#actions) under **Choose your Action** and then choose the corresponding identifiers under **Map the Fields**. By default, the [Output Identifiers](https://docs.zeotap.com/articles/segment-customer/choose-the-output-identifiers) that are accepted by the platform such as, MAIDs, Cookies, email Ids and more are displayed. However, you can edit, add or remove an identifier from the list. To do so, refer [here](/articles/integrate-customer/destinations#mappings).
b. Click **Create Destination**. The created Destination gets listed in the **Target** and **Audiences** applications, which can be linked to an Audience/segment.
 ## Link an Audience to the TikTok Destination
For information about how to link an Audience or segment to the created Destination in **Audiences** and **Target** applications, refer [here](/articles/integrate-customer/link-an-audience-to-the-destination).
**Note:**
Ensure that the following points are taken care of, while creating a segment:
* It can take up to three business days for segments to be available at the TikTok seat.
* You can apply Zeotap Graph extension to obtain more identifiers from your first-party identifiers such as `email`, `phone`, `cookies` and `device Ids`. This helps brands to get the online identifiers of their users for the corresponding offline identifiers and eventually activate their users on multitude of channels.
## View Audiences on TikTok
Once the segment is pushed, it will appear in TikTok Ads Manager under **Tools** → **Audience manager**.
**Note:**
*Do not expect the entire volume of users to show up on TikTok. Only the matched TikTok users are displayed after the final matching is done. Hence, depending on the segment, this number can be quite low as well.*
## User Disqualification from Audiences
This integration supports user disqualification from audiences. That is, a user can be disqualified from an audience (segment) for various reasons, such as not meeting audience criteria, consent requirements or other conditions set for a particular audience.
* When a user disqualifies from an audience, Zeotap CDP initiates a user deletion request in the next refresh cycle. These requests are sent to the audiences linked to the specific destination.
* The disqualified users are excluded from the audiences based on the configured refresh frequency for a particular audience.
* User disqualification is a programmatic process that works automatically. You do not need to specify anything to trigger the disqualification and exclusion of users from audiences.
## Link an Audience to the TikTok Destination
For information about how to link an Audience or segment to the created Destination in **Audiences** and **Target** applications, refer [here](/articles/integrate-customer/link-an-audience-to-the-destination).
**Note:**
Ensure that the following points are taken care of, while creating a segment:
* It can take up to three business days for segments to be available at the TikTok seat.
* You can apply Zeotap Graph extension to obtain more identifiers from your first-party identifiers such as `email`, `phone`, `cookies` and `device Ids`. This helps brands to get the online identifiers of their users for the corresponding offline identifiers and eventually activate their users on multitude of channels.
## View Audiences on TikTok
Once the segment is pushed, it will appear in TikTok Ads Manager under **Tools** → **Audience manager**.
**Note:**
*Do not expect the entire volume of users to show up on TikTok. Only the matched TikTok users are displayed after the final matching is done. Hence, depending on the segment, this number can be quite low as well.*
## User Disqualification from Audiences
This integration supports user disqualification from audiences. That is, a user can be disqualified from an audience (segment) for various reasons, such as not meeting audience criteria, consent requirements or other conditions set for a particular audience.
* When a user disqualifies from an audience, Zeotap CDP initiates a user deletion request in the next refresh cycle. These requests are sent to the audiences linked to the specific destination.
* The disqualified users are excluded from the audiences based on the configured refresh frequency for a particular audience.
* User disqualification is a programmatic process that works automatically. You do not need to specify anything to trigger the disqualification and exclusion of users from audiences.