> ## Documentation Index
> Fetch the complete documentation index at: https://docs.zeotap.com/llms.txt
> Use this file to discover all available pages before exploring further.
# SFTP Audience Integration
## Overview
SFTP (Secure File Transfer Protocol) is a protocol for securely transferring files between a client and a server over a network. By integrating SFTP with Zeotap CDP, you can securely transfer audience data to an SFTP server, enabling you to retrieve it for targeting and other use cases.
## Supported File Format
This integration supports transfer of data in either CSV or JSON format.
## Prerequisites
Ensure that you obtain the following details related to your SFTP account from your IT team before creating a Destination:
* **SFTP Port** - This is a specific communication endpoint on the host that the SFTP service uses.
* **Destination Instance Name** - This can be an internal name for the Destination.
* **SFTP Host** - This represents the server or the computer where the SFTP service is running. It is typically an IP address or a domain name.
* **SFTP Username and SSK Key/Password** - These are credentials like Email Address and Password for accessing your SFTP account.
* **Folder** - This is the file path of your SFTP storage location to which Zeotap CDP can push your data. Ensure that the folder path is an absolute path like `/home/user/data/`, not a relative path like `../data/`.
## Create a Destination for SFTP
Perform the following steps to create a Destination for SFTP:
Log into the Zeotap CDP App and go to the **DESTINATIONS** application.
Click **+ Create Destination.**
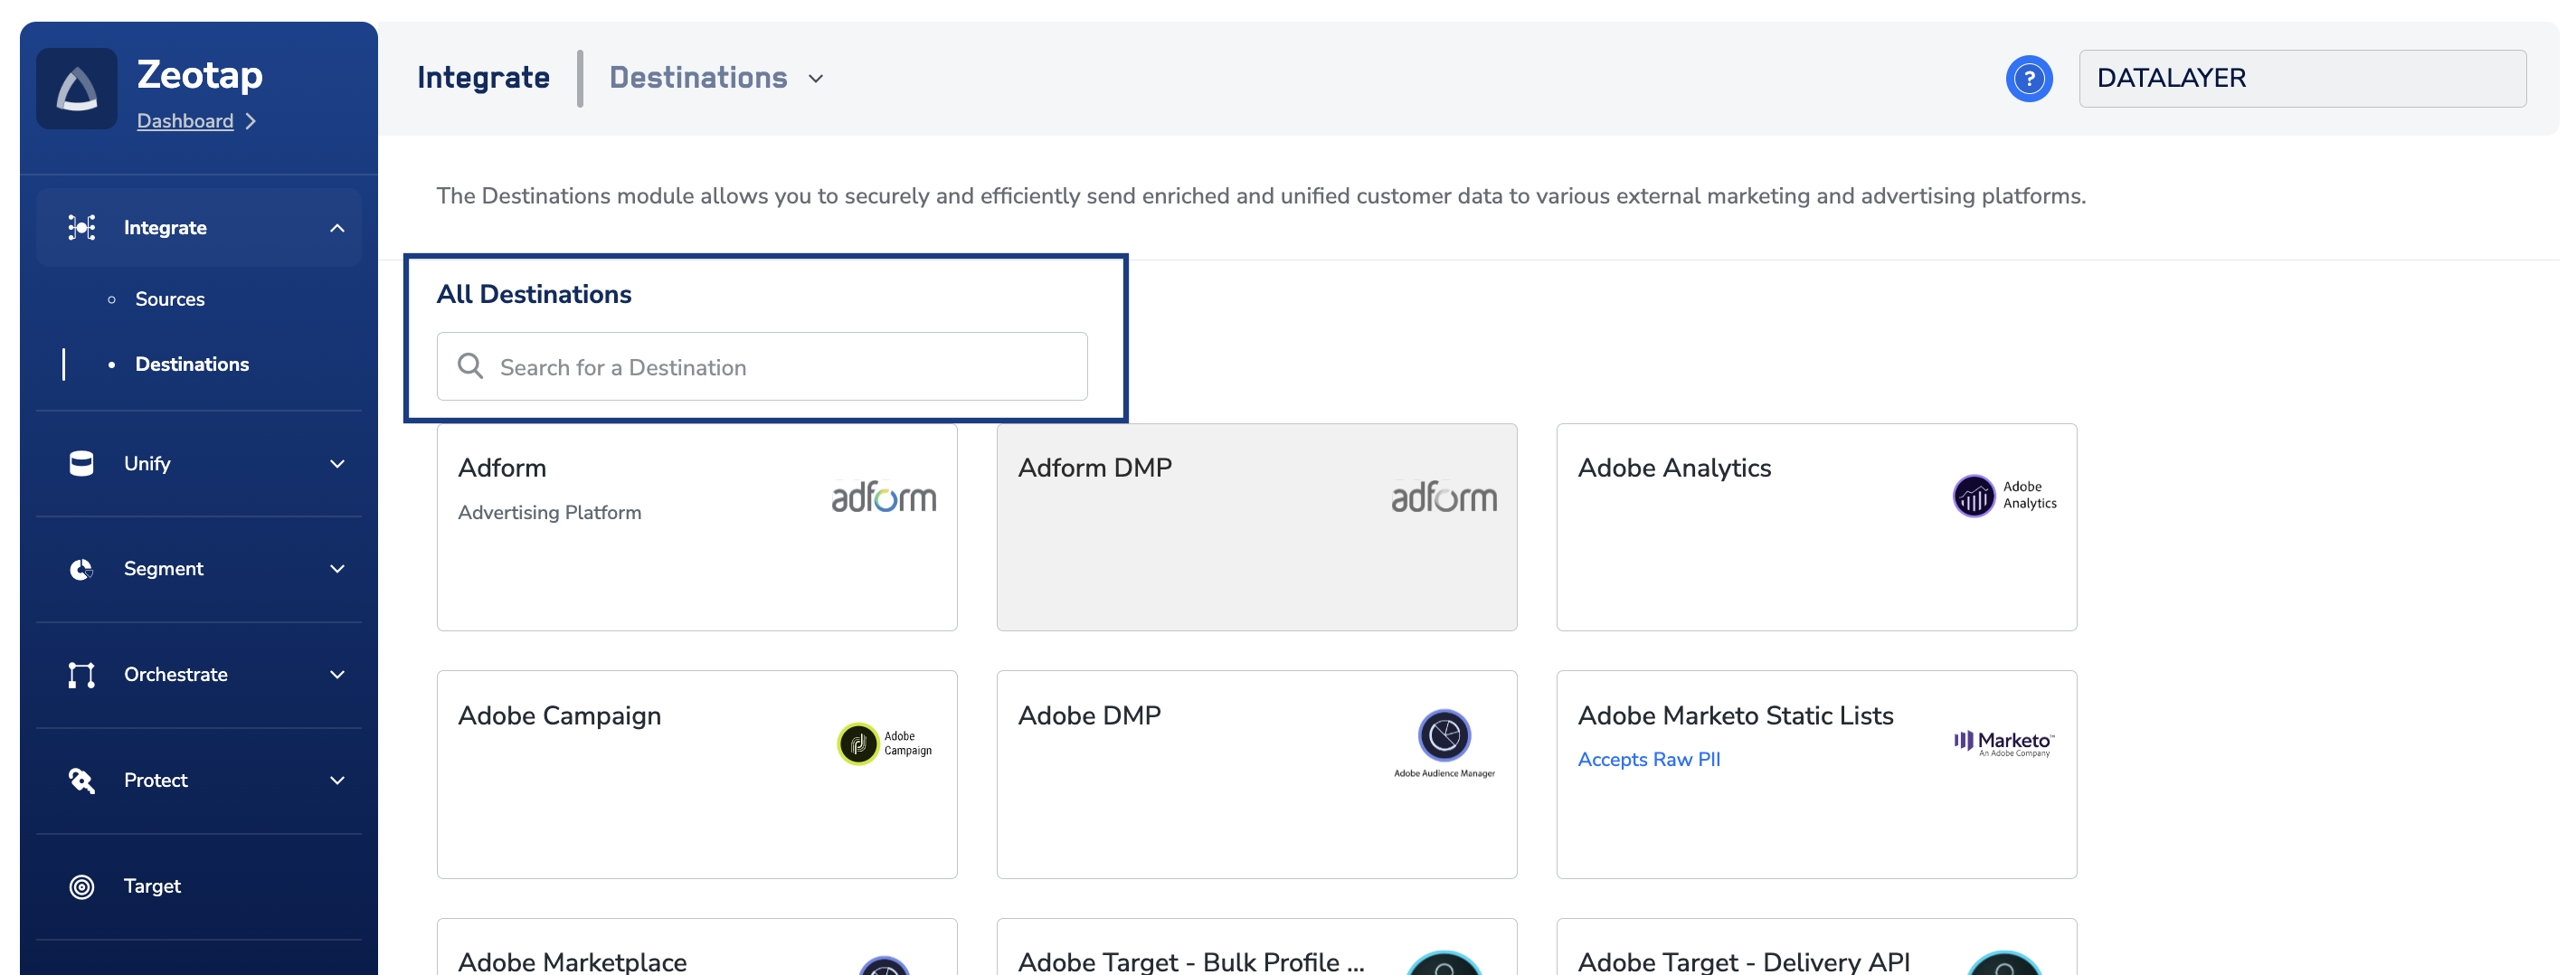
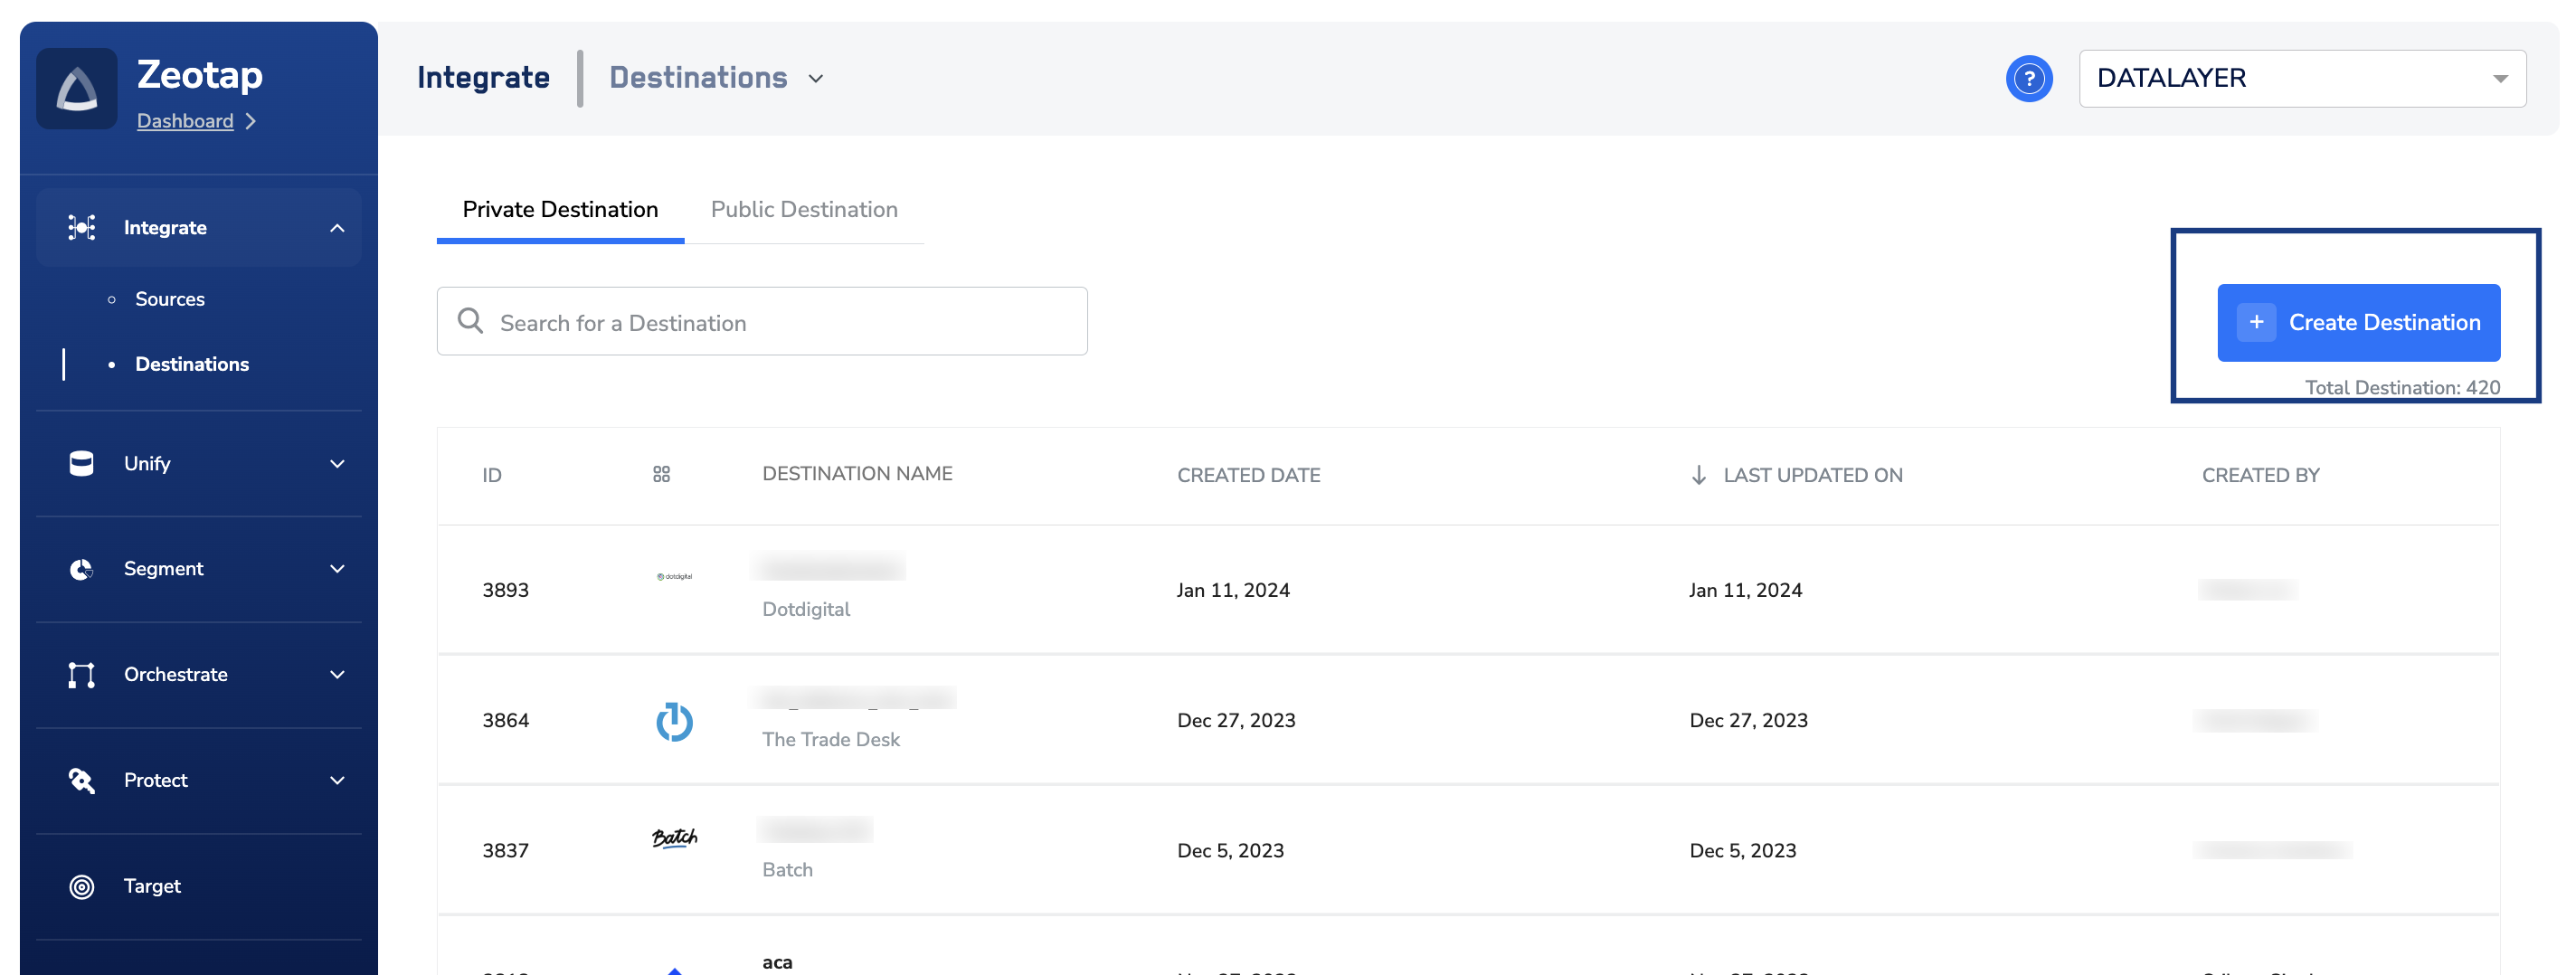 Under the **All Destinations** section, search for **SFTP**.
 Click **SFTP**. A screen appears displaying details about the particular destination towards the left. On the right-hand side of the screen find a list of fields that are required for the integration to be established. Enter the required details as mentioned in the following steps:
a. Enter a name for the Destination.
b. Enter the **SFTP Port**, **Destination Instance Name**, **SFTP Host** details, **SFTP Username** in the respective fields. Ensure that your obtain these from your IT team.
c. Under **Folder**, Enter the file path of your SFTP storage location to which Zeotap CDP can push your data. Ensure that the folder path is an absolute path like `/home/user/data/`, not a relative path like `../data/`.
d. Under **Filename Prefix,** enter a text value without special characters, such as underscores (\_), spaces, or symbols (`#, @, $, %, &, *`). Note that the file name follows the format: `${filenamePrefix}part-${sequence}_${destinationAudienceId}_${timestamp}.csv`, where the timestamp is in yyyyMMdd-hhmmssSSS format and destinationAudienceId is the ID associated with your audience (segment) in Zeotap CDP, which is generated by the Zeotap CDP after the audience (segment) is linked to a Destination.
Click **SFTP**. A screen appears displaying details about the particular destination towards the left. On the right-hand side of the screen find a list of fields that are required for the integration to be established. Enter the required details as mentioned in the following steps:
a. Enter a name for the Destination.
b. Enter the **SFTP Port**, **Destination Instance Name**, **SFTP Host** details, **SFTP Username** in the respective fields. Ensure that your obtain these from your IT team.
c. Under **Folder**, Enter the file path of your SFTP storage location to which Zeotap CDP can push your data. Ensure that the folder path is an absolute path like `/home/user/data/`, not a relative path like `../data/`.
d. Under **Filename Prefix,** enter a text value without special characters, such as underscores (\_), spaces, or symbols (`#, @, $, %, &, *`). Note that the file name follows the format: `${filenamePrefix}part-${sequence}_${destinationAudienceId}_${timestamp}.csv`, where the timestamp is in yyyyMMdd-hhmmssSSS format and destinationAudienceId is the ID associated with your audience (segment) in Zeotap CDP, which is generated by the Zeotap CDP after the audience (segment) is linked to a Destination.
 | **Variable** | **Description** |
| :------------------------- | :------------------------------------------------------------------------------------------------------------------------ |
| `filenamePrefix` | The prefix for the file name, typically indicating the context or purpose of the file (e.g., the segment or export type). |
| `_json_` | For a JSON file, "\_json\_" will be added after the filename prefix and before the part sequence. |
| `part-${sequence}` | A sequential number or identifier indicating the part or chunk number if the data is split across multiple files. |
| `${destinationAudienceId}` | The unique ID assigned by Zeotap CDP to the audience (segment) after it is linked to a Destination. |
| `${timestamp}` | The date when the file is generated, formatted as `yyyyMMdd-hhmmssSSS `. |
| `.csv/.json` | The file extension, indicating that the file is in CSV (Comma-Separated Values)/JSON format. |
**Example File Name:**
`exportpart-01_894548842_20250113-113649855.csv/ export_JSON_part-0_14534354564740_20250113-113649855.json`
e. Under **Authentication**, choose whether you want to use a **SSH Key** or **Password** for authenticating your requests on SFTP.
i. If you choose **SSH Key** as your authentication method, then copy the SSH Public Key displayed and use it for authentication on your SFTP server.
1. Note - SSH-2 version is used for authentication in Zeotap.
| **Variable** | **Description** |
| :------------------------- | :------------------------------------------------------------------------------------------------------------------------ |
| `filenamePrefix` | The prefix for the file name, typically indicating the context or purpose of the file (e.g., the segment or export type). |
| `_json_` | For a JSON file, "\_json\_" will be added after the filename prefix and before the part sequence. |
| `part-${sequence}` | A sequential number or identifier indicating the part or chunk number if the data is split across multiple files. |
| `${destinationAudienceId}` | The unique ID assigned by Zeotap CDP to the audience (segment) after it is linked to a Destination. |
| `${timestamp}` | The date when the file is generated, formatted as `yyyyMMdd-hhmmssSSS `. |
| `.csv/.json` | The file extension, indicating that the file is in CSV (Comma-Separated Values)/JSON format. |
**Example File Name:**
`exportpart-01_894548842_20250113-113649855.csv/ export_JSON_part-0_14534354564740_20250113-113649855.json`
e. Under **Authentication**, choose whether you want to use a **SSH Key** or **Password** for authenticating your requests on SFTP.
i. If you choose **SSH Key** as your authentication method, then copy the SSH Public Key displayed and use it for authentication on your SFTP server.
1. Note - SSH-2 version is used for authentication in Zeotap.
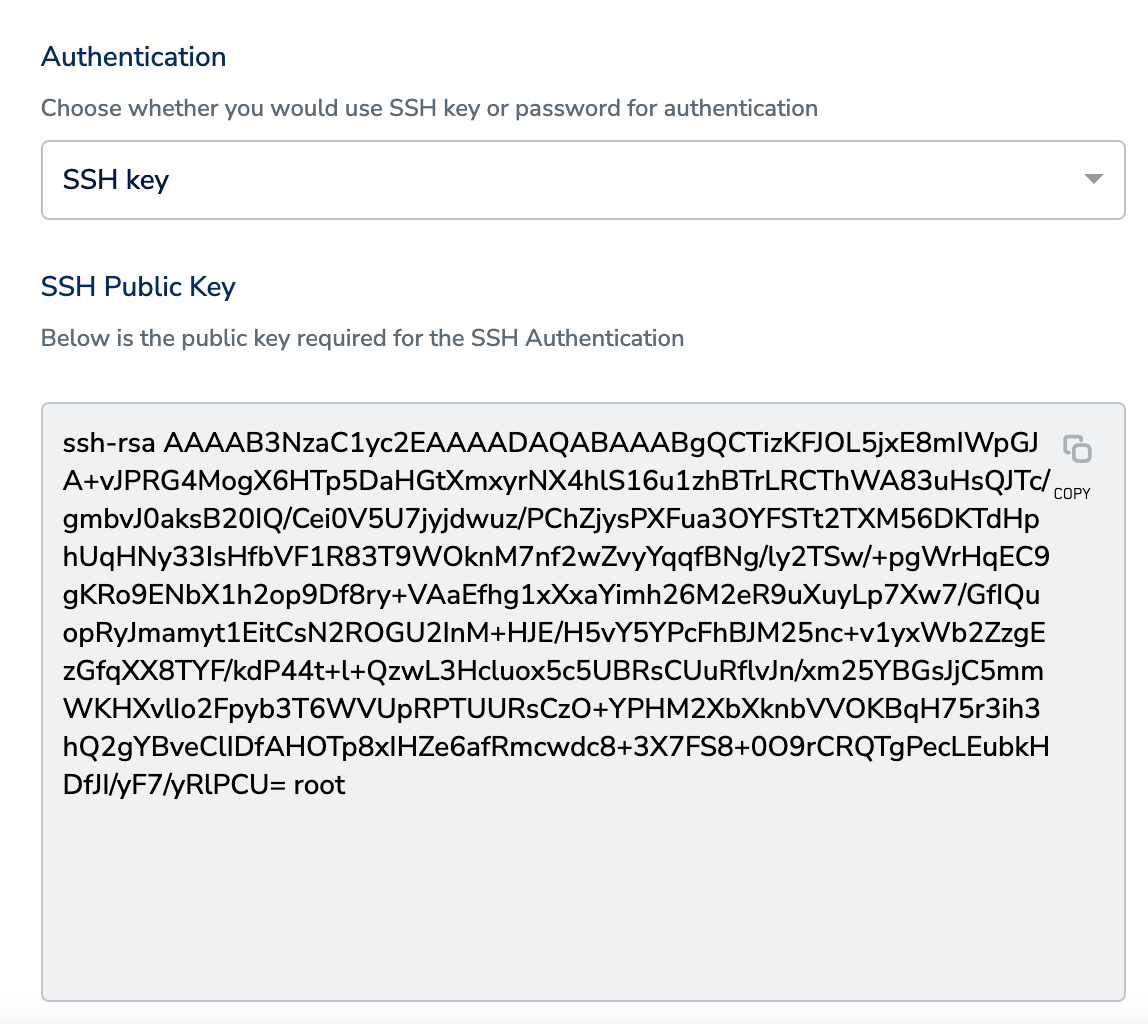 ii. If you choose **Password**, then you need to enter the password that you have obtained from your IT team.
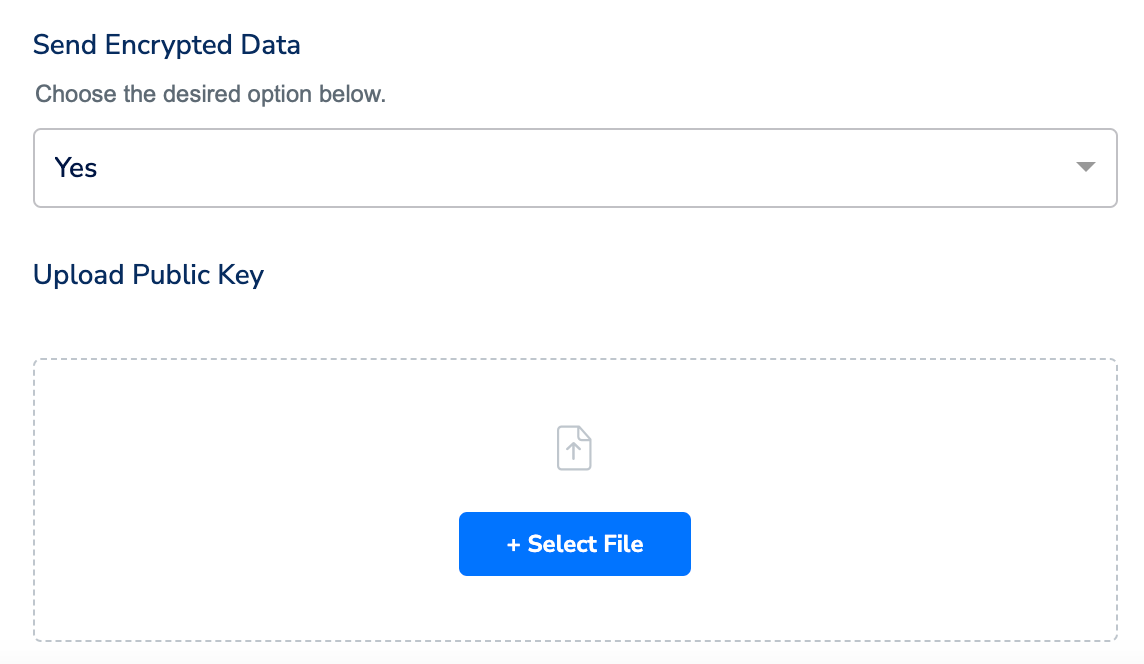
f. Under **Send Encrypted Data**, choose whether you want to encrypt your data using the PGP ([Pretty Good Privacy](https://en.wikipedia.org/wiki/Pretty_Good_Privacy)) data transfer mechanism. If you choose **Yes**, then ensure that you upload the Public Key. For more information about PGP encryption, refer [here](/articles/integrate-customer/pgp-encryption-in-destinations).
ii. If you choose **Password**, then you need to enter the password that you have obtained from your IT team.
f. Under **Send Encrypted Data**, choose whether you want to encrypt your data using the PGP ([Pretty Good Privacy](https://en.wikipedia.org/wiki/Pretty_Good_Privacy)) data transfer mechanism. If you choose **Yes**, then ensure that you upload the Public Key. For more information about PGP encryption, refer [here](/articles/integrate-customer/pgp-encryption-in-destinations).
 g. Review all the values entered above and then click **Next** to proceed.
In the Actions and Mapping screen that appears, choose either **Send JSON file to SFTP** or **Send CSV file to SFTP** as the action for activating your audience (segment) on the *Audiences module*. Under **Map the Fields**, ensure that you map the relevant Catalogue fields to the Destination fields. **Note that you can send any data except event data through this integration.**
a. **Note on "Send CSV file to SFTP":**
i. When using the **Send CSV file to SFTP** option, lists of objects will **not** be flattened.
For example, if the following field is received:
```js theme={null}
"order_shipped": {
"c_email": "test@example.com",
"c_prename": "test"
}
```
Then the column name in the CSV will be: **order\_shipped** And the value in that column will be:
```bash theme={null}
{
"c_email": "test@example.com",
"c_prename": "test"
}
```
Click **Create Destination**. The created Destination gets listed in the **Audiences** application, which can be linked to an audience/segment.
## Link an Audience to the SFTP Destination
For information about how to link an audience or segment to the created Destination in **Audiences** application, refer [here](/articles/integrate-customer/link-an-audience-to-the-destination).
**Note:**
The terms *Audiences* and *Segments* are used interchangeably to refer to customer cohorts belonging to a specific category. For example, an Audience or a segment could be a specific group of customers who are over 18 years of age and who have performed an *`addToCart`* event within the last 30 days.
g. Review all the values entered above and then click **Next** to proceed.
In the Actions and Mapping screen that appears, choose either **Send JSON file to SFTP** or **Send CSV file to SFTP** as the action for activating your audience (segment) on the *Audiences module*. Under **Map the Fields**, ensure that you map the relevant Catalogue fields to the Destination fields. **Note that you can send any data except event data through this integration.**
a. **Note on "Send CSV file to SFTP":**
i. When using the **Send CSV file to SFTP** option, lists of objects will **not** be flattened.
For example, if the following field is received:
```js theme={null}
"order_shipped": {
"c_email": "test@example.com",
"c_prename": "test"
}
```
Then the column name in the CSV will be: **order\_shipped** And the value in that column will be:
```bash theme={null}
{
"c_email": "test@example.com",
"c_prename": "test"
}
```
Click **Create Destination**. The created Destination gets listed in the **Audiences** application, which can be linked to an audience/segment.
## Link an Audience to the SFTP Destination
For information about how to link an audience or segment to the created Destination in **Audiences** application, refer [here](/articles/integrate-customer/link-an-audience-to-the-destination).
**Note:**
The terms *Audiences* and *Segments* are used interchangeably to refer to customer cohorts belonging to a specific category. For example, an Audience or a segment could be a specific group of customers who are over 18 years of age and who have performed an *`addToCart`* event within the last 30 days.