> ## Documentation Index
> Fetch the complete documentation index at: https://docs.zeotap.com/llms.txt
> Use this file to discover all available pages before exploring further.
# SFMC Personalization (Journeys)
## Overview
Salesforce Marketing Cloud (SFMC) Personalization, formerly Interaction Studio, allows you to visualise, track and manage customer experiences through real-time interaction management. Using this, you can drive engagement at the right moment, tailored to your audience's preferences, using customer experiences.
Currently, by Integrating with Zeotap CDP, you can send [User Profile objects](https://help.salesforce.com/s/articleView?id=sf.mc_pers_user_profile_object.htm\&type=5) that qualify for a [workflow in Journeys](https://docs.zeotap.com/articles/orchestrate-customer/create-a-workflow) to your SFMC Personalization instance, enabling personalised targeting.
## Supported Identifiers/Attributes
This integration allows you to send any identifiers and attributes of your choice. Ensure to map an identifier under **User Attribute** and mandatorily map the **Profile** **Object ID.**
**Note:**
For more information about the limits and capabilities in Marketing Cloud Personalization, including user attribute limits per dataset, user profile object limits, and account profile attribute limits, refer [here](https://help.salesforce.com/s/articleView?id=sf.mc_pers_limits.htm\&type=5).
## Prerequisites
Ensure that you have addressed the following prerequisites before starting the integration:
* **Create a Dataset -** In your SFMC Personalization instance, create a dataset with related catalog objects and attributes before mapping them in Zeotap CDP. This enables easy transfer of corresponding data from Zeotap CDP.
* Obtain the following details from your SFMC instance:
* **Account Name (String, Required)** - This is your Personalization account name. You can find it by accessing **Gears** in the Personalization UI and reviewing the URL. For example, if the Gears URL is `https://testaccount.us-1.evergage.com/`, the account name is `'testaccount'`.
* **API instance (String, Required)** - This is your Personalization instance identifier. You can find the instance by accessing **Gears** in the Personalization UI and reviewing the URL. For example, if the Gears URL is `https://testaccount.us-1.evergage.com/`, the instance identifier is `'us-1'`.
* **Dataset (String, Required)** - The name or identifier of the Personalization dataset to which you're sending data.
* **Create API Token in SFMC**
* You need an API token to authenticate requests on SFMC. The API token must be a strict Base64 encoding of your API Key ID and API Secret Key, separated by a colon.
* You can use an existing API token with the required permissions or ask an administrator to create one in the Personalization UI under **Security > API Tokens > Create Token**.
* Once the API token is created, use the API Key ID as the **API Username** and the API Secret Key as the **API Password** when creating a destination in Zeotap CDP.
## Destination Setup
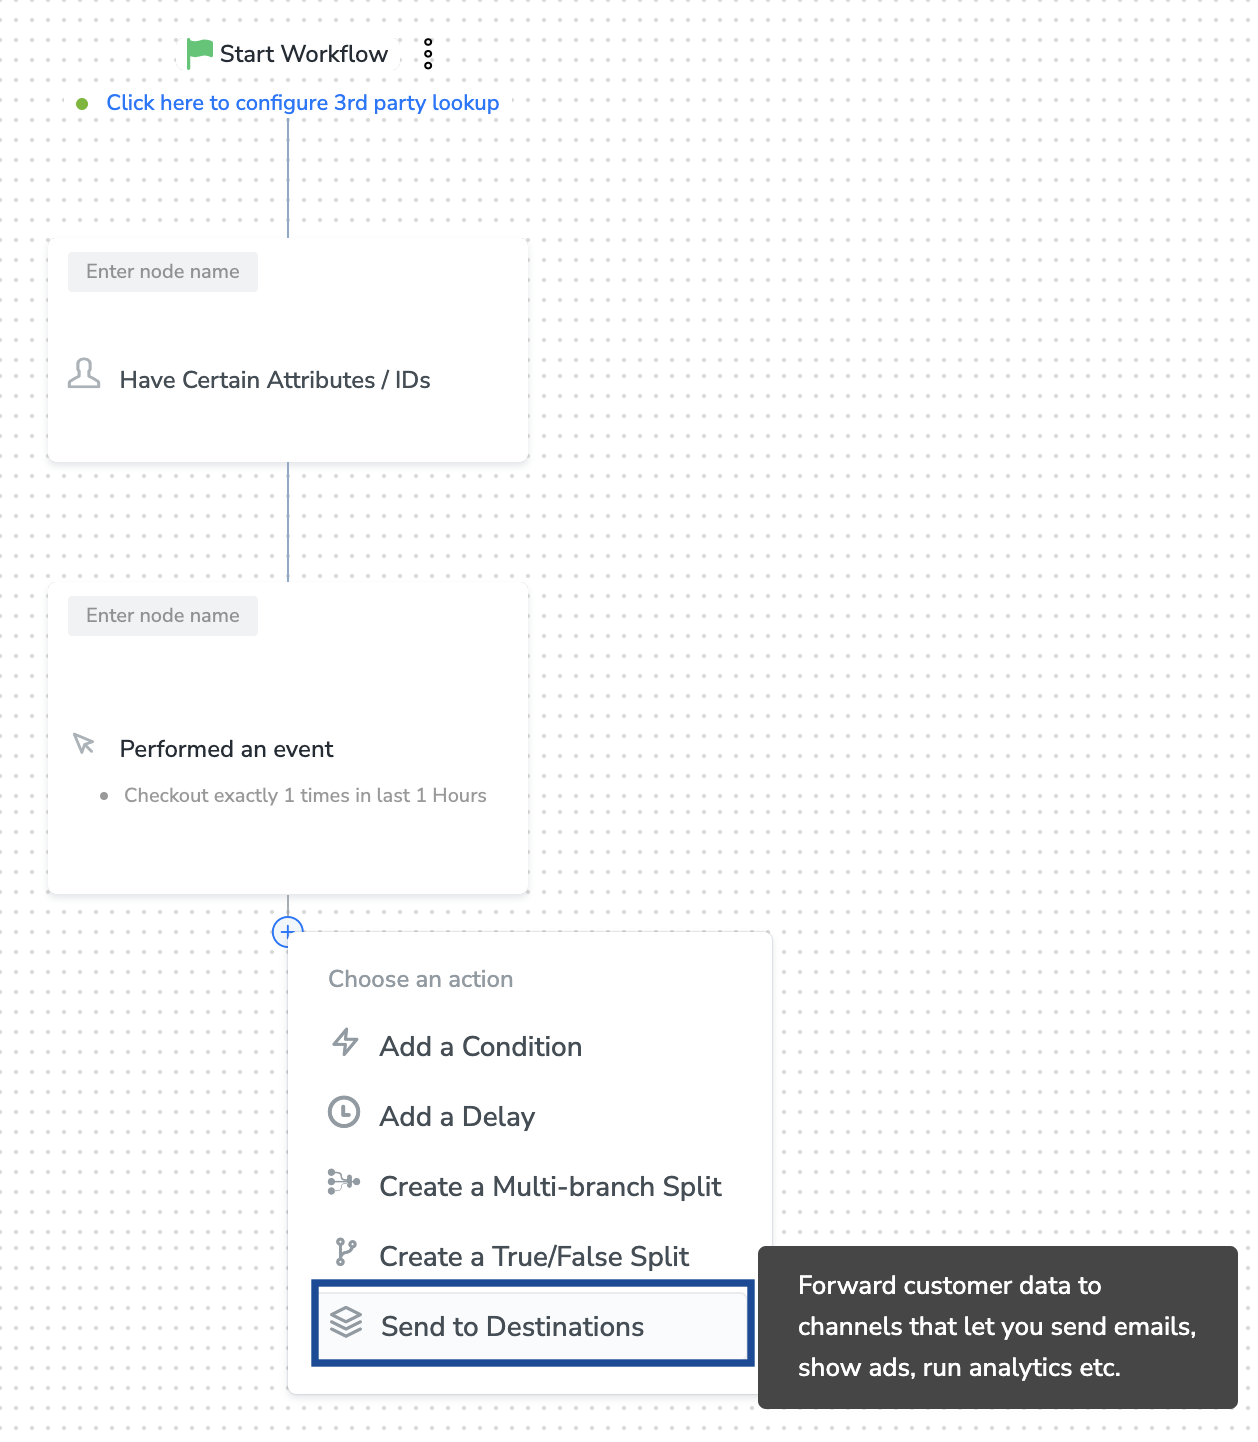
Once you have taken care of the prerequisites mentioned above, you can proceed to [creating workflow in Journeys](https://docs.zeotap.com/articles/orchestrate-customer/create-a-workflow) (Zeotap CDP). After you have applied filters or added conditions for your users in Journeys as mentioned in [Create a Workflow](https://docs.zeotap.com/articles/orchestrate-customer/create-a-workflow), you can activate them in SFMC Personalization (Journeys) in the **Send to Destinations** node as shown below.
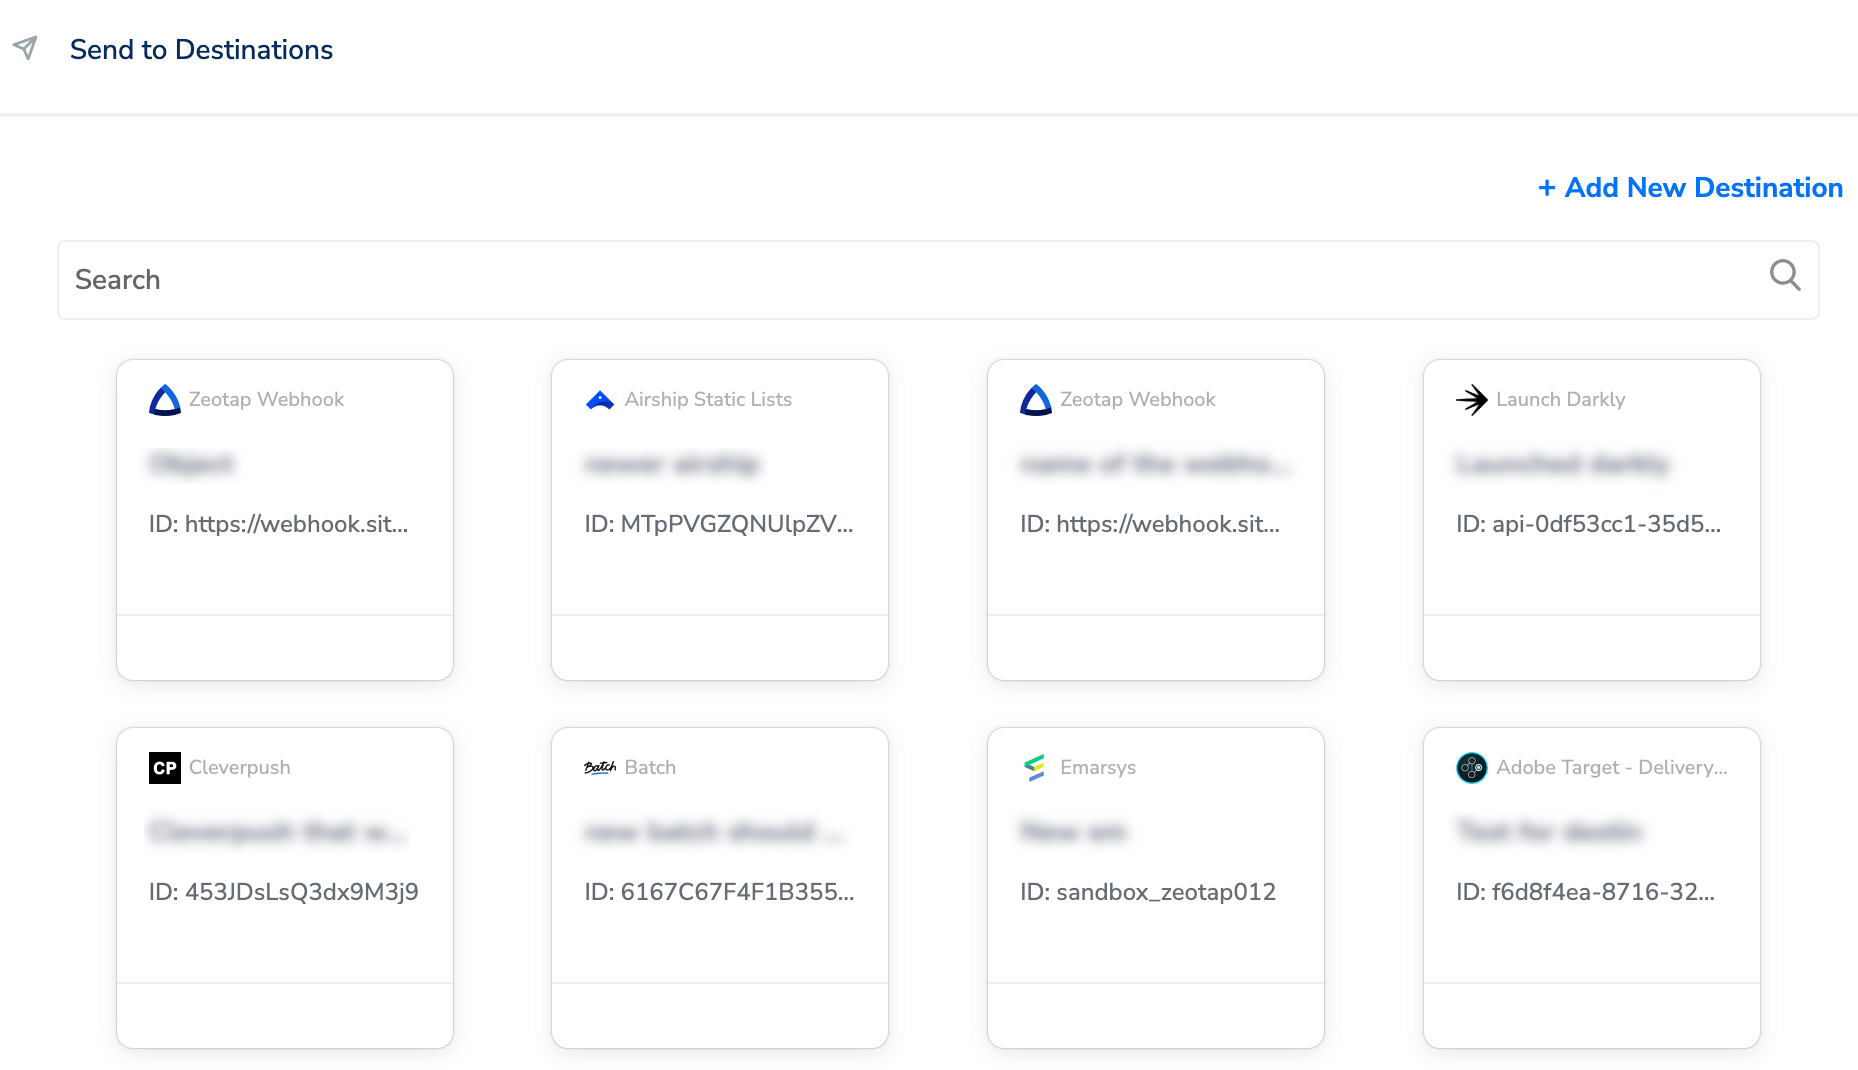
 A new window appears, where you can set up your destination. You can use an already existing destination from the list of available Destinations or create a new one by clicking **+ Add New Destination**.
**Note:**
To use an existing destination for activation in Journeys, click [here](#activate-the-destination-on-journeys).
A new window appears, where you can set up your destination. You can use an already existing destination from the list of available Destinations or create a new one by clicking **+ Add New Destination**.
**Note:**
To use an existing destination for activation in Journeys, click [here](#activate-the-destination-on-journeys).
 ### Add New Destination
Perform the following steps to add a new destination:
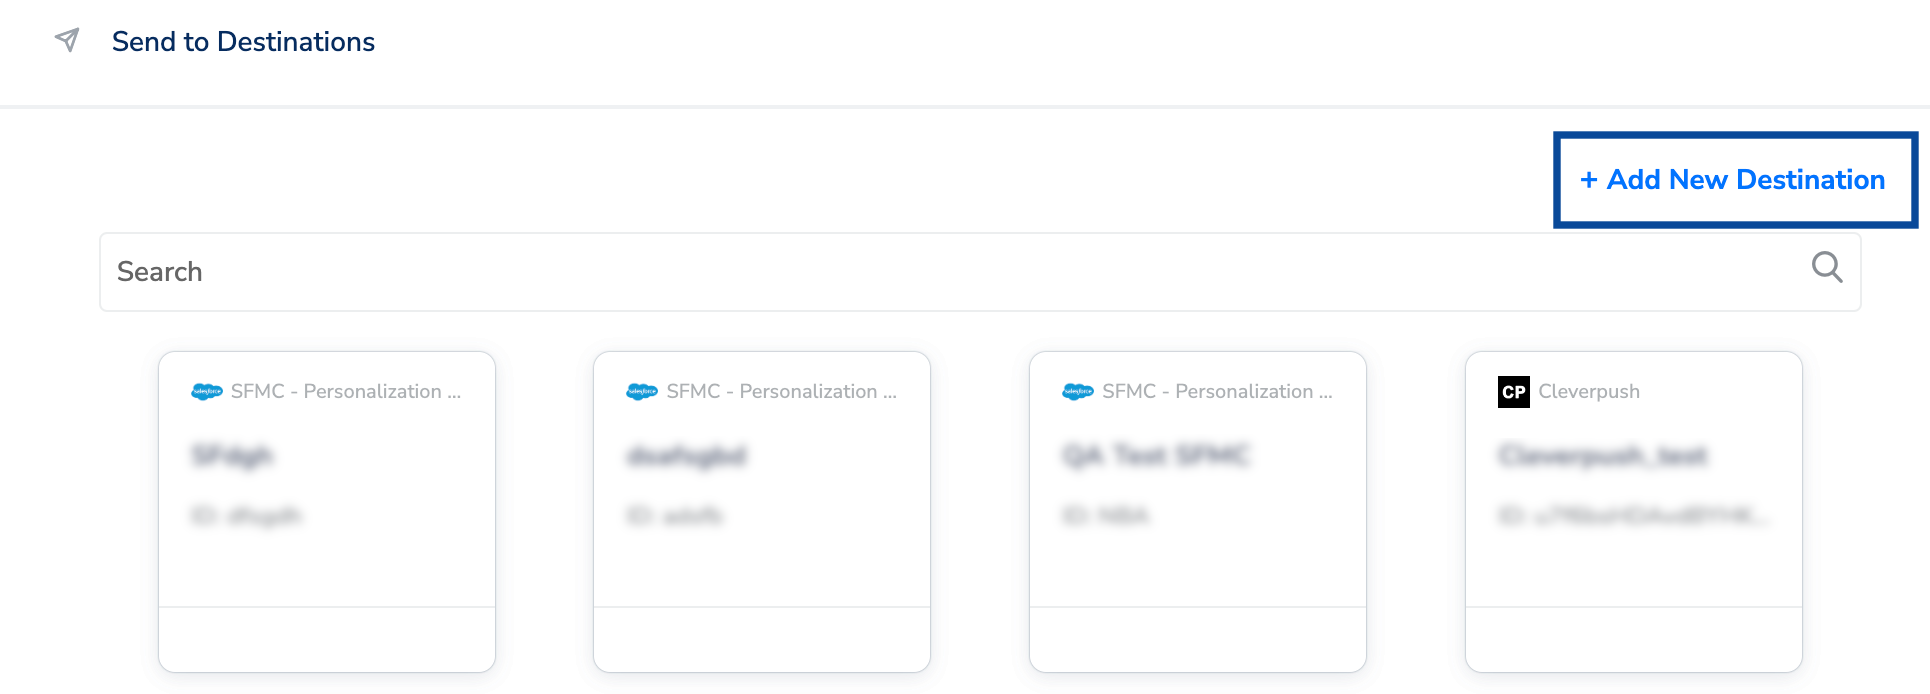
Click **+ Add New Destination** as shown below.
### Add New Destination
Perform the following steps to add a new destination:
Click **+ Add New Destination** as shown below.
 Search for **SFMC Personalization (Journeys).**
Click **SFMC Personalization (Journeys)** and enter a name for the Destination.
Enter the **Account Name**, **API Instance** and **Dataset Name** obtained your SFMC instance. [Learn more](#prerequisites)
Provide the **API Username** and **API Password** for authenticating the API requests on SFMC. [Learn more](#prerequisites)
Search for **SFMC Personalization (Journeys).**
Click **SFMC Personalization (Journeys)** and enter a name for the Destination.
Enter the **Account Name**, **API Instance** and **Dataset Name** obtained your SFMC instance. [Learn more](#prerequisites)
Provide the **API Username** and **API Password** for authenticating the API requests on SFMC. [Learn more](#prerequisites)
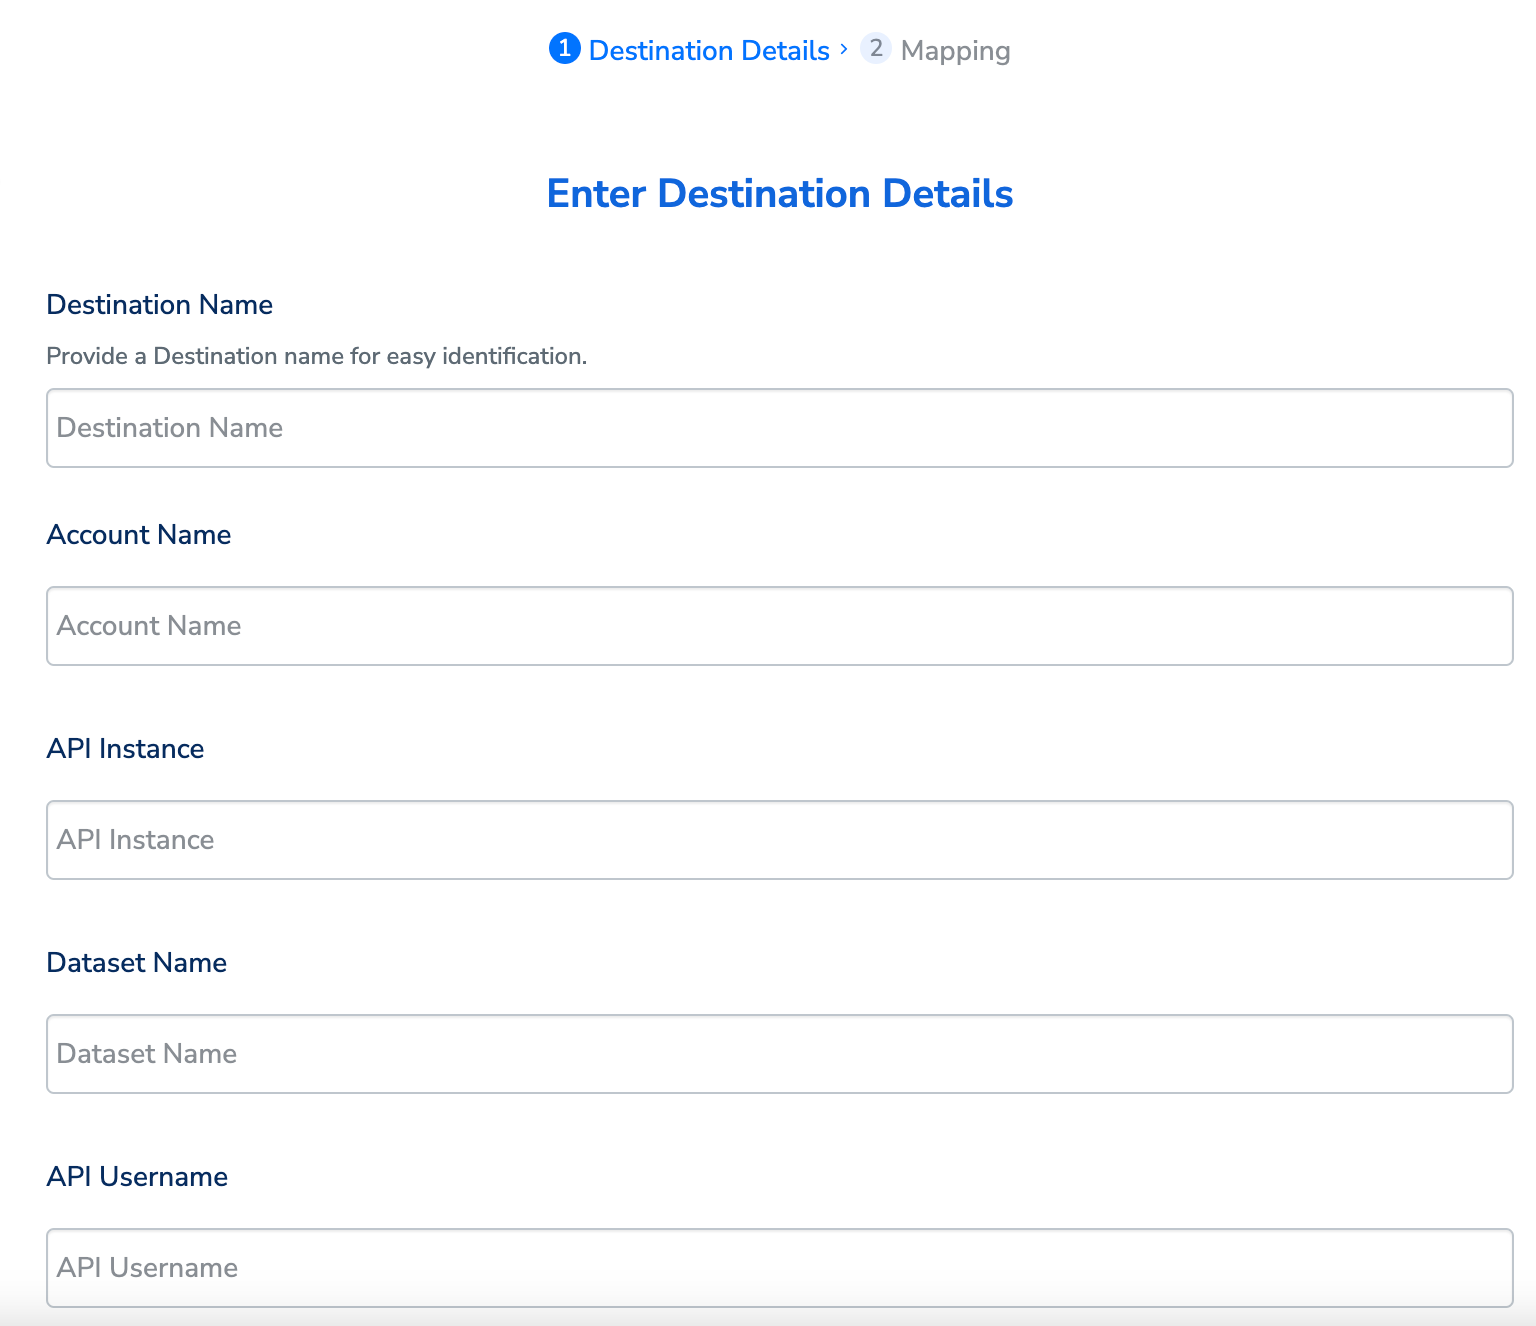 Review the fields entered above and click **Next**.
In the mapping screen that appears, under **Choose your Action**, select **Send attributes to SFMC Personalization** as the action for sending data from the workflow created in Journeys. Under **Map the Fields**, use **+ Add Mapping Field** to add any number of identifiers and attributes you wish to send to SFMC Personalization (Journeys). Note that you need to map an identifier under the **User Attributes** and mandatorily map the **Profile** **Object ID**. Otherwise, you cannot proceed.
**Profile Object ID** represents your User Profile Object type in SFMC. For example, Lease, Mortgage and so on.
Review the fields entered above and click **Next**.
In the mapping screen that appears, under **Choose your Action**, select **Send attributes to SFMC Personalization** as the action for sending data from the workflow created in Journeys. Under **Map the Fields**, use **+ Add Mapping Field** to add any number of identifiers and attributes you wish to send to SFMC Personalization (Journeys). Note that you need to map an identifier under the **User Attributes** and mandatorily map the **Profile** **Object ID**. Otherwise, you cannot proceed.
**Profile Object ID** represents your User Profile Object type in SFMC. For example, Lease, Mortgage and so on.
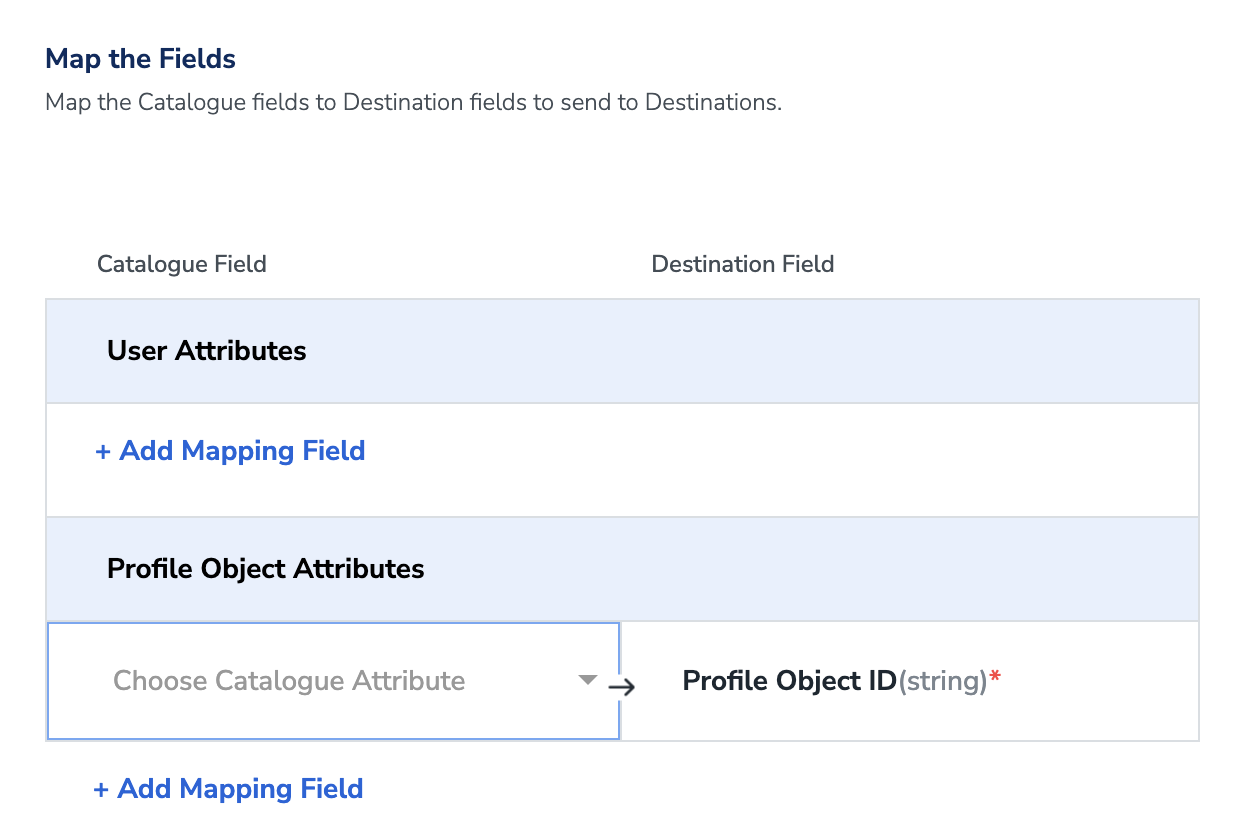 Once the mapping is complete, click **Create Destination**. The destination is created and made available for activation on Journeys as shown below.
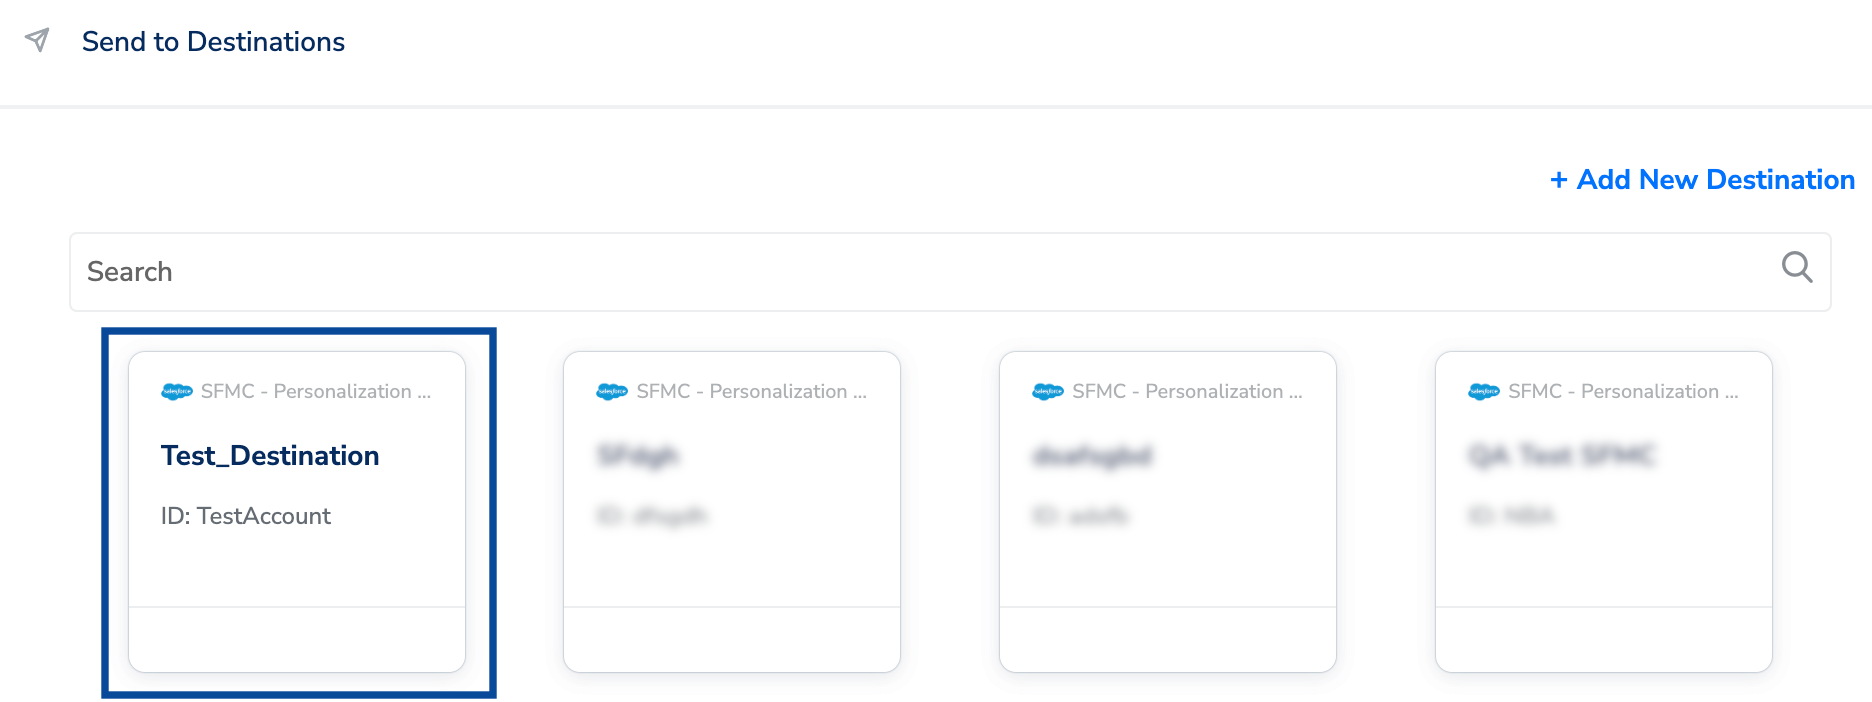 ## Activate the Destination on Journeys
After creating a destination, you can link it in the **Send to Destination** node within the workflow, as explained below.
Click the destination you created from the list of available destinations.
Under the **Destination Details** tab, the **Account Name, API Instance, Dataset Name, API Username** and **API Password** fields are automatically populated based on the value that you had entered while creating the destination. However, you need to enter the **Action Name** and **Profile Object Name** to save the Destination.
**Action Name** is the name of the action associated with the event. This is the Object name associated with the event.
Under the **Destination Settings** tab, choose the Action and mapping as per your requirement.
Upon clicking **Save Destination**. The destination is attached as shown in the image below.
## Activate the Destination on Journeys
After creating a destination, you can link it in the **Send to Destination** node within the workflow, as explained below.
Click the destination you created from the list of available destinations.
Under the **Destination Details** tab, the **Account Name, API Instance, Dataset Name, API Username** and **API Password** fields are automatically populated based on the value that you had entered while creating the destination. However, you need to enter the **Action Name** and **Profile Object Name** to save the Destination.
**Action Name** is the name of the action associated with the event. This is the Object name associated with the event.
Under the **Destination Settings** tab, choose the Action and mapping as per your requirement.
Upon clicking **Save Destination**. The destination is attached as shown in the image below.
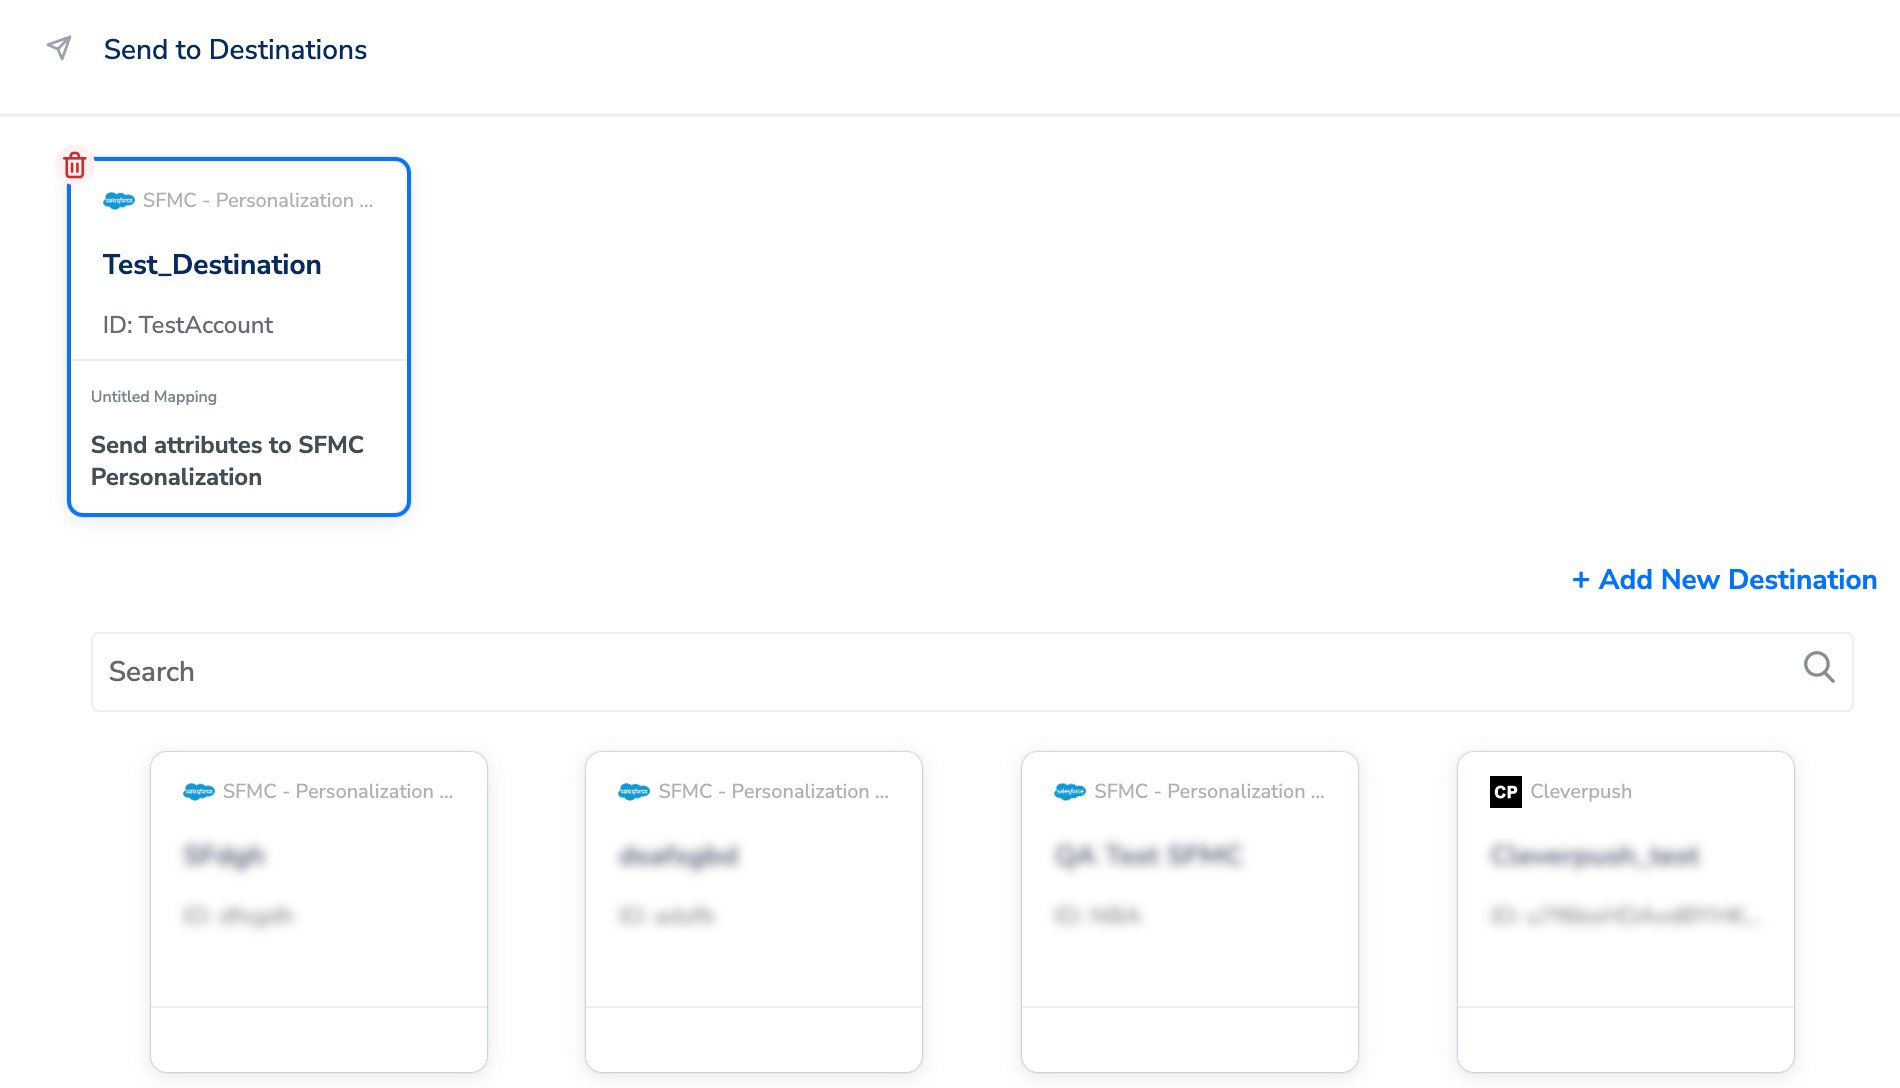 Click **Add Destinations**. You can also add multiple destinations at this step if needed.
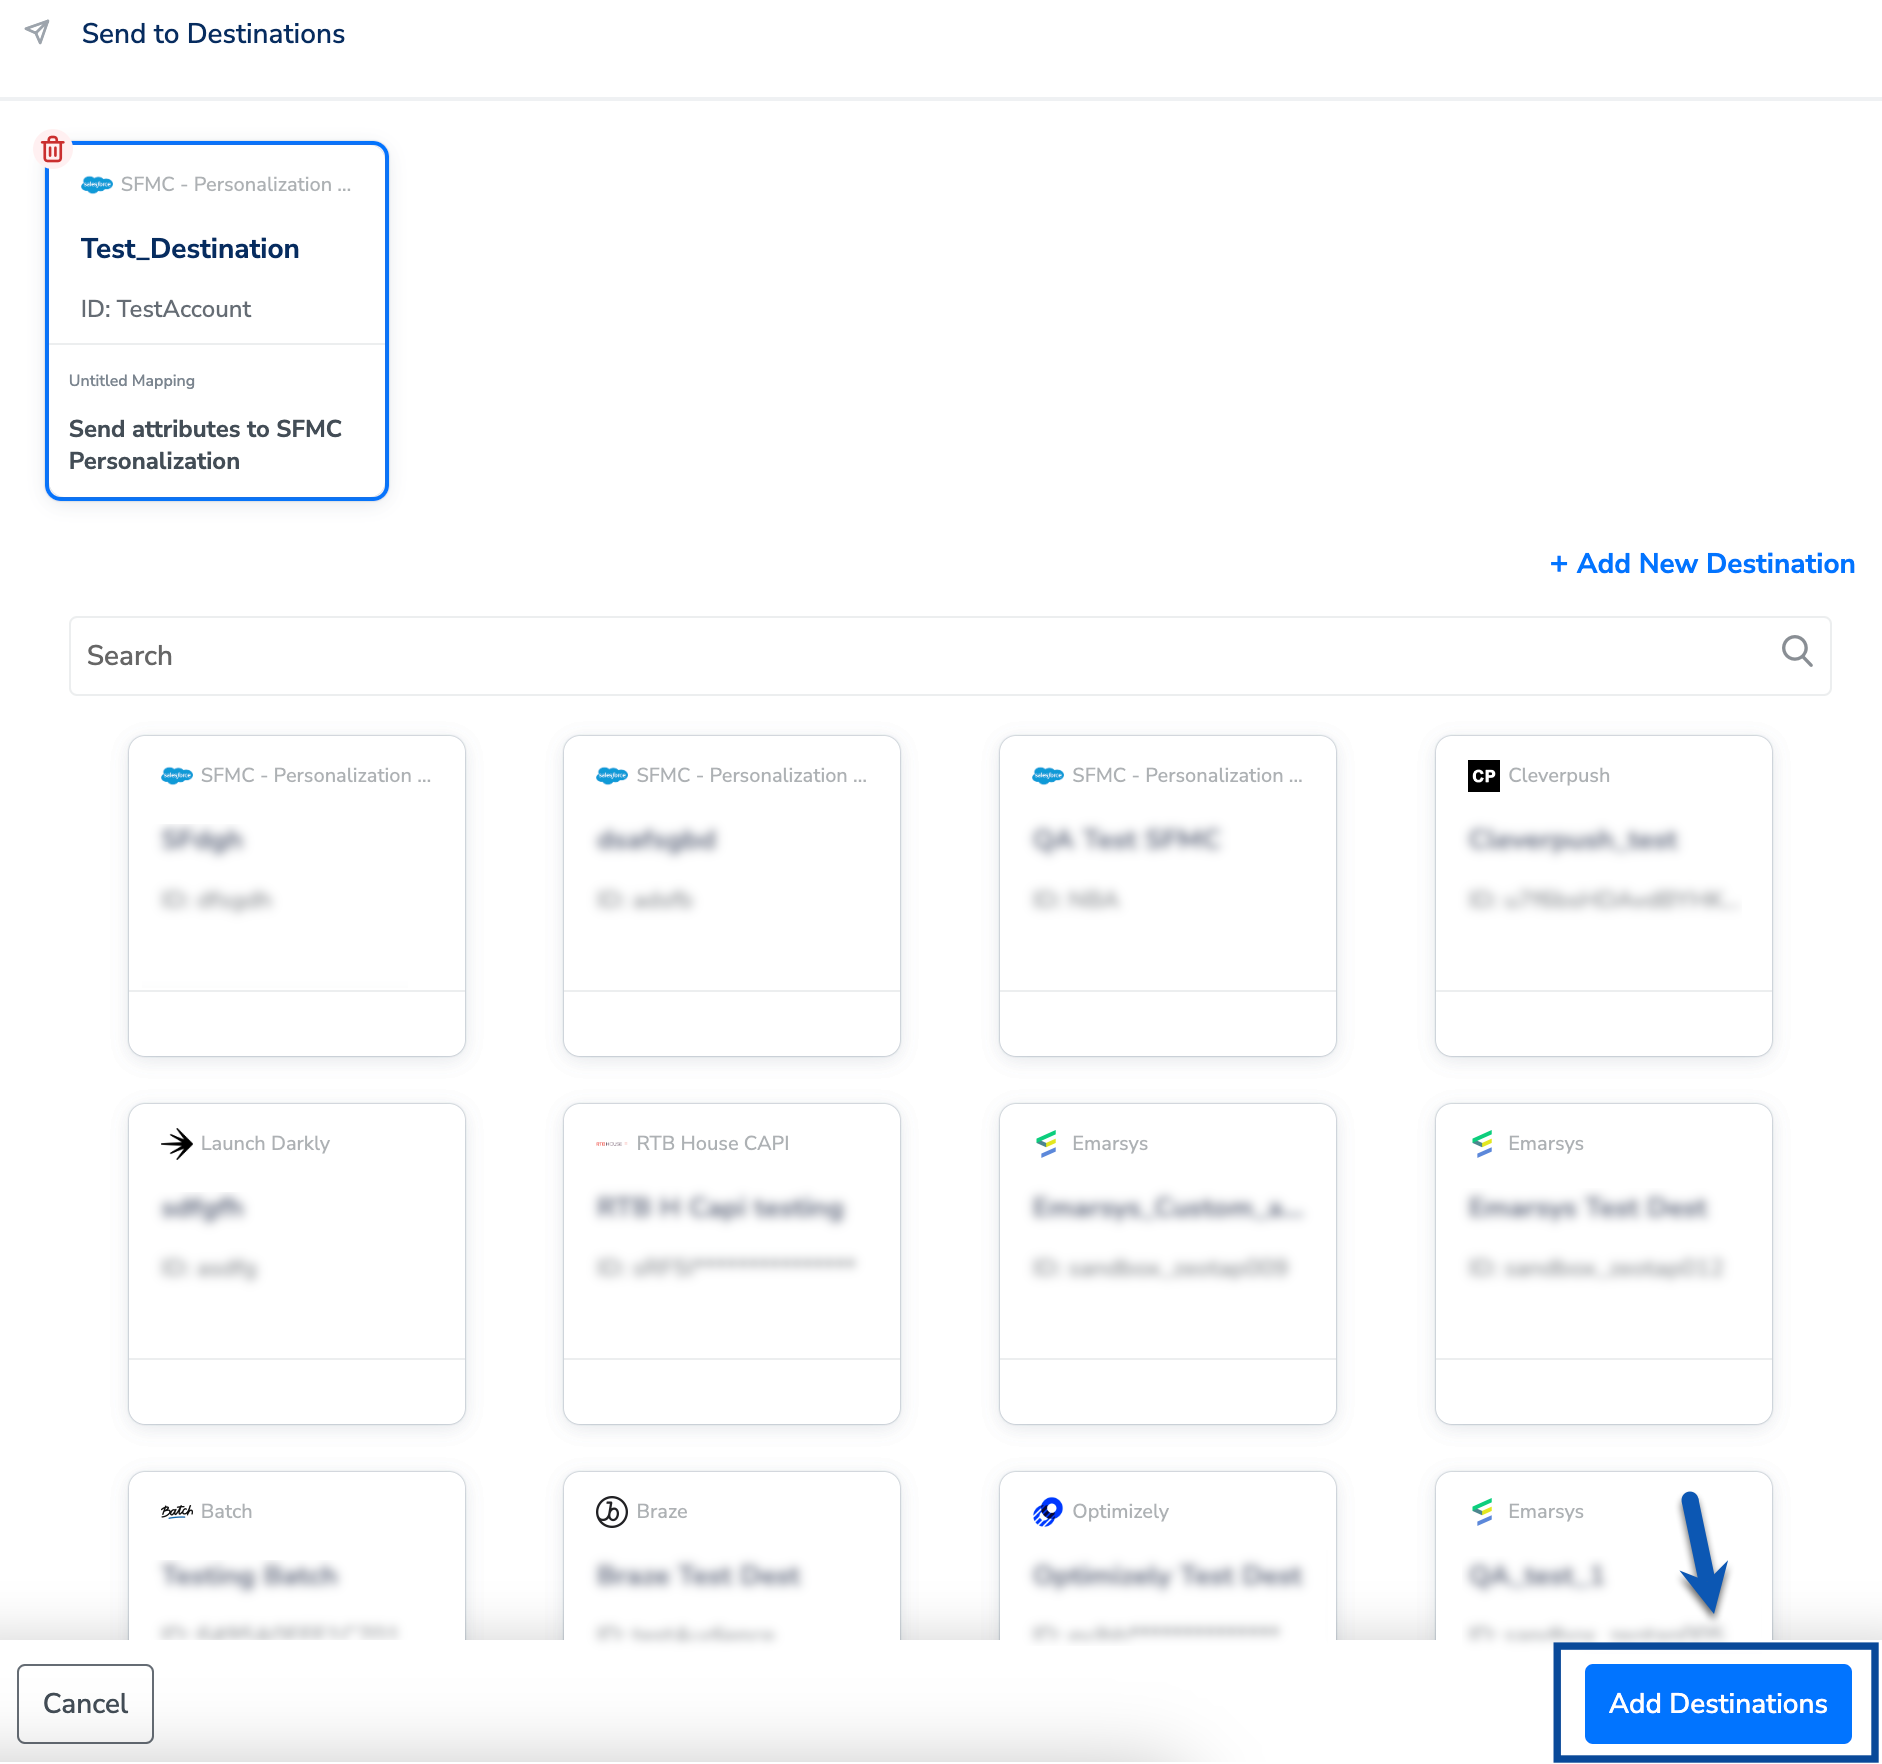 The linked Destinations appear in the **Send to Destinations** node within the workflow as shown below. Further, you can then build and customise your workflow as needed by clicking '+' . Note that you must enter a name for your workflow in the provided text box to save it.
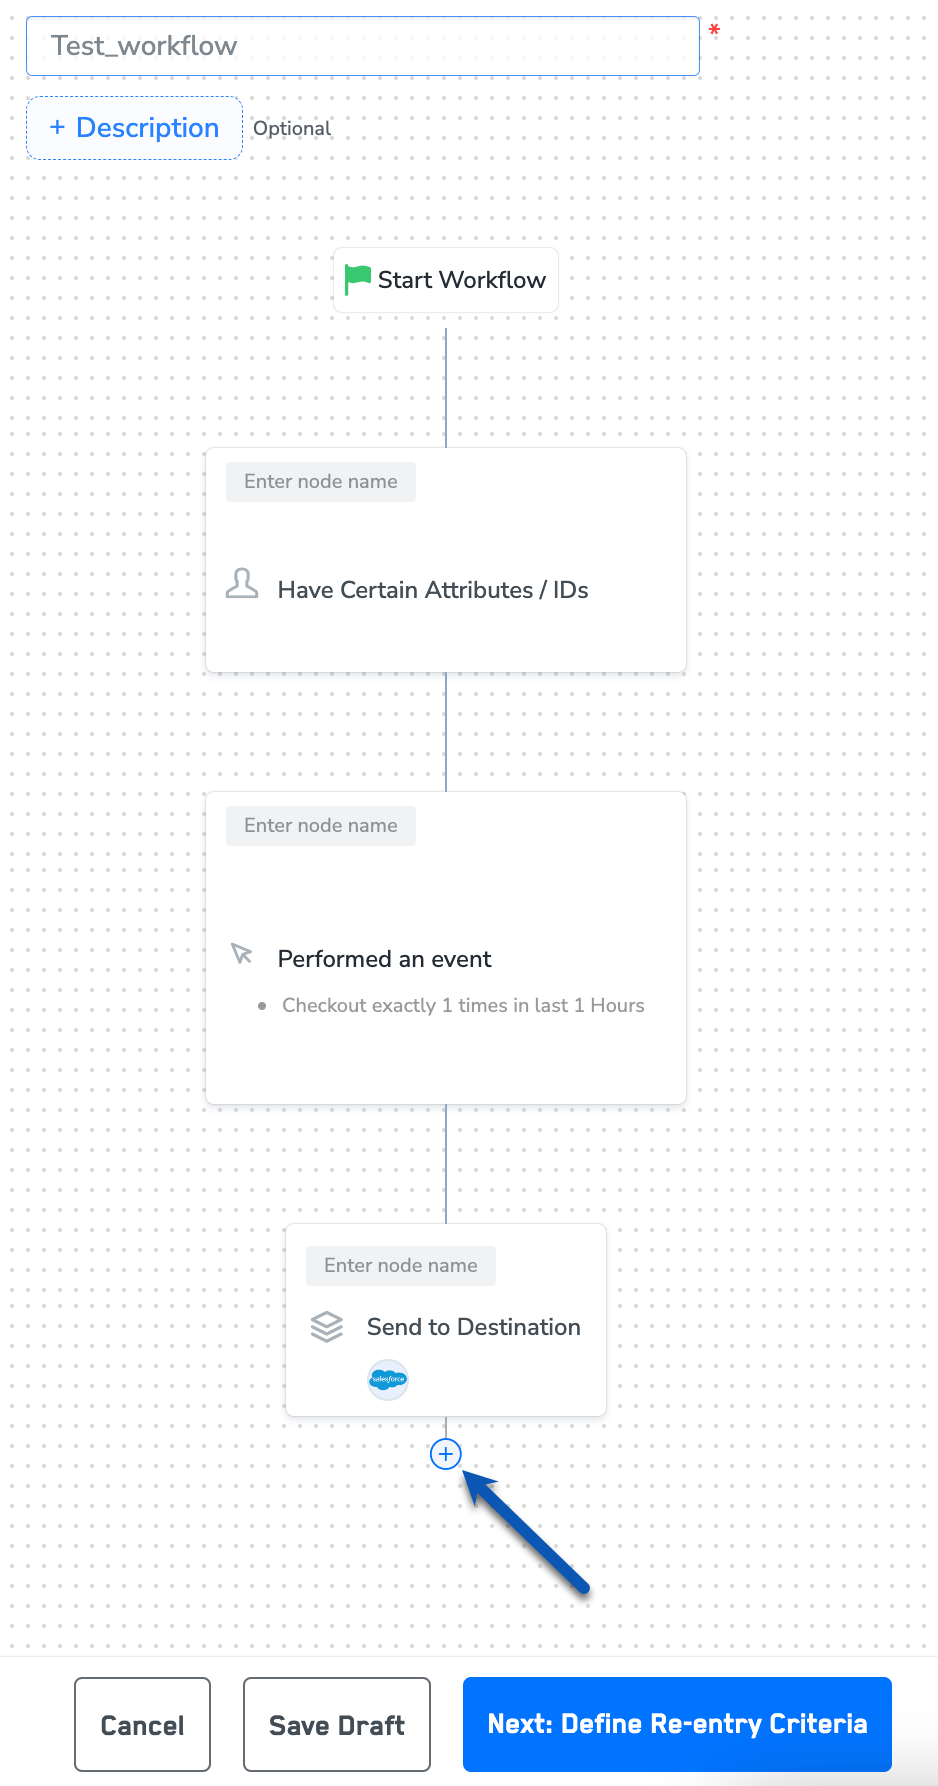 After adding conditions and filters for users, choose one of the following options:
* **Save Draft**: Enables you to revisit and edit the workflow before publishing.
* **Next: Re-entry Condition**: Determines whether a user can re-enter the same workflow.
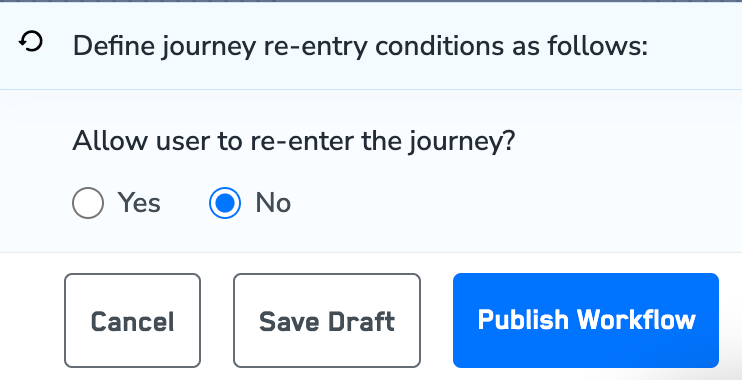
After defining the re-entry criteria, click **Publish Workflow**. The workflow appears in the Workflow listing screen with a **Published** status.
After adding conditions and filters for users, choose one of the following options:
* **Save Draft**: Enables you to revisit and edit the workflow before publishing.
* **Next: Re-entry Condition**: Determines whether a user can re-enter the same workflow.
After defining the re-entry criteria, click **Publish Workflow**. The workflow appears in the Workflow listing screen with a **Published** status.