> ## Documentation Index
> Fetch the complete documentation index at: https://docs.zeotap.com/llms.txt
> Use this file to discover all available pages before exploring further.
# Inxmail
### Overview
The **Inxmail Commerce API** provides developers with a powerful and flexible way to integrate their applications with the Inxmail email marketing platform. Send transactional journey-based emails triggered by **events** (e.g., new order).
The **Inxmail Professional API** acts as a database to store customer level information. You can send recipient Subscriptions to a list via this API.
### Prerequisites
* **Customer Name / Space ID**: Retrieved from the Console (used in requests).
* **Username & Password (Authentication keys)**: Required for authentication (keyid:secret).
* **Event Creation**: Event must be created beforehand before passing in the request body.
### Authentication
The Inxmail API utilizes **HTTP Basic Authentication** to secure its endpoints. All requests must be authenticated by providing your API credentials. The Key ID should be used as the username, and the Secret should be used as the password. The credentials must be included in the Authorization header of every API request.
The Inxmail Professional REST API requires clients to authenticate themselves with credentials using [http://en.wikipedia.org/wiki/Basic\_access\_authentication](http://en.wikipedia.org/wiki/Basic_access_authentication). The credentials consist of a client id and a secret, which can be supplied to the client software as username and password : “clientid:secret“
For Inxmail Professional REST API, make sure you enter customer name as space name. If you are unable to see the changes in the dashboard please reach out to your Inxmail POC for the right space name and credentials to be used here.
**Please Note:**
**[Preemptive Authentication](https://hc.apache.org/httpclient-3.x/authentication.html#Preemptive_Authentication) is required to use the Inxmail Commerce Administration API.**
*Inxmail Commerce API* requires REST clients to authenticate themselves with an API key using [HTTP Basic Authentication](https://en.wikipedia.org/wiki/Basic_access_authentication). The key consists of a `keyid` and a `secret`, which can be supplied to the client software as username and password.
## Create a Destination for Inxmail
Perform the following steps to create a Destination for Inxmail:
Log into the Zeotap CDP App and go to the DESTINATIONS application.
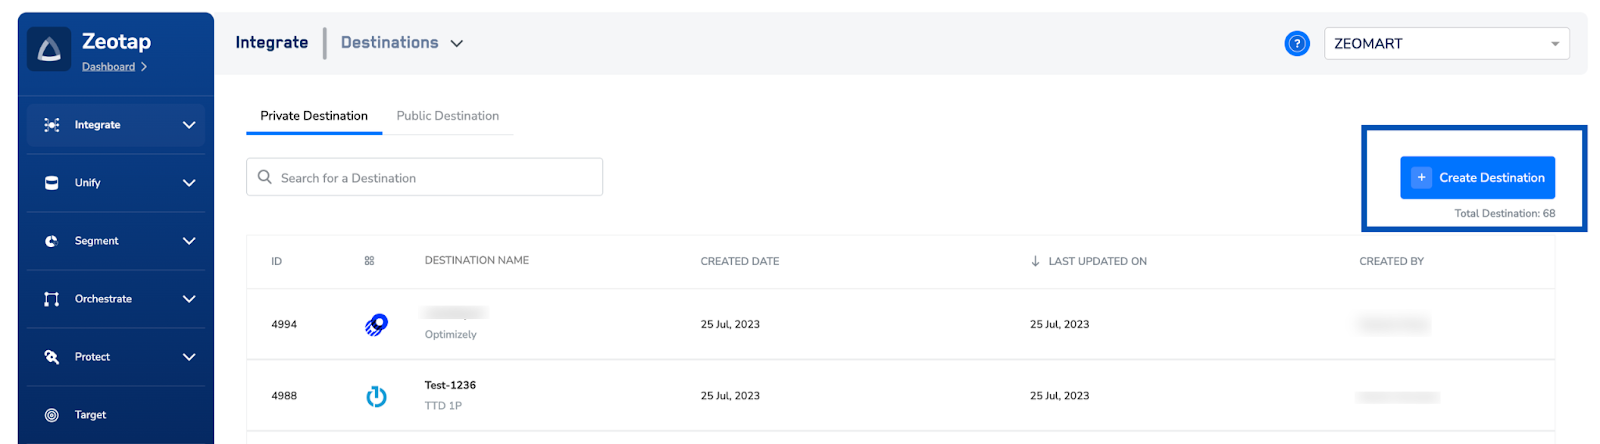
Click + Create Destination.
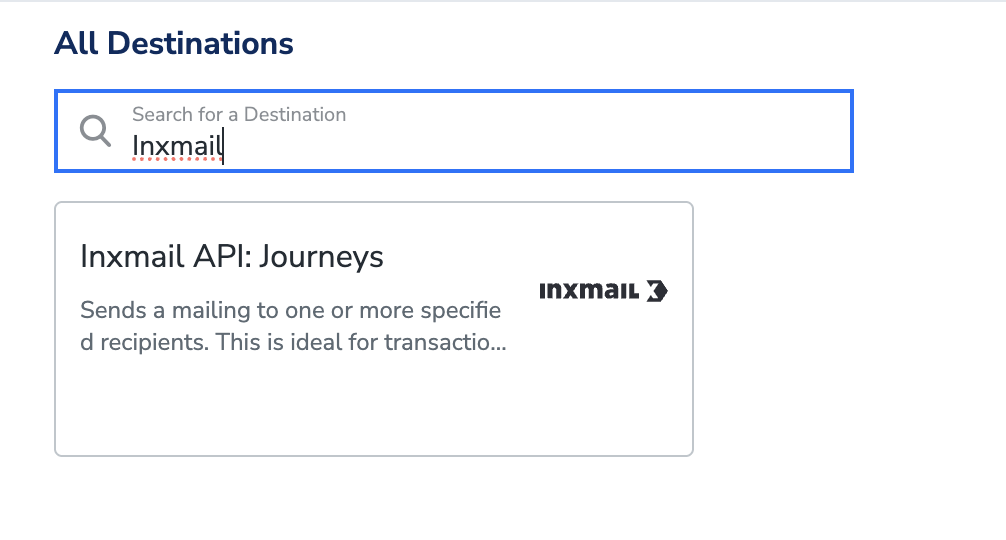
 Under the All Destinations section, search for **Inxmail**.

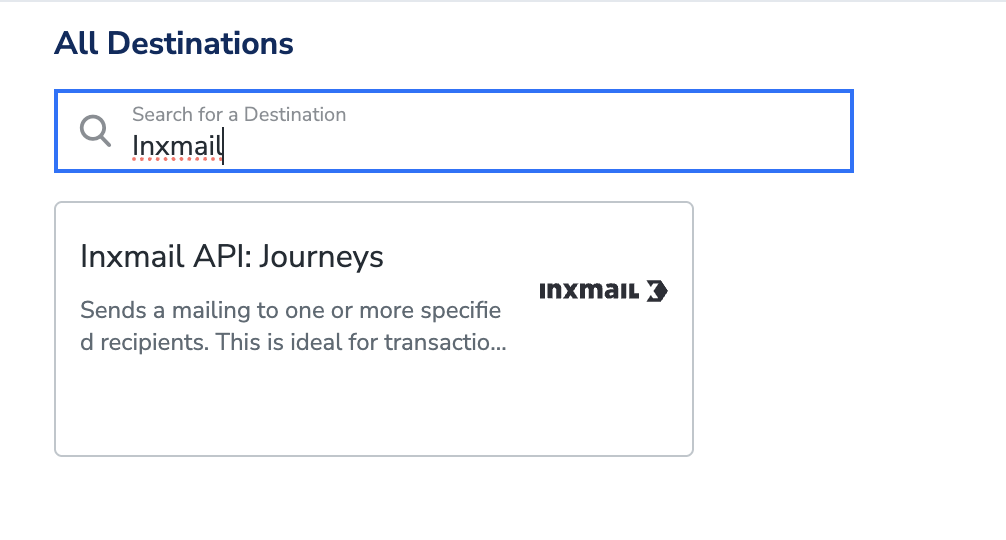 Click **Inxmail**. A screen appears displaying details about the particular destination towards the left. On the right-hand side of the screen find a list of fields that are required for the integration to be established. Enter the required details as mentioned in the following steps:
a. Enter a name for the Destination.
Click **Inxmail**. A screen appears displaying details about the particular destination towards the left. On the right-hand side of the screen find a list of fields that are required for the integration to be established. Enter the required details as mentioned in the following steps:
a. Enter a name for the Destination.
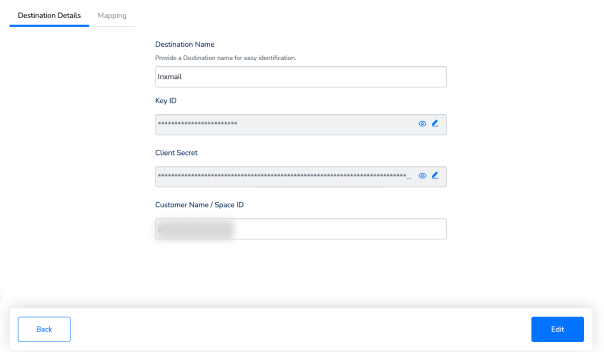 b. Enter **Key ID, Client Secret and Customer Name / Space ID** of your Inxmail instance.
c. Review all the values entered above and then click Next to proceed.
In the new screen that appears, choose the appropriate[action](/articles/integrate-customer/destinations#actionsanchor) and mapping as explained below. Under Choose your Action, choose **Events Trigger, or Send Recipients to a list, Unsubscribe recipients from a list and update recipient attributes** as the action.
You can map the following fields for **events trigger**:
b. Enter **Key ID, Client Secret and Customer Name / Space ID** of your Inxmail instance.
c. Review all the values entered above and then click Next to proceed.
In the new screen that appears, choose the appropriate[action](/articles/integrate-customer/destinations#actionsanchor) and mapping as explained below. Under Choose your Action, choose **Events Trigger, or Send Recipients to a list, Unsubscribe recipients from a list and update recipient attributes** as the action.
You can map the following fields for **events trigger**:
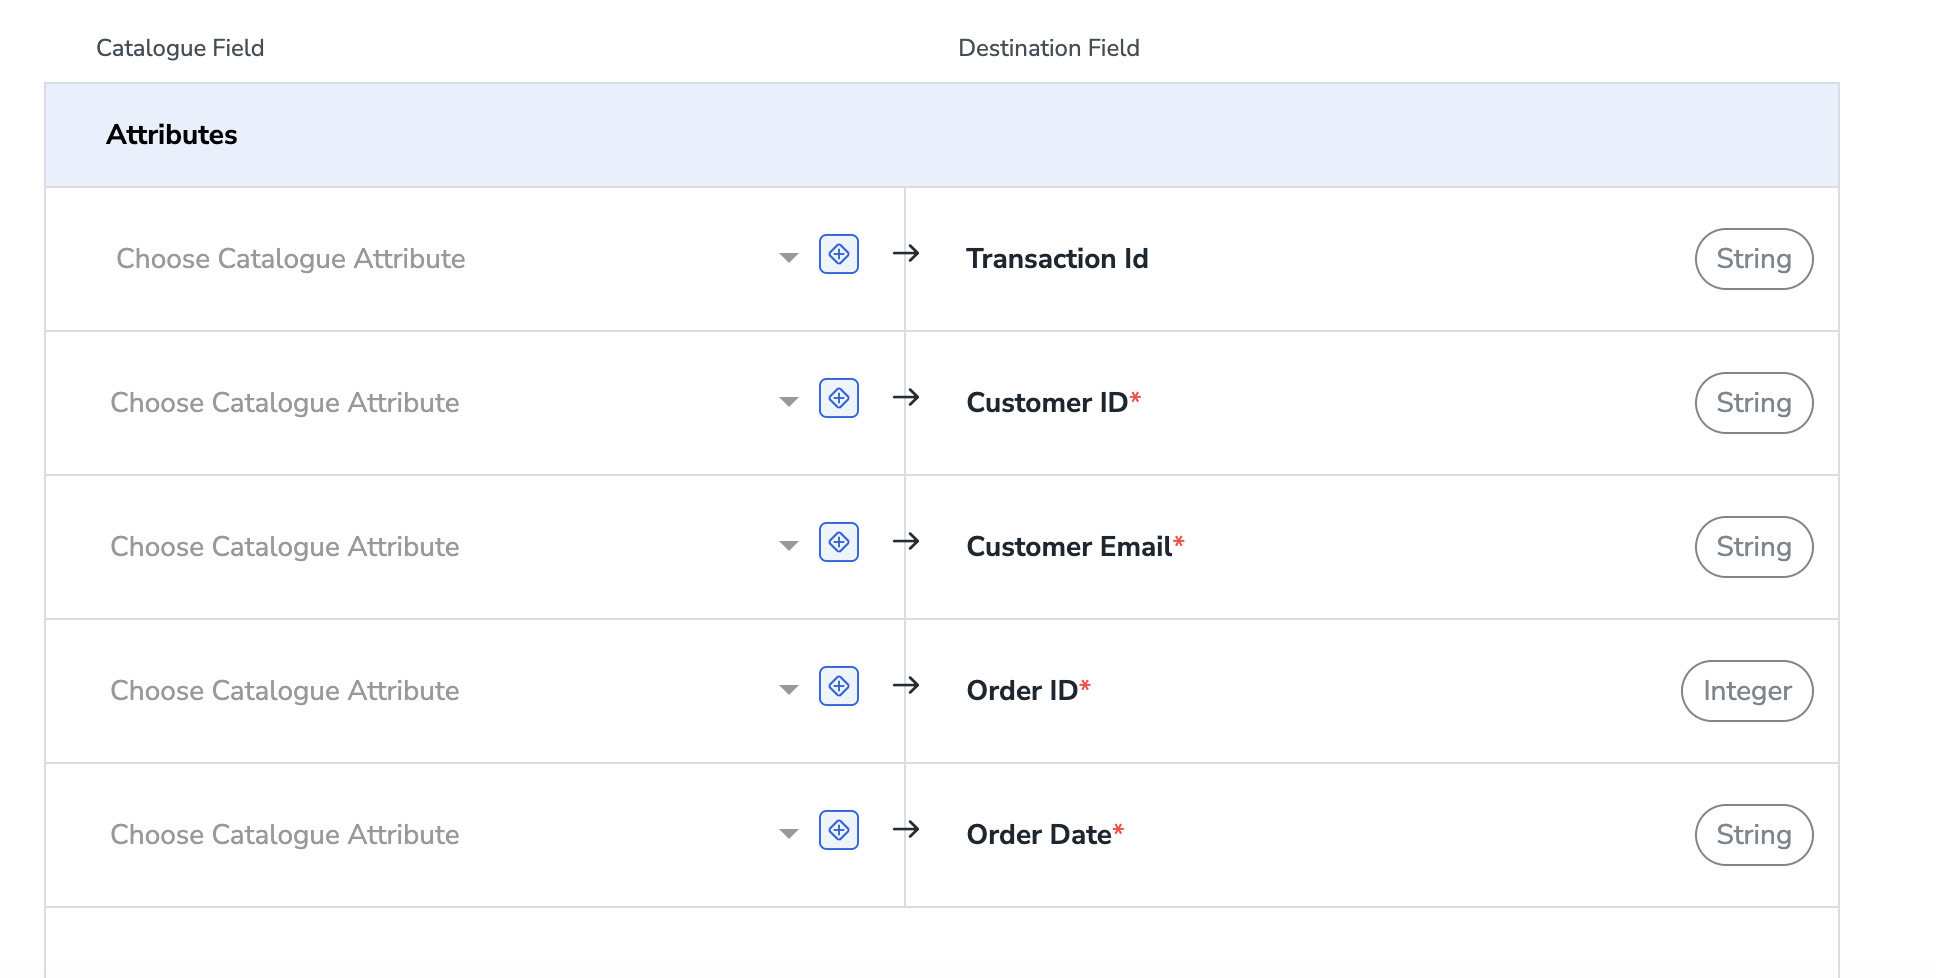
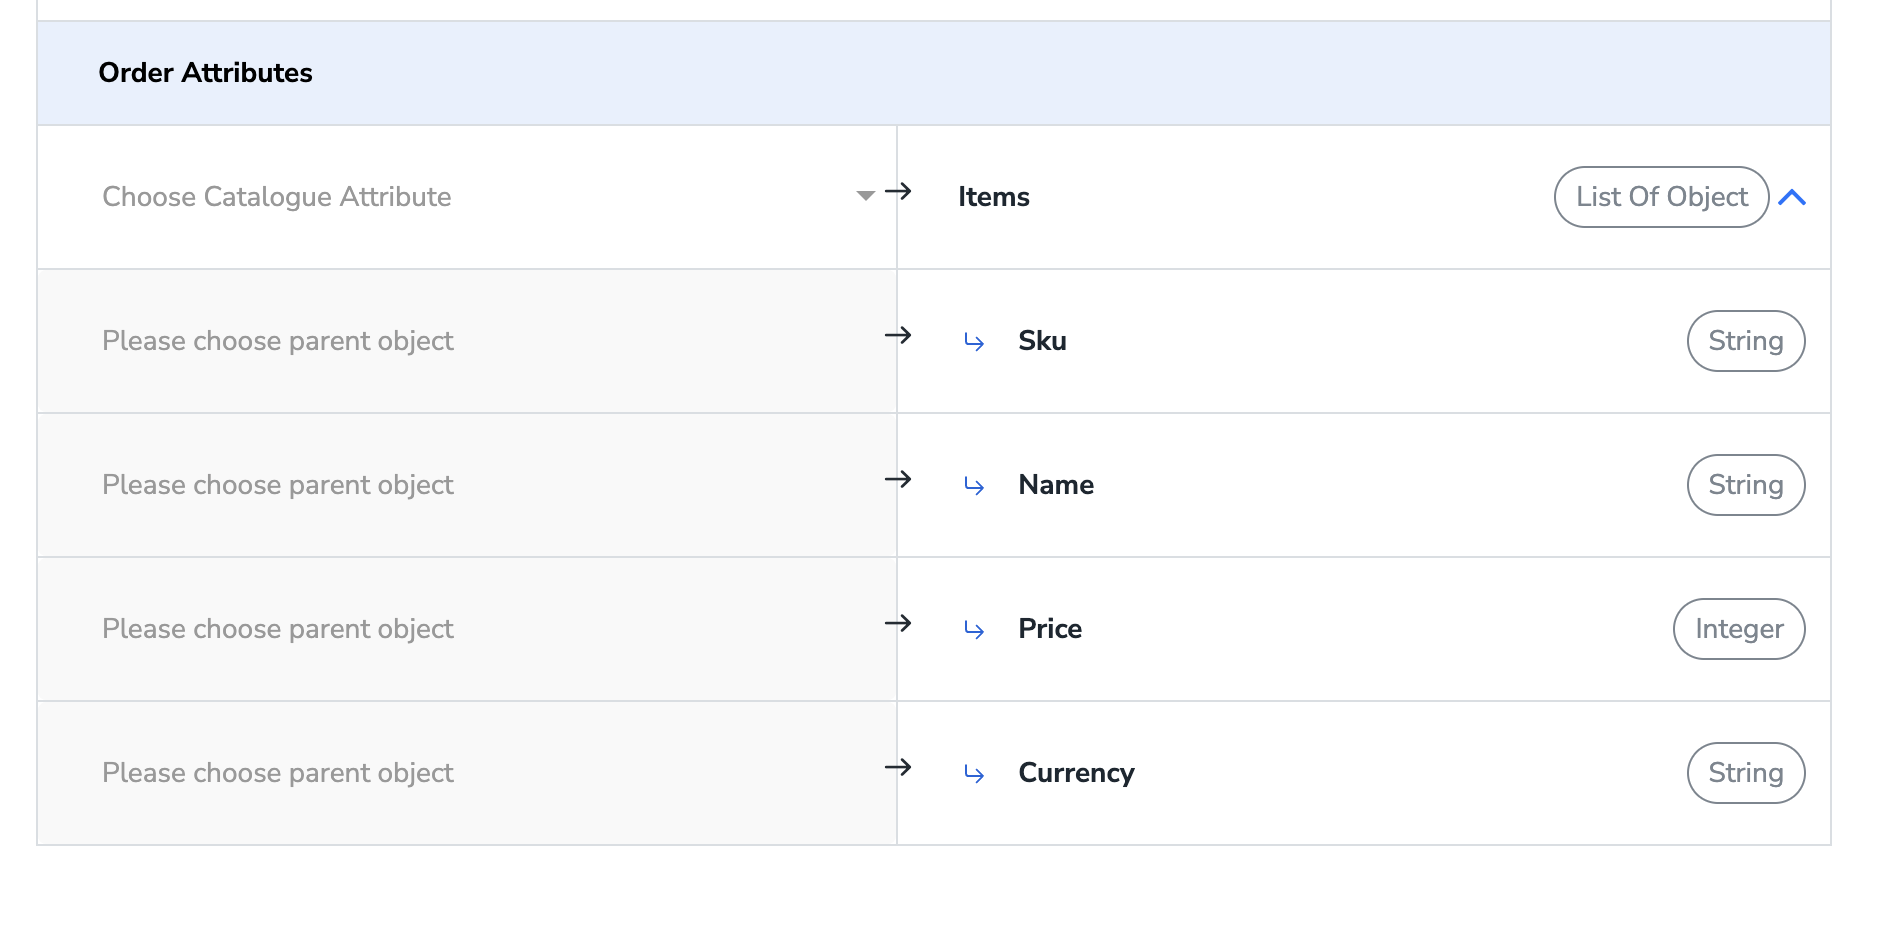 i. **Transaction ID, Customer ID, Customer Email, Order ID, Order Date**
ii. Items: **Sku, Name, Price, Currency**
You can map the following fields for**Sending Recipients to a list:**
i. **Transaction ID, Customer ID, Customer Email, Order ID, Order Date**
ii. Items: **Sku, Name, Price, Currency**
You can map the following fields for**Sending Recipients to a list:**
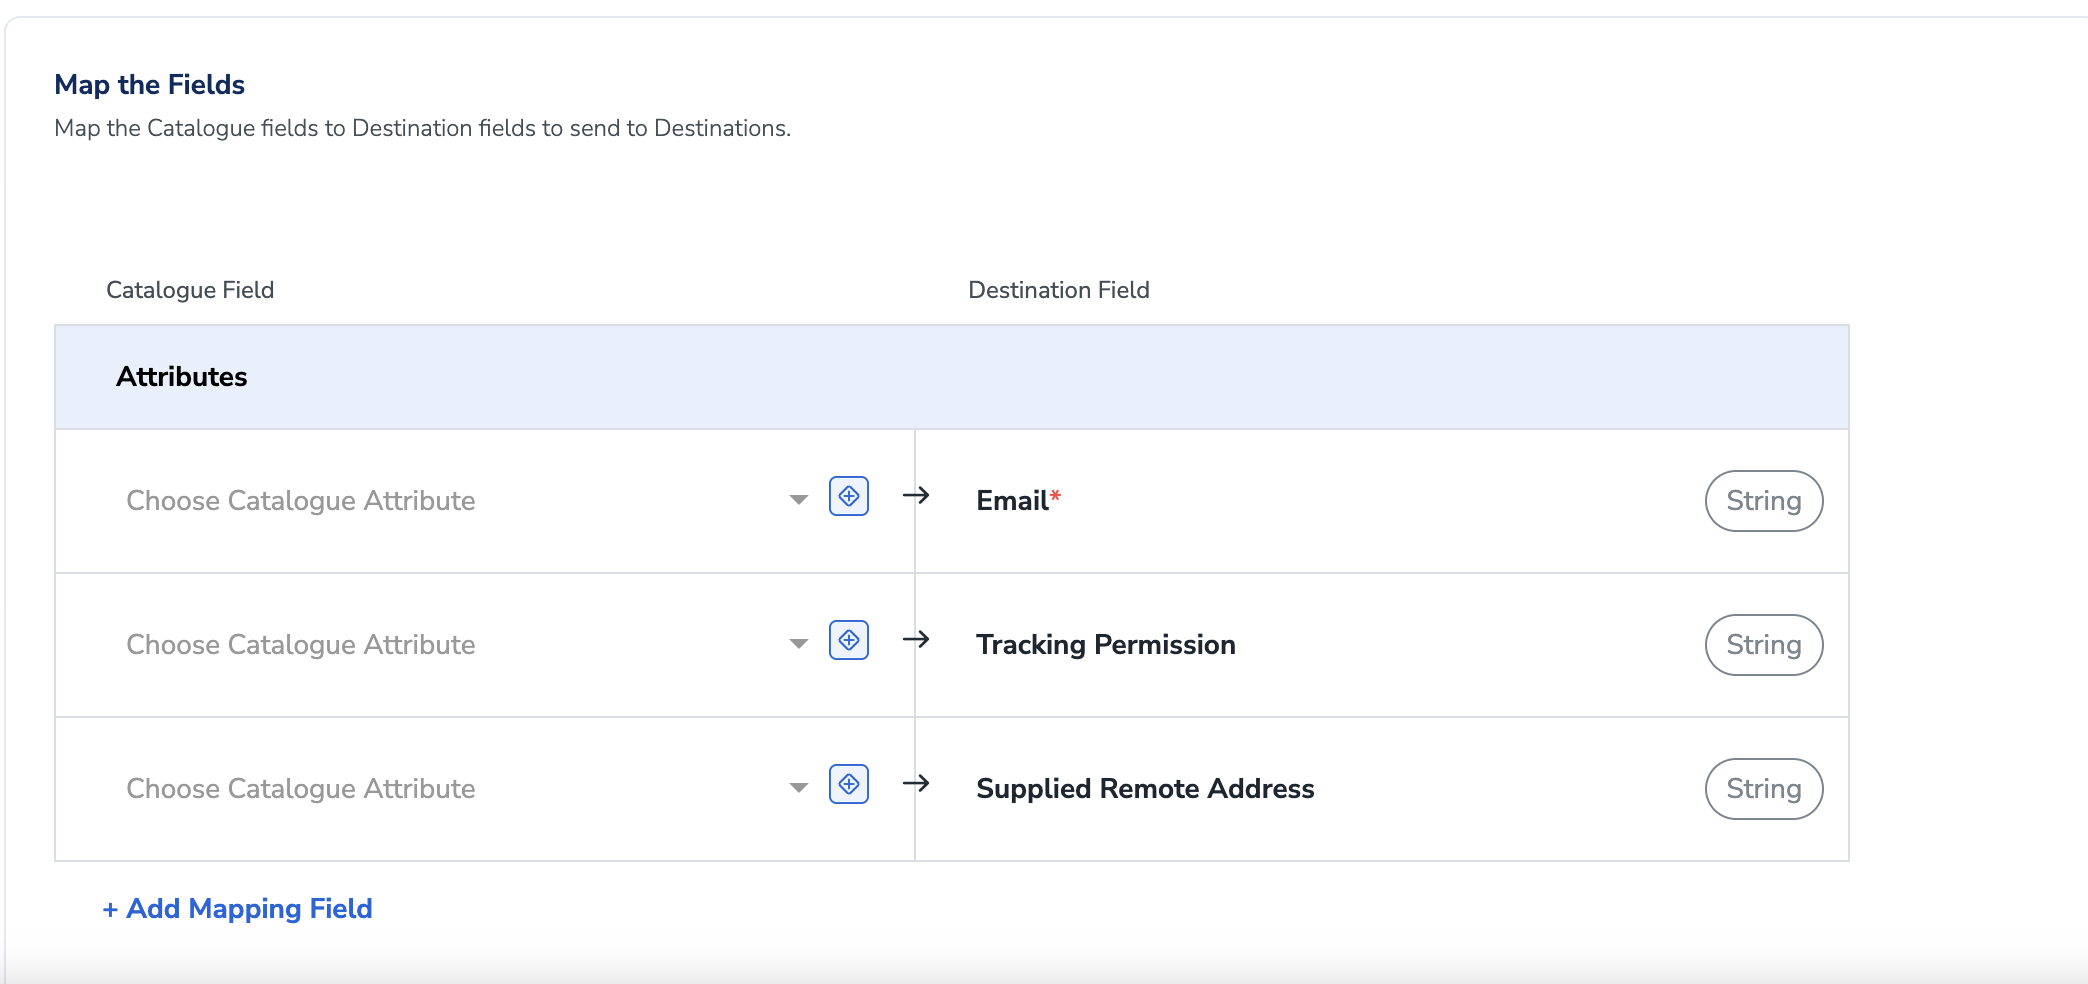 iii. Email, Tracking permission, Supplied remote address
You can map the following fields for**Unsubscribing Recipients from a list:**
iii. Email, Tracking permission, Supplied remote address
You can map the following fields for**Unsubscribing Recipients from a list:**
 iv. Email, Supplied Remote Address
You can map the following fields for**Updating Recipient Attributes:**
iv. Email, Supplied Remote Address
You can map the following fields for**Updating Recipient Attributes:**
 v. Current Recipient Email, new Recipient Email and other Recipient Attributes
Click Create Destination. The created Destination gets listed in the Journeys application, which can be linked to any particular journey.
## Activate the Destination on Journeys
After creating a destination, next, you need to link it in the Send to Destination node within the workflow, as explained below.
In the workflow, click + and choose Send to Destinations.
v. Current Recipient Email, new Recipient Email and other Recipient Attributes
Click Create Destination. The created Destination gets listed in the Journeys application, which can be linked to any particular journey.
## Activate the Destination on Journeys
After creating a destination, next, you need to link it in the Send to Destination node within the workflow, as explained below.
In the workflow, click + and choose Send to Destinations.
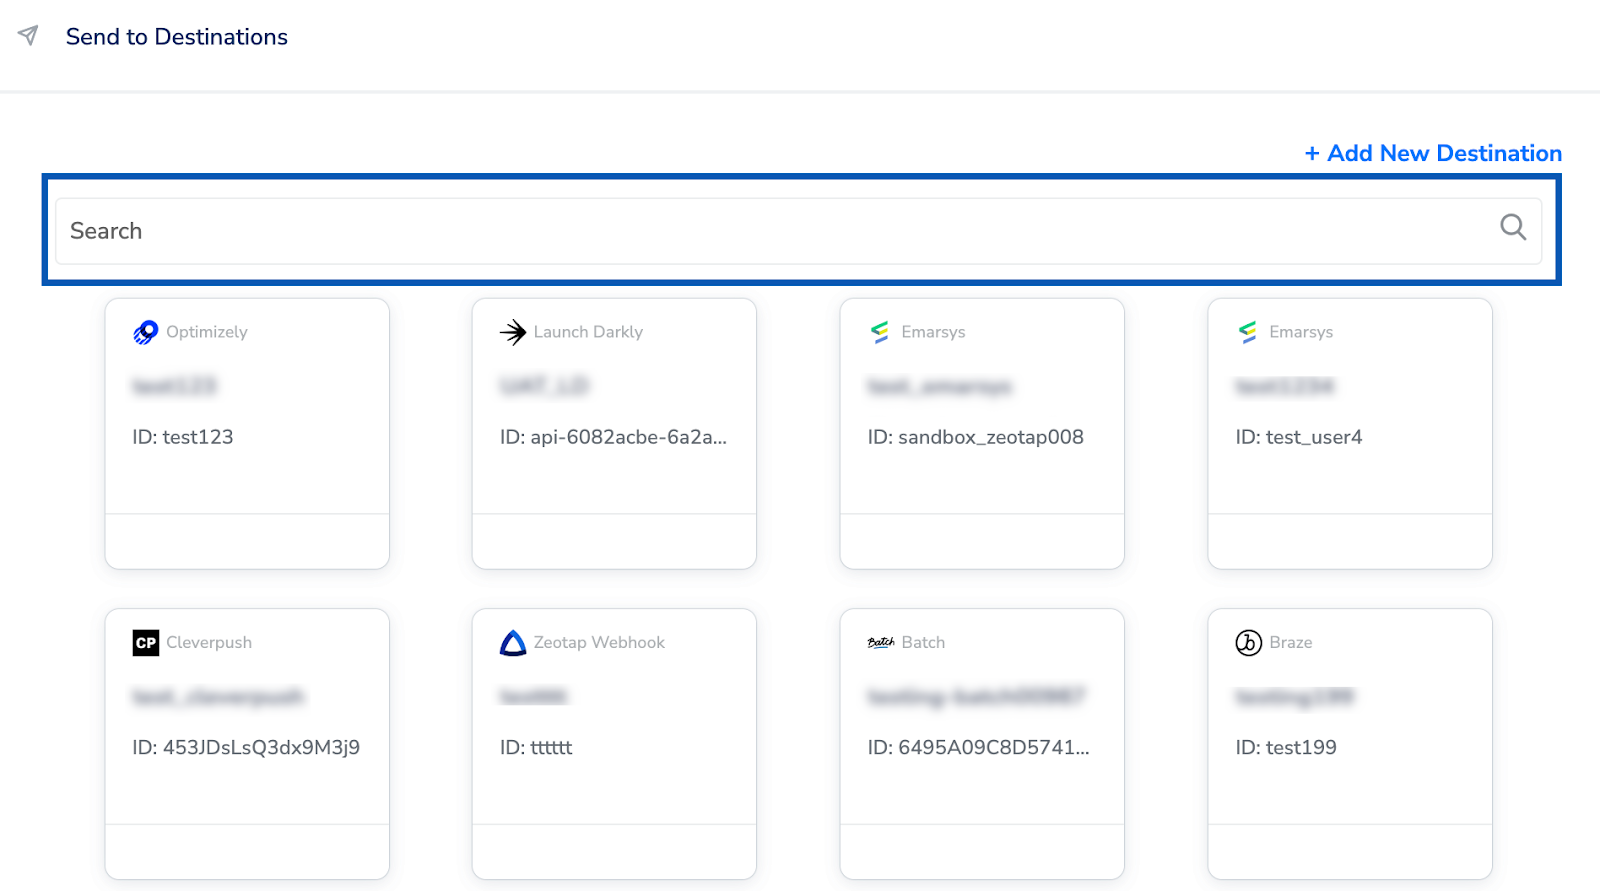
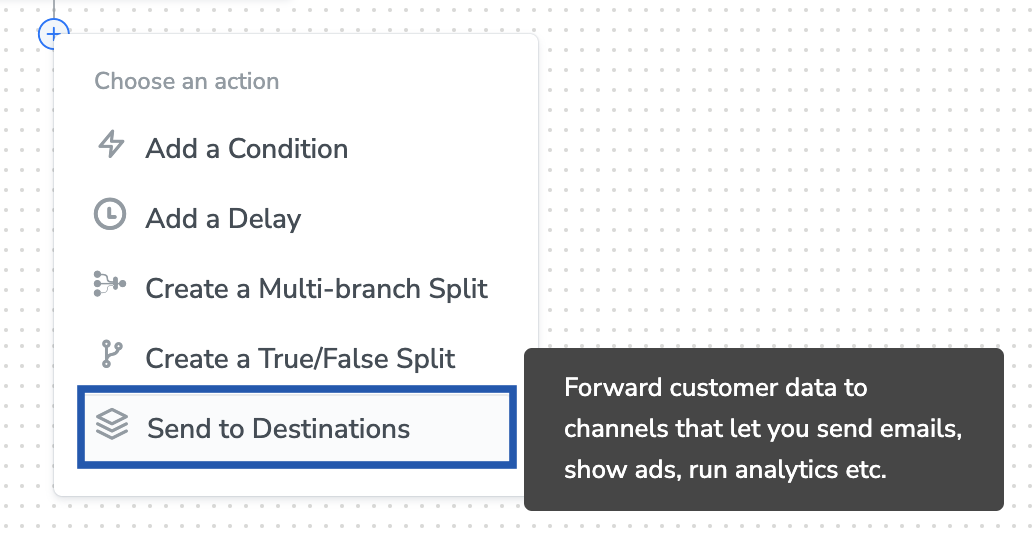 Choose the destination from the list of available destinations by using the search feature.
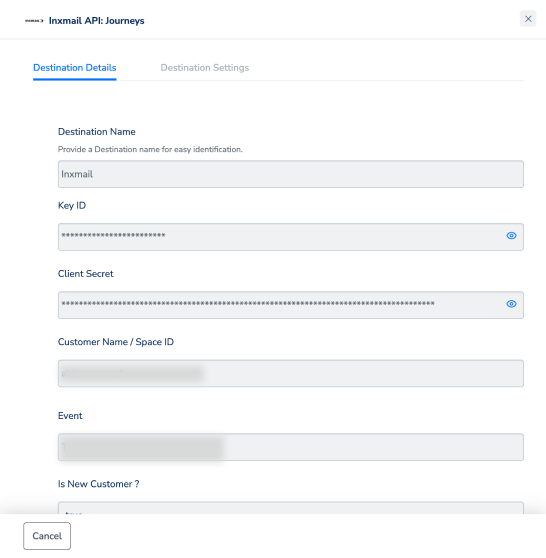
 Under the Destination Details tab, the **Key ID, Client Secret** and **Customer Name / Space ID** fields are automatically populated based on the value that you have entered while creating the destination.
Some Journey Level Inputs will not be used for all actions. For example: while sending an event to Inxmail commerce 'list ID' will not be used.
Vice-versa is true for Inxmail Professional action.
Under the Destination Details tab, the **Key ID, Client Secret** and **Customer Name / Space ID** fields are automatically populated based on the value that you have entered while creating the destination.
Some Journey Level Inputs will not be used for all actions. For example: while sending an event to Inxmail commerce 'list ID' will not be used.
Vice-versa is true for Inxmail Professional action.
 Under the Destination Settings tab, choose the **Event name(String), List ID(Integer)** and **New User(Boolean)** as per your requirement.
Upon clicking Save Destination. The destination is attached as shown in the image below.
Under the Destination Settings tab, choose the **Event name(String), List ID(Integer)** and **New User(Boolean)** as per your requirement.
Upon clicking Save Destination. The destination is attached as shown in the image below.