> ## Documentation Index
> Fetch the complete documentation index at: https://docs.zeotap.com/llms.txt
> Use this file to discover all available pages before exploring further.
# Integrate
> The Integrate module within Zeotap CDP streamlines the convergence of diverse data origins onto one cohesive platform, delivering a harmonised perspective of customers. Comprising Sources and Destinations as integral sub-modules, Integrate facilitates the collection, integration, and secure transmission of enriched customer data.
[Sources](/articles/integrate-customer/sources) centralises information from multichannel touchpoints and systems, fueling personalised marketing endeavours. whereas, [Destinations](/articles/integrate-customer/destinations) empowers efficient data conveyance to external platforms, such as DSPs and DMPs, for targeted campaigns.
## Get Started with Integrate
To get started with the Integrate module, follow the step-by-step process outlined:
**Note:**
*Ensure to obtain initial customer information as detailed in the [Before you Begin](/articles/get-started-guide/prerequisites) section of the [Get Started Guide](/articles/get-started-guide/getting-started) before getting started with Integrate.*
### Step-by-Step Process
To get started with Zeotap CDP, begin by [creating a new source](/articles/integrate-customer/creating-a-source) in the [Sources](/articles/integrate-customer/sources) module. You must also select a source category and source type that align with your specific needs and create the source accordingly. For more information about how to create sources for different categories, refer [here](/articles/integrate-customer/creating-a-source).
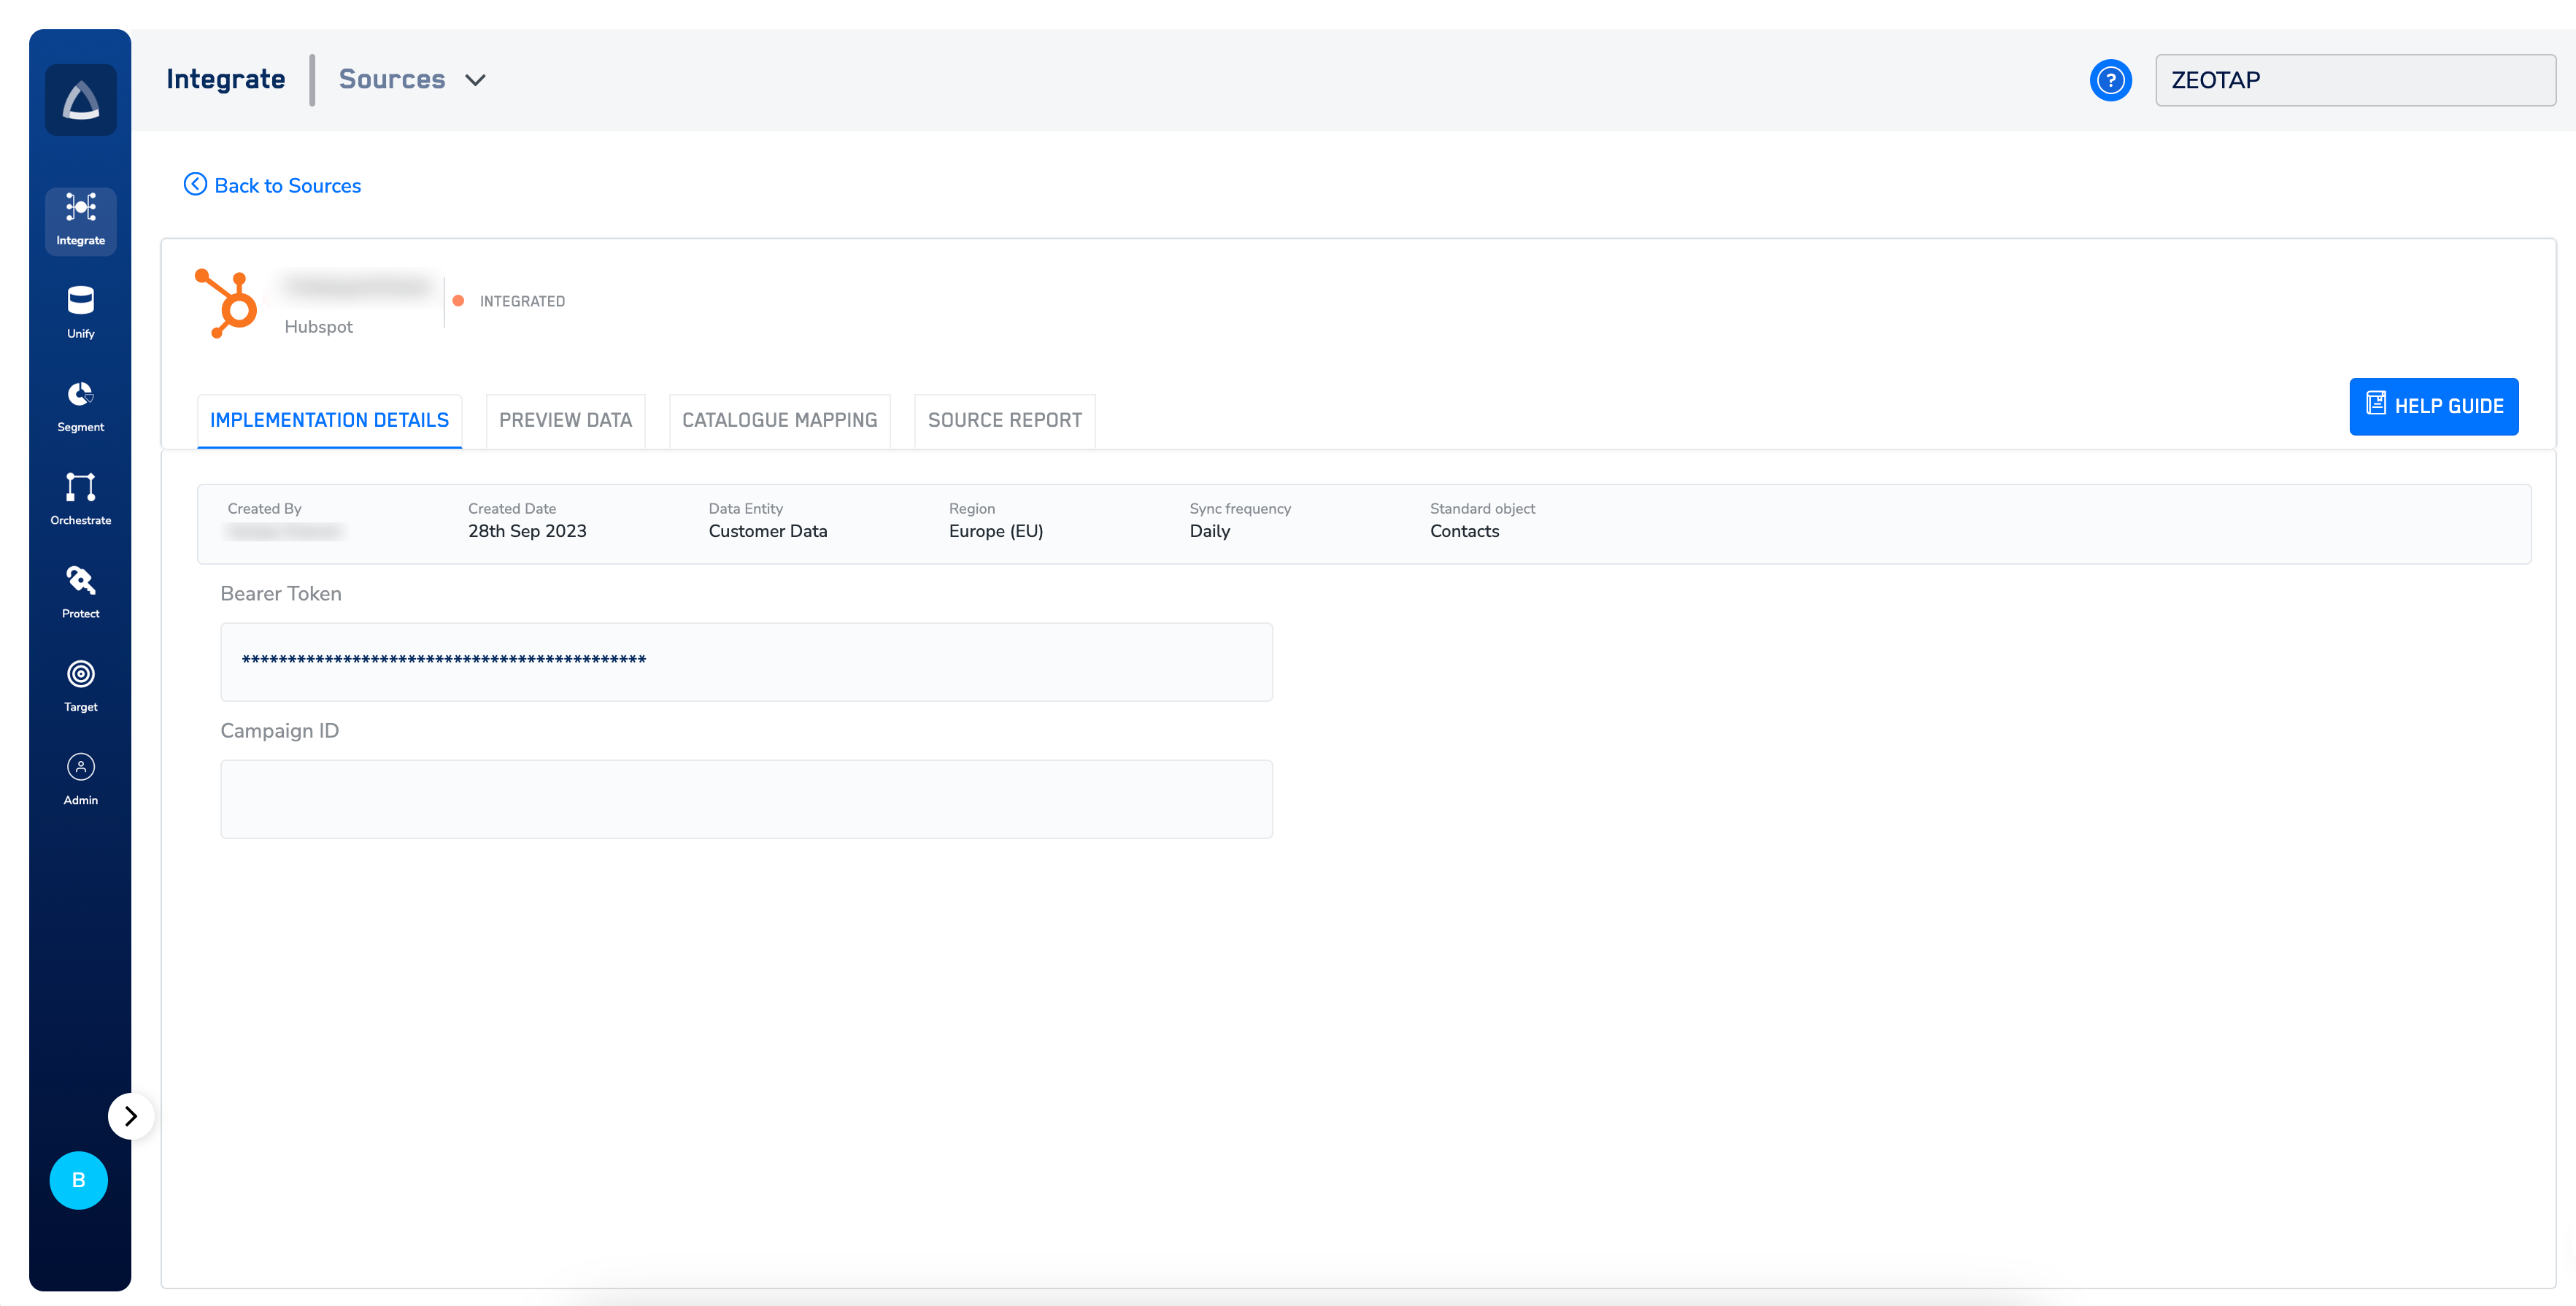
Once the source is created, proceed with its implementation. Refer to the step-by-step instructions provided in the Implementation guide tailored to the chosen Source Type. You can download this document from the **IMPLEMENTATION DETAILS** tab of the source that you created.
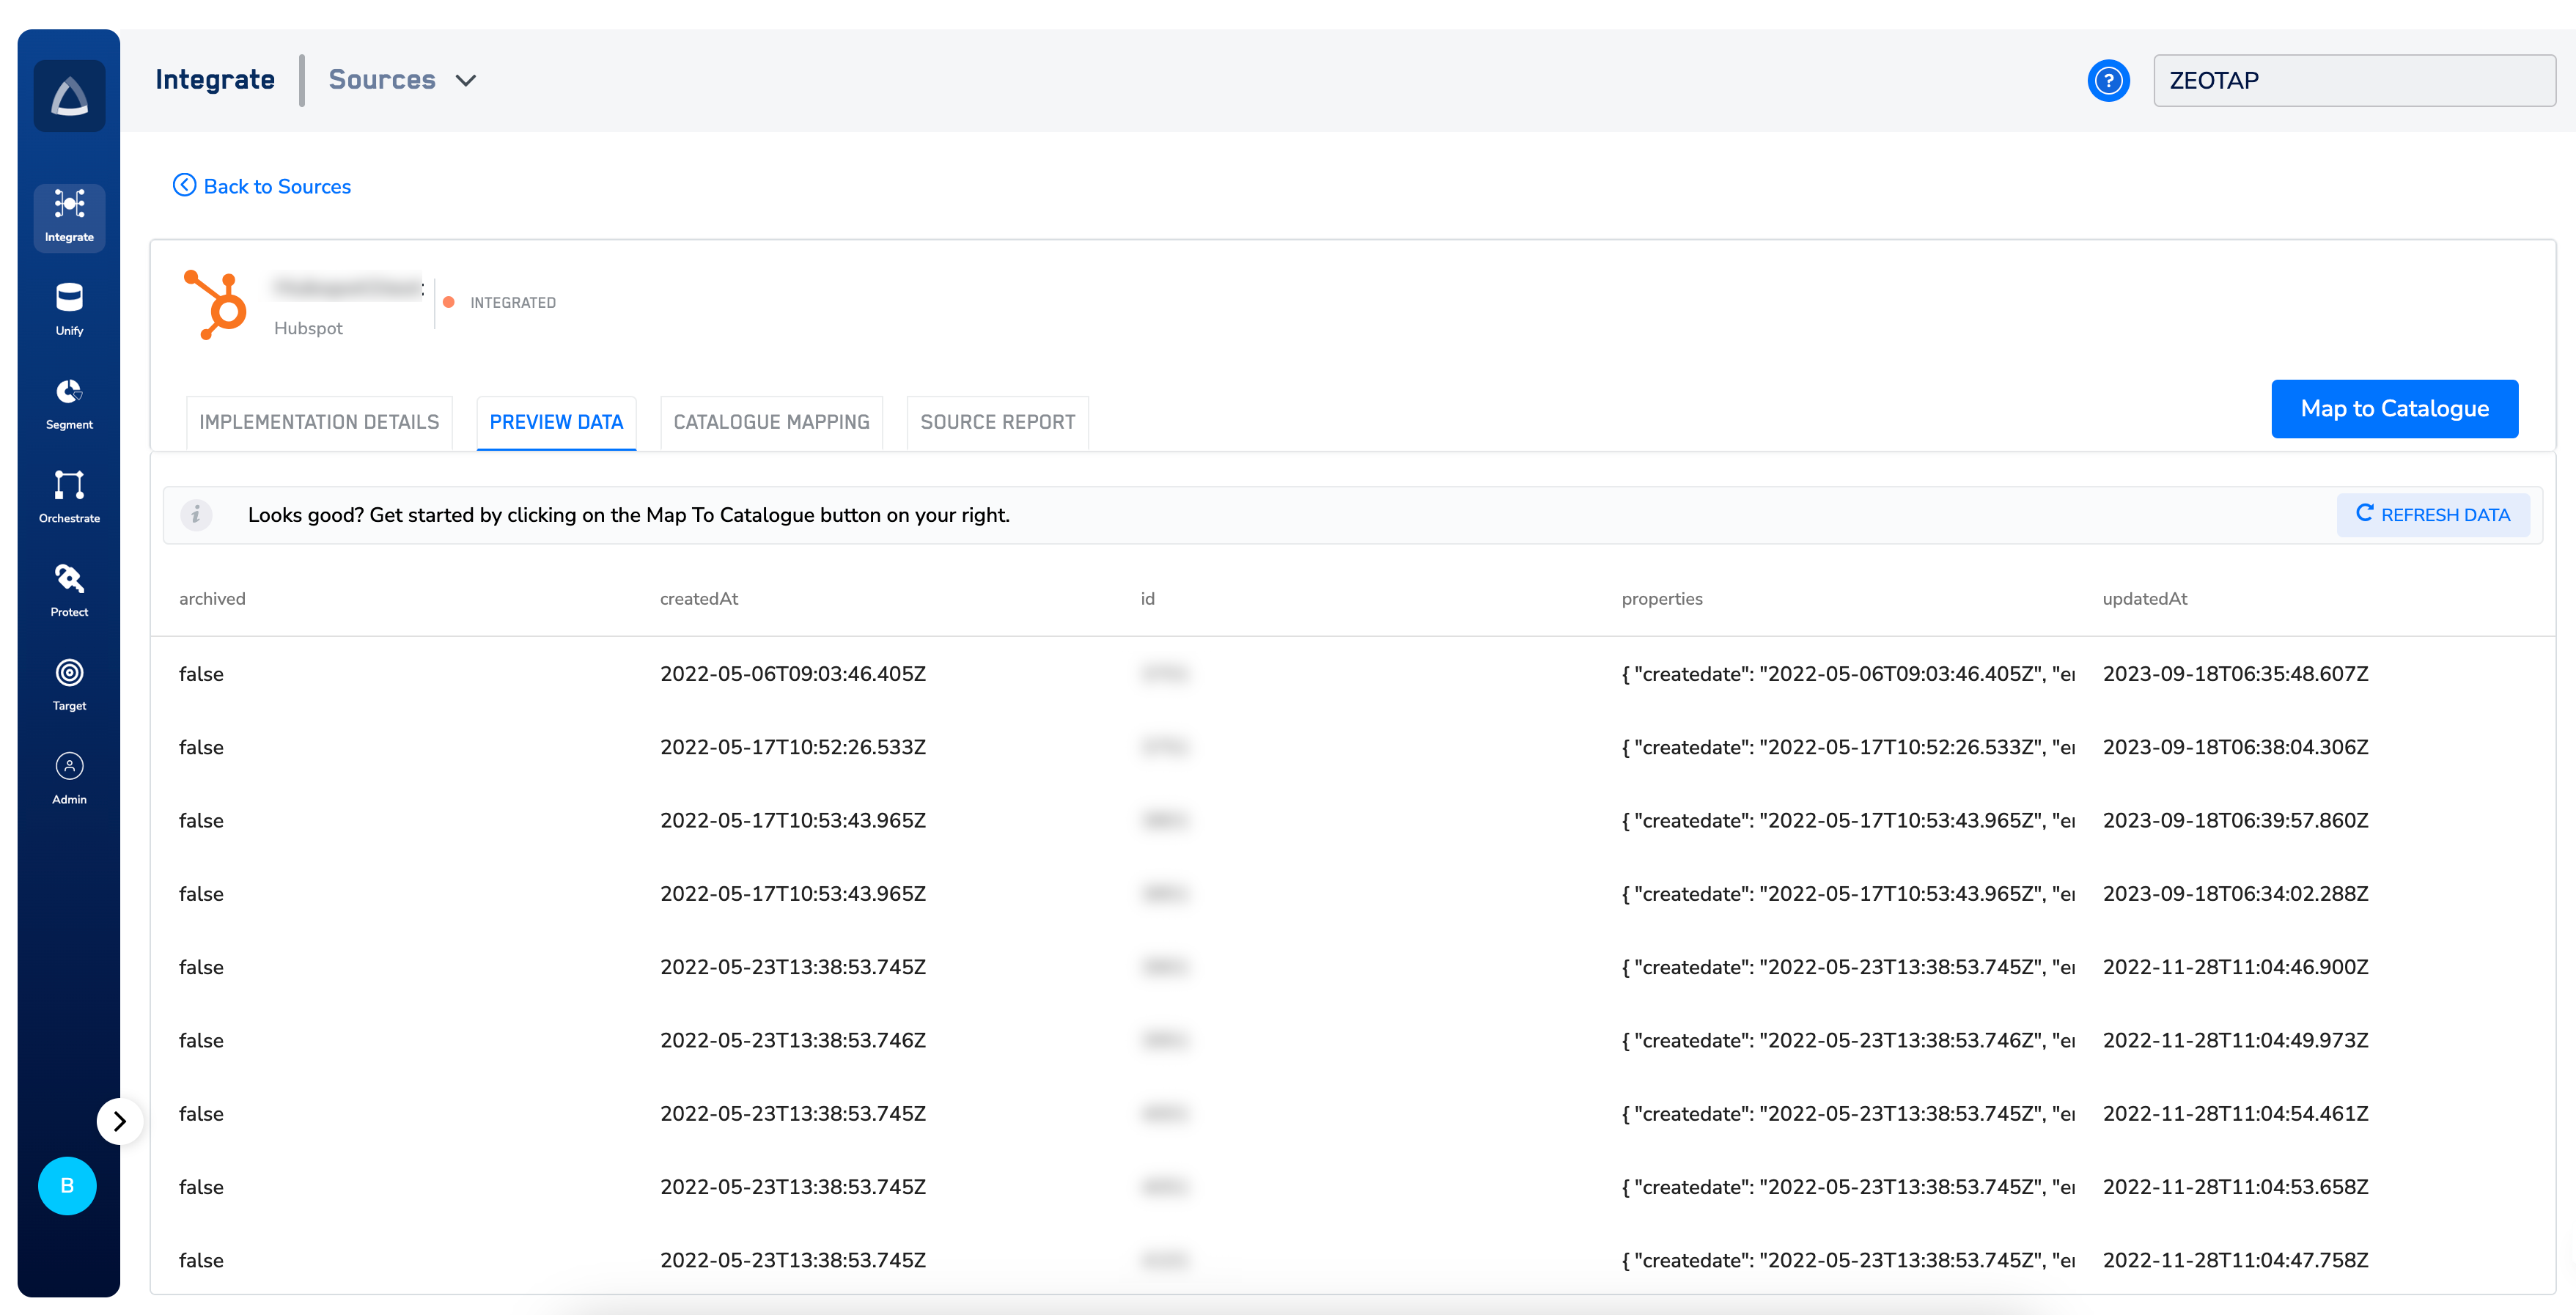
 After implementation, you can examine the data that has been received into the system under the **PREVIEW DATA**tab. Note that once the data starts flowing into the system, the status of the source changes to *Integrated*.
 **Note:**
If no data is ingested, then a message stating “\*We haven’t received any data yet. please check again later and ensure thatthe source is implemented correctly. In case of any issues, contact [*support@zeotap.com*](mailto:support@zeotap.com)” message appears on the screen.
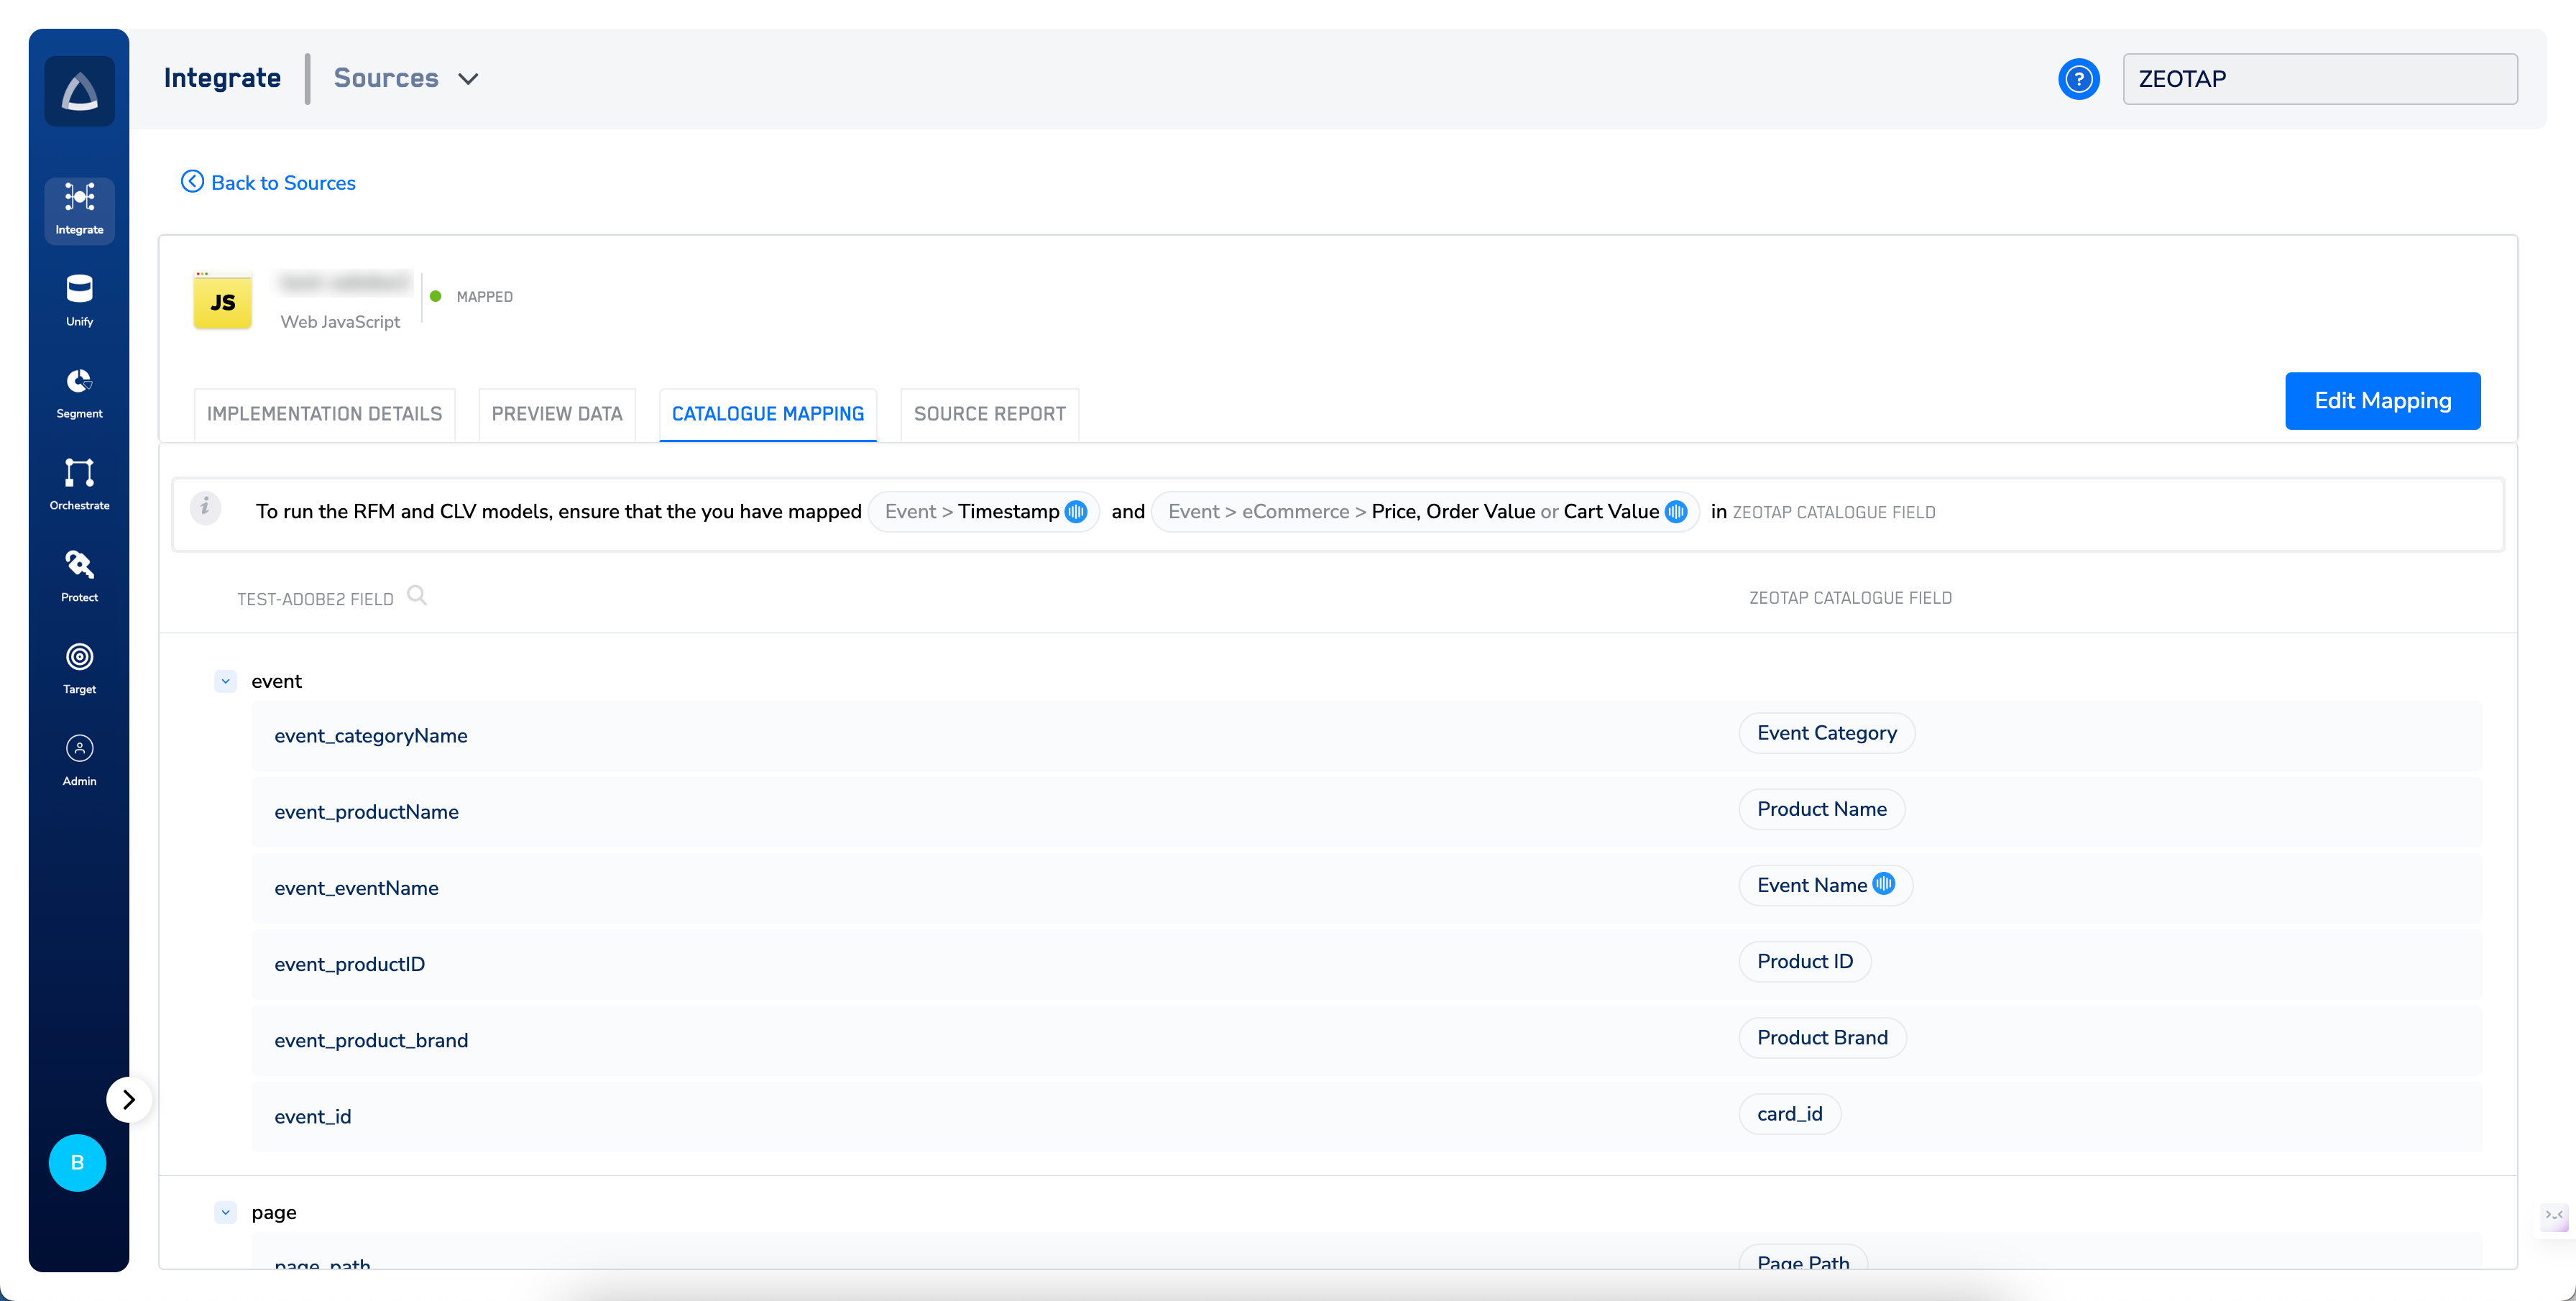
This is the stage in which you can standardise the incoming data to a single organisational-level catalogue by mapping and applying the required data transformations. Ensure that your ingested data such as identifiers, traits, consent, events and more are appropriately mapped against the fields available in the Zeotap catalogue. This ensures the structuring the data flow efficiently. You can map the ingested fields to the Catalogue fields by clicking **MAP TO CATALOGUE** under **CATALOGUE MAPPING**. For more information about the types of data that you can map and for detailed steps of mapping, refer [here](https://docs.zeotap.com/smart/project-unify/map-the-catalogue).
**Note:**
If no data is ingested, then a message stating “\*We haven’t received any data yet. please check again later and ensure thatthe source is implemented correctly. In case of any issues, contact [*support@zeotap.com*](mailto:support@zeotap.com)” message appears on the screen.
This is the stage in which you can standardise the incoming data to a single organisational-level catalogue by mapping and applying the required data transformations. Ensure that your ingested data such as identifiers, traits, consent, events and more are appropriately mapped against the fields available in the Zeotap catalogue. This ensures the structuring the data flow efficiently. You can map the ingested fields to the Catalogue fields by clicking **MAP TO CATALOGUE** under **CATALOGUE MAPPING**. For more information about the types of data that you can map and for detailed steps of mapping, refer [here](https://docs.zeotap.com/smart/project-unify/map-the-catalogue).
 **Note:**
You can only map a source that has moved to the *Integrated* state. Once the mapping is successfully done, then the Source transitions to *Mapped* state. Post this state, the file/data dropped against this sources will be resolved and ingested into your Zeotap system.
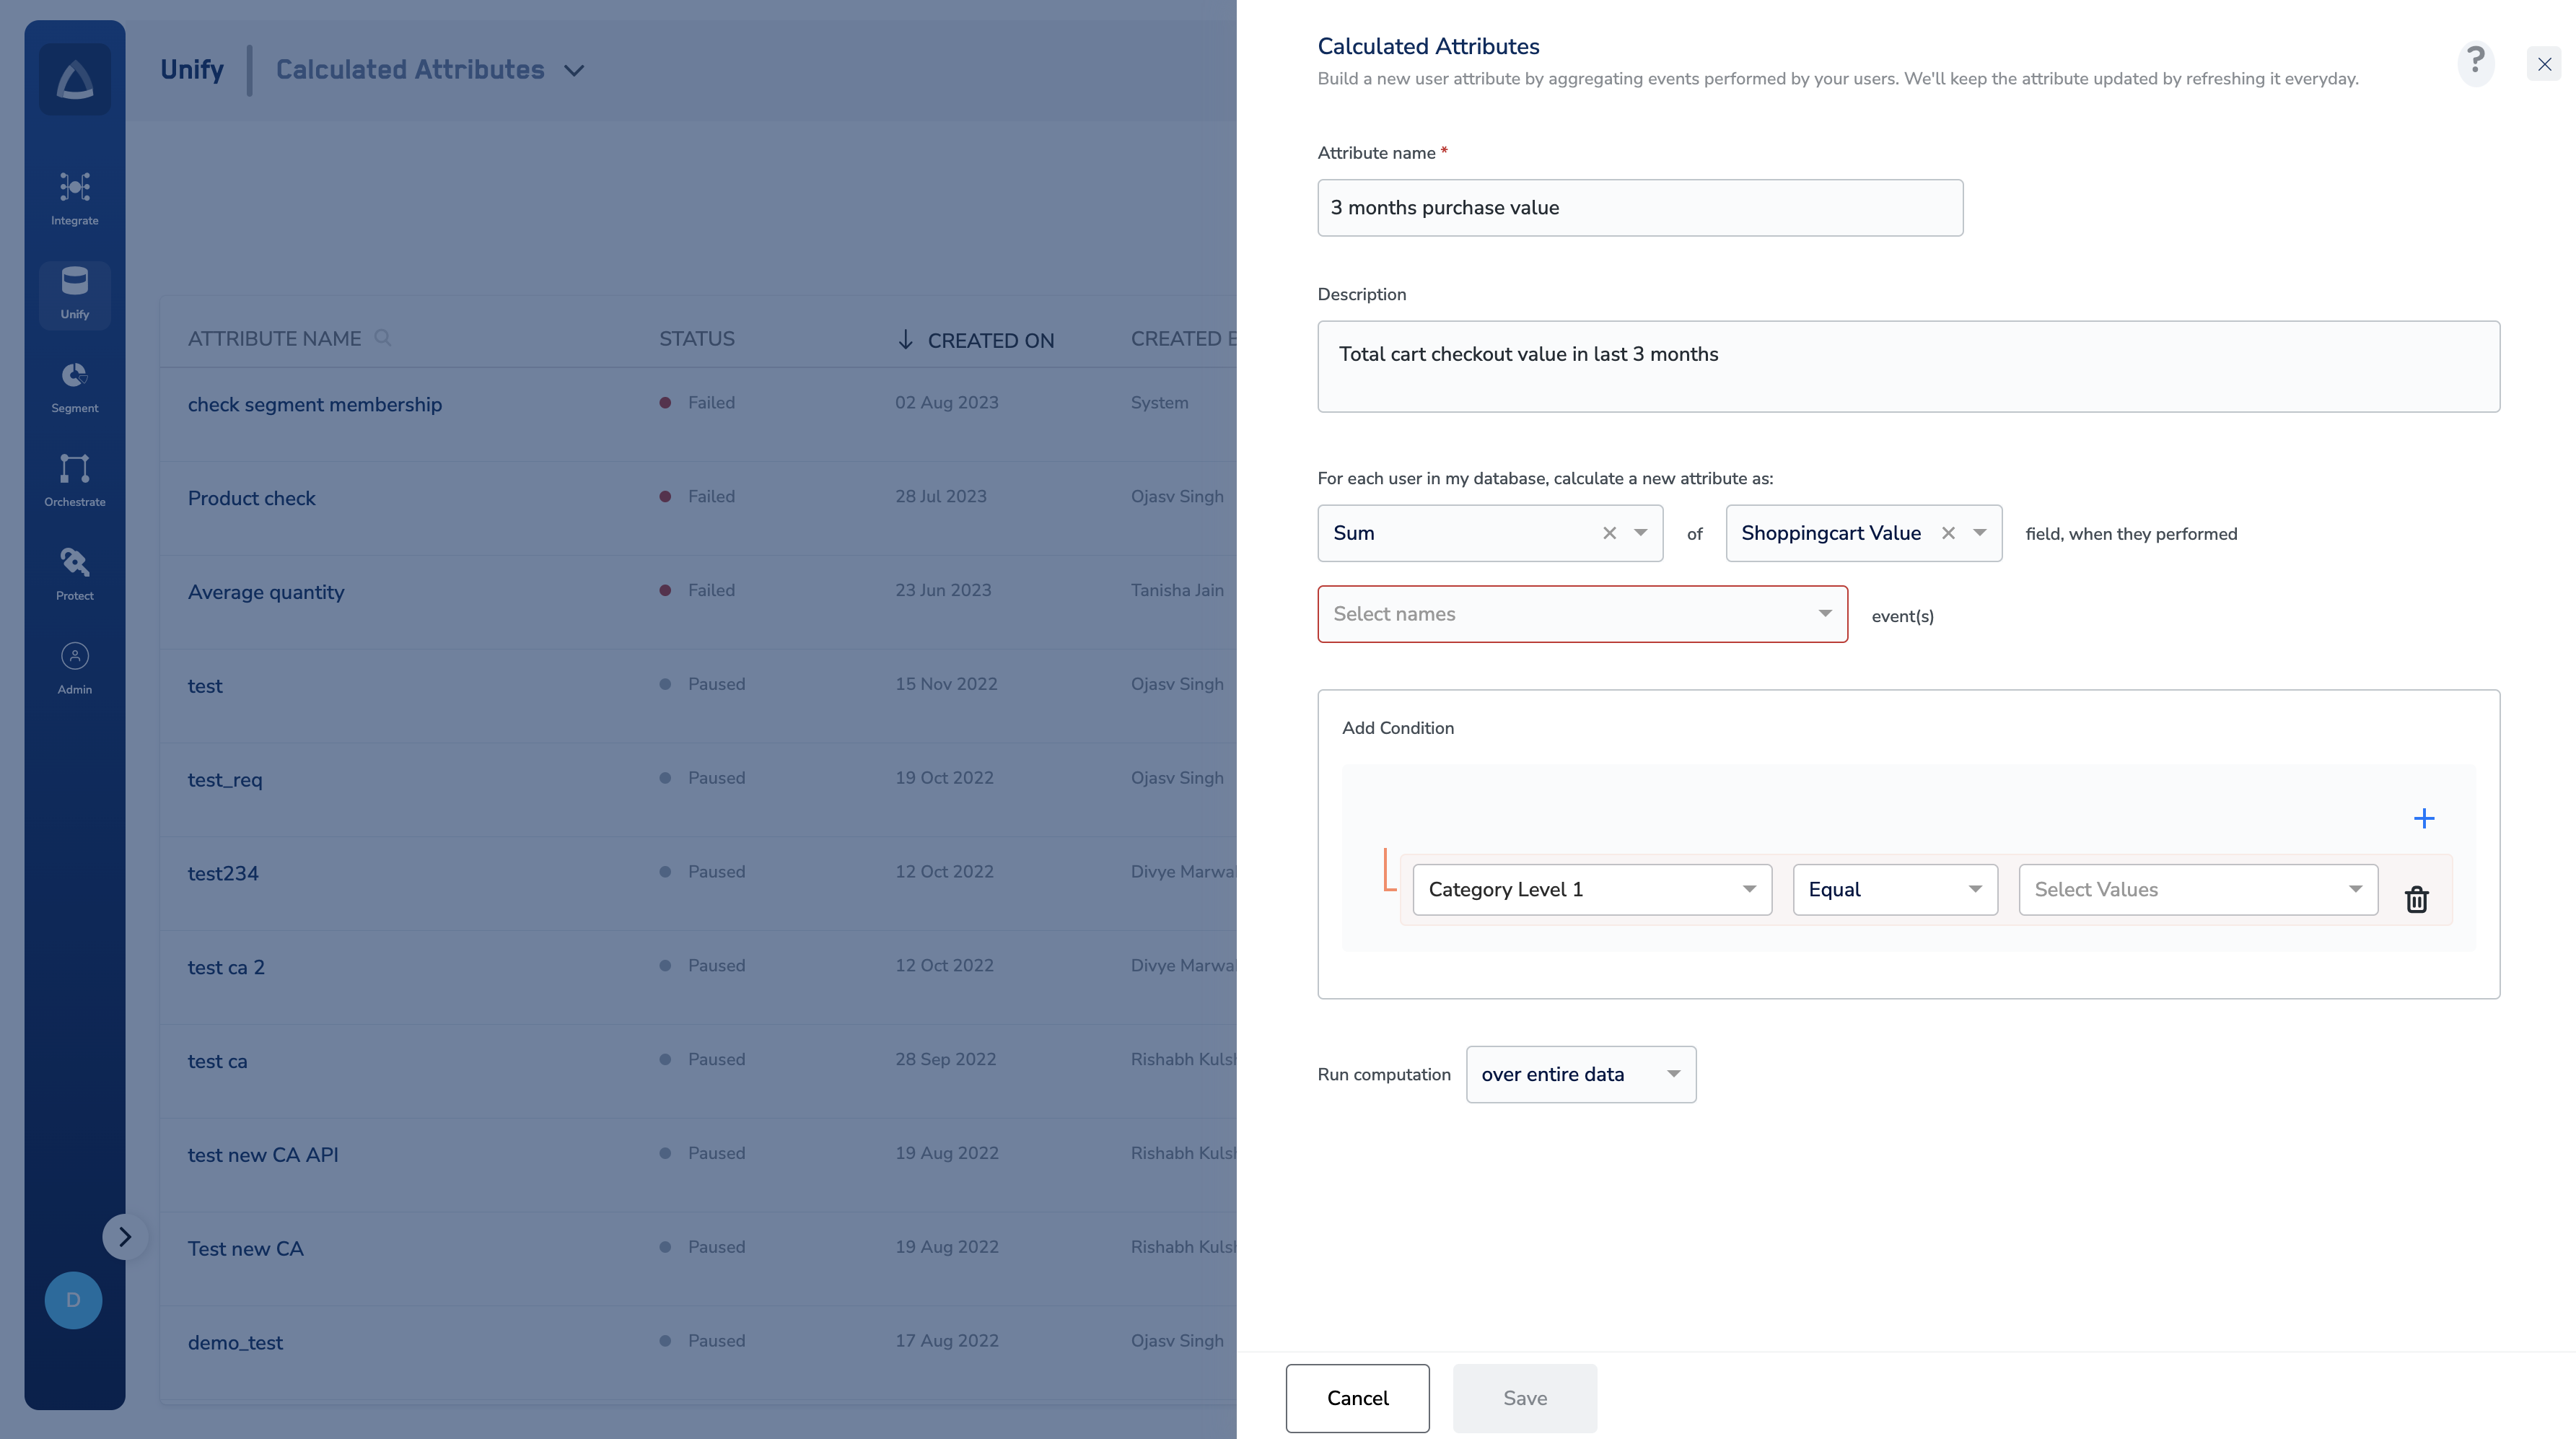
This step allows you to derive user-level insights by aggregating your users' isolated actions. You can then use this data to create more powerful customer cohorts.
As a marketer, you can use calculated attributes to create new attributes for a user by aggregating their event data over a specific time period. For example, `90_day_revenue` of a user, `1_week_page_views` to check the engagement of a user, `units_purchased` by a user for a specific category like T-shirts.
These calculated attributes are used as segmenting criteria and can then be forwarded to different integrations. For example, in a workflow, you can define High Spenders as users with `90_day_revenue` > `€500` or Low Engagement Users by putting `1_week_page_views` \< 5 criteria. For more information about Calculated Attributes, refer [here](https://docs.zeotap.com/smart/project-unify/calculated-attributes).
**Note:**
You can only map a source that has moved to the *Integrated* state. Once the mapping is successfully done, then the Source transitions to *Mapped* state. Post this state, the file/data dropped against this sources will be resolved and ingested into your Zeotap system.
This step allows you to derive user-level insights by aggregating your users' isolated actions. You can then use this data to create more powerful customer cohorts.
As a marketer, you can use calculated attributes to create new attributes for a user by aggregating their event data over a specific time period. For example, `90_day_revenue` of a user, `1_week_page_views` to check the engagement of a user, `units_purchased` by a user for a specific category like T-shirts.
These calculated attributes are used as segmenting criteria and can then be forwarded to different integrations. For example, in a workflow, you can define High Spenders as users with `90_day_revenue` > `€500` or Low Engagement Users by putting `1_week_page_views` \< 5 criteria. For more information about Calculated Attributes, refer [here](https://docs.zeotap.com/smart/project-unify/calculated-attributes).
 Upon successfully [creating a source and ingesting your data](/articles/integrate-customer/creating-a-source) into the Zeotap system, the next step involves [unifying this data](https://docs.zeotap.com/smart/project-unify/unify) by [mapping it to the corresponding fields on the Catalogue](https://docs.zeotap.com/smart/project-unify/map-the-catalogue). Subsequently, you can proceed to create a cohort of customers, commonly referred to as [Audience](https://docs.zeotap.com/smart/project-segment/create-an-audience) as per your use case. This Audience can be further refined by [applying specific criteria](https://docs.zeotap.com/smart/project-segment/apply-attributes-to-your-audience).
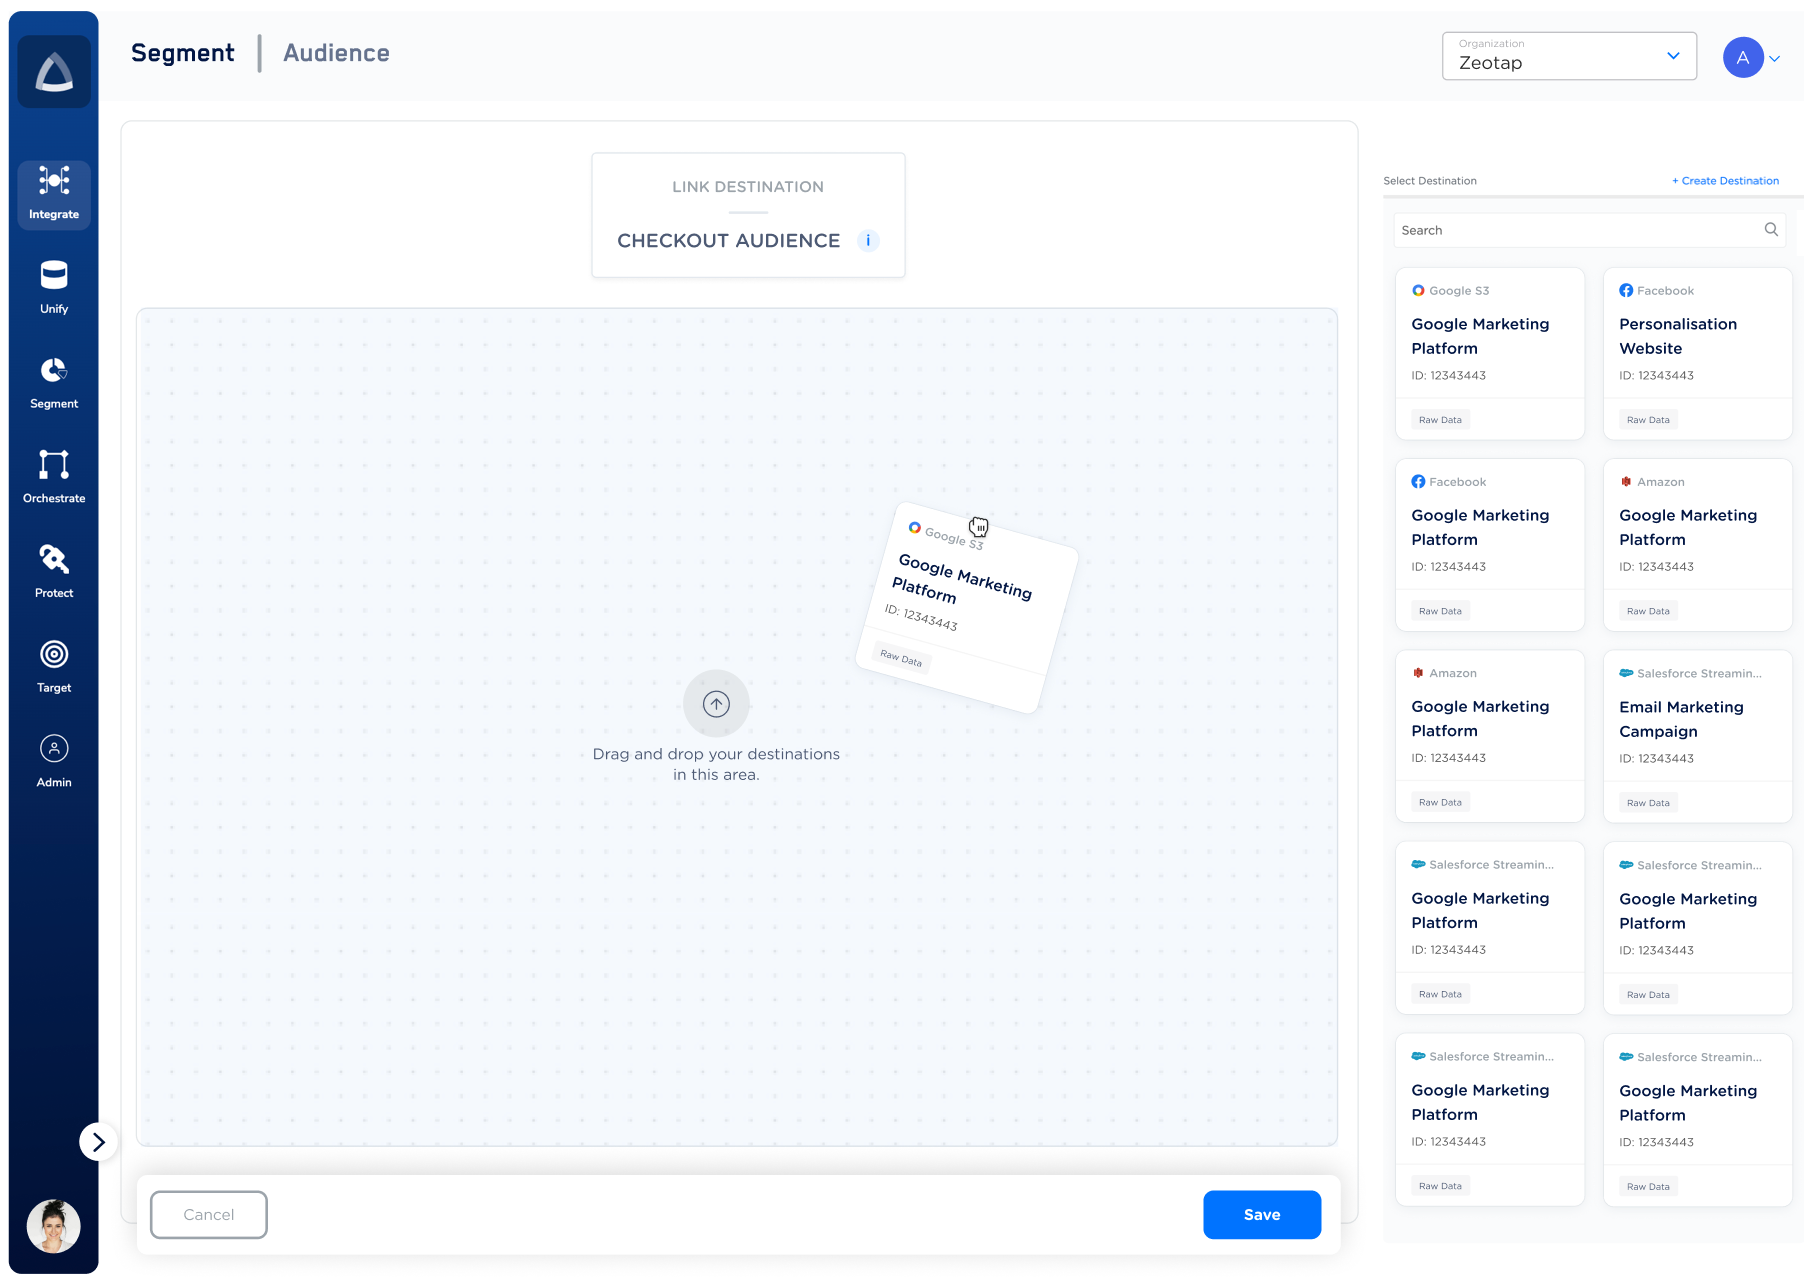
Once your Audience is well-defined, you can then activate it on a designated Destination. To know more about how to activate the Audience on the Destination, refer [here](/articles/segment-customer/activate-your-audience).
Upon successfully [creating a source and ingesting your data](/articles/integrate-customer/creating-a-source) into the Zeotap system, the next step involves [unifying this data](https://docs.zeotap.com/smart/project-unify/unify) by [mapping it to the corresponding fields on the Catalogue](https://docs.zeotap.com/smart/project-unify/map-the-catalogue). Subsequently, you can proceed to create a cohort of customers, commonly referred to as [Audience](https://docs.zeotap.com/smart/project-segment/create-an-audience) as per your use case. This Audience can be further refined by [applying specific criteria](https://docs.zeotap.com/smart/project-segment/apply-attributes-to-your-audience).
Once your Audience is well-defined, you can then activate it on a designated Destination. To know more about how to activate the Audience on the Destination, refer [here](/articles/segment-customer/activate-your-audience).
 ## Related Topics
For information about all the Sources and Destinations supported by Zeotap CDP, refer [here](https://docs.zeotap.com/smart/project-integrations-master-list/integrations-master-list).
## Related Topics
For information about all the Sources and Destinations supported by Zeotap CDP, refer [here](https://docs.zeotap.com/smart/project-integrations-master-list/integrations-master-list).