> ## Documentation Index
> Fetch the complete documentation index at: https://docs.zeotap.com/llms.txt
> Use this file to discover all available pages before exploring further.
# Google Ad Manager
**Important Notice:**
To ensure compliance with the [EU user consent policy](https://www.google.com/about/company/user-consent-policy/) and continue accessing Customer Match within the European Economic Area (EEA), Google is enhancing its enforcement measures. Google requires its partners to update to the latest `Google Ads API v15` and begin transmitting consent signals for users in the EEA region. The following are the consent signals it covers:
* `ad_user_data`: Indicates consent to send user data for advertising purposes to Google.
* `ad_personalization`: Indicates consent for ad personalisation.
Note that commencing March 6th, 2024, Zeotap CDP will transmit a `GRANTED` consent status for the above mentioned consent signals. To ensure that only consented users meet the audience criteria, you are advised to perform the following actions:
* Provide Zeotap CDP with the appropriate consent parameters covering the two consent signals requested by Google(`ad_user_data` and `ad_personalization`)
* Establish relevant Consent Orchestration rules to ensure that only users who have consented to perform ad personalisation on Google Products are ingested.
**Note:** For the frequently asked questions about the consent update, refer [here](/articles/integrate-customer/faqs-related-to-google-consent-update).
## Overview
Google Ad Manager (GAM) is an ad management platform for large publishers (who have significant direct sales), to manage the display of advertisements on their websites, through video and in mobile apps. It was formerly known as DoubleClick for Publishers (DFP) or DoubleClick AdX.
Note that for sending Identifiers like MAIDs and Cookies, we recommend using Google DMP Integration. Consider using Google Ad Manager integration only for sending PPIDs (raw and encrypted).
## Supported Identifiers
This integration supports PPIDs (raw and encrypted).
In Google Ad Manager, PPIDs (Publisher Provided Identifiers) are unique codes that you use to track users across multiple platforms. The encrypted codes consist of long alphanumeric strings. You use these PPIDs to share user data securely with Google Ad Manager, which helps you serve more relevant ads to your visitors.
## Available Actions and Supported Features
The following table lists the available action types for the integration and the supported features for each action type:
| Action Name | [ID EXTENSION](/articles/segment-customer/extend-your-audience#id-extension) | [DELETE](https://docs.zeotap.com/articles/#!integrate-customer/delta-upload-and-delete-functions) | [DELTA UPLOAD](https://docs.zeotap.com/articles/#!integrate-customer/delta-upload-and-delete-functions) |
| :------------------------------ | :--------------------------------------------------------------------------- | :------------------------------------------------------------------------------------------------ | :------------------------------------------------------------------------------------------------------ |
| Send PPIDs to Google Ad Manager | - | - | - |
## Prerequisites
Ensure that you whitelist the Zeotap account (DMP: Zeotap) on Google Ad Manager by adding Zeotap CDP as a linked Data Management Platform (DMP). This action allows Zeotap CDP to send PPID Lists (Audiences) to Google Ad Manager. [Learn more](https://support.google.com/admanager/answer/3289669?hl=en)
In addition, keep the **Audience Link ID** handy to proceed with this integration.
## Components of Google Ad Manager
Ensure that you have details about the below component available before creating a Destination.
### Audience Link ID
**Steps to find your Audience link ID in Google Ad Manager :**
[Sign in](https://admanager.google.com/) to Google Ad Manager.
Navigate to **Admin > Global settings > Network settings.**
Find the numeric value next to "**Audience link ID**".
**Note** - Your Audience link ID is not the same as your Network code.
## Create a Destination for Google Ad Manager
Perform the following steps to create a Destination for Google Ad Manager:
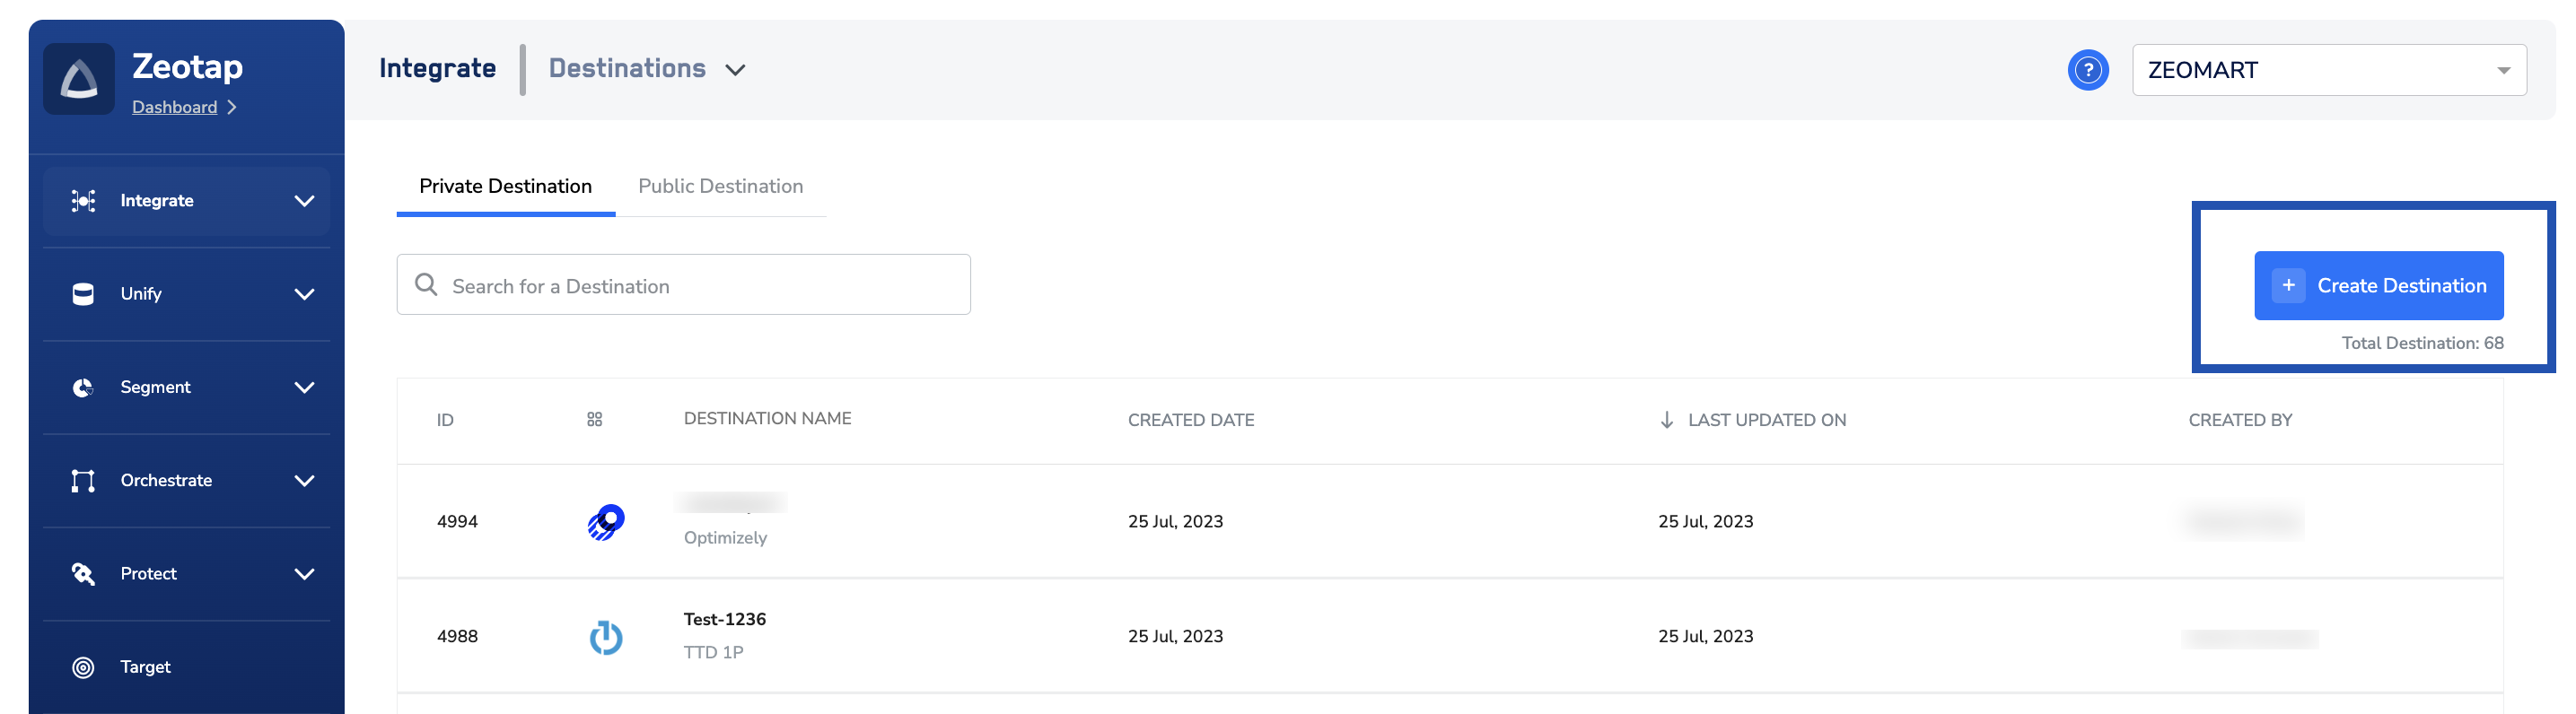
Log into the Zeotap CDP App and go to the **DESTINATIONS** application.
Click **+ Create Destination.**
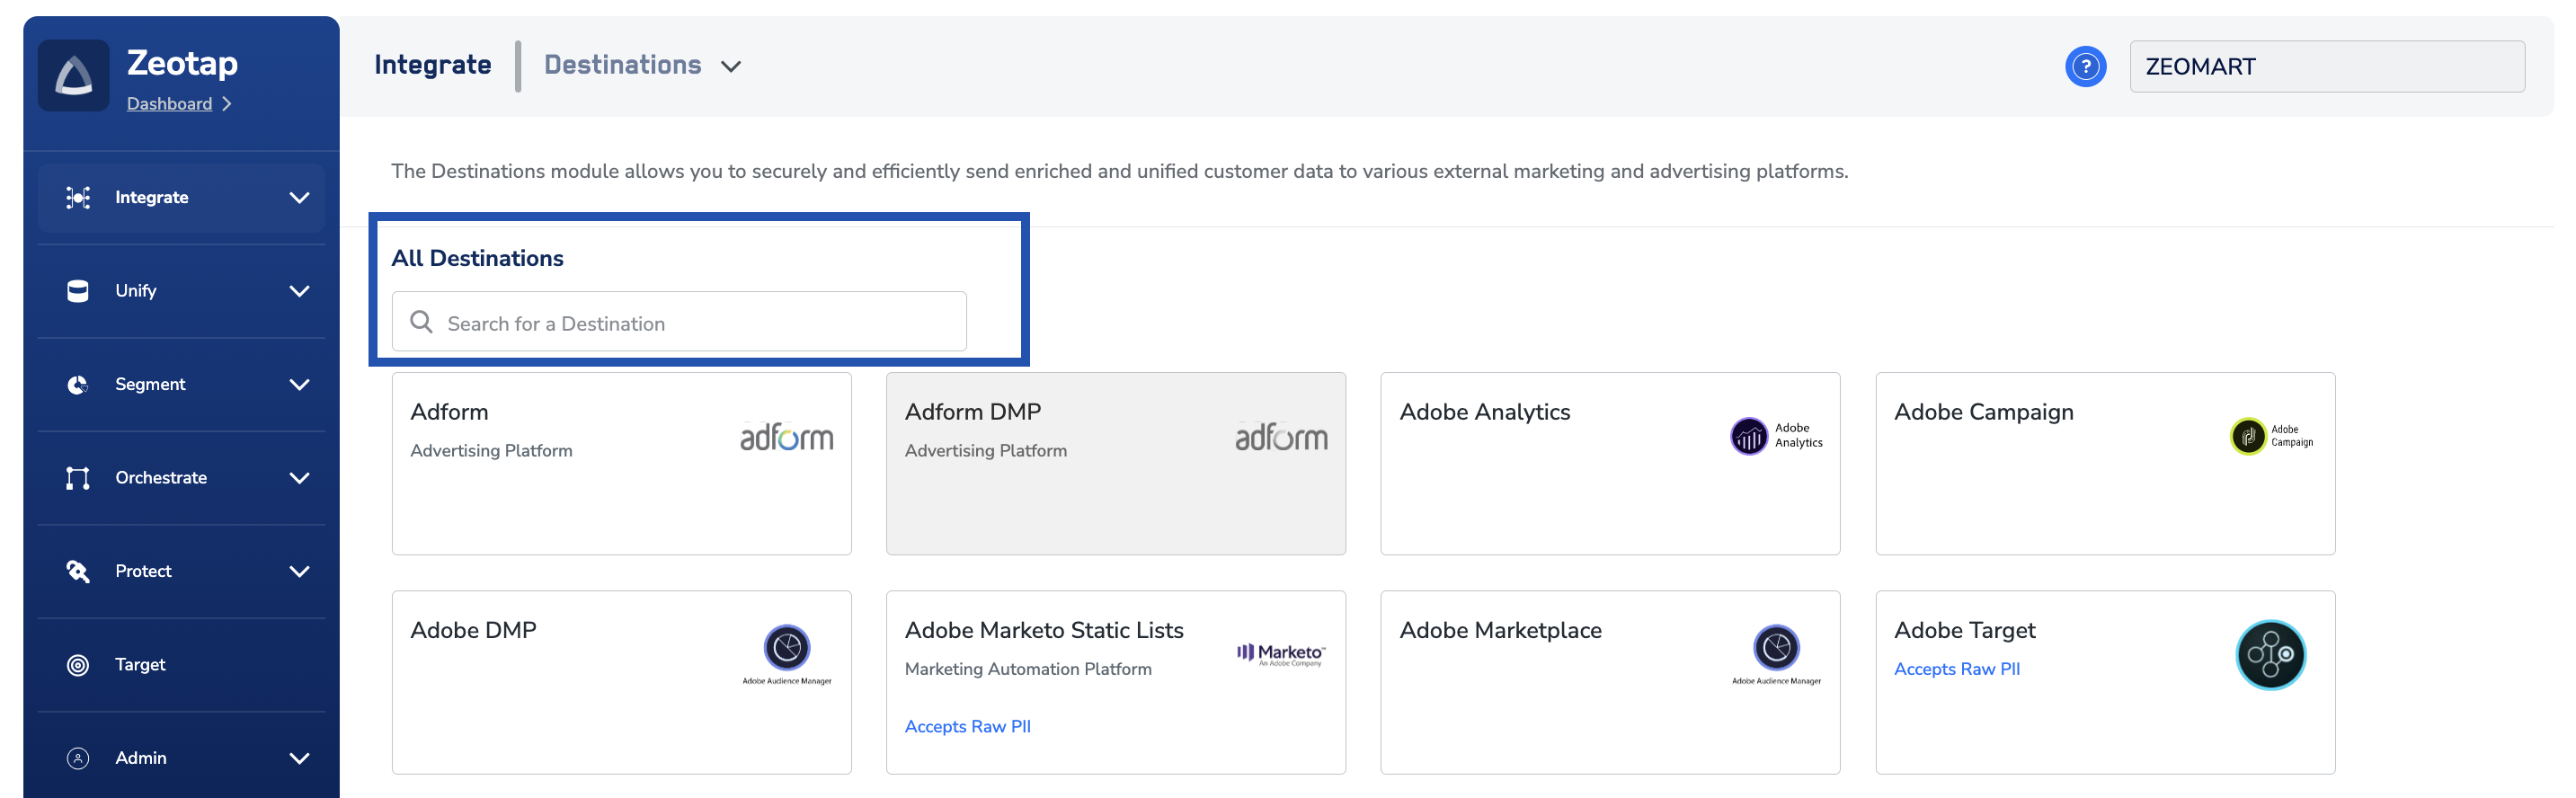
 Under the **All Destinations** section, search for **Google Ad Manager**.
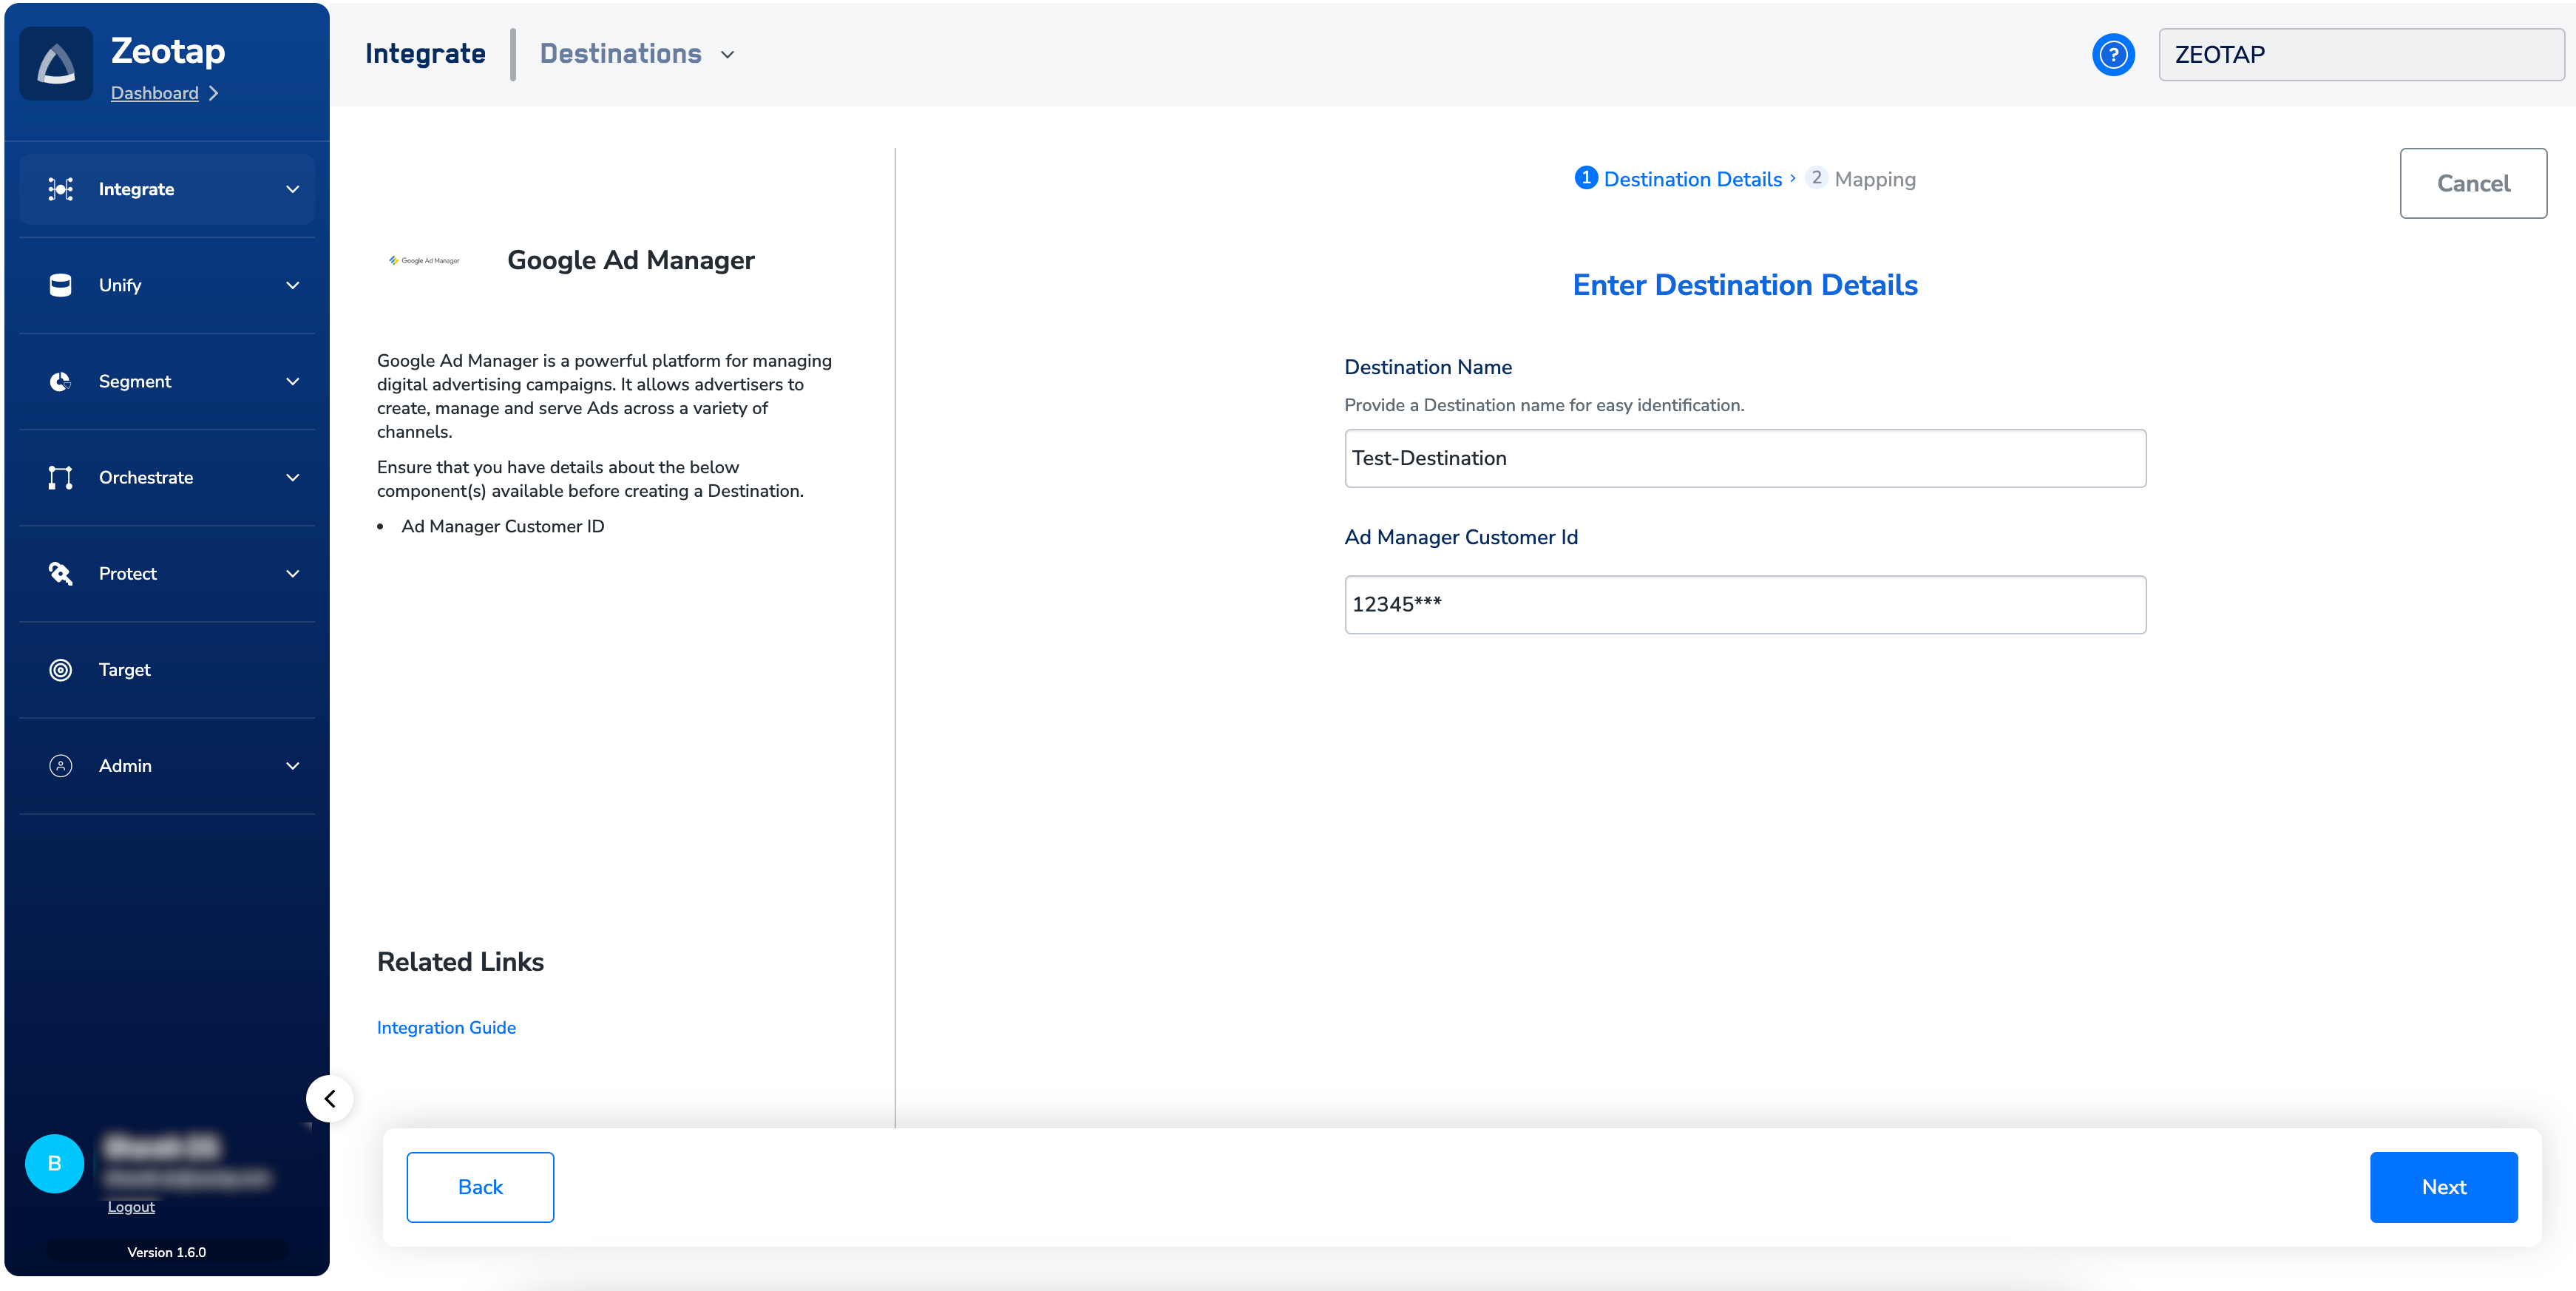
 Click **Google Ad Manager**. A screen appears displaying details about the particular destination towards the left. On the right-hand side of the screen find a list of fields that are required for the integration to be established. Enter the required details as mentioned in the following steps:
a. Enter a descriptive name for the Destination.
b. Enter the **Audience Link ID** Obtained from your Google Ad Manager account.
c. Click **Next** to proceed to Actions and Mapping.
Click **Google Ad Manager**. A screen appears displaying details about the particular destination towards the left. On the right-hand side of the screen find a list of fields that are required for the integration to be established. Enter the required details as mentioned in the following steps:
a. Enter a descriptive name for the Destination.
b. Enter the **Audience Link ID** Obtained from your Google Ad Manager account.
c. Click **Next** to proceed to Actions and Mapping.
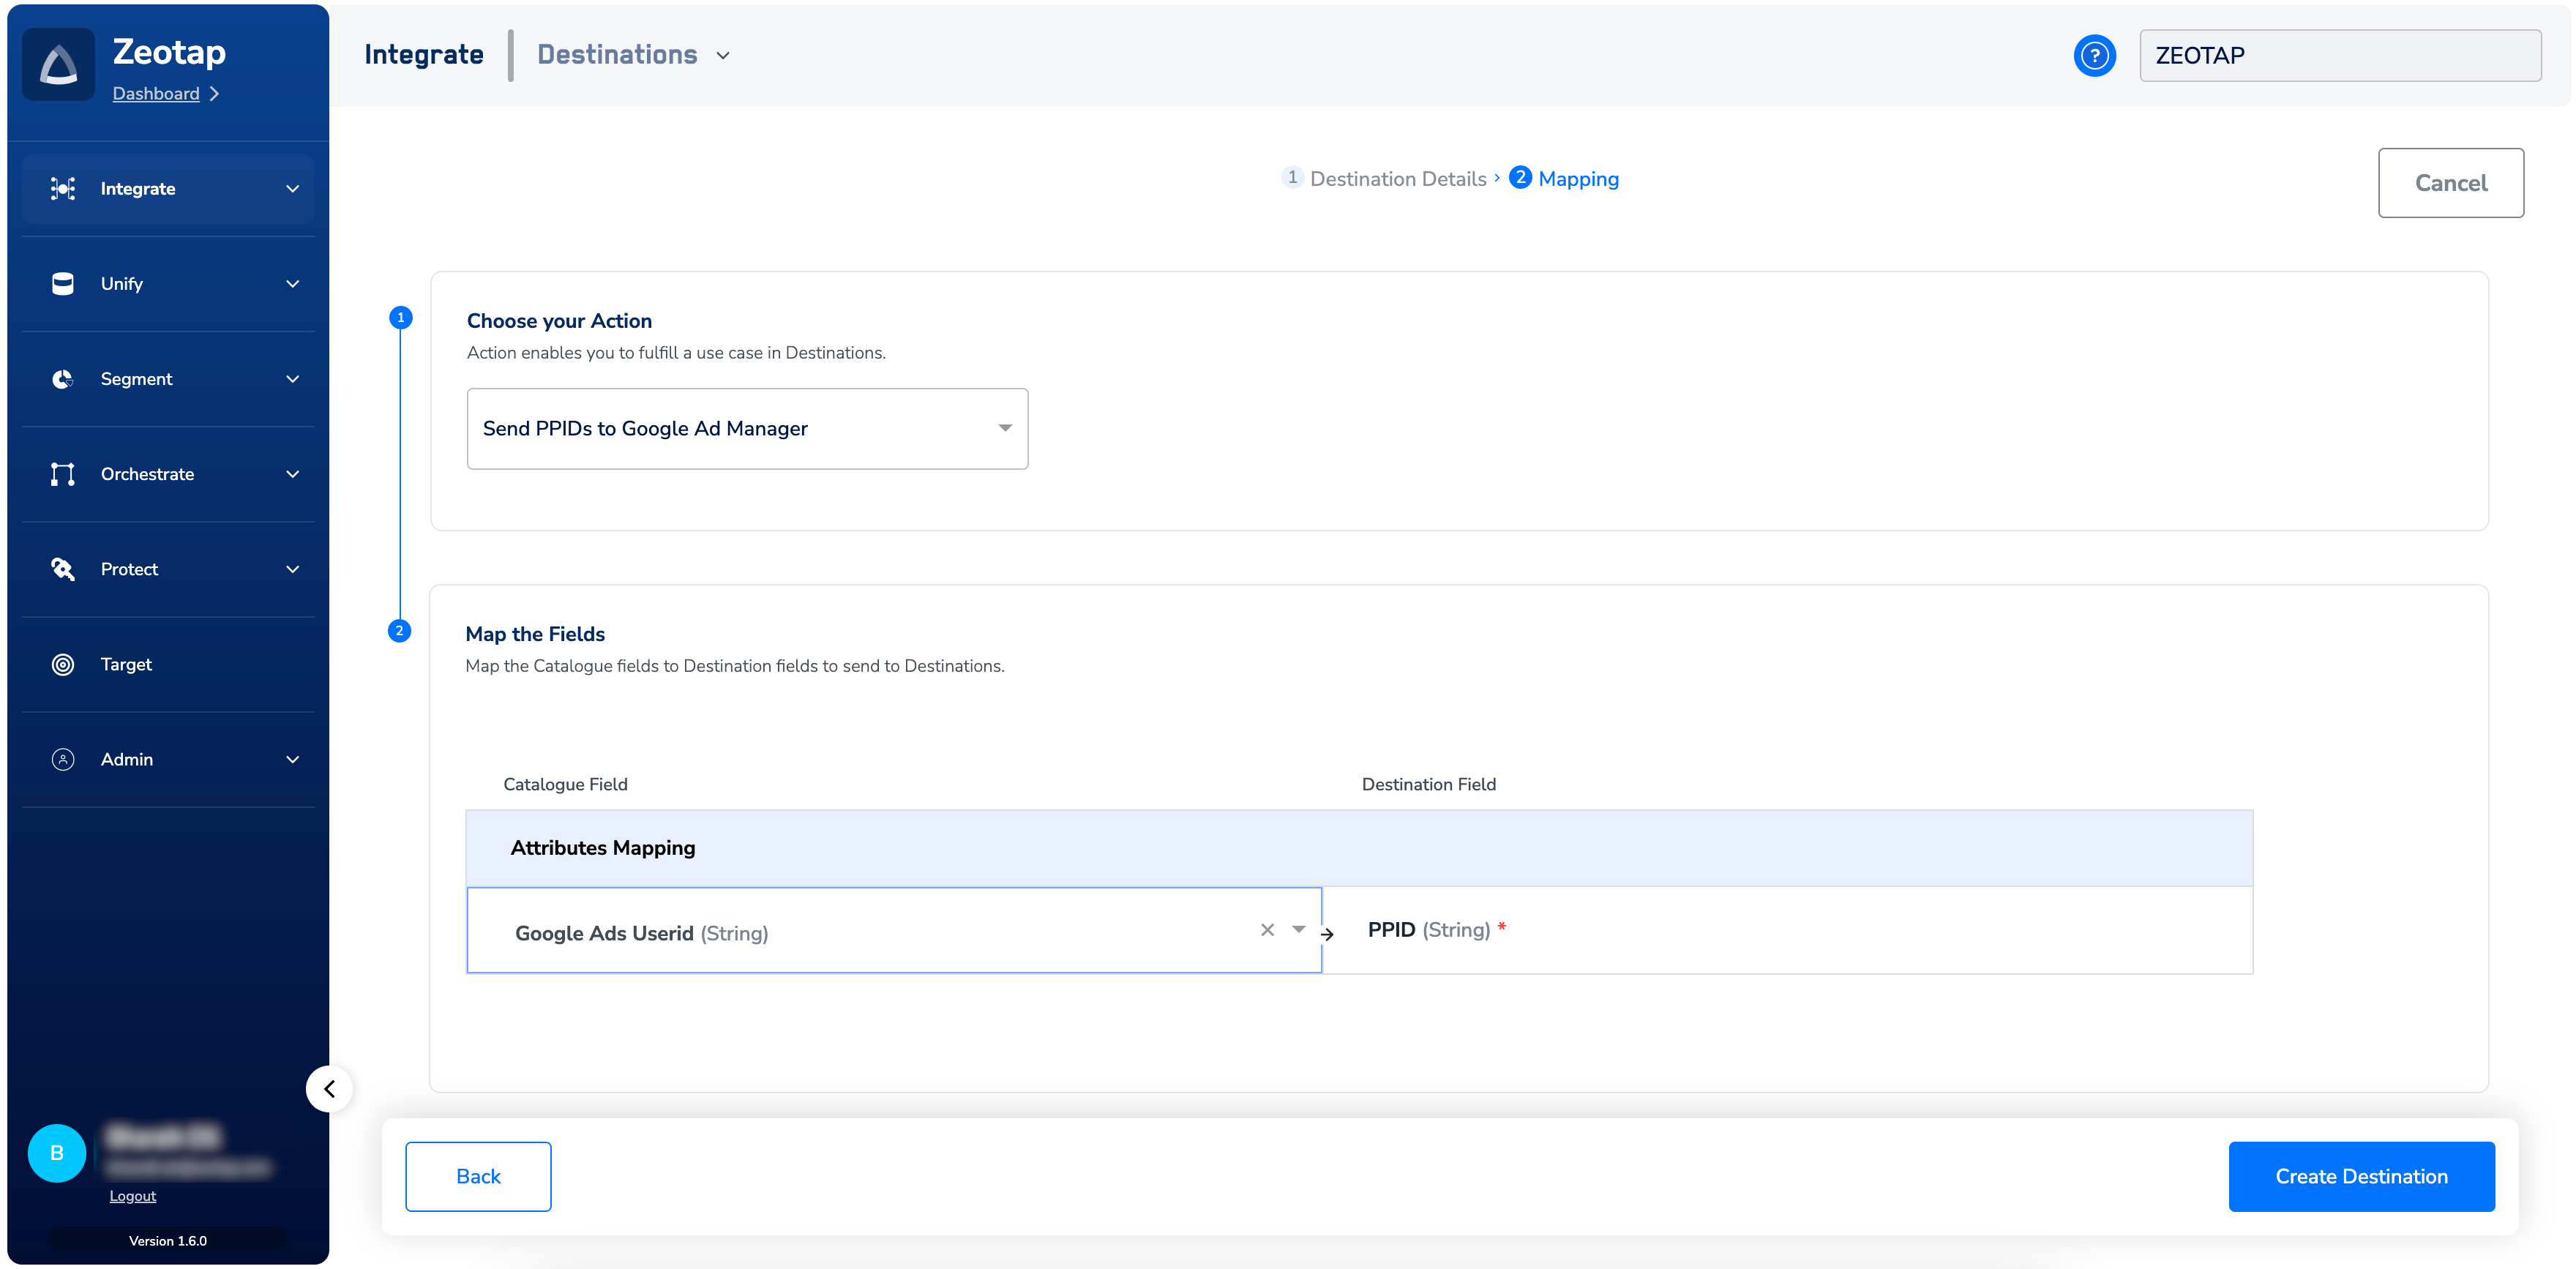
 In the new screen that appears, under **Choose your Action**, choose **Send PPIDs to Google Ad Manager** as your action. Under **Map the Fields**, you can map the desired identifier to the PPID.
 Click **Create Destination**. The created Destination gets listed in the**Audiences**application, which can be linked to an audience (segment).
## Link an Audience to the Google Ad Manager Destination
For information about how to link an Audience or segment to the created Destination in **Audiences** application, refer [here](/articles/integrate-customer/link-an-audience-to-the-destination).
**Note:**
The terms *Audiences* and *Segments* are used interchangeably to refer to customer cohorts belonging to a specific category.For example, an Audience or a segment could be a specific group of customers who are over 18 years of age and who have performed an *addToCart* event within the last 30 days.
Click **Create Destination**. The created Destination gets listed in the**Audiences**application, which can be linked to an audience (segment).
## Link an Audience to the Google Ad Manager Destination
For information about how to link an Audience or segment to the created Destination in **Audiences** application, refer [here](/articles/integrate-customer/link-an-audience-to-the-destination).
**Note:**
The terms *Audiences* and *Segments* are used interchangeably to refer to customer cohorts belonging to a specific category.For example, an Audience or a segment could be a specific group of customers who are over 18 years of age and who have performed an *addToCart* event within the last 30 days.