> ## Documentation Index
> Fetch the complete documentation index at: https://docs.zeotap.com/llms.txt
> Use this file to discover all available pages before exploring further.
# Creating Web JS Source
This page covers creating the Source in the Zeotap CDP. For SDK installation, init options, tracking methods, and consent, head to the **Web JavaScript SDK** docs.
**Note:**
Refer to [Web JavaScript](/articles/integrate-customer/web-javascript) to know more about this source.
Navigate to the **Sources** application under **Integrate**, in the Zeotap CDP App.
Click **CREATE SOURCE**.
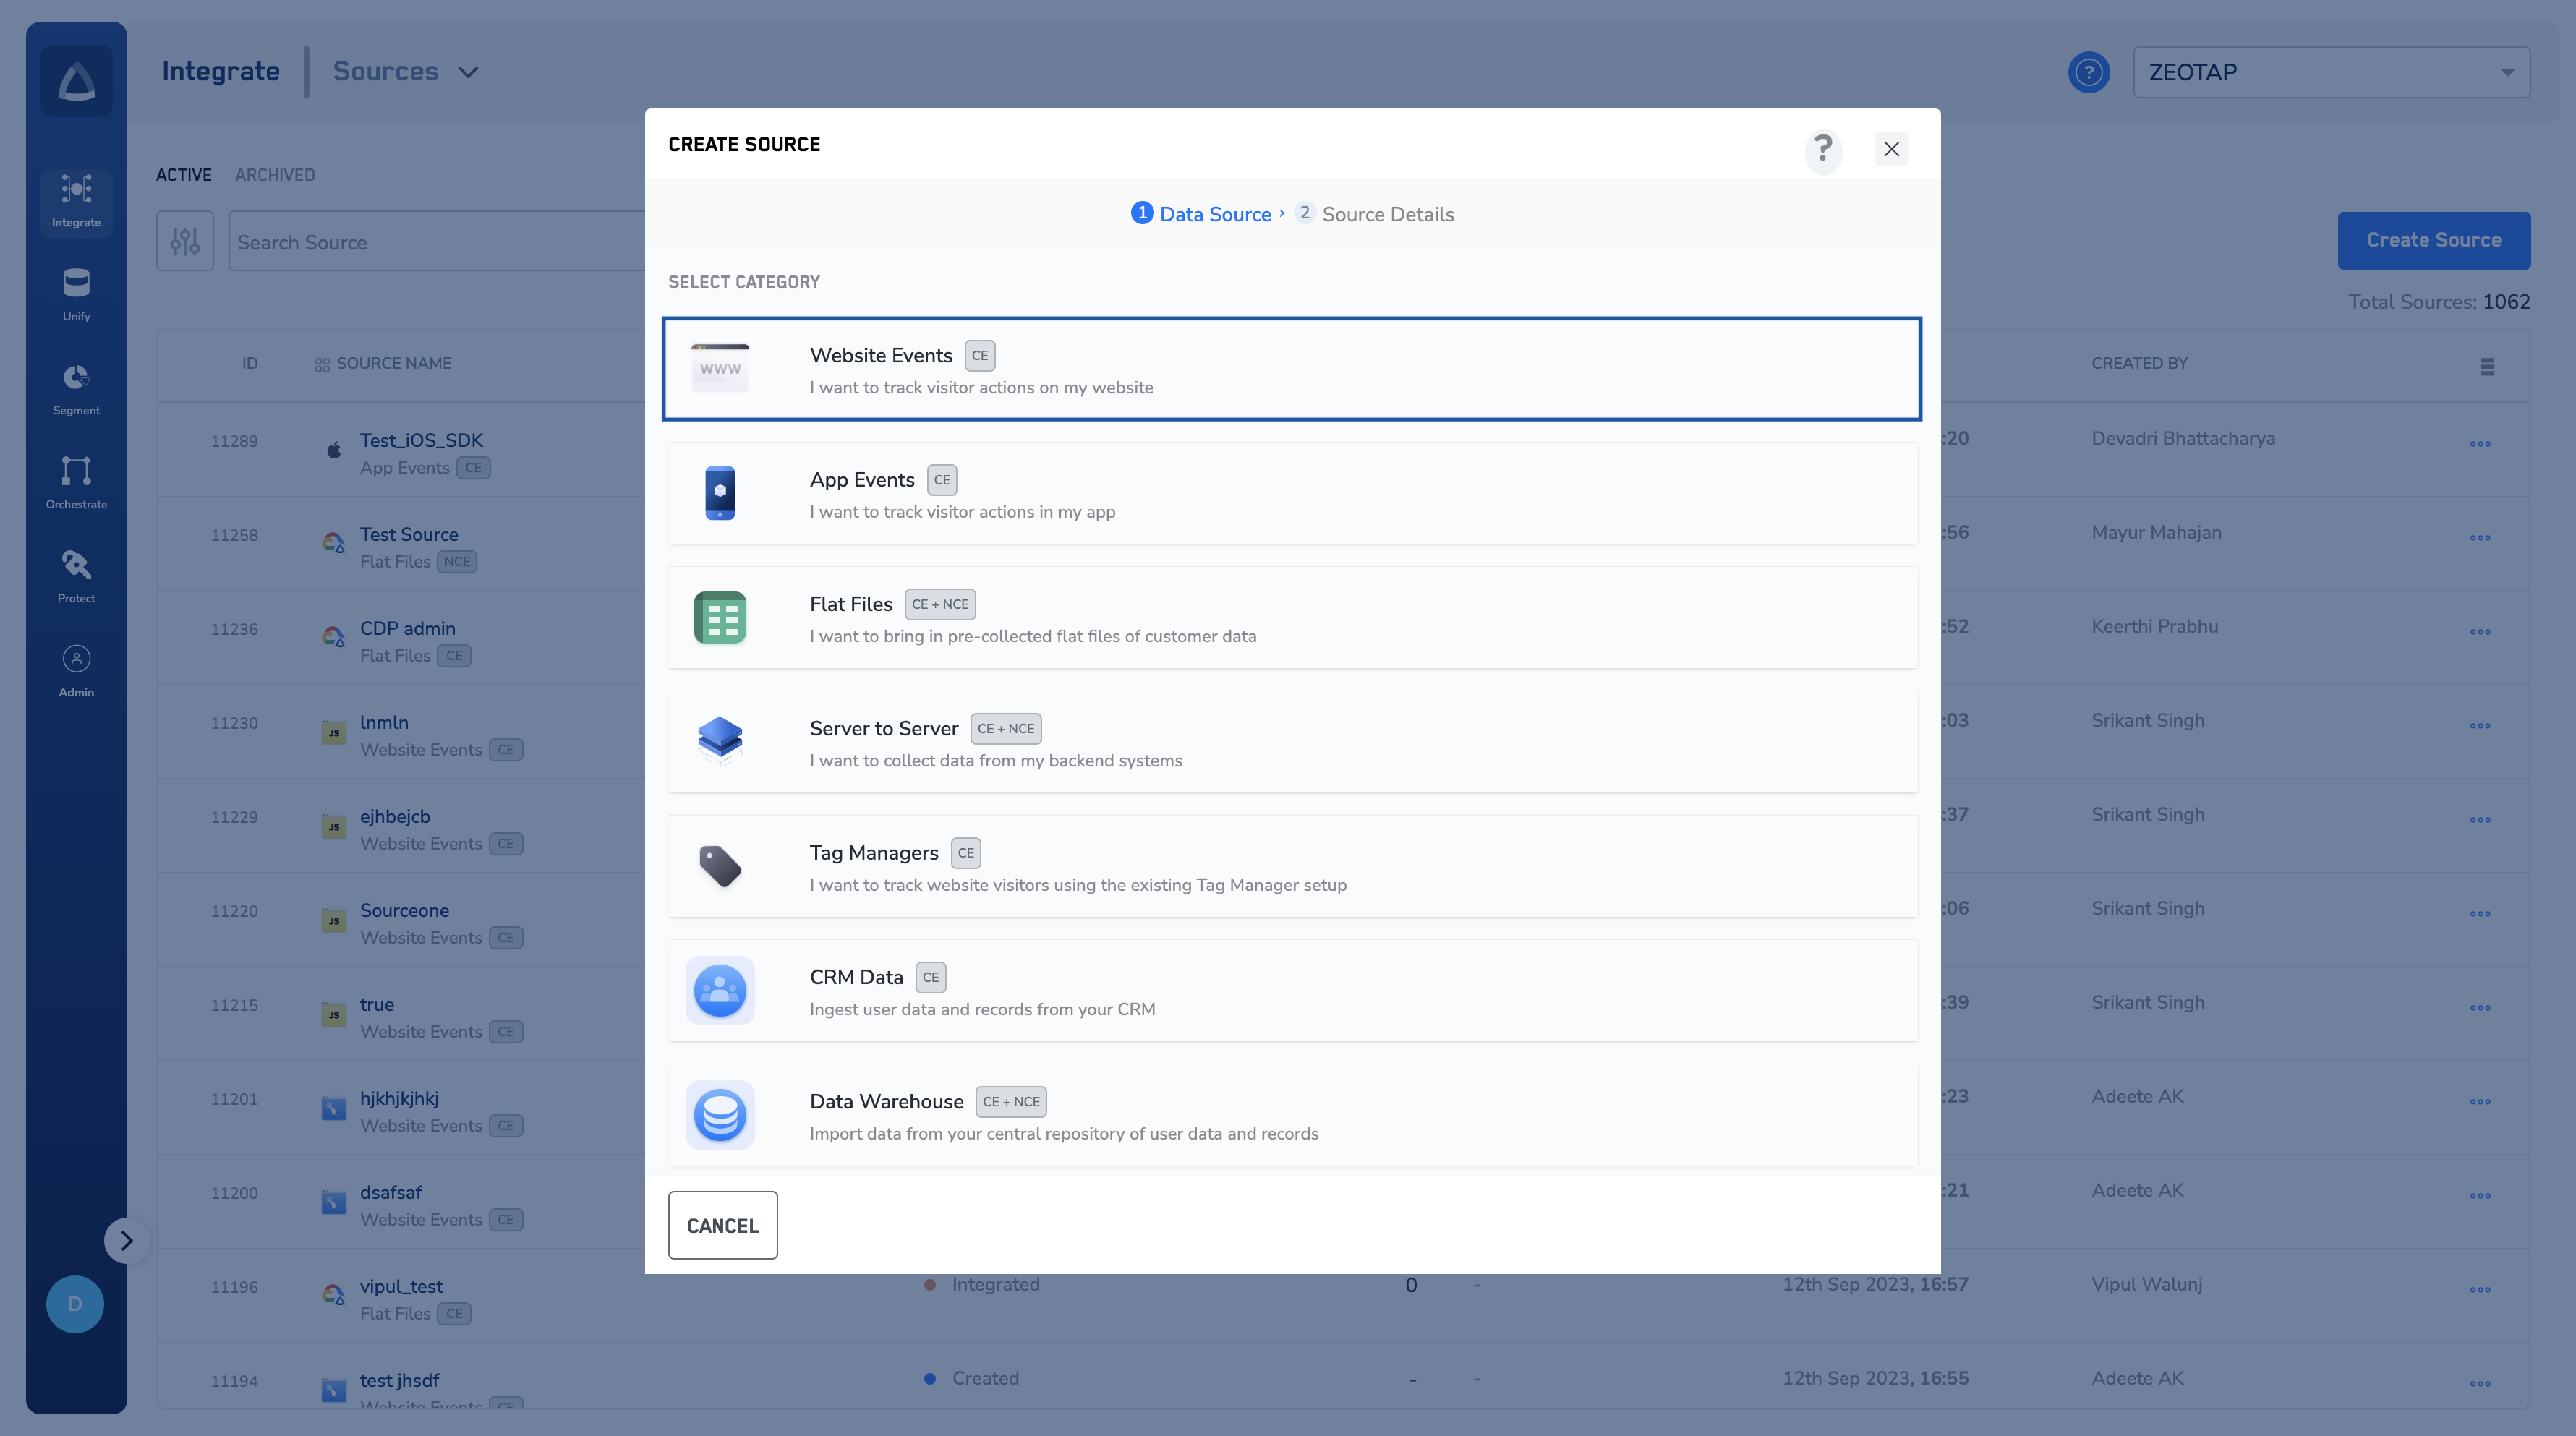
Choose **Website Events** as the Category.
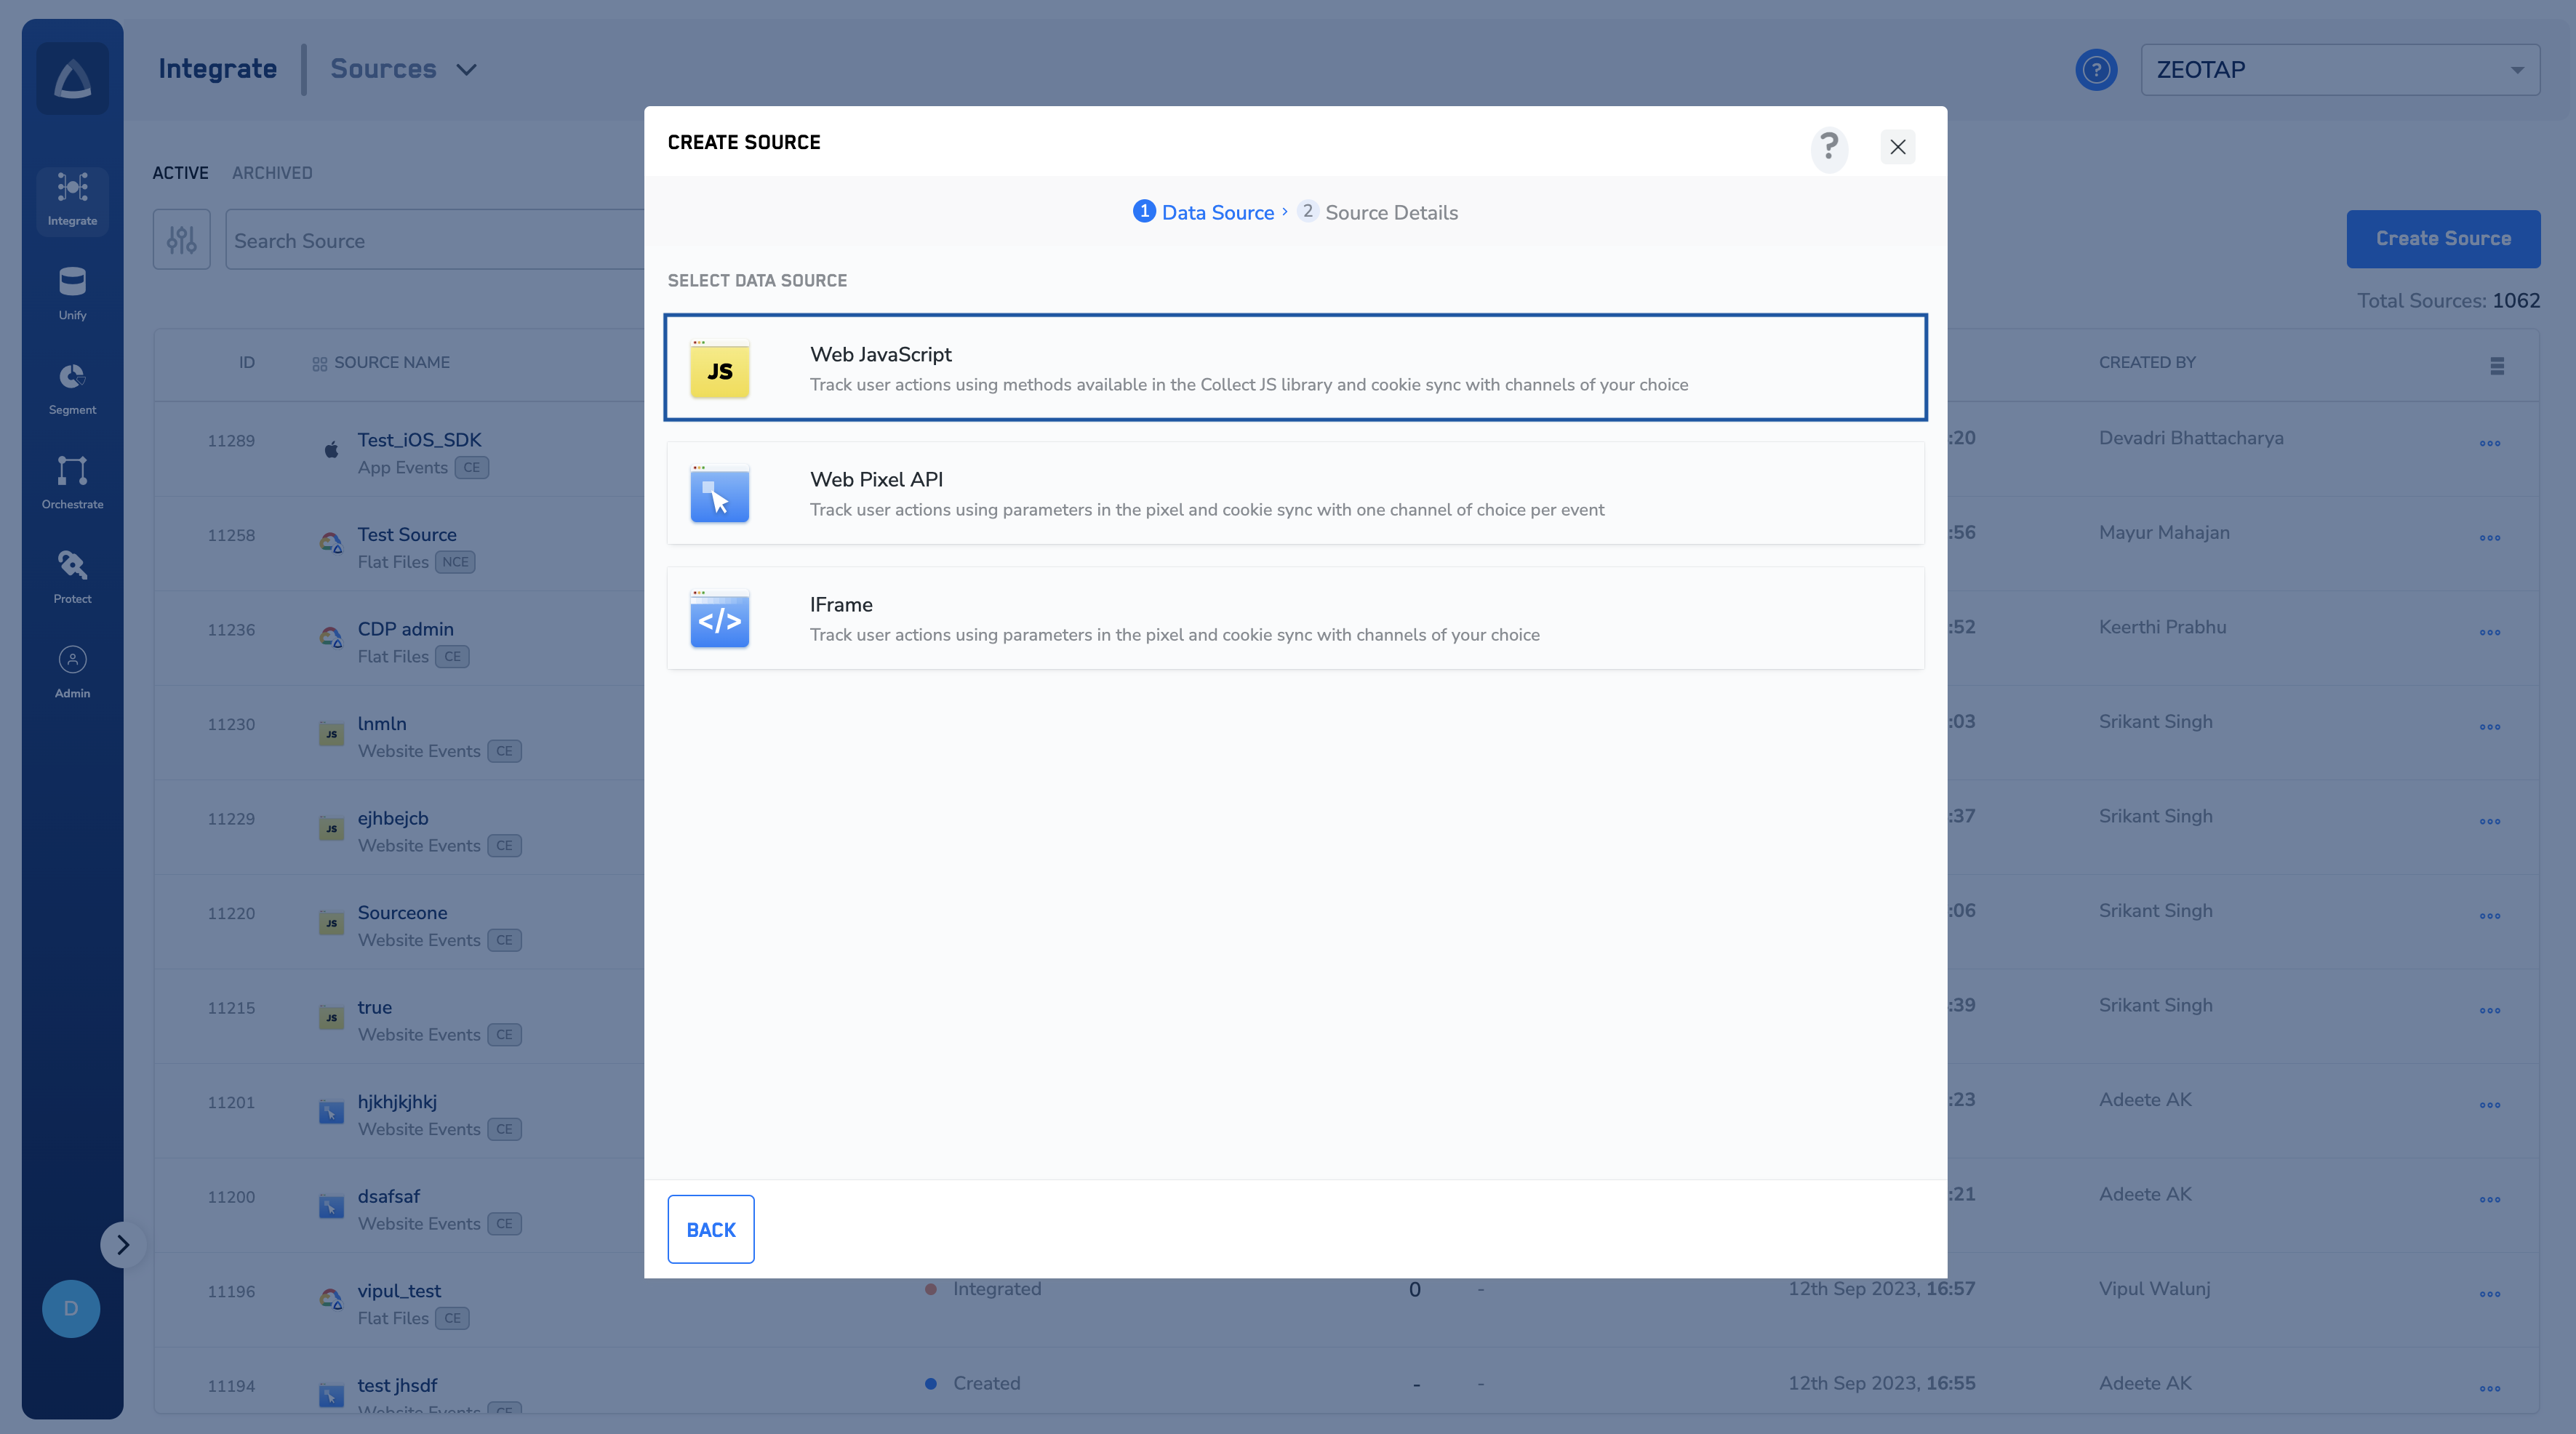
 Choose **Web JavaScript** as the Data Source.
 Enter a short and descriptive name for the Source.
Add the Website URL. The Website URL is optional, but we recommend that you add it in order to track the websites being onboarded.
Select the Region of upload and proceed with the Source creation.
Enter a short and descriptive name for the Source.
Add the Website URL. The Website URL is optional, but we recommend that you add it in order to track the websites being onboarded.
Select the Region of upload and proceed with the Source creation.
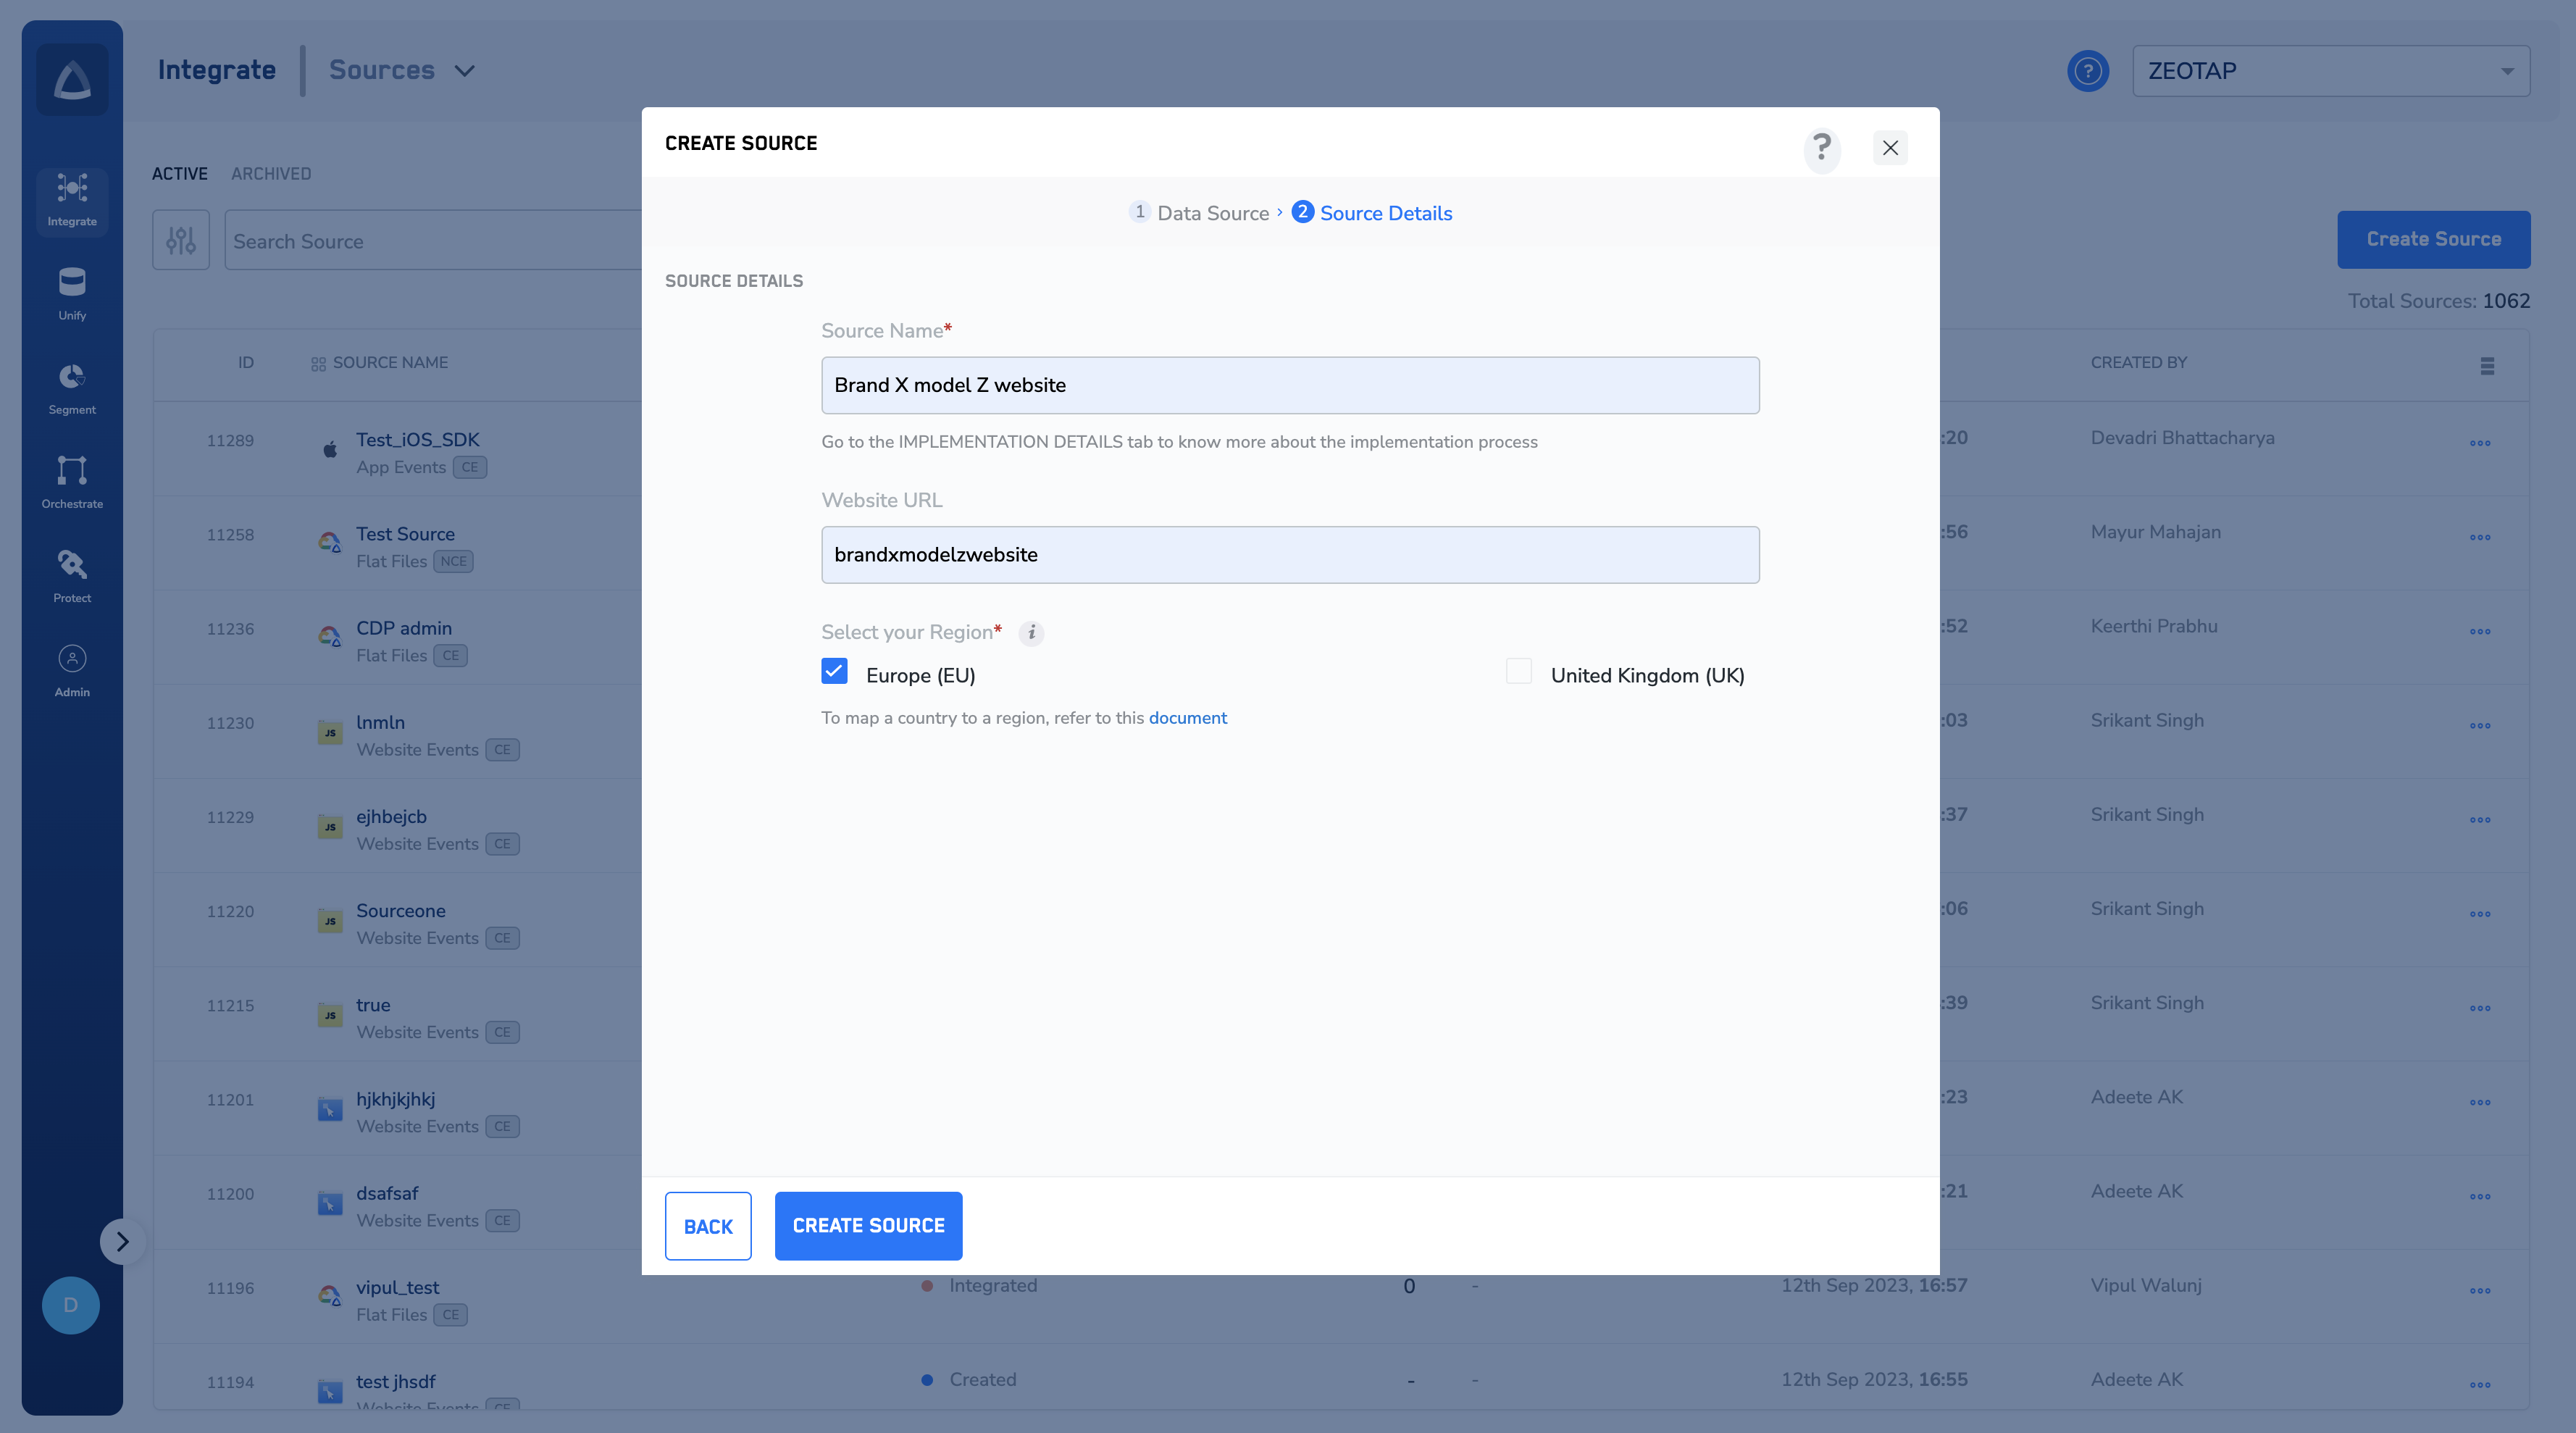 Click **CREATE SOURCE**. The created Source appears on the **SOURCES** listing page. Click on a particular Source to view the details regarding the snippet code and authorisation key.
**Note:**
Once the Source has been taken live based on the implementation steps available, you can use the **[PREVIEW](/articles/integrate-customer/knowing-the-fields-on-the-preview-data-tab)** tab to see incoming data. To know more about how to implement a Web JS Source, refer to the [Web JavaScript SDK docs](/articles/sdks/web-js/intro).
## Related Topics
* For information about what is a Customer Data, refer [here](https://docs.zeotap.com/articles/unify-customer/customer-data).
* For information about how to map the Catalogue for Customer Data (CE), refer [here](https://docs.zeotap.com/articles/unify-customer/map-the-catalogue-for-customer-data).
Click **CREATE SOURCE**. The created Source appears on the **SOURCES** listing page. Click on a particular Source to view the details regarding the snippet code and authorisation key.
**Note:**
Once the Source has been taken live based on the implementation steps available, you can use the **[PREVIEW](/articles/integrate-customer/knowing-the-fields-on-the-preview-data-tab)** tab to see incoming data. To know more about how to implement a Web JS Source, refer to the [Web JavaScript SDK docs](/articles/sdks/web-js/intro).
## Related Topics
* For information about what is a Customer Data, refer [here](https://docs.zeotap.com/articles/unify-customer/customer-data).
* For information about how to map the Catalogue for Customer Data (CE), refer [here](https://docs.zeotap.com/articles/unify-customer/map-the-catalogue-for-customer-data).