> ## Documentation Index
> Fetch the complete documentation index at: https://docs.zeotap.com/llms.txt
> Use this file to discover all available pages before exploring further.
# Activate Your Real Time Audiences
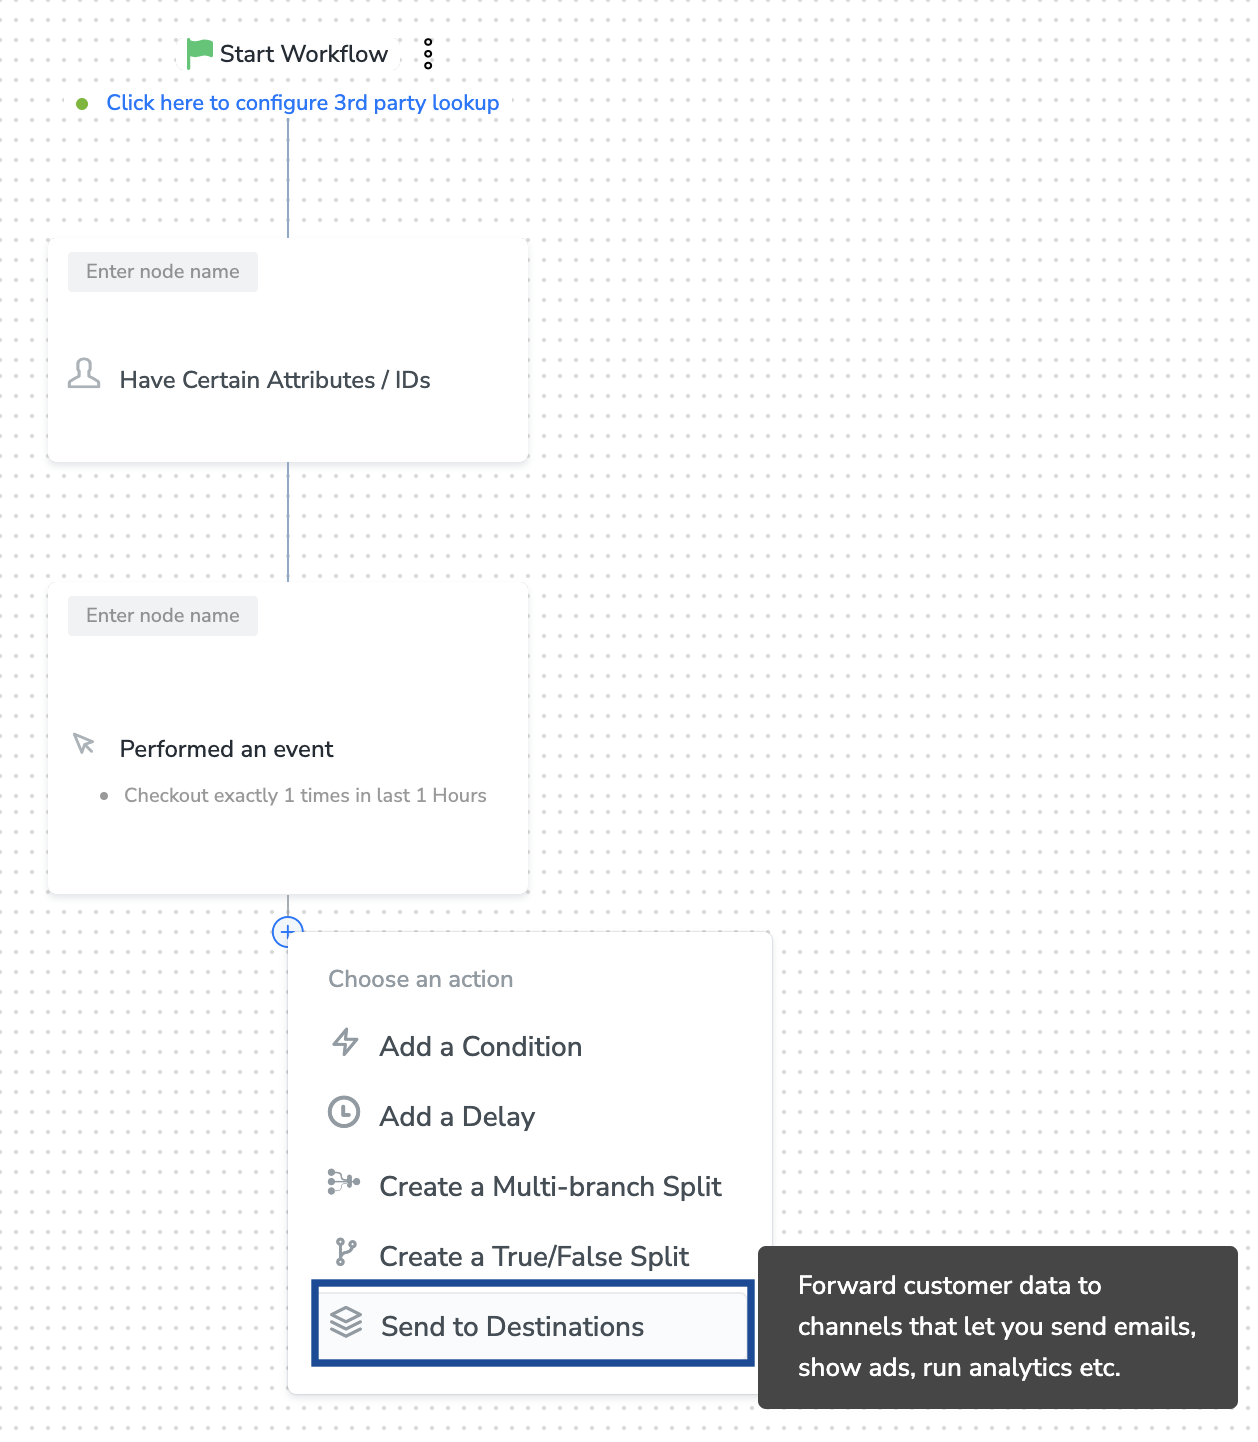
Once you have taken care of the prerequisites for your integration, you can proceed to [creating workflow in Journeys](https://docs.zeotap.com/articles/orchestrate-customer/create-a-workflow) in Zeotap CDP. After you have applied filters or added conditions for your users in Journeys as mentioned in [Create a Workflow](https://docs.zeotap.com/articles/orchestrate-customer/create-a-workflow), you can activate them on your integration in the **Send to Destinations** node as shown below.
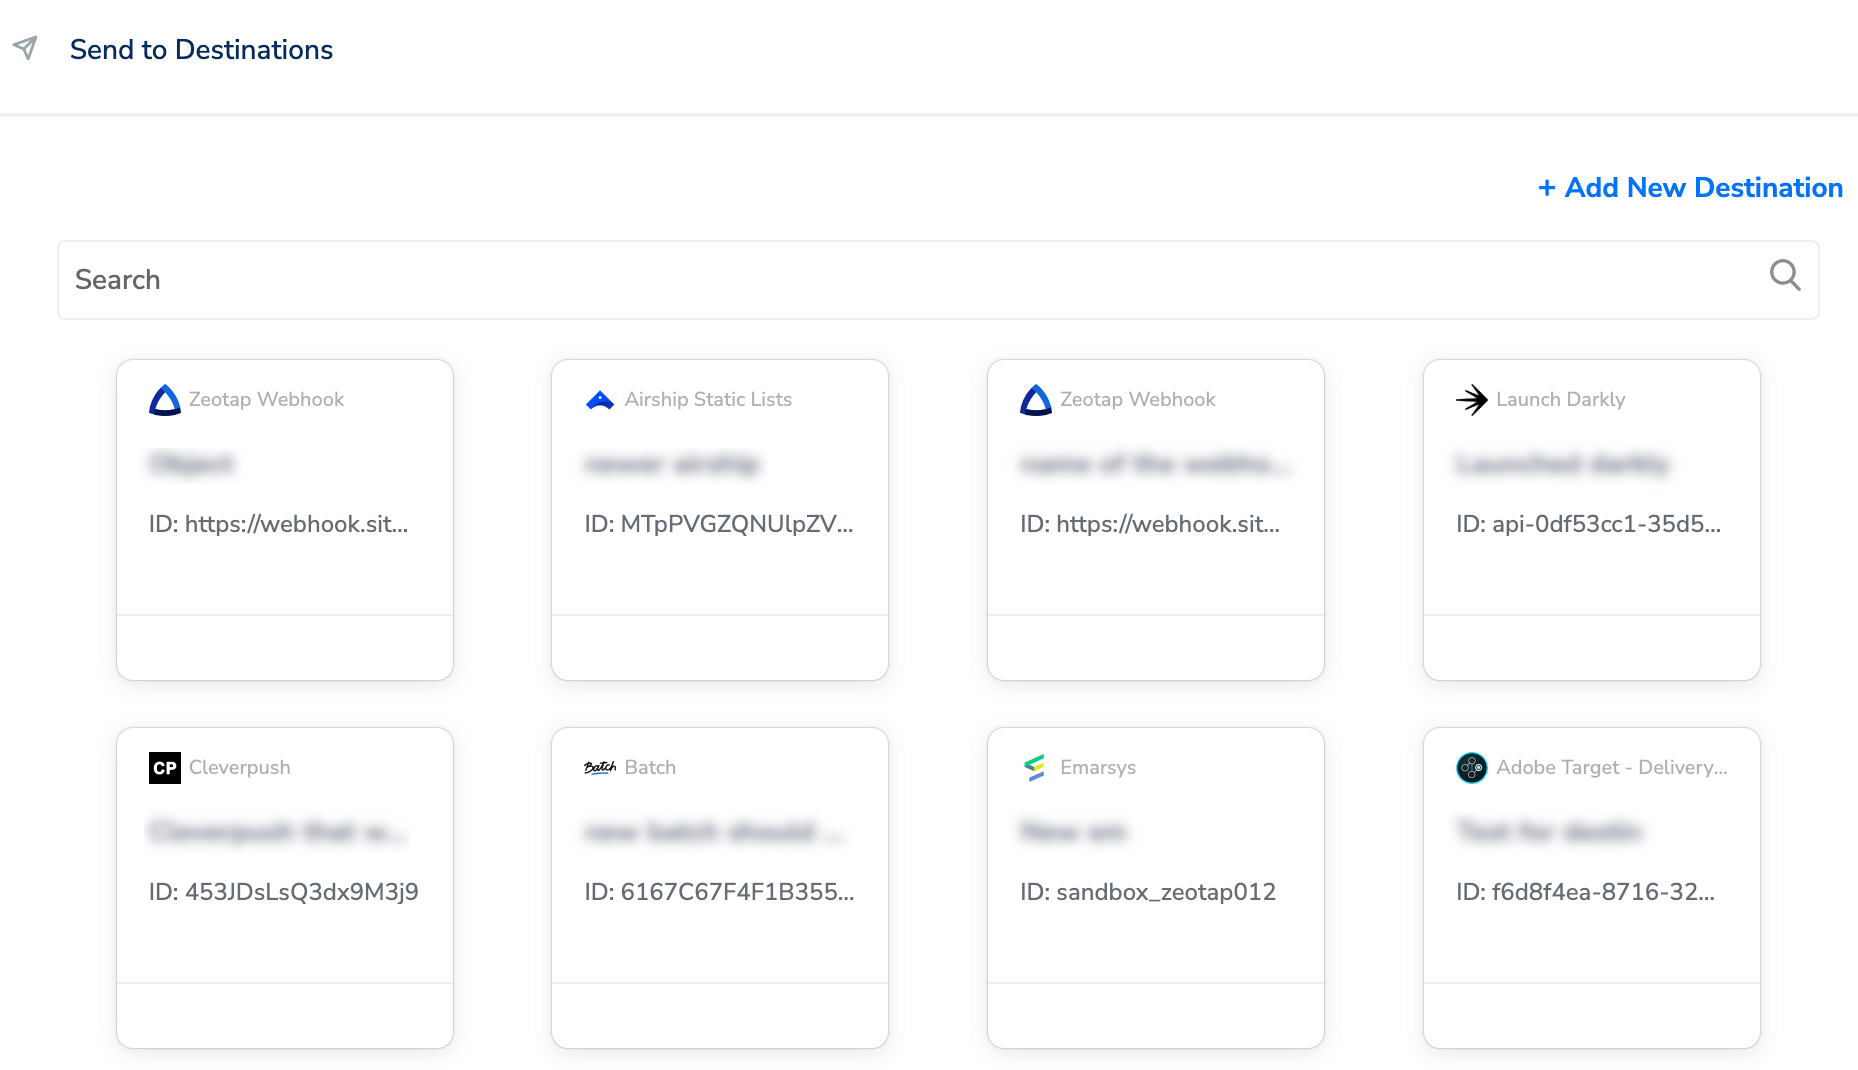
 A new window appears, where you can set up your destination. You can use an already existing destination from the list of available Destinations or create a new one by clicking **+ Add New Destination**.
**Note:**
To use an existing destination for activation in Journeys, click [here](https://docs.zeotap.com/articles/integrate-customer/sfmc-personalization-journeys/a/h2__290574186).
A new window appears, where you can set up your destination. You can use an already existing destination from the list of available Destinations or create a new one by clicking **+ Add New Destination**.
**Note:**
To use an existing destination for activation in Journeys, click [here](https://docs.zeotap.com/articles/integrate-customer/sfmc-personalization-journeys/a/h2__290574186).
 ### Add New Destination
Perform the following steps to add a new destination:
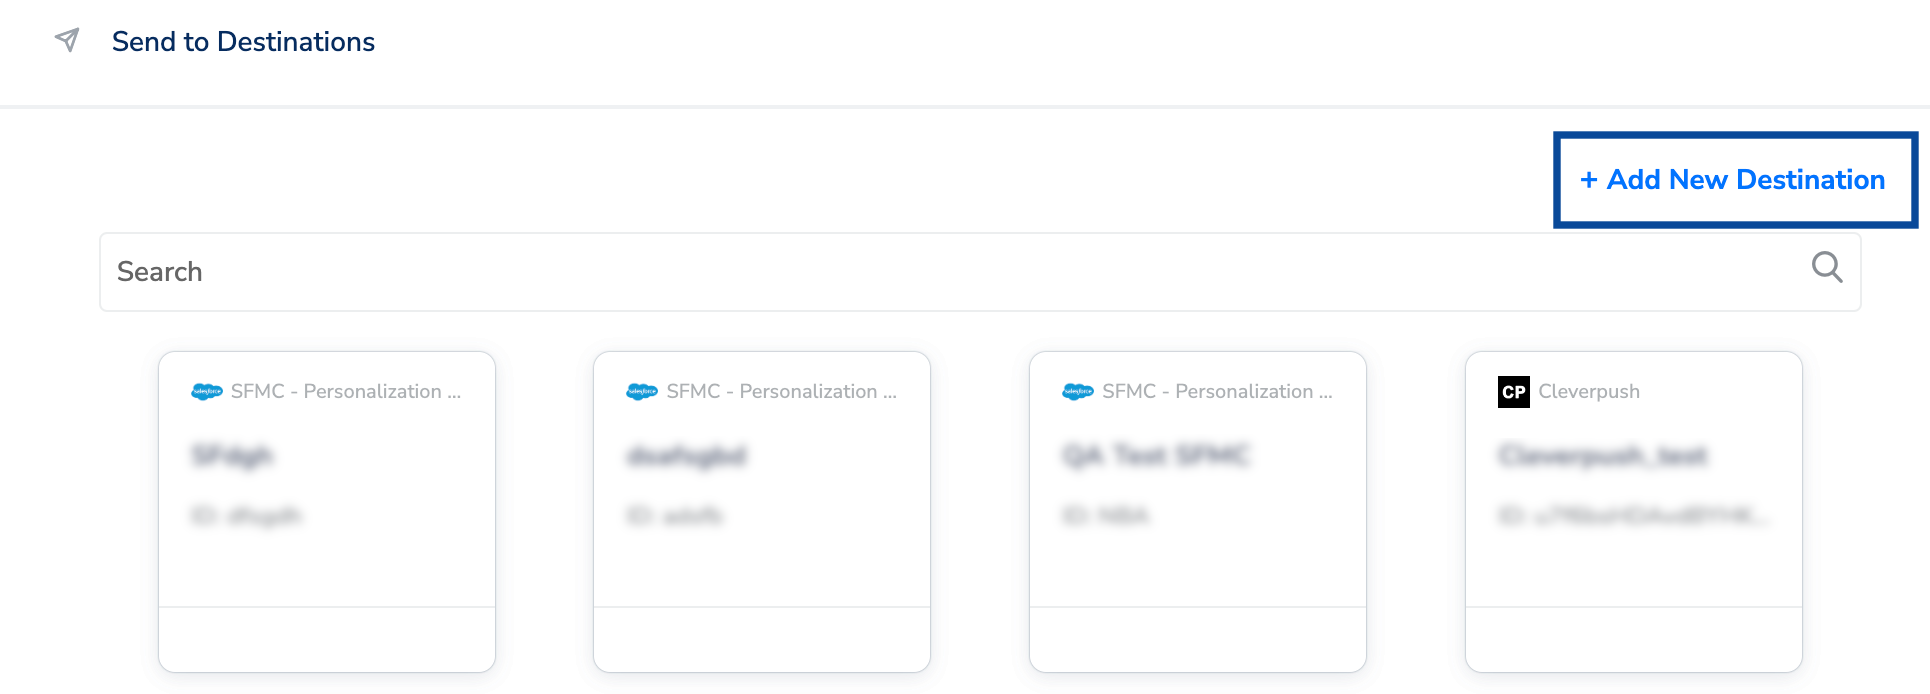
Click **+** **Add New Destination** as shown below.
### Add New Destination
Perform the following steps to add a new destination:
Click **+** **Add New Destination** as shown below.
 Search your real time integration in the text box.
Click the Integration and enter a name for the Destination.
Enter the Components required for the integration. For example, if you are trying to integrate with SFMC Personalisation, then you must enter **Account Name**, **API Instance** and **Dataset Name** obtained your SFMC instance.
Search your real time integration in the text box.
Click the Integration and enter a name for the Destination.
Enter the Components required for the integration. For example, if you are trying to integrate with SFMC Personalisation, then you must enter **Account Name**, **API Instance** and **Dataset Name** obtained your SFMC instance.
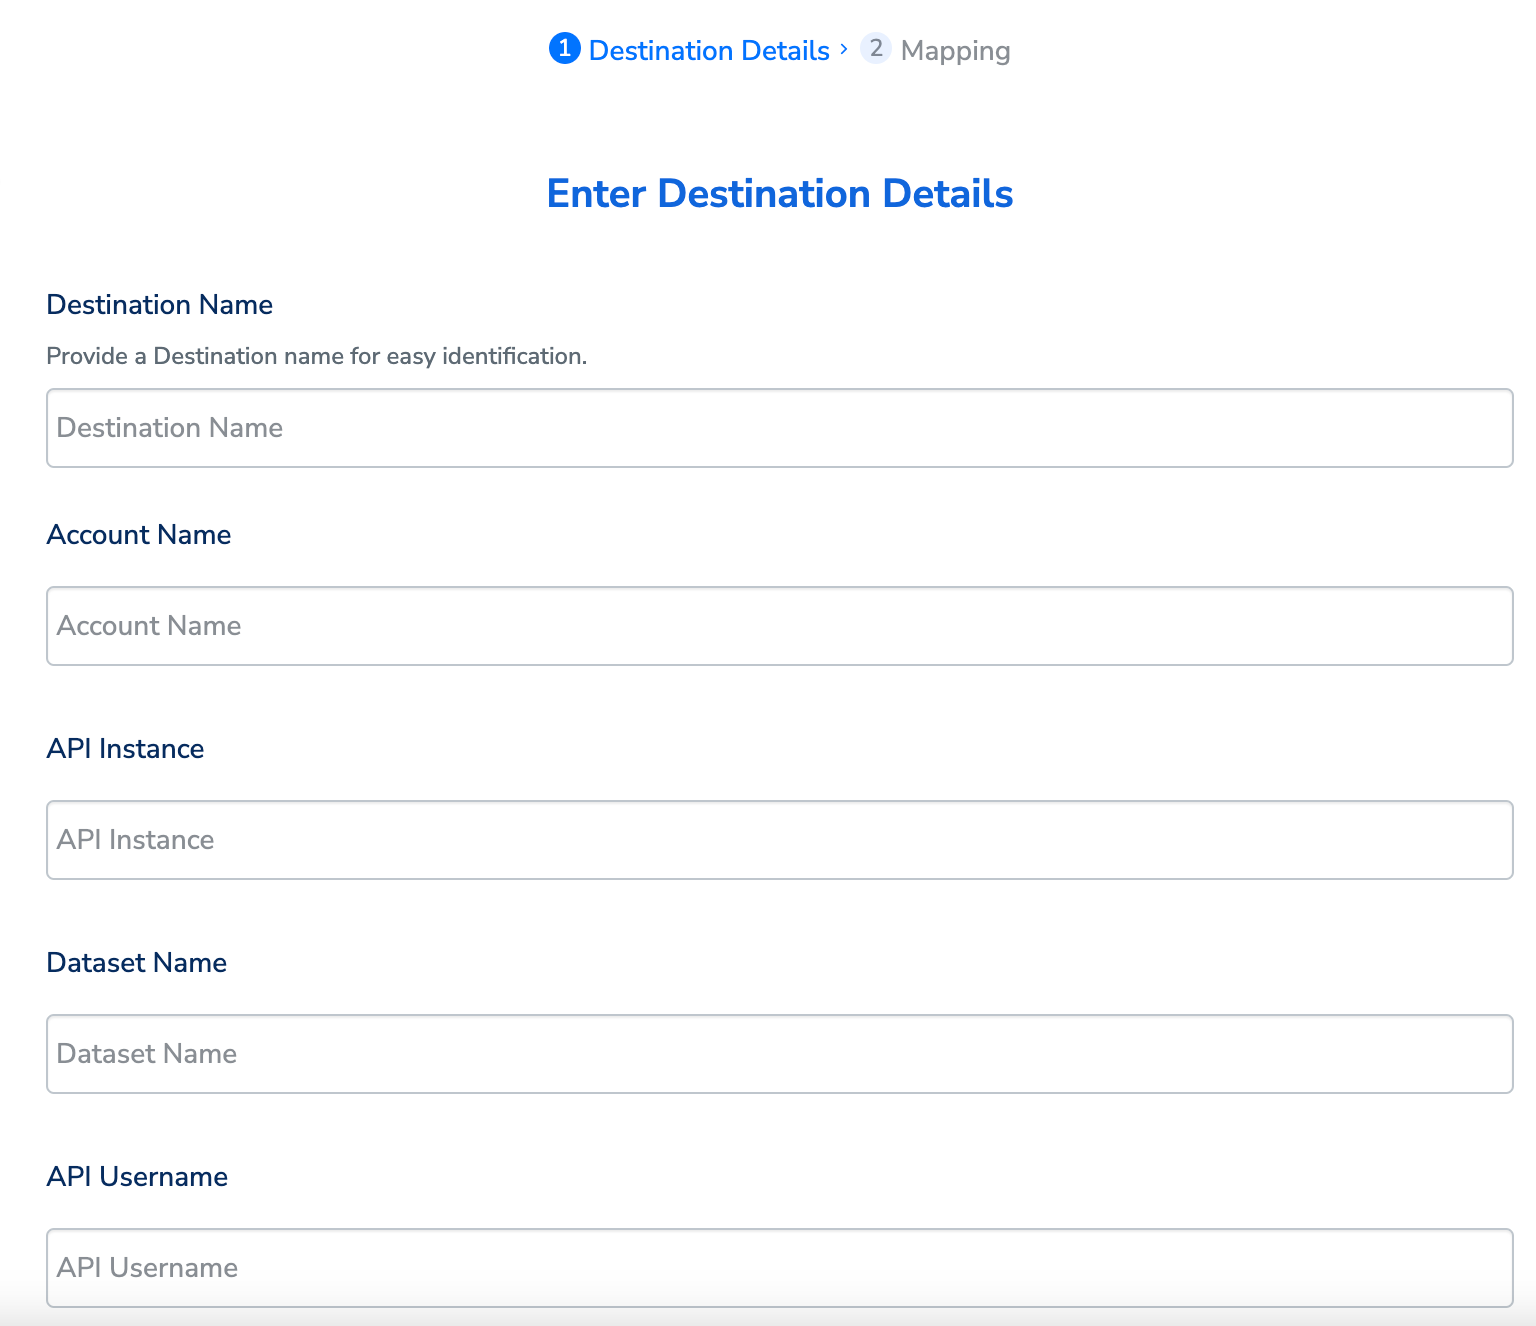 Once you have provided all the necessary inputs,
click **Next**.
In the mapping screen that appears, under **Choose your Action** designated for real time activation, In the case of SFMC Personalisation, select **Send attributes to SFMC Personalization** as the action for sending data from the workflow created in Journeys. Under **Map the Fields**, depending on what the integration accepts, you can map the required identifiers and attributes.Use **+ Add Mapping Field** to add custom fields (identifiers and attributes) you wish to send. Ensure that you map the mandatory fields in this section. Otherwise, you cannot proceed.
Once you have provided all the necessary inputs,
click **Next**.
In the mapping screen that appears, under **Choose your Action** designated for real time activation, In the case of SFMC Personalisation, select **Send attributes to SFMC Personalization** as the action for sending data from the workflow created in Journeys. Under **Map the Fields**, depending on what the integration accepts, you can map the required identifiers and attributes.Use **+ Add Mapping Field** to add custom fields (identifiers and attributes) you wish to send. Ensure that you map the mandatory fields in this section. Otherwise, you cannot proceed.
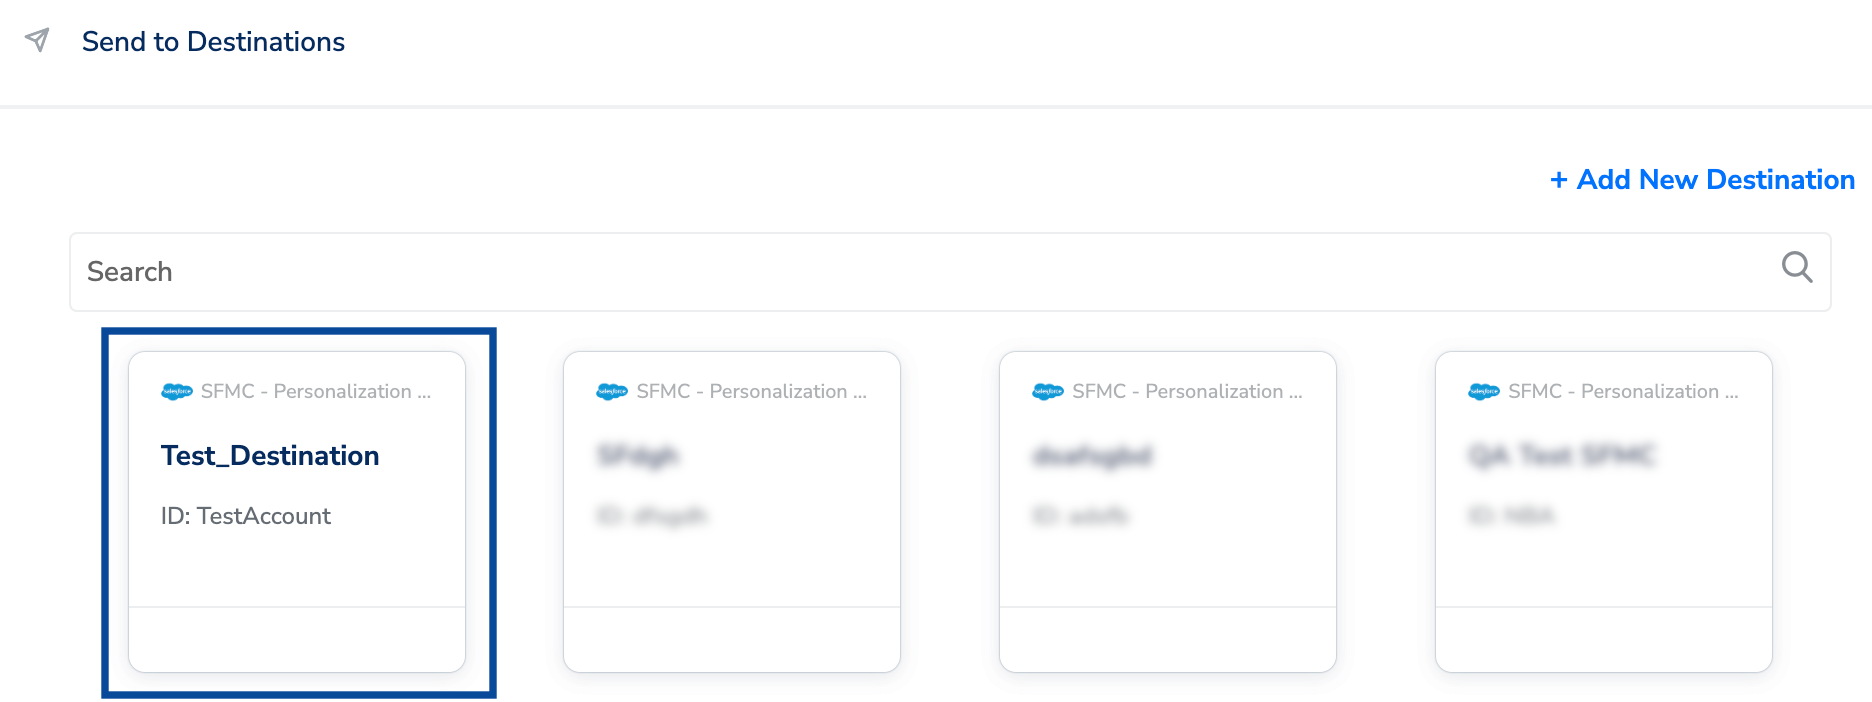
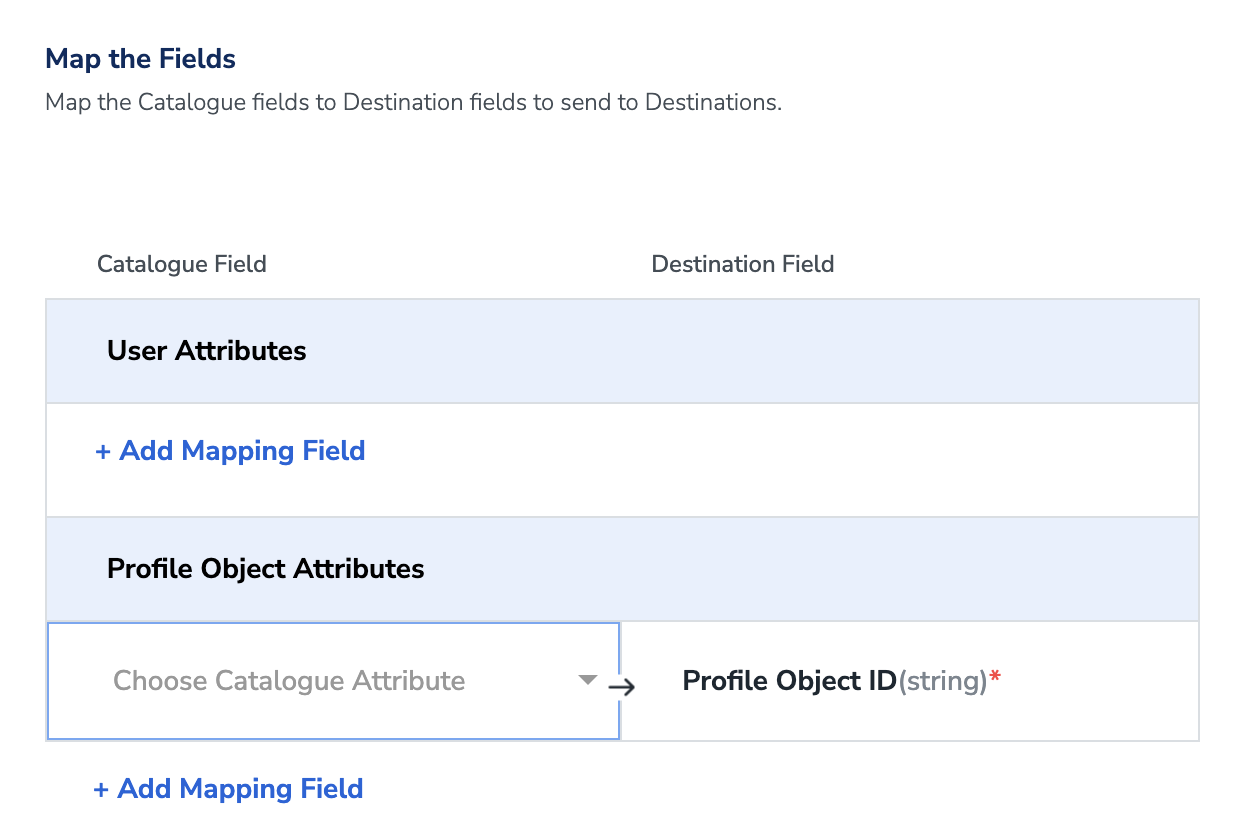 Once the mapping is complete, click **Create Destination**. The destination is created and made available for activation on Journeys as shown below.
 ## Activate the Destination on Journeys
After creating a destination, you can link it in the **Send to Destination** node within the workflow, as explained below.
Click the destination you created from the list of available destinations.
Under the **Destination Details** tab, the components such as **Account Name, API Instance, Dataset Name, API Username** and **API Password** fields are automatically populated based on the value that you had entered while creating the destination. However, you need to enter some node specific inputs like Action Name and Profile Object Name to save the Destination.
**Action Name** is the name of the action associated with the event.This is the Object name associated with the event.
Under the **Destination Settings** tab, choose the Action and mapping as per your requirement.
Upon clicking **Save Destination**. The destination is attached as shown in the image below.
## Activate the Destination on Journeys
After creating a destination, you can link it in the **Send to Destination** node within the workflow, as explained below.
Click the destination you created from the list of available destinations.
Under the **Destination Details** tab, the components such as **Account Name, API Instance, Dataset Name, API Username** and **API Password** fields are automatically populated based on the value that you had entered while creating the destination. However, you need to enter some node specific inputs like Action Name and Profile Object Name to save the Destination.
**Action Name** is the name of the action associated with the event.This is the Object name associated with the event.
Under the **Destination Settings** tab, choose the Action and mapping as per your requirement.
Upon clicking **Save Destination**. The destination is attached as shown in the image below.
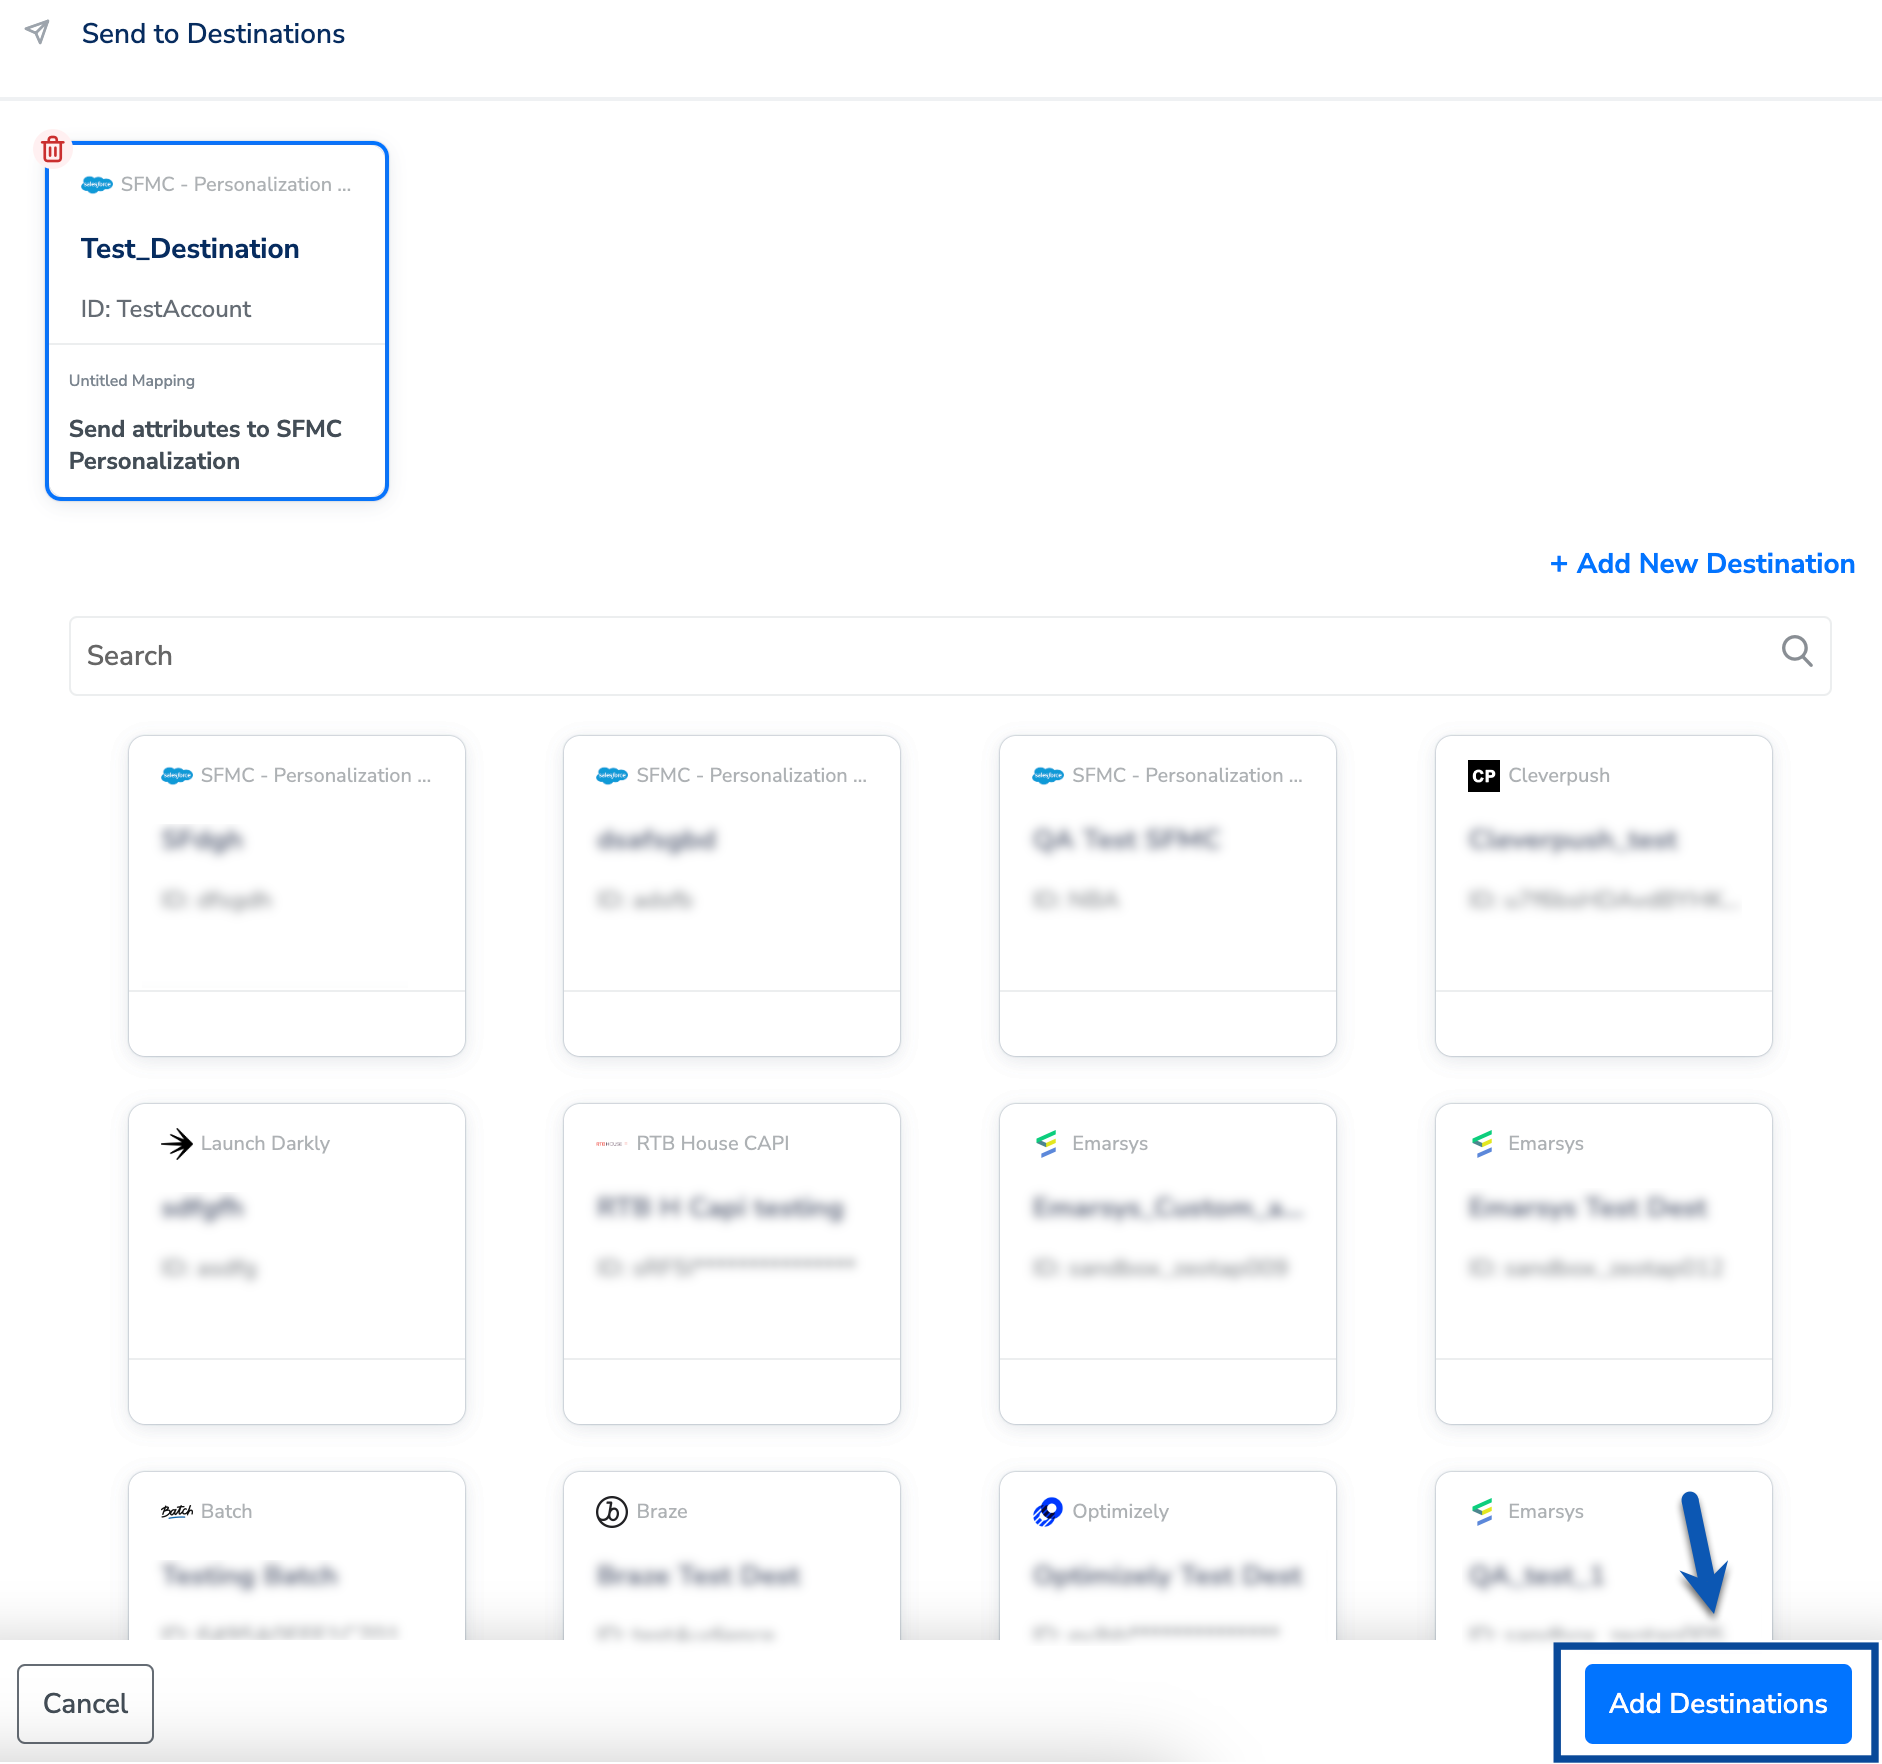
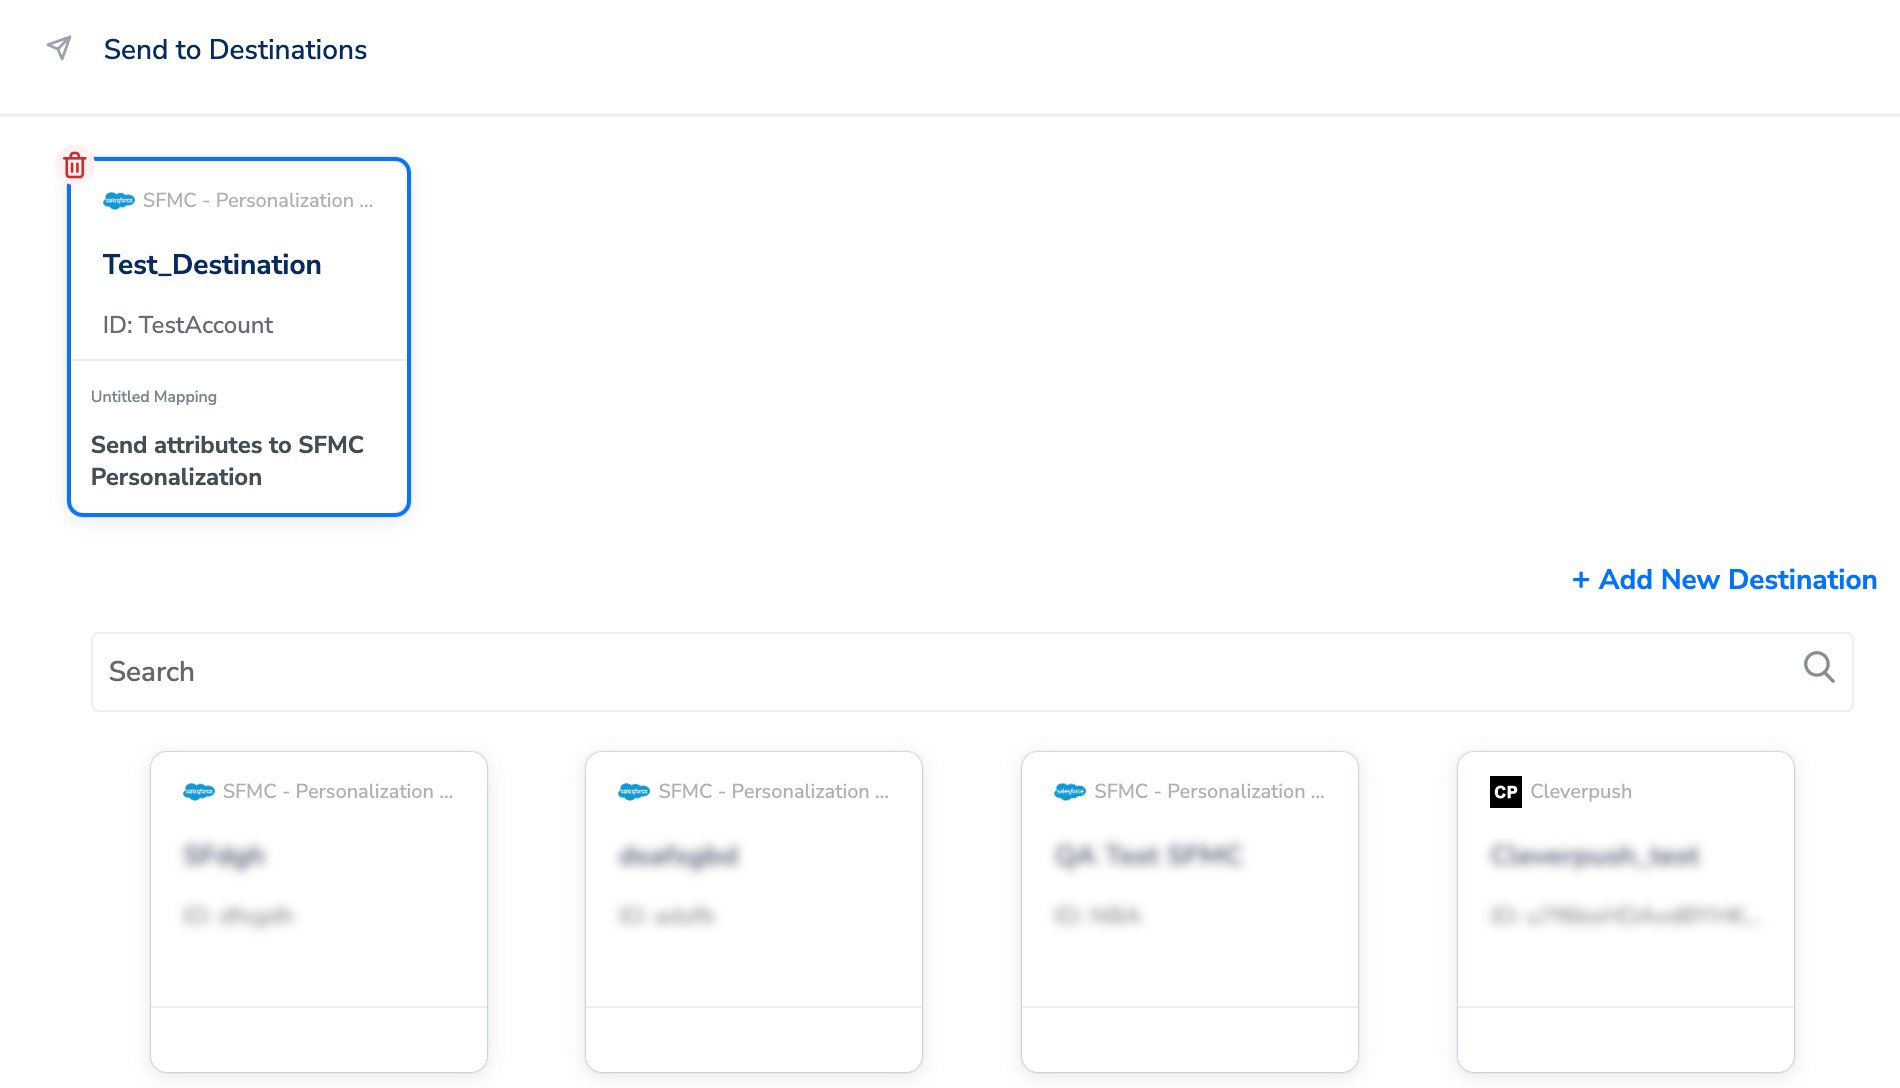 Click **Add Destinations**. You can also add multiple destinations at this step if needed.
 The linked Destinations appear in the **Send to Destinations** node within the workflow as shown below. Further, you can then build and customise your workflow as needed by clicking '+' . Note that you must enter a name for your workflow in the provided text box to save it.
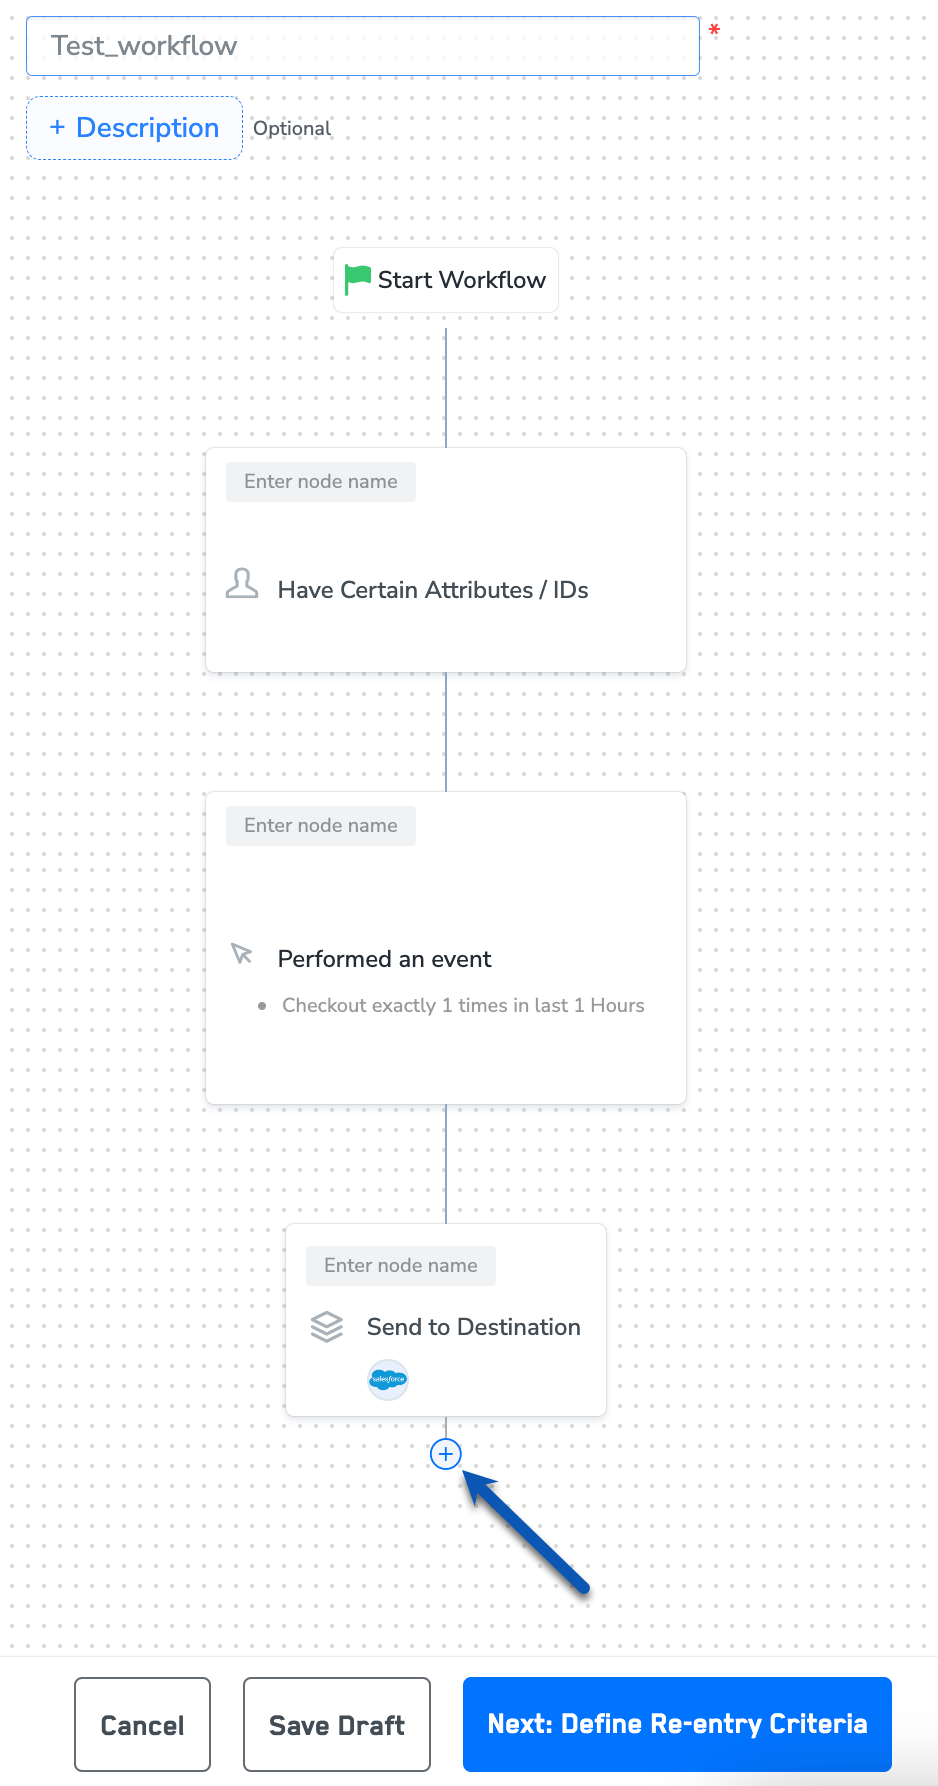 After adding conditions and filters for users, choose one of the following options:
* **Save Draft**: Enables you to revisit and edit the workflow before publishing.
* **Next: Re-entry Condition**: Determines whether a user can re-enter the same workflow.
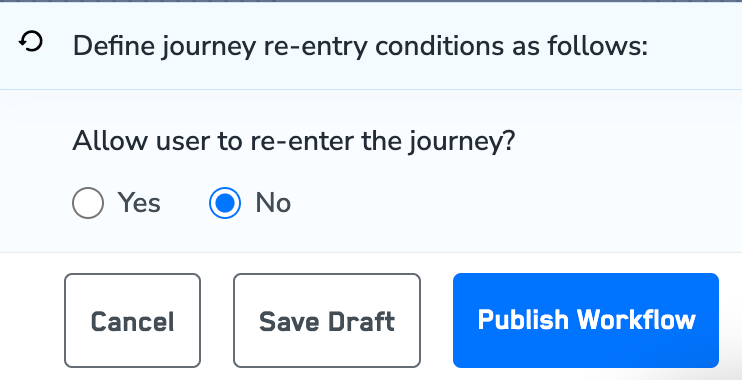
After defining the re-entry criteria, click **Publish Workflow**. The workflow appears in the Workflow listing screen with a **Published** status.
After adding conditions and filters for users, choose one of the following options:
* **Save Draft**: Enables you to revisit and edit the workflow before publishing.
* **Next: Re-entry Condition**: Determines whether a user can re-enter the same workflow.
After defining the re-entry criteria, click **Publish Workflow**. The workflow appears in the Workflow listing screen with a **Published** status.