> ## Documentation Index
> Fetch the complete documentation index at: https://docs.zeotap.com/llms.txt
> Use this file to discover all available pages before exploring further.
# Create a Web Pixel/Web iFrame/App Pixel Source
**Note:**
Refer to [Web Pixel/Web iFrame/App Pixel Source](/articles/integrate-customer/web-pixel-web-iframe-app-pixel) to know more about this source.
Perform the following steps to create a Pixel or iFrame Source:
Navigate to the **Sources** application under **Integrate**, in the Zeotap CDP App.
Click **CREATE SOURCE**.
Choose **Website Events** or **App Events** as the Category.
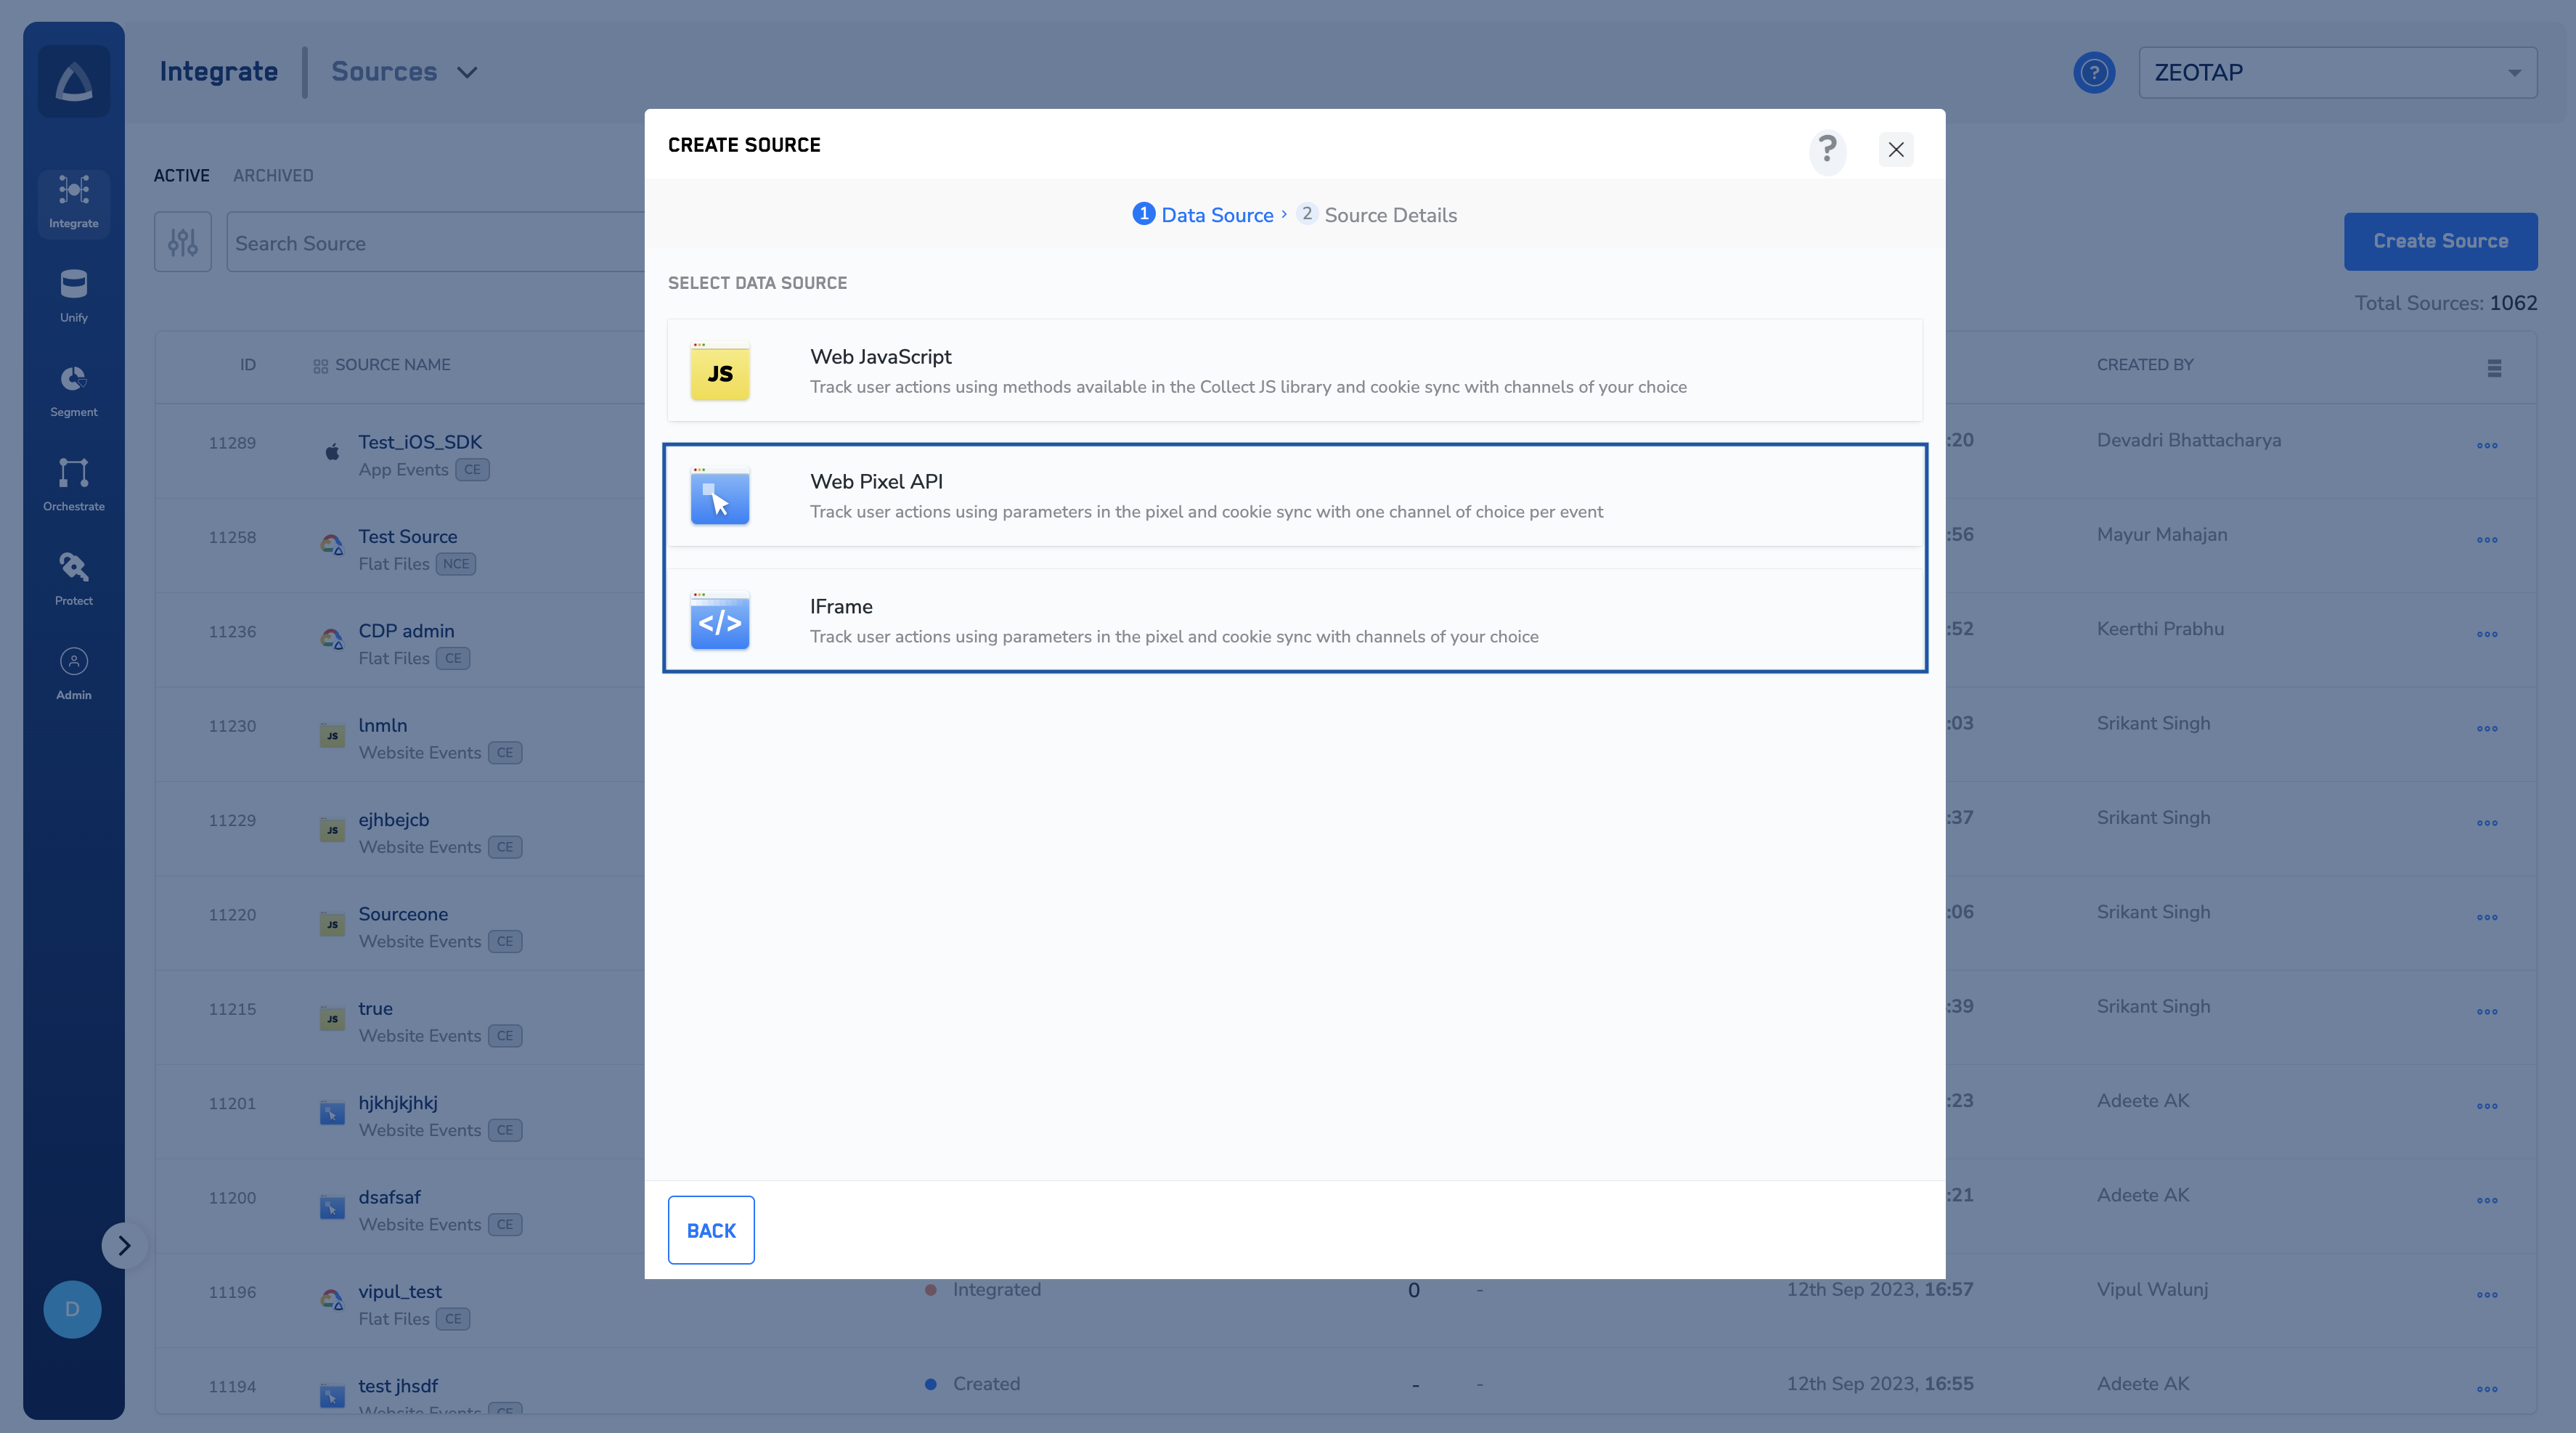
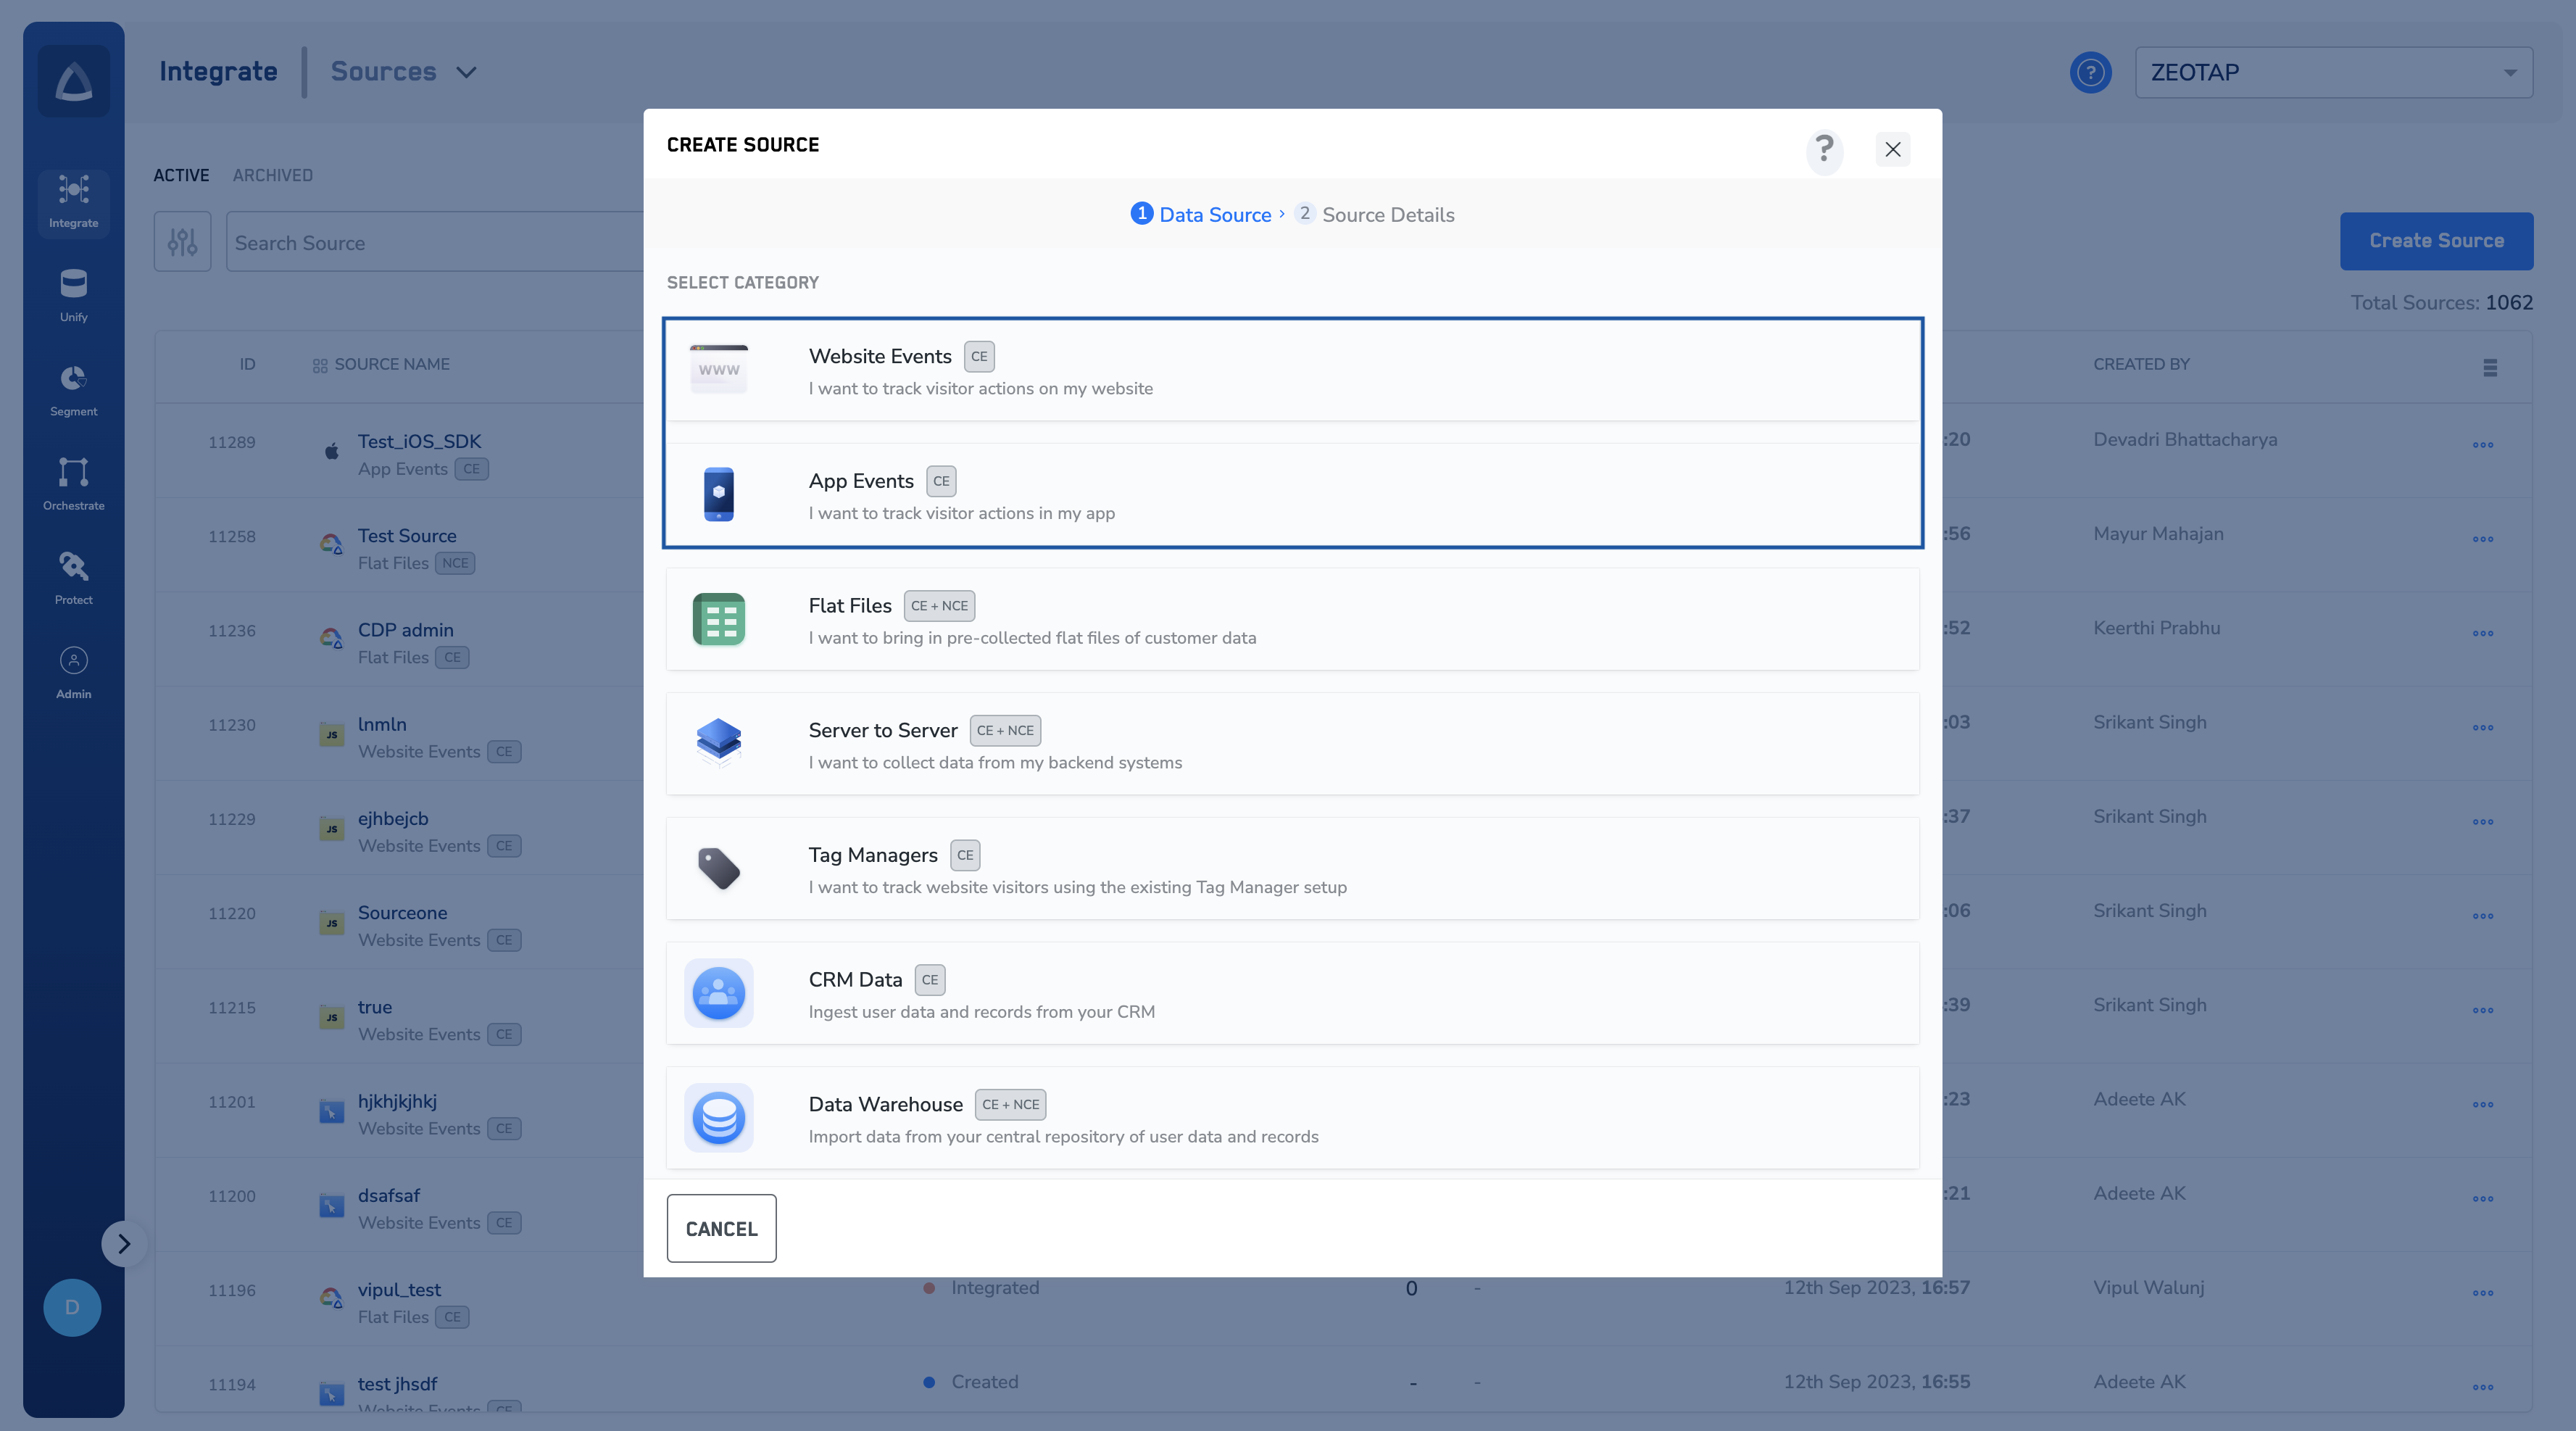 If you have chosen **Website Events**, then choose **Web Pixel API** or **IFrame** as the Data Source.
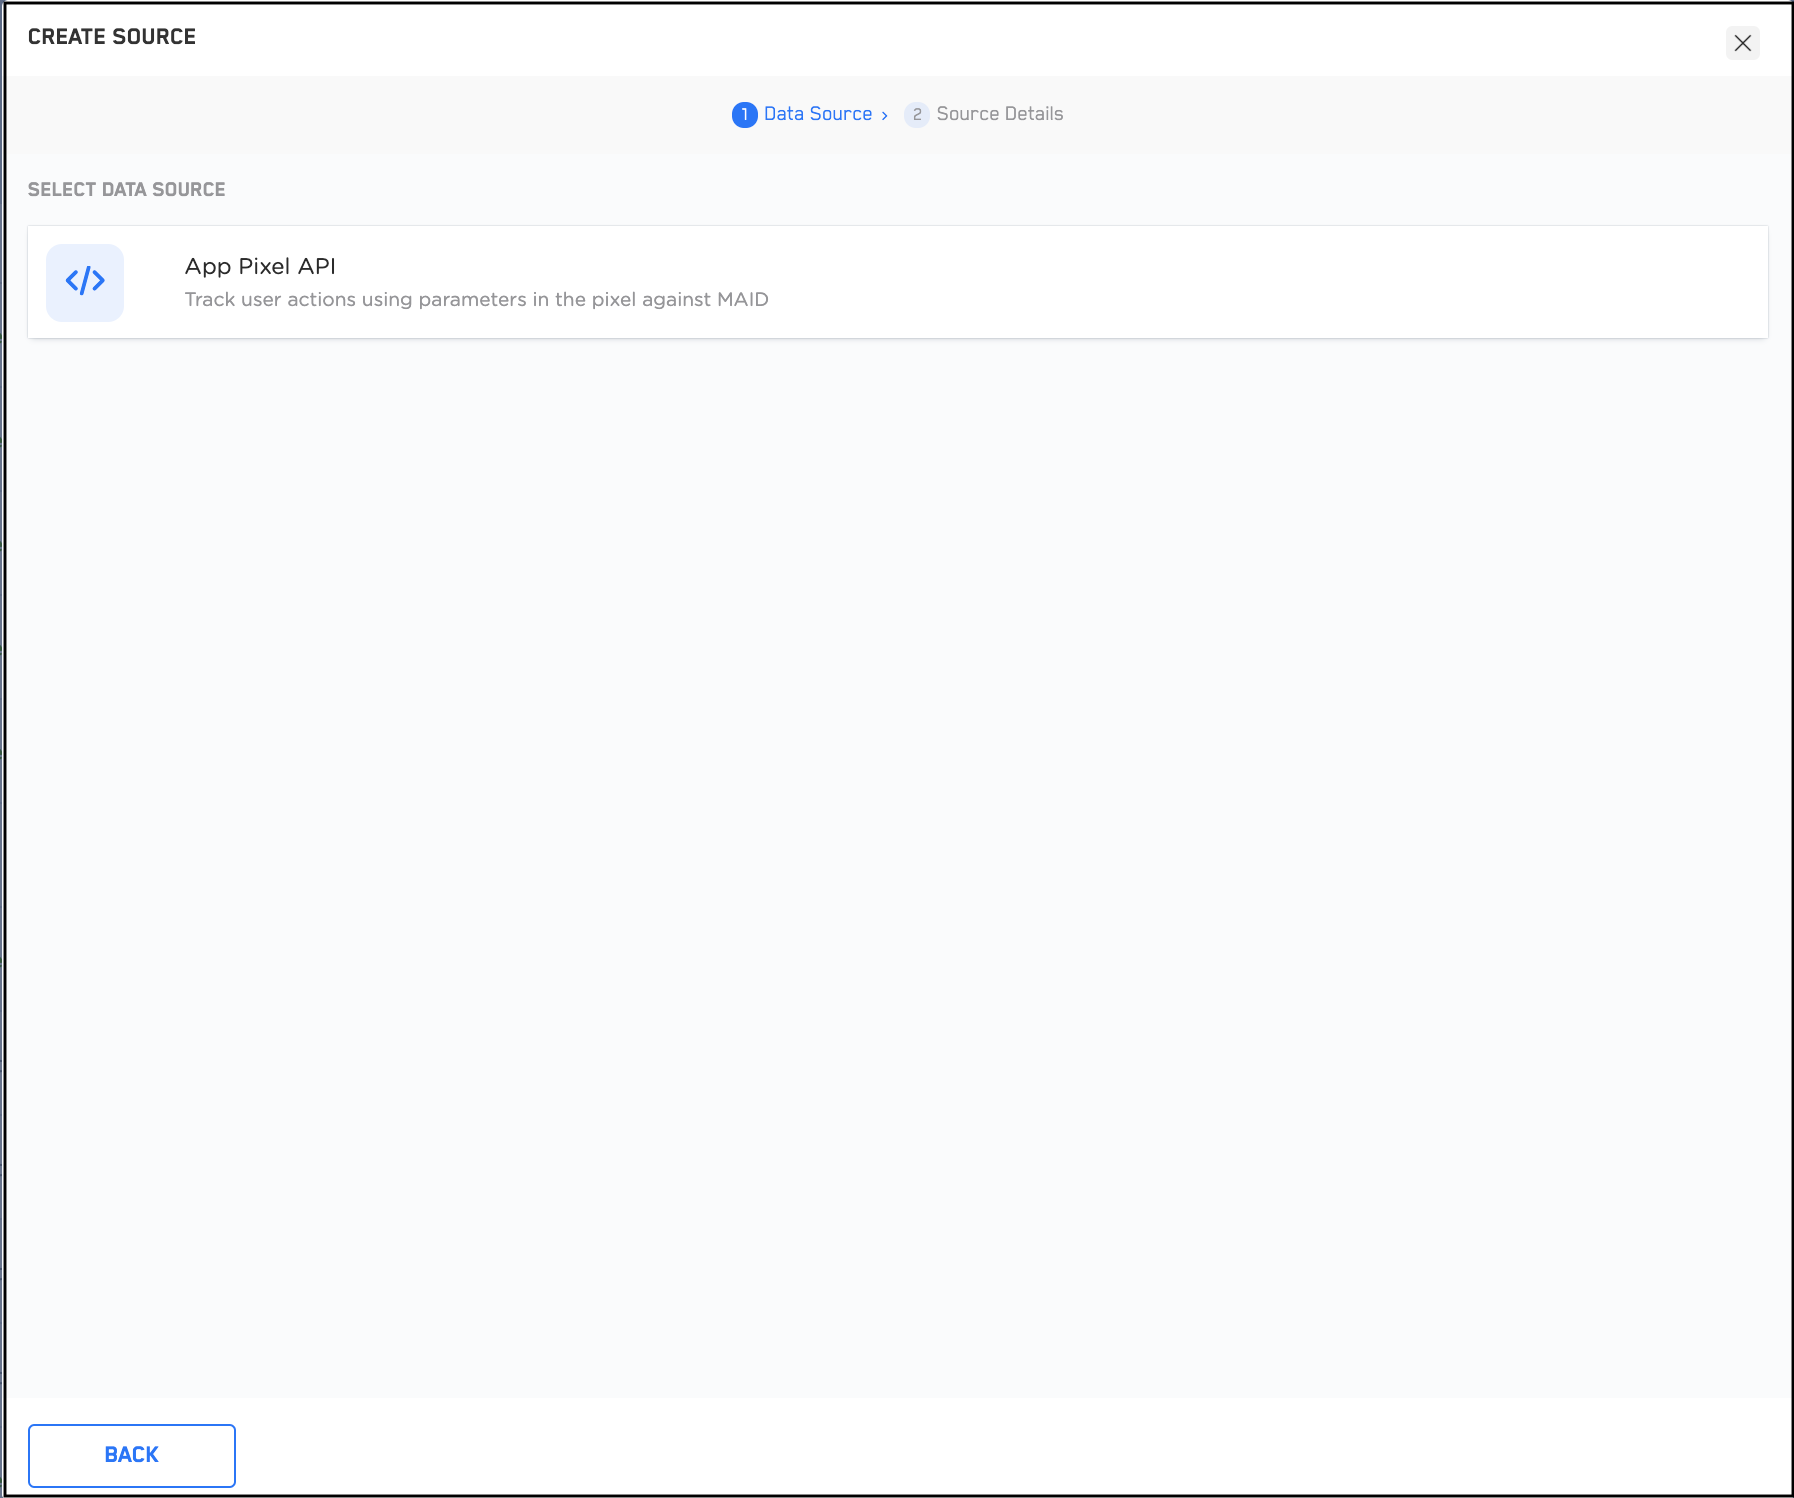
 If you have chosen **App Events**, then choose **App Pixel API** as the Data Source.
 Enter a short and descriptive name for the Source.
Choose the region of upload and proceed with the Source creation.
Enter a short and descriptive name for the Source.
Choose the region of upload and proceed with the Source creation.
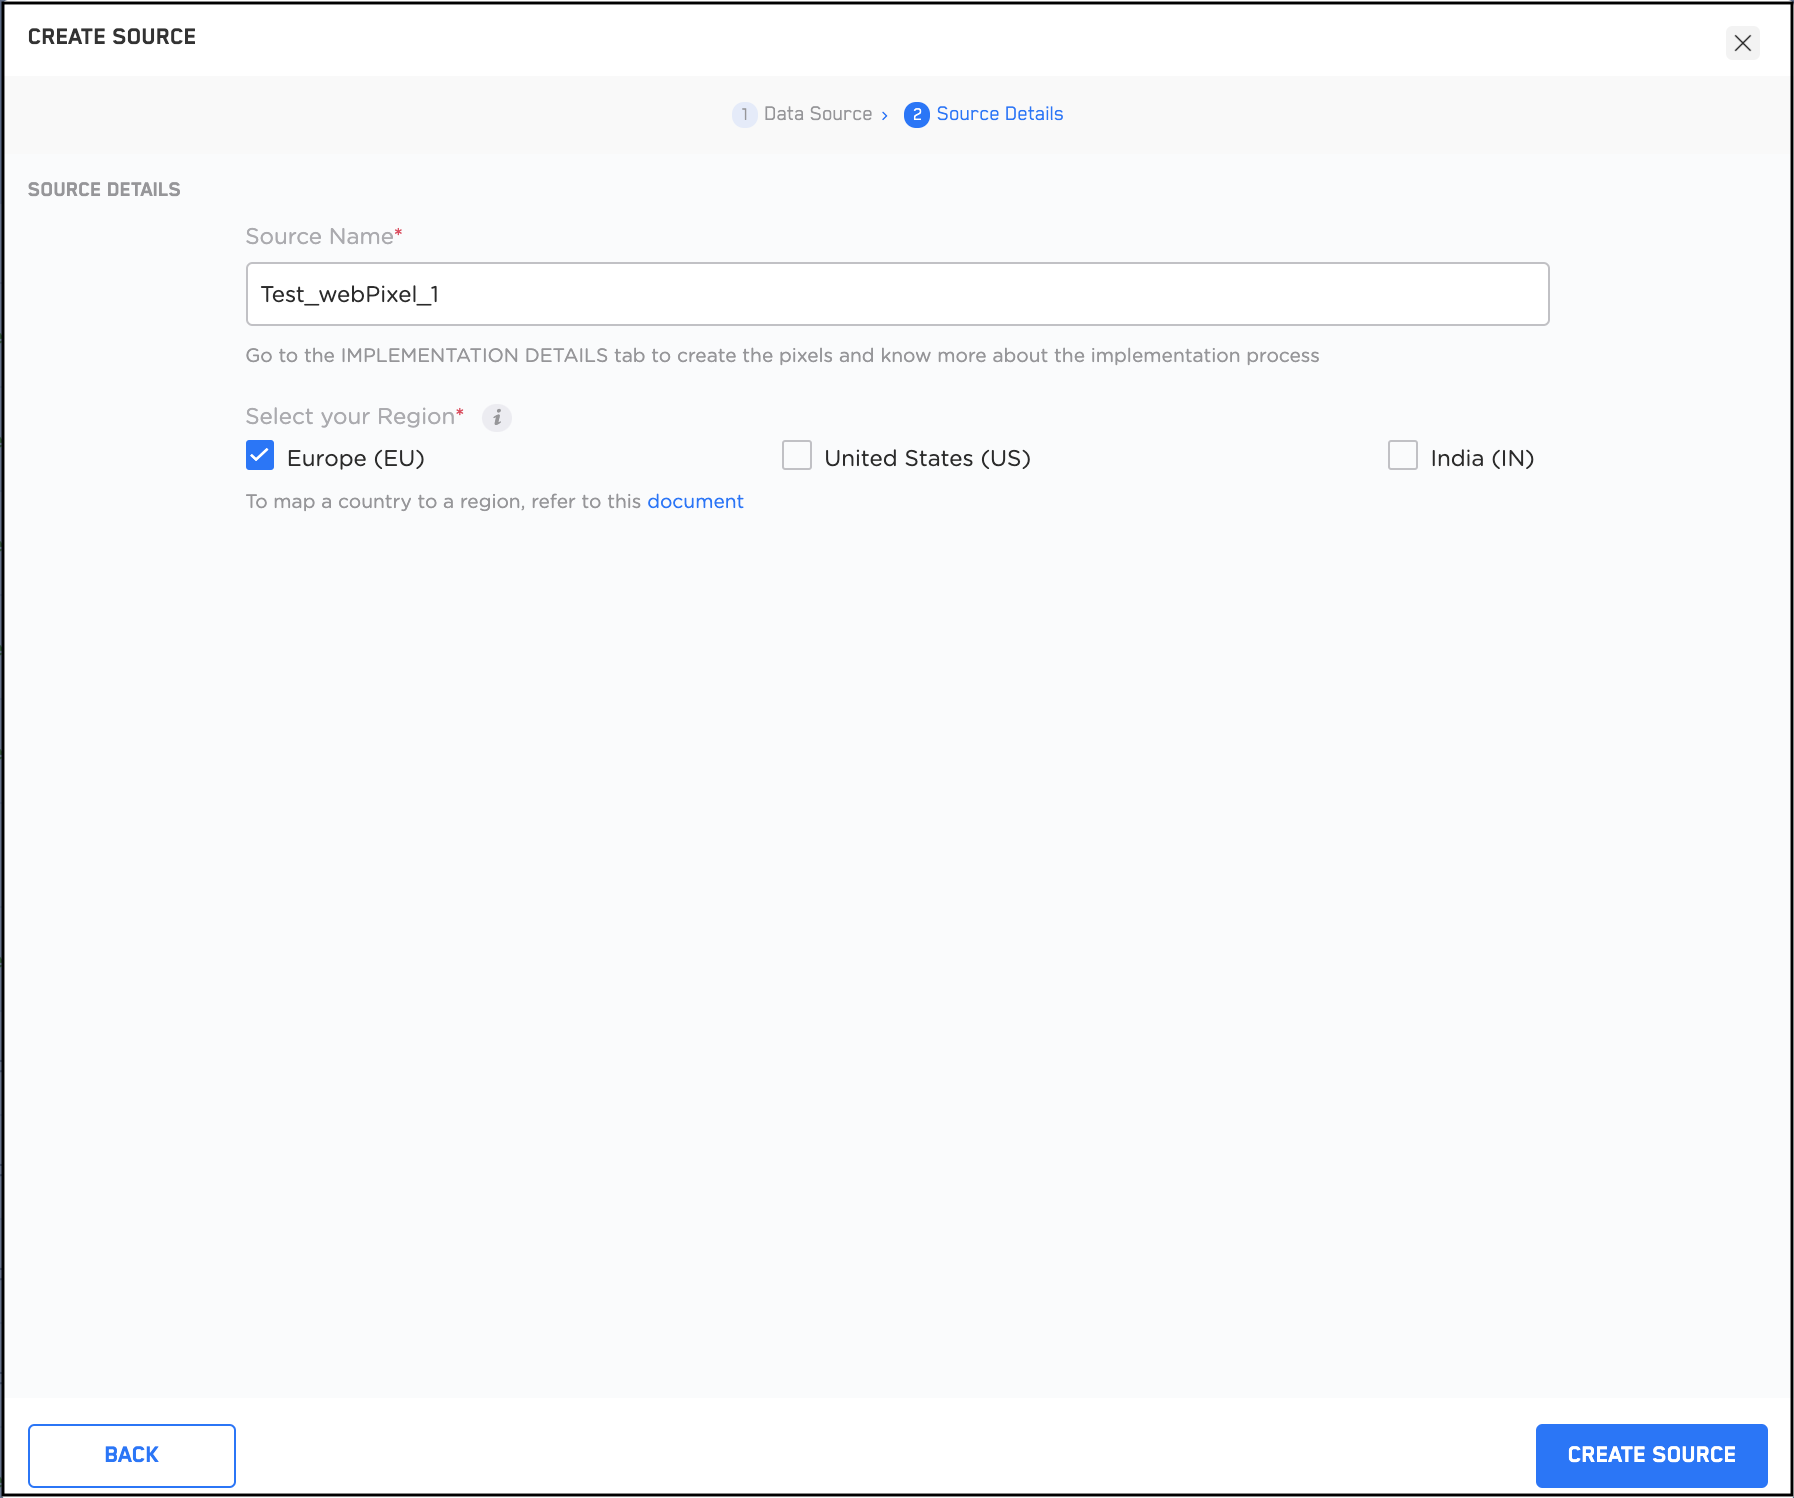 Click **CREATE SOURCE**. The created Source appears on the **SOURCES** listing page. Click on a particular Source to view the details regarding the snippet code and authorisation key.
**Note:**
Once the Source has been taken live based on the implementation steps available, you can use the **[PREVIEW](/articles/integrate-customer/knowing-the-fields-on-the-preview-data-tab)** tab tosee incoming data. To know more about how to implement a Pixel or IFrame Source, refer to [Pixel Implementation](/articles/integrate-customer/implementing-pixel-source-2665775396).
Click **CREATE SOURCE**. The created Source appears on the **SOURCES** listing page. Click on a particular Source to view the details regarding the snippet code and authorisation key.
**Note:**
Once the Source has been taken live based on the implementation steps available, you can use the **[PREVIEW](/articles/integrate-customer/knowing-the-fields-on-the-preview-data-tab)** tab tosee incoming data. To know more about how to implement a Pixel or IFrame Source, refer to [Pixel Implementation](/articles/integrate-customer/implementing-pixel-source-2665775396).