> ## Documentation Index
> Fetch the complete documentation index at: https://docs.zeotap.com/llms.txt
> Use this file to discover all available pages before exploring further.
# Map the Catalogue
> This is the stage in which you can standardise the incoming data to a single organisational-level catalogue by mapping and applying the required [data transformations](/articles/unify-customer/enrichers).
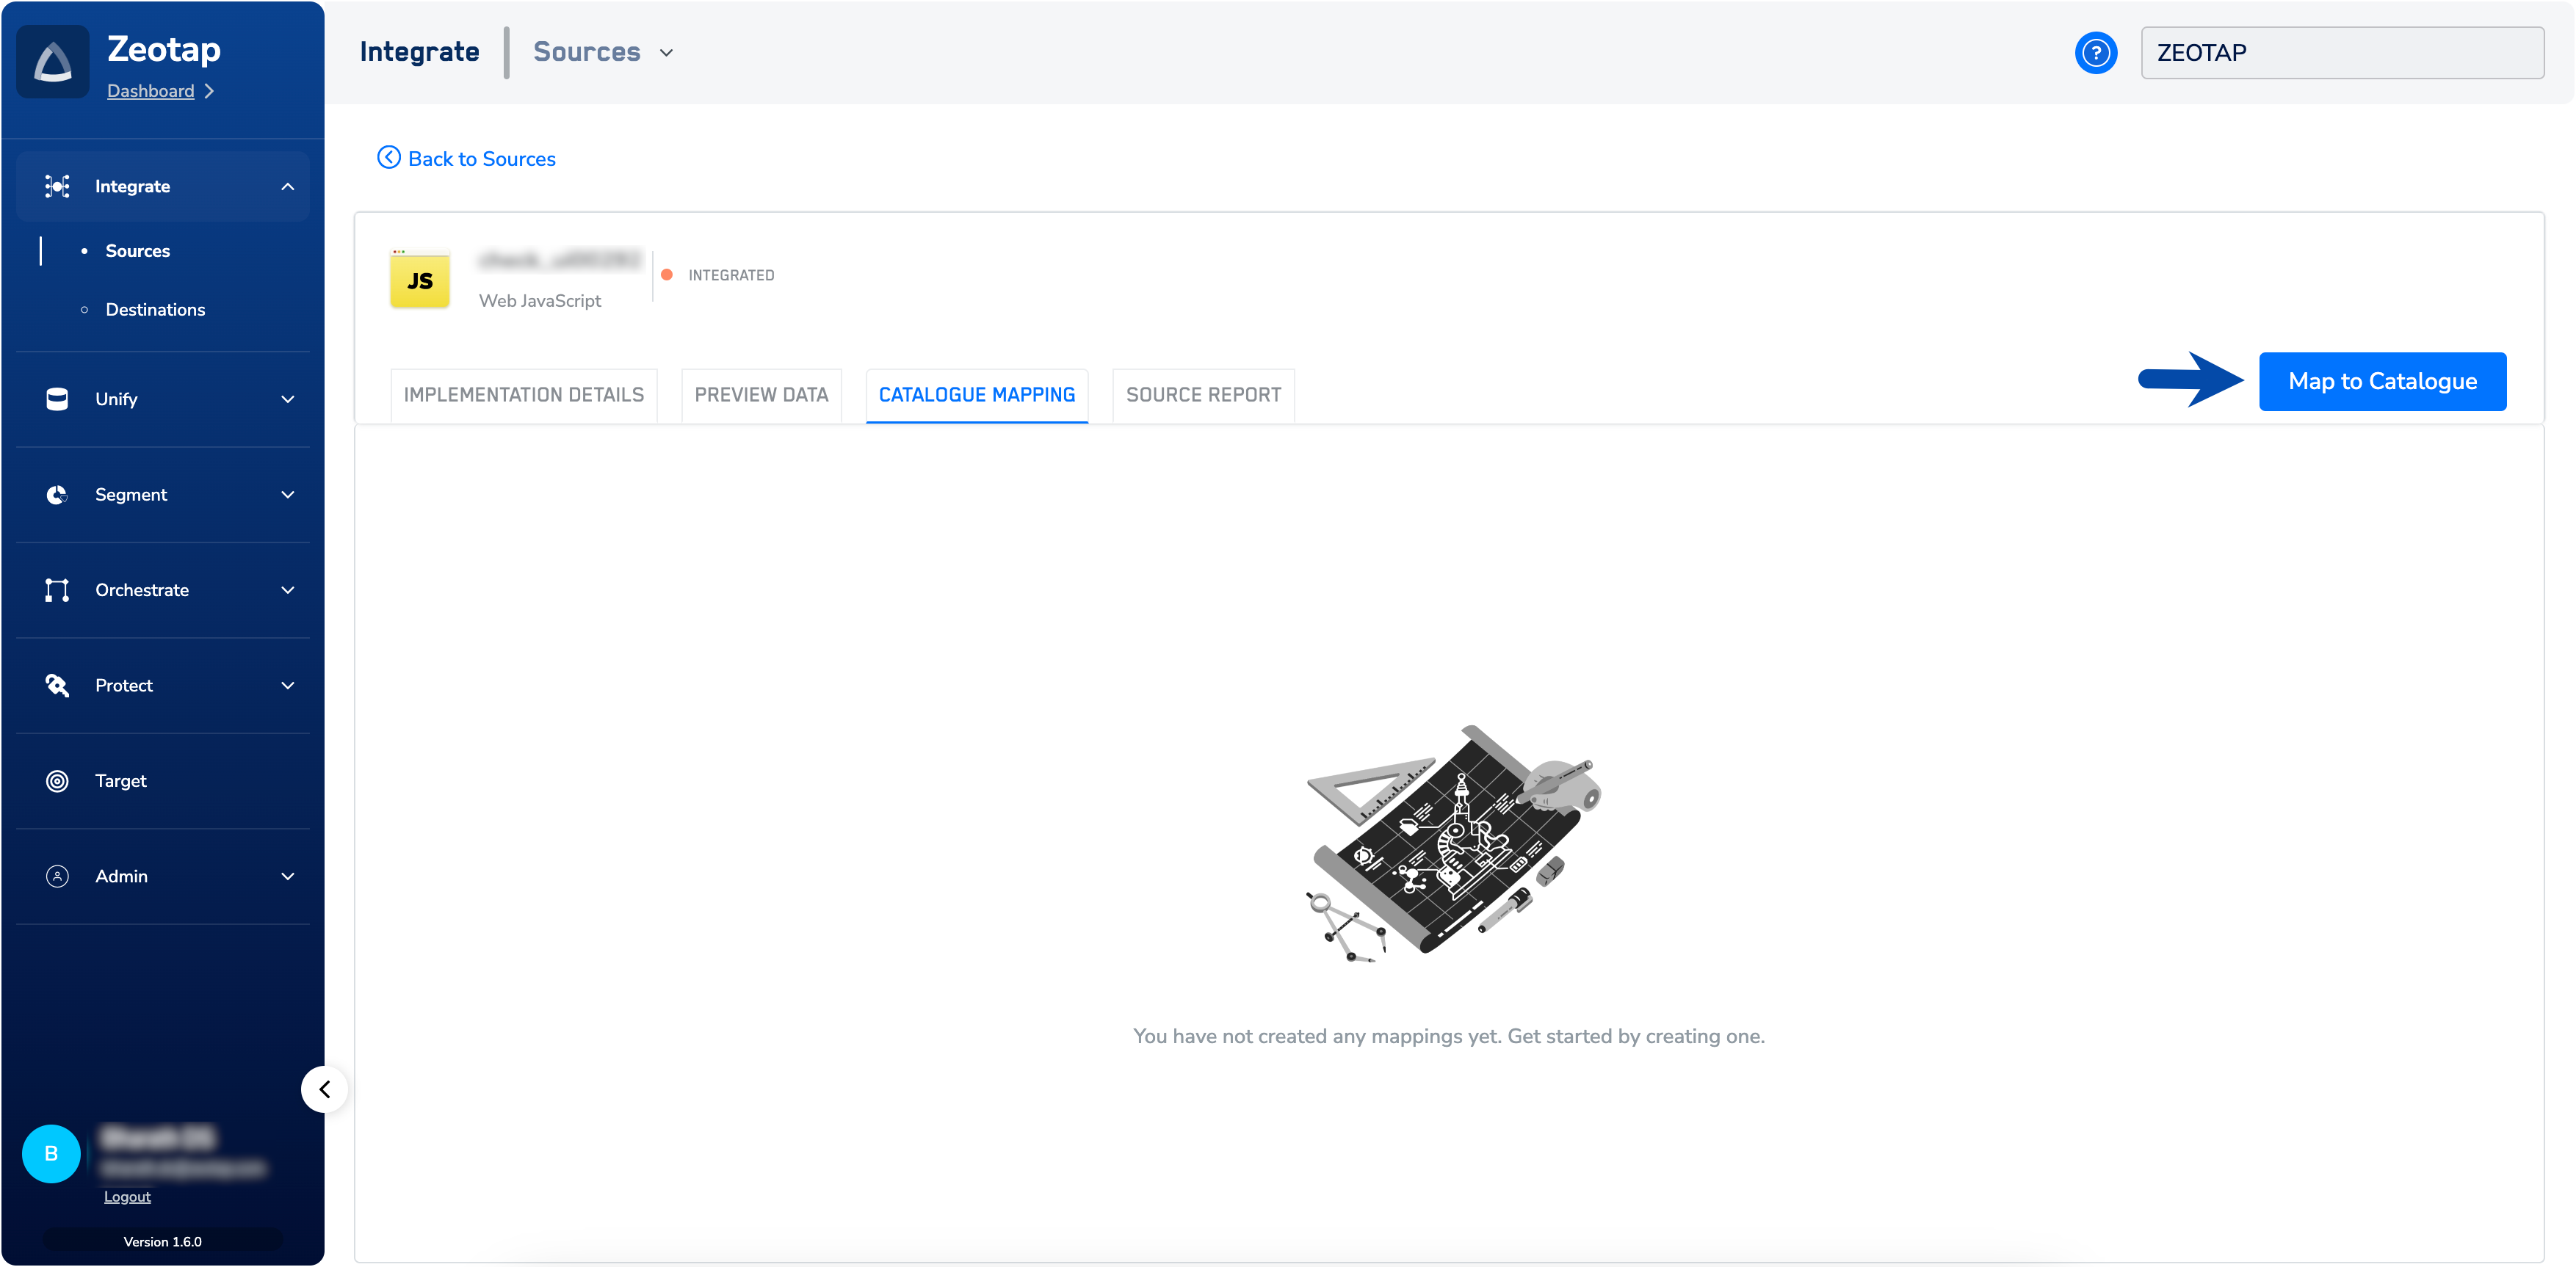
Ensure that your ingested data such as identifiers, traits, consent, events and more are appropriately mapped against the fields available in the Zeotap Catalogue. This ensures the structuring the data flow efficiently. Map the ingested fields to the Catalogue fields by clicking **Map to Catalogue** under either the **CATALOGUE MAPPING** or **PREVIEW DATA** tab.
 The following are the important steps that you need to know while performing the Catalogue Mapping:
1. **Mapping Customer and Non-Customer Entity Data**: You can map both [Customer Data](/articles/unify-customer/customer-data) and [Non-Customer Entity Data](/articles/unify-customer/non-customer-entity-data) in the Catalogue. For more information about the how to map the Catalogue for Customer data and Non-Customer Entity Data, refer [here](/articles/unify-customer/map-the-catalogue).
2. **Knowing Zeotap Standard Fields** – Zeotap provides a set of standard fields in your catalogue. If you do not find these standard fields in your organisation’s catalogue, you can create custom fields. The process of creating the custom fields happens in an interactive interface wherein you can define your data points, bring them into Zeotap and manage them independently. Using this interface, you can easily edit the existing catalogue field or create a new field. For more information about the standard fields, refer to the relevant below links.
3. **Add a Catalogue field**– While adding a new Catalogue field, search for the desired field you wish to add. If the field is already present in the system, you are prompted to use the existing field and can access the details page. However, if the field does not exist in the system, you have to create a new field as explained in the [Add a Catalogue field](/articles/unify-customer/add-a-catalogue-field) topic.
4. **Configure Enrichers**– After adding the fields, you have to configure the required Enrichers. Enrichers are quick functions available for you to perform data transformations. Zeotap enrichers can be broadly classified as [Data Transformation Enrichers](/articles/unify-customer/enrichers-for-data-transformation-2816770049) and [Custom Enrichers](/articles/unify-customer/enrichers-for-custom-transformations).
5. **Map the Consent Purposes** - Once you have mapped all the Identifiers, on the same screen, click **+ ADD MAPPING**. If a source has consent data, then select the incoming consent field and map it to the relevant Zeotap consent field. For more information about mapping the consent purposes, refer [here](/articles/unify-customer/adding-a-consent-category).
6. **Map the Marketing Preferences** - Capture marketing preferences along with consent to add clarity and assurance to the marketing team while designing the campaign for the right audience. For more information about mapping the Marketing Preferences, refer [here](/articles/unify-customer/adding-a-marketing-preference-category).
7. **Review Mapping** – In the **REVIEW MAPPING**screen that appears, you can find warnings along with error logs that provide a description of the issue for incorrectly mapped fields. Once you have corrected these fields, the system automatically refreshes, allowing the warning to disappear. For more information about reviewing the mapping, refer [here](/articles/unify-customer/map-the-catalogue-for-customer-data).
8. **Save Mapping**– When you have reviewed all the fields, click **CONFIRM** AND **SAVE**.
Once the mapping is successfully done, then the source transitions to *Mapped* state.
The following are the important steps that you need to know while performing the Catalogue Mapping:
1. **Mapping Customer and Non-Customer Entity Data**: You can map both [Customer Data](/articles/unify-customer/customer-data) and [Non-Customer Entity Data](/articles/unify-customer/non-customer-entity-data) in the Catalogue. For more information about the how to map the Catalogue for Customer data and Non-Customer Entity Data, refer [here](/articles/unify-customer/map-the-catalogue).
2. **Knowing Zeotap Standard Fields** – Zeotap provides a set of standard fields in your catalogue. If you do not find these standard fields in your organisation’s catalogue, you can create custom fields. The process of creating the custom fields happens in an interactive interface wherein you can define your data points, bring them into Zeotap and manage them independently. Using this interface, you can easily edit the existing catalogue field or create a new field. For more information about the standard fields, refer to the relevant below links.
3. **Add a Catalogue field**– While adding a new Catalogue field, search for the desired field you wish to add. If the field is already present in the system, you are prompted to use the existing field and can access the details page. However, if the field does not exist in the system, you have to create a new field as explained in the [Add a Catalogue field](/articles/unify-customer/add-a-catalogue-field) topic.
4. **Configure Enrichers**– After adding the fields, you have to configure the required Enrichers. Enrichers are quick functions available for you to perform data transformations. Zeotap enrichers can be broadly classified as [Data Transformation Enrichers](/articles/unify-customer/enrichers-for-data-transformation-2816770049) and [Custom Enrichers](/articles/unify-customer/enrichers-for-custom-transformations).
5. **Map the Consent Purposes** - Once you have mapped all the Identifiers, on the same screen, click **+ ADD MAPPING**. If a source has consent data, then select the incoming consent field and map it to the relevant Zeotap consent field. For more information about mapping the consent purposes, refer [here](/articles/unify-customer/adding-a-consent-category).
6. **Map the Marketing Preferences** - Capture marketing preferences along with consent to add clarity and assurance to the marketing team while designing the campaign for the right audience. For more information about mapping the Marketing Preferences, refer [here](/articles/unify-customer/adding-a-marketing-preference-category).
7. **Review Mapping** – In the **REVIEW MAPPING**screen that appears, you can find warnings along with error logs that provide a description of the issue for incorrectly mapped fields. Once you have corrected these fields, the system automatically refreshes, allowing the warning to disappear. For more information about reviewing the mapping, refer [here](/articles/unify-customer/map-the-catalogue-for-customer-data).
8. **Save Mapping**– When you have reviewed all the fields, click **CONFIRM** AND **SAVE**.
Once the mapping is successfully done, then the source transitions to *Mapped* state.