> ## Documentation Index
> Fetch the complete documentation index at: https://docs.zeotap.com/llms.txt
> Use this file to discover all available pages before exploring further.
# My Organisation
The process of onboarding a new client starts with creating an organisation. Perform the following steps to create an organisation:
Log into **the Zeotap CDP App** and go to the **Admin** application.
Under **My Organisations,** click **+** **Create Organisation.**
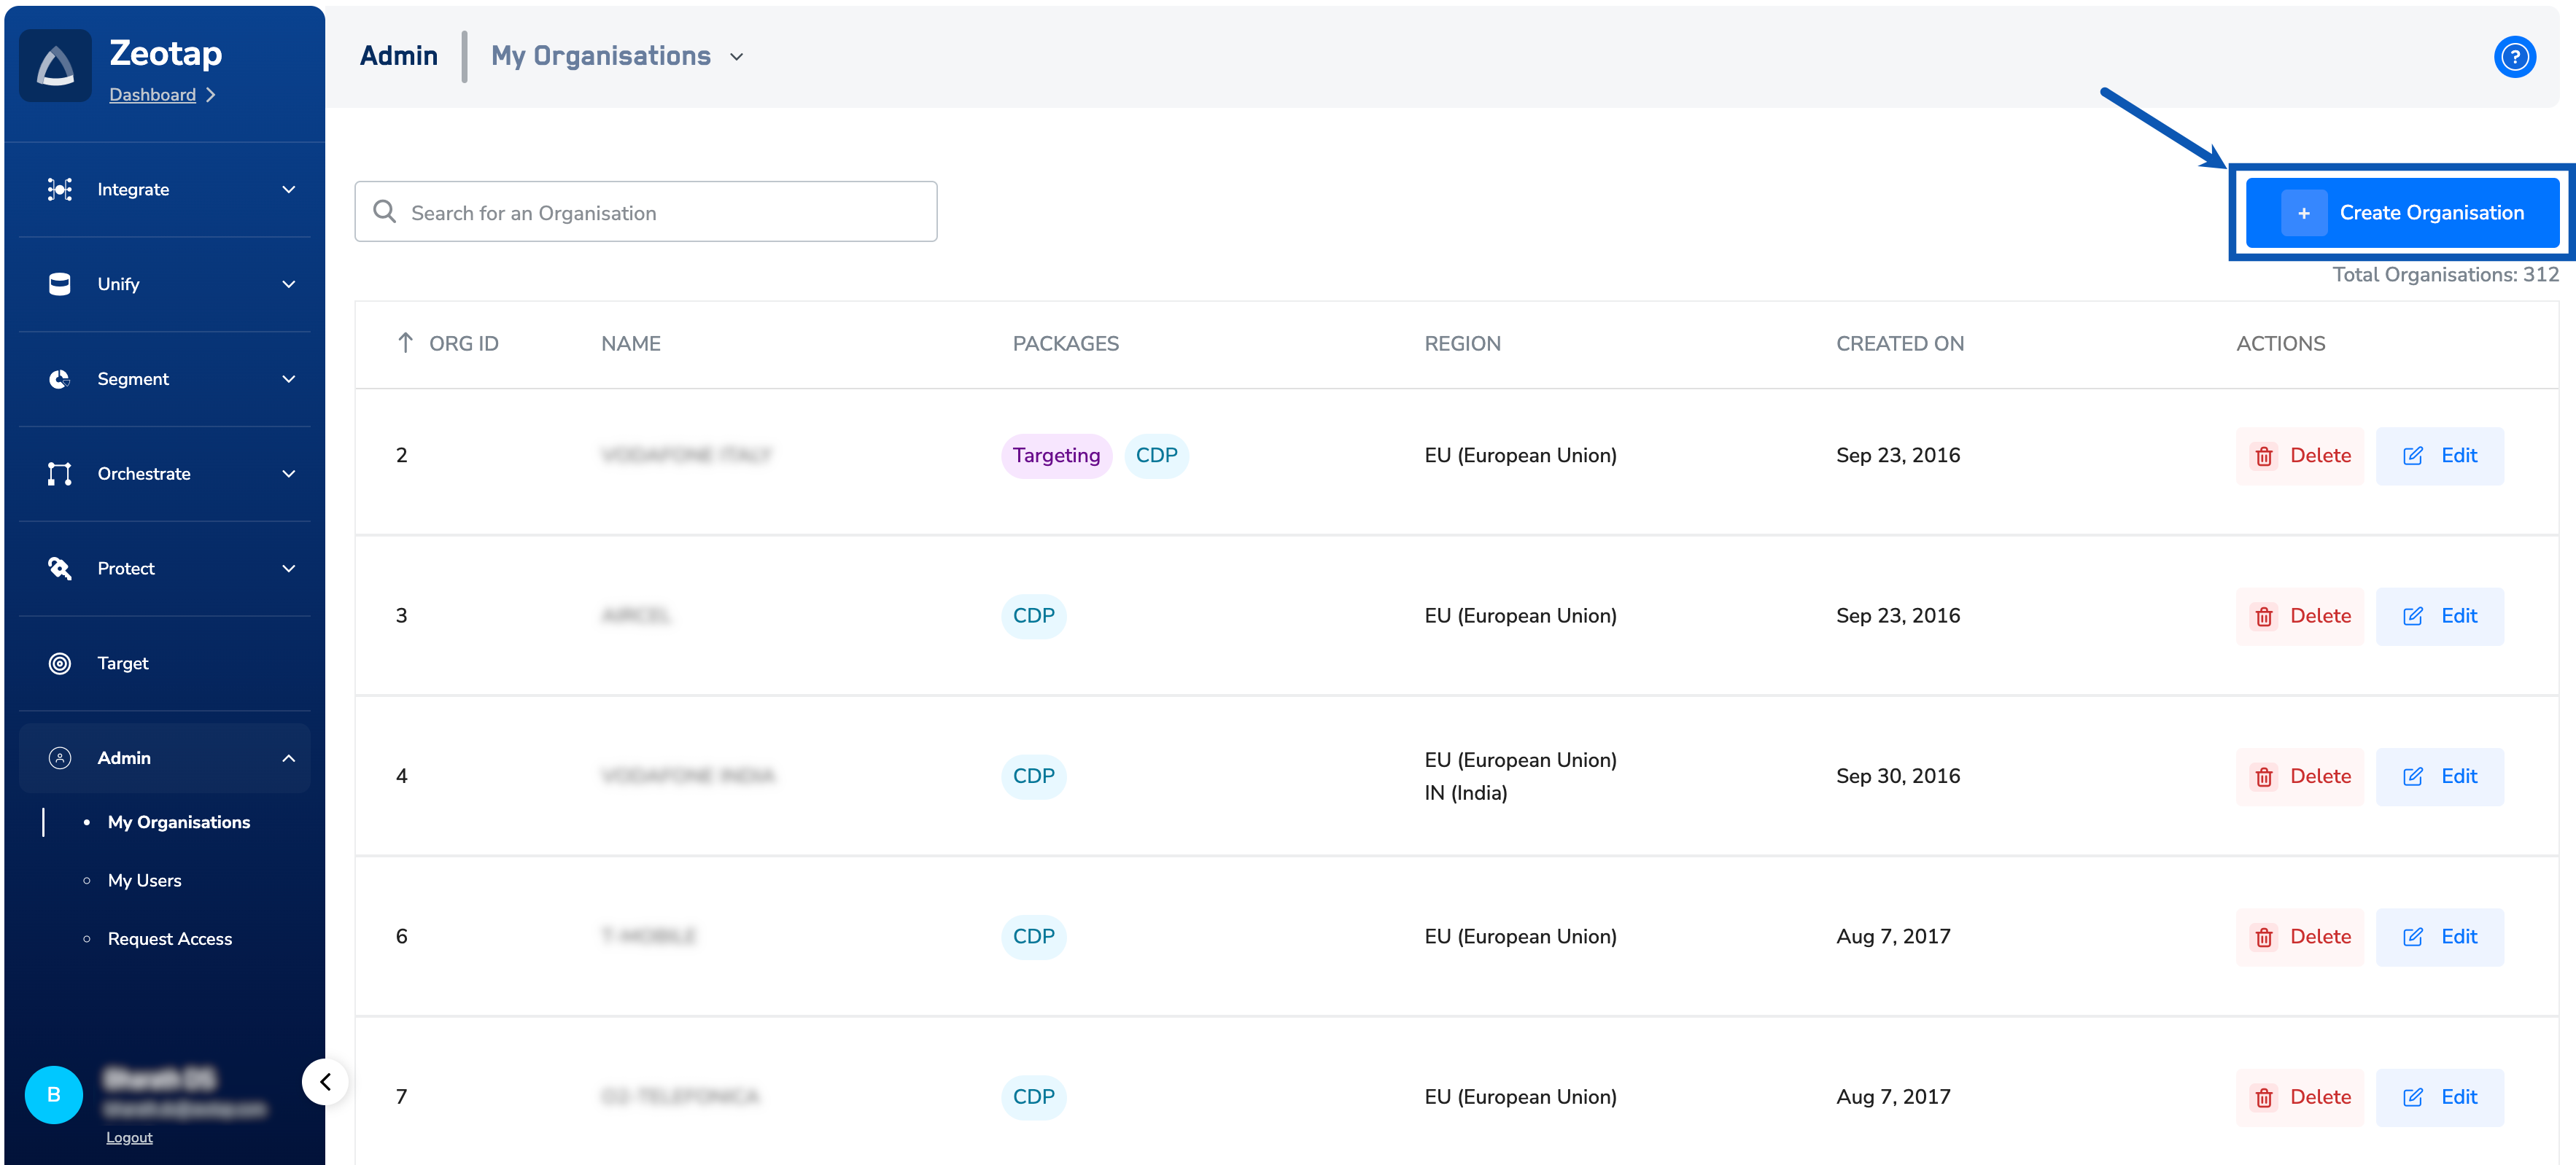 Enter the **Organisation Name**.
Select the **Parent Organisation**. Every organisation must have a parent organisation. With the parent-child relationship not defined, Zeotap is chosen as the parent organisation.
Enter the **Organisation Name**.
Select the **Parent Organisation**. Every organisation must have a parent organisation. With the parent-child relationship not defined, Zeotap is chosen as the parent organisation.
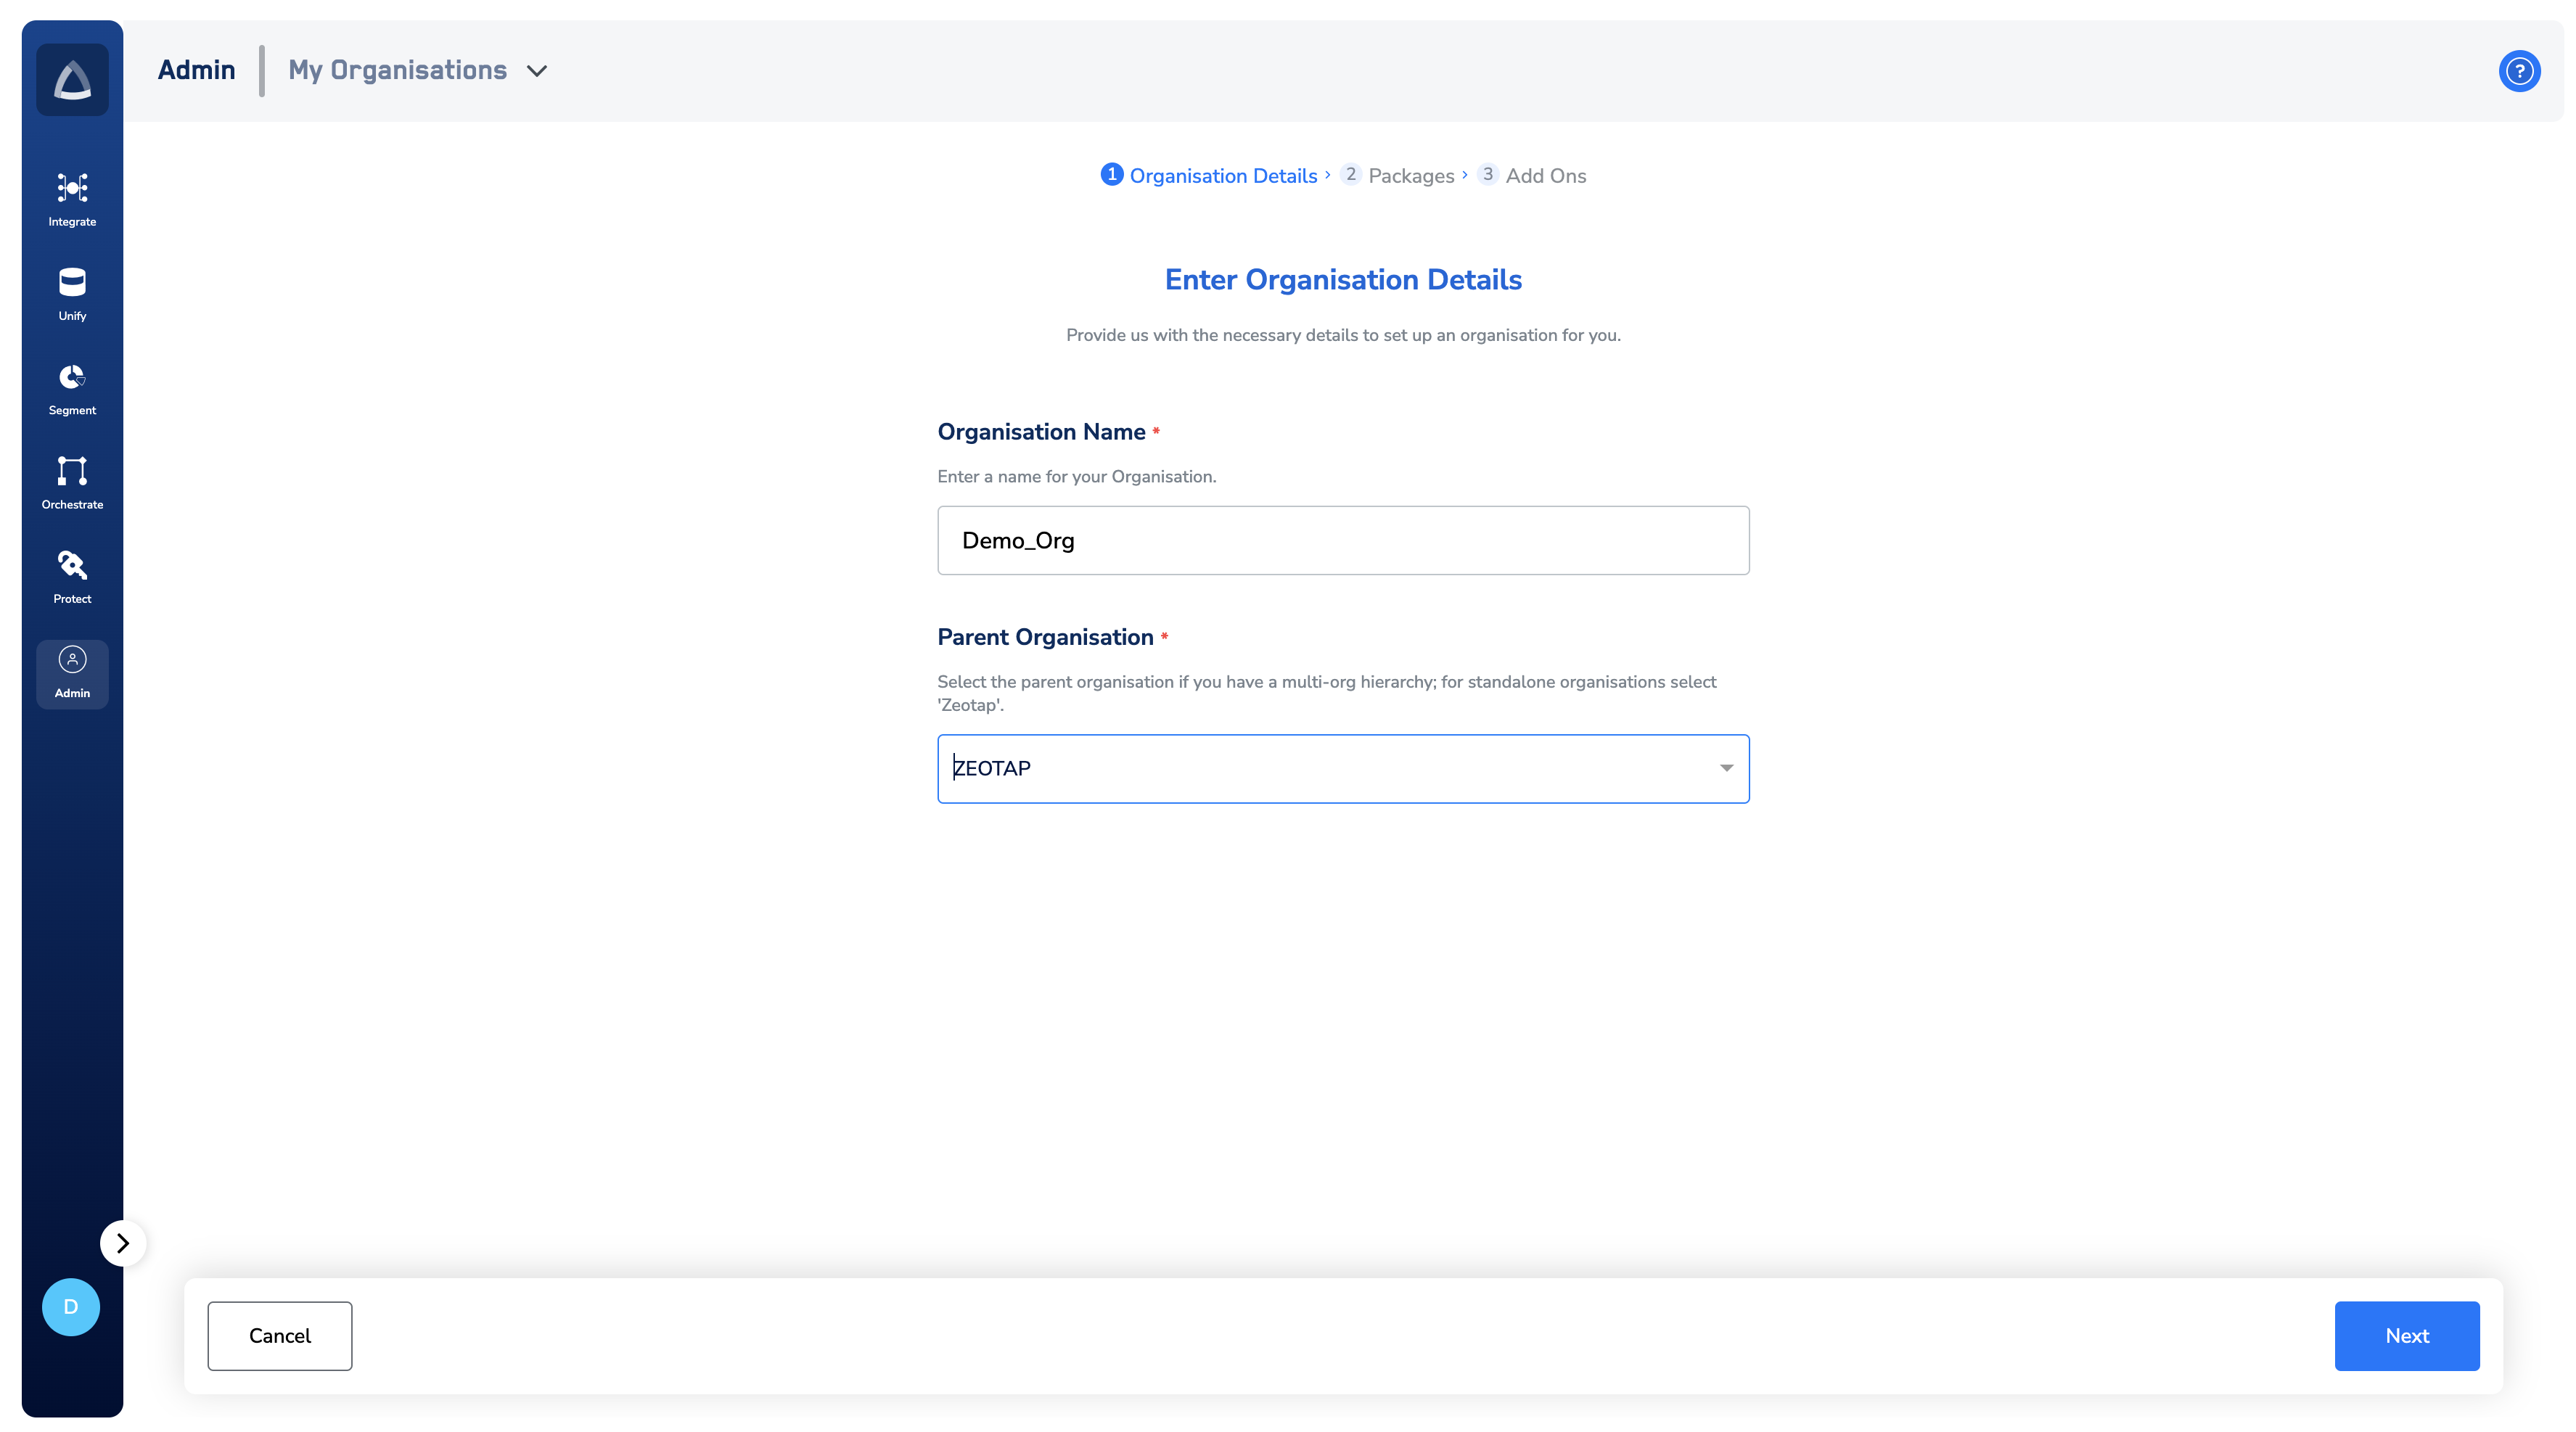 In the new screen that appears, select the packages that is appropriate for your organisation.
If you choose the **CDP package**, then ensure to set the region where you want your data to be stored.
In the new screen that appears, select the packages that is appropriate for your organisation.
If you choose the **CDP package**, then ensure to set the region where you want your data to be stored.
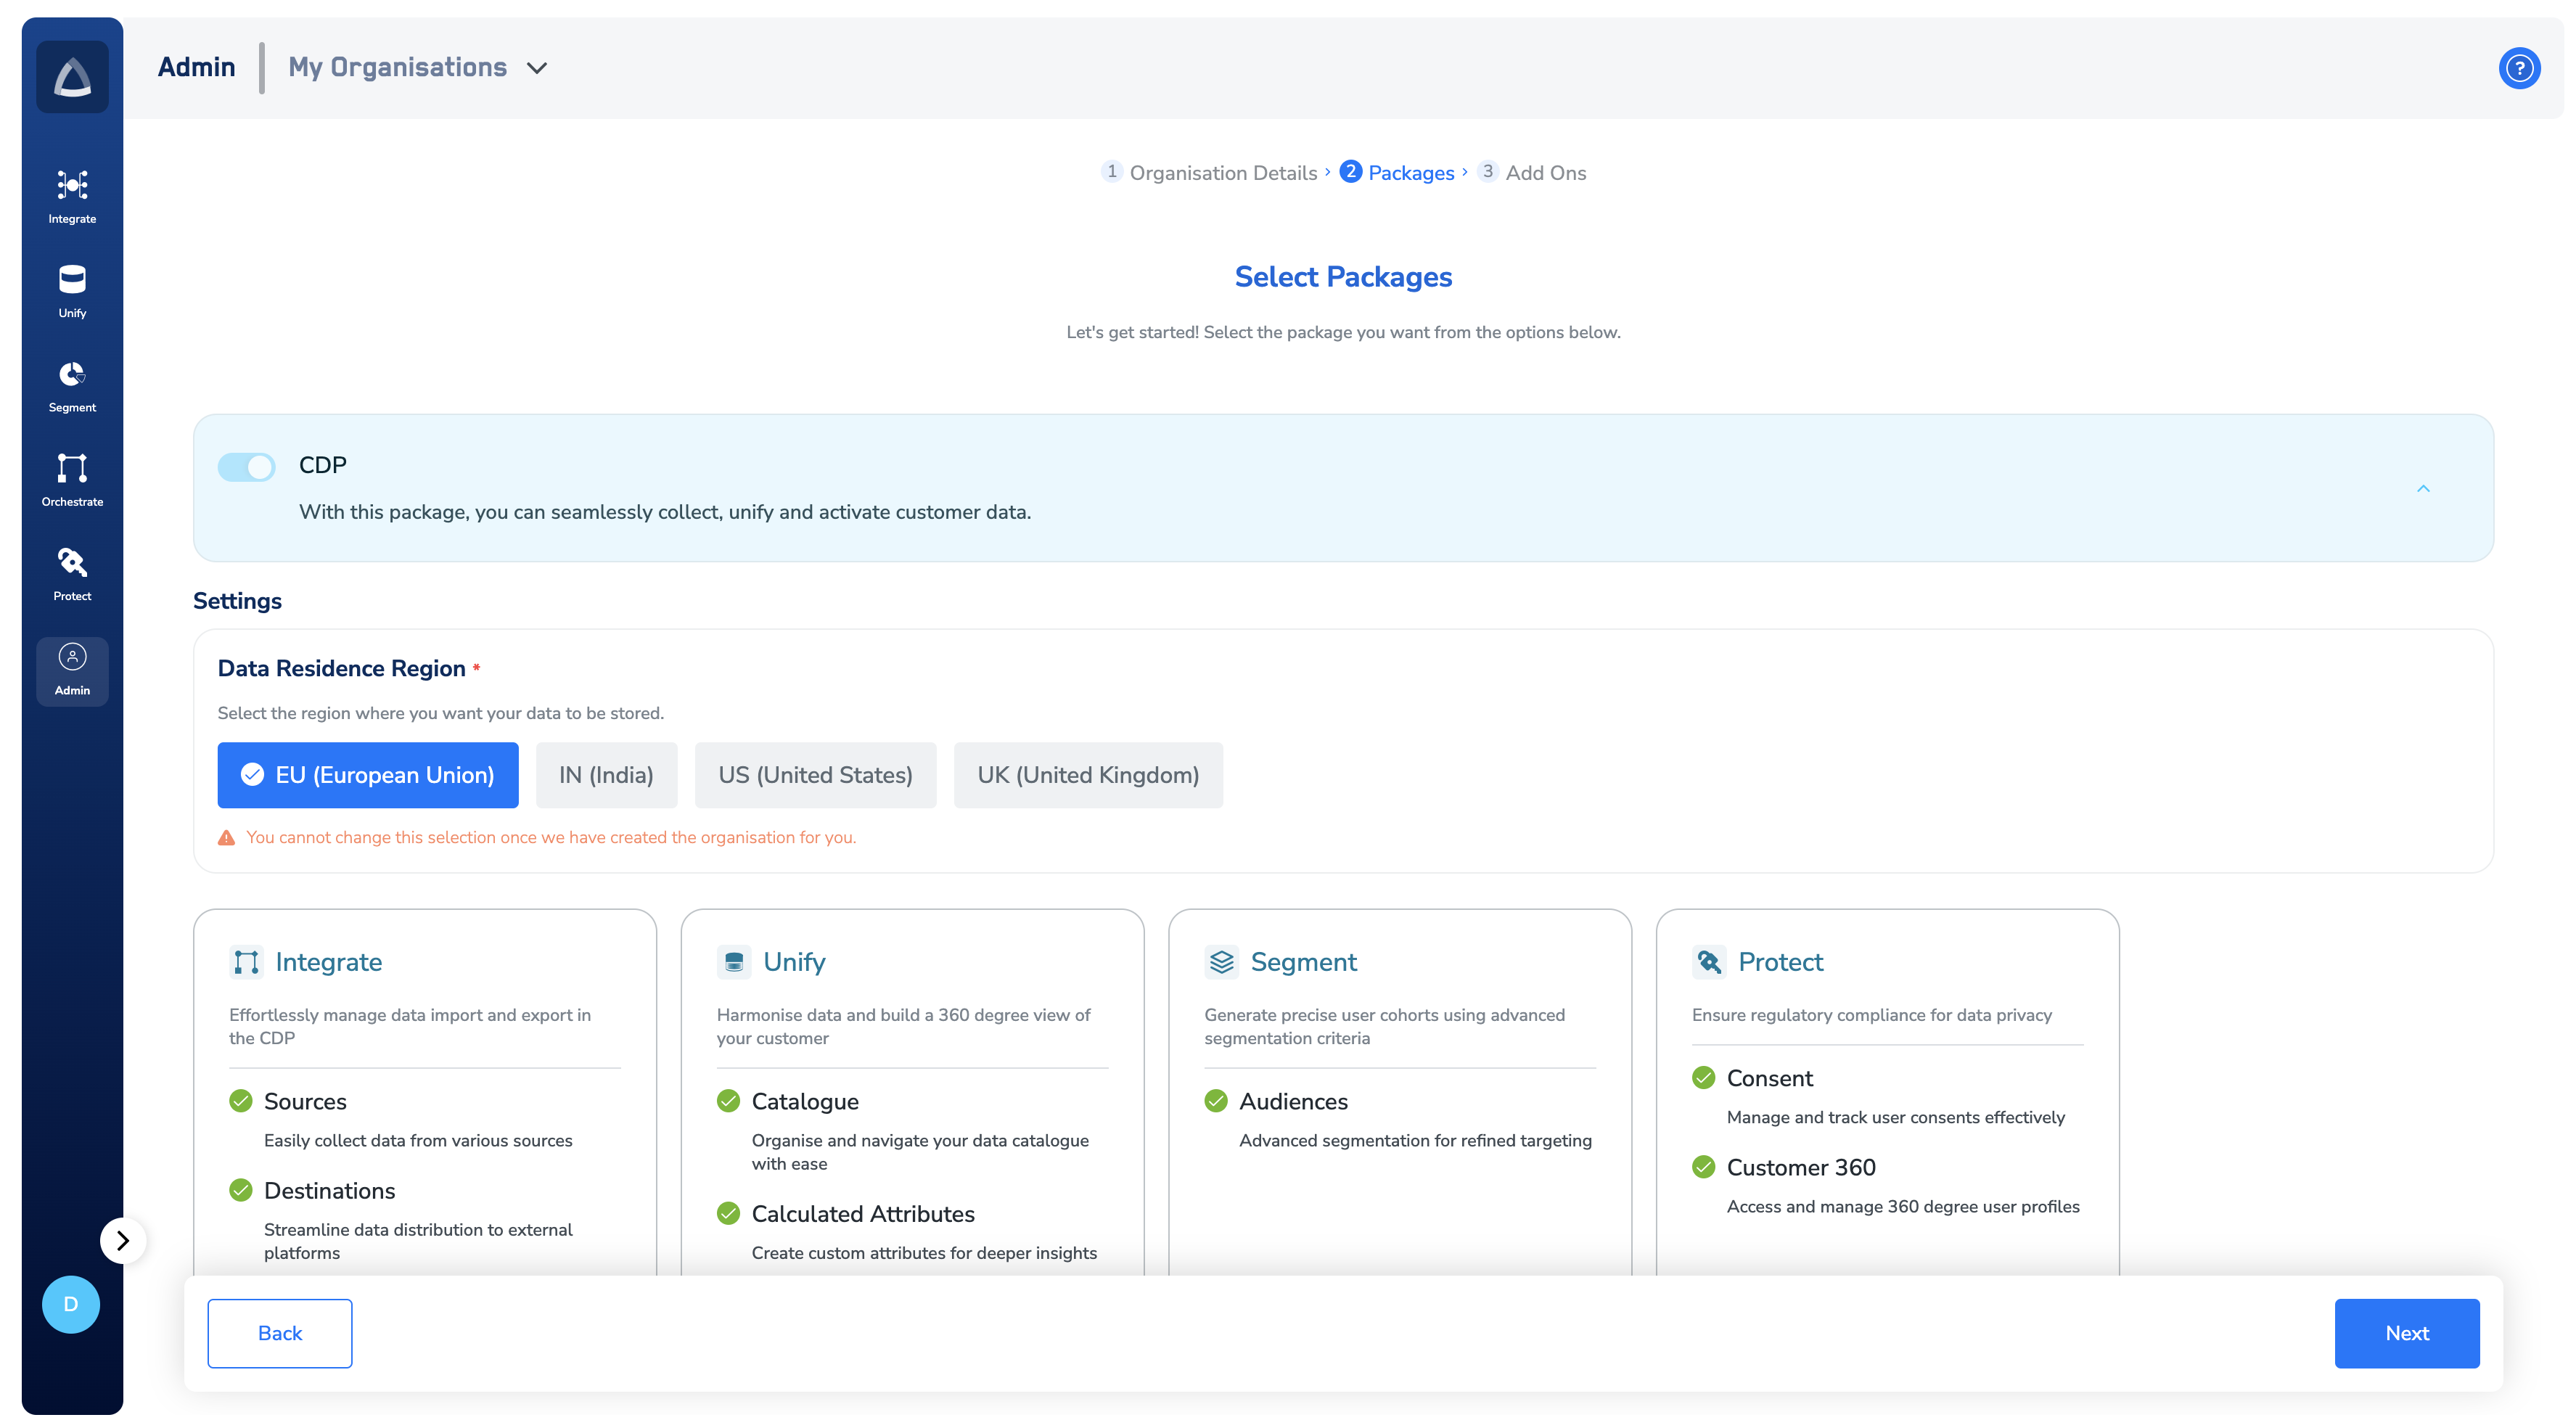 Choose the **Add-Ons** that you wish to have and click **Save**.
 **Note**
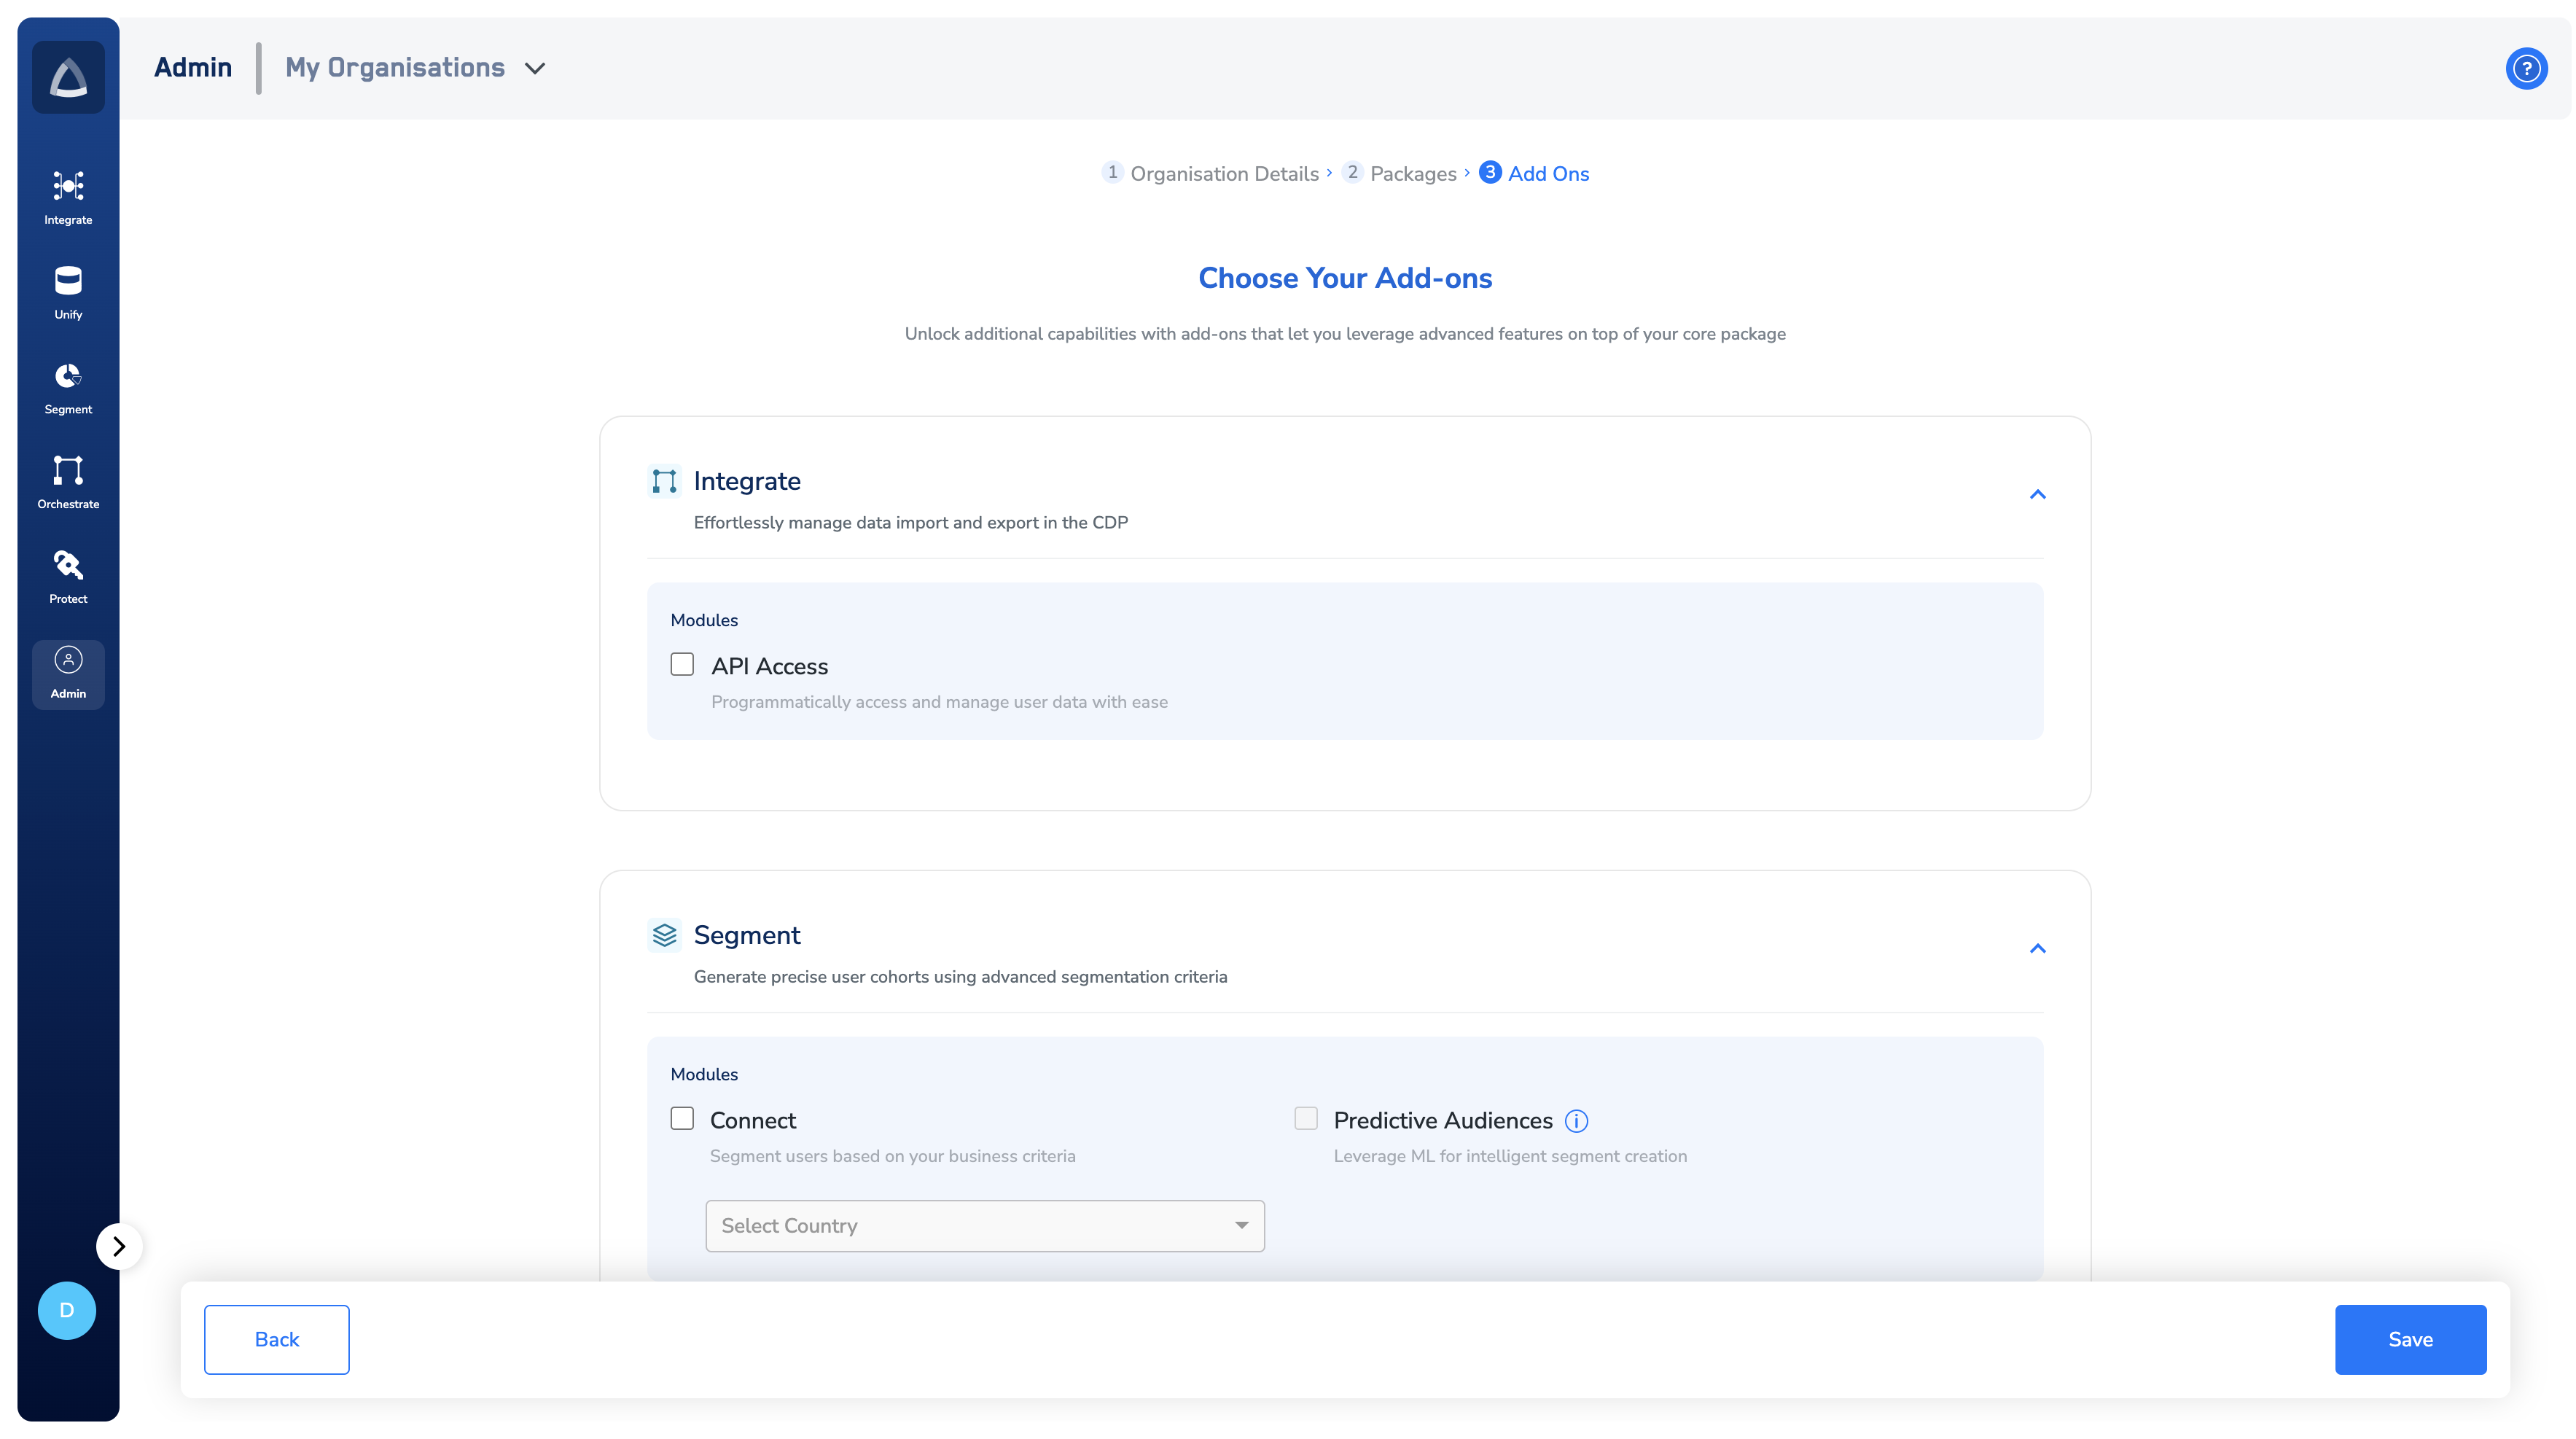
*To make changes to the selected packages, use the **Edit** button shown below. If an organization created within the Admin module is no longer needed or was created by mistake, you can remove it using the **Delete** button shown below.*
**Note**
*To make changes to the selected packages, use the **Edit** button shown below. If an organization created within the Admin module is no longer needed or was created by mistake, you can remove it using the **Delete** button shown below.*
